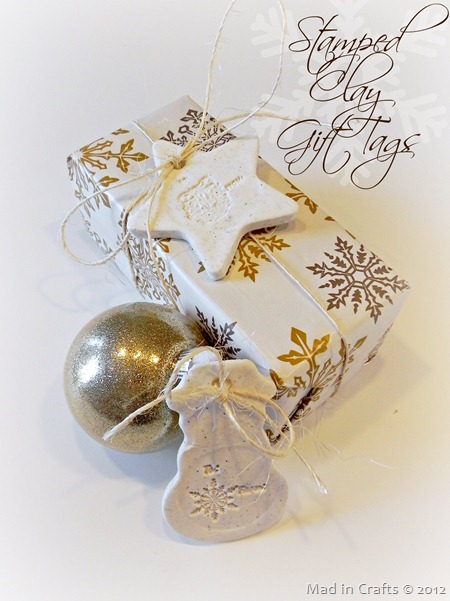
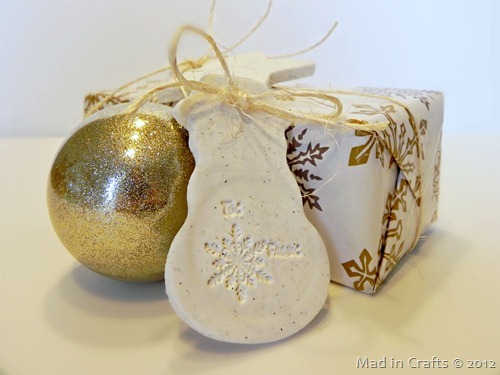
These elegant sparkly clay tags are astonishingly easy to make. And, as an added bonus, you can make them with supplies you might already have in your baking cabinet. All you need to add is a little glitter and some rubber stamps.
To make Stamped Clay Gift Tags, you will need:
a batch of Glittery Clay
PSA gift tag stamps
cookie cutters
oven
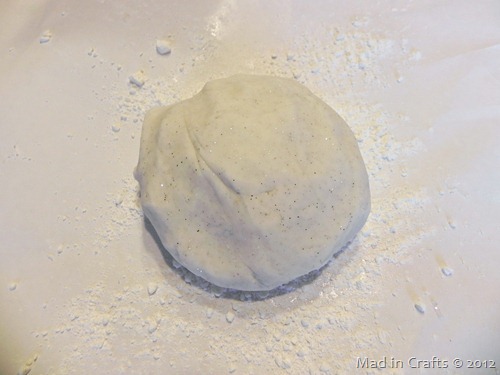
To begin, you will need to make a batch of Glittery Clay. You can find the recipe and instructions for cooking up the dough in this guest post I created for Dollar Store Crafts. Make the dough, let it cool, and then roll it out.
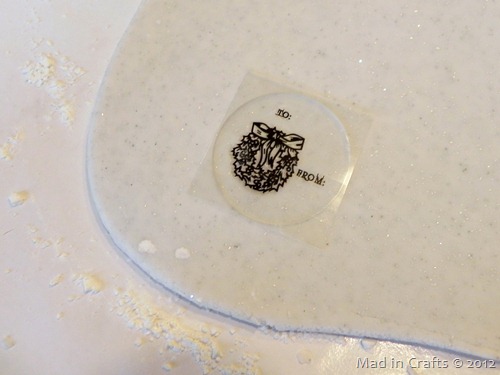
PSA Essentials has adorable gift tag stamps that are perfect for this project. You can use any clean stamp you have on hand, but the PSA stamps have the TO and FROM sections built right in!
I left the PSA gift tag stamps on the plastic packaging and firmly pressed the stamp into the dough. Then I carefully peeled the stamp off. I cut around the stamped area with a cookie cutter and then baked the tags the same way I baked the ornaments. One batch of dough will make 1-2 dozen clay tags.
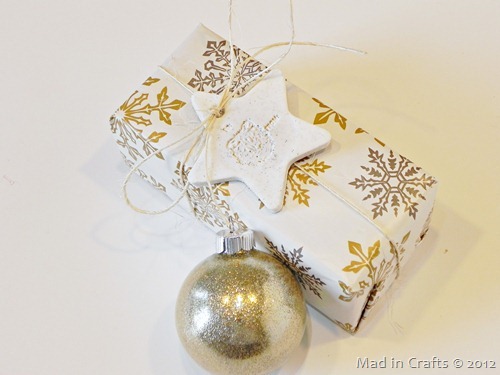
After the tags have cooled, all there is left to do is to attach the tag to your gifts and add the correct names!
See how crisp the PSA stamps come out! So beautiful. These are such special keepsakes to beautify your presents. And for so little money, you can make them for everyone on your list!
Did you like this post? Think it’s worth sharing? Please share with your friends using the social media share buttons on the toolbar at the bottom of the page!
Thanks, Jessica Hill
Brilliant, love this. Would the rubber stamp need to be a slightly deeper cut for it to work on clay?
I just used a normal stamp and it worked beautifully!