Mad in Crafts

  • Email
  • Facebook
  • Google+
  • Instagram
  • LinkedIn
  • Pinterest
  • Twitter
  • YouTube
  • Home
  • About
    • ABOUT JESSICA
    • CONTACT
    • MEDIA KIT
    • Seen On
  • LEGAL
  • CRAFTS
    • HOLIDAY
      • VALENTINE’S DAY
      • ST. PATRICK’S DAY
      • EASTER
      • FOURTH OF JULY
      • FALL
      • HALLOWEEN
      • THANKSGIVING
      • CHRISTMAS
    • HOME DECOR
    • KIDS
    • MISC
    • Wearable
      • JEWELRY
      • PURSES, CLUTCHES AND TOTE BAGS
      • T-SHIRTS
  • DIY
    • Gardening
    • Health
    • ORGANIZATION
    • Outdoor
    • Room Makeover
    • The Mad House
  • Recipes
    • Dessert
    • DINNER
    • DRINKS
    • Snacks and Appetizers
  • ENTERTAINING
    • Birthday Party
    • Party
    • Wedding
  • VIDEO TUTORIALS
Please note: This page may contain affiliate links. If you click a link and choose to make a purchase from the partnership site, I will earn a commission. Thank you for supporting Mad in Crafts!

SIMPLE OMBRE SPRAY PAINTED ORNAMENTS

November 4, 2014 by madincrafts 8 Comments

Please share!Email this to someone
email
Pin on Pinterest
Pinterest
Share on Facebook
Facebook
Share on Google+
Google+
Tweet about this on Twitter
Twitter
Share on LinkedIn
Linkedin
Share on StumbleUpon
StumbleUpon
Share on Yummly
Yummly

 SIMPLE OMBRE ORNAMENTS

I was a brand ambassador for Plutonium Paint and I was compensated for my work with them.  The opinions in this post are 100% my own.

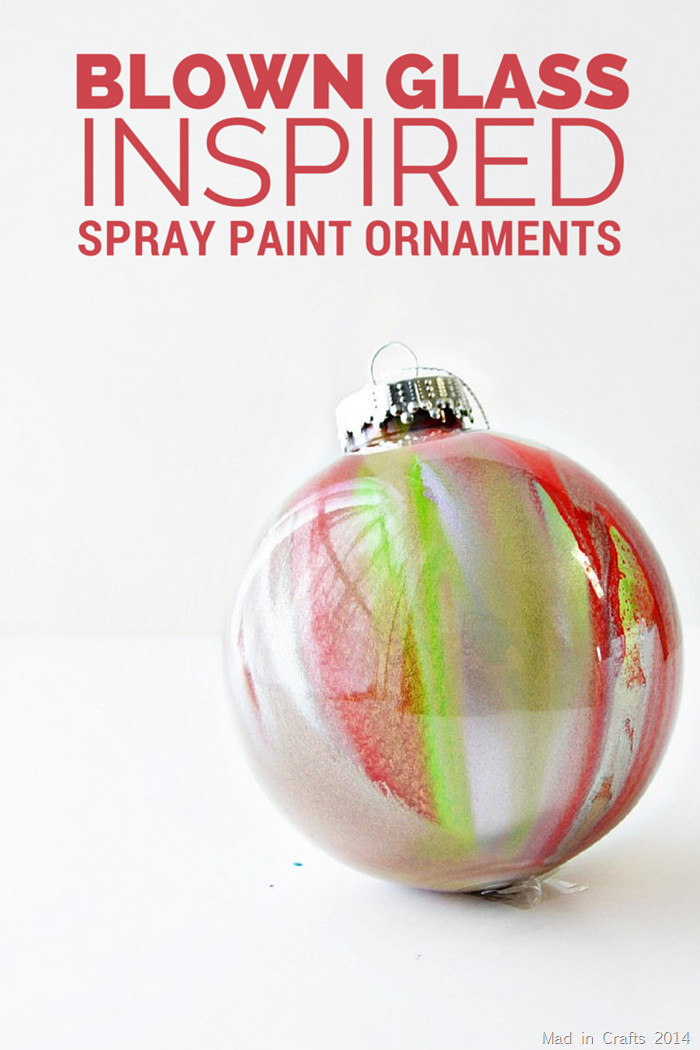
If you are bored with your old ball ornaments and want to give them a new look, nothing is simpler than this spray paint technique.  You can give the ornaments a gradient look in just one step.  I used the technique on some large plastic ornaments from the dollar store, but it will also work on metal or glass.

Plutonium Spray Painted Ornaments

MY LATEST VIDEOS

This ornament started as a clear plastic ornament from Dollar Tree.  I misted a few shots of Plutonium 1st Place Metallic inside of it and let it dry for a few minutes.  That gave it the translucent gold color you see.  You can just as easily do this technique with an ornament that already is a solid color or you could leave the ornament clear and just have the gradient go from color to transparent.

The important step is that you set the ornament up on top of a small cup like a plastic shot glass or paper bathroom cup.  The cup will hold the ornament in place while you work, but it should be as small a cup as you can find.  Shake up the spray paint and set the cup and ornament on the ground.  Hold the can parallel to the ground and spray straight down at the ornament.  As long as the can is always held parallel to the ground, you will automatically make the paint fall straight down on to the ornament, creating the ombre effect.

Spray painted ombre

Let the paint dry (my Plutonium only took 3 minutes to dry) and admire your fancy new ornament.  You can do this process one at a time, or you can set up multiple ornaments in cups and paint them in as assembly line.
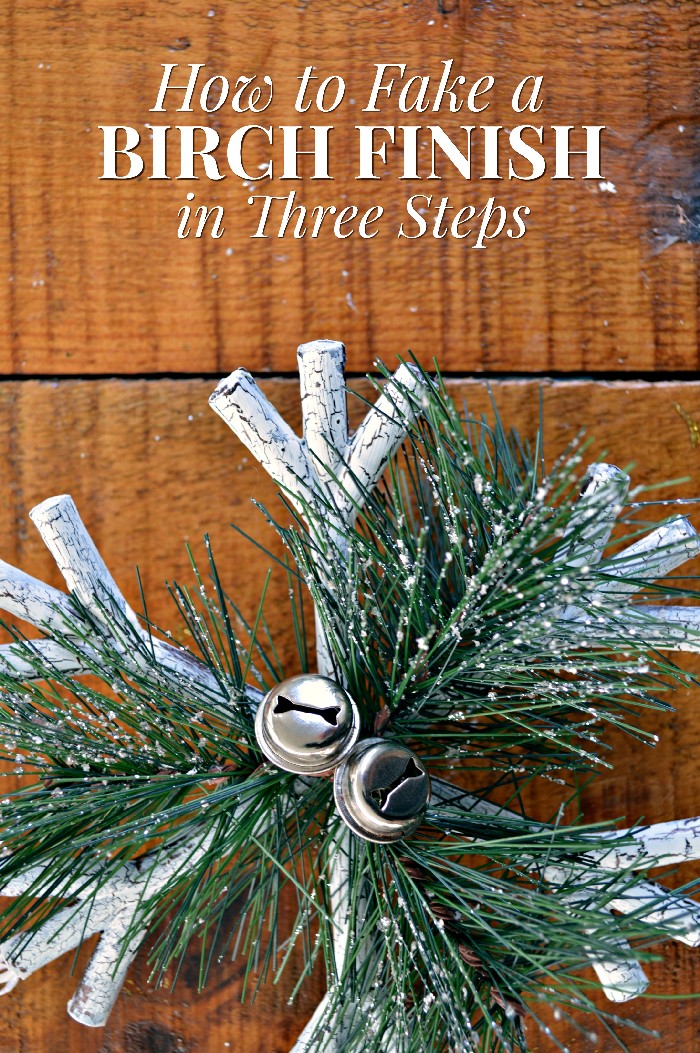
Spray painted ornamnets

The ornament on the left was painted with 1st Place Metallic inside and Polar outside.  The ornament on the right was already red and then I added the ombre in 2nd Place Metallic.  Check back again next week for another ornament tutorial using fabulous Plutonium spray paint!

More Crazy Good Creativity!

CLEAR SNOWFLAKE ORNAMENTS FROM COFFEE FILTERS
DIY EPSOM SALT SNOWMAN ORNAMENT
RUSTIC AND NEUTRAL CHRISTMAS MANTEL
SNOWFLAKE CHRISTMAS TREE
RUSTIC WOODEN REINDEER CENTERPIECE

Filed Under: Christmas, Christmas Decorations, Christmas Ornaments, Plutonium, Spray Paint Tagged With: affiliate, Christmas decorations, Christmas dollar store, ombre, ornament, plutonium, spray paint, tutorial

Email this to someone
email
Pin on Pinterest
Pinterest
Share on Facebook
Facebook
Share on Google+
Google+
Tweet about this on Twitter
Twitter
Share on LinkedIn
Linkedin
Share on StumbleUpon
StumbleUpon
Share on Yummly
Yummly
              

Comments

  1. Melanie says

    November 4, 2014 at 12:50 pm

    These are a lovely upgrade to plain ornaments!

    Reply
  2. Amy Anderson says

    November 4, 2014 at 4:22 pm

    Now I want to do this!

    Reply
  3. Malia says

    November 6, 2014 at 2:08 pm

    They are beautiful, would make great teacher/neighbor gifts too!

    Reply

Trackbacks

  1. Simple Ombre! | Plutonium™ Paint says:
    November 4, 2014 at 11:05 pm

    […] http://madincrafts.com/simple-ombre-spray-painted-ornaments/ […]

    Reply
  2. DIY Christmas Ornaments Makeover says:
    November 5, 2014 at 2:01 pm

    […] Find the instructions at Made in Crafts. […]

    Reply
  3. BLOWN GLASS INSPIRED ORNAMENTS - Mad in Crafts says:
    November 11, 2014 at 11:00 am

    […] The crafting possibilities for these bad boys are nearly endless.  I already worked a little ombre spray paint magic with one of them last week.  While I was experimenting for that project, I came up with this […]

    Reply
  4. Decorate Your Ornaments with Plutonium Paint! | Plutonium™ Paint says:
    November 17, 2014 at 8:11 pm

    […] http://madincrafts.com/simple-ombre-spray-painted-ornaments/ […]

    Reply
  5. FAUX BIRCH FINISH FOR DOLLAR STORE ORNAMENTS - Mad in Crafts says:
    November 18, 2016 at 11:00 am

    […] SIMPLE OMBRE ORNAMENTS […]

    Reply

Leave a Reply Cancel reply

Your email address will not be published. Required fields are marked *

Search the blog…

Copyright

You're welcome to link to Mad in Crafts or use a single image with a brief description to link back to any post. Republishing posts in their entirety is prohibited. Feel free to pin on Pinterest!

Affiliate Disclosure

Jessica Hill is a participant in the Amazon Services LLC Associates Program, an affiliate advertising program designed to provide a means for sites to earn advertising fees by advertising and linking to Amazon.com

Copyright © 2019 · Metro Pro Theme on Genesis Framework · WordPress · Log in

We use cookies to ensure that we give you the best experience on our website. If you continue to use this site we will assume that you are happy with it.OkNoRead more
No