Mad in Crafts

  • Email
  • Facebook
  • Instagram
  • LinkedIn
  • Pinterest
  • Twitter
  • YouTube
  • Home
  • About
    • ABOUT JESSICA
    • CONTACT
    • MEDIA KIT
    • Seen On
  • PRIVACY
  • CRAFTS
    • HOLIDAY
      • VALENTINE’S DAY
      • ST. PATRICK’S DAY
      • EASTER
      • FOURTH OF JULY
      • FALL
      • HALLOWEEN
      • THANKSGIVING
      • CHRISTMAS
    • HOME DECOR
    • KIDS
    • MISC
    • Wearable
      • JEWELRY
      • PURSES, CLUTCHES AND TOTE BAGS
      • T-SHIRTS
    • FREE PRINTABLES
    • FREE SVGs
  • DIY
    • Gardening
    • Health
    • ORGANIZATION
    • Outdoor
    • Room Makeover
    • The Mad House
  • Recipes
    • Dessert
    • DINNER
    • DRINKS
    • Snacks and Appetizers
  • ENTERTAINING
    • Birthday Party
    • Party
    • Wedding
  • SHOP
Please note: This page may contain affiliate links. If you click a link and choose to make a purchase from the partnership site, I will earn a commission. Thank you for supporting Mad in Crafts!

FAUX BIRCH FINISH FOR DOLLAR STORE ORNAMENTS

November 18, 2016 by madincrafts 5 Comments

how-to-fake-a-birch-finish-in-three-steps

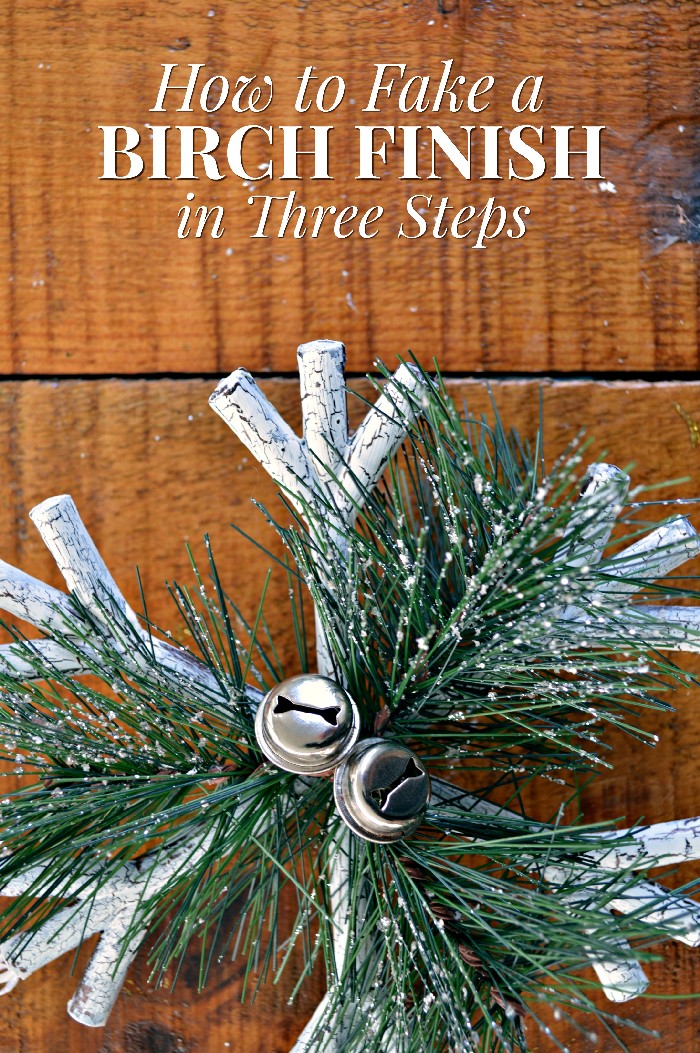
I recently did a Facebook Live video where I shared my haul of Christmas goodies from Dollar Tree.  If you didn’t catch live, you can watch it here on YouTube.  Among all the goodies, were a trio of woodsy snowflake ornaments.  I liked the idea of snowflakes being made out of birch twigs, but the finish on the dollar store ornament was lacking.  I decided to try a little faux finish experiment, and I am really happy with how I was able to get a faux birch finish in just a few steps.

taken-apart

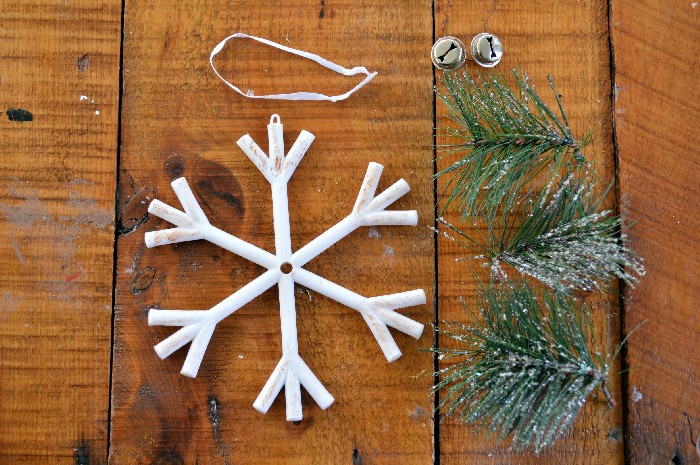
I started out by taking the dollar store ornament apart.  The elements were held together with twisty wires, so it was very easy to do.

apply-a-brown-base-coat

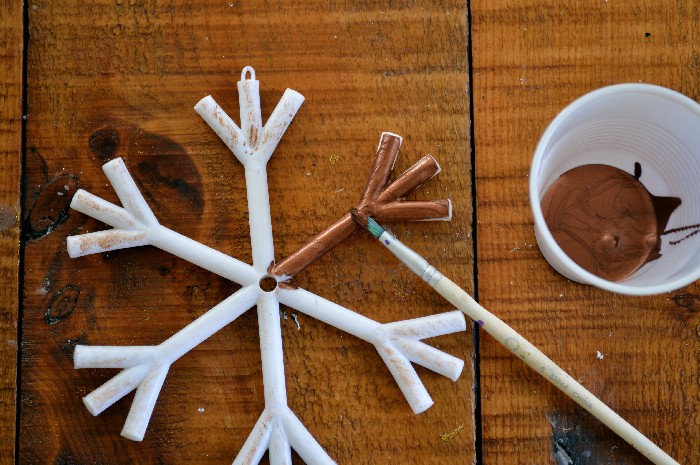
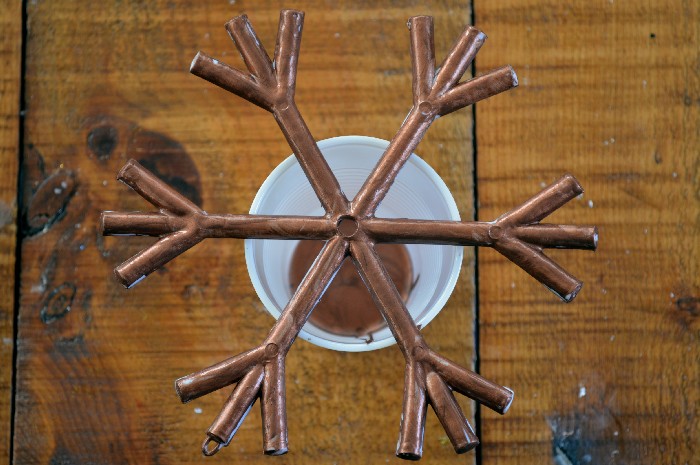
You can see from this picture that the dollar store version of a birch finish just makes it look like the snowflake has been playing in the mud.  To give it a more realistic finish, I started by coating the plastic snowflake in a coppery brown acrylic paint.  I learned the hard way that you should really keep the hanging ribbon on the ornament to avoid having to handle the ornament while you are painting.

apply-crackle-medium

After the paint had dried, I applied a coat of crackle medium.  Crackle medium is a clear gel that you use as a base coat for other paint colors.  The medium causes the top coat of paint to crackle as it dries.  

before-and-after-faux-finish

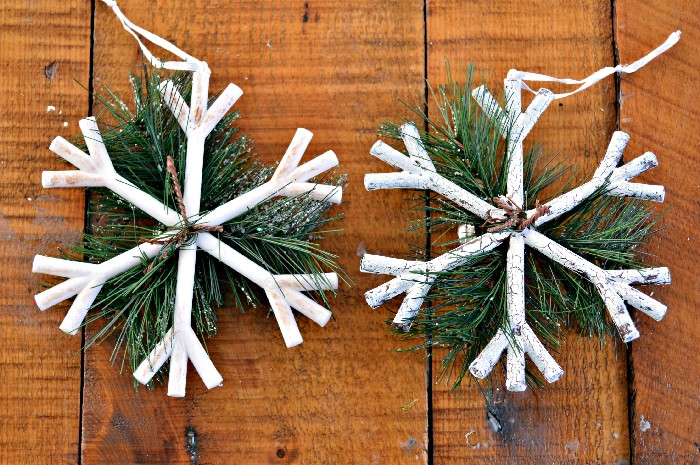
After the crackle finish had fully dried, I added a coat of satin white acrylic paint.  It’s important that you use satin finish so that the finished ornament looks like matte birch bark.  Since acrylic paint dries so quickly, I could actually see the crackle medium working in real time.  The brown base coat peeked through the cracks to give the snowflakes a much more realistic-looking birch finish.  You can contrast the unpainted ornament on the left with the painted ornament on the right.

put-ornament-back-together

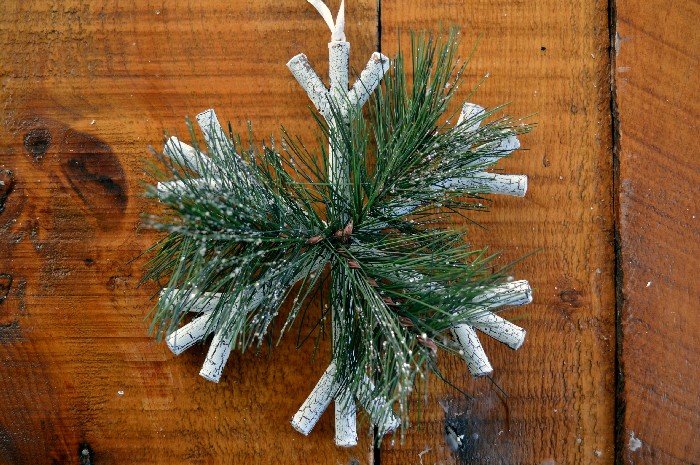
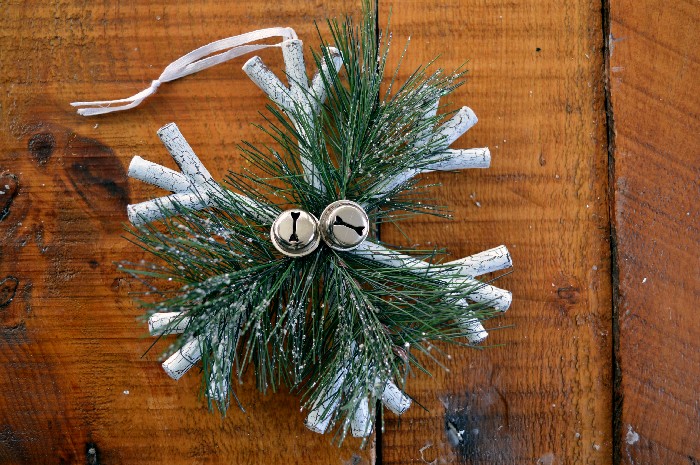
I reassembled the ornaments and wired everything back into place.

finished-faux-birch-ornaments

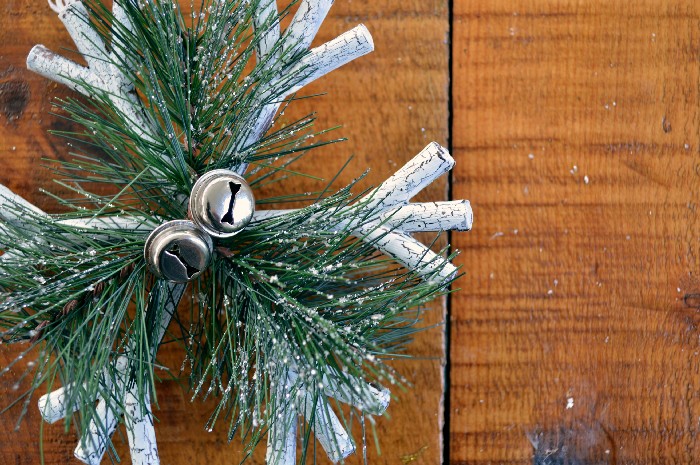
It’s definitely a detail that not everyone will notice, but I think the ornaments look MUCH better with the faux finish paint job.

diy-birch-finish

Now that I know how easy this technique is, I am looking for other Christmas projects to use this faux birch finish on.  What do you think, was the paint job worth the effort?

These are all affiliate links, if you make a purchase (of anything on Amazon, not just these items) after clicking through, I will earn a small commission.  Ads and affiliate links are the way I am able to keep this website running and to offer you free tutorials all year long.  Thank you so much for supporting me and Mad in Crafts!

  • dollar store ornaments
  • copper craft paint
  • crackle medium
  • satin white craft paint
  • paintbrushes

Check out these other ornament tutorials:

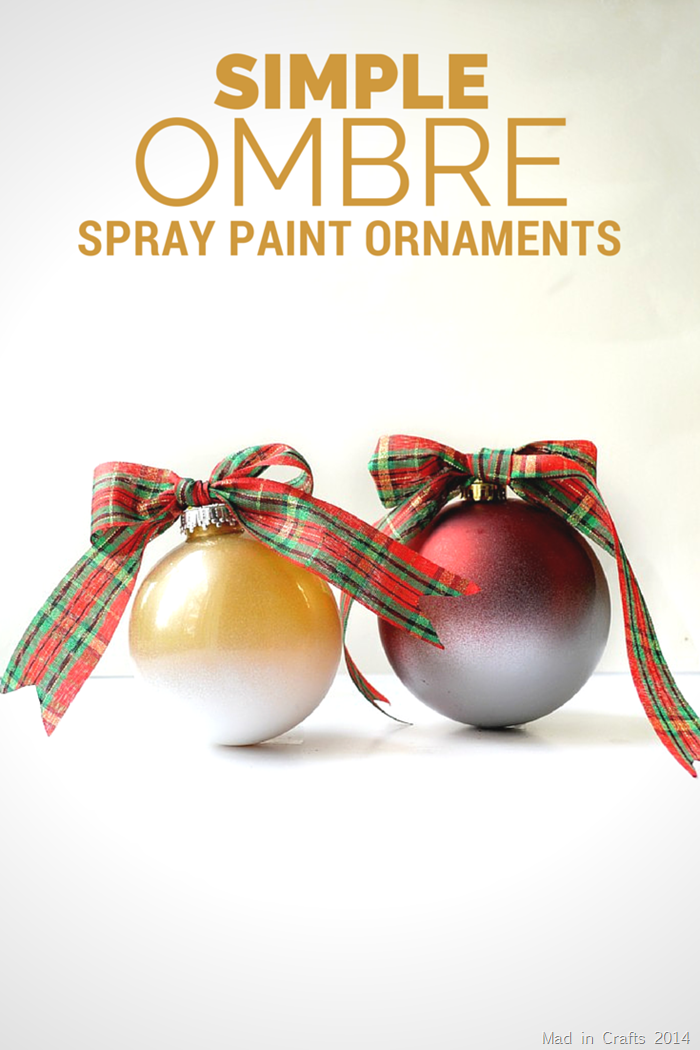
SIMPLEOMBREORNAMENTS_thumb.png

SIMPLE OMBRE ORNAMENTS

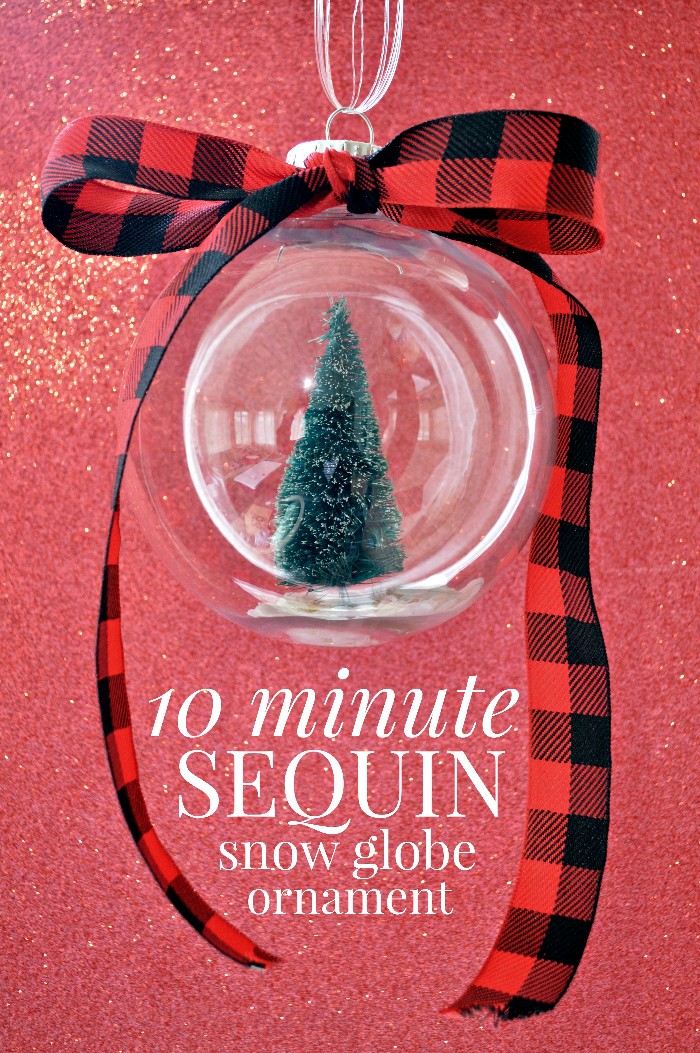
10-minute-sequin-snow-globe-ornament

SEQUIN SNOW GLOBE ORNAMENT

Filed Under: Christmas, Christmas Decorations, Christmas Ornaments Tagged With: affiliate, birch, Christmas, Christmas decorations, christmas ornament, dollar store, faux finish, tutorial

Share on Facebook
Facebook
Pin on Pinterest
Pinterest
Tweet about this on Twitter
Twitter
Share on LinkedIn
Linkedin
              

Comments

  1. Lyndsey says

    December 3, 2016 at 10:18 pm

    Yes, they look so much better! Now I want to head out to the craft store to get me some crackle medium and the dollar store to make my own! Thanks for sharing =0)

    Reply

Trackbacks

  1. TURN A GALVANIZED BUCKET INTO A MINI TREE STAND - Mad in Crafts says:
    January 26, 2017 at 10:22 pm

    […] FAUX BIRCH ORNAMENT MAKEOVER […]

    Reply
  2. 25 Farmhouse Style DIY Ornaments - Honeybear Lane says:
    November 13, 2017 at 11:54 am

    […] Faux Birch Finish Dollar Store Ornaments from Mad in […]

    Reply
  3. CORNSTARCH DOUGH ORNAMENTS - Mad in Crafts says:
    October 3, 2018 at 12:25 pm

    […] FAUX BIRCH FINISH FOR ORNAMENTS […]

    Reply
  4. SIMPLE OMBRE SPRAY PAINTED ORNAMENTS Christmas Mad in Crafts says:
    October 6, 2020 at 12:55 am

    […] FAUX BIRCH FINISH […]

    Reply

Leave a Reply Cancel reply

Your email address will not be published. Required fields are marked *

Recipe Rating


About Jessica

Search the blog…

Gallery of Valentine's Day Crafts
DIY Home Organization
Delicious Dessert Recipes

Copyright

You're welcome to link to Mad in Crafts or use a single image with a brief description to link back to any post. Republishing posts in their entirety is prohibited. Feel free to pin on Pinterest!

Affiliate Disclosure

Jessica Hill is a participant in the Amazon Services LLC Associates Program, an affiliate advertising program designed to provide a means for sites to earn advertising fees by advertising and linking to Amazon.com

Copyright © 2021 · Metro Pro Theme on Genesis Framework · WordPress · Log in

We use cookies to ensure that we give you the best experience on our website. If you continue to use this site we will assume that you are happy with it.Ok