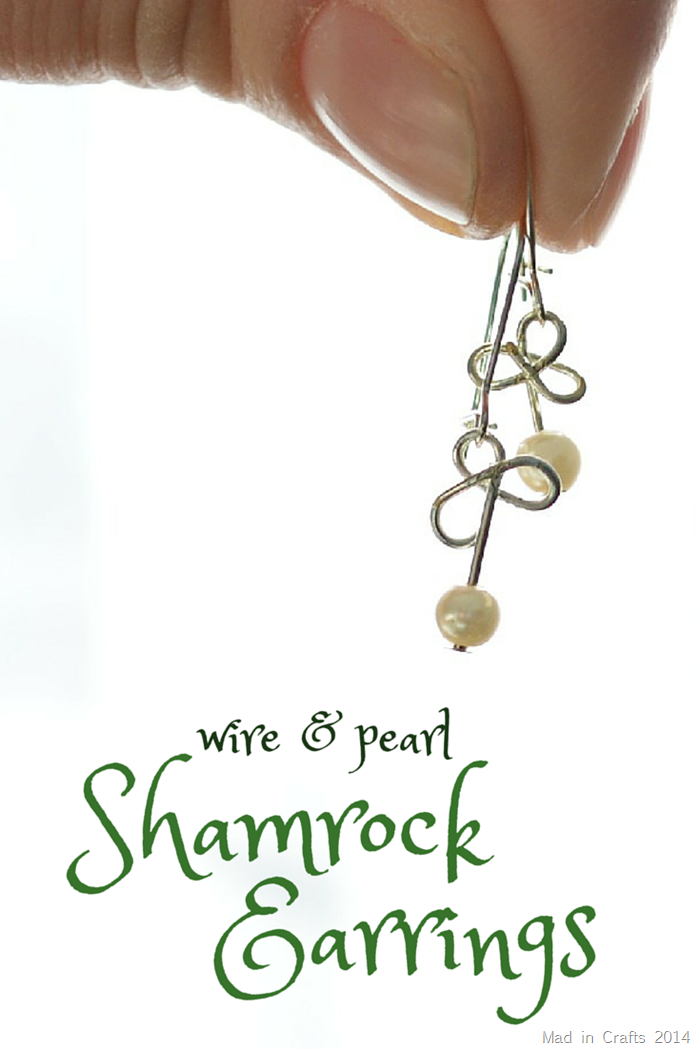
St. Patrick’s Day is coming soon! To prepare I made a pair of simple wire and bead shamrock earrings using basic jewelry-making supplies. This is a great way to ease yourself into jewelry making if you have been intimidated to start.
WIRE AND BEAD SHAMROCK EARRINGS
WHAT YOU NEED TO MAKE SHAMROCK EARRINGS
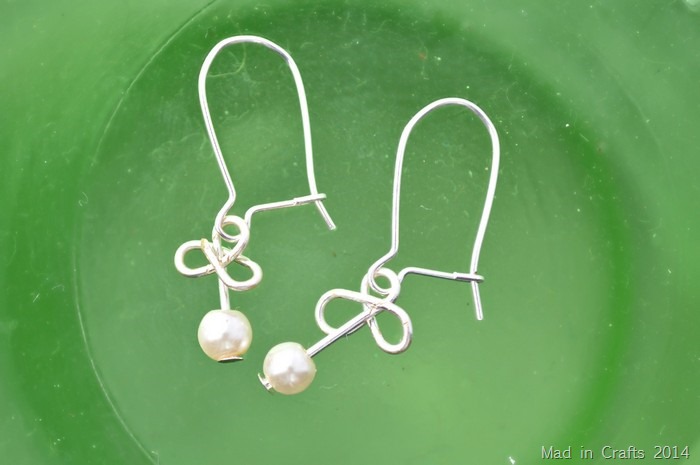
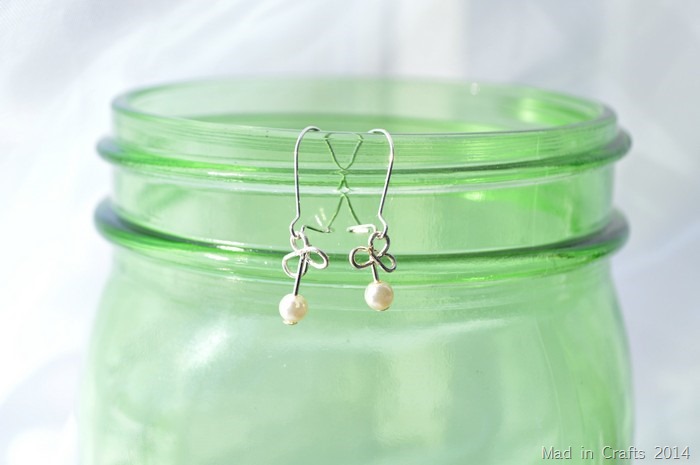
Each earring has a dangling pearl at the bottom of a delicate shamrock. While the earrings are designed for St. Patrick’s Day, they are subtle enough to wear all year long.
These are all affiliate links, if you make a purchase (of anything from the site, not just these items) after clicking through, I will earn a small commission. Ads and affiliate links are the way I am able to keep this website running and to offer you free tutorials all year long. Thank you so much for supporting me and Mad in Crafts!

Want to know which craft supplies I always keep in my craft room?
Visit the Mad in Crafts Amazon Storefront to learn more and to buy your own supplies!
HOW TO MAKE ST. PATRICK’S DAY EARRINGS
Watch the video above to see how to make a pair of your own shamrock earrings. I have also written out the step-by-step directions below to walk you through the process.
Pearl and Wire Shamrock Earrings
- Thread a pearl bead onto a headpin.
- Clamp round-nosed jewelry pliers about 1/2 inch above the pearl bead.
- Wrap the wire, counter-clockwise, around the round nose pliers.
The end of the headpin should now point to your right.
- Clamp round-nose pliers just past the loop you just made.
- Wrap the wire, counter-clockwise, around the round nose pliers.
The end of the headpin should now point to your left.
- Clamp round-nose pliers just past the loop you just made.
- Wrap the wire, counter-clockwise, around the round nose pliers.
The end of the headpin should now point up.
- Snip the headpin at the back of the shamrock.
- Squeeze the shamrock charm with flat-nosed pliers to flatten it, if needed.
- Slip the shamrock charm onto an earring finding.
- Repeat these steps to make a second earring.

