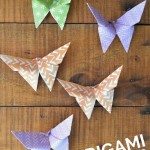
Even if you have procrastinated on any and all Easter decorations, there is still time to make some simple, but beautiful, origami butterflies. Don’t be scared off if you have never done origami before, this is a very simple tutorial that doesn’t take long to master. You can hang the simple origami butterflies from an Easter tree, use them as pretty Easter dinner place cards, or put them on an Easter wreath like I did.
SIMPLE ORIGAMI BUTTERFLIES
WHAT DO YOU NEED TO MAKE ORIGAMI BUTTERFLIES?
The only supplies you need for this project are squares of paper and your two hands. I used scrapbook paper because I didn’t have origami paper on hand. Origami paper is MUCH easier to fold, but the butterflies will be more delicate when they are finished. Use the type of paper that will work best for your project.
These are all affiliate links, if you make a purchase (of anything from the site, not just these items) after clicking through, I will earn a small commission. Ads and affiliate links are the way I am able to keep this website running and to offer you free tutorials all year long. Thank you so much for supporting me and Mad in Crafts!
- origami paper or scrapbook paper
- paper trimmer

Want to know which craft supplies I always keep in my craft room?
Visit the Mad in Crafts Amazon Storefront to learn more and to buy your own supplies!
HOW TO MAKE ORIGAMI BUTTERFLIES
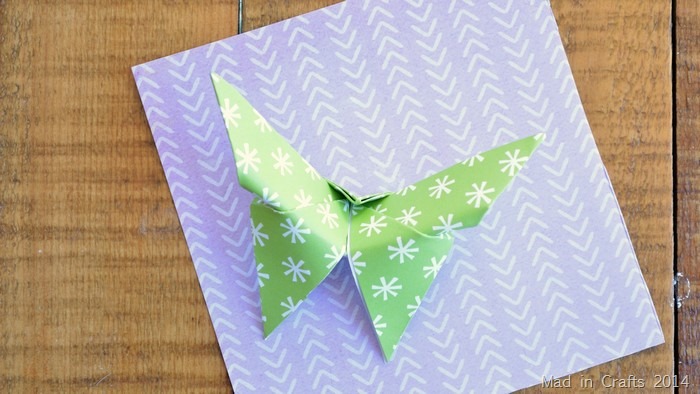
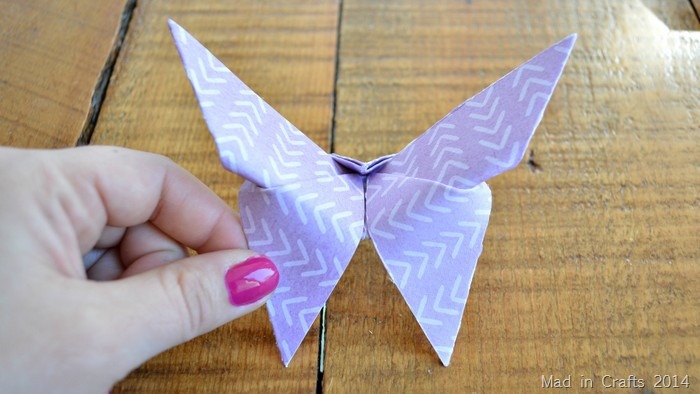
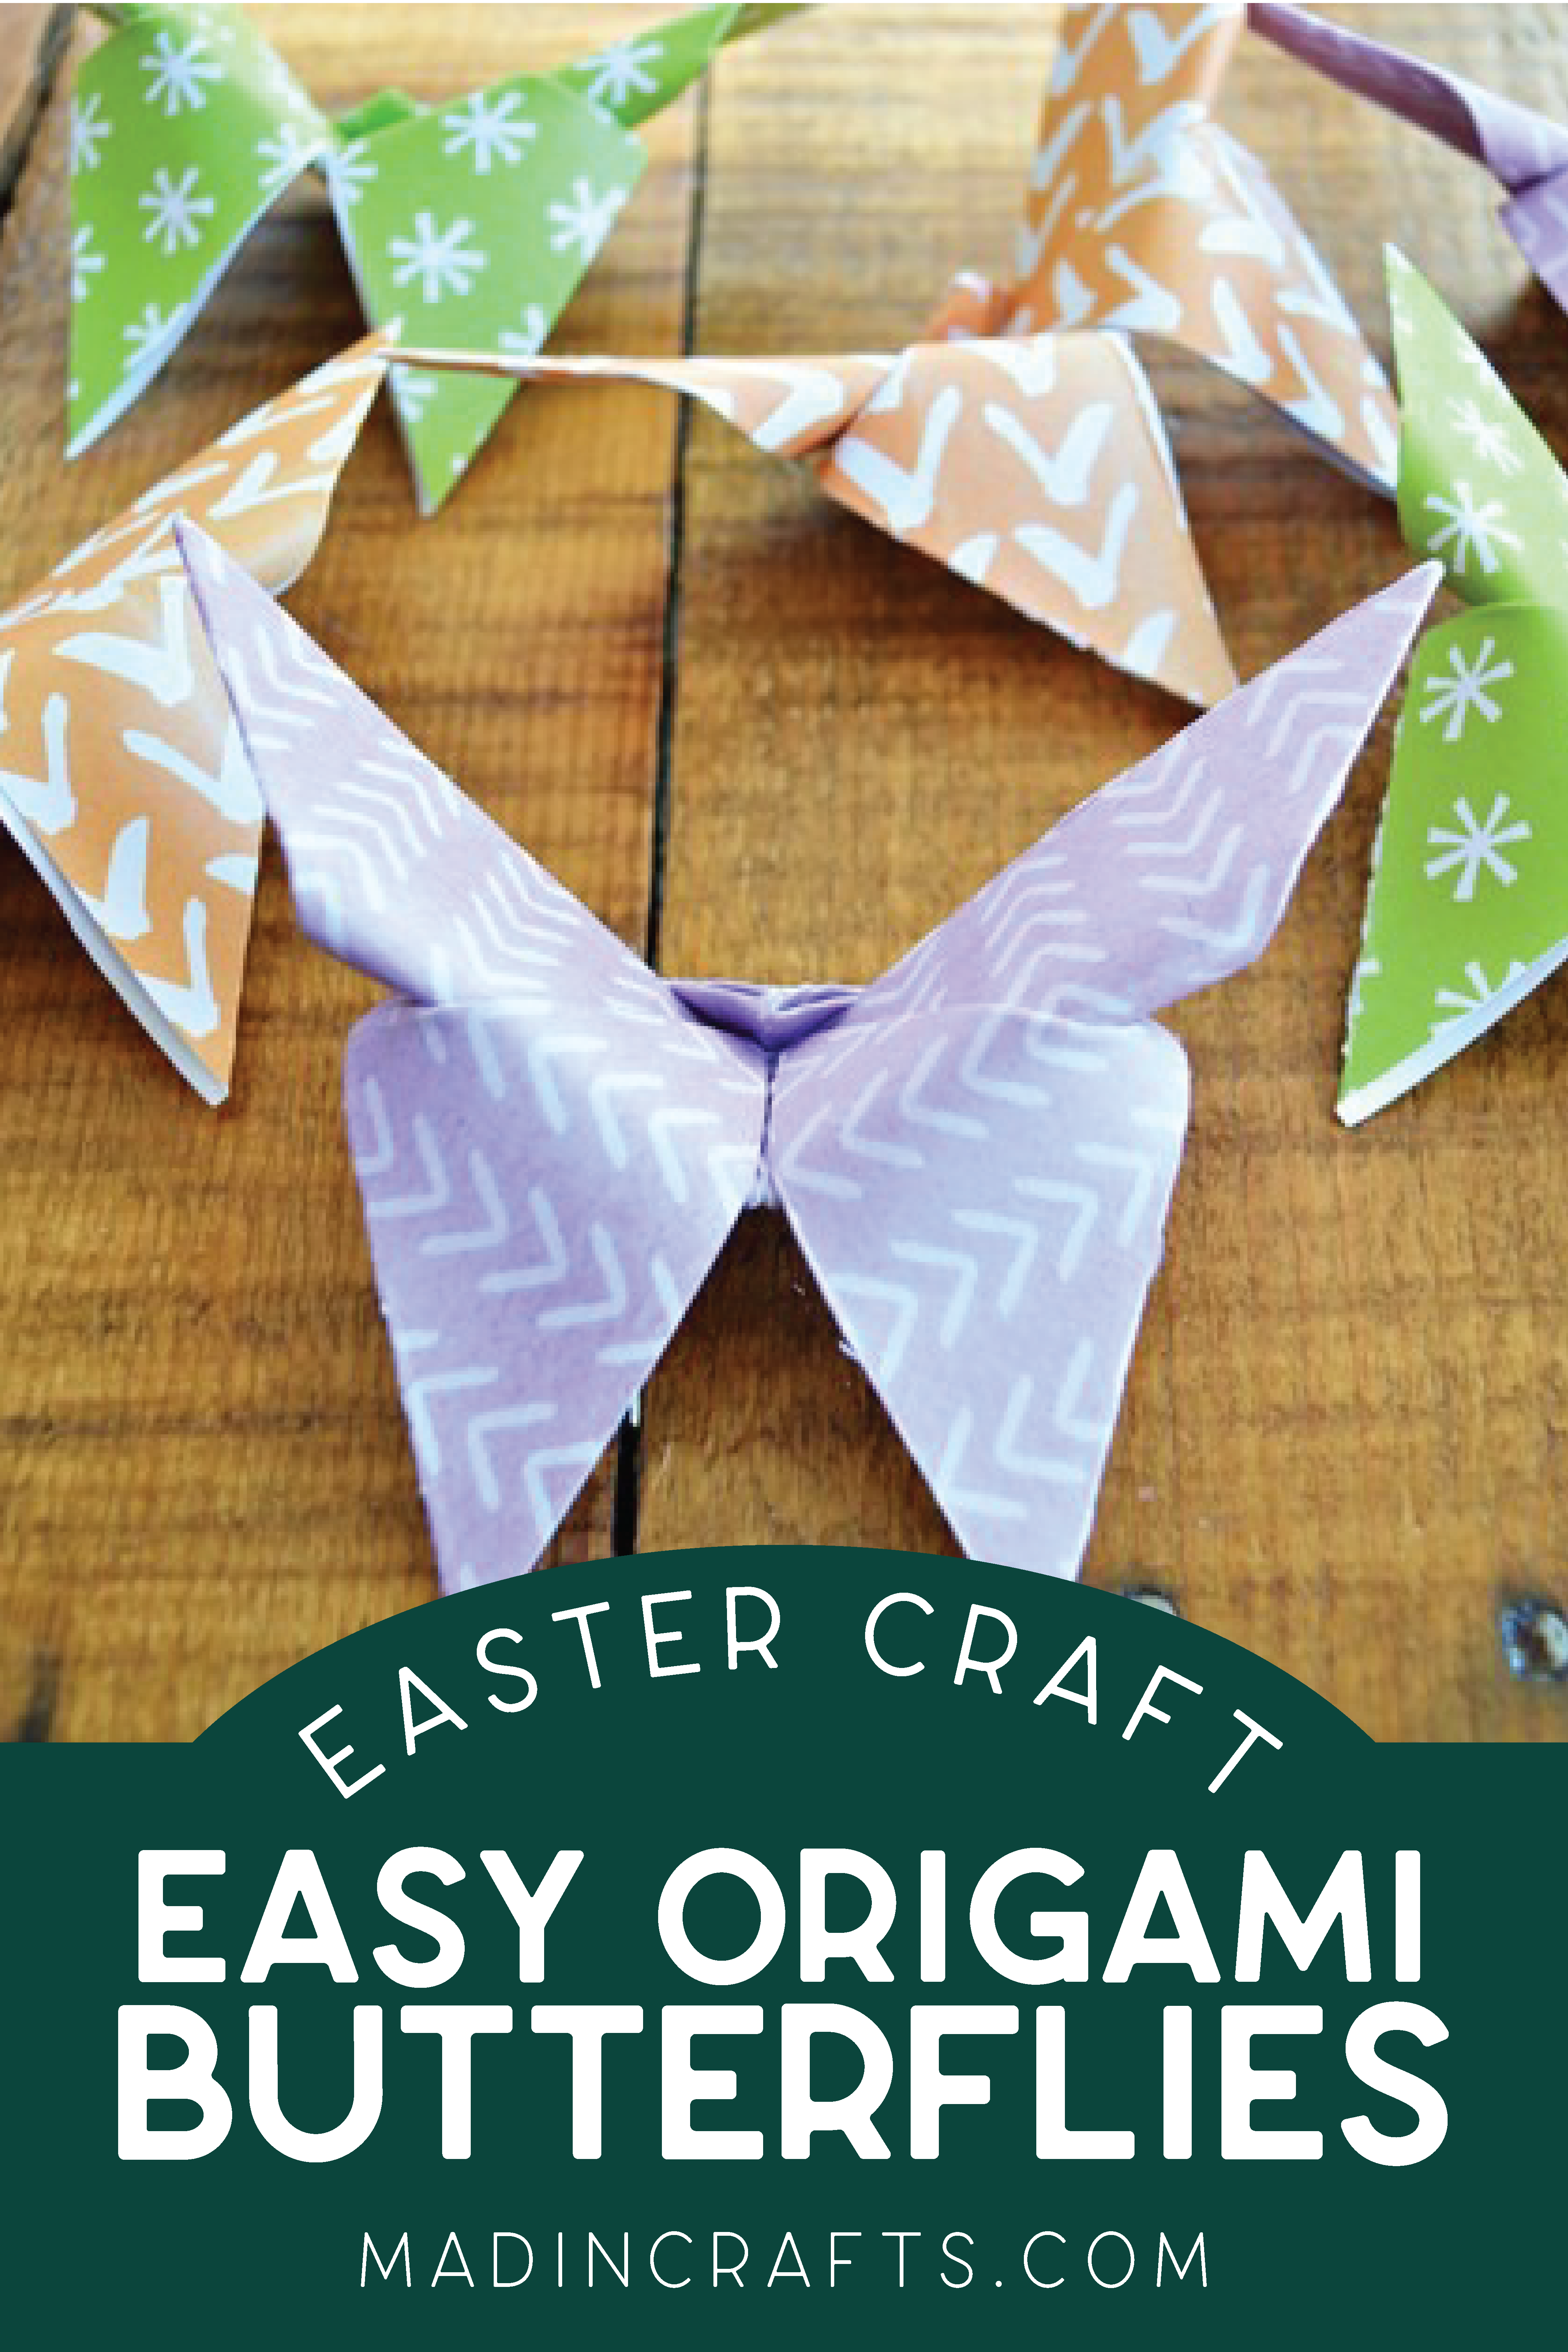
The finished butterflies aren’t flat, but have a pretty, dimensional shape because of the curved wings.
I am sharing the step-out of folding the origami butterfly below, but I know written origami tutorials can be hard to understand. If you think so too, just watch the video above to see how the folds work in action. At any point in the tutorial, you can pause the video to complete each step and restart the video to move on. Be sure to subscribe to my YouTube channel, if you haven’t already, so you don’t miss any of my fun video tutorials.
Origami Butterfly Instructions
- If needed, cut the paper into a square.
Keep in mind that the larger your paper square is, the larger your finished butterfly will be. My paper was 5″ square.
- Place the paper printed side up. Fold the paper in half horizontally and vertically using a mountain fold and crease these folds. Open the paper again.
Mountain folds mean you fold the paper away from you, so the crease is on the top side of the paper.
- Fold the paper in half diagonally in both directions using a mountain fold and crease these folds. Open the paper again.
- Collapse the horizontal folds and flatten the paper into a triangle pointing up.
This is called an origami waterbomb base.
- Grab the left side of the top layer of the triangle (waterbomb base), and fold it up to touch the top point of the triangle and crease these folds. Repeat this on the right side.
It should look like there is a diamond shape in the middle of the triangle now.
- Flip the paper over so that the diamond is facing the table and the triangle is now pointing down.
- Fold the bottom point of the triangle up past the top edge of the long side of the triangle (at the top). Do not crease this fold.
- Flip the paper over again. Fold the small flap of the point that is past the edge of the long side of the triangle down over the edge towards you. Crease this fold.
- Gently fold the paper along the midline of the butterfly.
HOW CAN YOU USE ORIGAMI BUTTERFLIES?
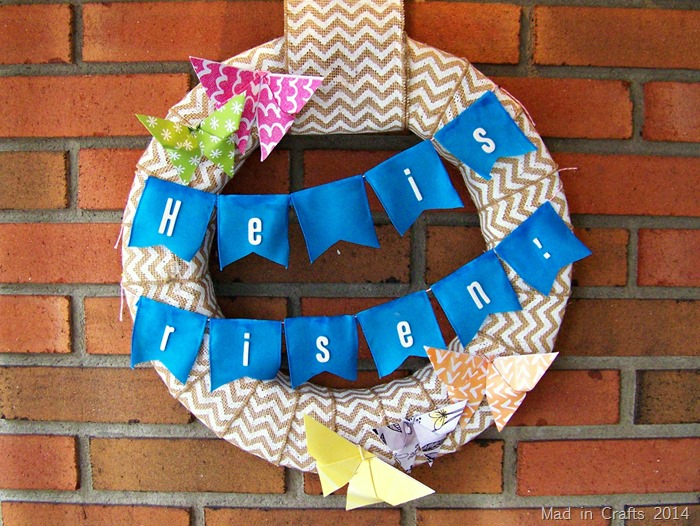
These dimensional paper butterflies are pretty additions to lots of craft projects. Add a small butterfly to scrapbooks or handmade cards. You can use larger versions on wreaths, bulletin boards, or party decorations. If you make your own origami butterflies share them on Instagram and tag me so I can see them!

