
Can’t make it to the ocean to scavenge some sea glass on your vacation this year? Don’t worry! You can still have the look of beautiful sea glass jewelry — with resin! The EasyCast jewelry mold has the perfect shapes to create some faux sea glass jewelry of your own!
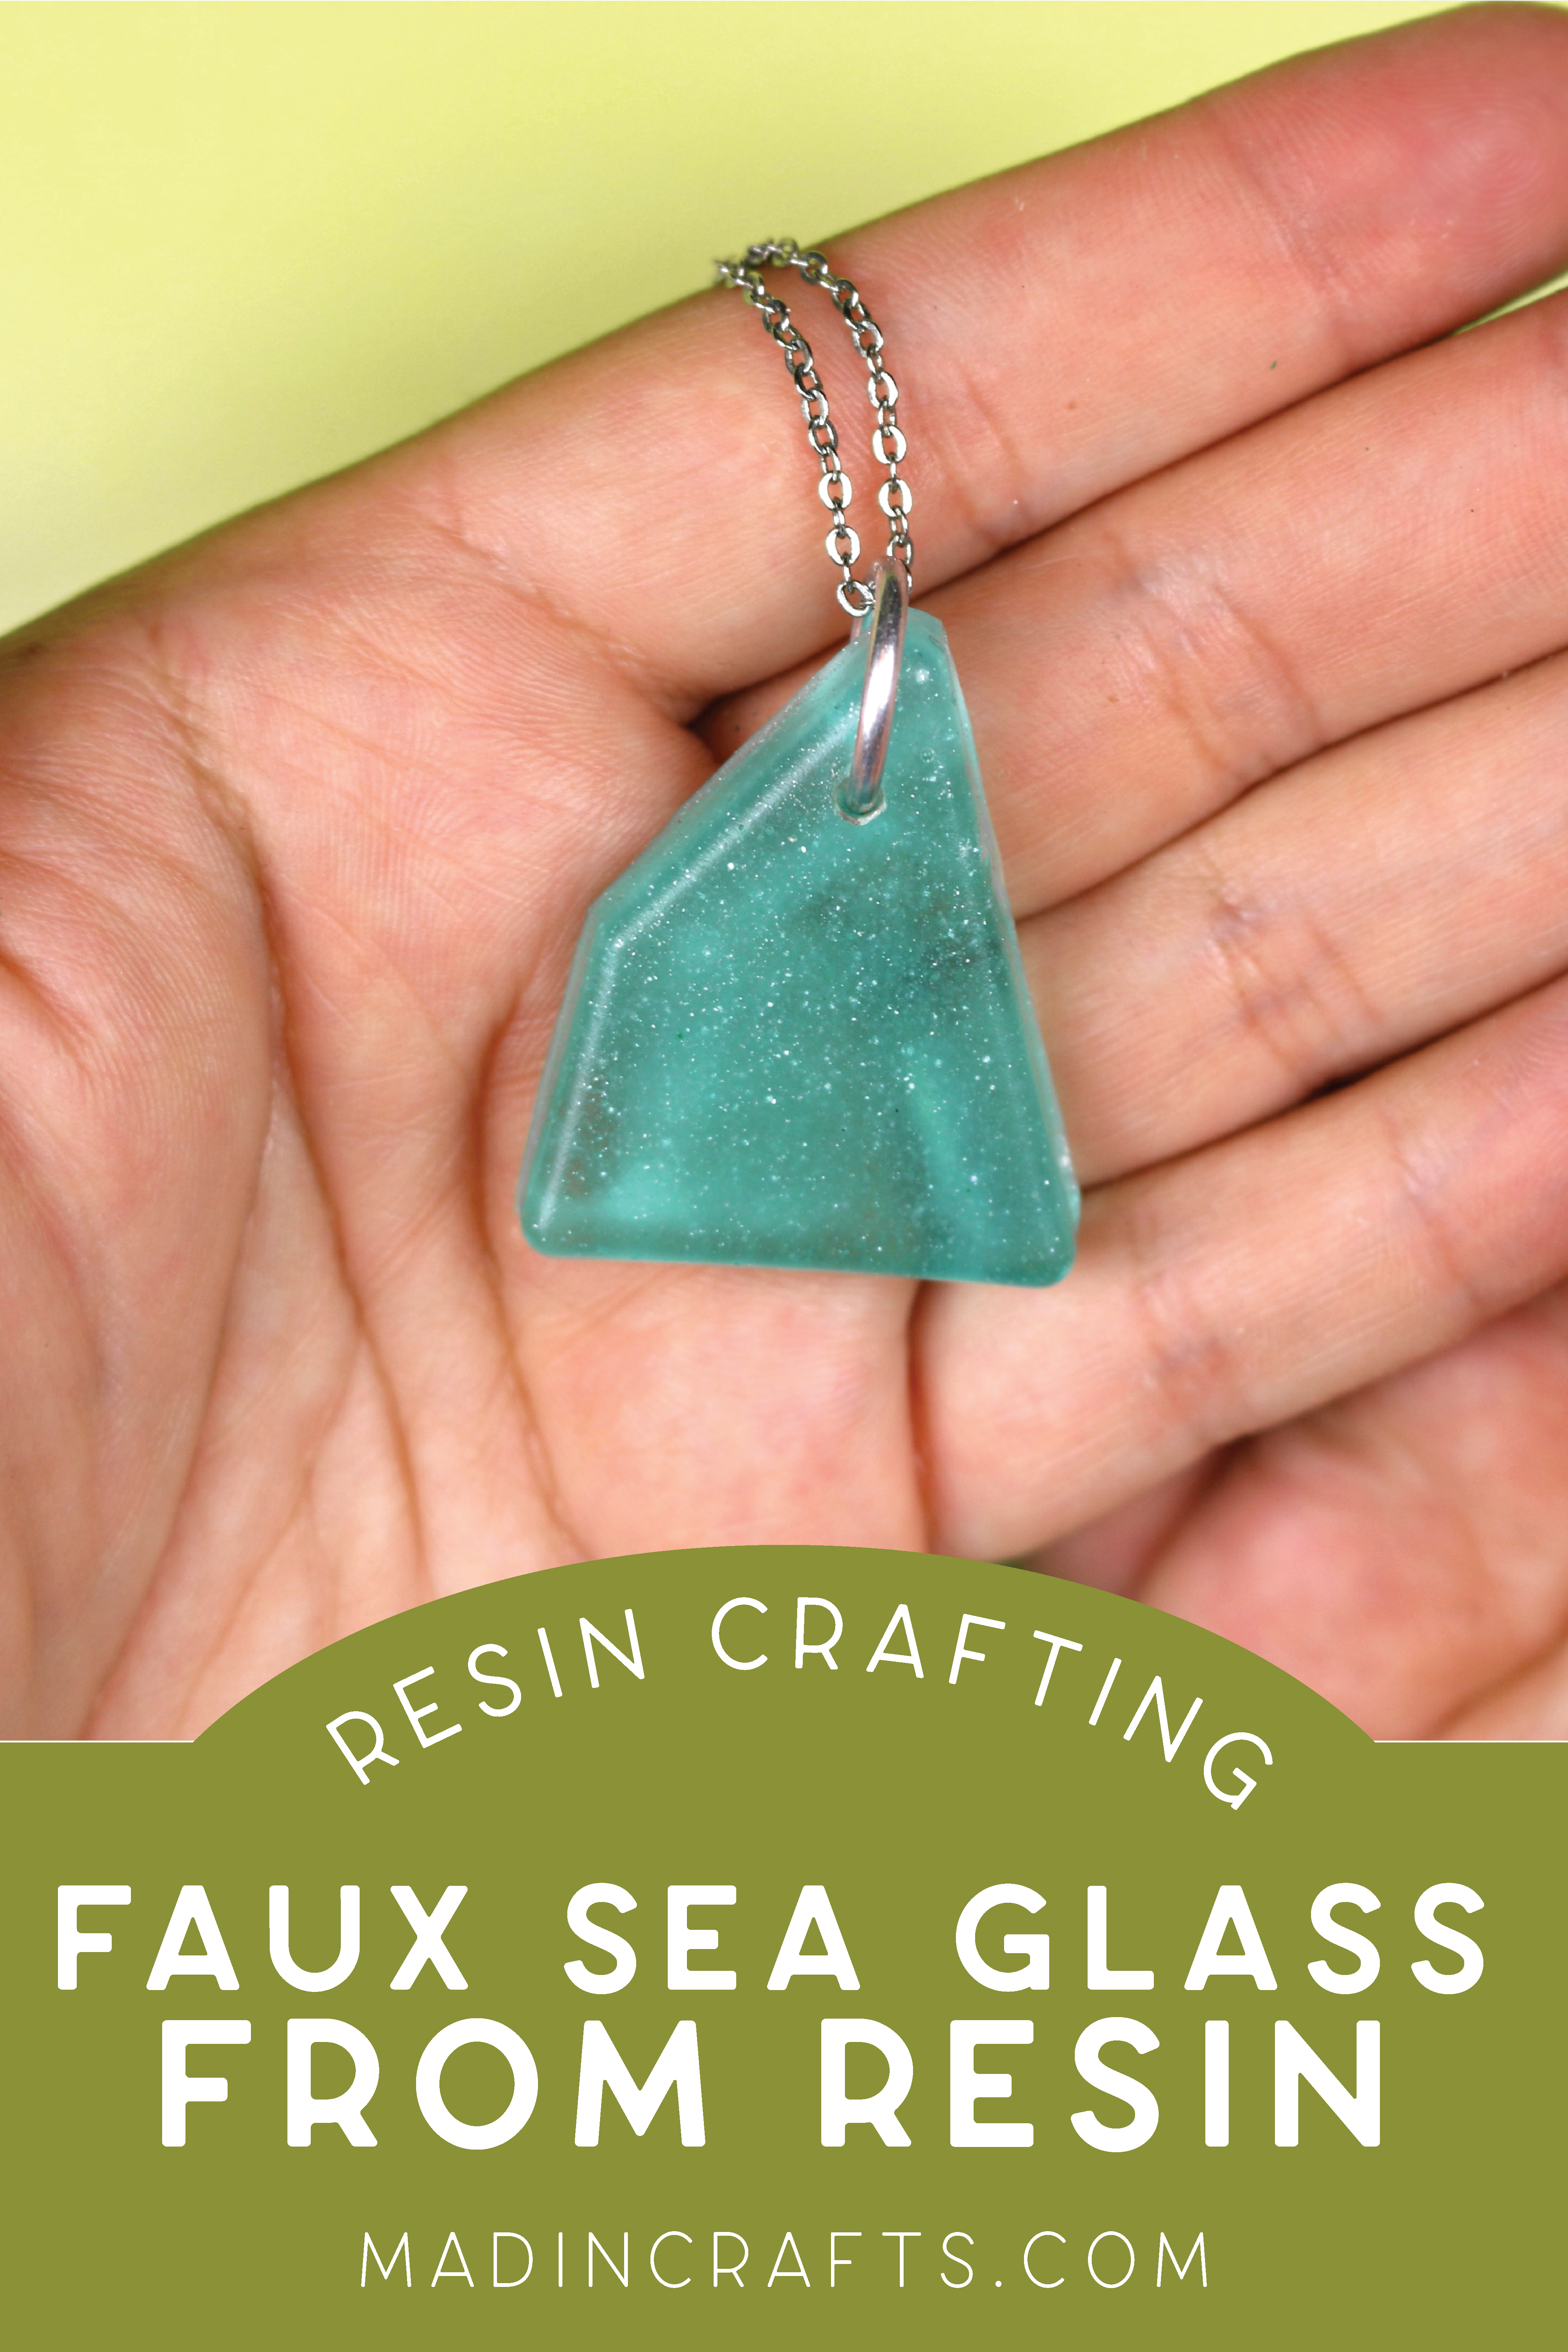
FAUX SEA GLASS JEWELRY MADE FROM RESIN
WHAT YOU NEED TO MAKE RESIN SEA GLASS
This project will require a few basic resin crafting tools. You need very little resin and pigment for this project, and the mold can be reused over and over. There will be a little bit of initial investment, but you will get TONS of projects from the supplies.
These are all affiliate links, if you make a purchase (of anything from the site, not just these items) after clicking through, I will earn a small commission. Ads and affiliate links are the way I am able to keep this website running and to offer you free tutorials all year long. Thank you so much for supporting me and Mad in Crafts!
- EnviroTex Lite
- Mixing Cup Set
- Gloves
- Opalescent Opaque Pigment
- Blue and Green Transparent Dye
- Mold Release and Conditioner
- EasyCast Resin Jewelry Mold
- Scissors
- 150 grit sandpaper (optional)
- Small drill bit
- Drill or Dremel
- Jewelry pliers
- Jump rings
- Necklace chain
- Earring findings
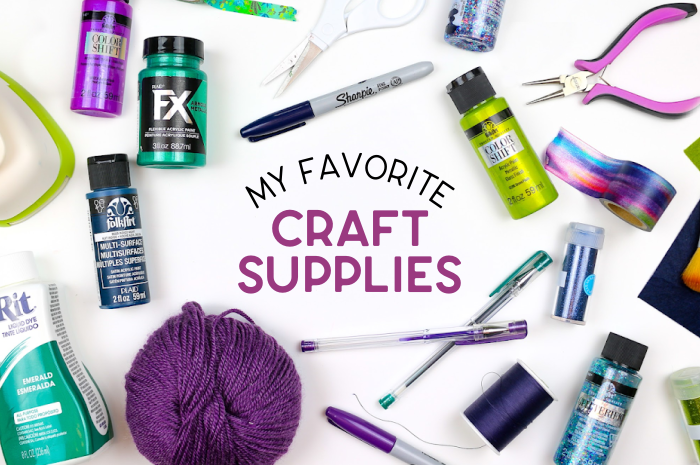
Want to know which craft supplies I always keep in my craft room?
Visit the Mad in Crafts Amazon Storefront to learn more and to buy your own supplies!
HOW TO MIX AND COLOR RESIN TO LOOK LIKE SEA GLASS
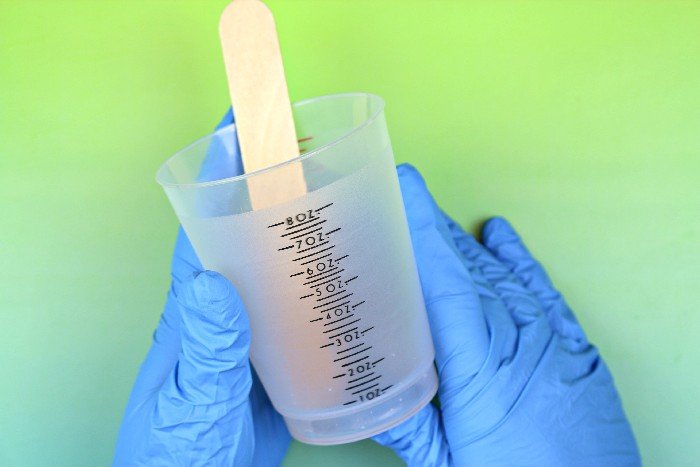
Protect your hands with disposable gloves, cover your work surface, and make sure you are working in a ventilated space. Mix together 1 ounce of resin and 1 ounce of hardener in a large mixing cup. You could also mix 1/2 ounce each of resin and hardener in two separate small cups. I just find it is easier to stir in the large mixing cup because I tend to slosh when I stir. Whichever method you choose, stir for 2 full minutes — making sure to scrape the sides and bottom of the cup. Transfer the mixture to another cup, and stir for another minute.
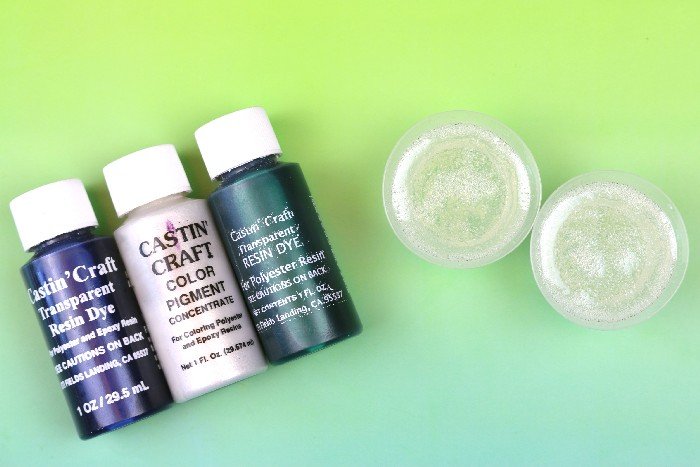
If you mixed the resin in a large cup, divide the mixture equally into two small cups. Now you will be coloring the resin with pigments designed specially for resin. If you want to save a bit of expense, you can skip the opalescent pigment. It doesn’t really add color to the finished project, but it does add a bit of sparkle.

Add a small amount of opalescent pigment and 2-3 drops of blue transparent pigment to one of the cups of resin. Add a small amount of opalescent pigment , 1 drop of blue transparent, and 1-2 drops of green transparent pigment to the second cup. Remember you can omit the opalescent pigment if you would like. Stir both cups until the pigments are even distributed.
CASTING RESIN TO LOOK LIKE SEA GLASS
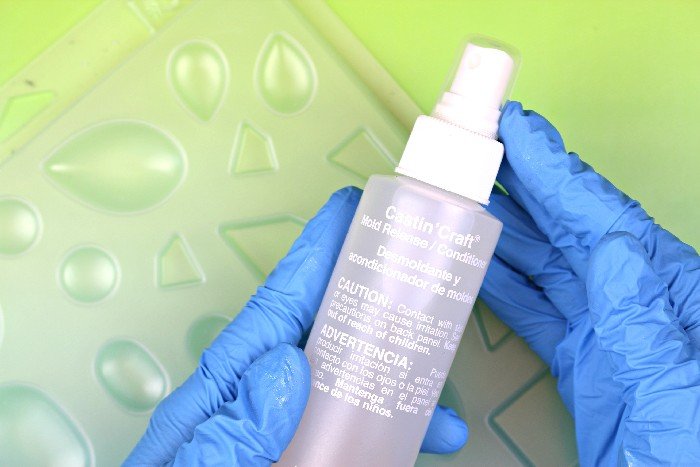
Start by spraying the EasyCast jewelry mold with mold release. (Be sure to shake the mold release well before use.) Let the mold dry, then give the mold another coat of the mold release spray. While it dries for the second time, you can create the resin mixture.
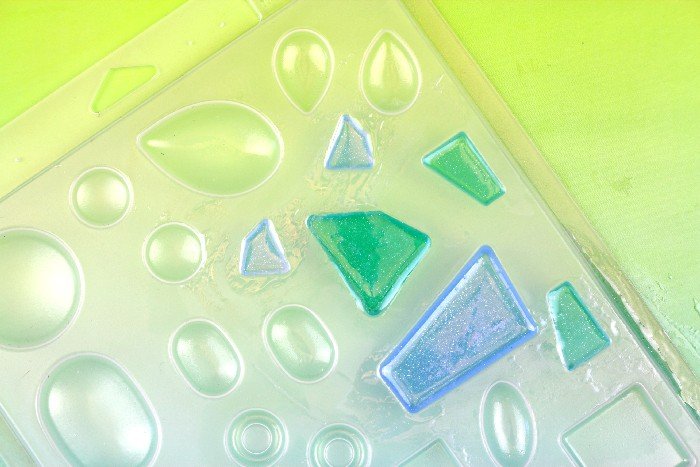
Carefully pour the resin into the jewelry mold. Pour less than you think you will need. It is better to have the mold slightly under-filled than to have it overflow. I learned this the hard way and had to do some clean-up in between the mold cavities. If you have a plastic syringe to transfer the resin to the mold, you will save yourself a bit of mess.
Let the resin sit for 20 minutes. If after this amount of time there are still bubbles on the surface of the resin, you can pop them with a long handled lighter or small torch. Just be careful not to melt the mold. Allow the resin to cure according to the package directions.
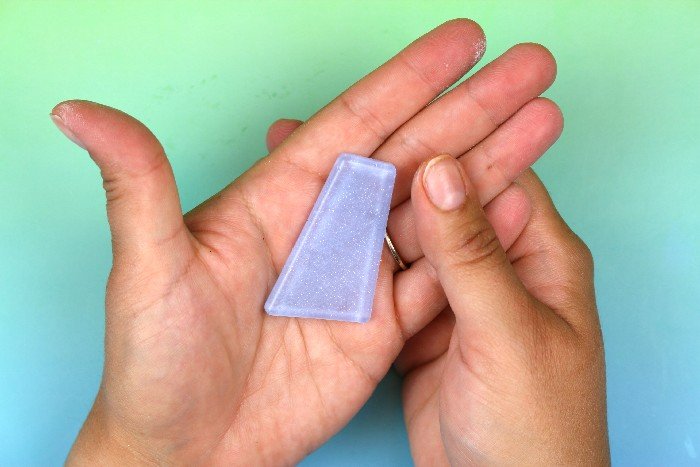
Remove the resin pieces from the mold by inverting the mold and pressing firmly in the center of each filled cavity. This might take a bit of muscle depending on how well you prepped the mold with release spray.
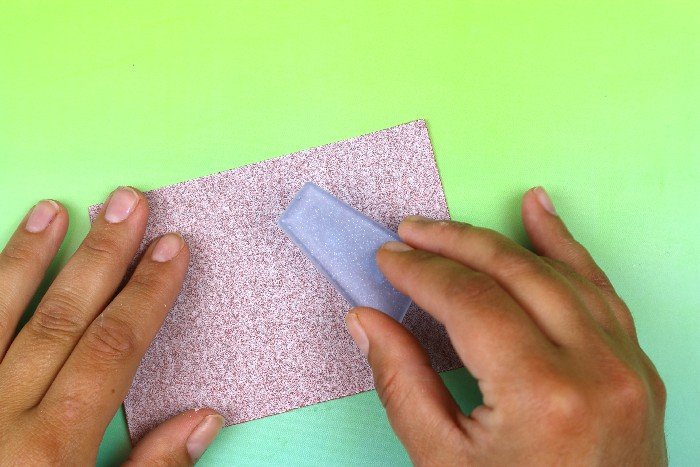
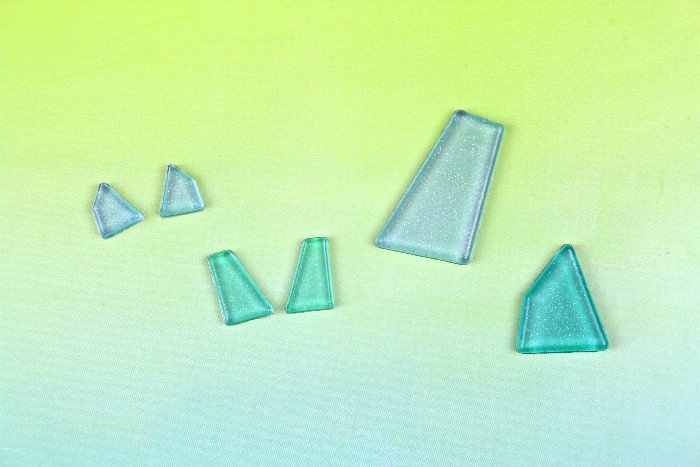
Because real sea glass is translucent, not transparent, you will need to make the resin a bit cloudy. Do this by rubbing the back side of each resin piece on 150 grit sandpaper to rough up the surface. You can also use the sandpaper to remove any rough edges created by resin overflowing the mold.
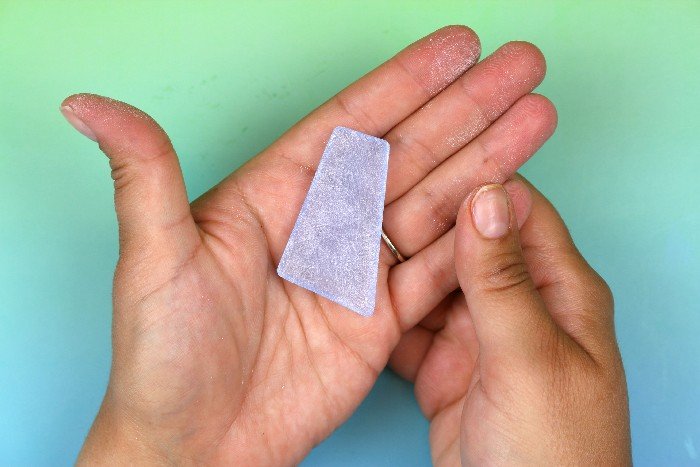
After sanding, the back of the piece should look something like this.
Sanding the back of the resin creates a cloudy look to the front of the resin piece. You can totally skip this step if you don’t have sandpaper on hand, but it really adds realism to the resin sea glass.
ASSEMBLING RESIN SEA GLASS JEWELRY
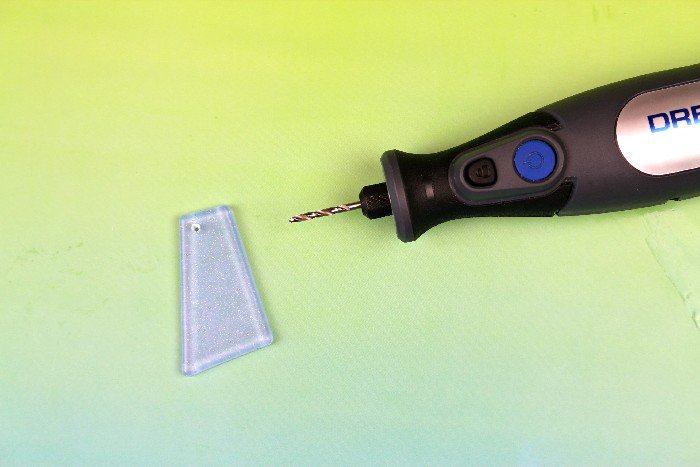
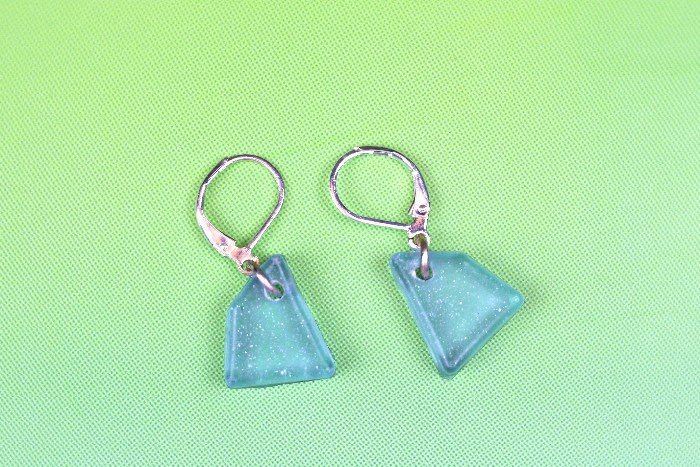
Next, add small holes to the top of the pieces you will use for pendants or dangling earrings with a Dremel or very small drill bit. I liked the look of adding the hole to one corner of the resin piece, but you could center it as well. If you have wire wrapping skills, feel free to bust them out here.
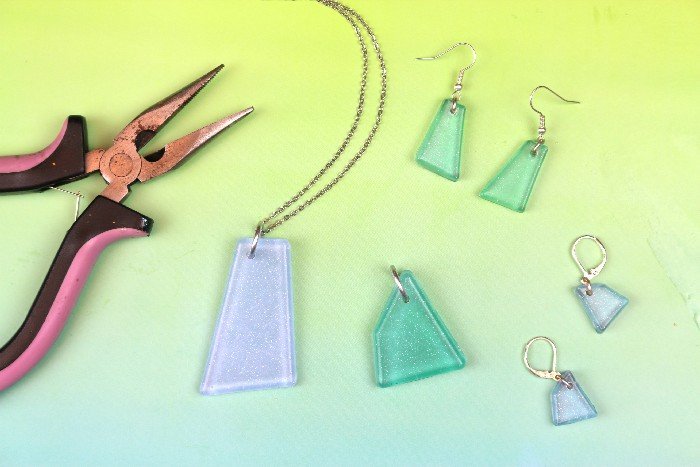
Lastly, add jump rings to the drilled holes and attach the jewelry pieces to a necklace chain or earring findings.
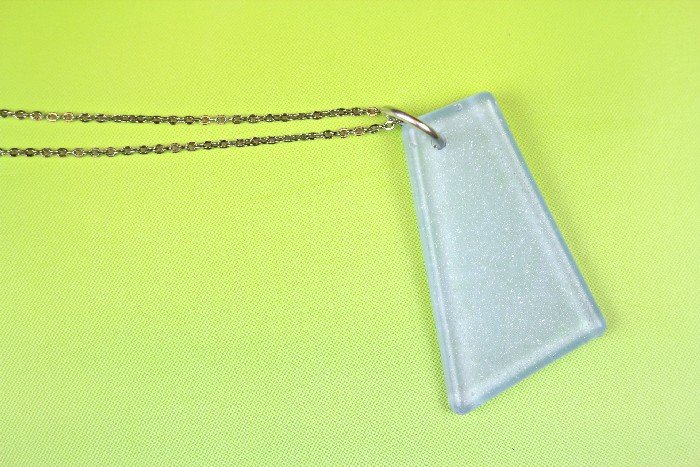
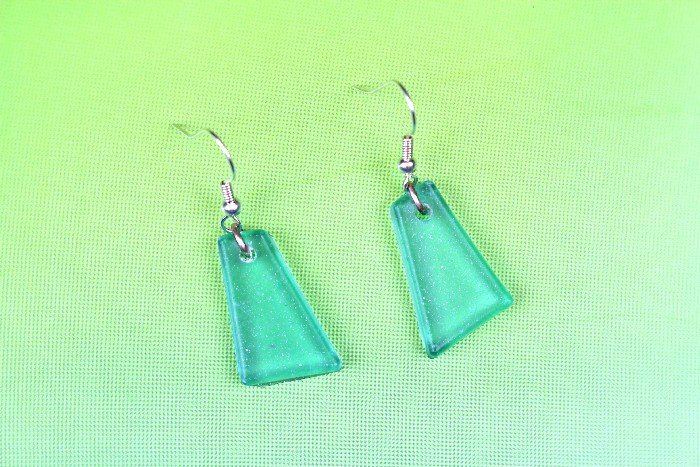
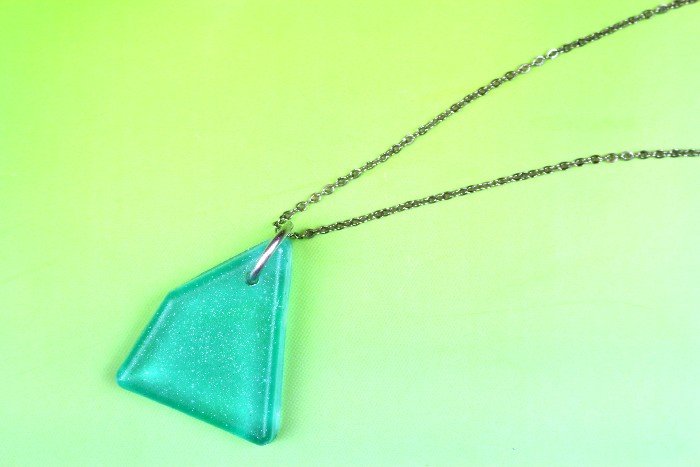
Now you have gorgeous sea glass inspired jewelry that you made yourself! Once you have made one round of faux sea glass don’t be surprised if you are immediately ready to start a new batch. Wouldn’t these make beautiful holiday presents? A little touch of summer in the winter sounds like a great gift to me!
You might like these other beach inspired projects:

")


