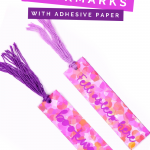
I just can’t get enough of this beautiful adhesive paper! I used more of it to make a few beautiful bookmarks. Your kids can make these DIY Cricut adhesive paper bookmarks themselves to hold their places in all of their summer reads.
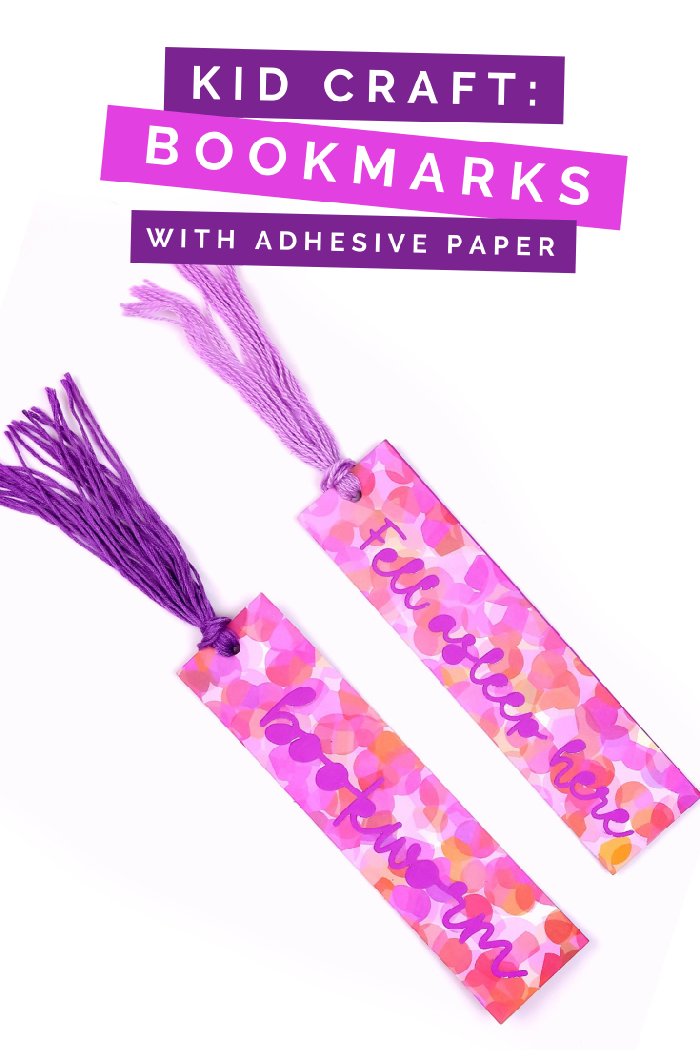
DIY CRICUT ADHESIVE PAPER BOOKMARKS
WHAT YOU NEED TO MAKE BOOKMARKS WITH THE CRICUT JOY
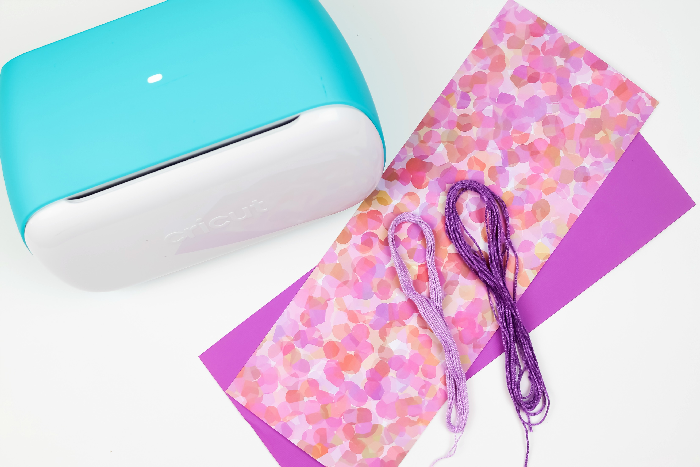
You can make this project with two layers of cardstock and glue, but the Cricut adhesive paper makes this project SO EASY! This paper is designed to fit a Cricut Joy, but you could also cut it with a Cricut Maker or Explore.
These are all affiliate links, if you make a purchase (of anything from these retailers, not just these items) after clicking through, I will earn a small commission. Ads and affiliate links are the way I am able to keep this website running and to offer you free tutorials all year long. Thank you so much for supporting me and Mad in Crafts!

Want to know which craft supplies I always keep in my craft room?
Visit the Mad in Crafts Amazon Storefront to learn more and to buy your own supplies!
GET THE FREE SVG FILE
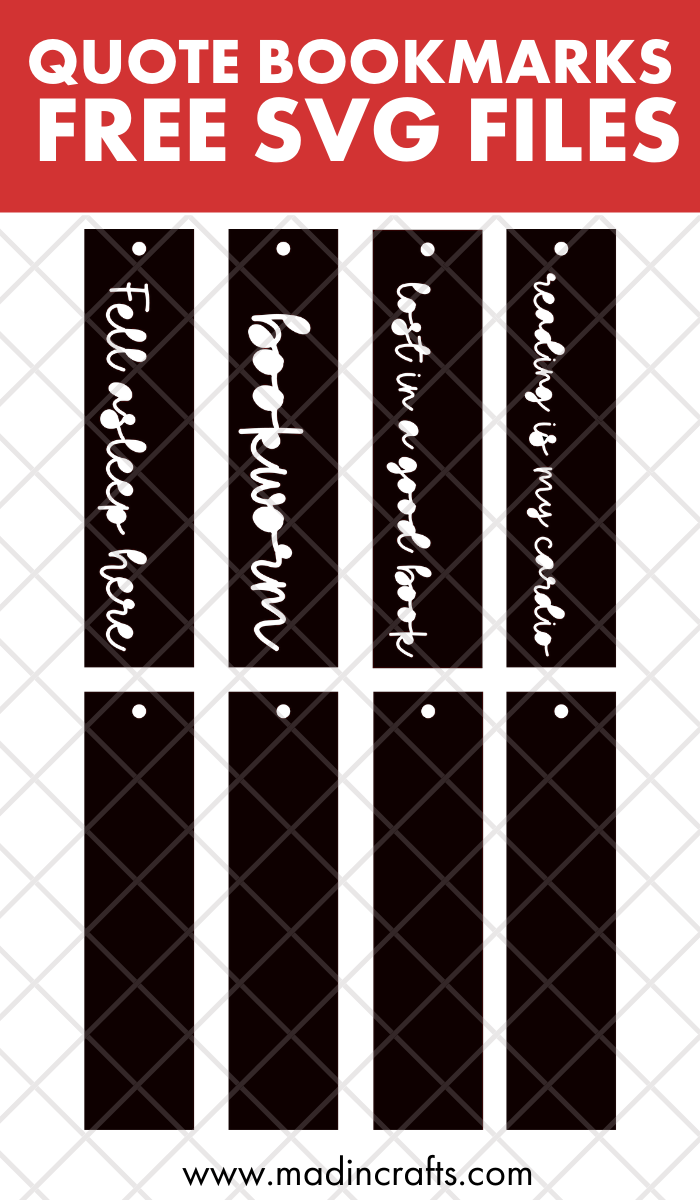
Sign up for my SVG Club below for these free SVG files! As a member of the club, you will receive one new SVG file each month. These SVG files are ready to upload directly into your favorite cutting machine’s design software. Insert the file into a new project, then resize it to fit the project you will be making.
As always, my free SVGs are for personal use only. Please do not sell any products you make with my designs.
HOW TO USE CRICUT ADHESIVE PAPER TO MAKE BOOKMARKS
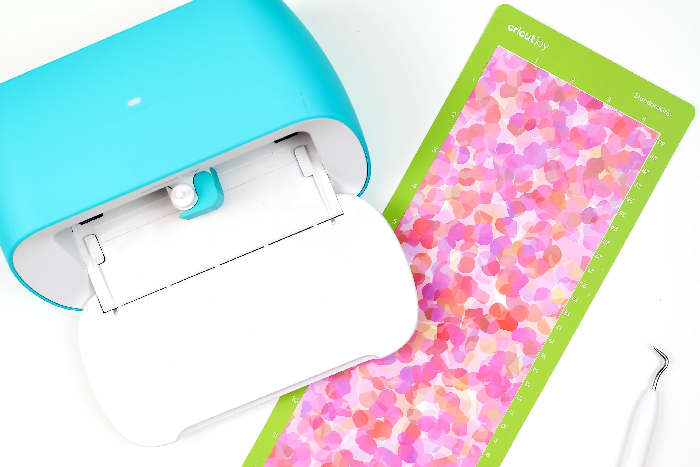
Cricut Adhesive Paper Bookmark Instructions
- Upload the SVG to Cricut Design Space.
- Resize the design to the size you would like.
- Ungroup the design and change the color of the blank bookmarks so they will be cut on a separate mat.
- Select On Mat from the Load Type page.
- In Design Space, select your Cricut Joy machine.
- Select cardstock from the materials list.
You will have to change the settings for each material.
- Set the design to cut using your Cricut Joy.
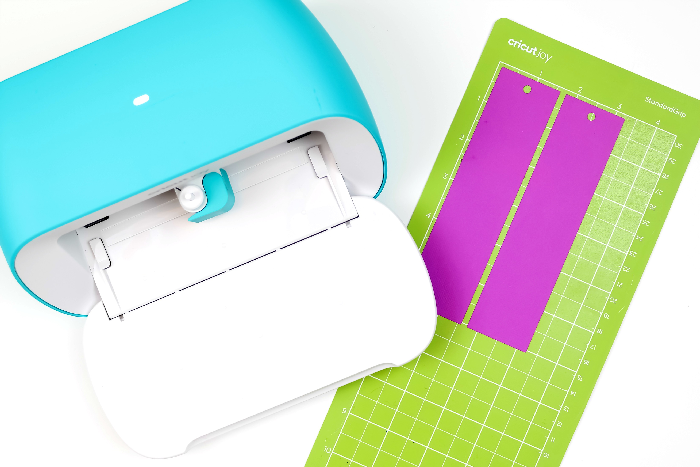
- Place the cardstock on a Cricut Joy cutting mat.
- Load the mat into the Cricut Joy.
- Click Go and let the Joy cut out the design with a fine point blade.
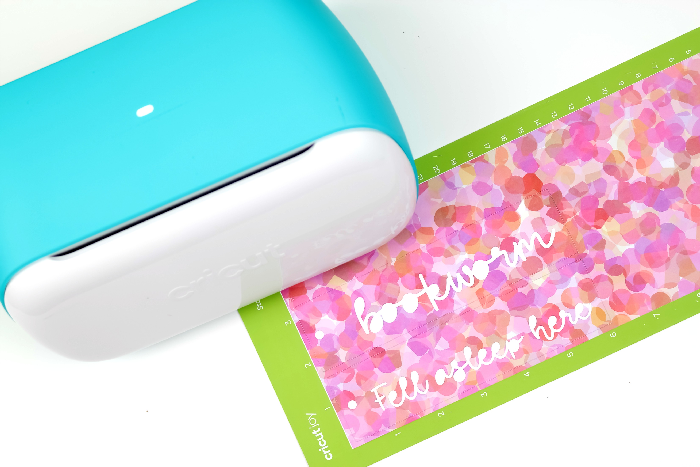
- Unload the mat and weed away any excess cardstock.

- Repeat steps 6-11 for the adhesive paper.

CREATING THE TASSELED BOOKMARKS
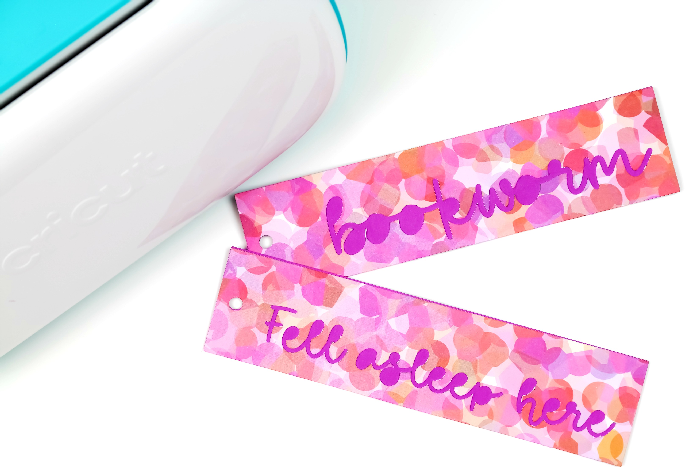
Once the cardstock and adhesive paper are weeded, you should be able to align the adhesive backing right on top of the bookmark base.
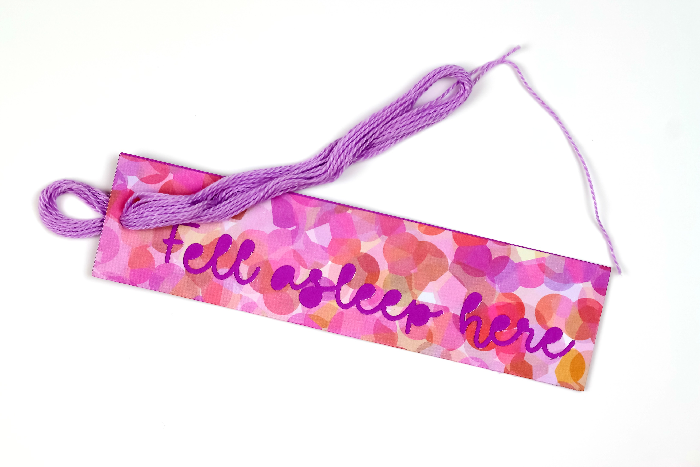
Carefully feed the skein of embroidery floss through the hole in the bookmark. You should have a small loop on one side of the bookmark.
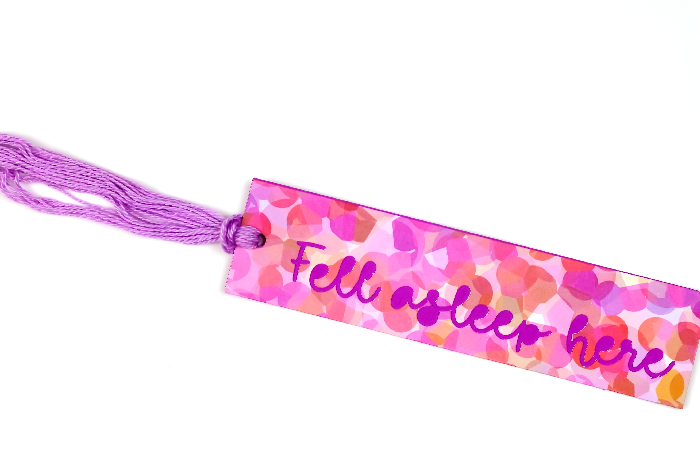
Feed the rest of the skein through that loop and pull tight.
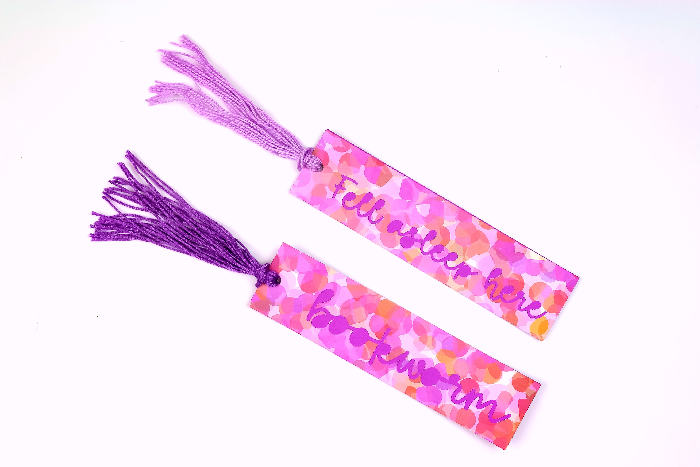
Trim the end of the floss to create a bookmark tassel that can hang out of the end of your book.

