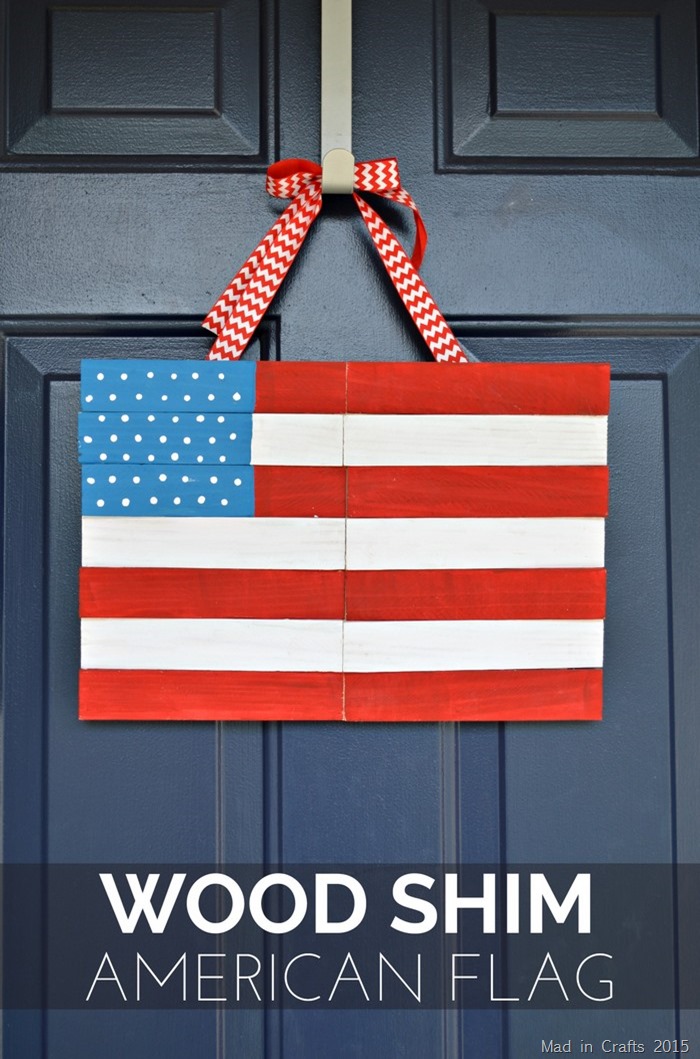
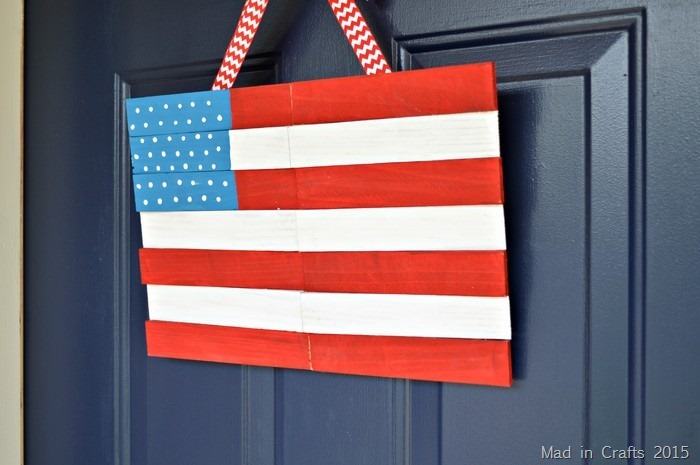
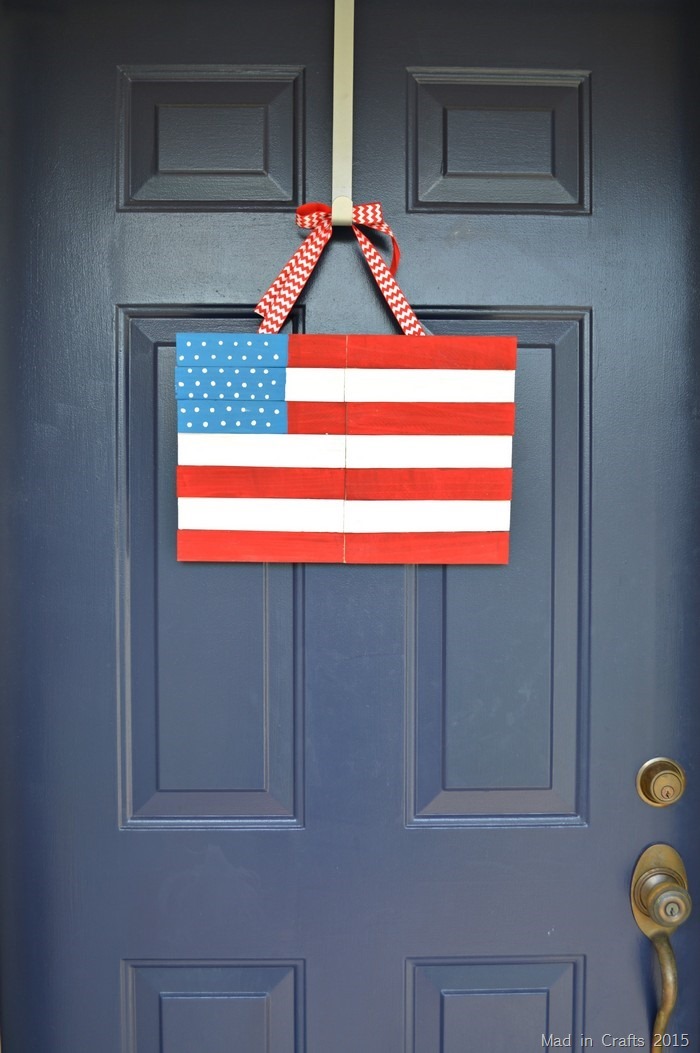
When I was looking at the photos of our front porch, I realized that the Spring wreath I still had on our front door didn’t match the rest of the red, white, and blue decorations. That meant I got to do some crafting! Instead of creating another patriotic wreath like I did last year, I used some materials from my stash to make a rustic wood shim American flag to hang on our front door.
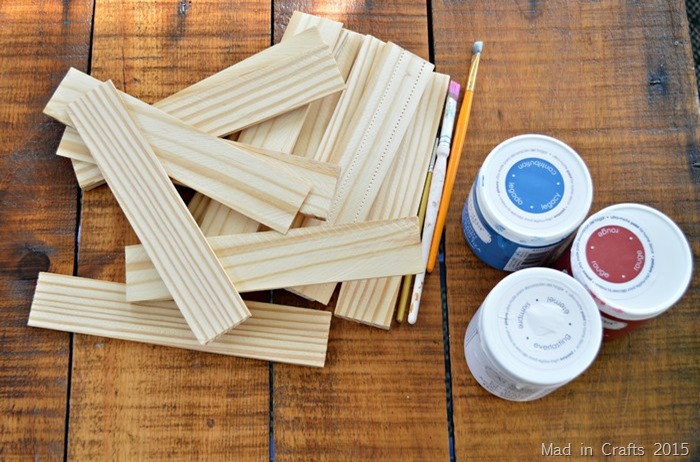
I bought a package of inexpensive wood shims on a whim last year, not really knowing what I would do with them. Every couple of months I would take them out and play around with them, trying to come up with a creative way to use them. Instead of a overly complicated design, I ended up turning them into this simple flag hanging. Since the flag will hang on our front door, I used the same chalky finish paint colors that I used for my distressed plant stand and the outdoor flower planters.
You can watch this brief video to see how I put the flag together or you can scroll down for the step-out photos. My YouTube channel is full of creative tutorials like this, so pop over and subscribe so you don’t miss any!
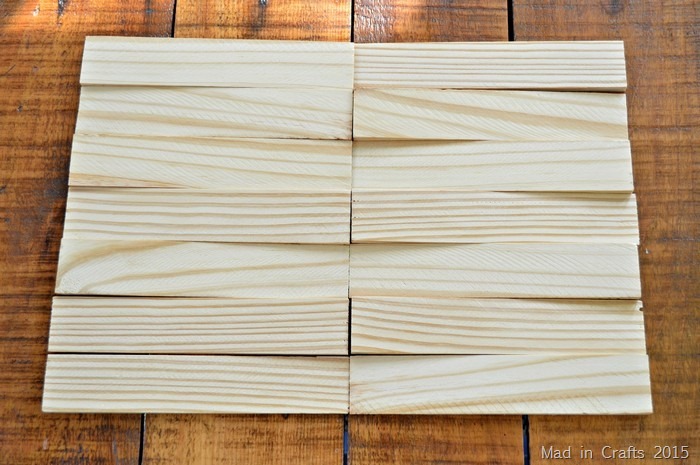
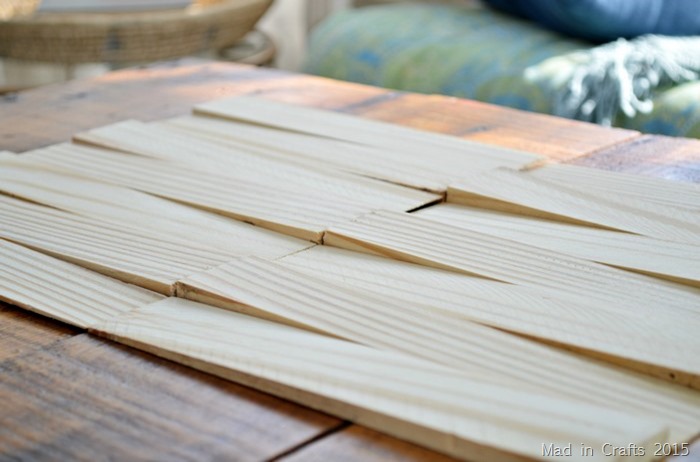
I laid out fourteen wood shims in two rows of seven. I alternated the direction of the wedge-shaped shims to give the appearance that the flag was waving in the wind.
You get a better sense of the alternating shims if you aren’t looking at the piece straight on.
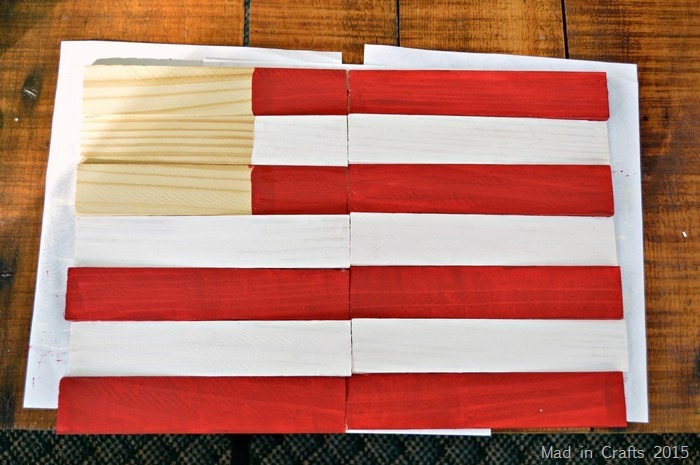
First, I painted six shims red and five shims white. I made sure to paint the front, end, and sides of each shim so that all the visible surfaces were covered in paint. I only gave the shims one coat of chalky finish paint because I wanted the wood grain to show through. The pine shims absorbed some of the paint, so the shims dried VERY quickly.
I painted the remaining three shims, leaving space for the blue section of the American flag.
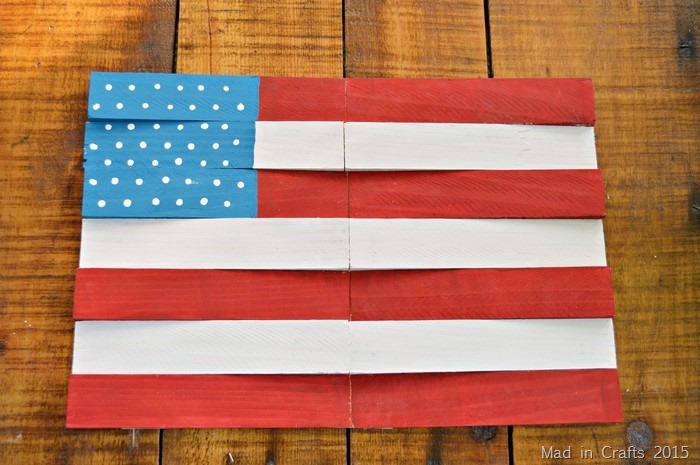
The last section of the flag got a coat of blue chalky paint. Instead of fiddling with painting tiny stars, I just added some small white dots to represent the stars on the flag.
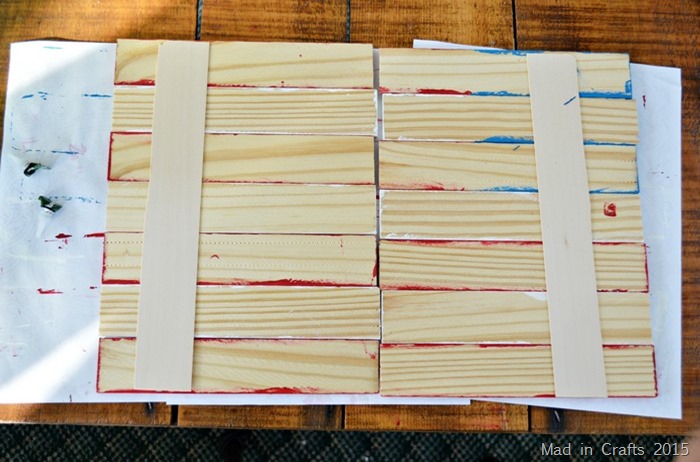
After the paint was dry, I glued some balsa wood to the back of the shims to hold them together. I used one piece on each row of shims and a larger piece of balsa in the middle. I found the easiest way to do this was to place the balsa wood flat on a work surface, add glue to the balsa, and then position the shims on top of the glue. This made sure that the back of the flag was flat, and the front was wavy. I “clamped” the shims in place by placing heavy cans on top of them to weigh them down.
After the wood glue dried, I repeated the process with a few more wood shims positioned diagonally across the back. The balsa is easy to work with, but the shims are sturdier.
I used my staple gun to attach a ribbon to these diagonal shims so that I could hang the flag from our wreath hook. The flag hanging has the same rustic look as pallet wood, but it is much lighter weight.
Now our front door matches the rest of my Americana porch decorations! Do you have a certain way you like to decorate your home in the summer?
I have put together a list of affiliate links for all the products I used in this tutorial. If you choose to purchase after clicking through, I will receive a small commission. Thanks!
You might like these other patriotic front porch decorations:




may try this with the kids at summer picnie