Before I could start painting The Mad House (yay!), we needed to tackle the scads of wallpaper all over the house. I had heard that DIF was great for smaller projects, but since we had large areas that needed to come down, we opted to use a wallpaper steamer. After days and days of taking down wallpaper, I wanted to share my best tips for removing wallpaper with a steamer with you guys!
Removing Wallpaper with a Steamer
I could only find one place in my hometown that would rent a commercial wallpaper steamer, and they were charging $35 a day! For $50 we were able to buy a steamer, and it ended up being SUCH a smart move. It took us the better part of four days to get all the wallpaper down, and I can always sell the steamer on Craig’s List if I want to recoup some of the cost of purchasing it.
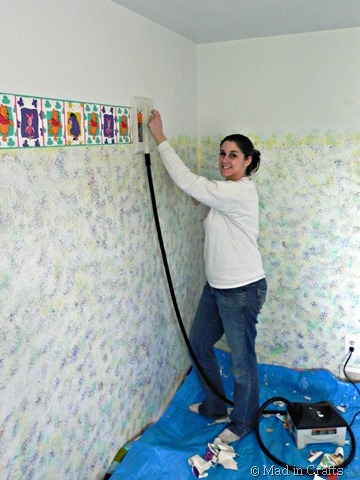
Just because I’m smiling doesn’t mean I’m happy. And, yes, I am operating an electric device, not wearing shoes, and likely standing in a puddle. Safety first.
Today I will take you through the steps I used to steam down the wallpaper in our new home. Both of my parents helped with the process, and over the course of four days we got the paper down, the walls mostly washed, and many of the walls sanded. We are by no means experts; these are just the tips and tricks we learned by trial and error.
Best Wallpaper Removal with a Steamer: Pros and Cons
These are all affiliate links, if you make a purchase (of anything from the site, not just these items) after clicking through, I will earn a small commission. Ads and affiliate links are the way I am able to keep this website running and to offer you free tutorials all year long. Thank you so much for supporting me and Mad in Crafts!
The steamer I used came with two plates: a large size for walls and a small size for tight spots like above our kitchen cabinets. All I had to do was fill the tank with water, wait 15 minutes or so for the water to heat, and hold the plate against the wallpaper. The steam loosened the paper and the wallpaper adhesive so it was easier to scrape it off.
Pros:
- The wallpaper came off MUCH more easily than by scraping alone or with water and a rag.
- The cord isn’t super long, but the hose was long enough that I didn’t have to move the tank every few feet.
- The one-gallon tank was good for 75-90 minutes of steam before I needed to refill it.
Cons:
- The plate, hose, and tank all get hot to the touch.
- The cord can be a tripping hazard.
NOTE: This is not a sponsored review, but the links are affiliate links. I just wanted to share my experiences with this particular steamer.
Prepping the Wallpaper for Steaming
At first, I tried just scoring the wallpaper with a linoleum knife. Not only did it slightly damage the drywall under the paper, but unless I crosshatched the whole wall it didn’t let enough steam under the paper.
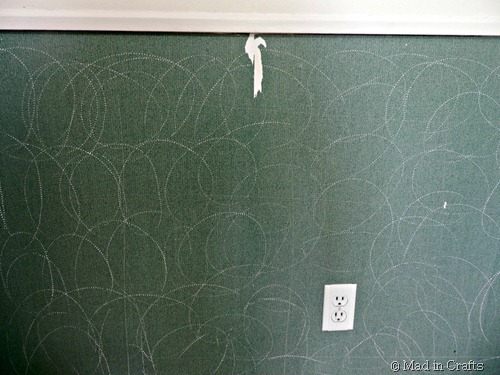
My dad bought a circular scoring tool which worked MUCH better. A perforation tool like this creates tiny holes in the wallpaper. I found it far easier to use since it let more steam under the paper and didn’t damage the walls. It turns out that having the right tools for the job is helpful.
NOTE: I should have removed that outlet cover before scoring and steaming the wall. Rookie move.
Prepping the Room to Remove Wallpaper
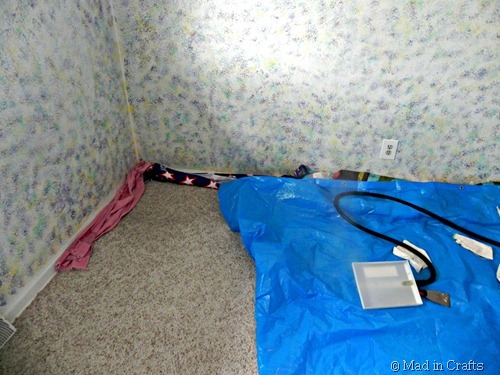
Each machine is a little different, so be sure to read all of the manufacturer’s directions for filling the steamer and for safe usage before you get started.
Before you start steaming, you will want to lay some towels down directly under the wall where you will be working. A lot of water will drip down the wall, and you will end up with puddles on the floor if you skip this step. I also used a big tarp to catch as many of the wallpaper schnibbles as possible. By the last day of wallpaper removal, I was just throwing the paper willy-nilly on the floor to be shop-vacuumed later. (Thanks, Mom!)
If the light switch and electrical outlets in the room are papered, you will need to remove them and take off that paper with a sponge and water. Make sure you are taking precautions when you use the steam around electrical outlets too!
It’s also a good idea to crack a window in the room to allow the hot steam to escape. You will appreciate the fresh air, and it limits the fogginess of the room. Unless, of course, you want your neighbors to think you are re-enacting the jalopy scene from Titanic, in which case, keep those windows shut.
Removing Wallpaper with a Steamer
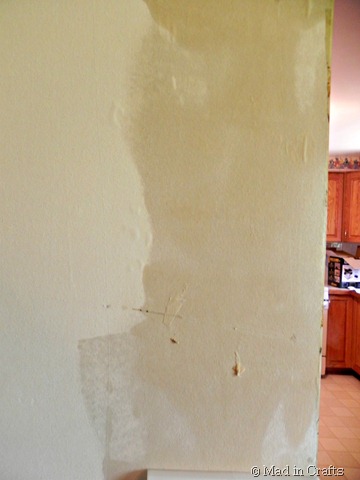
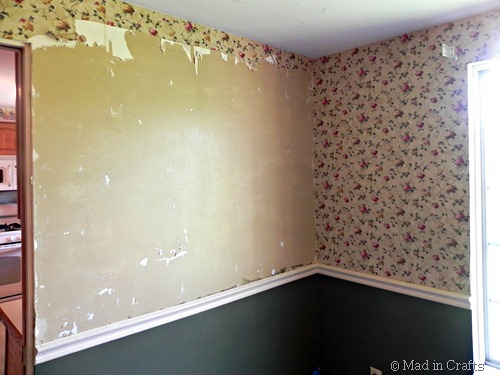
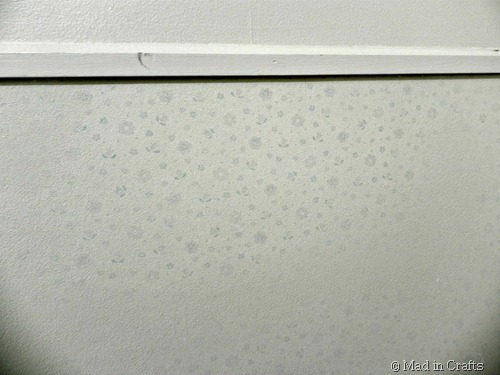
Several of the rooms had specially-treated wallpaper that is meant to be able to be wiped down with water to clean. This meant that it took two passes with the steamer to take this washable wallpaper down: once to remove the printed layer, and once more to remove the old paper and wallpaper glue. I was able to remove this wallpaper without any chemicals, though, so that is a win.
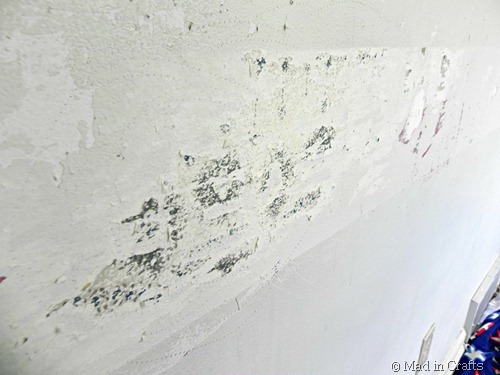
When the wallpaper looks like the picture above, get scraping! That means the paper is saturated and will come off relatively easily. If you wait too long, it will begin to dry back onto the wall. Keep the wallpaper scraper or putty knife at a shallow angle (aka keep the blade as close to parallel with the wall as you can). You will get more paper off with one swipe, and you are at less of a risk of gouging the walls.
Since the water will drip down the wall as you work, it is a good idea to start at the top of the wall, near a seam if you can find one. I found the easiest way to work was to hold the steamer over one area with my left hand, while I was scraping the wet areas with the scraper held in my right hand. Move the steamer to a new spot and scrape that wet area. Repeat for four days.
Trouble Shooting
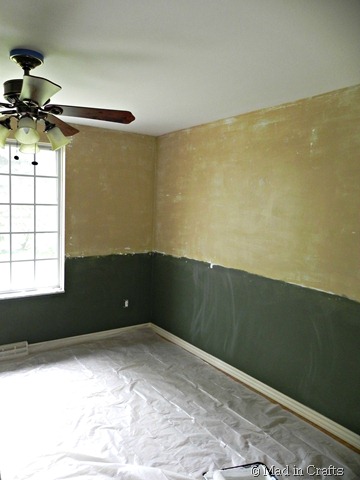
We did find some surprises under the wallpaper we removed. In my son’s bedroom, we took down one layer of paper only to find ANOTHER layer of wallpaper… that had been painted over. Ugh. The only way to fix this is to do the whole area a second time and pray there isn’t another layer underneath it.
The border in the master bedroom was a PAIN to take down. I think it had been glued with non-water-soluble glue, so it took a lot of scraping to bring it down. The wall underneath took a beating because of it.
Dad used an orbital sander to smooth out the rough spots on all the previously wallpapered walls, scraped off any damaged areas, and spackled where it was needed. (Thanks, Dad!)
It was a lot of work to take down all the wallpaper, but I think it would have been even more backbreaking without the steamer. Just a little more prep work, and then we will be ready to paint!
Looking for more DIYs?




The circular scorer and electric steamer worked great! Thank you for sharing.
Awesome! SO glad to hear it!