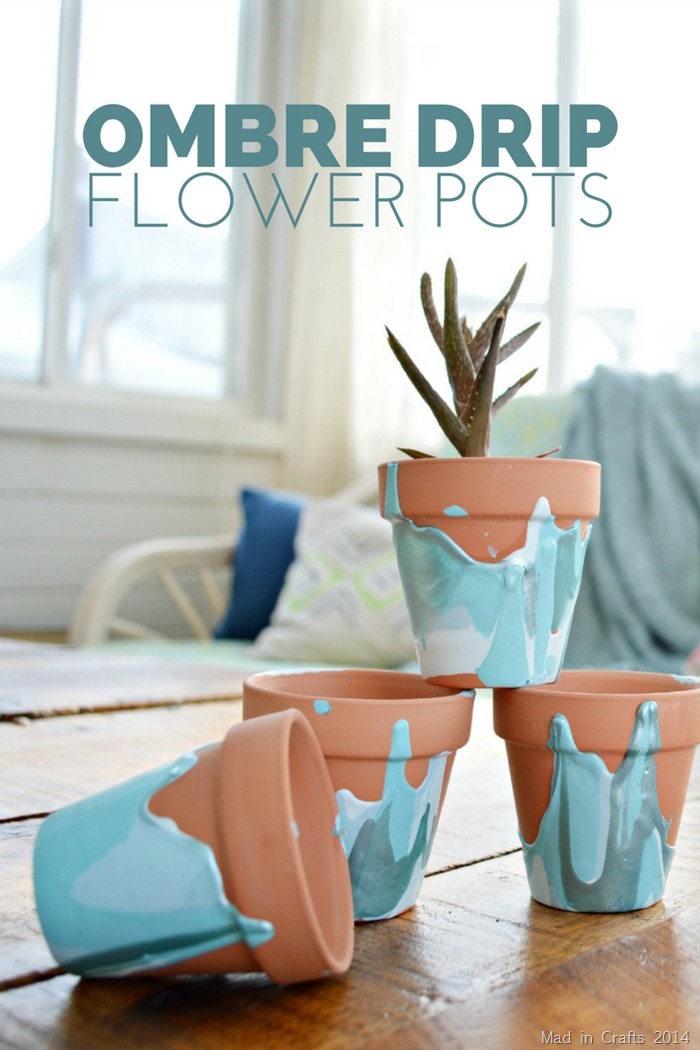
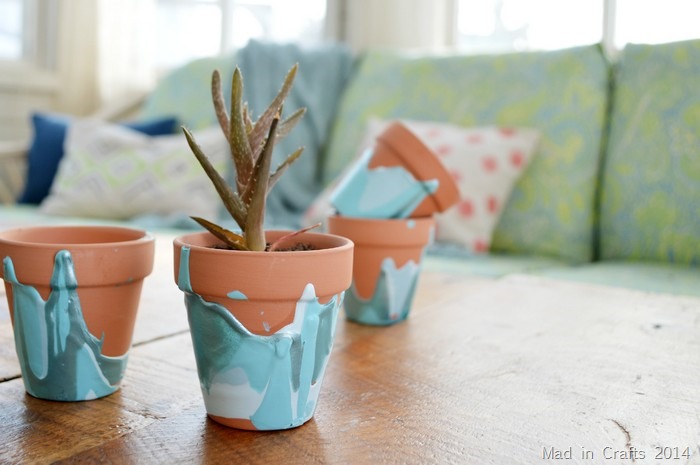
Last week, I showed you how to make some sparkly plant markers that look like mason jars, now you just need some pretty pots to put them in! I made a few cheap pots look like works of art with a few drips of paint. The process of making these ombre drip flower pots is simple and fun, and you really can’t do it wrong.
OMBRE DRIP FLOWER POTS
What Do You Need to Paint Pour on Pots?
All you need to make these simple pots are terracotta pots and craft paint. I found these teeny pots at the dollar store, but you can use this technique on flower pots of any size. This is also a great way to give old pots a fresh new look, so look around your shed or garage for free pots you already own!
These are all affiliate links, if you make a purchase (of anything from the site, not just these items) after clicking through, I will earn a small commission. Ads and affiliate links are the way I am able to keep this website running and to offer you free tutorials all year long. Thank you so much for supporting me and Mad in Crafts!

Want to know which craft supplies I always keep in my craft room?
Visit the Mad in Crafts Amazon Storefront to learn more and to buy your own supplies!
How Do You Do Acrylic Pouring on Terracotta Pots?
Acrylic pouring on flower pots is a simple and satisfying craft project. This is also a fun craft to tackle with kids since the mess is pretty contained.
Watch the video above to see how to pour paint onto clay pots to create beautiful, one-of-a-kind planters.!
Make Beautiful Plant Pots with Acrylic Craft Paint
If you prefer written instructions to watching a video, I have you covered with this fun tutorial. I planted small succulents in my pots, but you can use them for flowers, plants, or as decor in your home.
Ombre Paint Drip Flower Pots
- Protect your work surface with newspaper, paper towel, etc.
- Place one flower pot upside down on your work surface.
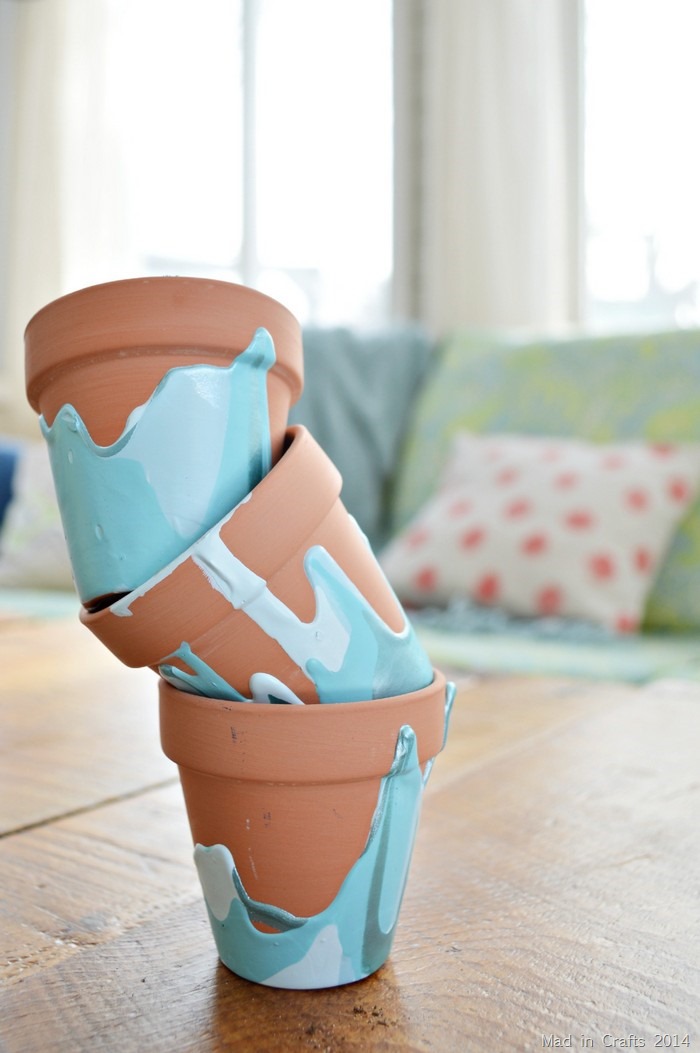
- Squeeze or pour small amounts of one color of craft paint down the sides of the terracotta pot. Start from the bottom of the pot and let the paint slowly slide down the sides of the pot.
- While that first paint color is still wet, squeeze or pour on another shade of craft paint. Allow the paint to slide down the sides of the pot, blending with the first shade of paint.
- Continue adding different colors of paint as desired. You can cover the entire pot or leave some of the pot visible.
- Gently tap the flower pot against your work surface to encourage the paint to flow down the sides of the pot.
- Allow the pot to dry upside down on your protected work surface until the paint has completely dried.
- Peel the painted pot up from the newspaper and carefully remove any excess dried paint from the edges of the pot.
If you have used indoor/outdoor acrylic paint, you do not need to worry about using a sealer over the paint.
- Add a plant and enjoy!
You might like these other paint pour tutorials:



Not trying to be negative, just a bit of info. If you don’t seal the pots inside and out when you water the plants the water seeps through and pushes the paint off. I have painted and sold pots for years and learned the hard way. Your pots are beautiful….
I haven't had any issue with mine yet, but I used multi-surface paint that can be used on terracotta. Thanks for the clarification though!
I want to try this technique on vases etc with my little kid. Thanks for the tutorial!
Swapna
@ ThePracticalMomBlog.BlogSpot.in