I did quite a bit of in-store and online shopping for a new shower curtain for our bathroom, and I ran into the same problem I do with most shopping. The curtains that I liked were way too expensive, and the curtains I could afford were kind of ugly. I was a little scared to try making my own grommet-topped shower curtain, but in the end, my cheap nature conquered my fears.
MAKE A GROMMET-TOPPED SHOWER CURTAIN
This is a sponsored post. I was given free material from Online Fabric Store in exchange for my work, but the opinions are 100% my own.
Choosing the Right Fabric for a Shower Curtain
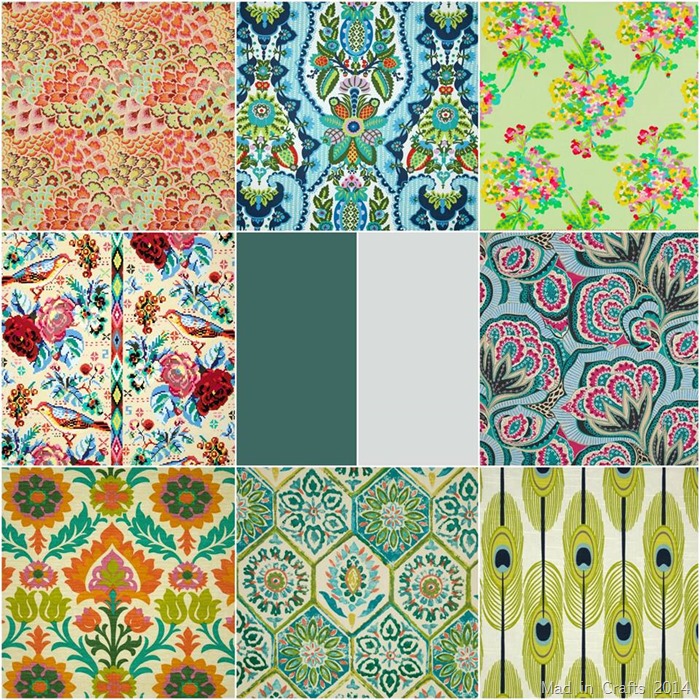
At the end of June, I asked my facebook fans which of these fabrics they thought would look the best in our upstairs bathroom. The colors in the center square represent the paint color on our new bathroom wall cabinet and the wall paint itself. All of the patterns were slightly out of my comfort zone, which was exactly what I wanted. I wanted the bathroom makeover to have a little bit of punch! While I got a wide range of responses, more people mentioned liking the bottom right pattern the best. It is probably the safest choice out of all of the fabrics, but it still had enough wow factor to make a visual impact in the room.
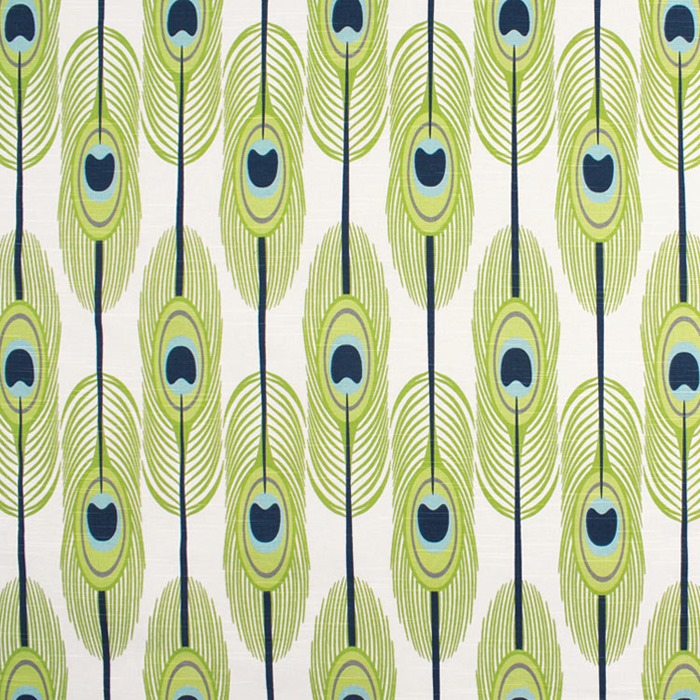
The fabric is Premiere Prints Feathers Canal slub duck from OnlineFabricStore.net. The fabric is the same weight cotton duck that I used for the window treatment, and it has similar colors. The turquoise, navy, chartreuse, and grey colors ended up being my color scheme for the whole room, even though the wall paint is none of those colors!
How Much Fabric Do You Need to Make a Shower Curtain?
I was very nervous going into this project, not so much because of the sewing but because of the scale of the project. Normally I am a person who likes to be able to lay my projects out on the floor to visualize what I need to do before I do it. I ordered 6 yards of the fabric to make a 78” x 80” curtain for the shower. That’s a lot of fabric.
I was petrified that I would cut the fabric wrong and then the whole thing would be ruined. I had to piece two sections of the fabric together to make the curtain wide enough. What if I couldn’t match the patterns? What if the whole thing ended up crooked? I actually put the project off for almost a week because I couldn’t work up the nerve to start it. I found this tutorial on Good Housekeeping that helped walk me through the steps of sewing the curtain itself.
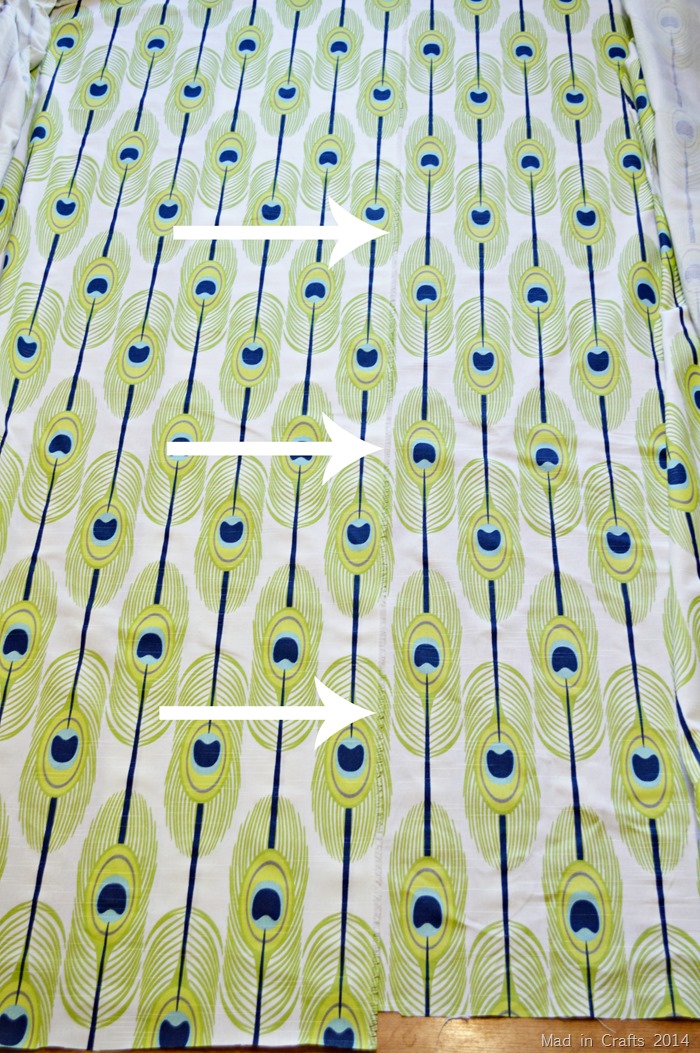
The first thing I did was roll the fabric out and cut 88” off the roll. Then matched up the patterns at the top of the fabric and rolled the fabric out again, cutting it slightly longer than the first piece. I wanted to be sure I would be able to match the feather pattern without coming up short at one end or the other.
How Do You Sew a Shower Curtain?
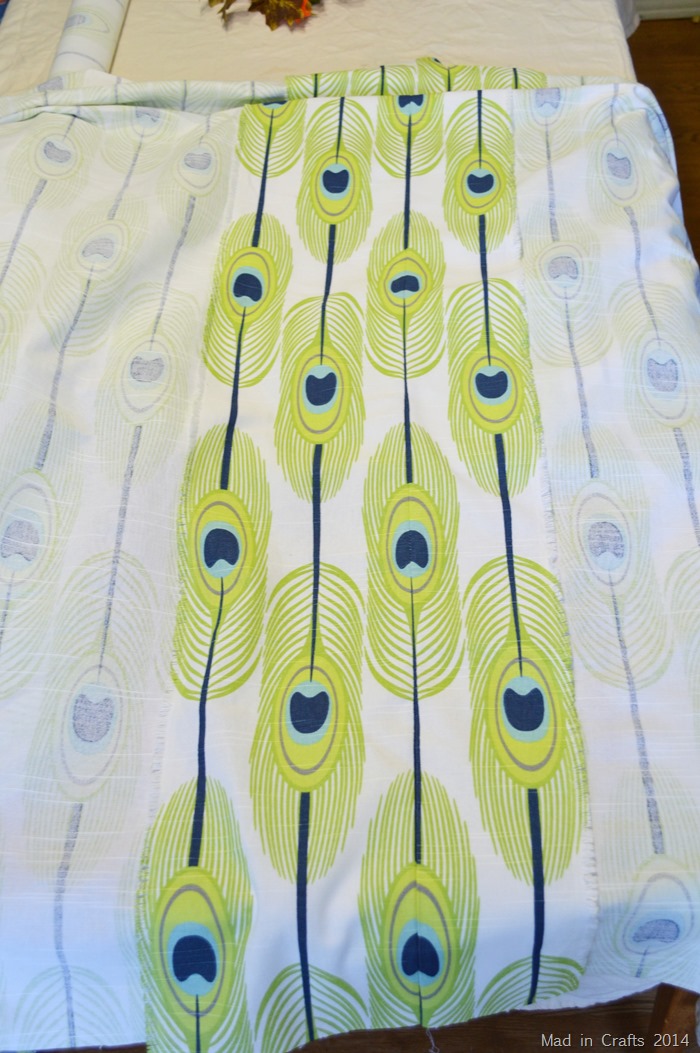
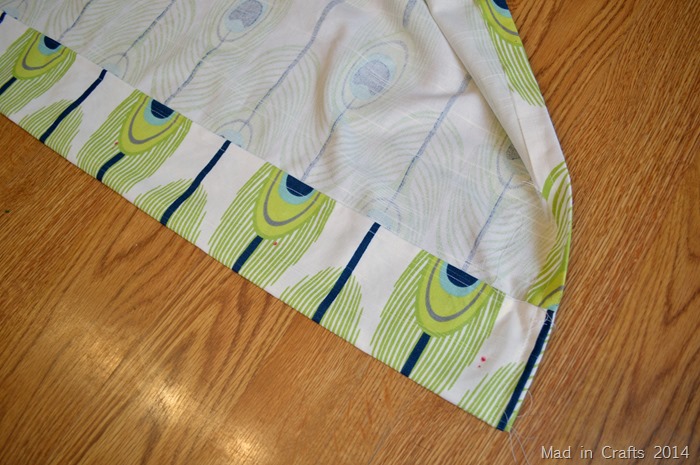
After various pinning strategies and some ironing, I was able to line up the pattern fairly well. I sewed the two pieces together, ironed the seam open, and then sewed up and down the seam on either side to make sure the curtain was sturdy enough to be yanked open and closed a few times a day. I measured and cut the fabric 40” from the seam on each side of the curtain, placing the seam in the middle of the curtain. Then I created a 1” hem on the bottom and sides of the curtain. Finally, I folded the top of the curtain over 3” and then folded it over 3” again, pinned, and sewed it in place. This triple thick section would be sturdy enough to drive my grommets through.
How Do You Add Grommets to a Shower Curtain?
This is when I realized that I was going to have to do math if I wanted the grommets on the shower curtain to be evenly spaced. I even reached out to my facebook friends to help me with the math, and it took lots of smart, college educated people a good 45 minutes to figure out what the heck to do. So you don’t have to repeat my struggles, here is the formula for spacing your grommets: (Width of your shower curtain – 2”) / 11
The grommets on either end of the curtain should be spaced 1” from the edges of the curtain (hence the minus 2”). Shower curtains typically hang from 12 hooks with 11 spaces in between those 12 hooks, so you will divide your “width minus two” amount by 11. For example, my curtain was 78” wide. 78” – 2” = 76” and 76/11 = slightly less than 7”. I spaced my grommets slightly less than 7” apart. Finally, I also made sure that all of my grommets were equally spaced from the top of the curtain (1 1/4” to be specific).
I hate math so much though.
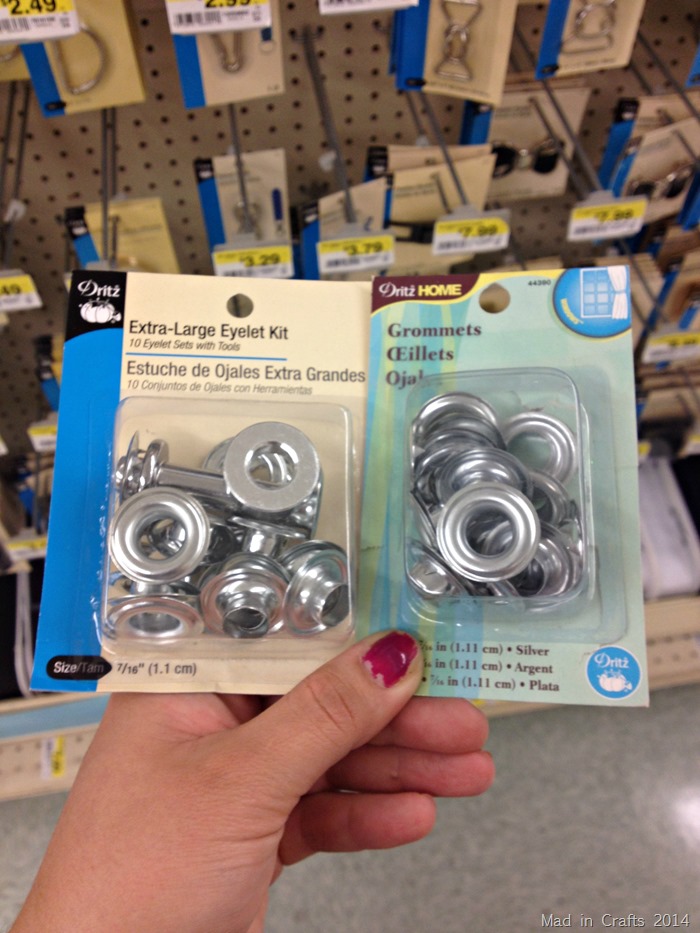
I checked out home improvement stores and big box stores for silver tone grommets, but I found the best selection at a craft store. Weird thing though: I found the grommets in the section with the other window treatment supplies (curtain rods, tie backs, etc.) BUT I found eyelets in the sewing notions aisle. They are the same size, same materials, same price, just a different name. Oh, and the eyelets were on sale. So, I bought those.
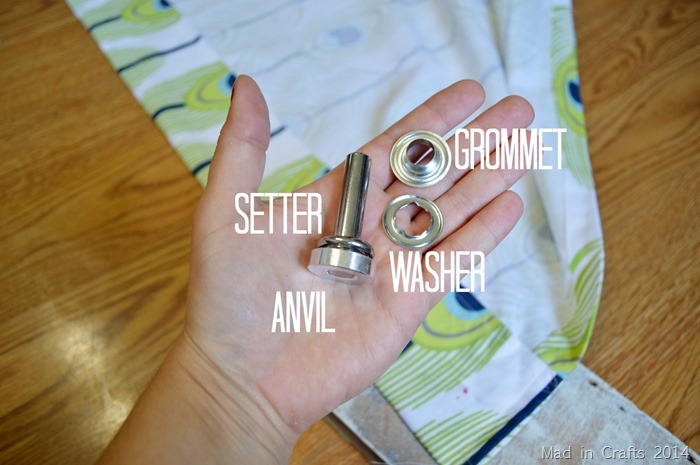
Setting grommets is very easy, but you need a grommet kit to do it. A grommet kit comes with 4 different pieces: the setter, the anvil, grommets, and washers. You will need to provide the hammer.
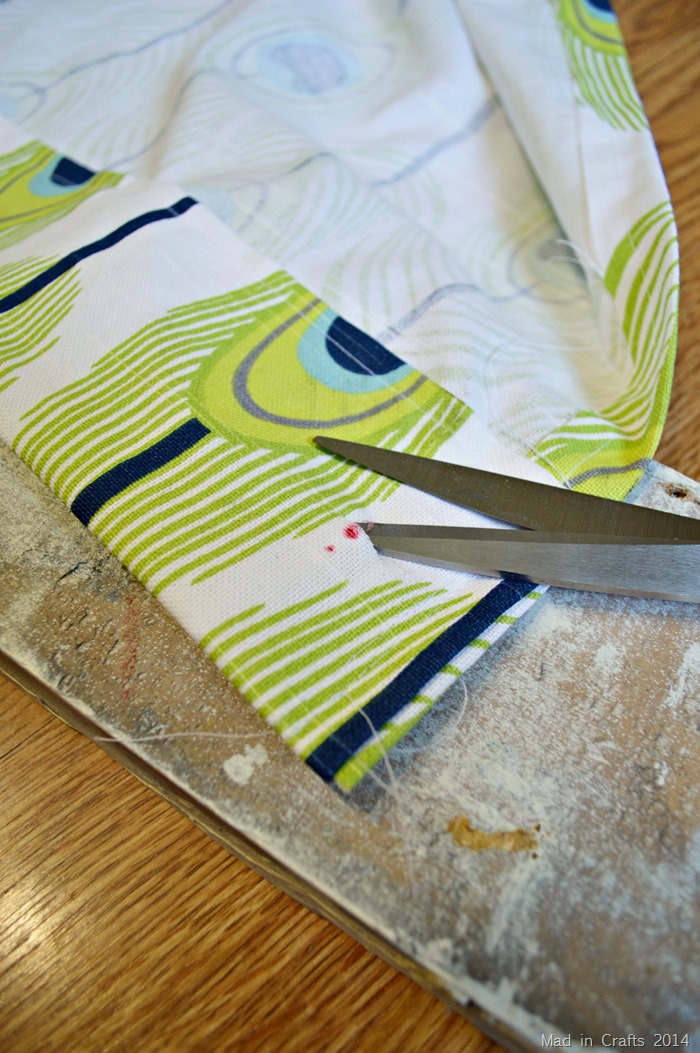
Before I could drive the grommets through the fabric, I needed to create a small slit in the fabric where the grommet would be placed.
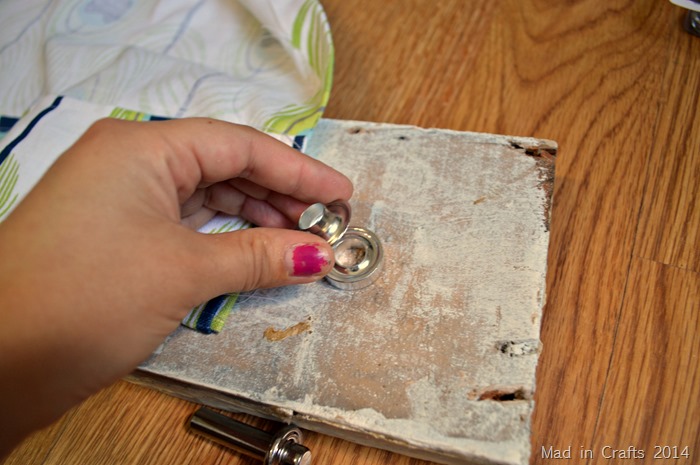
First place a piece of scrap wood on the ground or a very sturdy table, then place the anvil on the wood. The grommet sits on top of the anvil with the small, center tube pointing up.
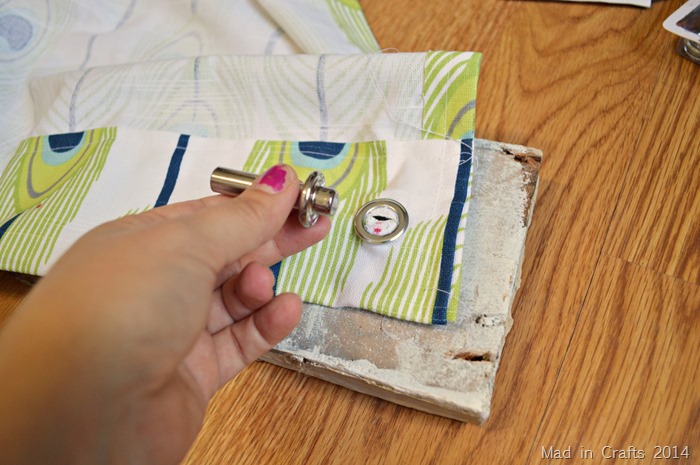
Slip that center tube through the slit in the fabric and slip the washer down over the tube, pointy parts down. Hold the setter in the hole of the grommet and give the setter a few good whacks with your hammer.
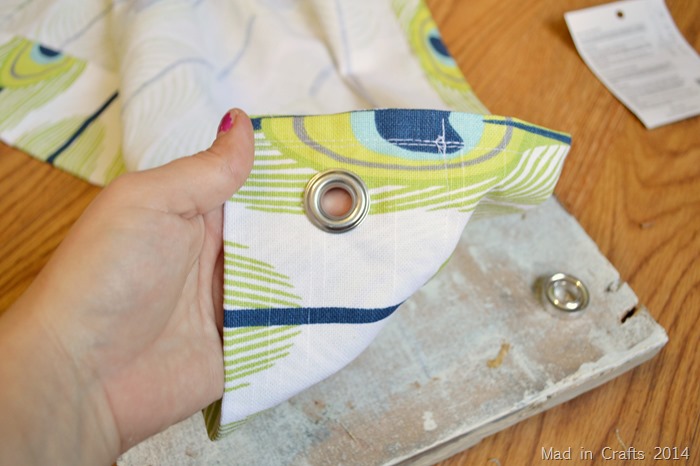
The grommet should now be fastened together with the fabric in the middle. Repeat with the other 11 grommet holes.
Hanging Your Finished Curtain
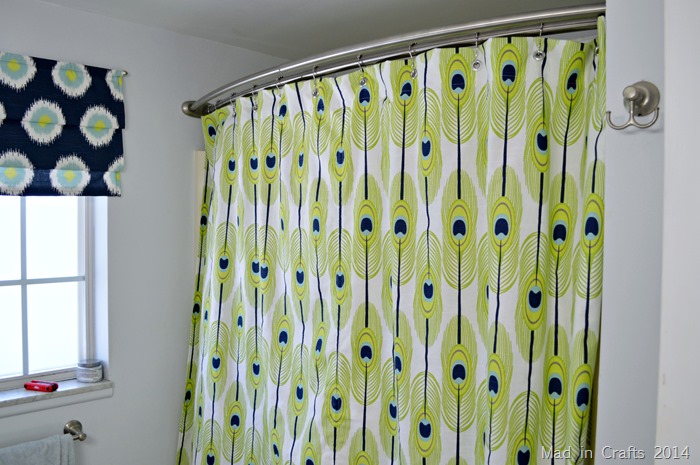
Hang the curtain and curtain liner on your shower curtain hooks and admire your work. PS If you don’t use the ball bearing style shower curtain hooks (affiliate link) in your bathroom, get on it. They are worth the few extra bucks they cost.

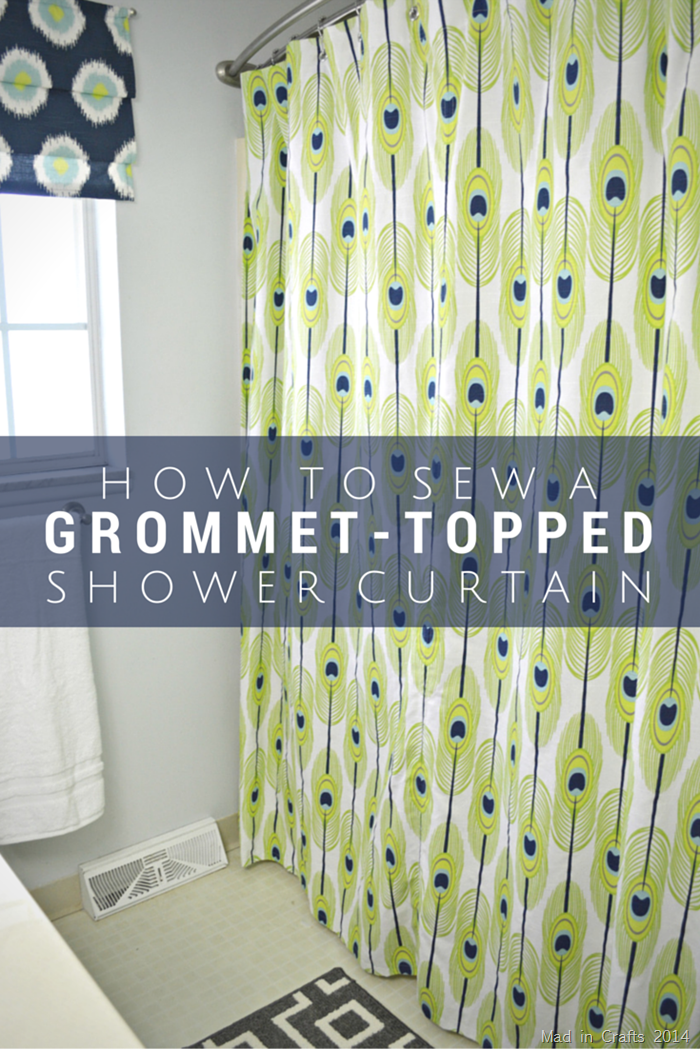
Even though there are several other patterns in the space, the shower curtain is the main graphic statement in our bathroom. I am glad I made the decision to make my own curtain, rather than settle for something that I would not have been 100% happy with!
I’ve gathered links to the materials I used in this tutorial. If you purchase after clicking one of these links, I will receive a small commission. Thanks!
You might be interested in these other home decor DIYs:
HOW TO MAKE CURTAIN RODS FROM PVC PIPE




Great tutorial and that fabric is amazing!
LOVE the fabric! Thanks for sharing the tutorial!
Thank you for sharing. DIY’g grommet curtains for my son’s room is on my To do list. Now I know where to check back for the tutorial. Love the fabric.
LOVE the fabric – and your bathroom re-do is fabulous!
How did the zinc grommets work out? I am concerned about using these as opposed to stainless steel, wondering if the zinc ones will rust over time and ruin the curtain. Please advise when you have a chance.
Thanks,
So far, so good! It's been a few months and there is no sign of rust on the grommets or the fabric. Hope that helps!
Hi Jessica,
Thanks for posting this tutorial. I also have a question about the grommets. The only kind I have been able to find for home use have a grommet that is designed to split as it curls around the washer. The result is that the front side is nice and smooth, but the back side inner circle is not. Did the brand of grommets you used do this or are they smooth on both sides once finished?
Thanks!
Mine did not split, at least not in the way I am imagining yours are. Did you purchase them at a home improvement store or a fabric/craft store? I think you might have better luck searching for grommet or eyelet kits at a fabric store. I hope that helps!
The kind I bought at the fabric store have slits punched around the neck of the grommet so that when you hammer it they split apart (kind of like petals on a flower) as they curl around the washer part. It sounds like the ones you have are nice and smooth on both sides, like a grommet on a commercial shower curtain. If so, I will buy the brand you list in your materials. Thanks!
No, mine did not split like that. How annoying!