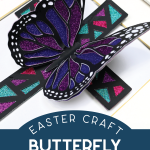
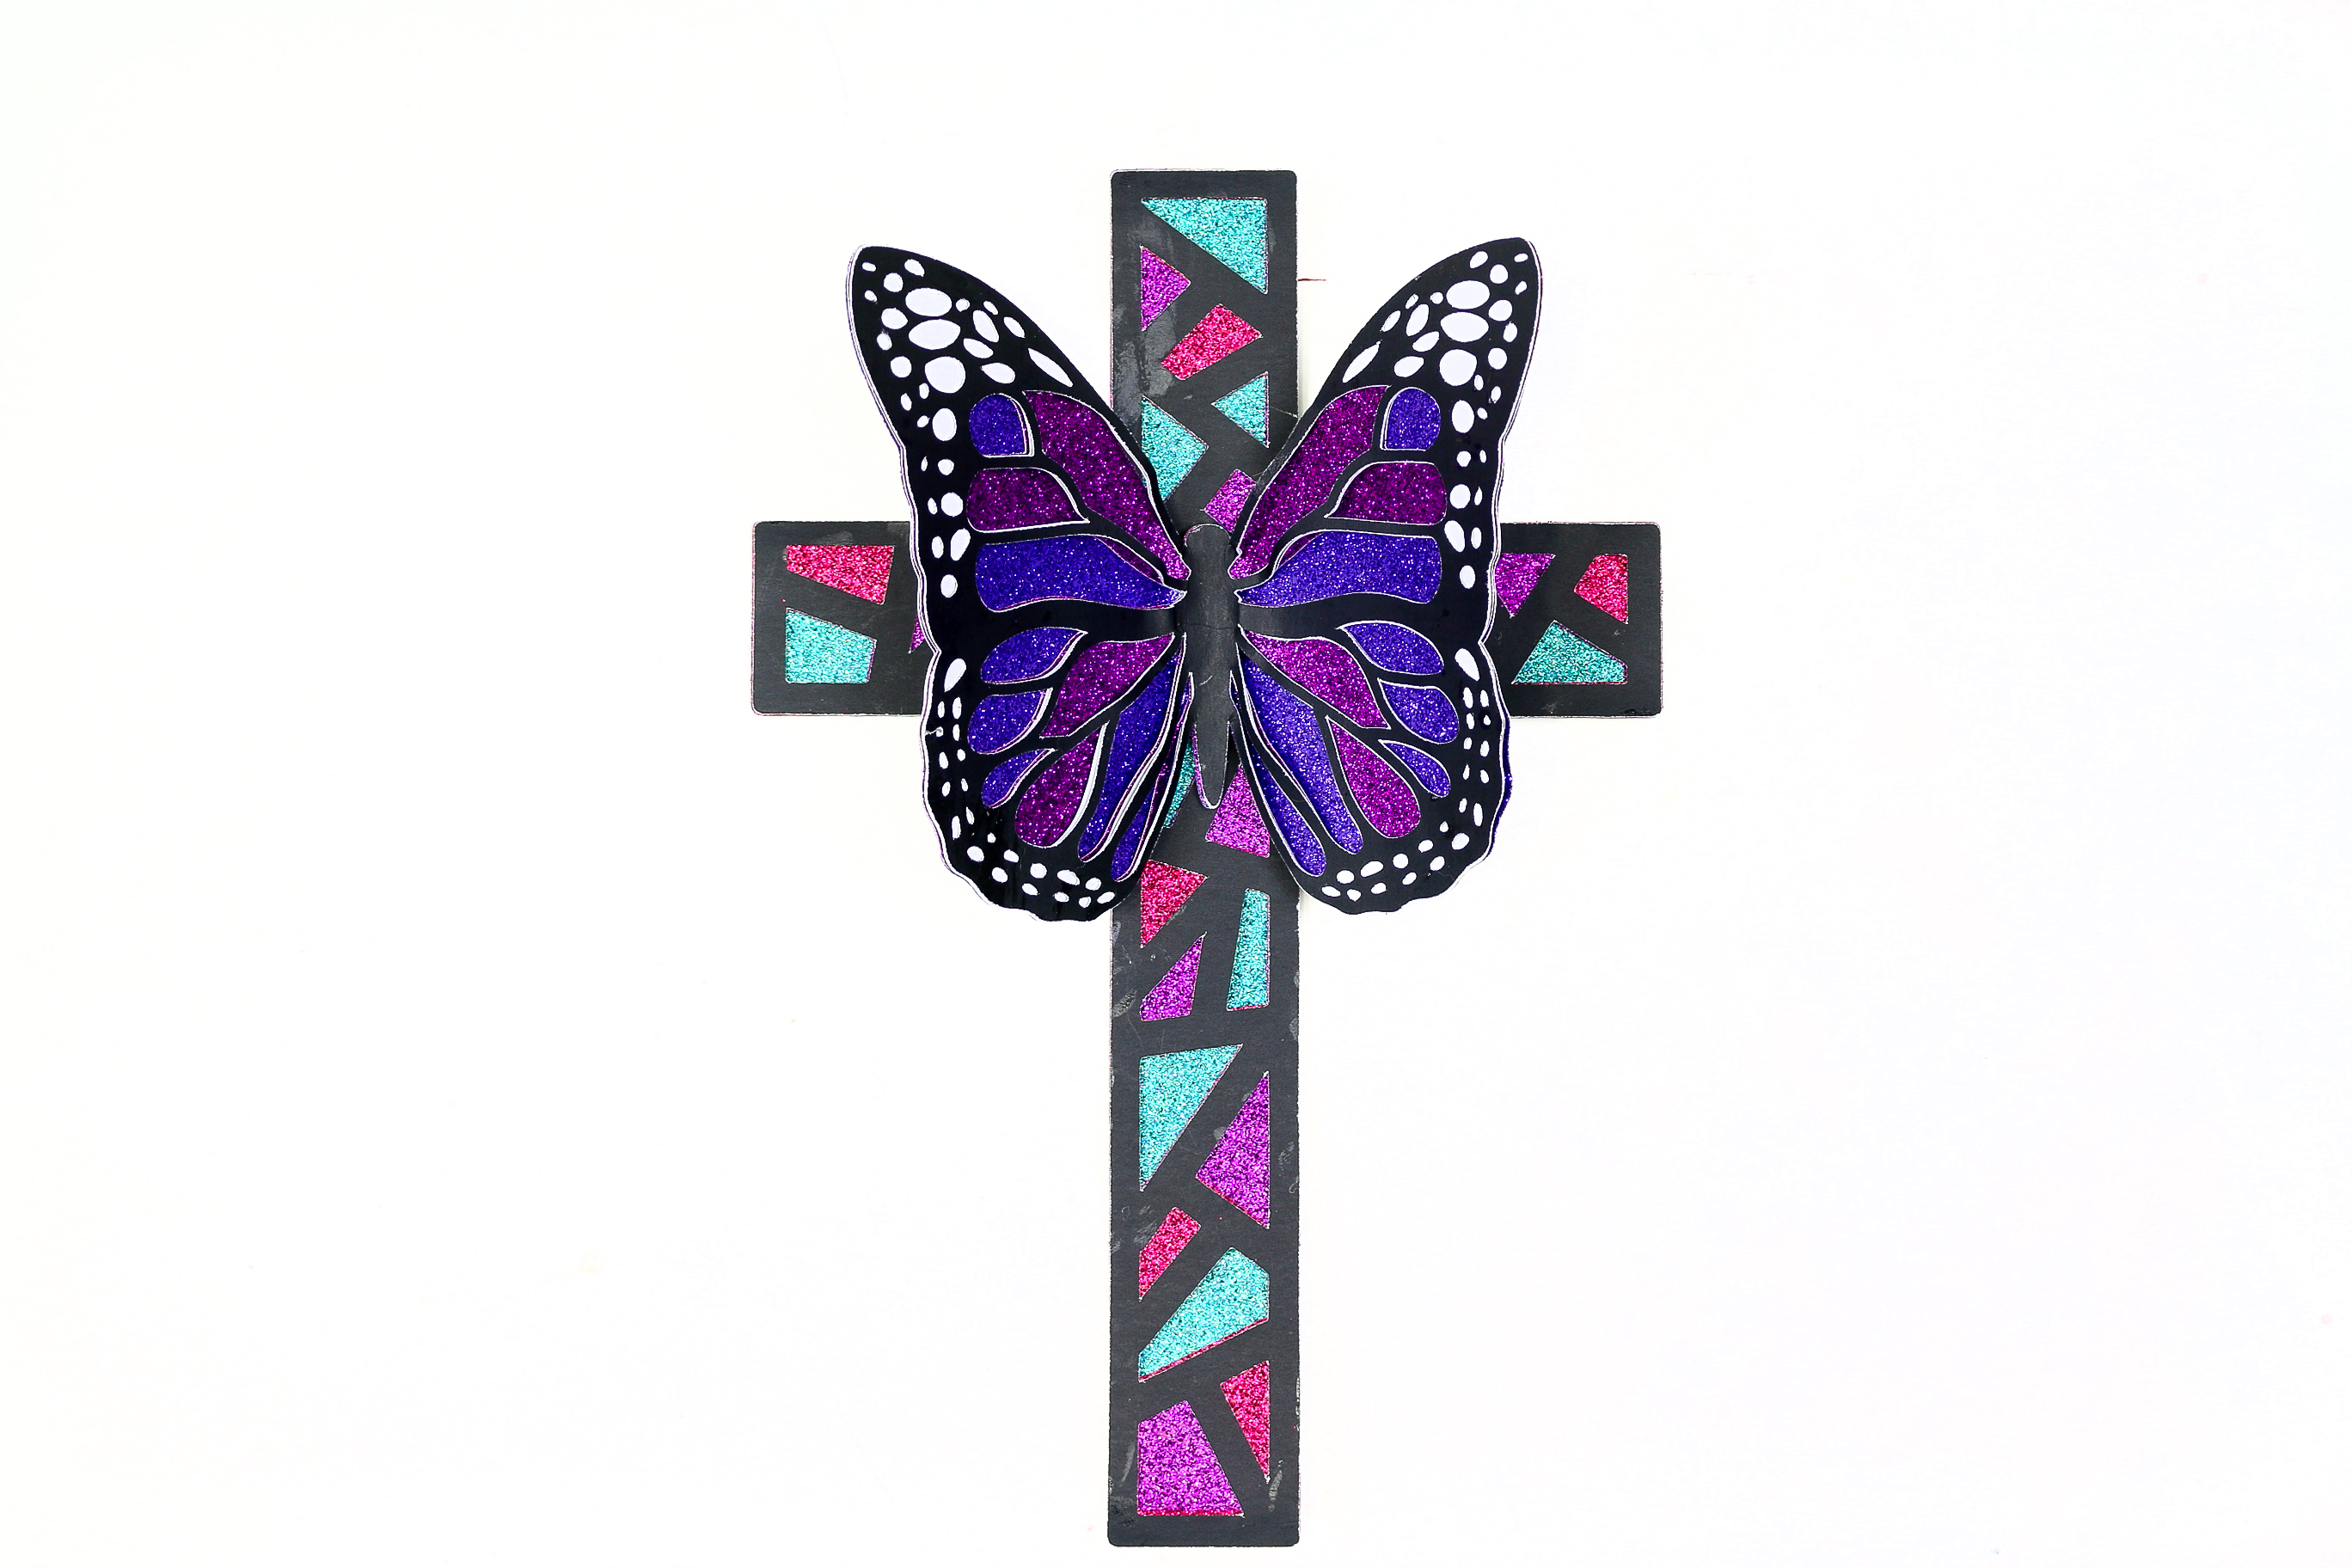
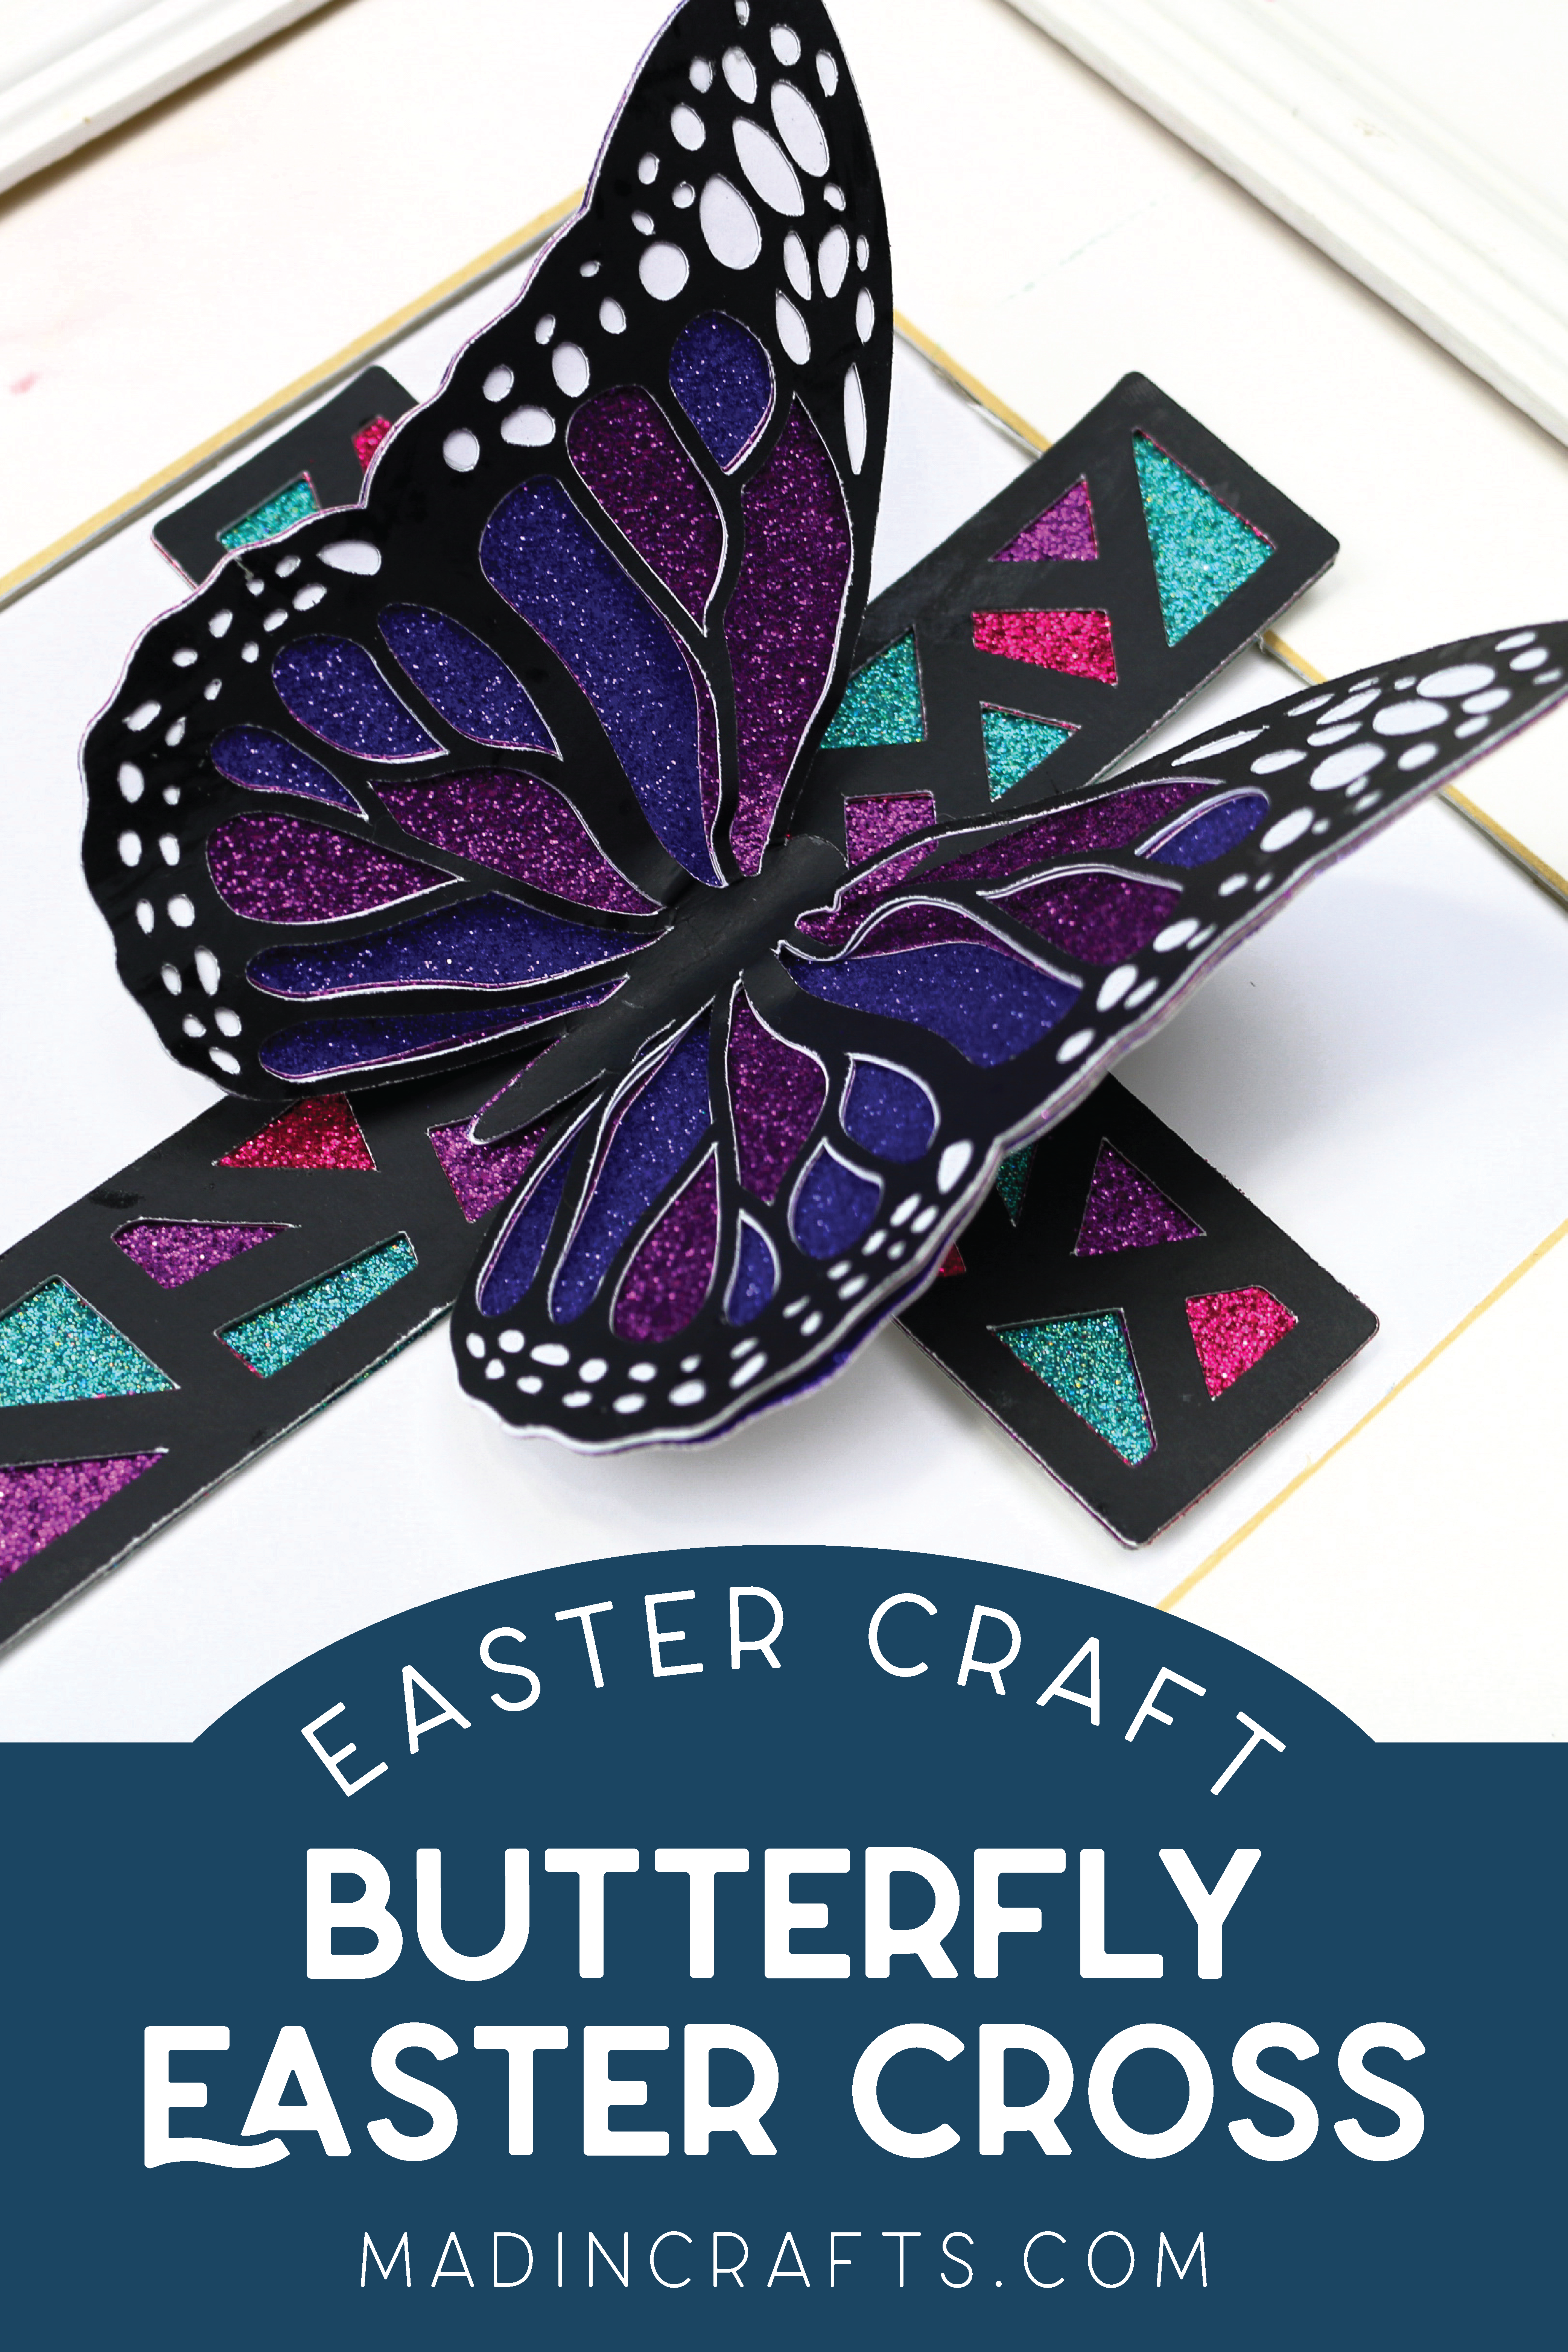
I created a pretty layered paper butterfly cross using my most recent SVG design. If you have never worked with a layered SVG before, it can be a little intimidating. I will walk you through the process of assembling a layered paper project so you can create your own beautiful Easter decorations!
HOW TO ASSEMBLE THE LAYERED PAPER BUTTERFLY CROSS
THE MATERIALS I USED TO MAKE MY PAPER EASTER CROSS
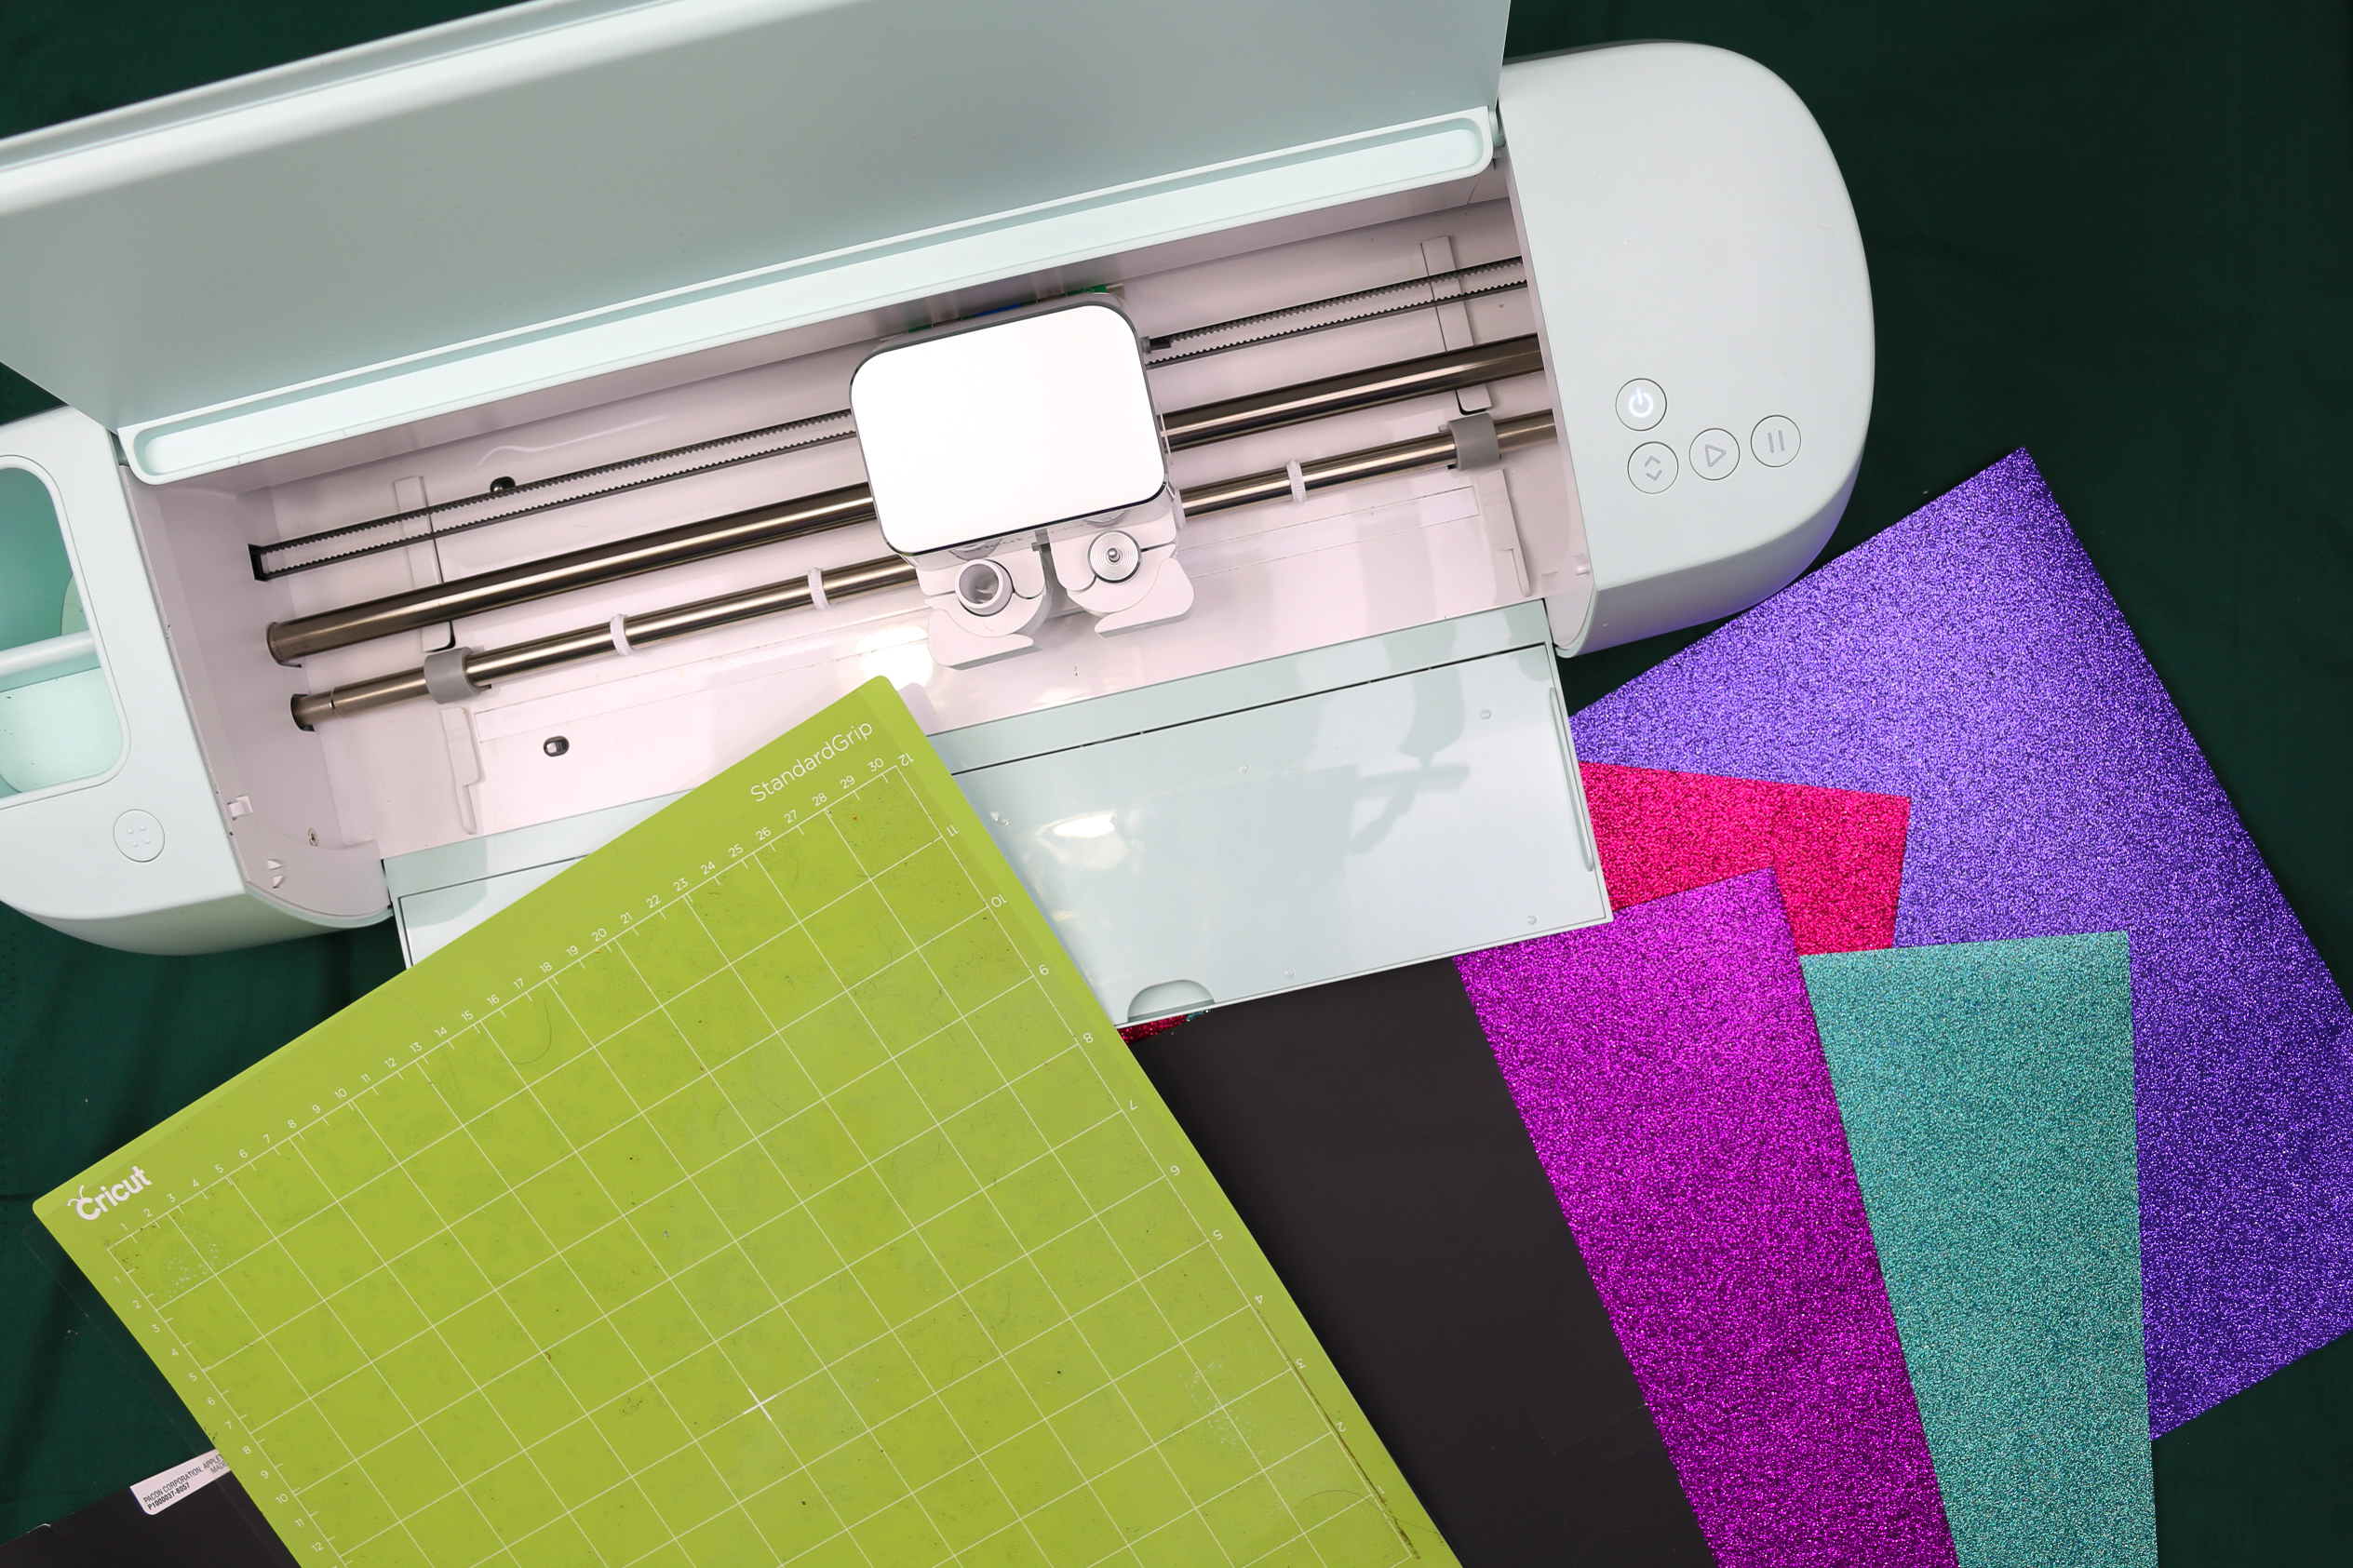
First, you will want to get my Layered Easter Cross SVG for free. You can use the design with paper, vinyl, chipboard, and more! I decided to emphasize the stained glass look of the piece by cutting the SVG out of glitter paper. These are the supplies I used.
These are all affiliate links, if you make a purchase (of anything from the site, not just these items) after clicking through, I will earn a small commission. Ads and affiliate links are the way I am able to keep this website running and to offer you free tutorials all year long. Thank you so much for supporting me and Mad in Crafts!

Want to know which craft supplies I always keep in my craft room?
Visit the Mad in Crafts Amazon Storefront to learn more and to buy your own supplies!
HOW TO PUT THE LAYERED CROSS TOGETHER
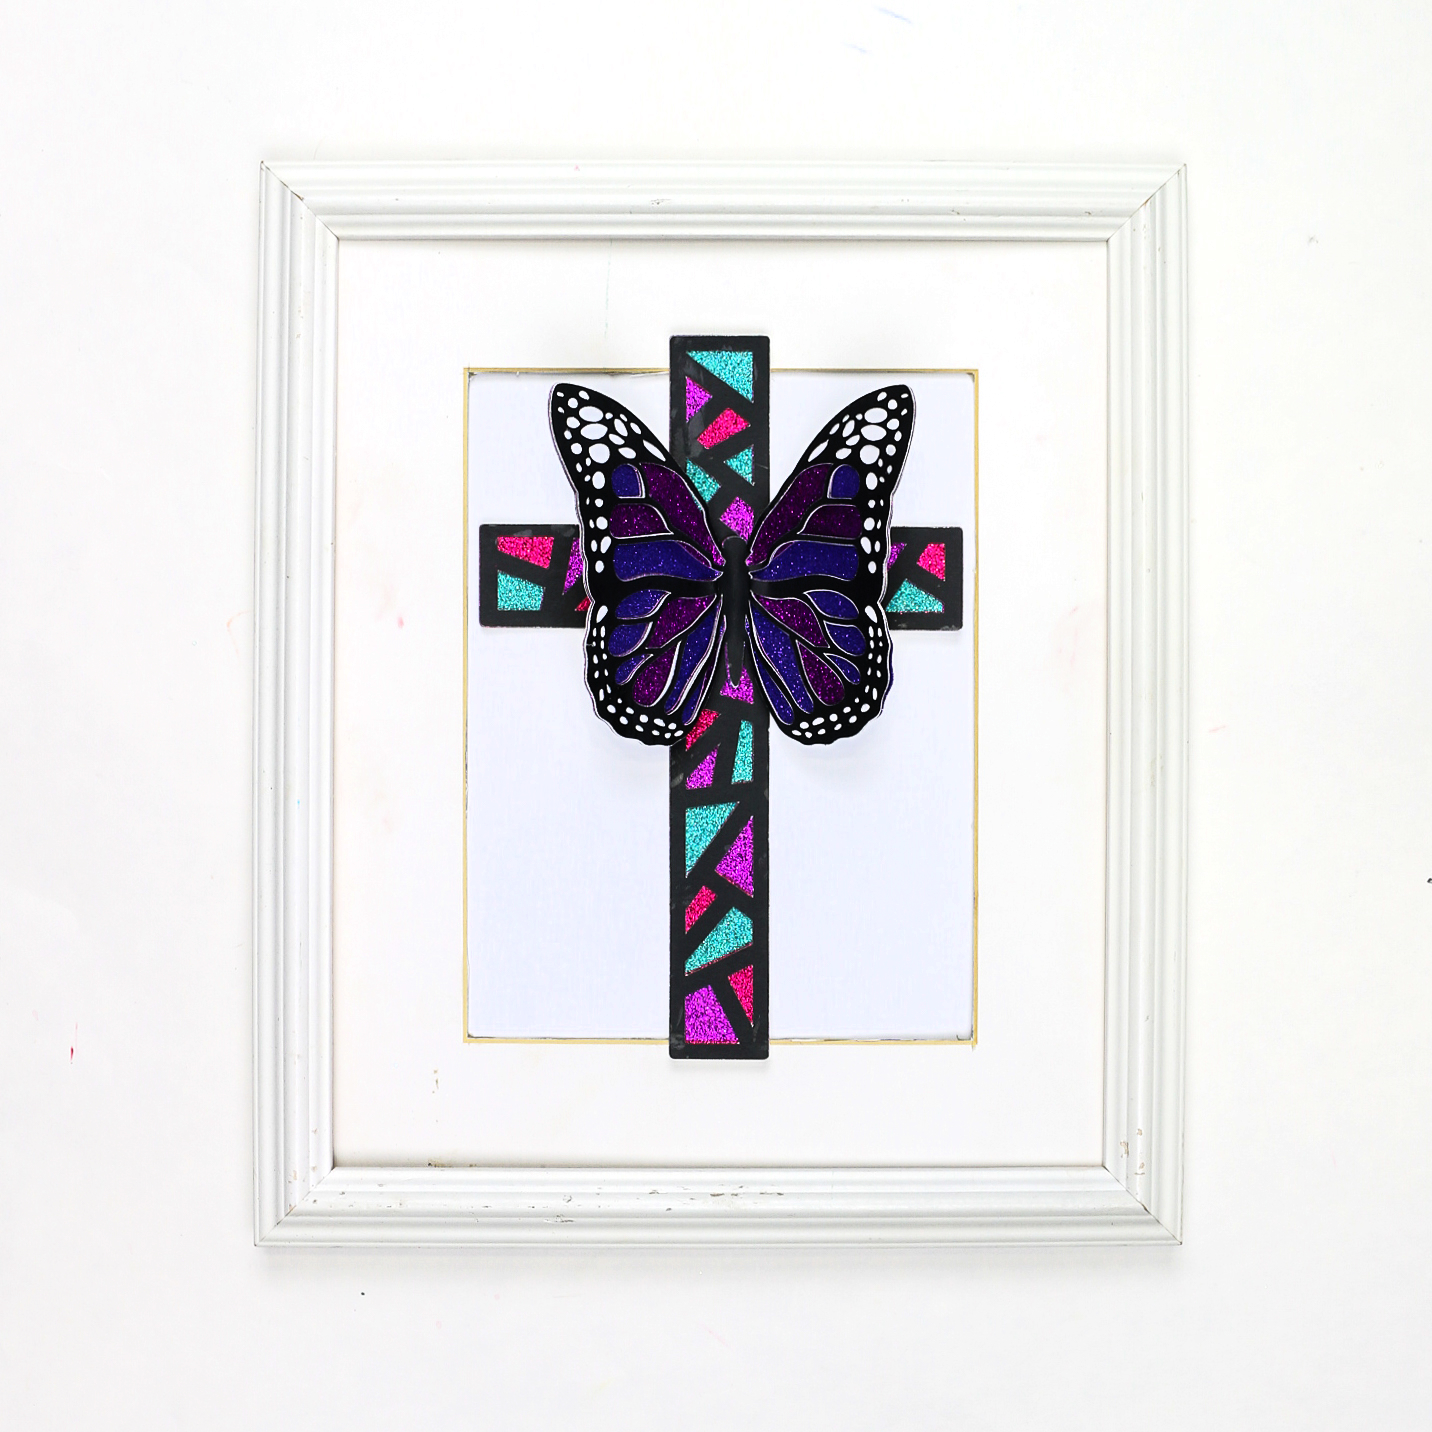
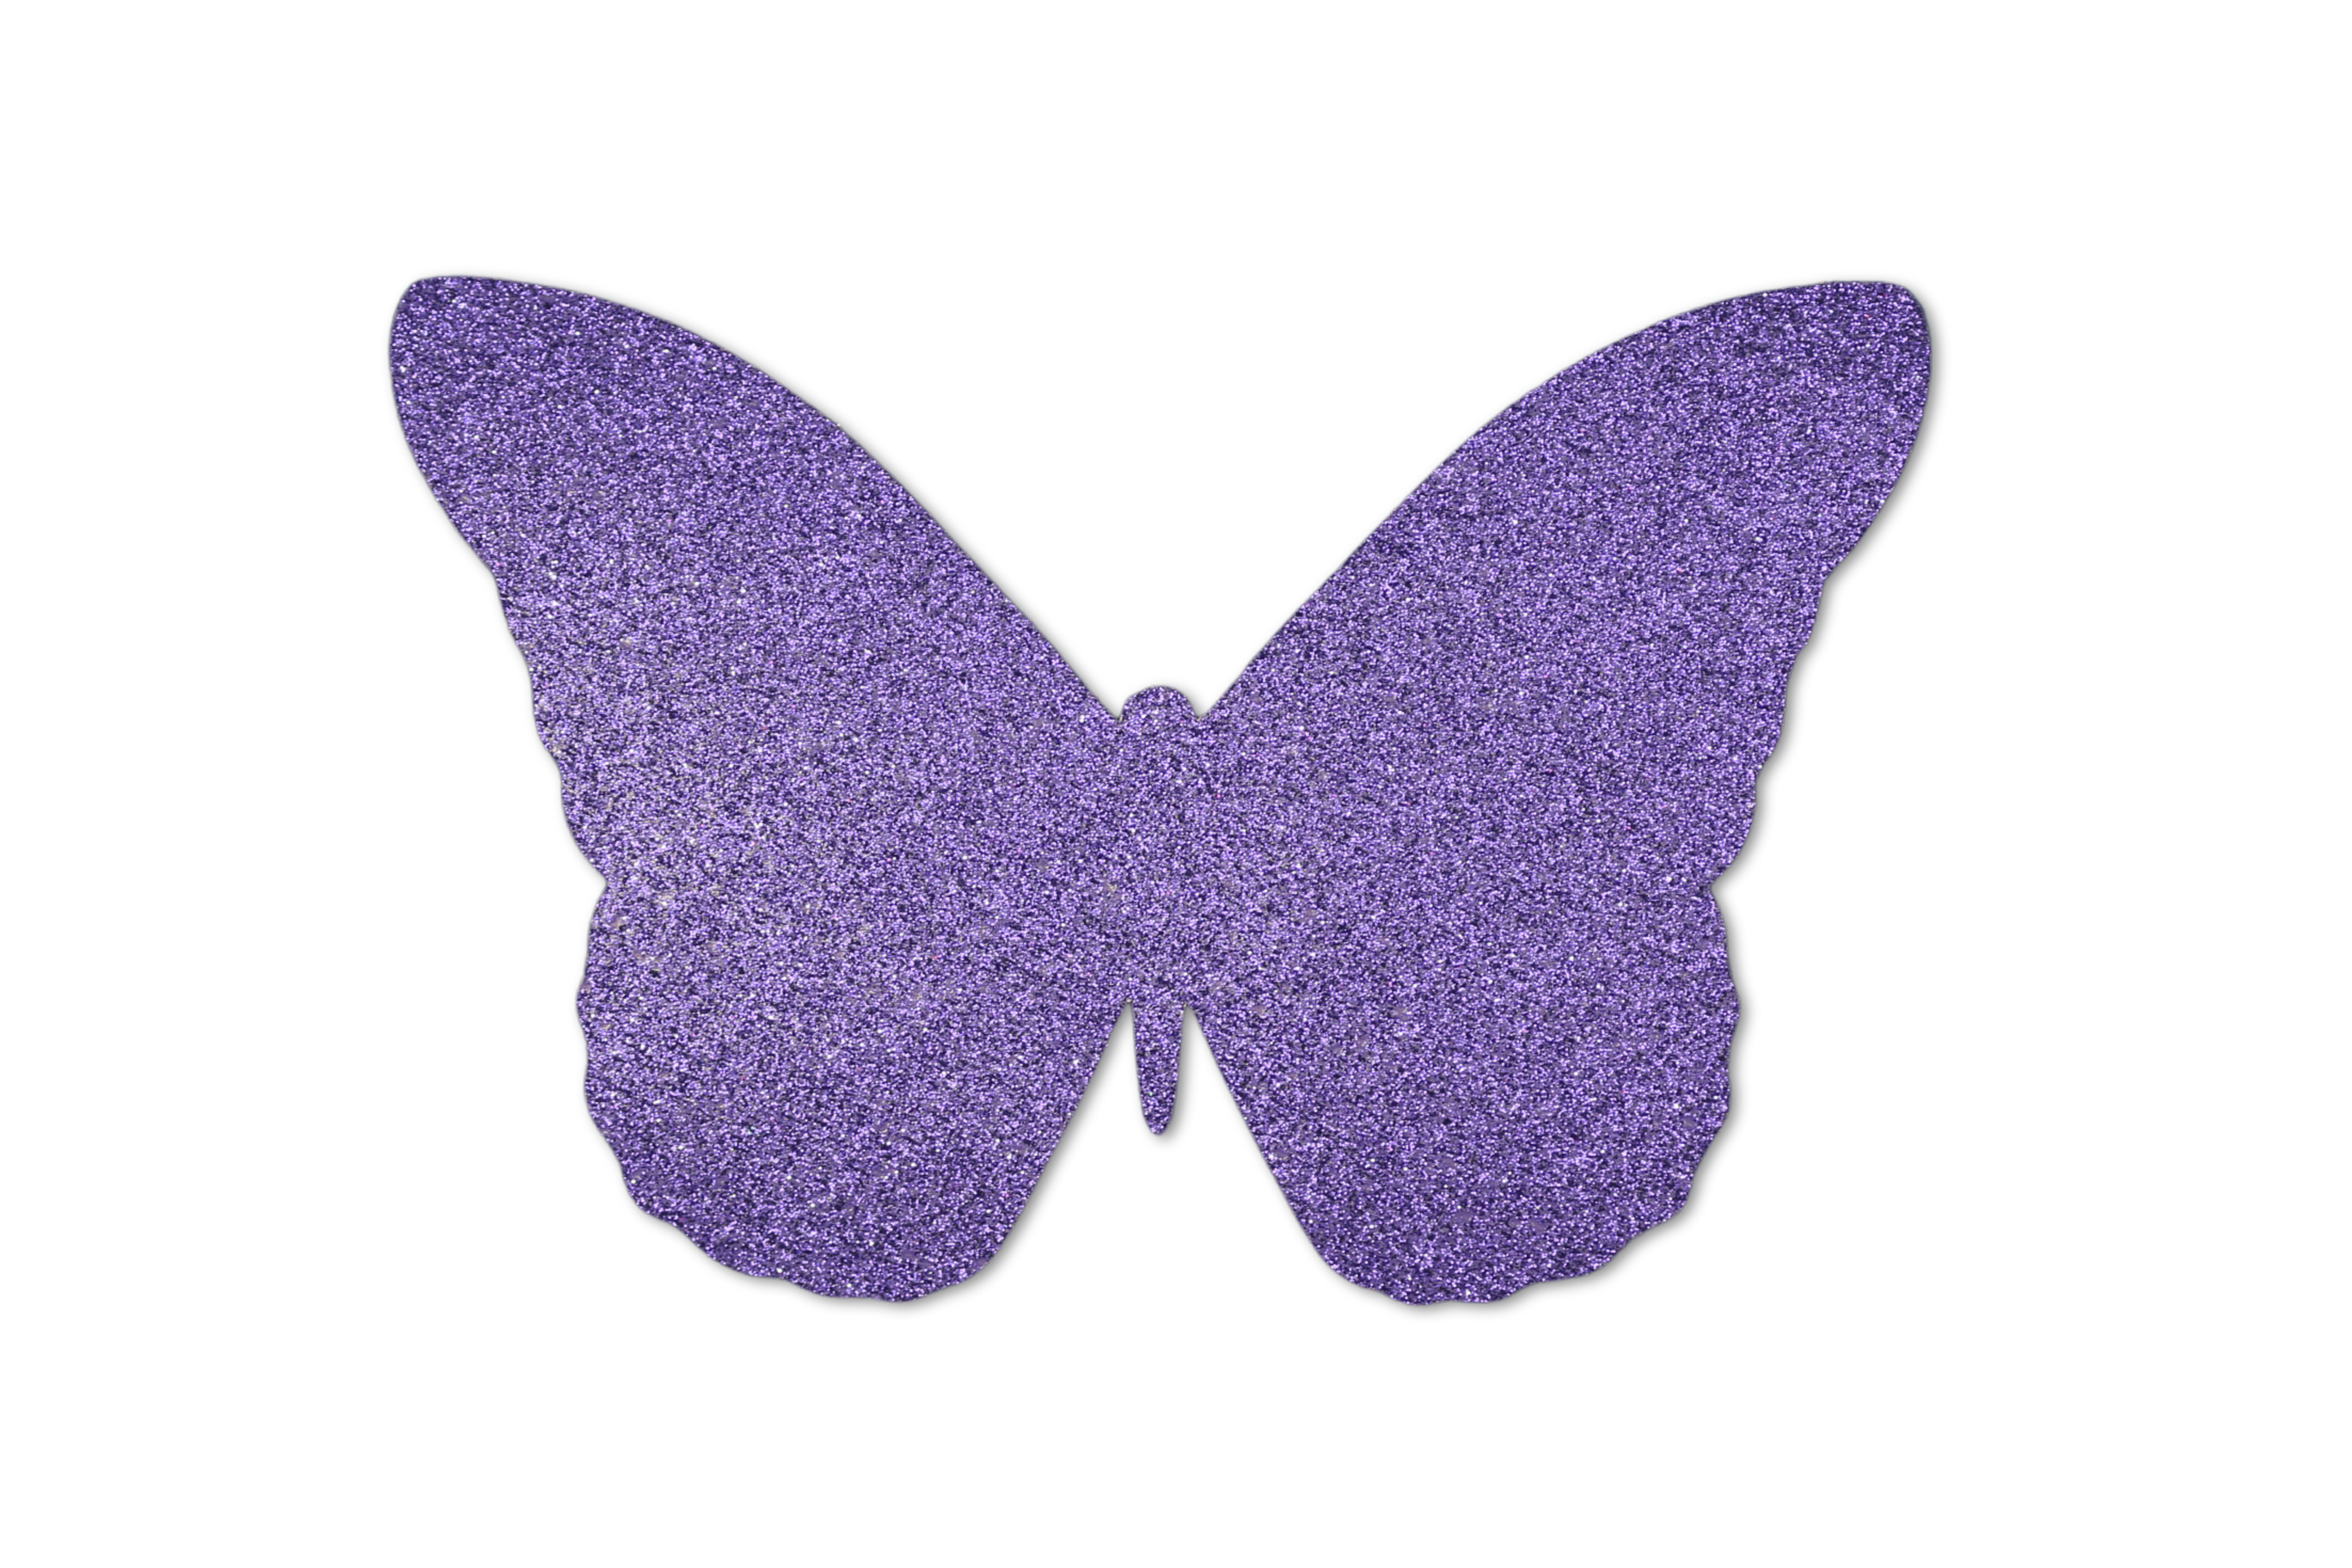
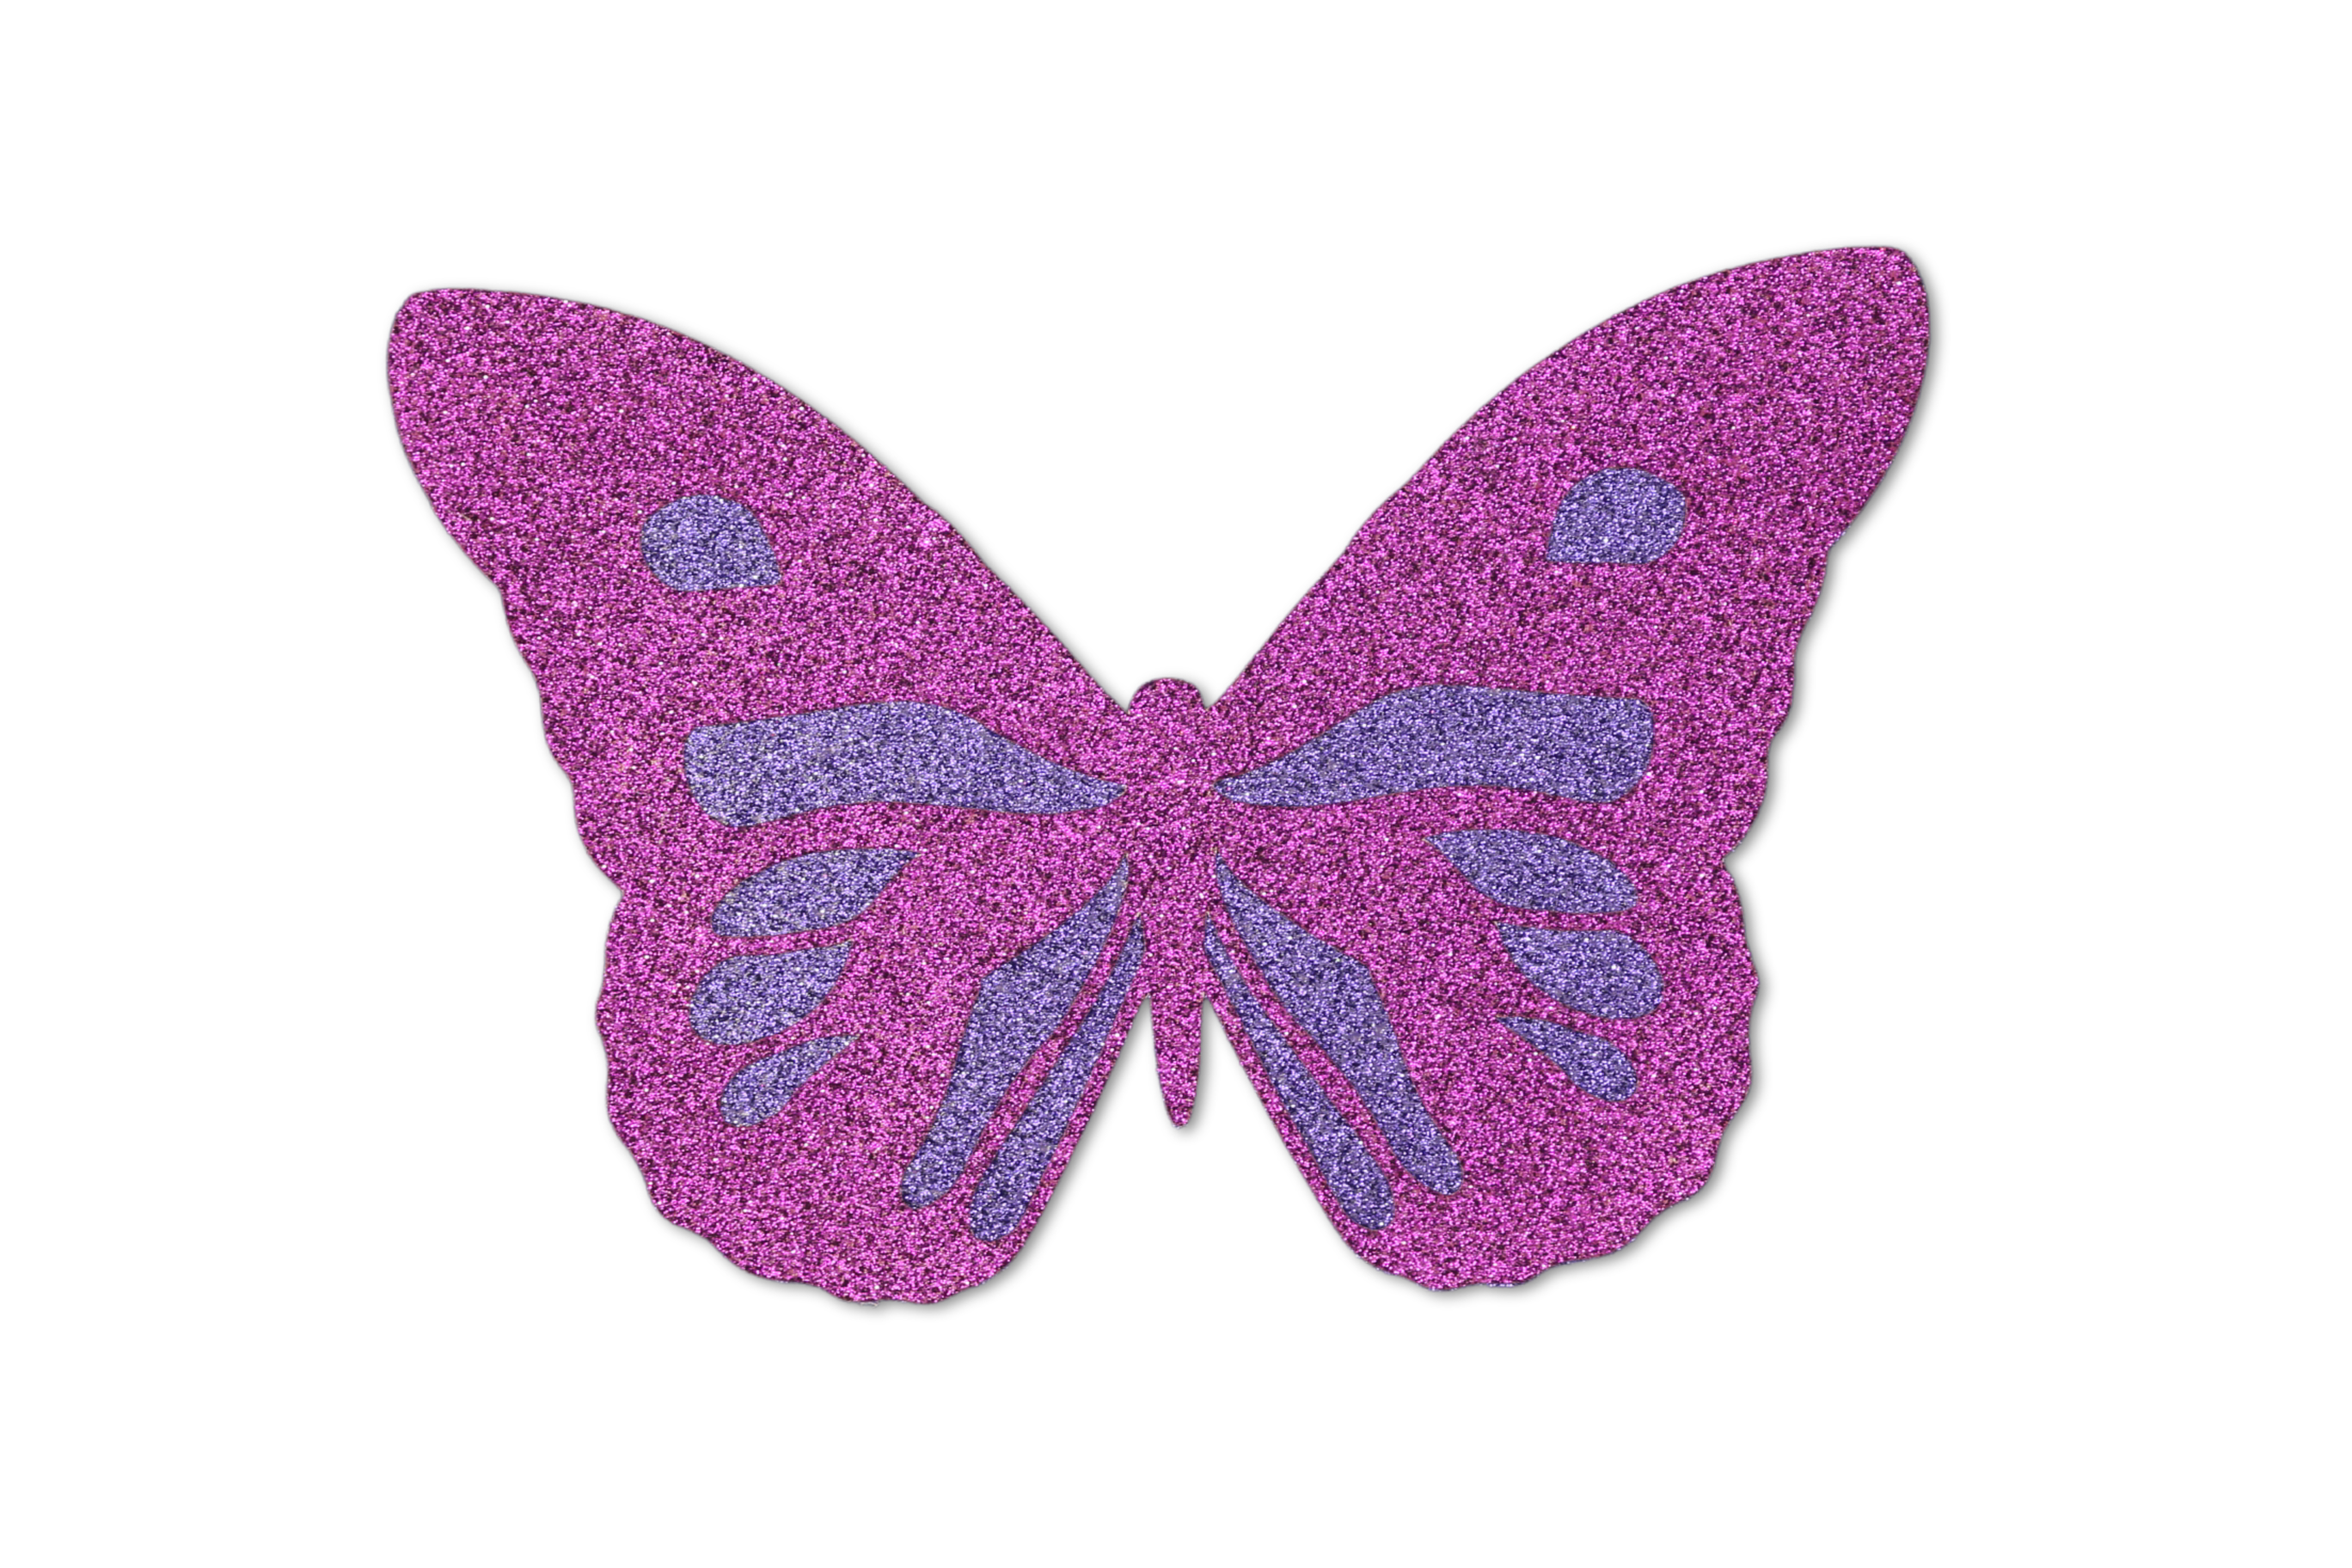
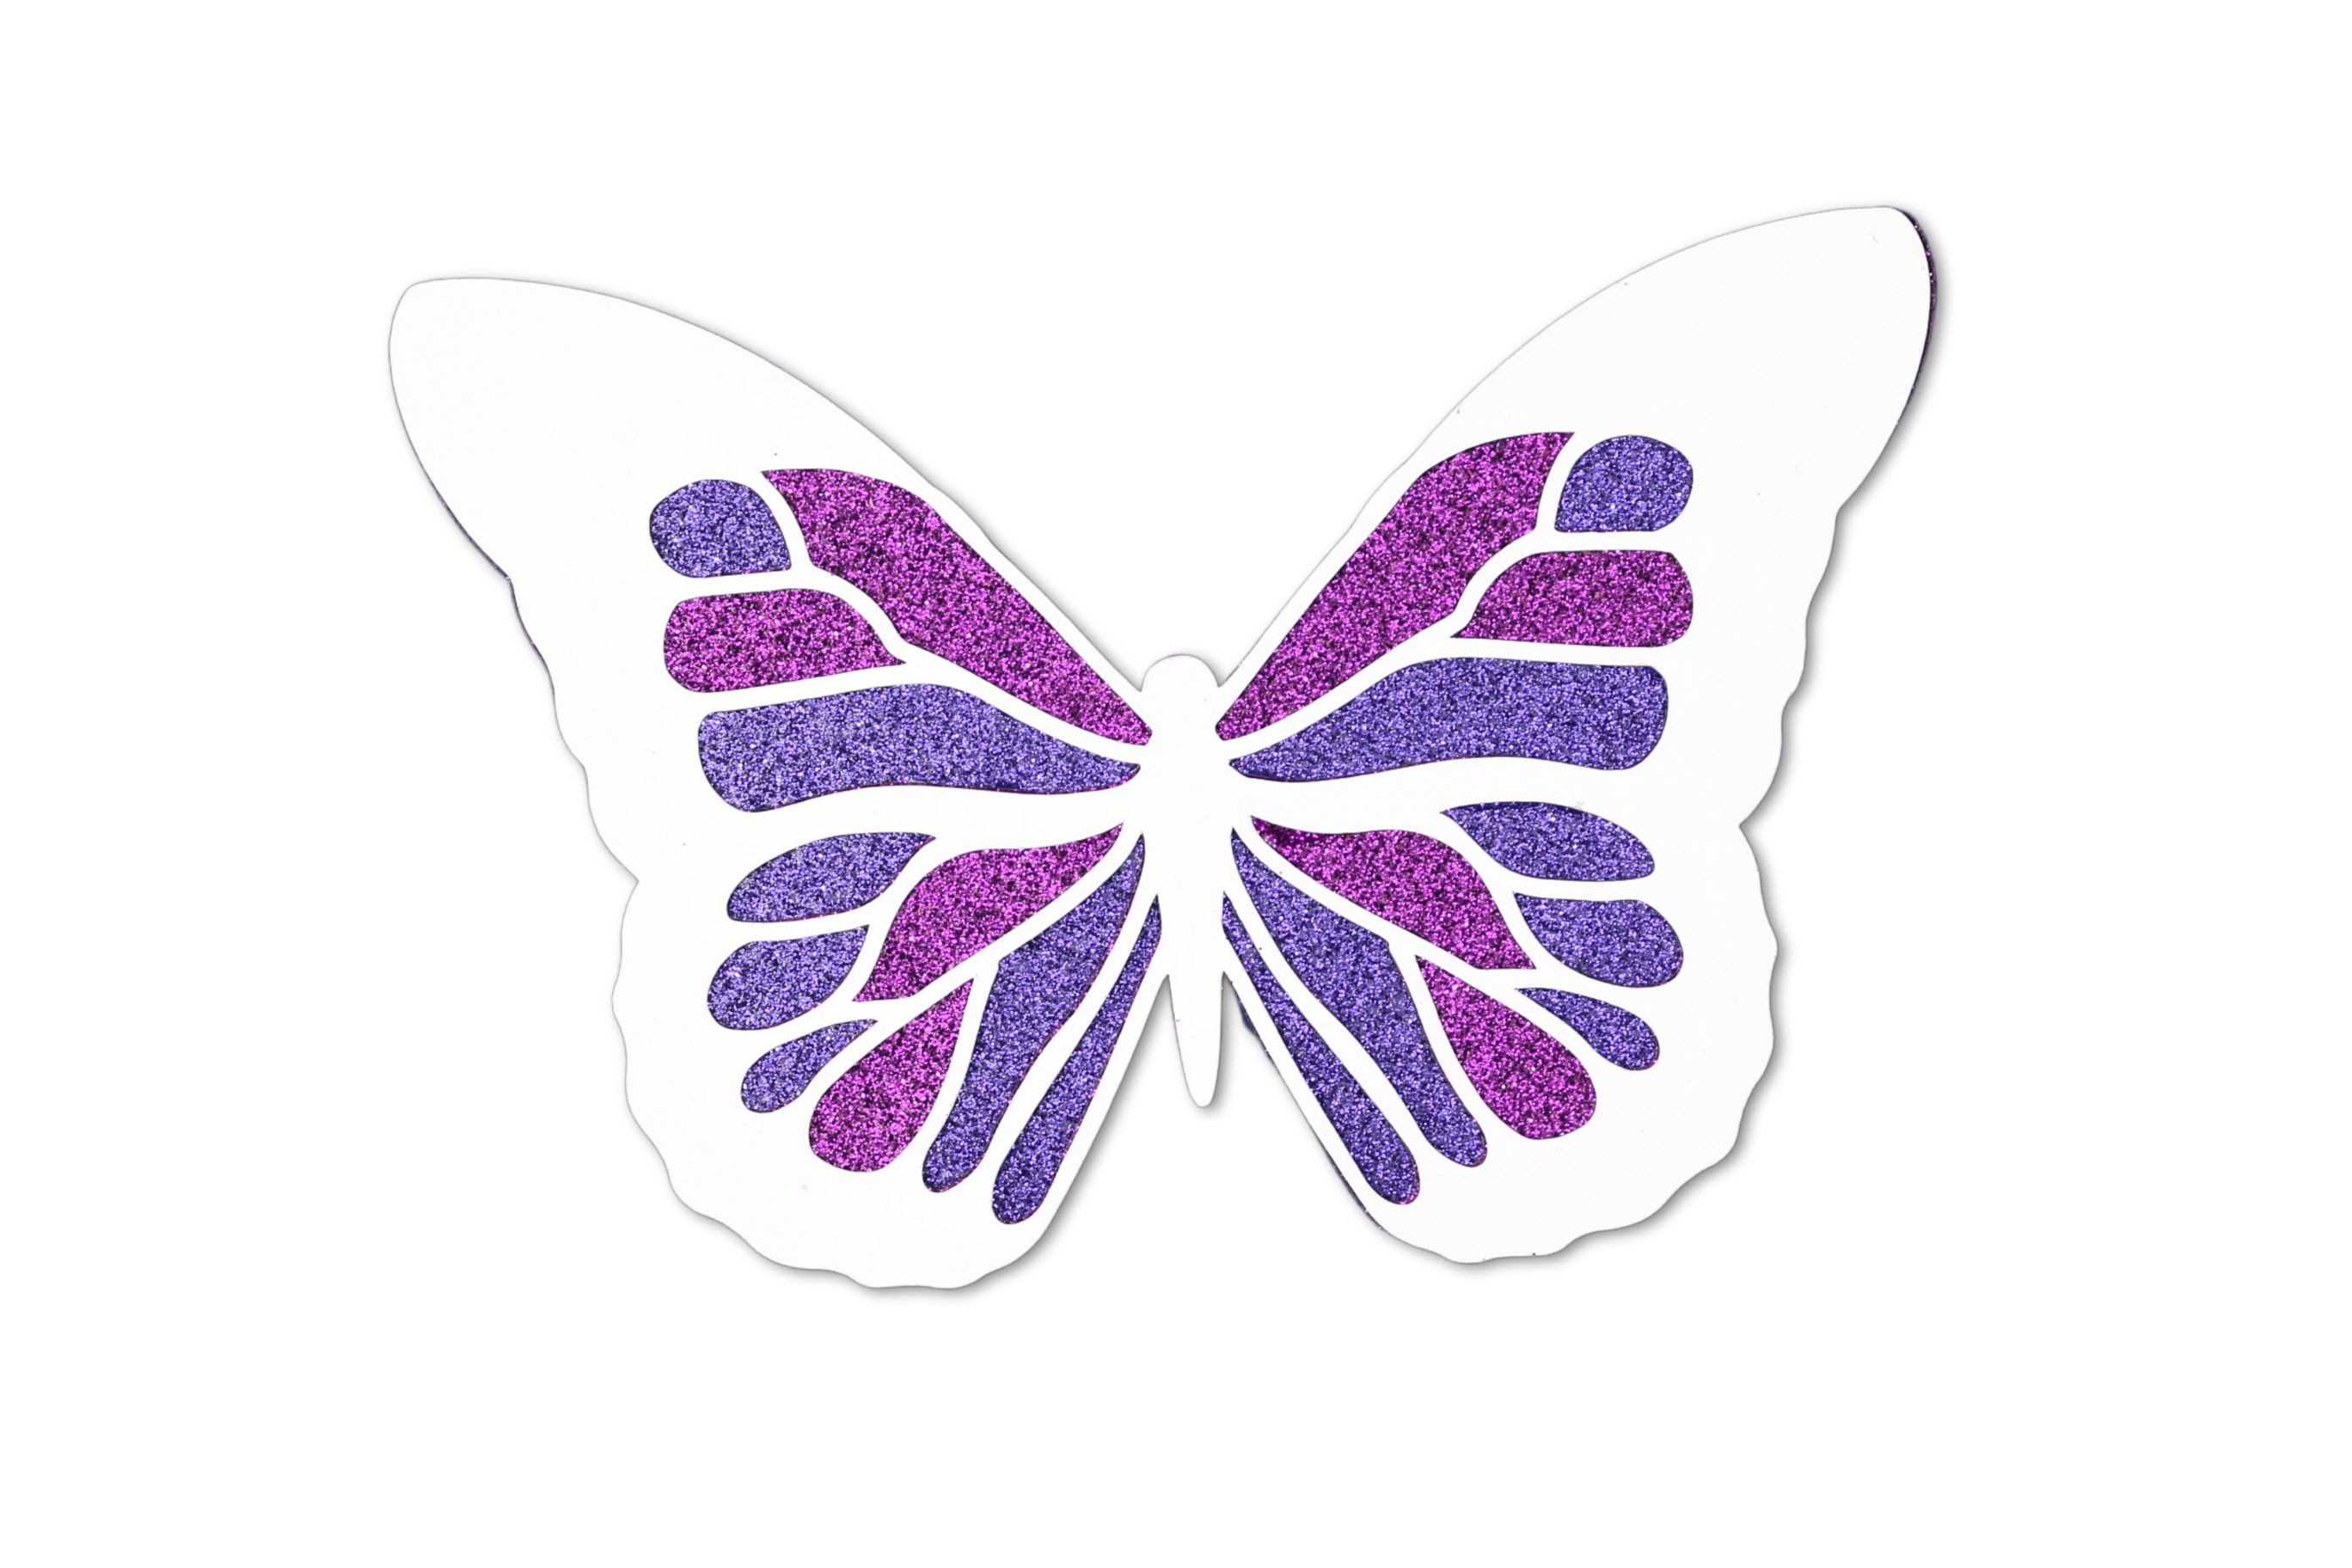
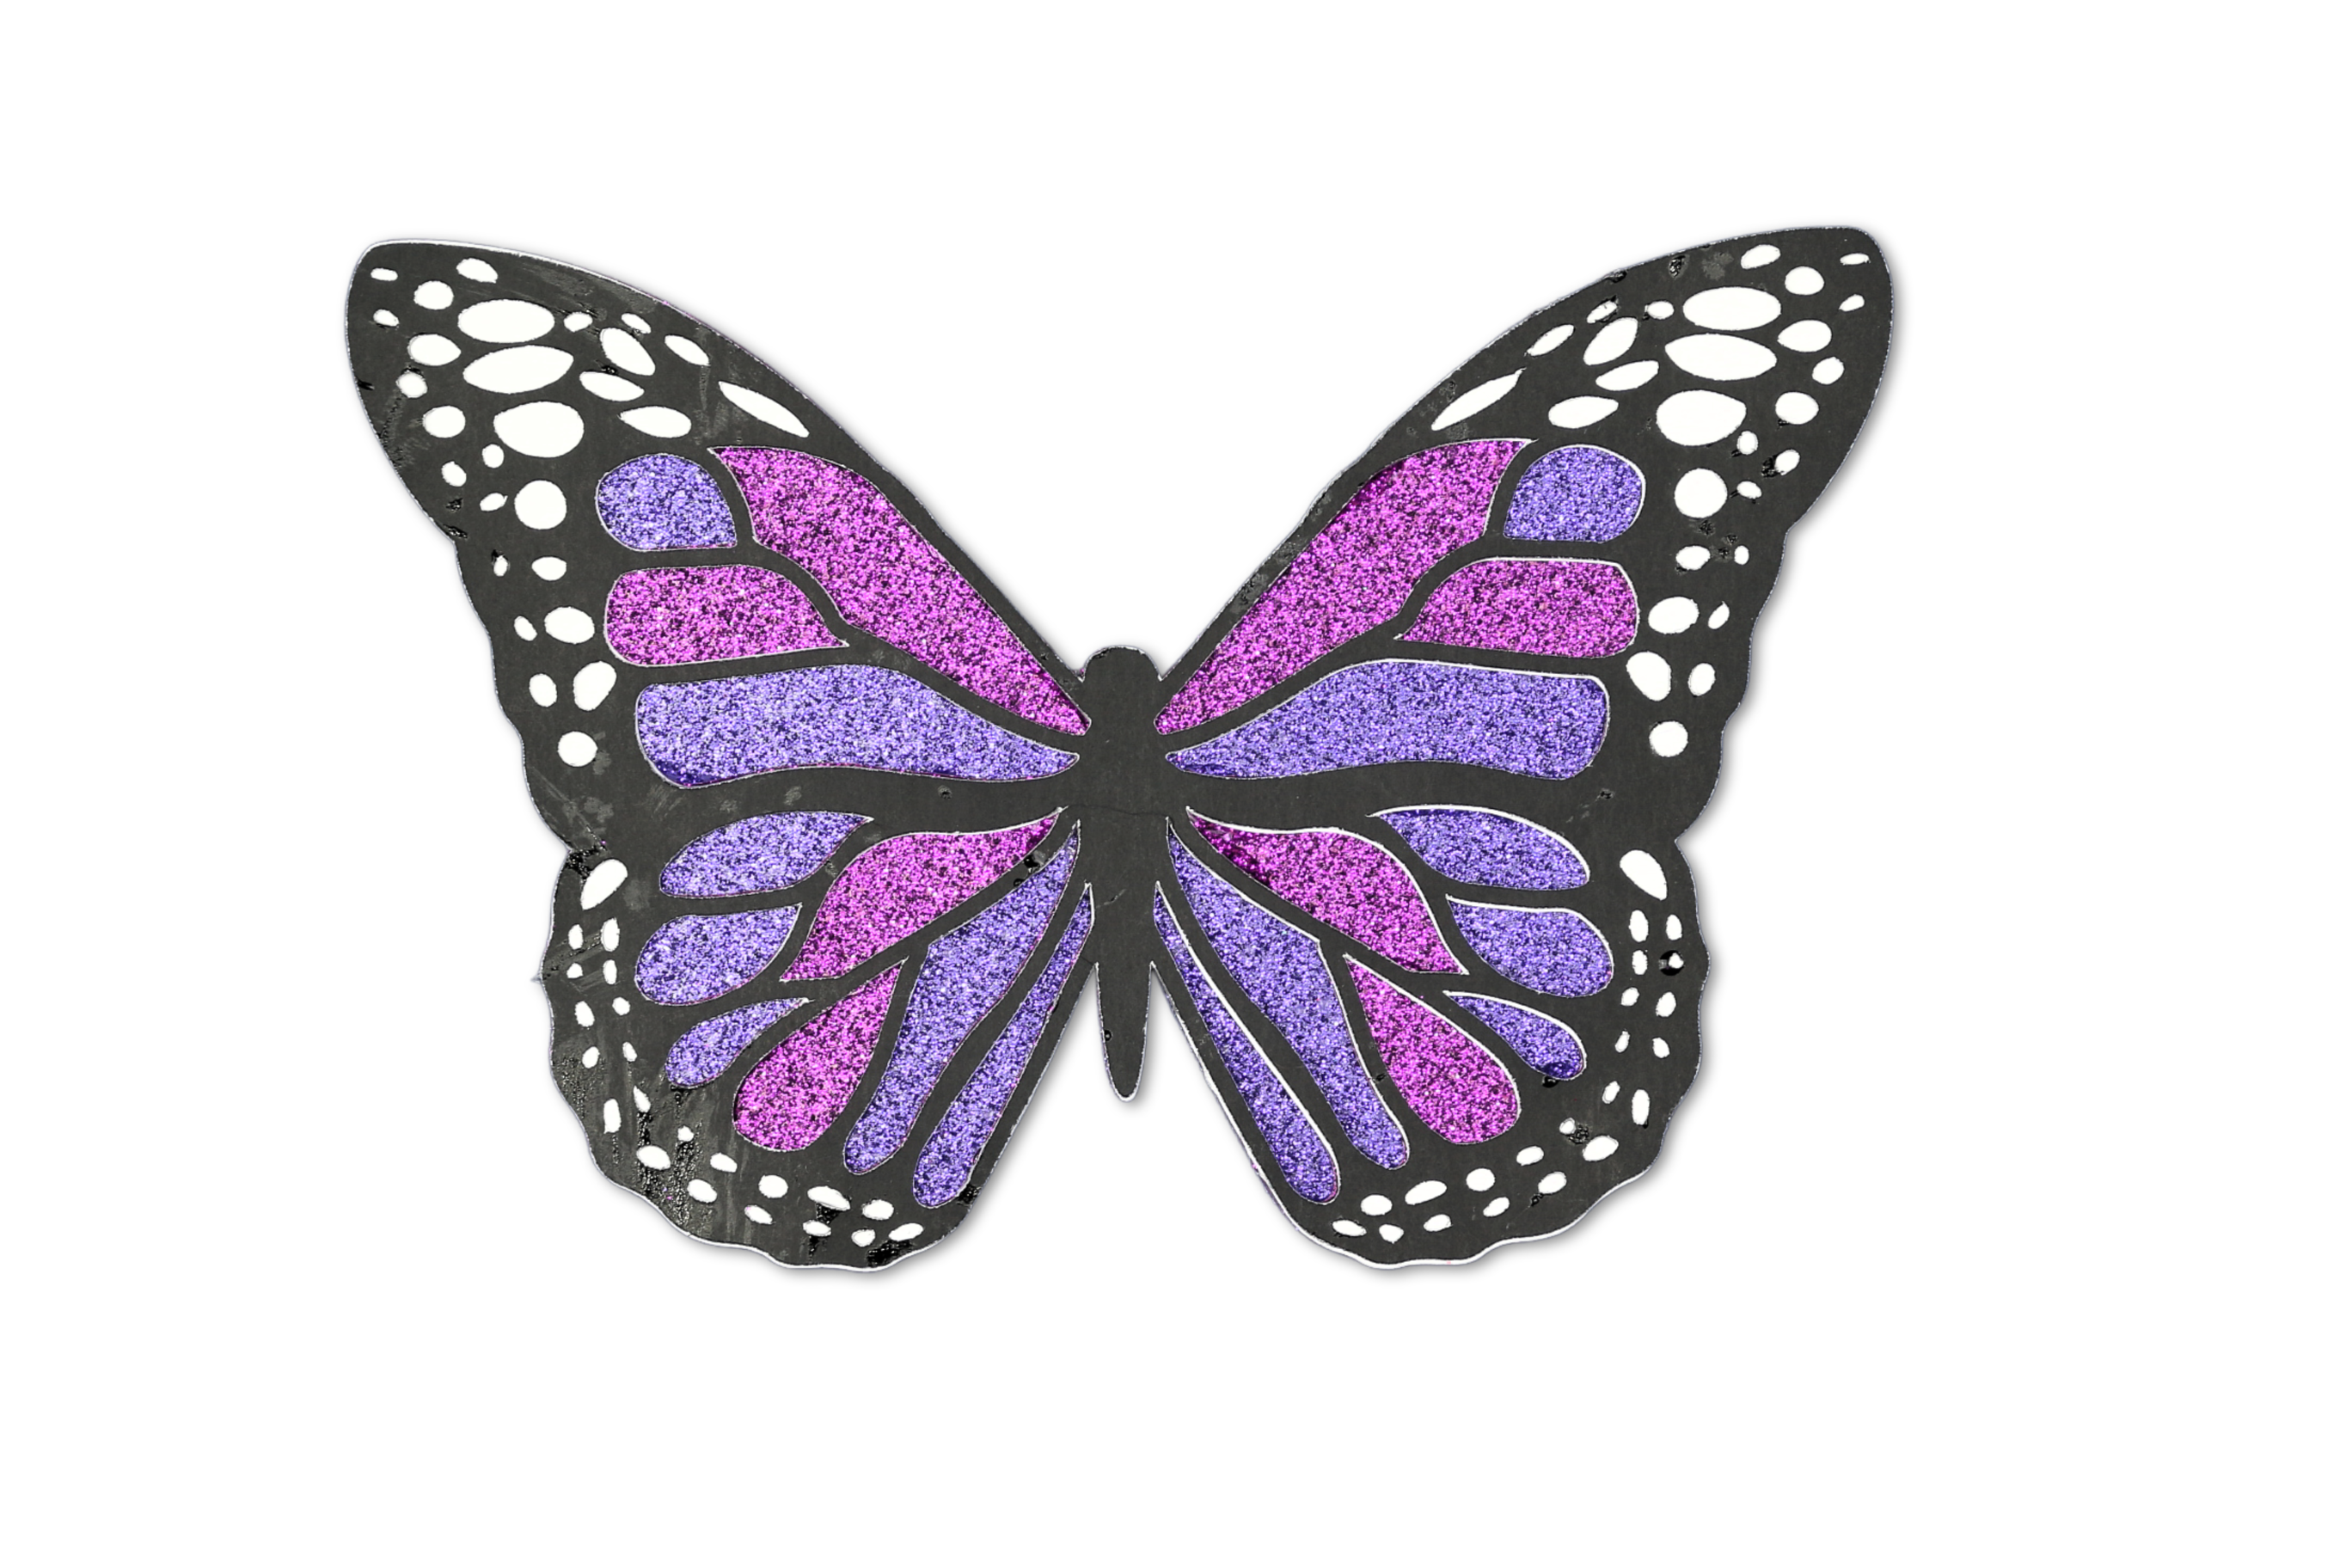
I designed this SVG to cut out 8 distinct layers that stack on top of each other — 4 for the cross and 4 for the butterfly. This is how you work with a layered SVG in Cricut Design Space. Come back tomorrow when I will walk you through how to assemble this butterfly cross SVG!
Cutting a Layered SVG Design
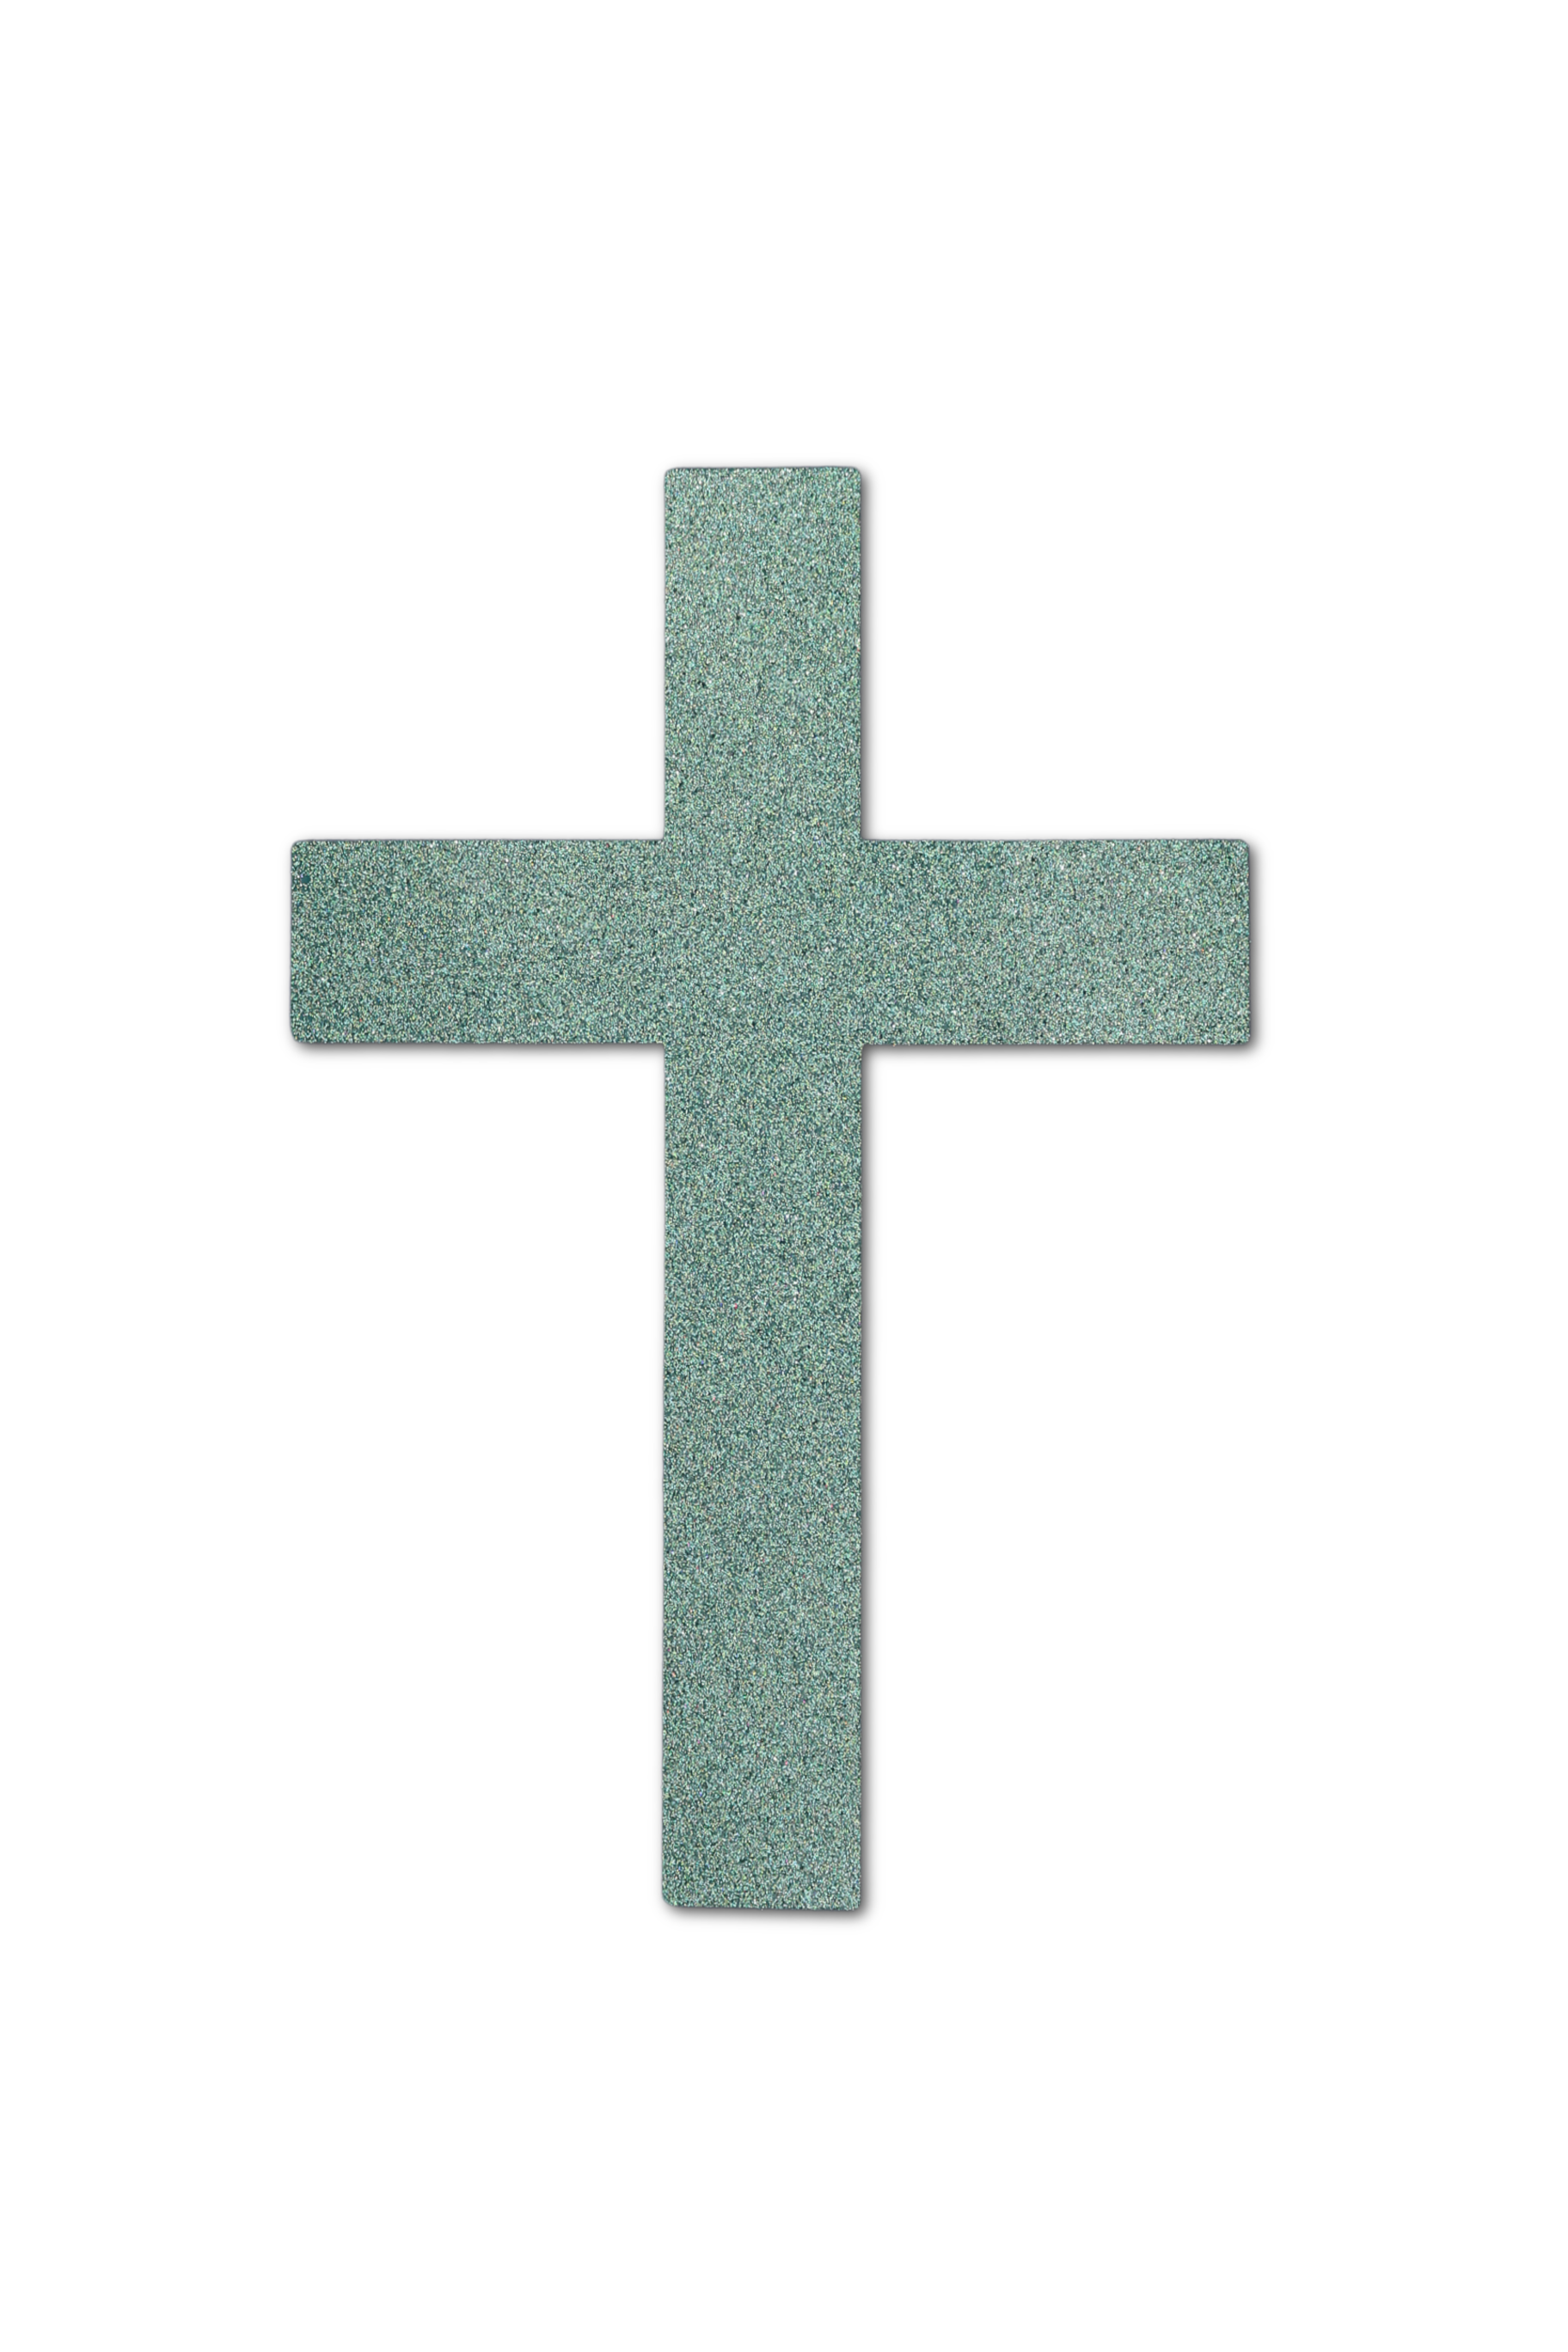
- Begin with the full cross layer as the base of the design.

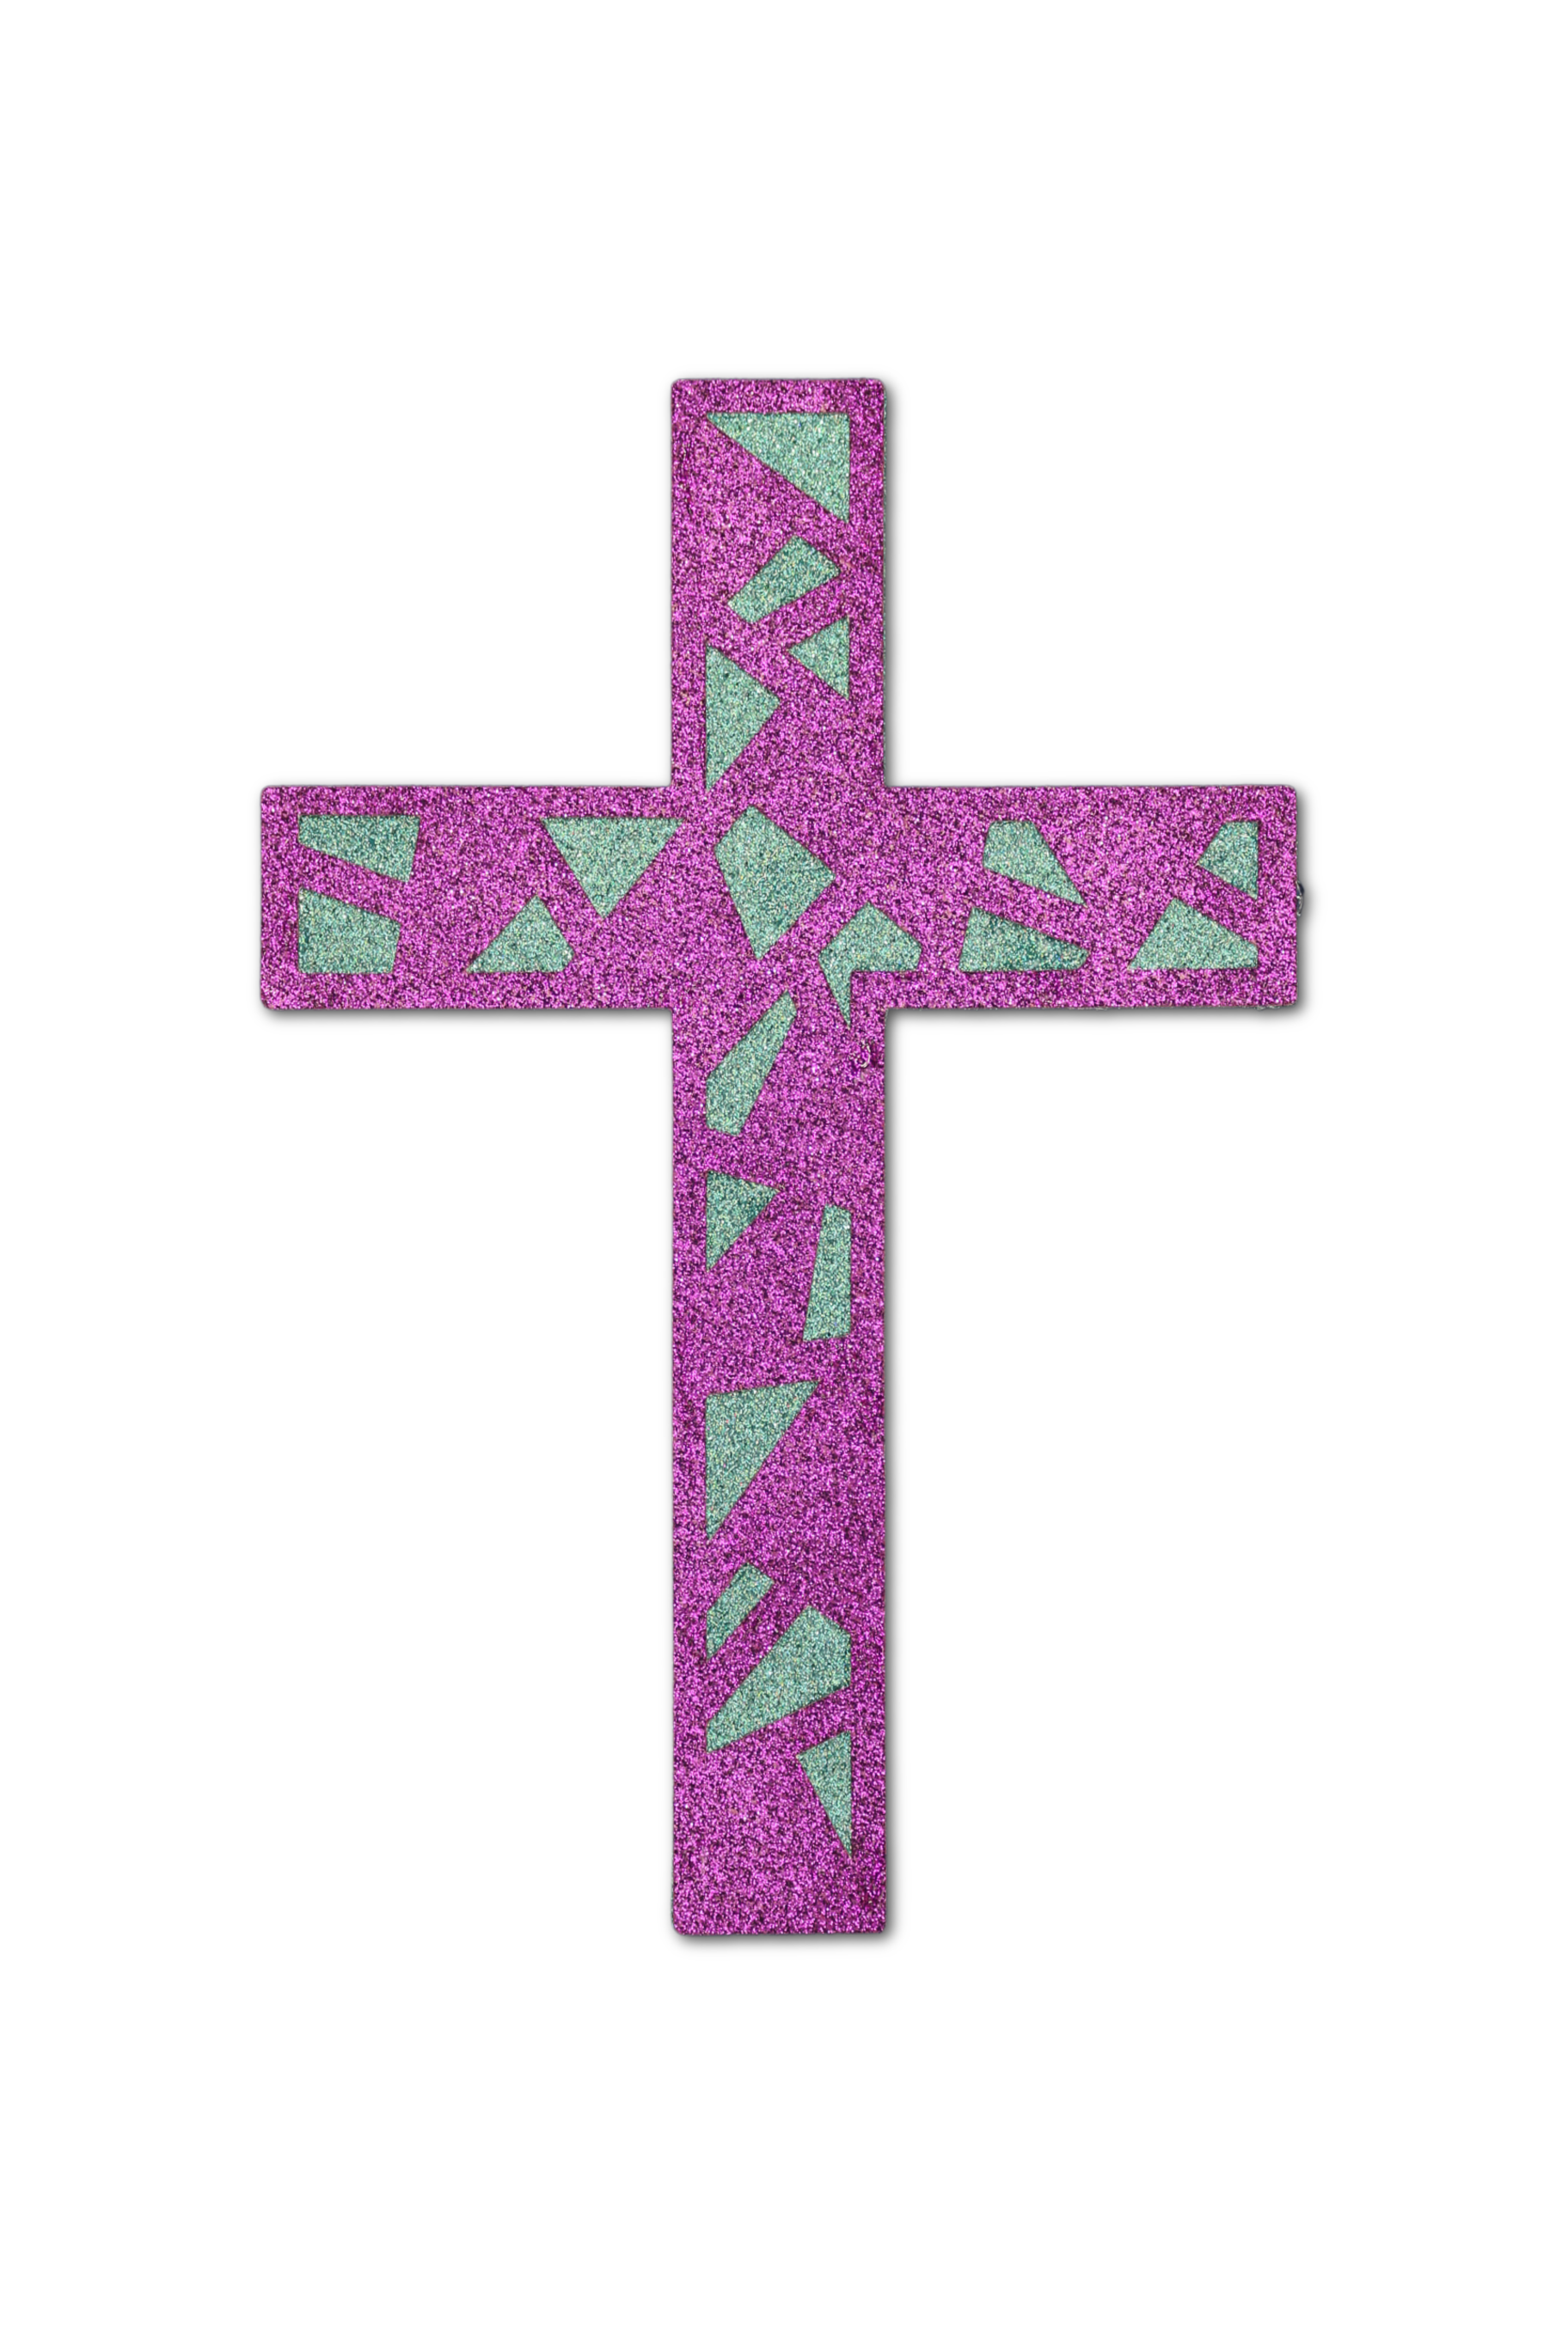
- Apply craft glue to the back of the next cross layer. Focus the glue on the edges of the cross design.
Align this layer on top of the bottom layer. You should be able to see the bottom layer through this layer.
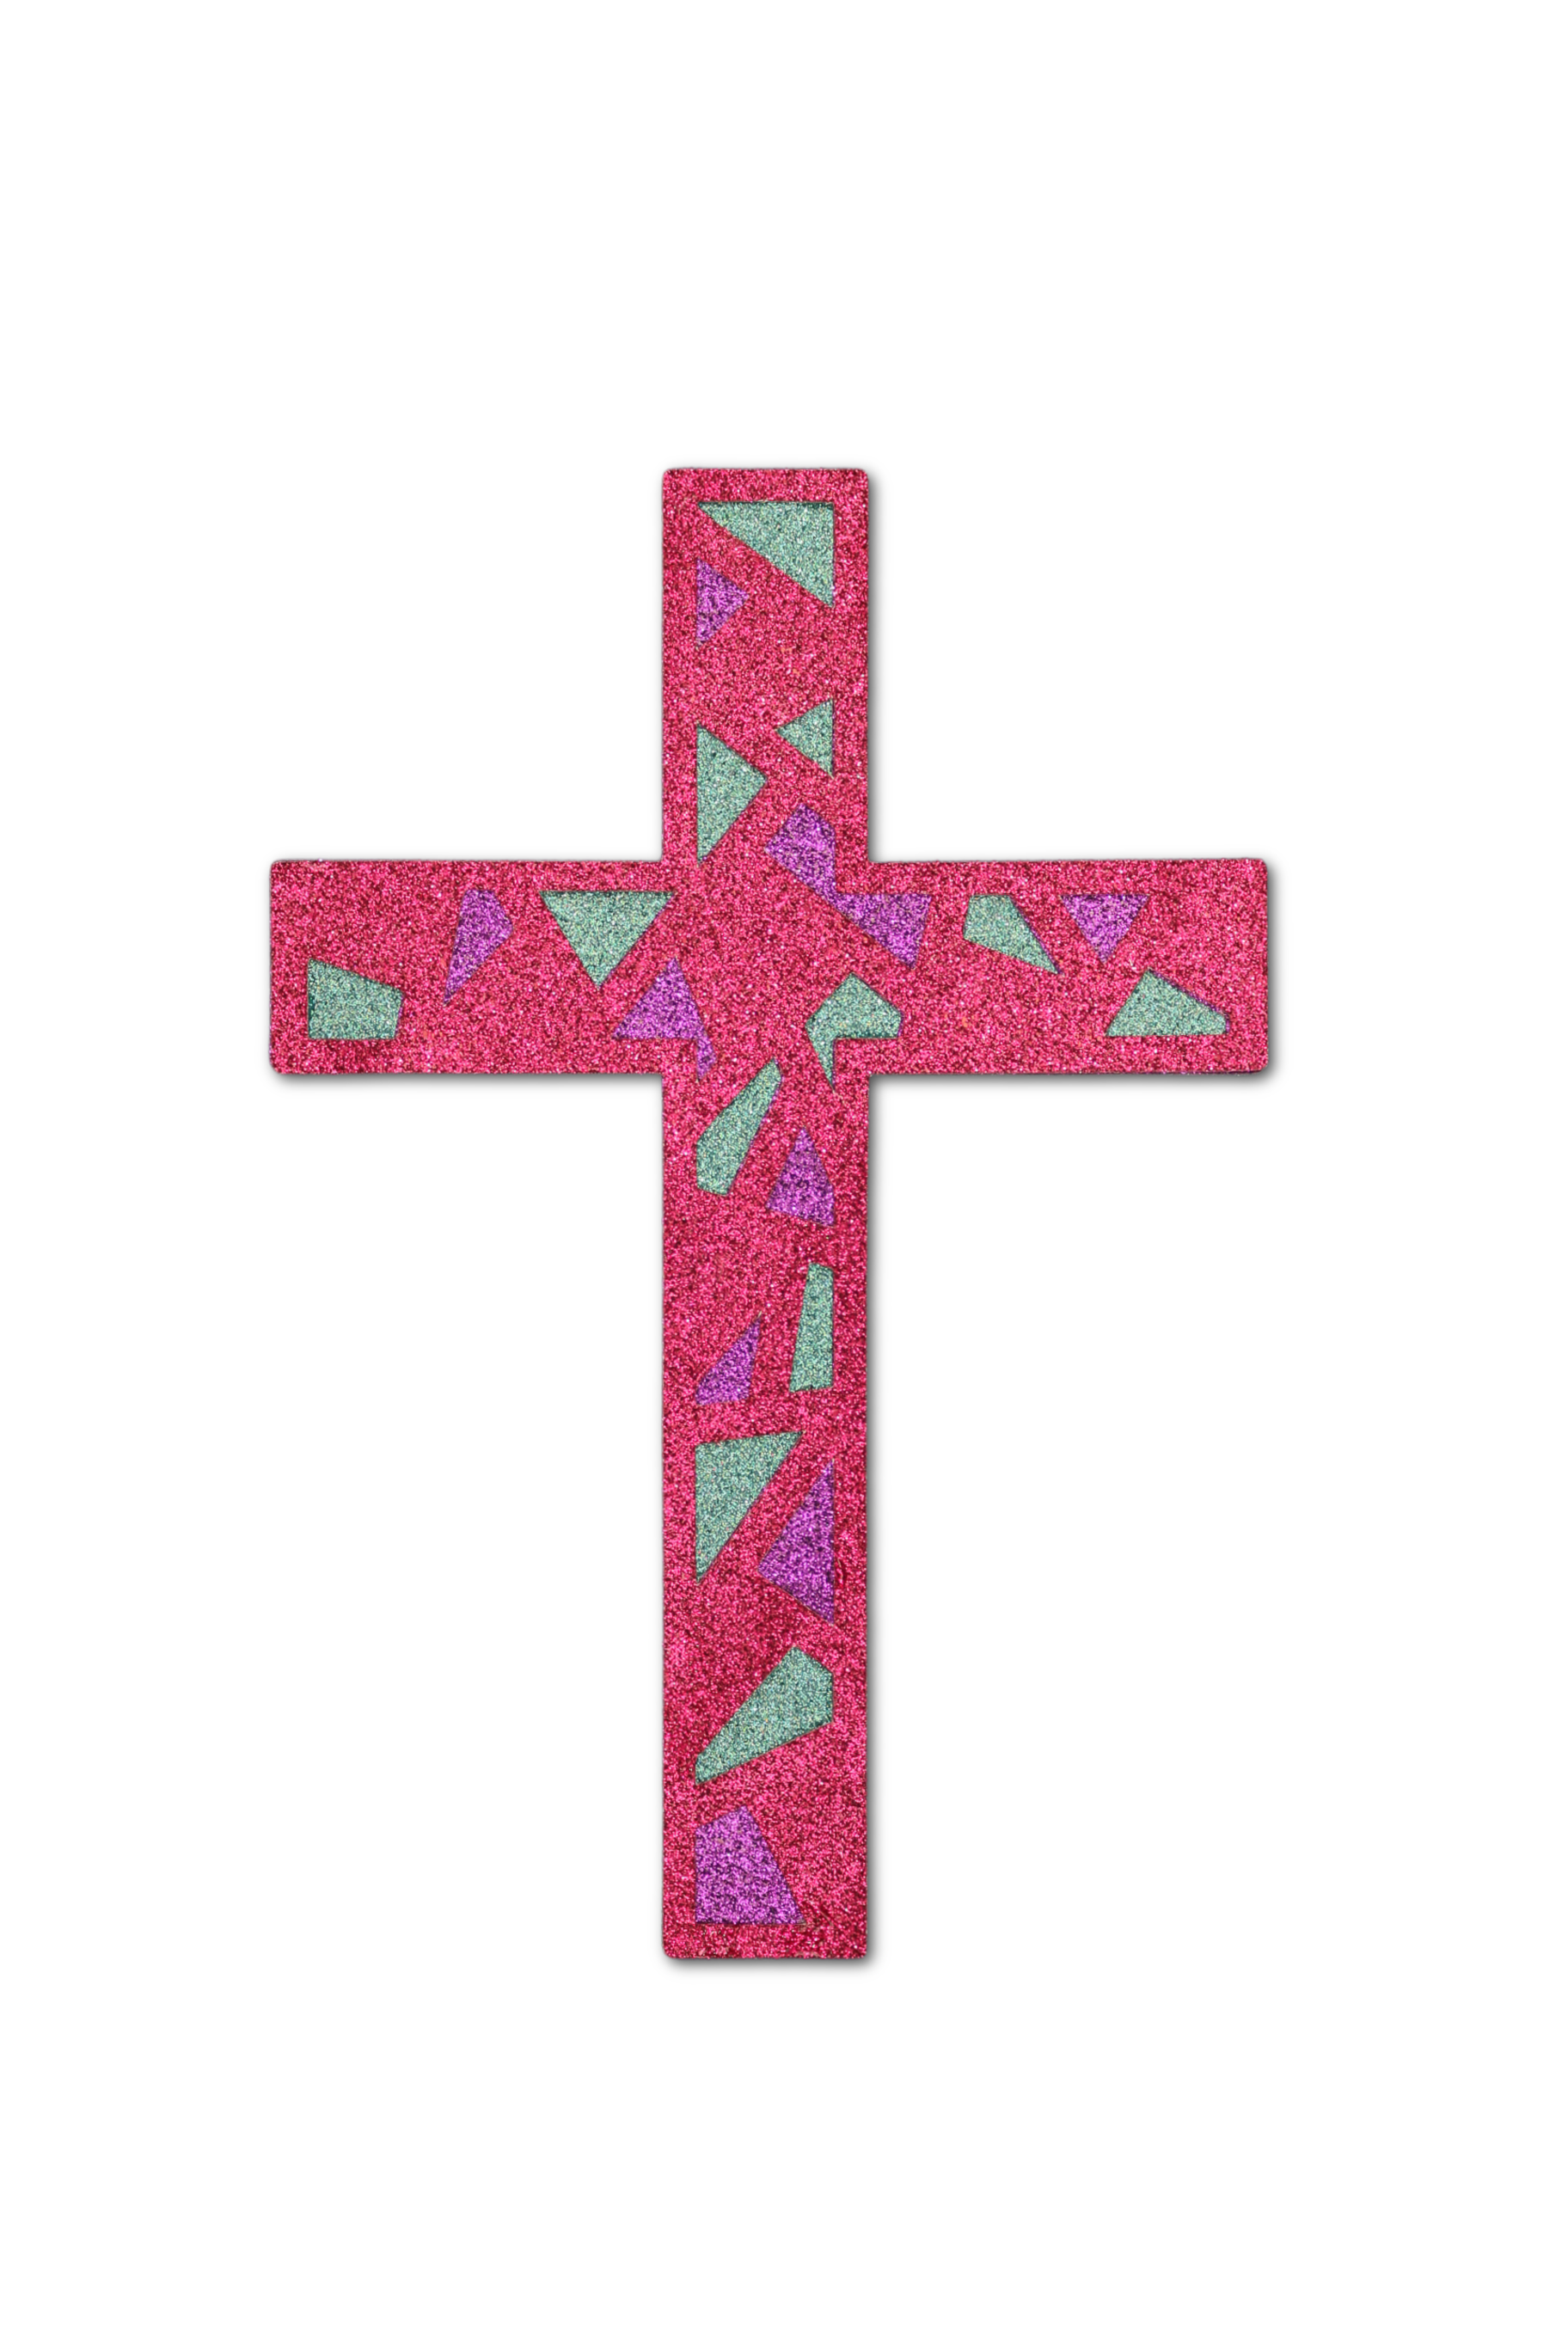
- Apply craft glue to the back of the next cross layer. Align this layer on top of the previous layer. You should be able to see BOTH previous layers through this piece.

- Apply craft glue to the back of the top cross layer. Align this layer on top of the previous layer. You should be able to see ALL previous layers through this piece.

- Place a heavy flat object (like a book) on top of the glued papers and let it dry.
- Start the layered butterfly with the full butterfly piece.

- Apply craft glue to the back of the next butterfly layer. Focus the glue on the edges of the butterfly design. Align this layer on top of the bottom layer. You should be able to see the bottom layer through this layer.

- Apply craft glue to the back of the next butterfly layer. Align this layer on top of the previous layer. You should be able to see BOTH previous layers through this piece.

- Apply craft glue to the back of the top butterfly layer. Align this layer on top of the previous layer. You should be able to see ALL previous layers through this piece.

- If you would like your butterfly wings to lie flat: Place a heavy flat object (like a book) on top of the glued papers and let it dry.
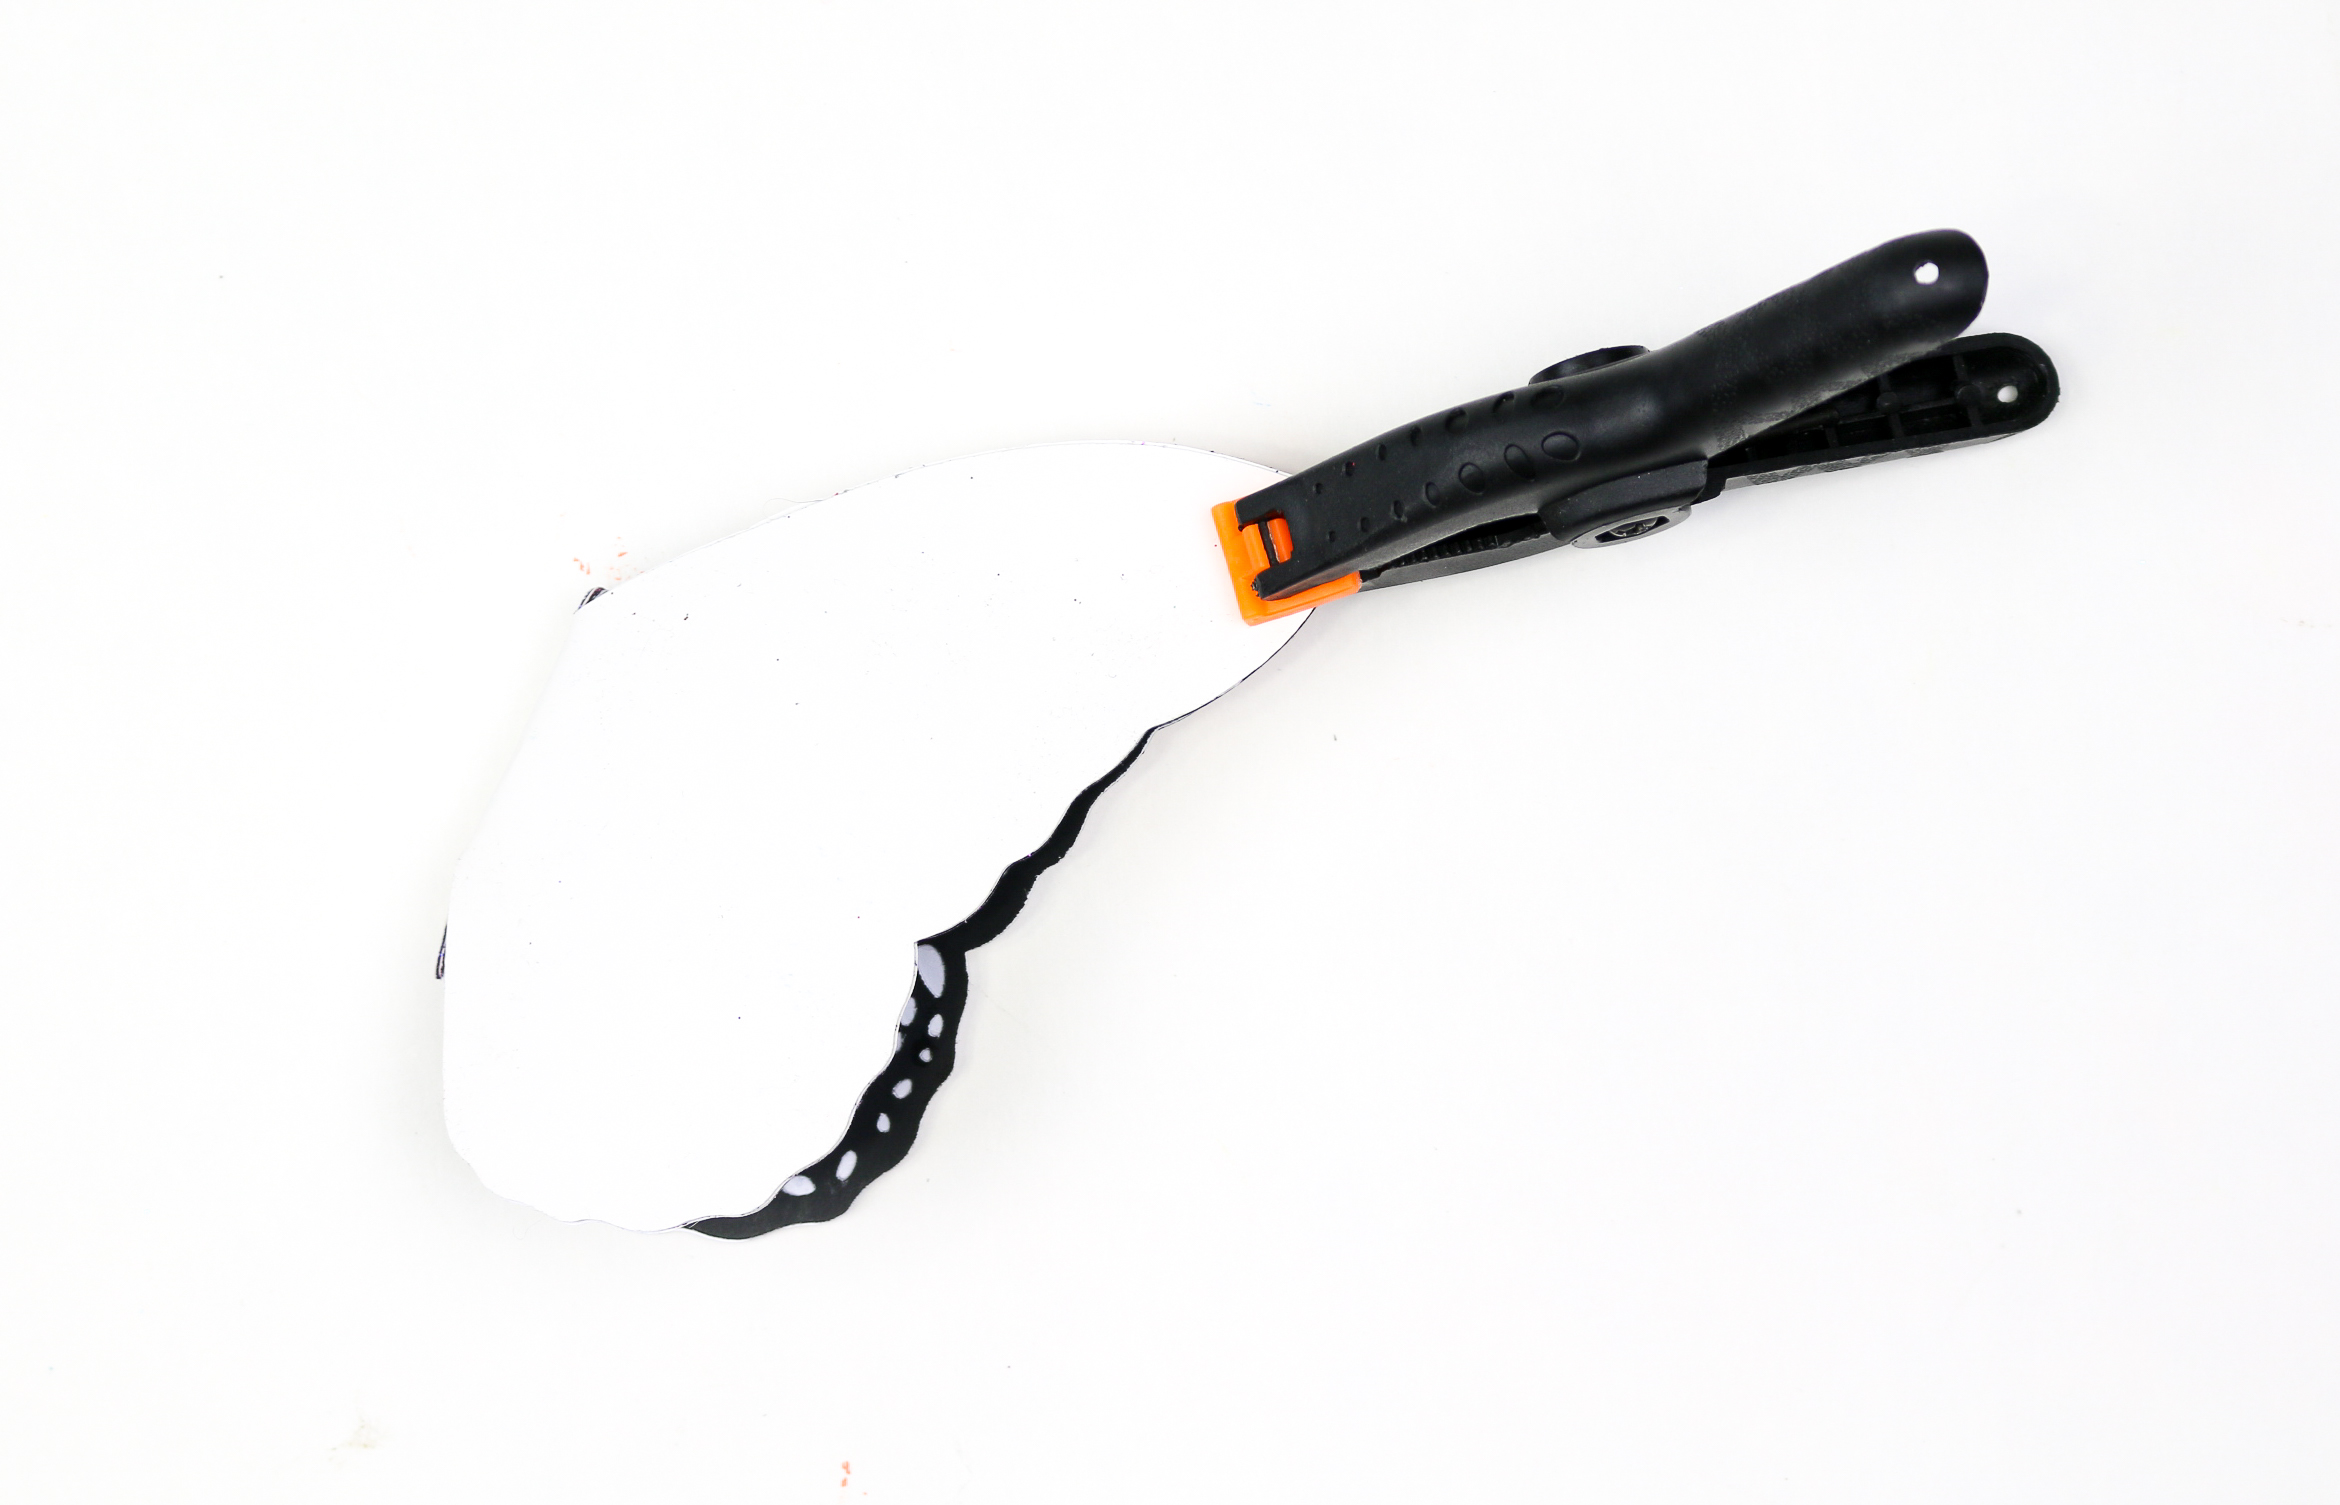
If you would like your butterfly wings to have dimension: Carefully bend the layers on either side of the body of the butterfly. Clip the butterfly wings together with a clamp or clothespin. Let dry.
- Use craft glue or glue dots to adhere the butterfly to the center of the cross.

ALTERNATIVE WAYS TO USE THE SVG FILE
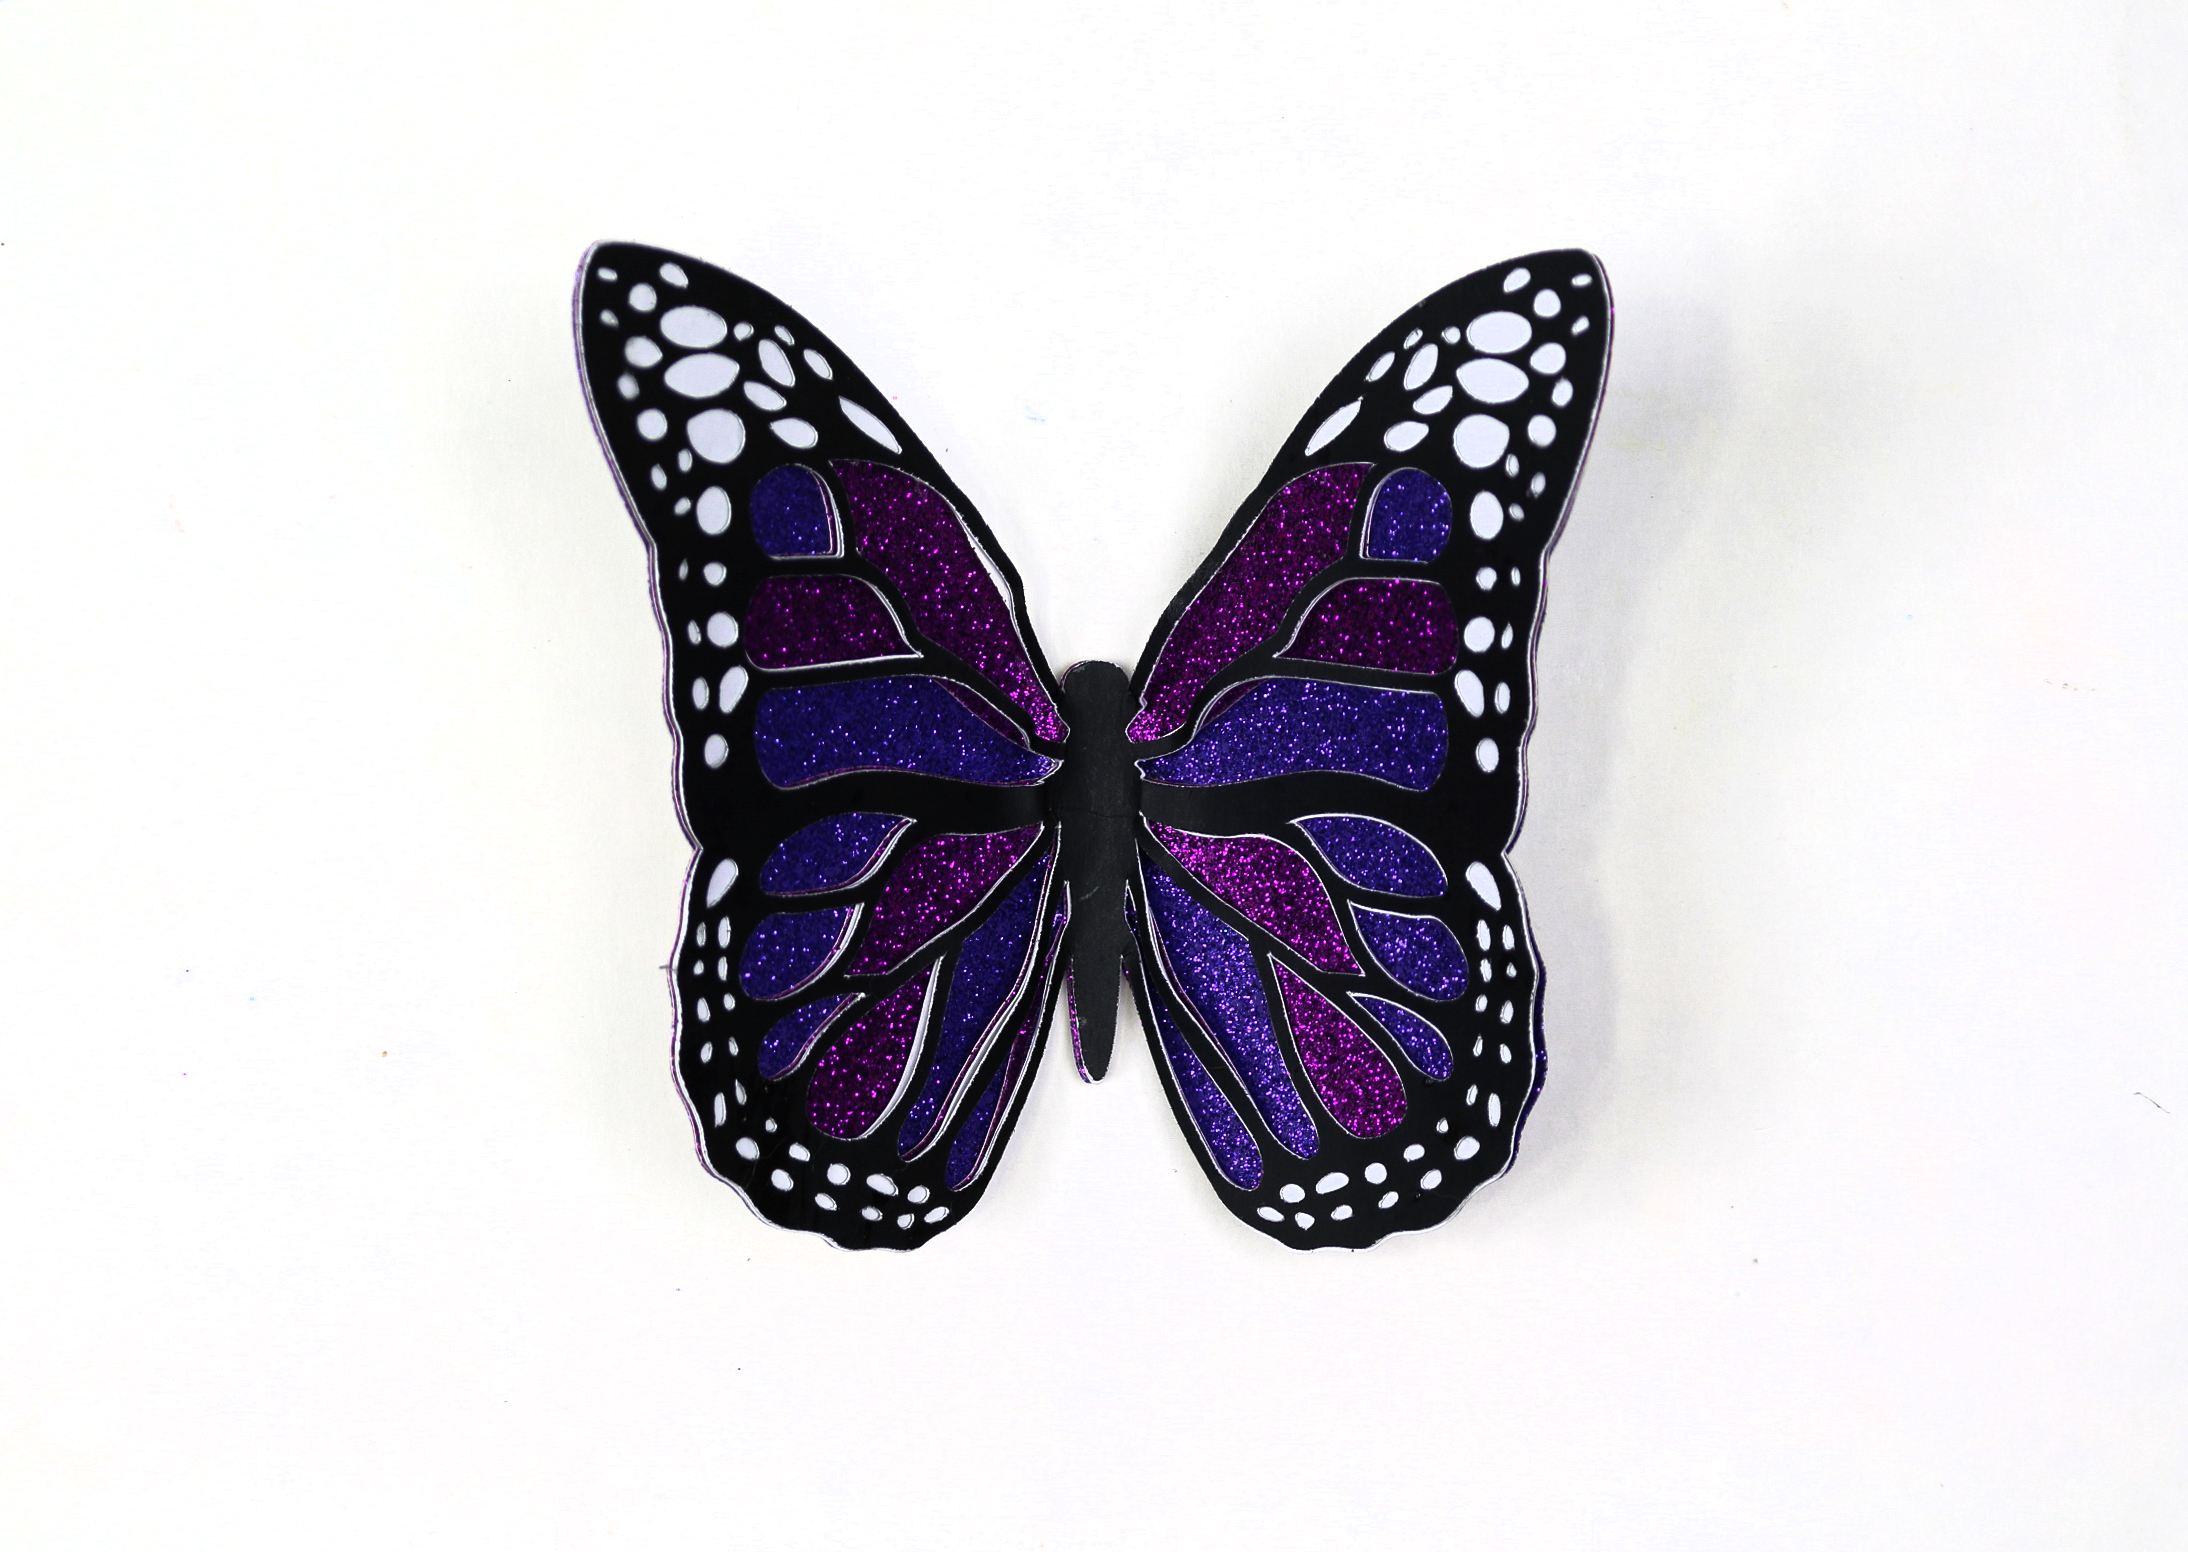
You can use the two elements of this butterfly cross design separately if that is what your project requires. The butterfly is beautiful on its own, and the stained glass cross is lovely too!
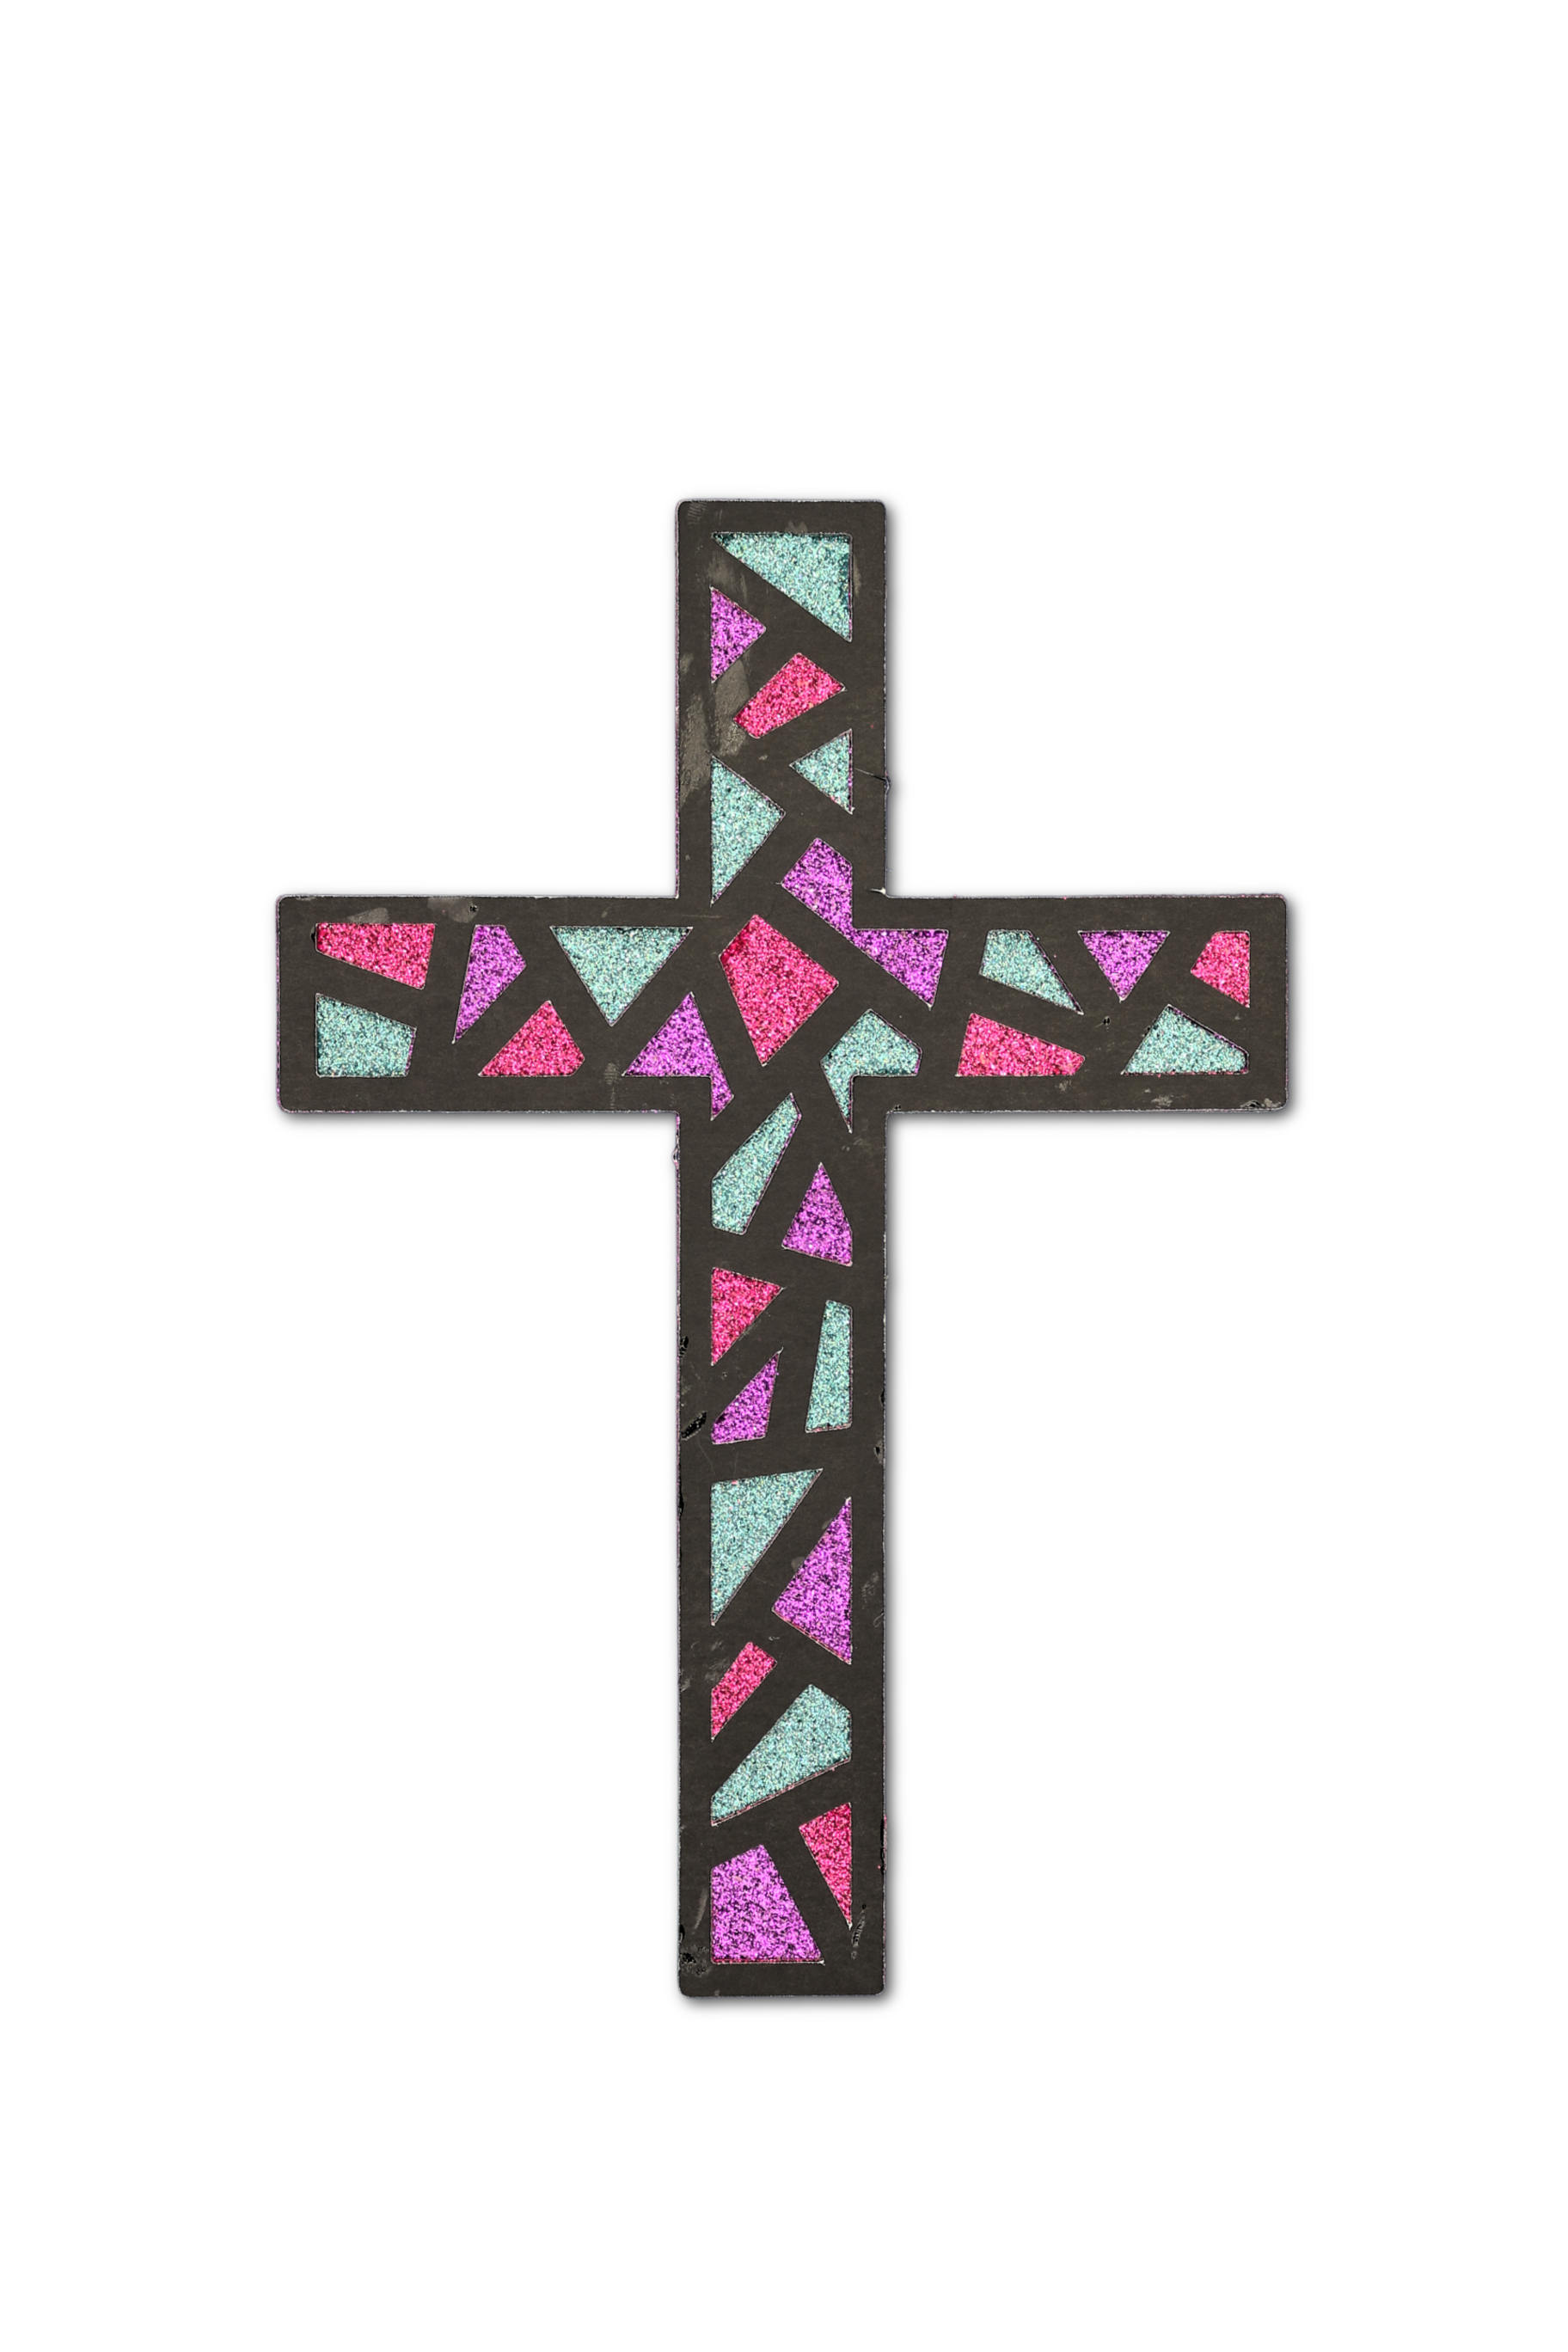
You can also change up the materials you use to make the layered cross. I think it would be pretty to make the top layers of each shape out of chipboard or balsa wood, and the bottom layers out of acrylic to make a beautiful suncatcher! If you have more ideas for ways to use this Easter cross design, let me know in the comments!

