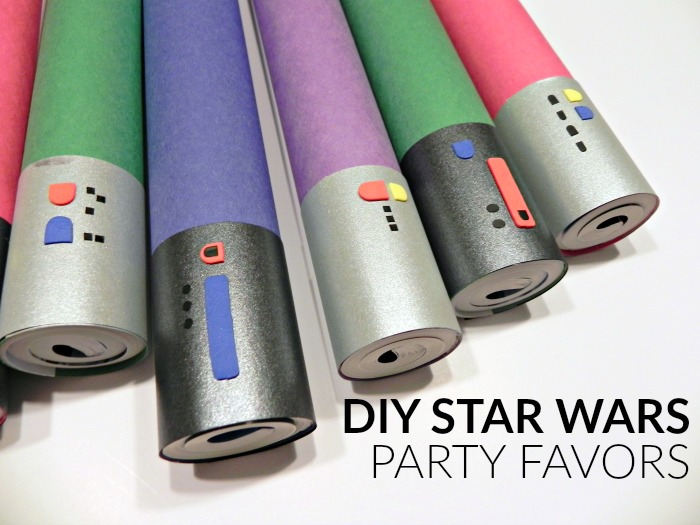
I love to send party guests home with a little something to thank them for coming. Unfortunately, party favors can get expensive FAST, especially when you are dealing with a highly merchandized theme like a Star Wars party. I was thankful to be able to make cool themed party favors for the kids at the party for less than $2 each!
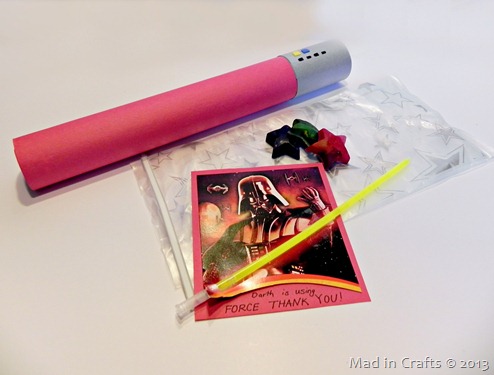
Each kid at the party got to take home a lightsaber coloring book, a few star-shaped crayons, Star Wars fruit snacks and a thank-you card – complete with glowing lightsaber! I will show you how easy and inexpensive it can be to make up these favors!
STAR CRAYONS
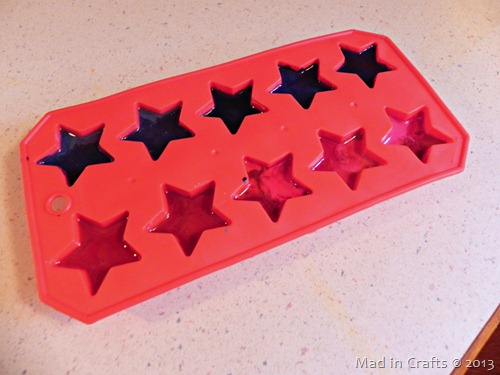
One of the earliest tutorials on Mad in Crafts was for making Snowflake Crayons using a silicone mold. When I remembered I had this star-shaped mold from Dollar Tree I knew I could quickly make star crayons to add to the party favor bags.
To make Star Crayons, you will need (affiliate links):
- silicone star mold
- broken crayons
- oven
I followed the same process I did the first time I made recycled crayons: peel and break up crayons, place them in the mold, bake at 200 degrees until melted.
Let cool and pop out of the mold! I made enough so that each treat bag had a red, blue, and green star crayon.
COLORING BOOK LIGHT SABERS
What’s a Star Wars party without lightsabers, right? But purchasing a store-bought lightsaber for each child at the party was right out of the question. Instead I turned dollar store coloring books into cool, one-of-a-kind lightsabers!
Watch this short video to see how to assemble the lightsaber party favors or scroll down for the step-out photos. Subscribe to my YouTube channel for videos like this twice a week!
To make Coloring Book Lightsabers, you will need (affiliate):
- Star Wars coloring books (DT or here)
- painter’s tape
- construction paper in lightsaber colors (red, blue, green and purple)
- grey or silver cardstock
- scissors or paper trimmer
- roller adhesive
- letter stickers
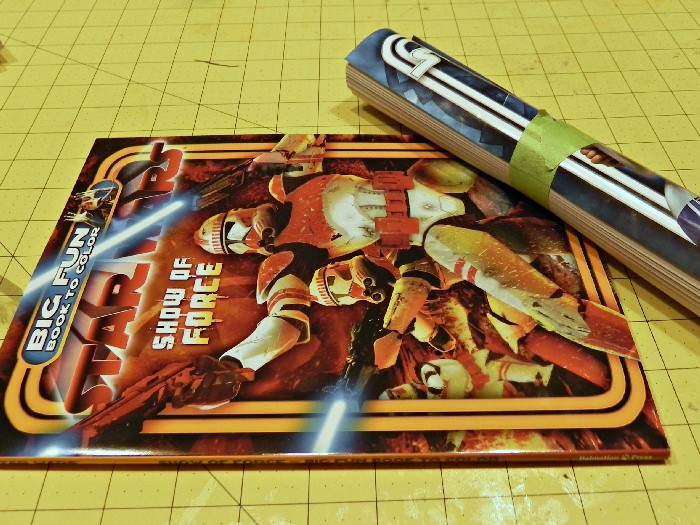
I began by rolling the coloring books as tightly as I could, and then securing them with a strip of painter’s tape.
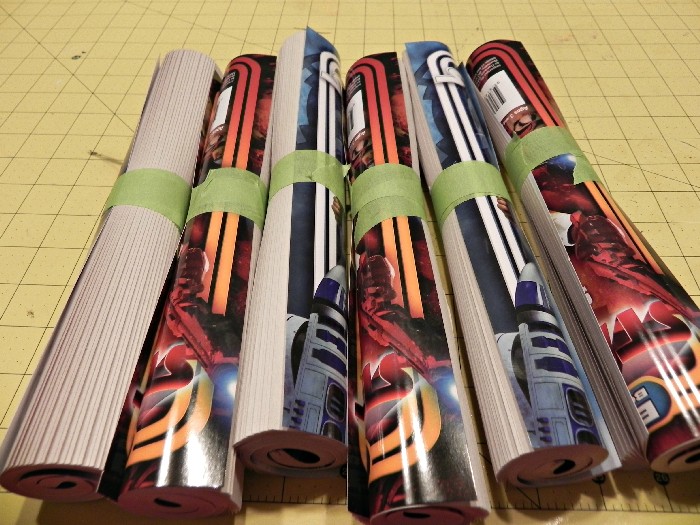
It’s best if you start rolling from the bound edge of the coloring books. They roll up more easily that way.
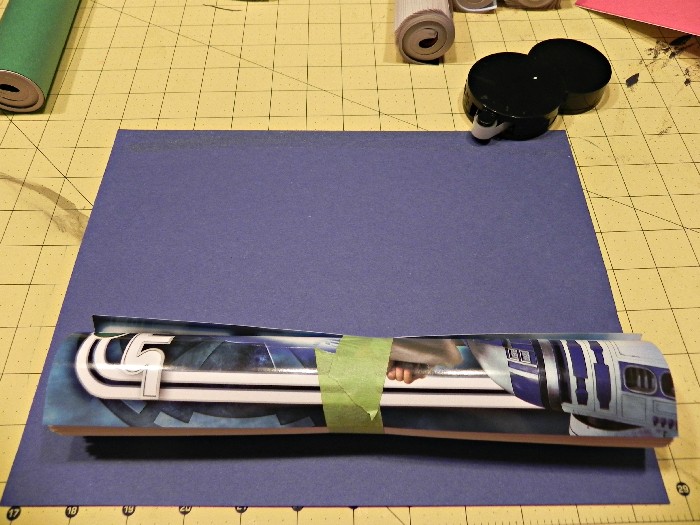
Next, roll a line of adhesive along the long edge of a piece of construction paper. Starting on the opposite edge, roll the coloring book up inside the construction paper. The construction paper will be bit longer than the coloring is, but that excess is no problem.
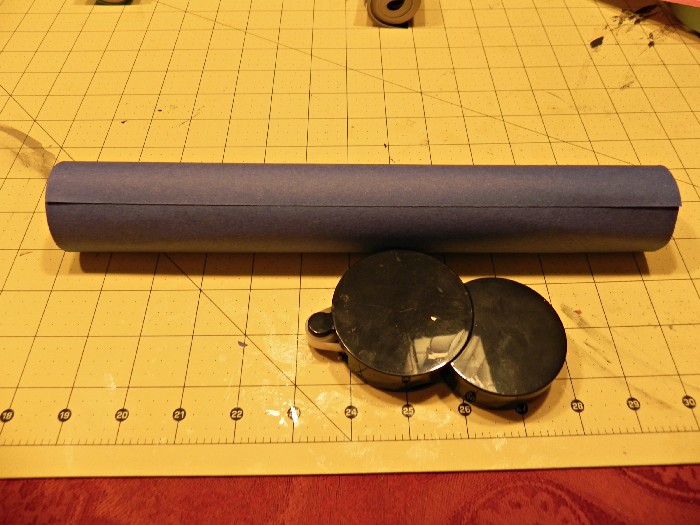
Smooth the construction paper down to get the adhesive to hold. The adhesive alone should be enough to hold the paper together without any tape.
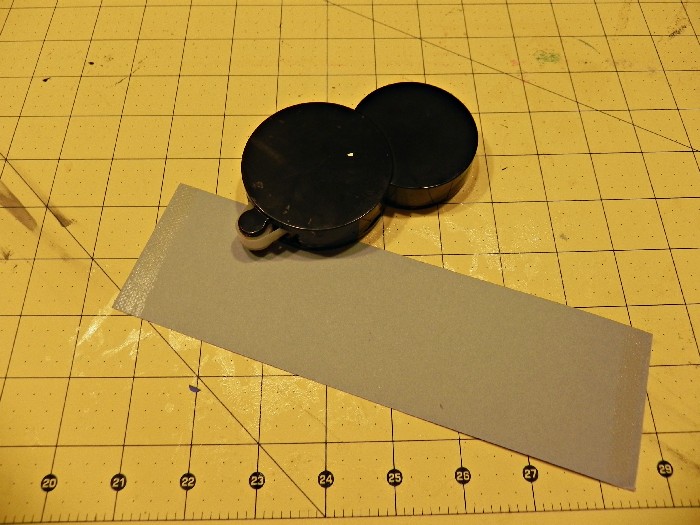
Cut a piece of of grey or silver cardstock to serve as the hilt of the lightsaber. I made mine about 2 1/2 inches wide. Roll adhesive on each short edge. Line the long edge of the cardstock up with one end of the construction paper covered coloring book and press the adhesive down. Roll the coloring book up in the cardstock, the same way you did with the construction paper, and press the adhesive down.
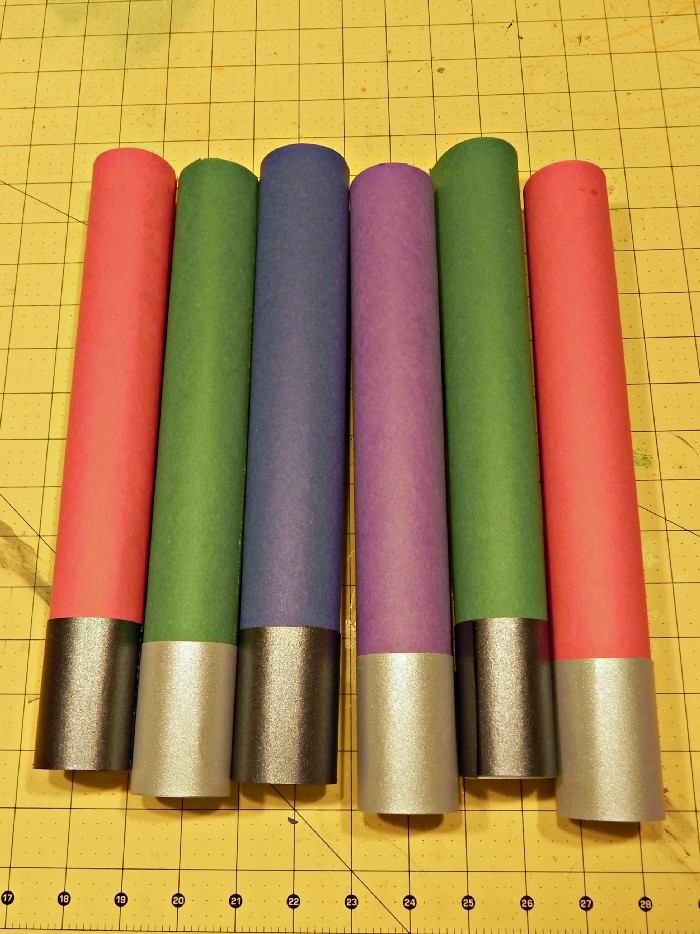
Repeat with all your coloring books until you have basic lightsabers made. Time to embellish!
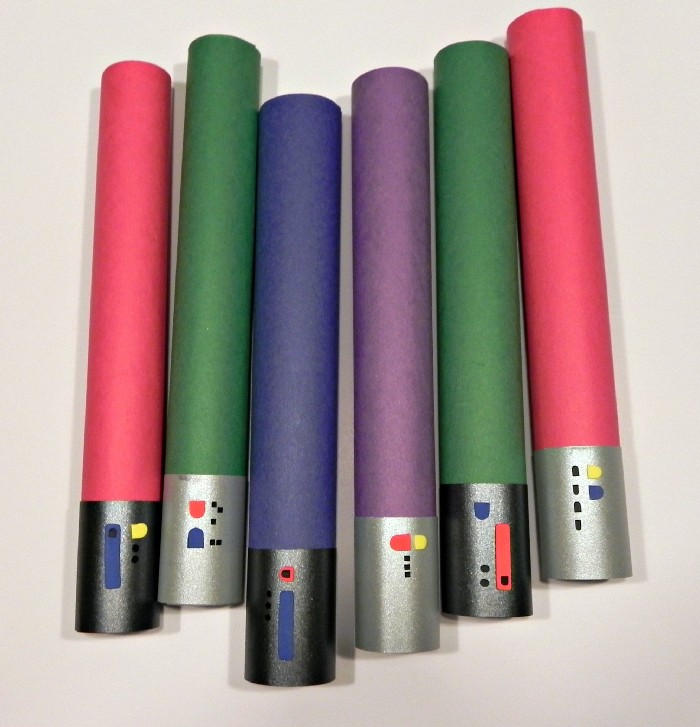
I dug around in my stash of dollar store stickers and found black sticker letters and craft foam sticker letters. I used the negative space from the letters (like from the P’s and D’s), punctuation stickers, and capital I’s to create buttons and switches on each lightsaber.
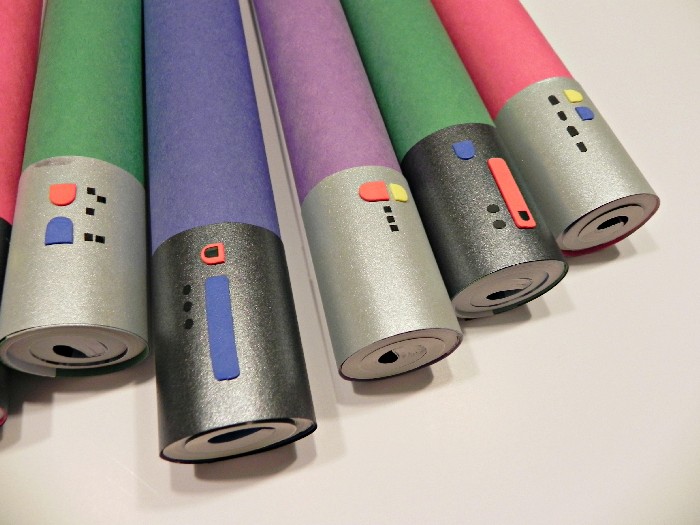
Since the construction paper isn’t glued to the coloring book, the books can be slipped out without ripping the paper. Although if the kids want to open the coloring books like a present, let ‘em at it!
I was pretty geeked with the way they turned out. They looked really cool, and each one cost $1 and some items from my stash! I think it took me all of a half an hour to make the 8 lightsabers I needed for the party. Not bad at all.
NOTE: You DON’T want to let any littles battle each other with these lightsabers because they end up being heavy and very sturdy. You could get some nasty injuries if they went all Darth Vader on each other.
THANK YOU CARDS
By sending thank-you cards home right in the treat bags, I eliminated some of the stress of the party follow-up. These cards were fun to make and could easily be adapted into Valentine’s too!
To make Star Wars Thank-You’s, you will need:
- Darth Vader graphic
- construction paper
- glue
- tape
- pen
- glowstick bracelets (DT or here)
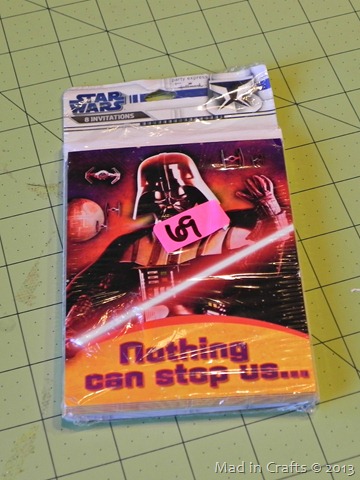
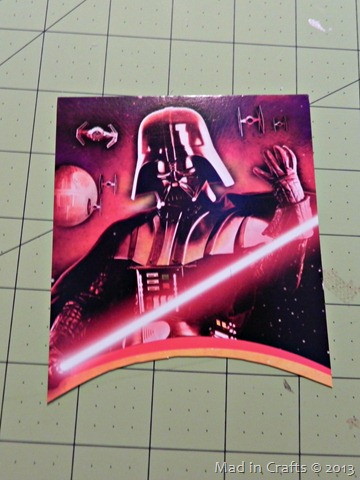
My son’s godmother is a Goodwill wizard (or should I say “Jedi?”). She always finds the best stuff. She found these Darth Vader invites there AND they were the day’s half-off color. Since I created the Star Wars Crawl Video Invitation, I decided to use these cards as the base for a thank-you card I could slip in the treat bags.
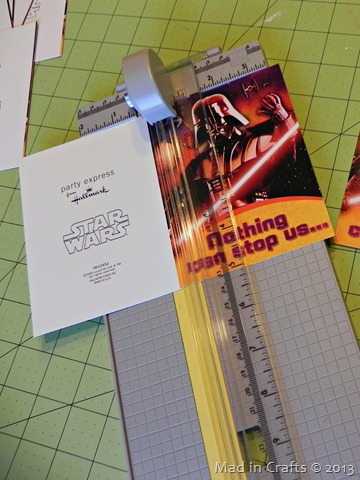
I used my paper cutter to slice off the back of each notecard
The bottom of the cards didn’t really make sense without the rest of the card, so I trimmed that off too. Obviously, if you don’t have these EXACT cards, you can print an image of Darth Vader off the web. Just make sure his lightsaber is turned on and visible in the image.
I glued the remaining Darth Vader image to a piece of construction paper and added a silly thank-you message. Finally, I cut a small slit in the card where Vader is holding onto his light saber. I inserted a glowstick bracelet from Dollar Tree and taped it in place. When the bracelet was cracked open, it looked like Darth’s lightsaber was really glowing!
I packaged the DIY favors in treat bags from the dollar store. I found ones that had silver stars printed on them, so even they fit the theme. I added a packet of Star Wars fruit snacks to each bag and called them done.
Cost breakdown:
- 8 treat bags = $1
- 8 coloring books = $8
- silicone star mold = $1
- 8 glow bracelets = $2
- Star Wars snacks – $2
- all other materials = on hand
TOTAL = $14 for 8 Star Wars party favor bags!
For more Star Wars Party tutorials, check out these posts:
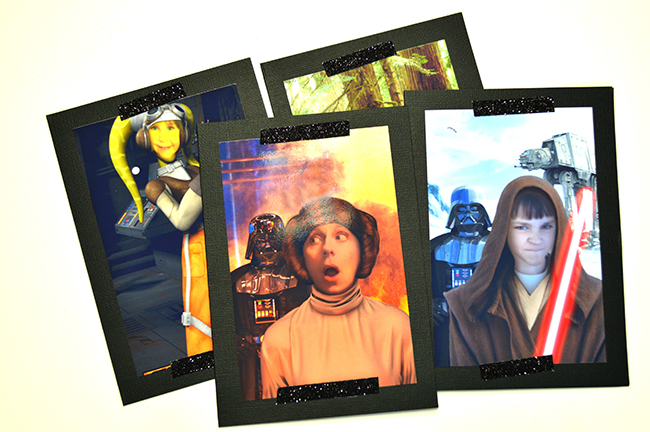
STAR WARS SELFIE THANK YOU CARDS



Thank you so much for a great idea – problem solved on how to give out coloring books for a Star Wars Party and I had all the supplies laying around, which is awesome!!
BONUS!