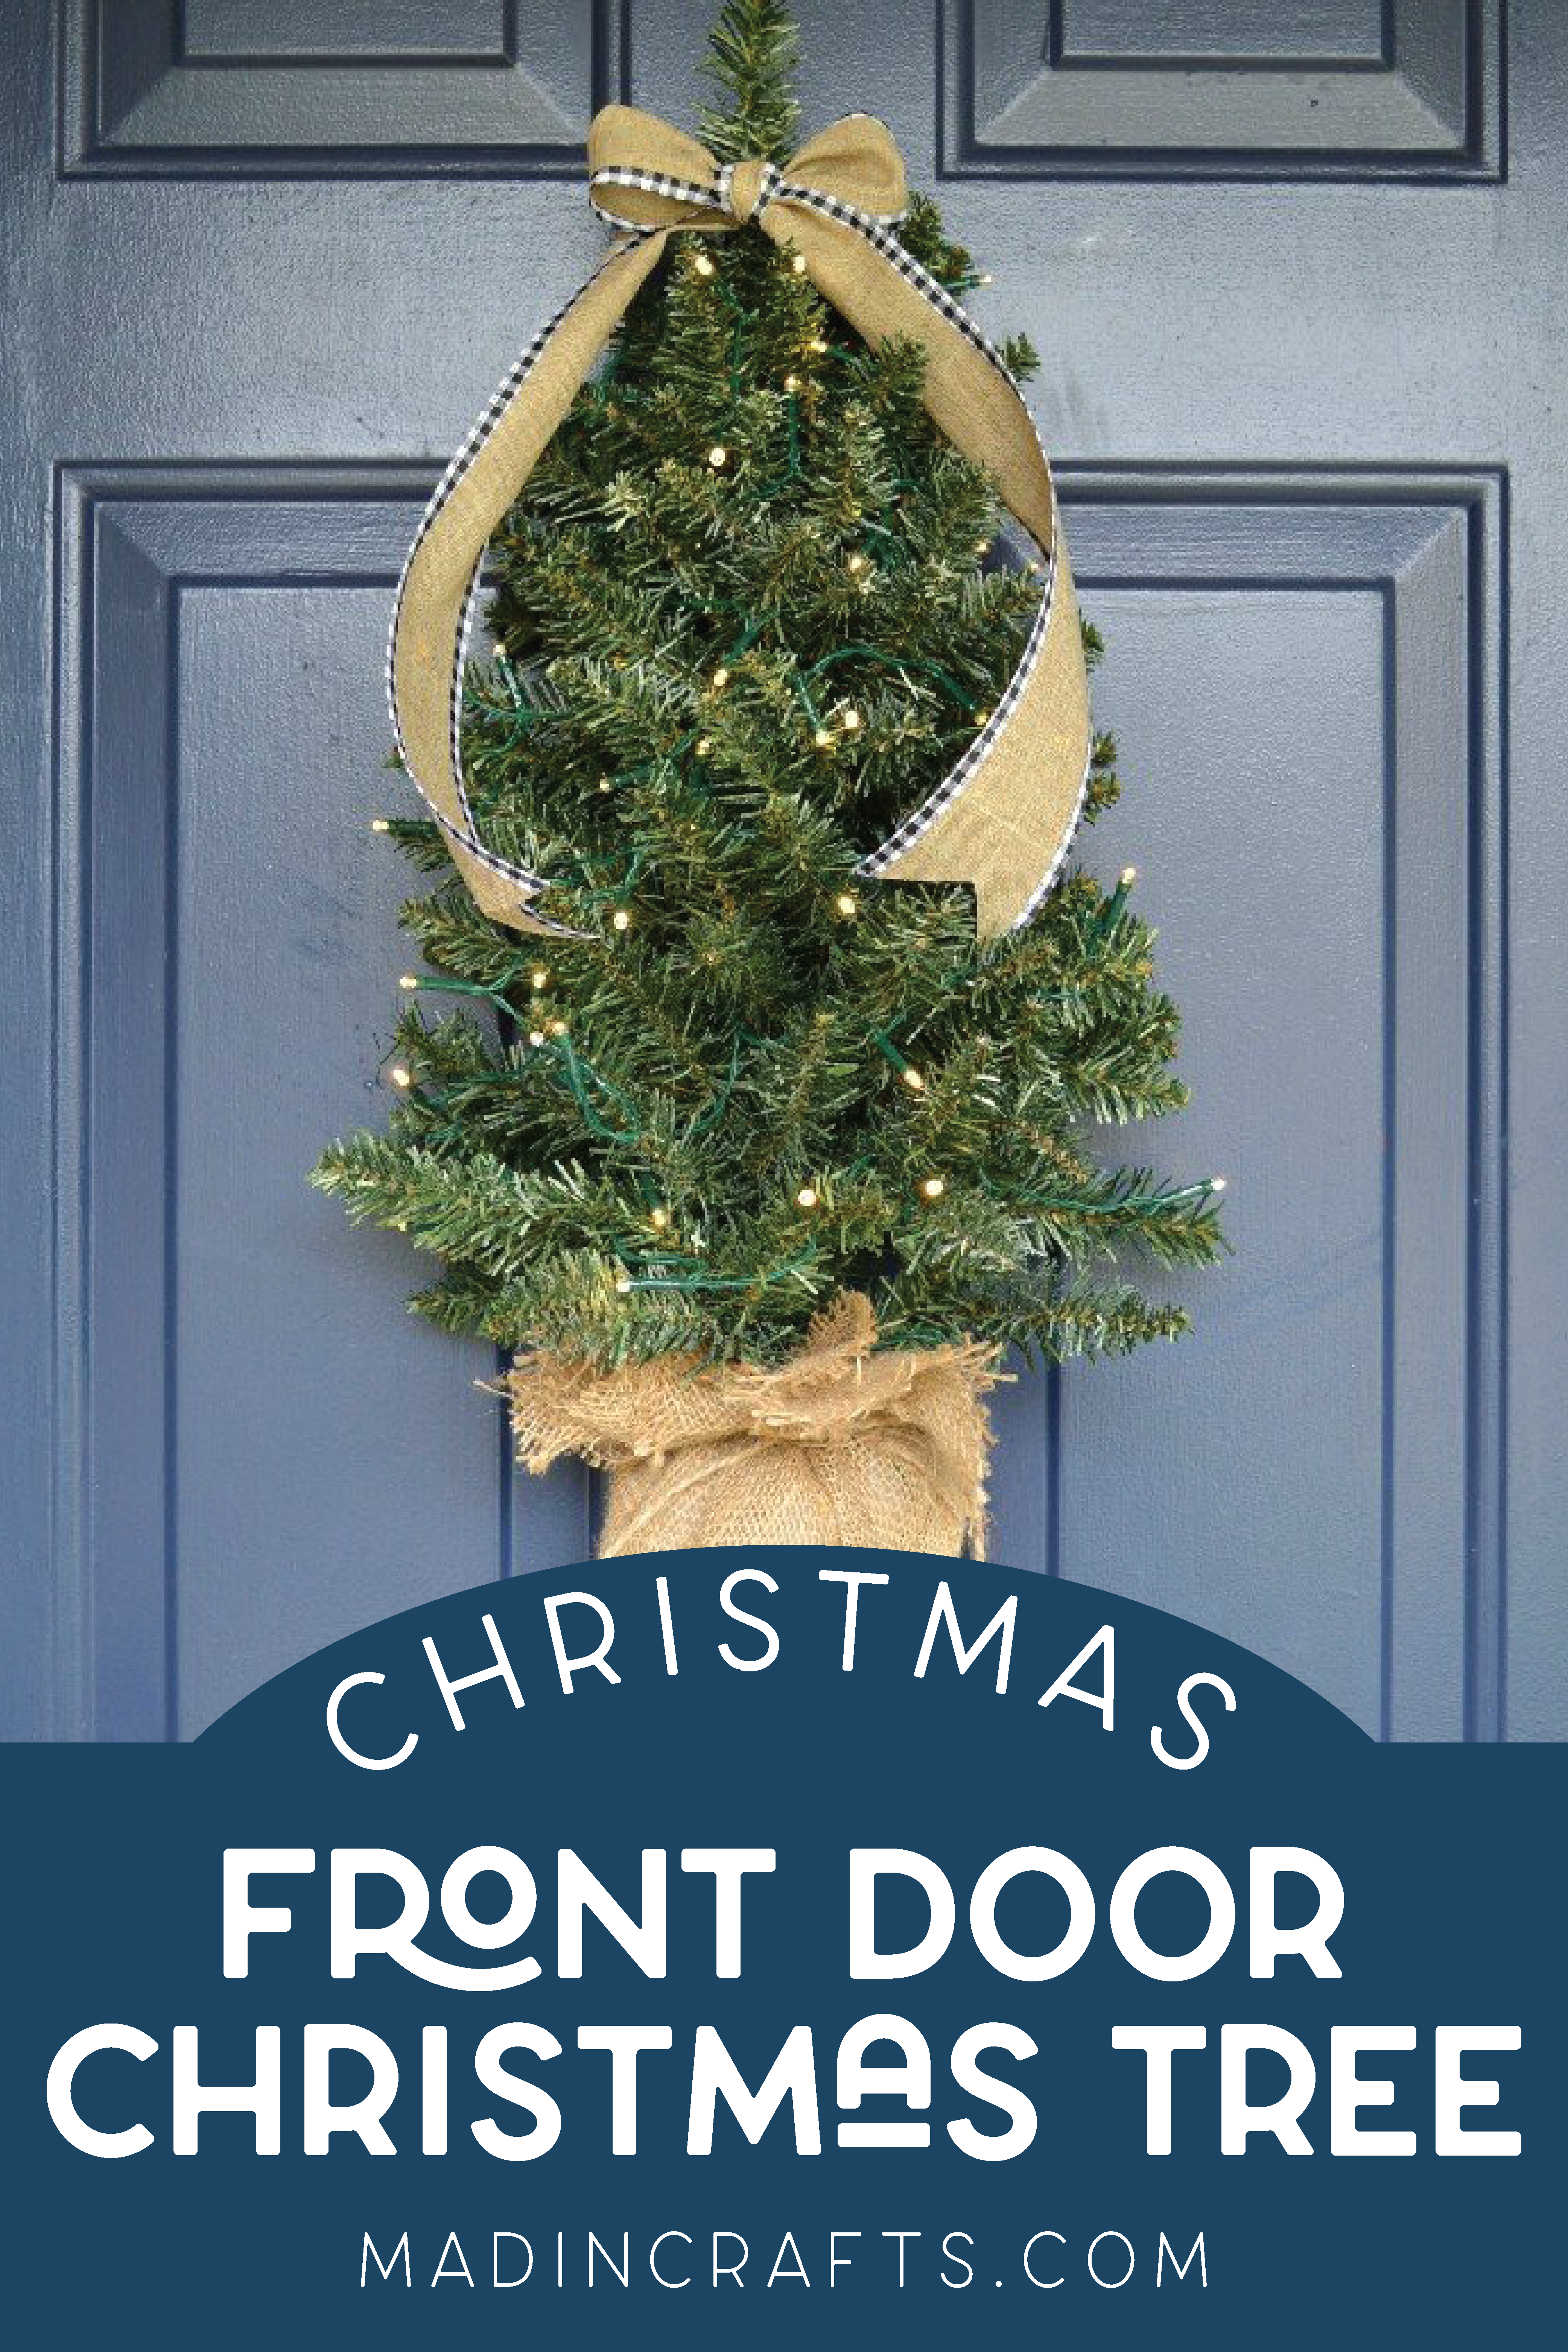
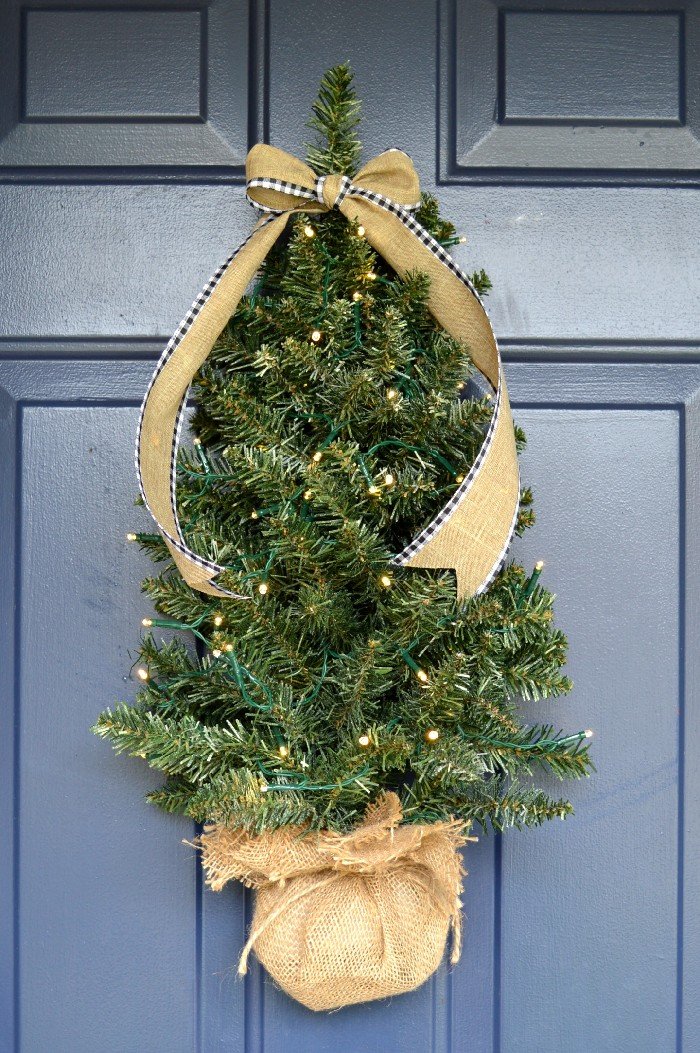
While I love beautiful Christmas wreaths, I wanted something different for our Christmas decorating this year. Instead of traditional wreaths or an evergreen garland, I created a Christmas tree for our front door. With a few adjustments, you can turn a tabletop tree into a beautiful front door Christmas tree. I kept my tree fairly simple with glitter spray paint and burlap, but you could make yours as colorful or glamorous as you would like.
FRONT DOOR CHRISTMAS TREE WITH LIGHTS
WHAT YOU NEED TO MAKE A HANGING TREE
If you are making this project in the months leading up to Christmas, you will likely be able to find the supplies you need in any big box or craft store. If not, I am including links to places you can find those supplies online.
These are all affiliate links, if you make a purchase (of anything from these sites, not just these specific items) after clicking through, I will earn a small commission. Ads and affiliate links are the way I am able to keep this website running and to offer you free tutorials all year long. Thank you so much for supporting me and Mad in Crafts!

Want to know which craft supplies I always keep in my craft room?
Visit the Mad in Crafts Amazon Storefront to learn more and to buy your own supplies!
HOW TO MAKE A CHRISTMAS TREE FOR YOUR FRONT DOOR
Creating this front door Christmas tree is really just a matter of fluffing branches and stringing lights, so if you have set up an artificial tree before you already know what to do! Watch the short video above to see me create my tree or read on for the step-out directions.
- Remove any stand that may come with your tree.
- Remove any lights that came with your tree.
- Place the tree on a flat surface and fluff the branches, bringing any branches from the back of the tree toward the front.
You should end up with a flat back to the tree and a full looking front.
- Give the tree a light spray with glitter spray paint.
- Cut a foam ball into halves. Then cut one half in half again. This will serve as the base of the tree.
- Insert the tree into the foam.
- Place the battery pack for the lights at the base of the foam ball. Wrap the pack and the foam with burlap and tie to secure.
Make sure you are able to access the on/off switch through the burlap.
- String the lights on the tree.
- Add a bow to the top of the tree.
HANGING A FRONT DOOR CHRISTMAS TREE

There are a few ways that you can hang the finished tree on your front door. If you have a metal door, I highly suggest buying a sturdy magnetic wreath hook. I use mine all the time, and I have never had to worry about my front door decorations falling down when one of my kids shuts the door too enthusiastically.
You will need to create a sturdy loop to hang the tree from the wreath hook or door hanger. For my tree, I folded one of the wired branches into a loop to serve as a hanger for the tree. Alternatively, you could wrap a length of floral wire around the trunk of the tree and use that as a hanger.
When you get closer to the front door, you can see that the glitter spray paint adds a slight glittery flocked texture to the tree. The lights reflect off of the glitter to give it a pretty sparkly, especially at night. This is one of my very favorite front door decorations, so I hope you will give this project a try!
HOW TO STYLE THE HOLIDAY DOOR DECOR
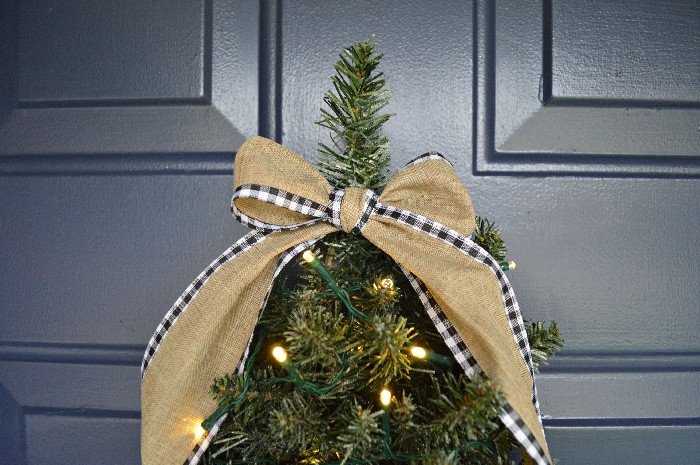
I chose to keep my tree plain by just decorating it with a simple bow and lights, but you can add as many additional elements as you would like to match your holiday decor. Here are a few things you can add to the tree to make your entryway even more inviting for guests this season:
- berries
- pinecones
- additional greenery
- paper snowflakes
- small unbreakable ornaments
- mini garland
Because this is a fairly light decoration you can place it on a variety of entrances. You can, of course, place it on the door of your front porch of a house, but consider using it on an apartment door, a classroom door, or an child’s bedroom door!


