I was Plutonium™ Paint’s brand ambassador. I was compensated for my work, but all opinions are 100% my own.
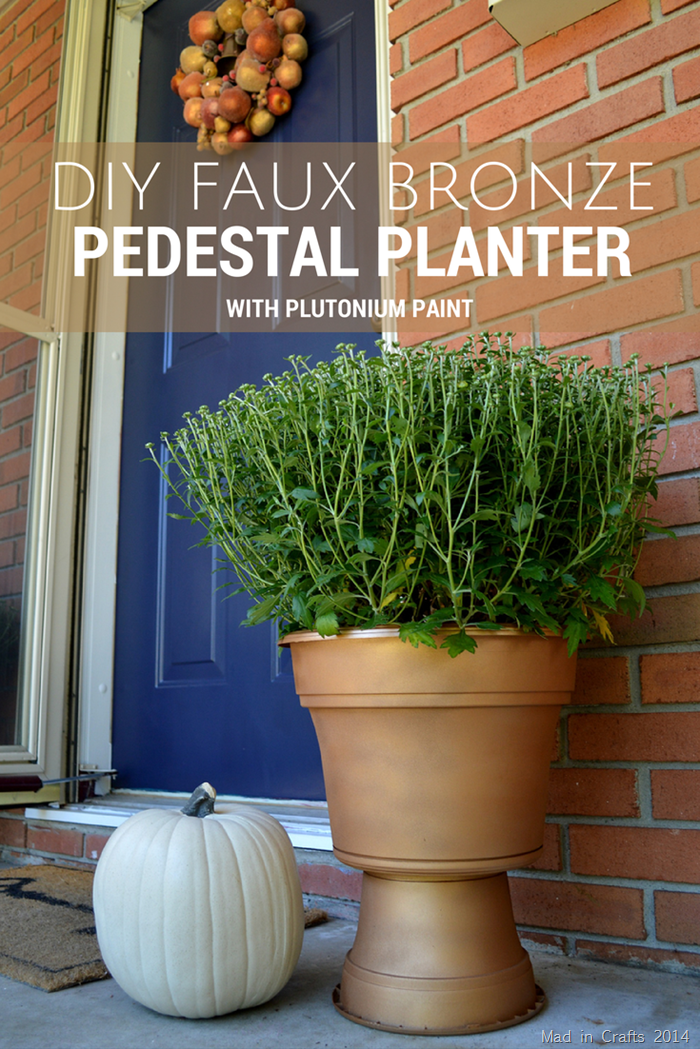
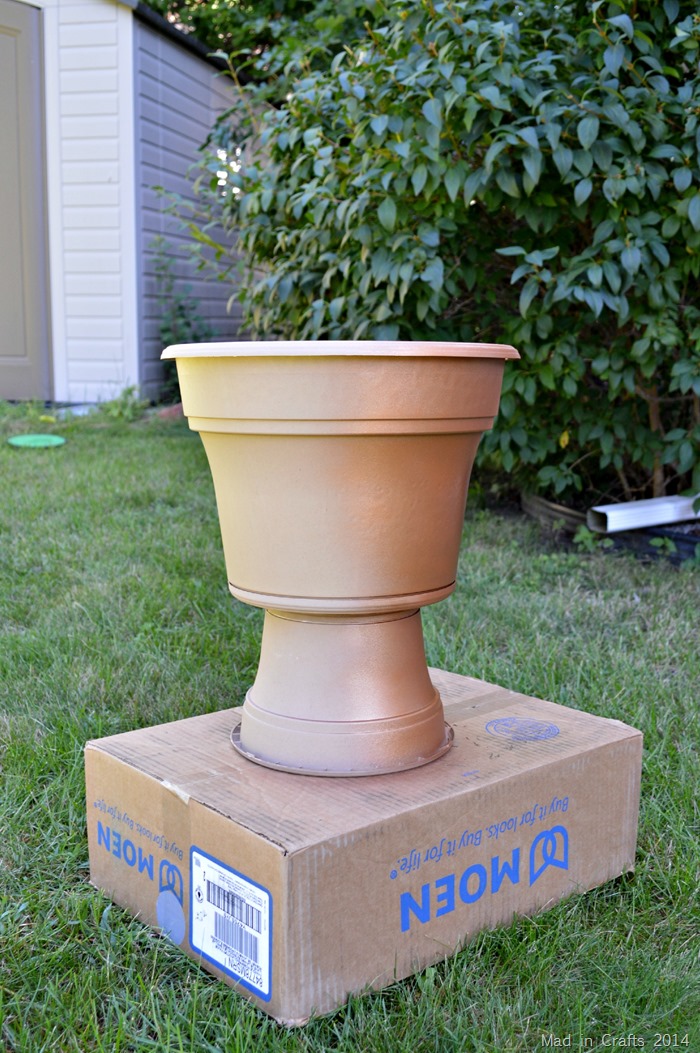
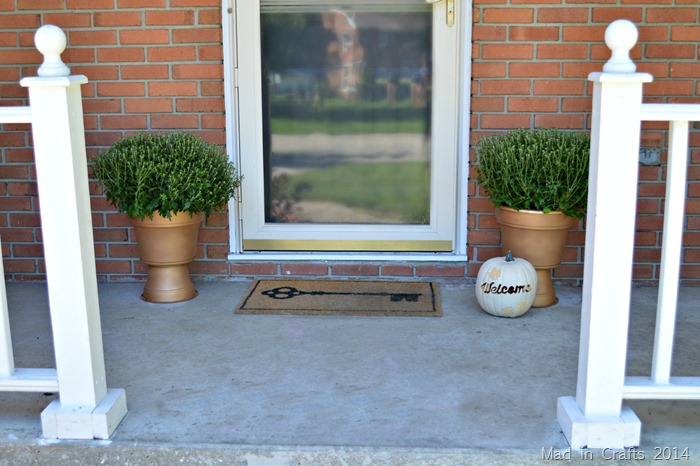
Everybody is raving about warm metallics being popular for fall this year, so I thought I would hop on the bandwagon with a pair of faux bronze pedestal planters. Both the bronze and the pedestal parts of these planters is a fake-out, so that you end up with the look of pricier planters for much less money.
I bought two mum plants from a local school fundraiser this year, and they are too large to fit in the containers I have used for mums in past years. I took a trip to our closest home improvement store to check out their supply of clearance flower pots hoping to find some nice pedestal planters to flank our front door.
Here’s the thing. I am super cheap. Spending money on not-essential-for-life items stresses me out. So, I went into the store thinking that I was being generous planning to spend $10 each on two planters. The store was like, “How about $30 each?” I countered, “How about $9 each?” and the store was like, “How about you leave now?”
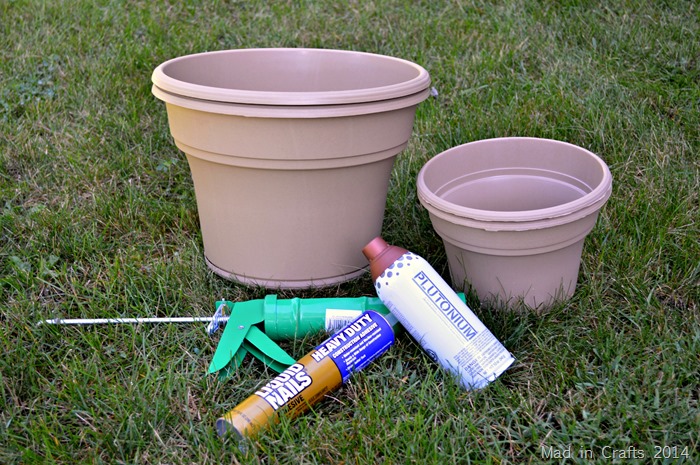
So, instead of two $30 pedestal planters, I left the store with some el cheapo plastic pots and liquid nails. I had the Plutonium paint and the caulk gun at home already. I was able to turn these supplies into pretty faux bronze planters in very little time.
Watch this short video to see how to assemble the planters, or scroll down for the step out. I post DIY videos on my YouTube channel twice a week, so be sure to subscribe for all the fun!
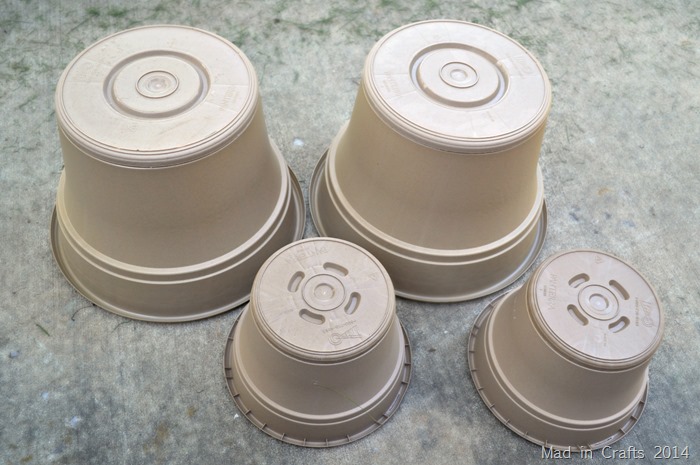
I started out by cleaning off the plastic pots of any stickers, dirt, or dust.
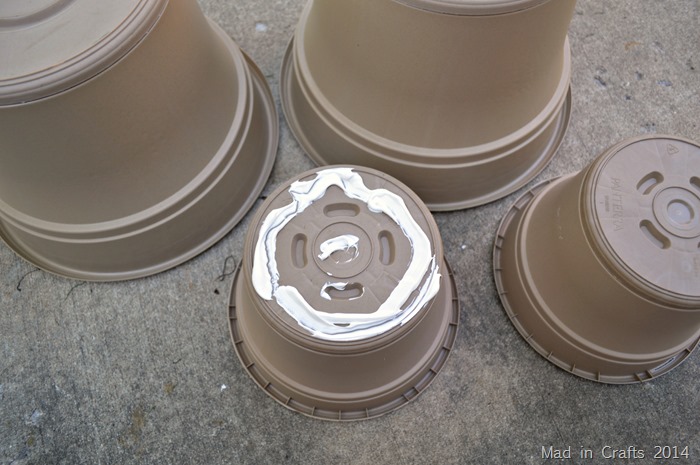
Then I ran a bead of liquid nails around the bottom of the smaller pair of plastic pots. You could also use a strong glue adhesive for this step in place of the liquid nails. I centered the bottom of the small pot on the bottom of the large pot and let the adhesive dry.
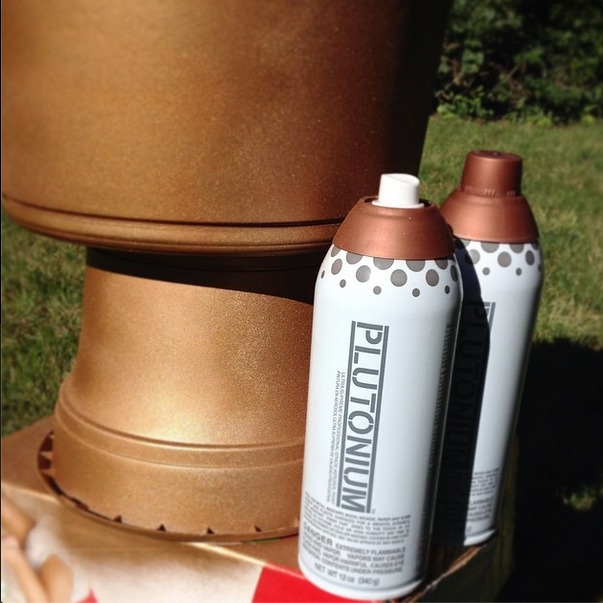
I chose to paint my planters with Plutonium’s Third Place Metallic color, which is a warm metallic bronze. (Get it? Third place?)
After I set up my spray paint station, I gave each planter a coat of paint, let the paint dry, then flipped the planters over and gave them a quick second coat to fill in the bare spots.
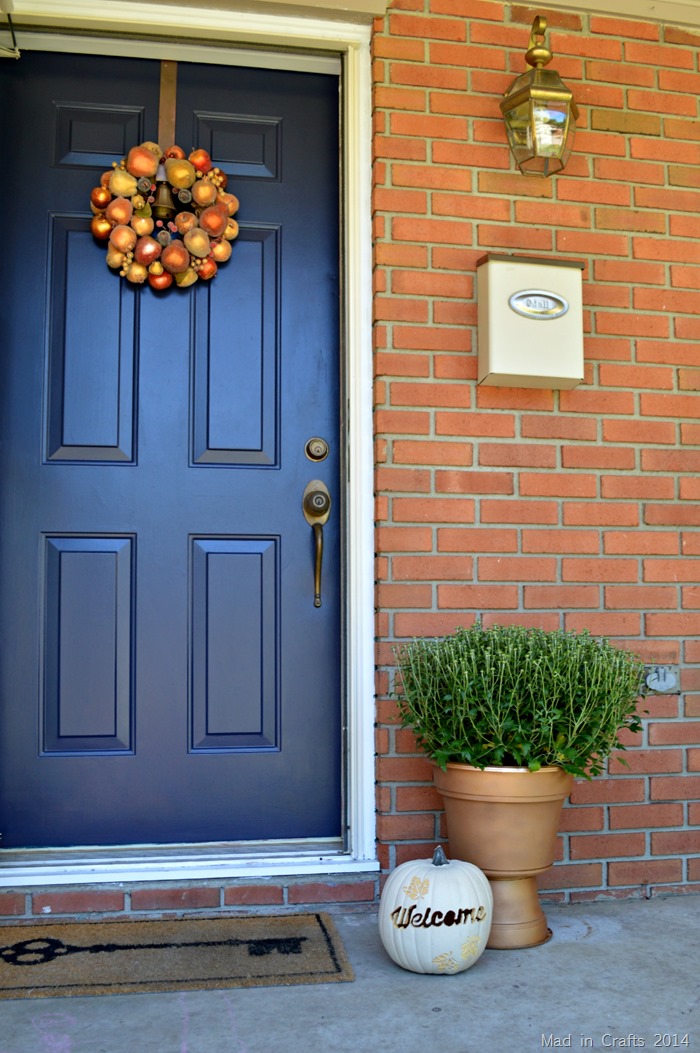
Plutonium™ Paint dries very quickly, so I was soon able to carry the planters to the front porch and place my big mum plants inside of them. The symmetrical planters create a slightly more formal look for our front entry, but I think I like it. They will be especially pretty in a week or two when all those mum buds begin to blossom.
The metallic bronze spray paint looks so nice with our new blue front door. I will share more about my new front door wreath soon too, so keep an eye out for that!
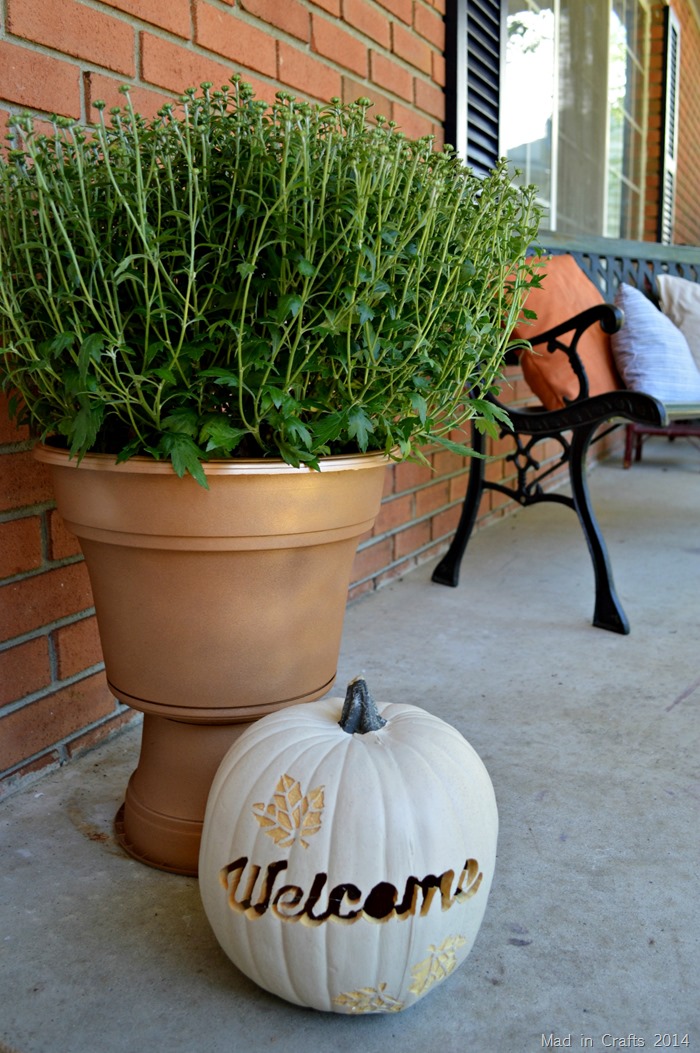
I might be super cheap, but our front porch is going to look like a million bucks this fall.
Use spray paint for these home decor projects too:



These are great! I just want to add that I used Plutonium on some wicker baskets and the wicker absorbed some of the paint! It was weird. It just was having a hard time “sticking” to the surface. After two coats, it looked okay. Of course, flat surfaces work better, but porous surfaces may need an extra coat or two. Thanks!
Such a cool idea!! I would have never thought to put two planters together like this! Genius! And that bronze color is great!
Was looking for some containers for my impatience that flank either side of our Arbor gate in summer. Also being “cheap”, I found some old black plastic containers that had held some purchased shrubs. Don’t know why I hung onto them, but they look fine now that they’re spray painted. I used dark brown, gold and some white spray paint very randomly and wiped part of it off. The white was more like spattered or spritzed. I was going for an “aged” effect. I leave these out year round and fill them with greens and red bows for Christmas. In Spring, I just wash them and add a little more paint to spruce them up a bit. Would love to try the Plutonium paint next time I have a project. Thanks for sharing!
Btw…love the door wreath!