My daughter is old enough now to like to wear jewelry like earrings and rings. Keeping track of these little pieces of jewelry is tricky. I picked up a galvanized metal tray to make her a pretty ring dish to corral her jewelry. This dollar store resin craft is a fun beginner project for anyone looking to get into resin making.
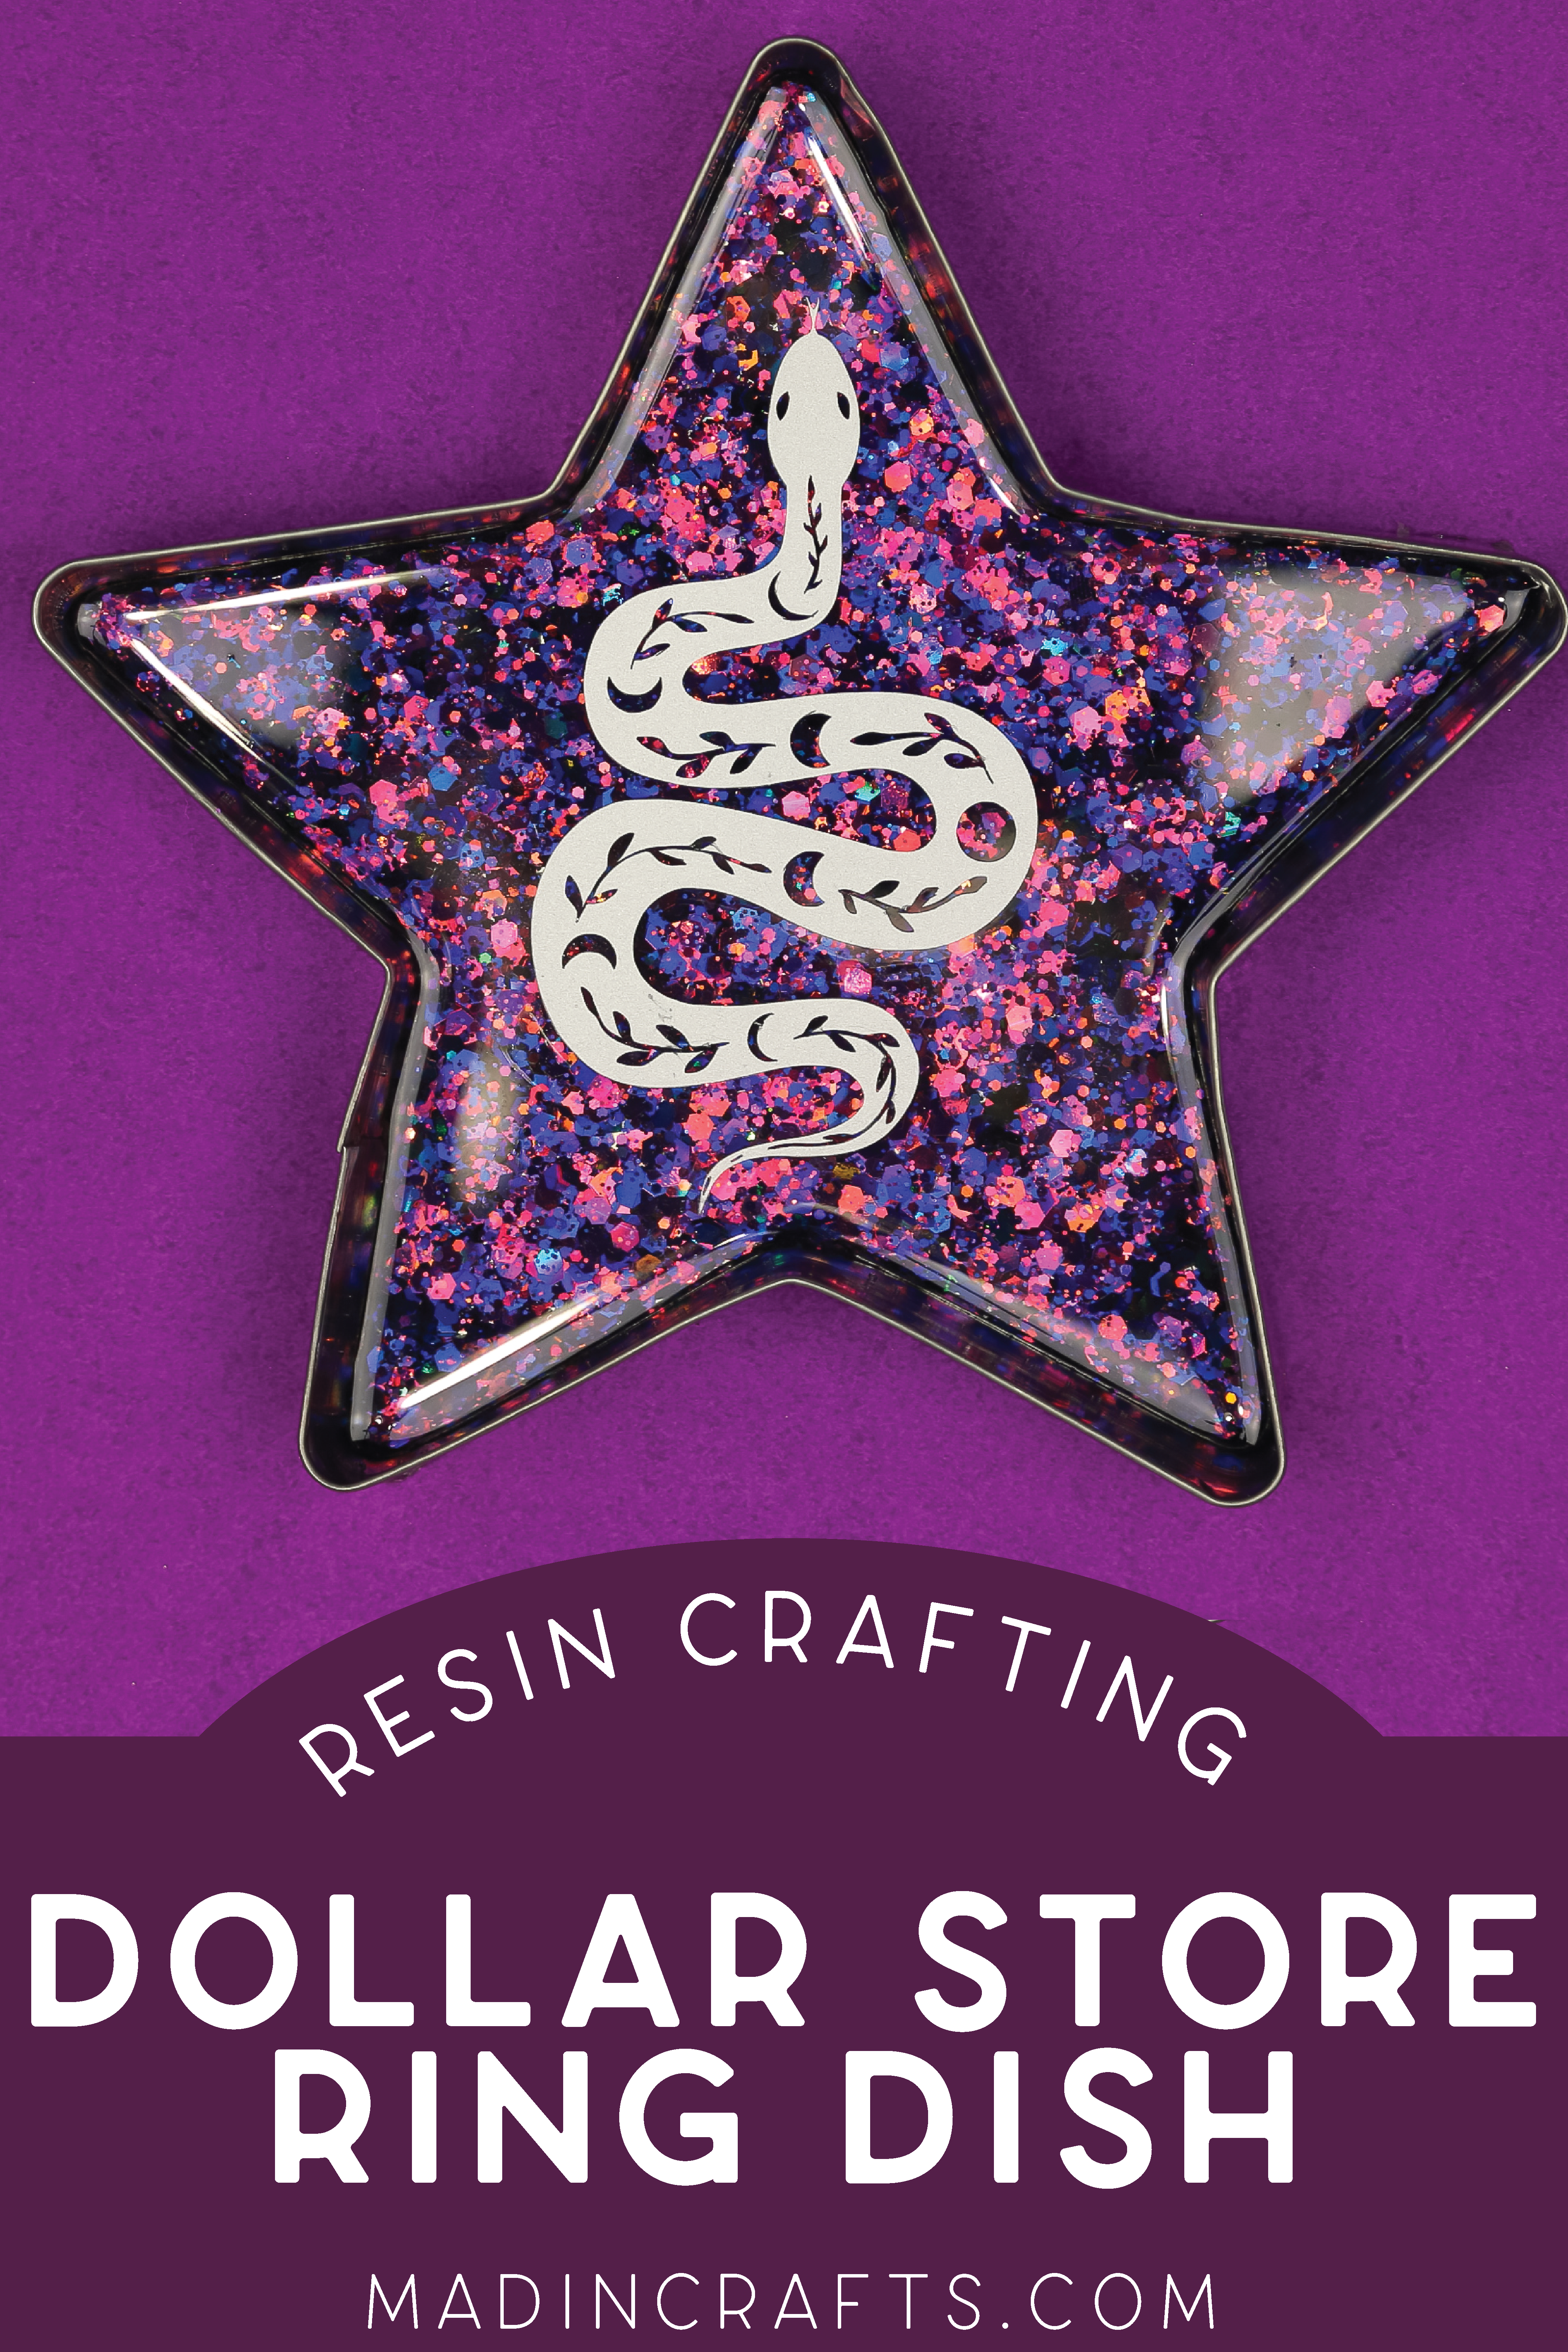
DIY DOLLAR STORE RESIN RING DISH
WHAT YOU NEED TO MAKE THIS DOLLAR STORE RESIN CRAFT
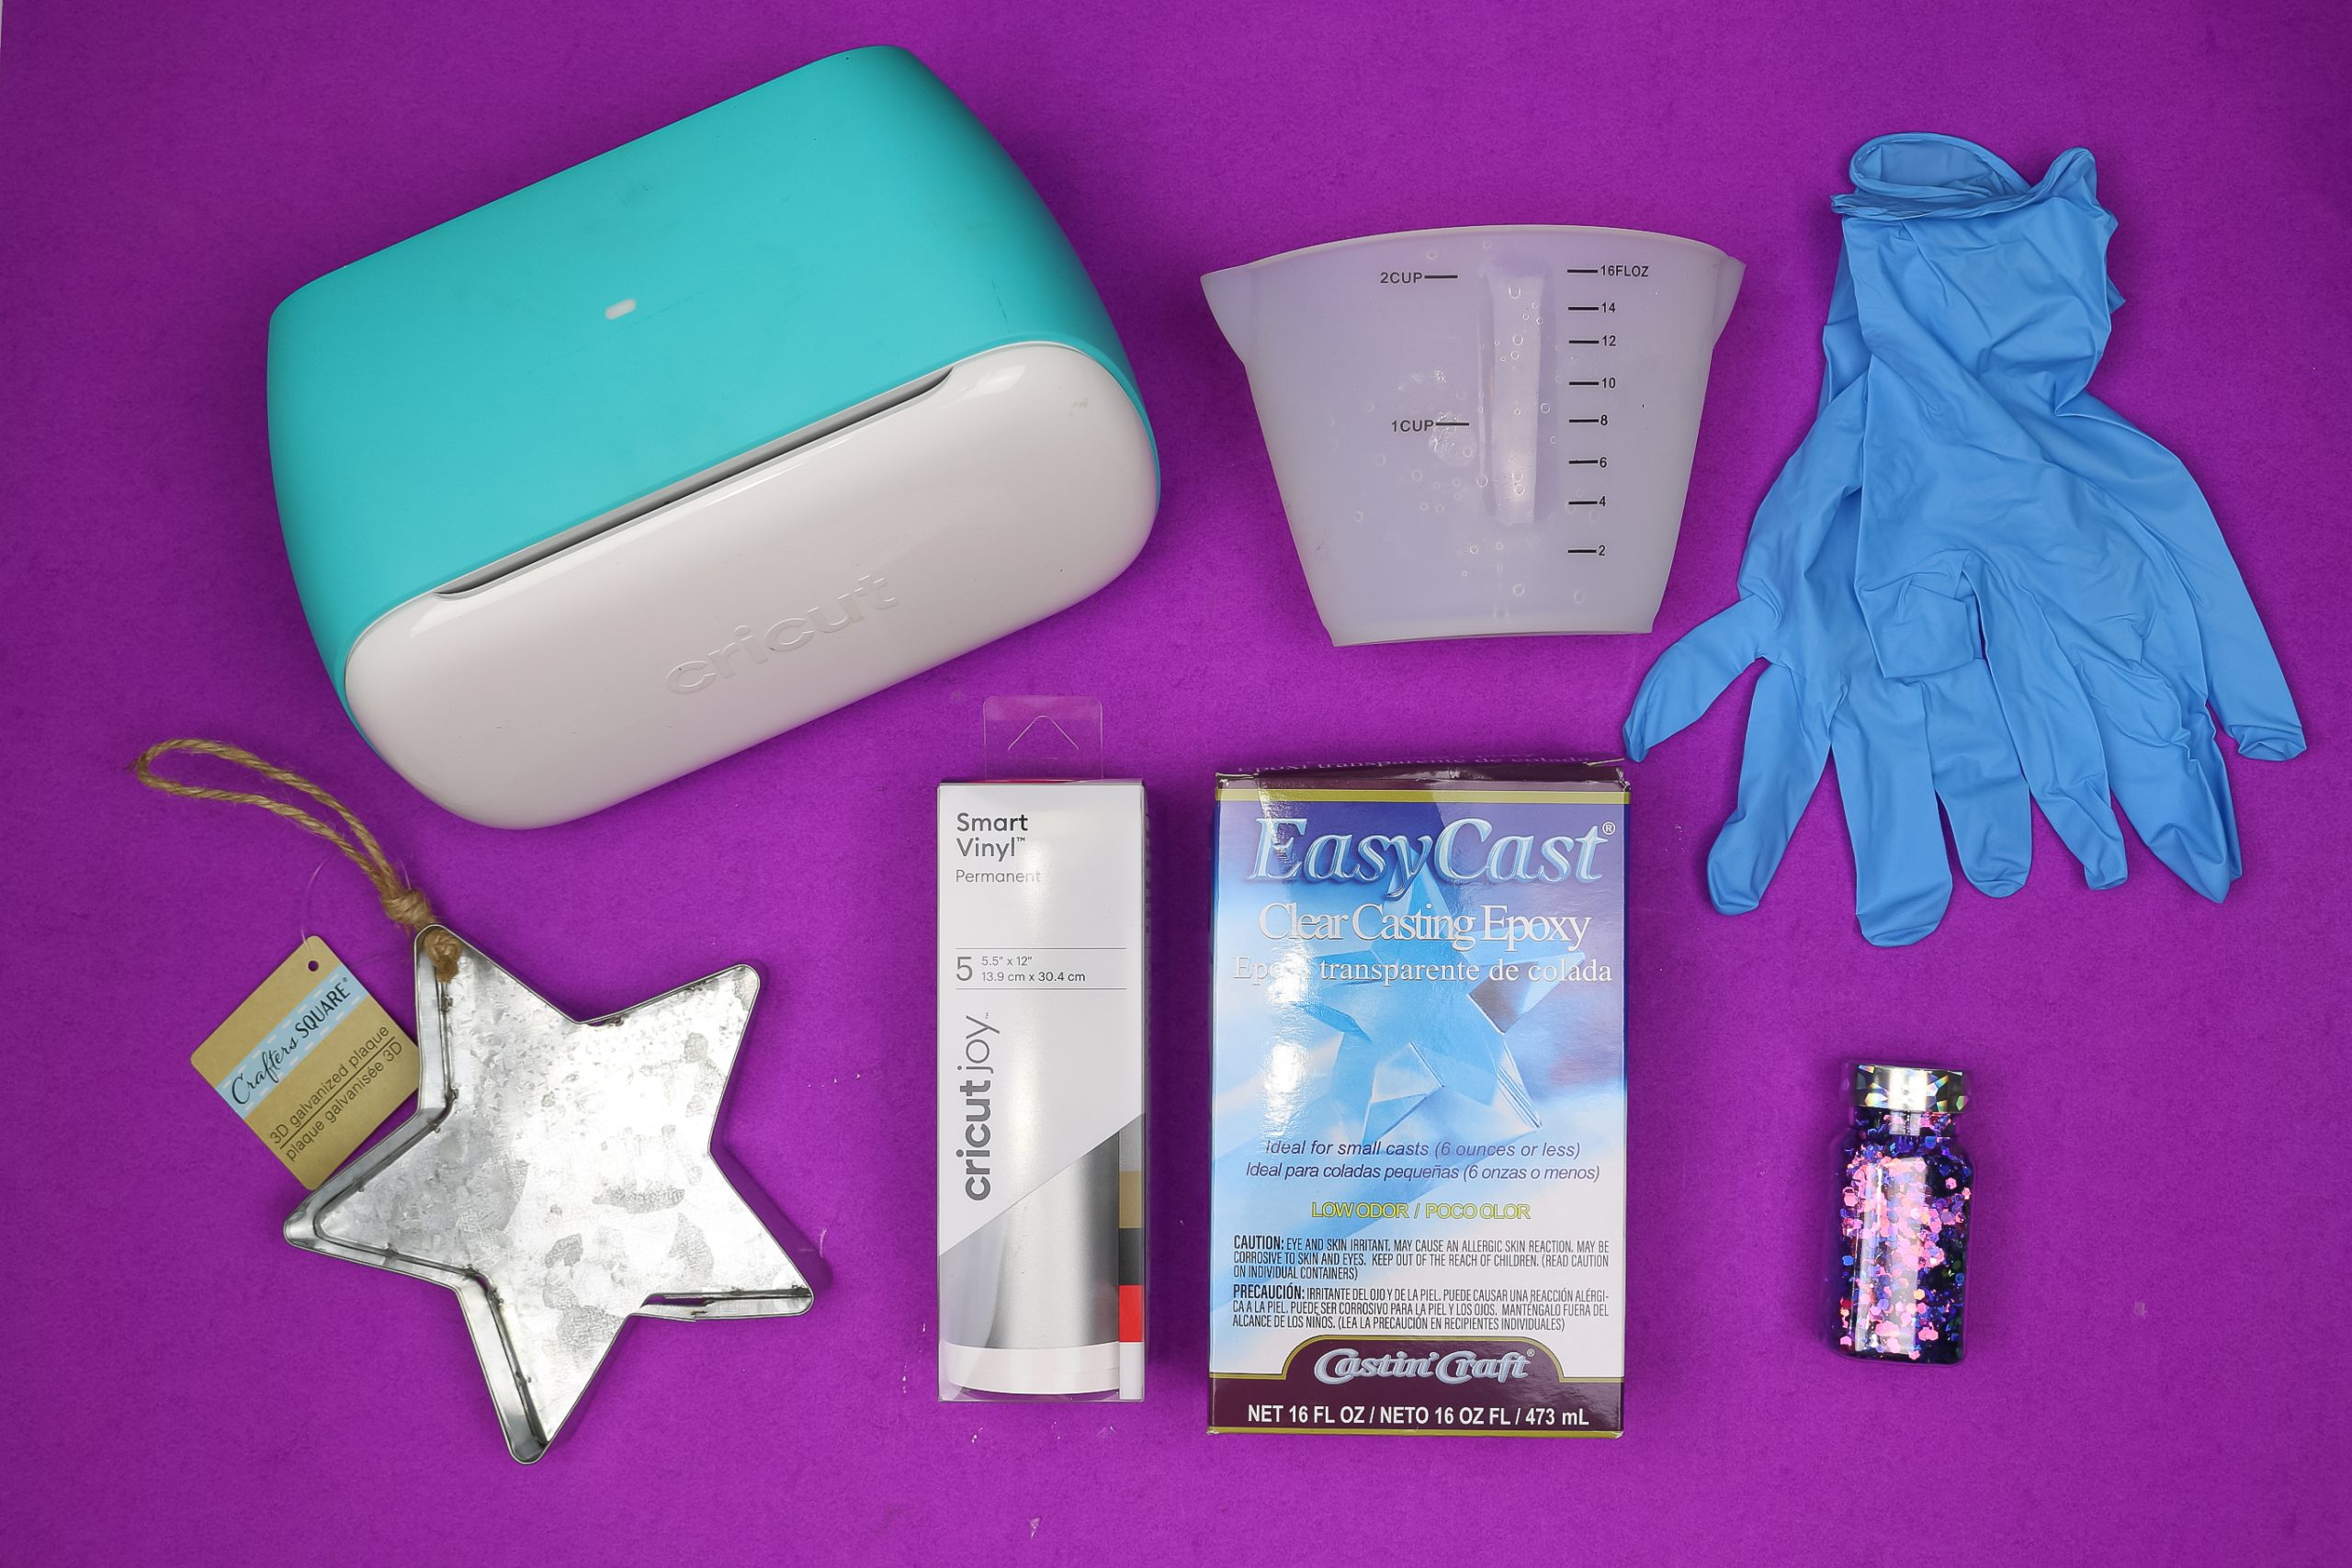
If you look through the craft aisle at Dollar Tree, you can find some fun bases for DIY projects. I picked up a star-shaped galvanized metal plaque because it looked like a great base for a resin craft.
These are all affiliate links, if you make a purchase (of anything from the site, not just these items) after clicking through, I will earn a small commission. Ads and affiliate links are the way I am able to keep this website running and to offer you free tutorials all year long. Thank you so much for supporting me and Mad in Crafts!
- Galvanized metal tray
- Hot glue gun
- Disposable gloves
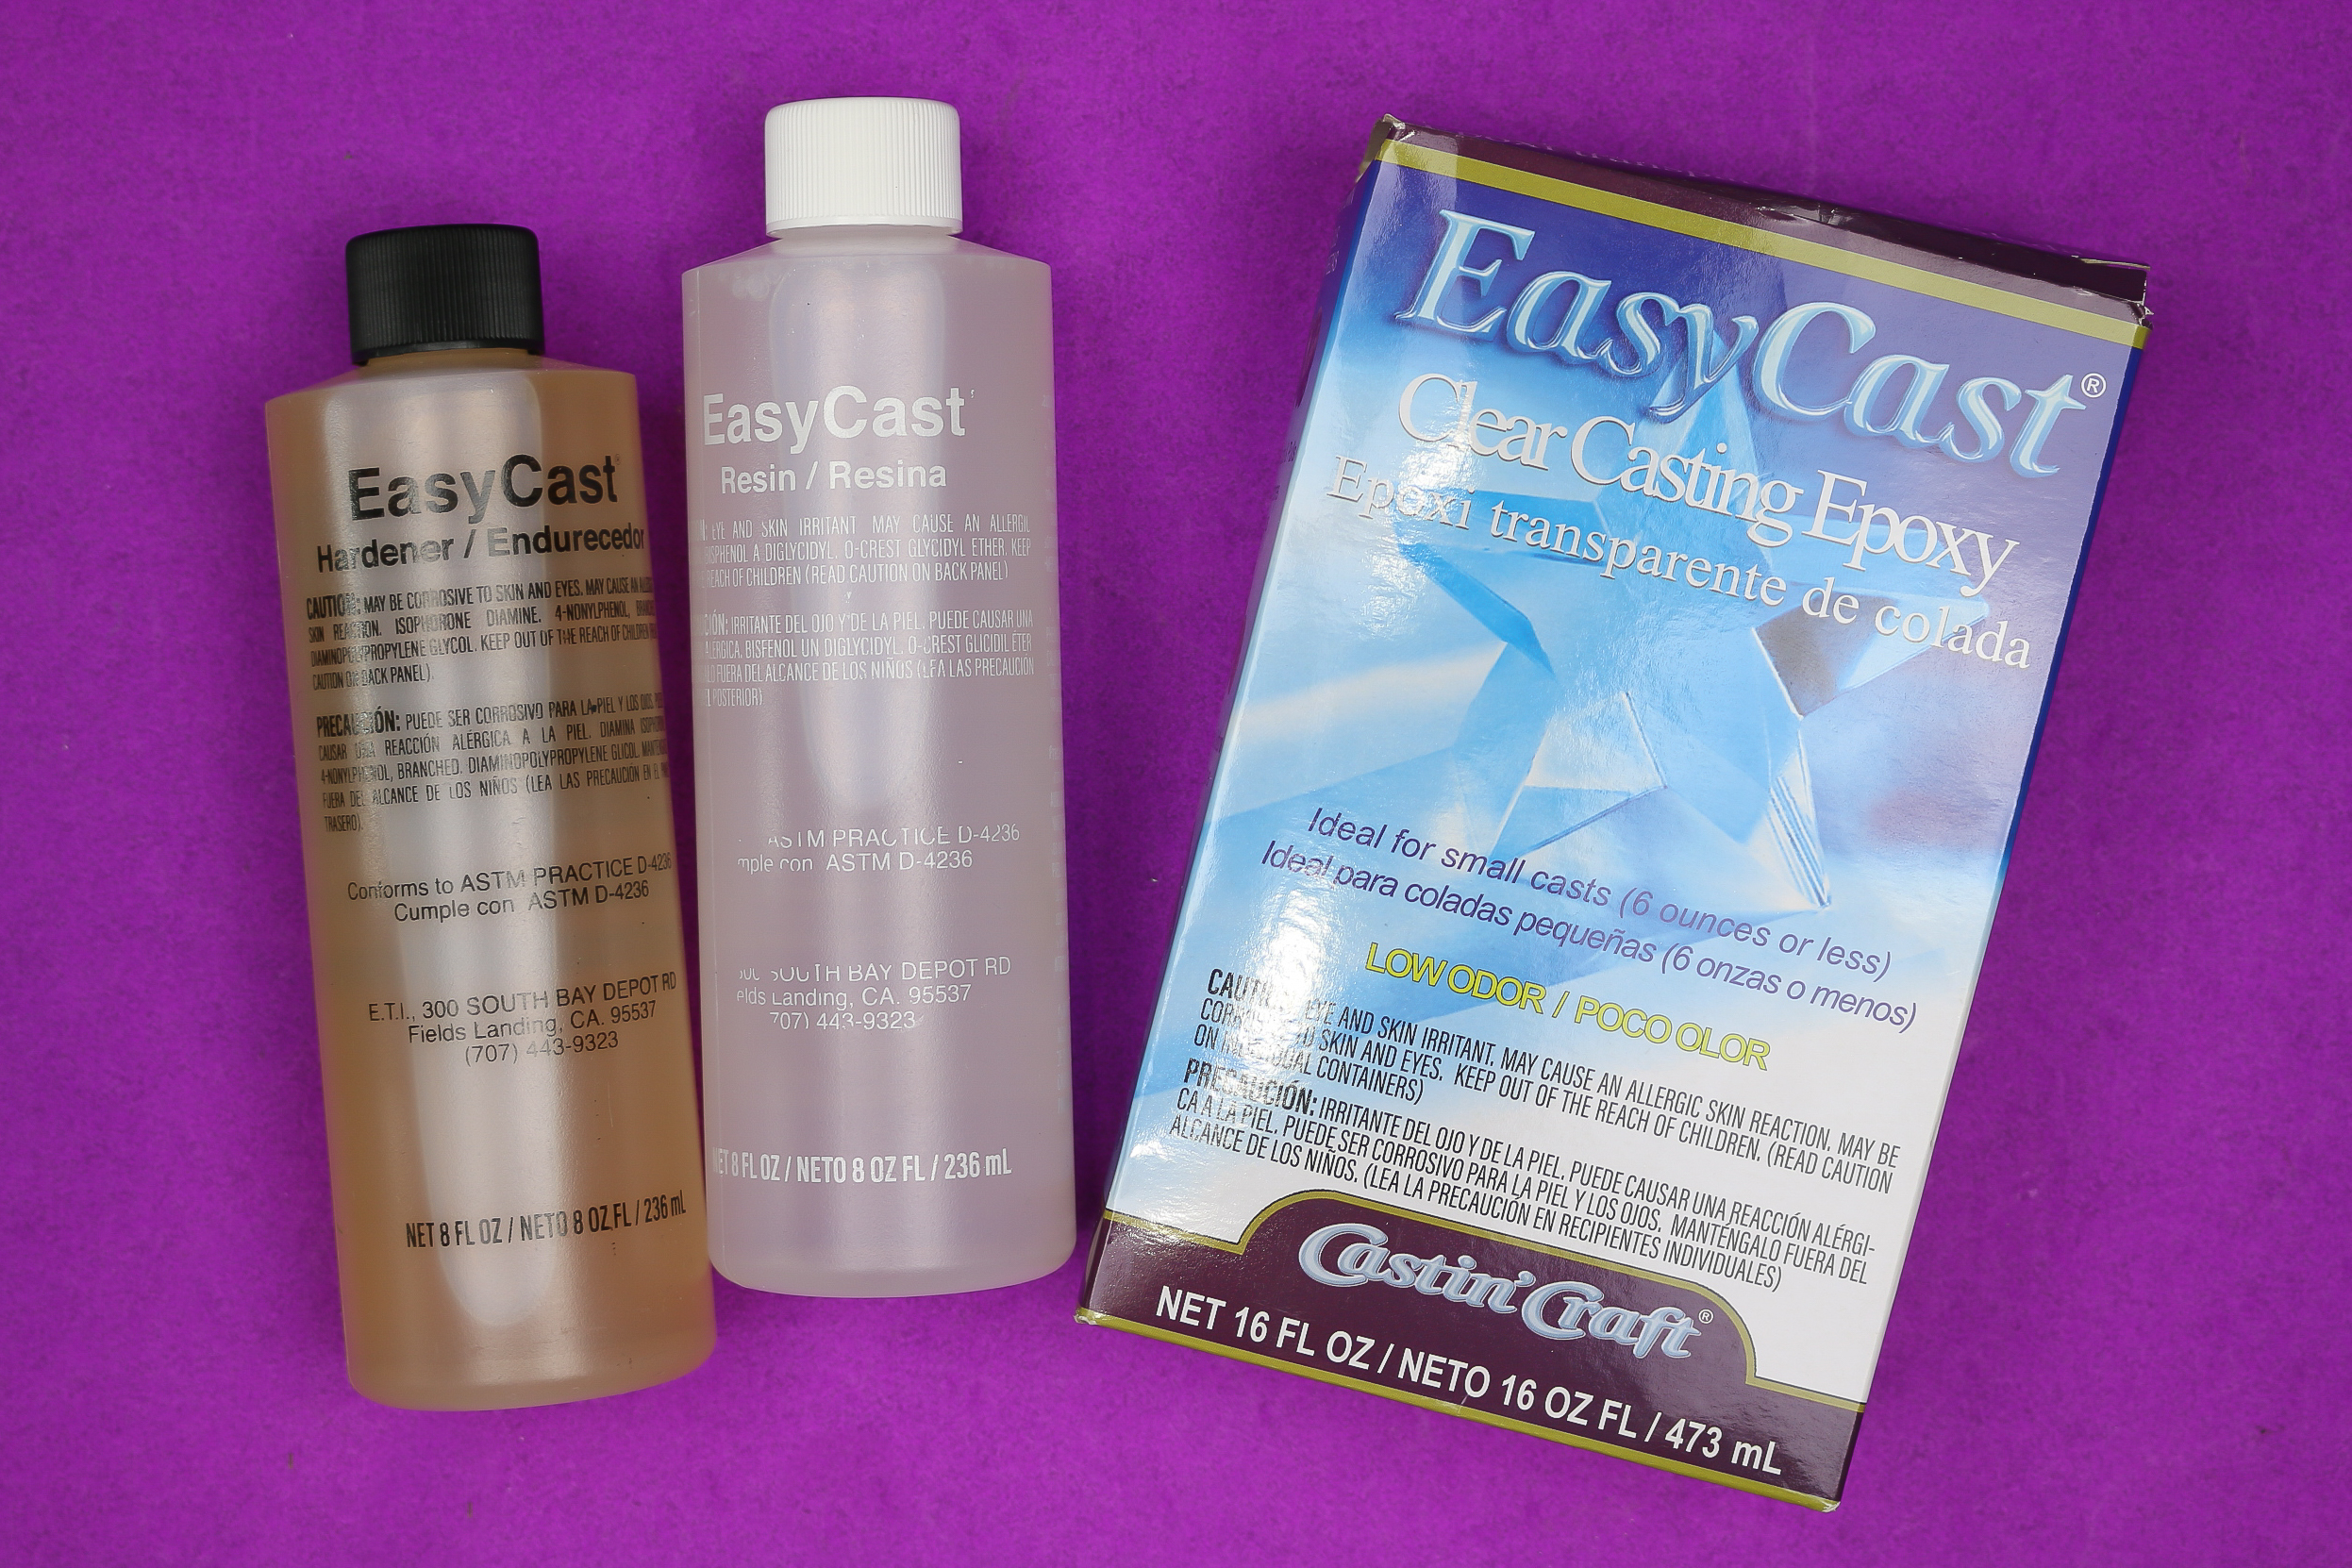
- Epoxy resin
- Mixing cup and stir stick
- Glitter (Dollar Tree glitter works well too)
- Silicone mat (or other way to protect your work surface)
- Cricut Joy (optional)
- Smart Vinyl (optional)
- Weeding tools (optional)
- Transfer tape (optional)

Want to know which craft supplies I always keep in my craft room?
Visit the Mad in Crafts Amazon Storefront to learn more and to buy your own supplies!
MAKING RESIN HOME DECOR WITH DOLLAR STORE ITEMS

Instead of using a traditional silicone mold for this resin project, the galvanized metal tray from the dollar store will serve as a permanent mold for the resin.
DIY Dollar Store Resin Ring Dish
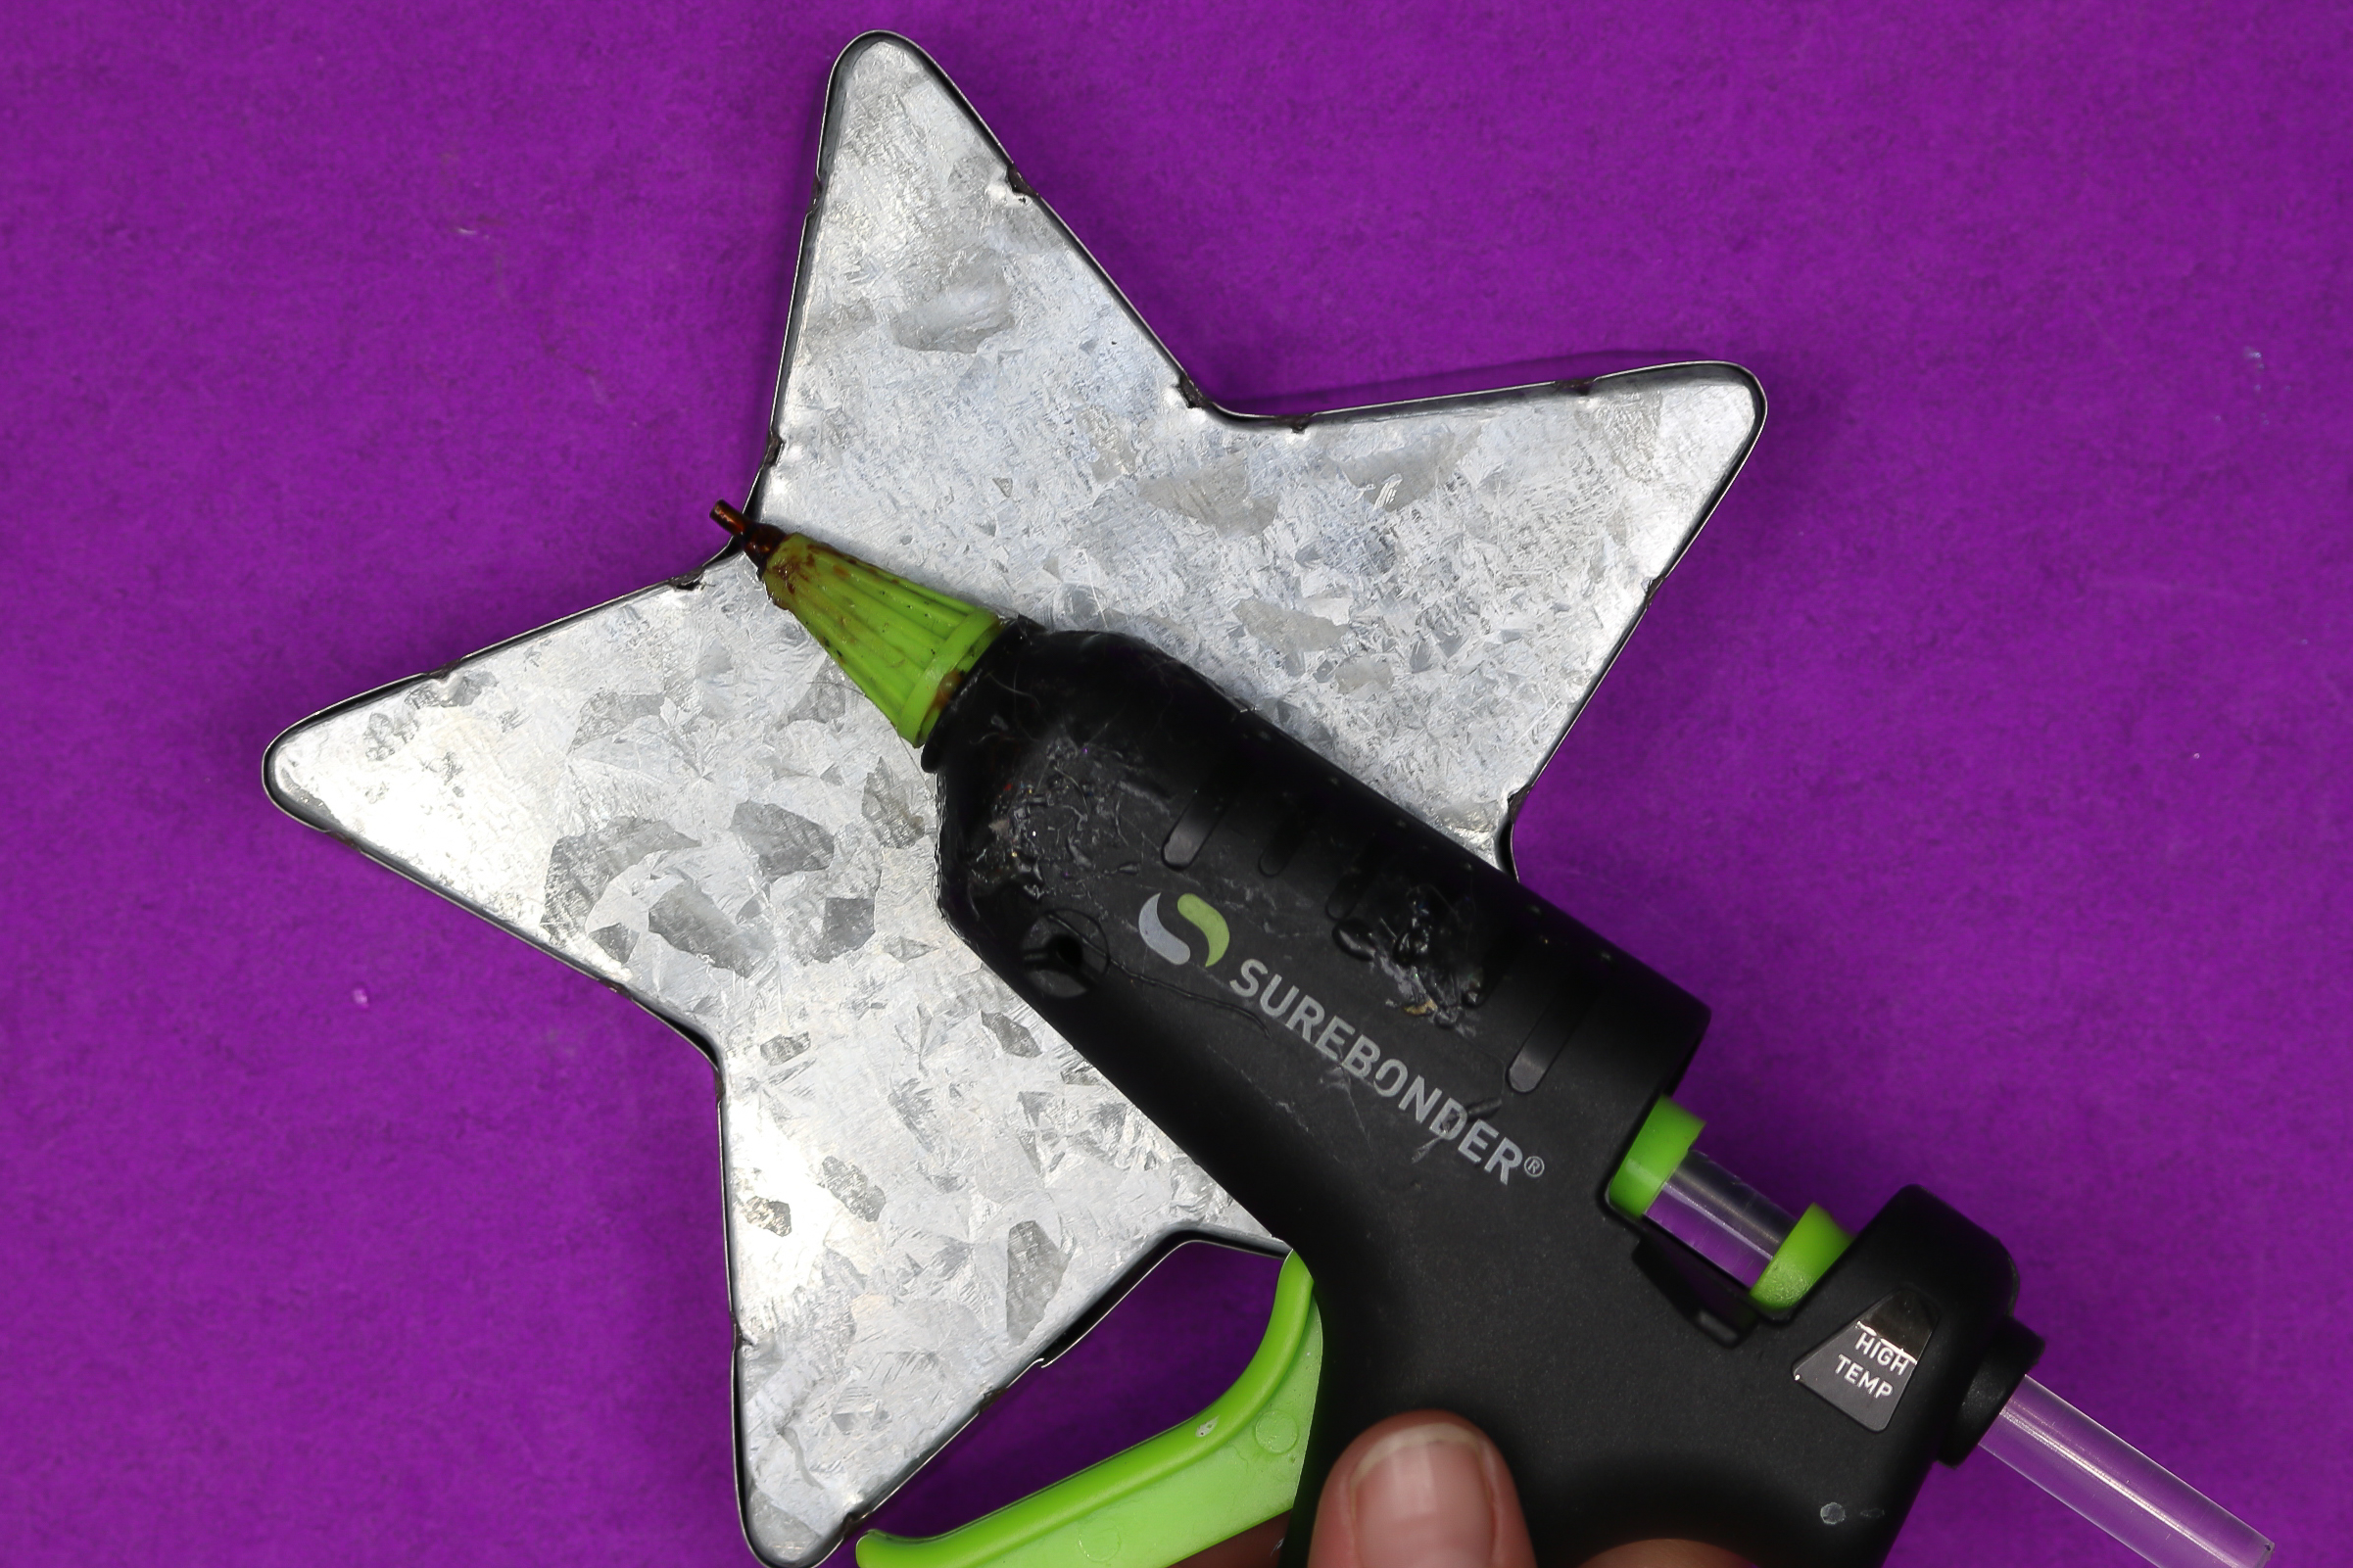
- Take a look at the back of the metal tray to see if there are gaps between the pieces of metal.
Anywhere there is a gap, resin could leak out of the tray.

- Working on the bottom of the tray, run a bead of hot glue along all of the seams and gaps in the metal tray.
Use plenty of glue. It’s better to have too much than to have resin running all over your work surface!

- Let the hot glue fully dry while you mix up the resin.

- Mix 1 ounce of resin according to package directions. Many epoxy resins require a one-to-one ratio, so be sure to measure carefully in your resin cup.
Be sure to wear protective gloves, cover your work area, and work in a well-ventilated area.

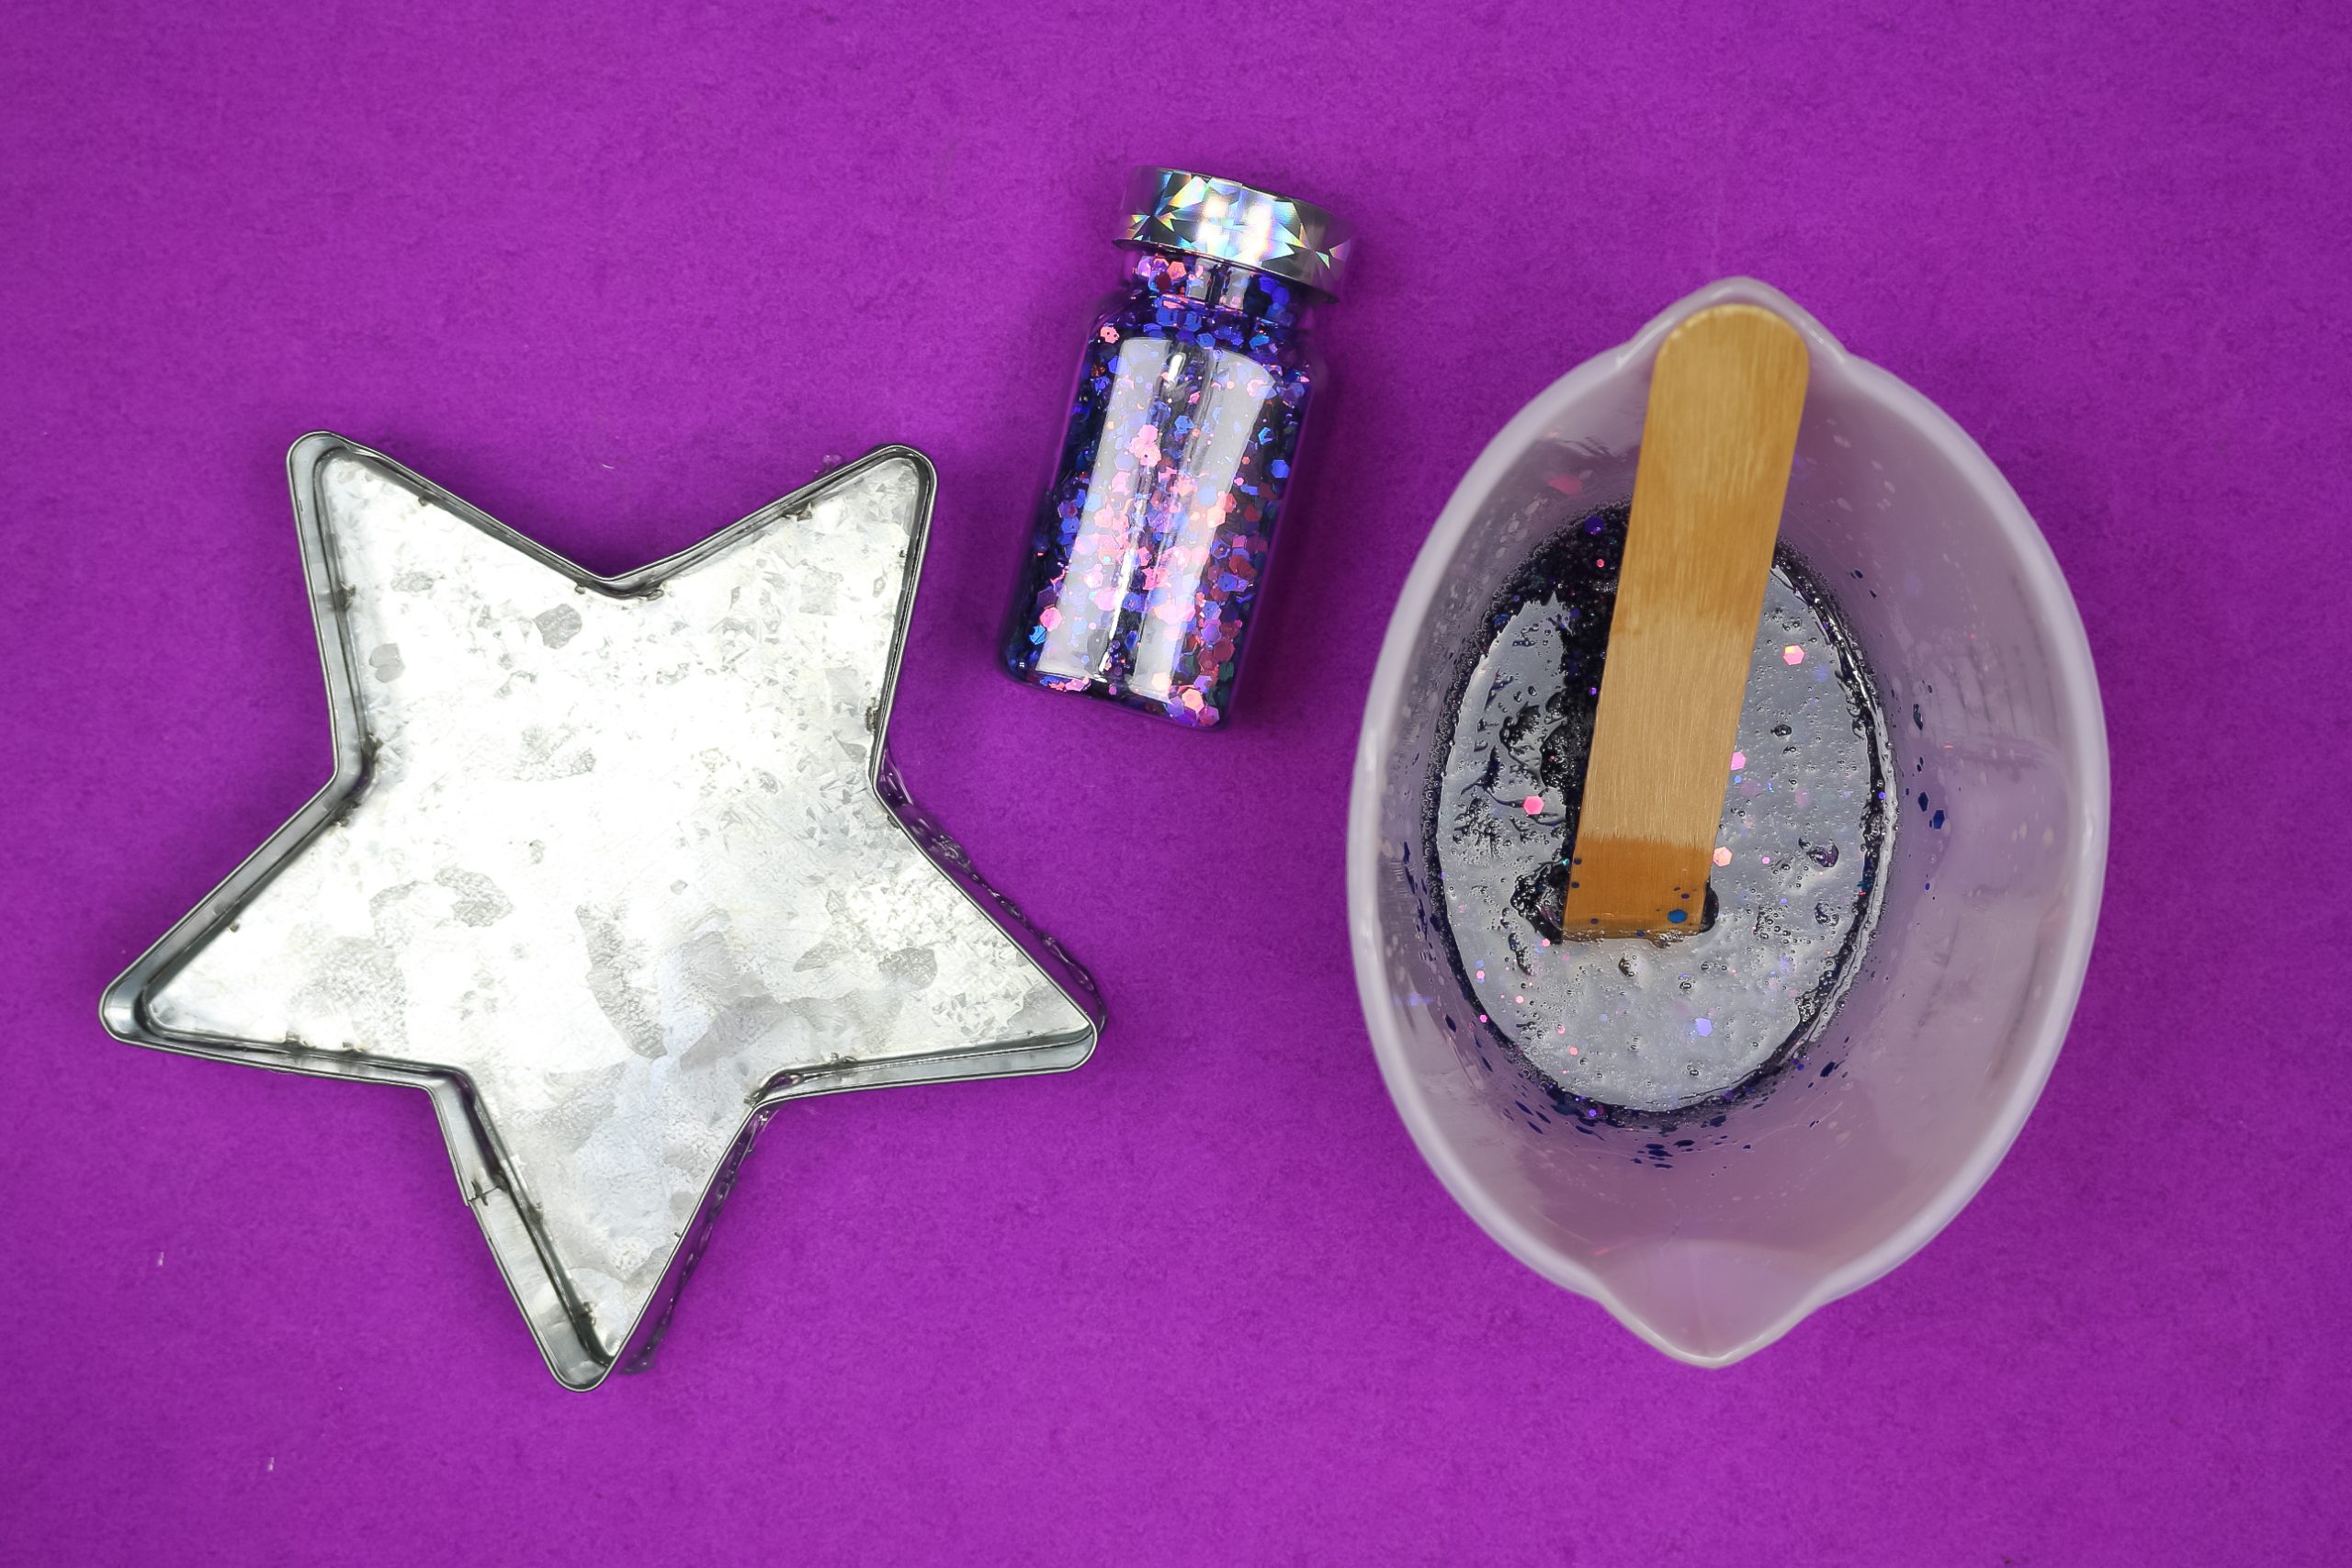
- Add glitter to the resin mixture and stir well.
Pour in smaller amounts at a time. You can always add more!

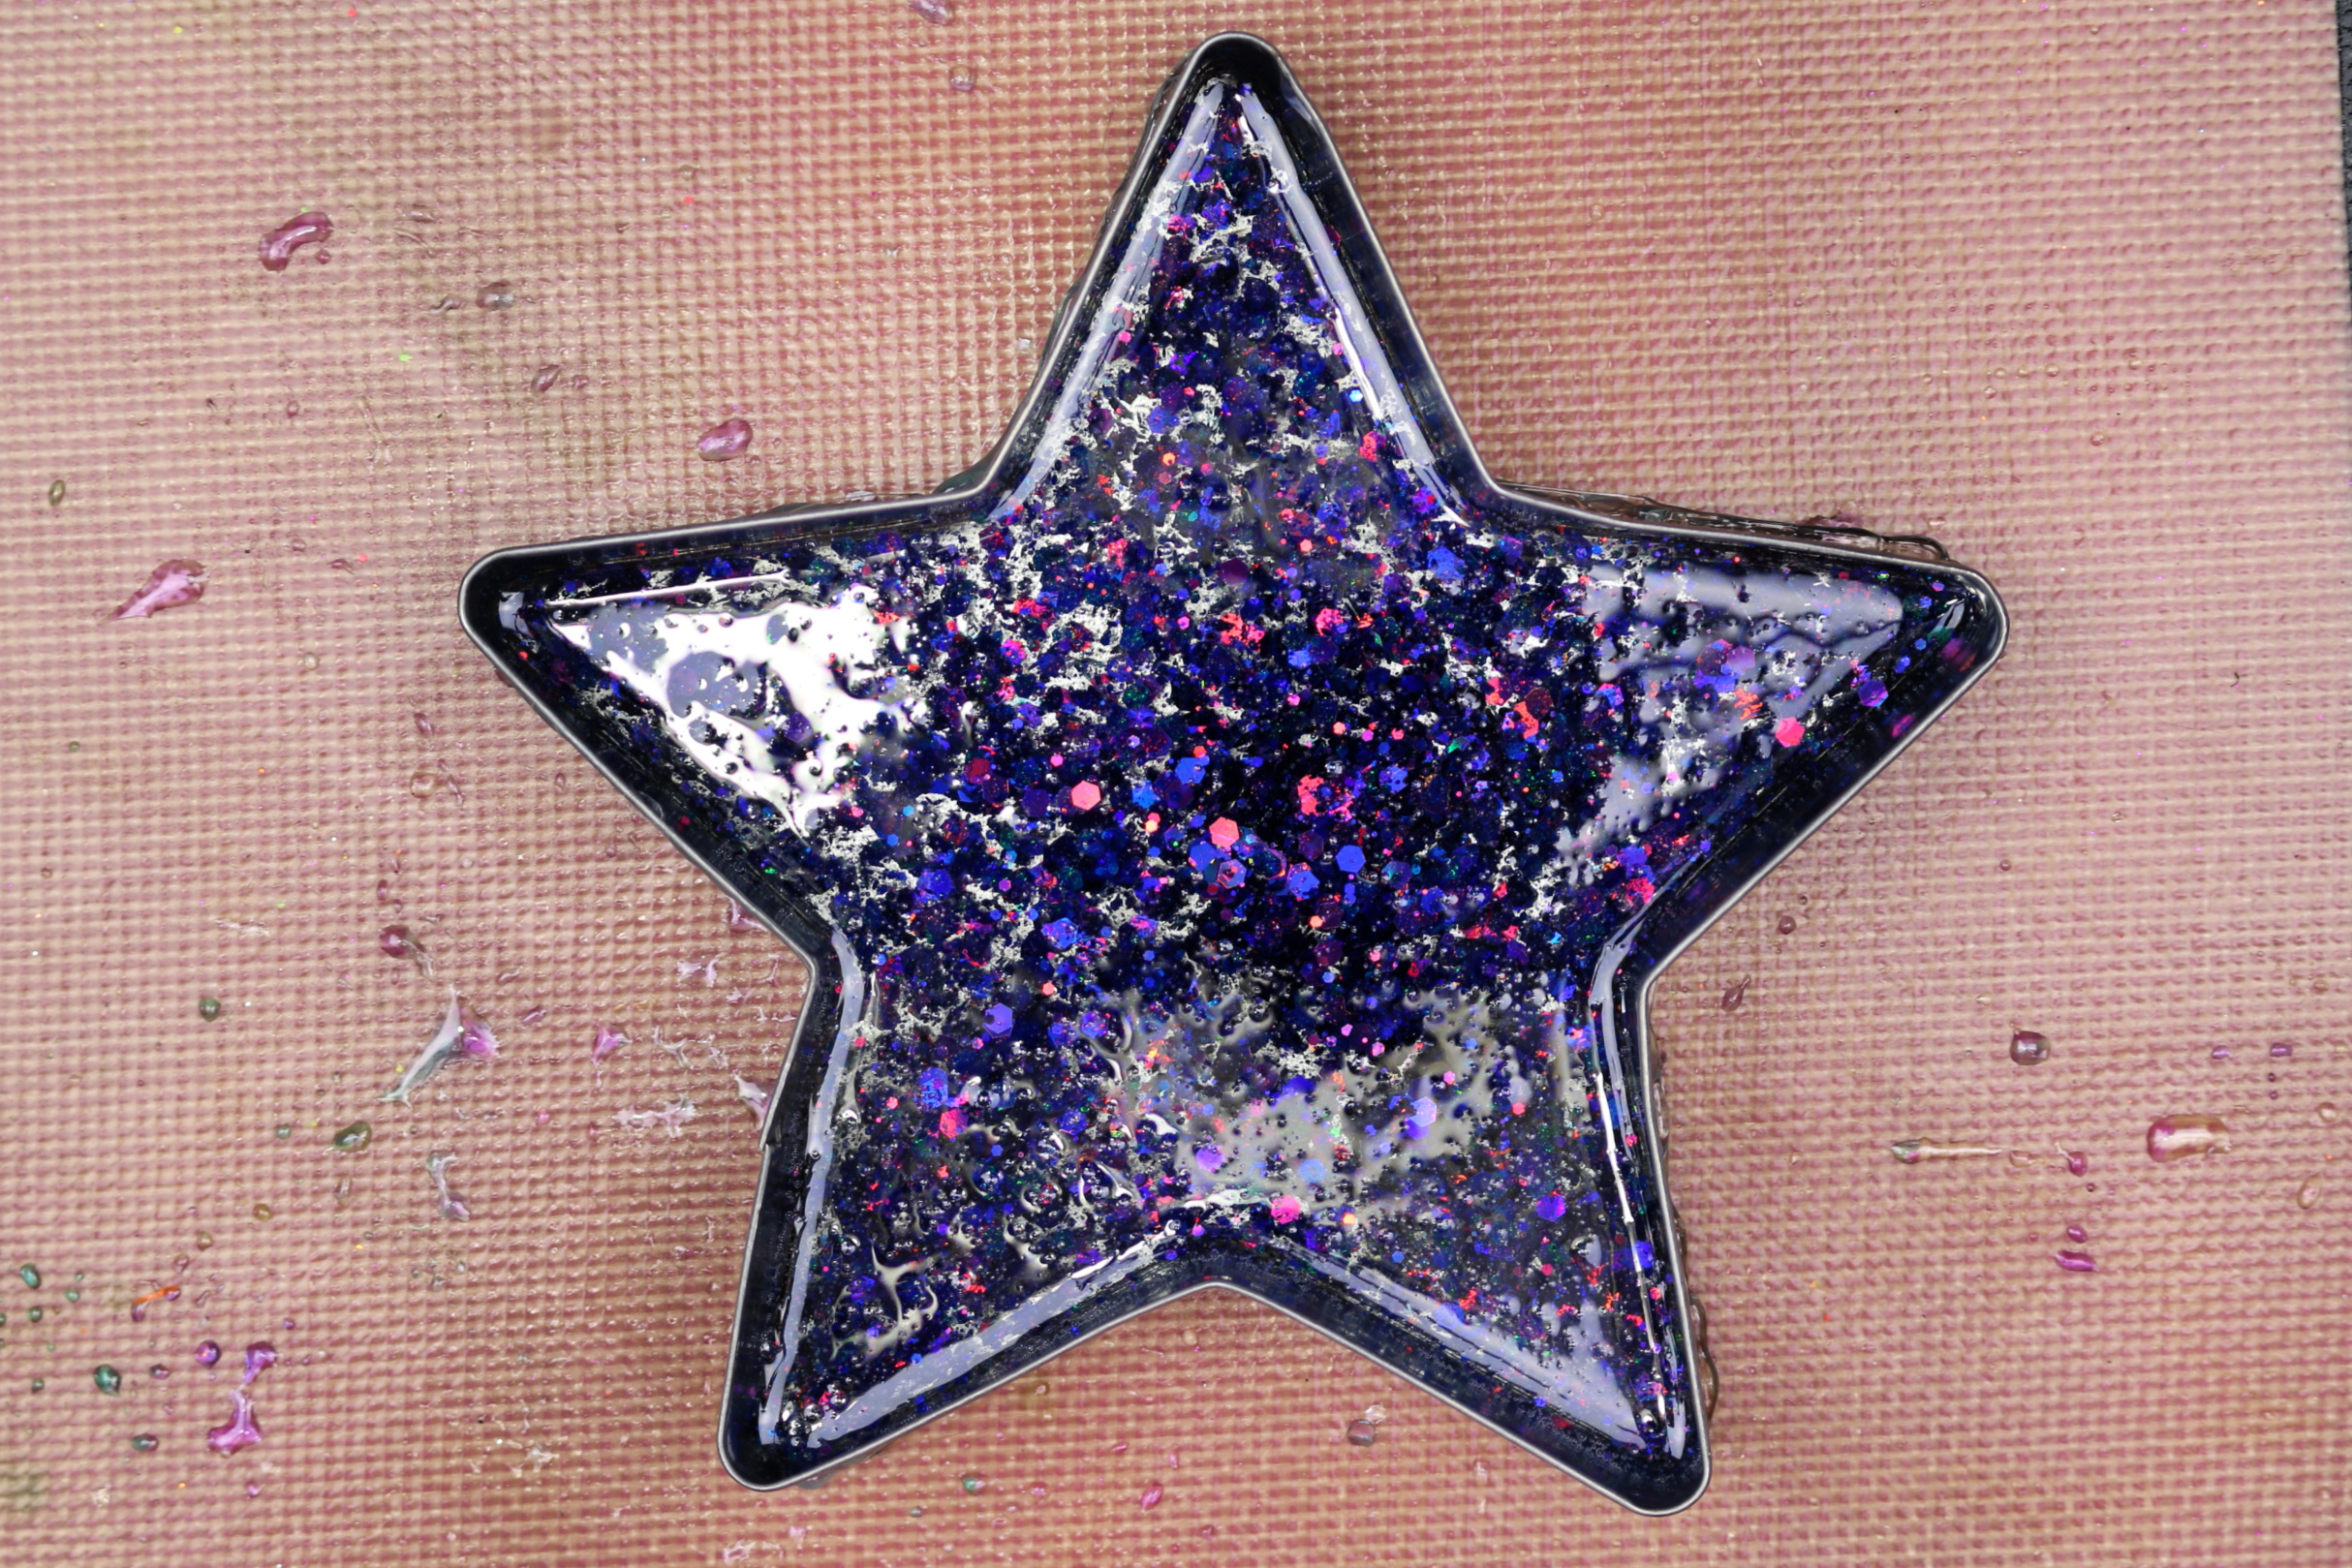
- Place the metal tray on a level surface and carefully pour in the resin mixture.
After 10-15 minutes, use a long arm lighter to pop any bubbles that rise to the surface of the resin.

- Cover the resin project and let it cure for at least 24 hours.
The final product should be solid to the touch before you move on to the last step.
- After the resin has cured, you can peel the hot glue off the bottom of the tray.
If you have trouble peeling the glue, hit it with a hot blow dryer for a few seconds to soften it.

ADDING VINYL TO A RESIN TRAY

The resin ring dish was beautiful as it was, but I wanted to personalize it a bit further with permanent vinyl. I uploaded this SVG from Creative Fabrica into Cricut Design Space and used my Cricut Joy to cut it out of silver Smart Vinyl. I then used transfer tape to position the vinyl on the surface of the resin.
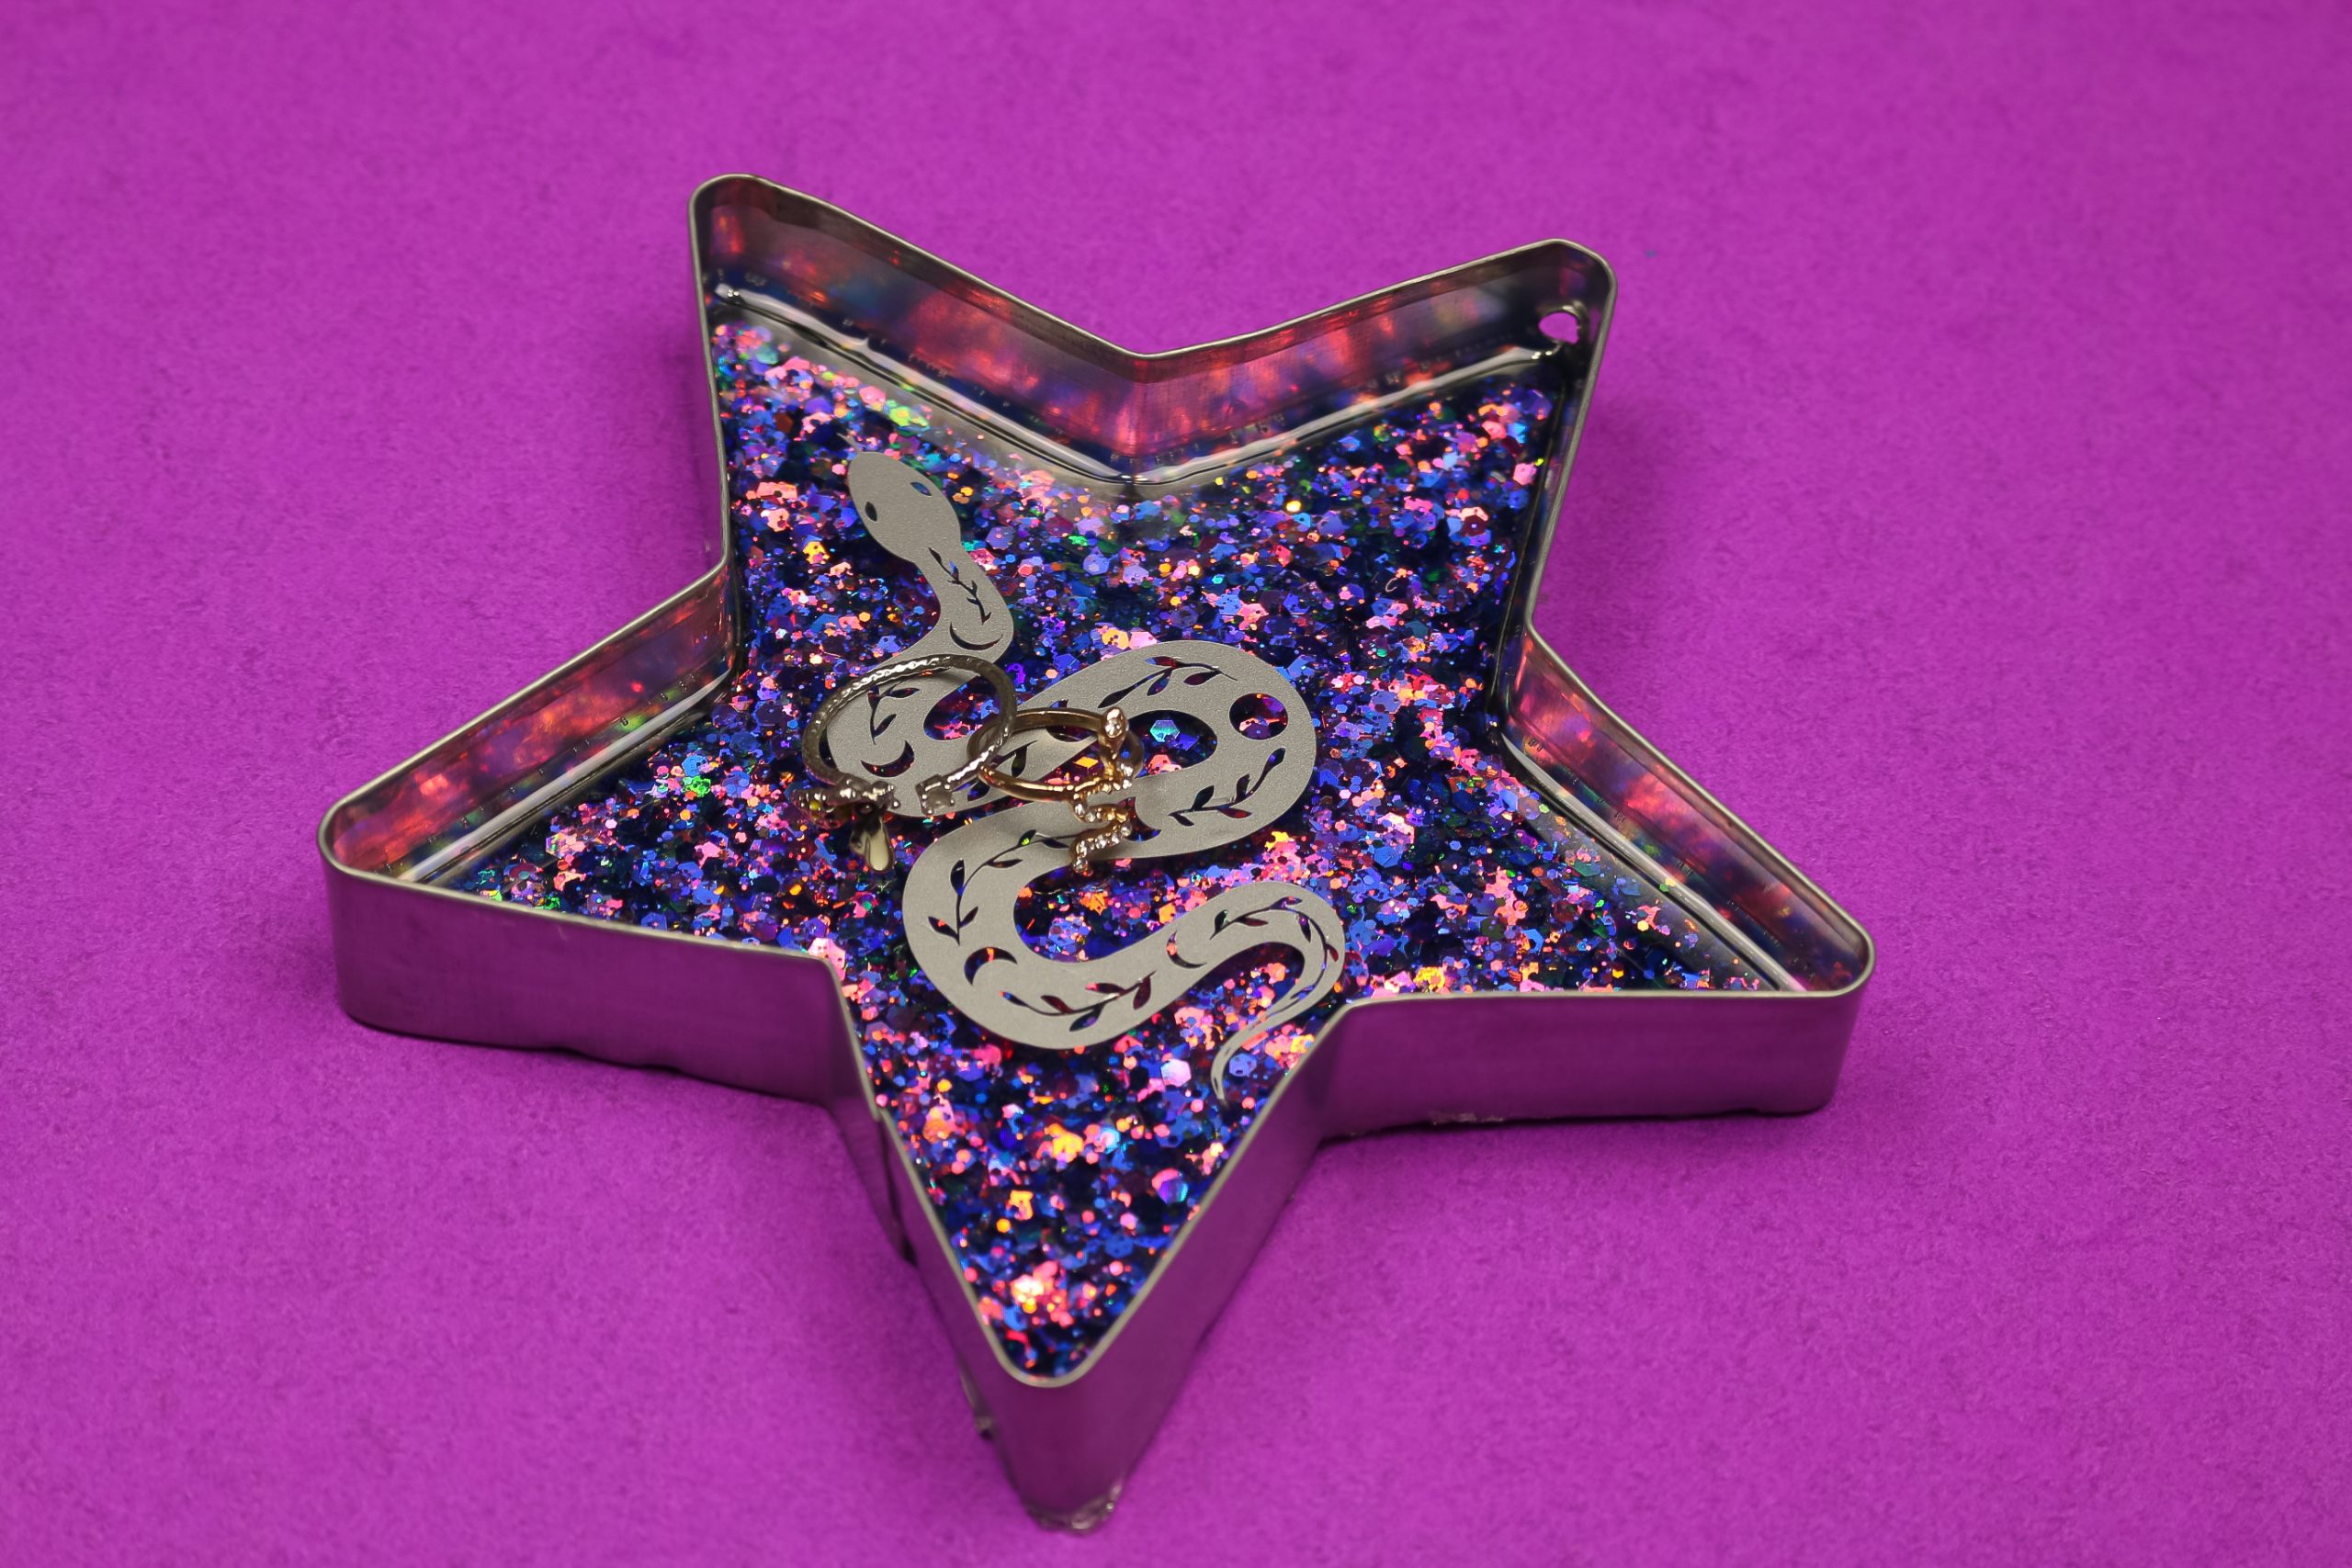
When you embed glitter in resin, it tends to sink to the bottom of the piece leaving a clear layer above the metallic shimmer of the glitter. This created an “invisible” layer between the vinyl snake design and the glitter that makes it look like the snake is floating. Now my daughter has a pretty ring dish to corral her jewelry, and I made it out of a tray from the dollar store!
Since the trays are so inexpensive, you could purchase several of them and mix up a larger batch of resin to make multiple glittery trays. They are a great gift idea for teens and tweens in your life this holiday season. Good luck!







Leave a Reply