

Resin is a versatile supply when you are making your own jewelry. It is often used to seal embellishments like gems and glitter into DIY jewelry projects. You can also use it to add a shiny top coat to pendants and earrings. Instead of making resin the supporting cast, try adding resin to open-backed jewelry to make the resin the star of the show!
ADDING RESIN TO OPEN-BACKED JEWELRY
Supplies You Will Need

When you do your shopping for this craft project, you should look for open-backed jewelry bezels like these. You should be able to find them at local craft stores, but I will also link to some online options at the end of this post.
Next, you will want to pick up some jewelry resin. Typically, this type of resin is sold in much smaller amounts because you use so little of it in each project. This smaller project will let you know if you like working with resin before investing in a larger supply.
You can also use UV resin for a small project like this, but you will need to invest in a UV light in order to cure it.
These are all affiliate links, if you make a purchase (of anything from the site, not just these items) after clicking through, I will earn a small commission. Ads and affiliate links are the way I am able to keep this website running and to offer you free tutorials all year long. Thank you so much for supporting me and Mad in Crafts!
- open-backed jewelry bezels
- ETI Jewelry Resin
- Castin’ Craft Transparent Resin Dye
- mixing cup and stir stick
- contact paper
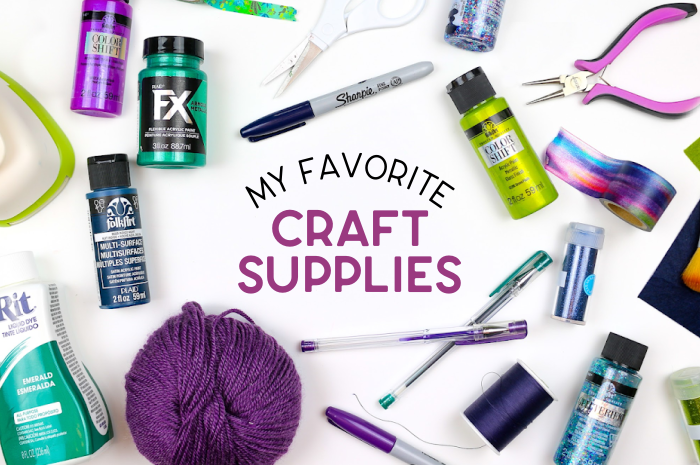
Want to know which craft supplies I always keep in my craft room?
Visit the Mad in Crafts Amazon Storefront to learn more and to buy your own supplies!
Prep Your Bezels

Start by cutting a piece of contact paper slightly larger than the bezel you will be using. I used dollar store contact paper, but transfer tape would also work. Remove the paper backing and stick the contact paper to the back of the bezel. Make sure you have good contact between the bezel and the contact paper so that the resin does not leak under the back of the bezel.
Adding the Resin

Before you start mixing the resin, you will need to take the appropriate safety precautions. Even though you will be working with a very small amount of resin, you should still wear gloves, protect your work surface, and be sure to work in a well-ventilated area to avoid breathing in too many of the resin fumes.
Put on a pair of gloves and mix up a very small amount of jewelry resin and hardener in the ratio of resin indicated in the manufacturer’s instructions. Make a very small amount. Less than you think. You can also mix more resin, but once it’s mixed you have to use it or throw it away. Pour a small amount of resin into the bezel. Spread the resin with a craft stick or by tilting the bezel from side to side.
Embedding Embellishments

I embedded a small glittery sticker in the resin of this bezel. Then, I added a second layer of resin on top of the sticker to seal it in. This will create a window effect in the finished piece.

If you notice any air bubbles in your resin early in the curing process, just blow lightly over the surface of the resin to pop them. You can also pop the bubbles with a heat gun if you have one.
Allow the resin to cure for 24 hours. When the resin has fully cured, carefully peel the contact paper off the finished bezels. You should now have a beautiful translucent piece of jewelry!
Experiment with Dyes and Glitter

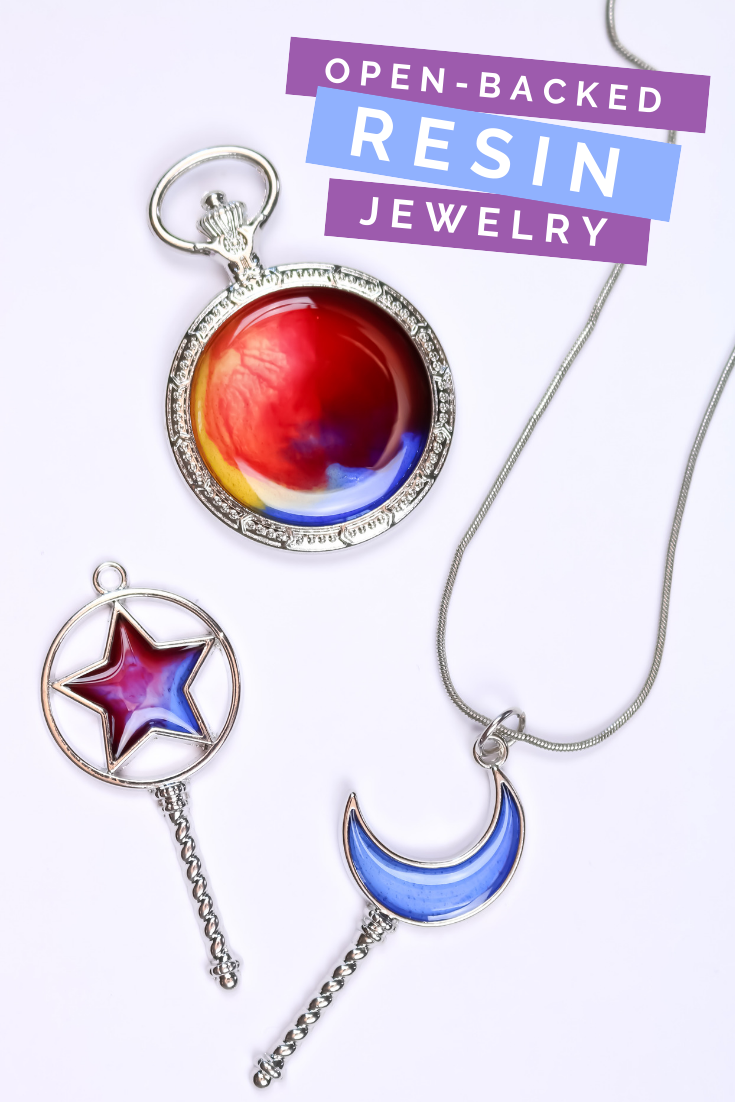
While the clear resin itself is very pretty, you can get all kinds of gorgeous stained glass effects with resin dye. Add these specially-made transparent dyes as you are mixing the resin to give it a beautiful vibrant color. You can also experiment with coloring the resin with alcohol ink or acrylic paint. All I did to the moon pendant was add blue-dyed resin into the bezel.
I added glitter to the heart and star keys. A little glitter goes a long way, so don’t overdo it! I think my favorite results came from swirling colored resin in the large circle bezel and the star wand bezel. Do your own experiments to see which technique you like the best!

You can use these high gloss charms as a necklace pendant, a key chain, and more! How would you use these lovely DIY resin jewelry pieces?
You might like these other fun DIY jewelry projects:

DIY GEODE NECKLACE WITH POLYMER CLAY


