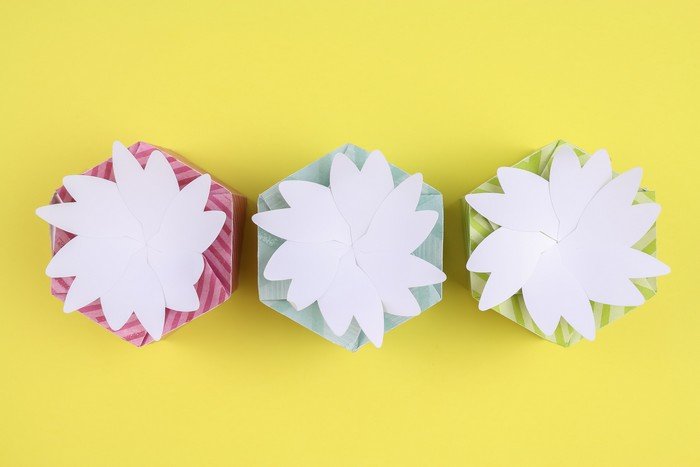
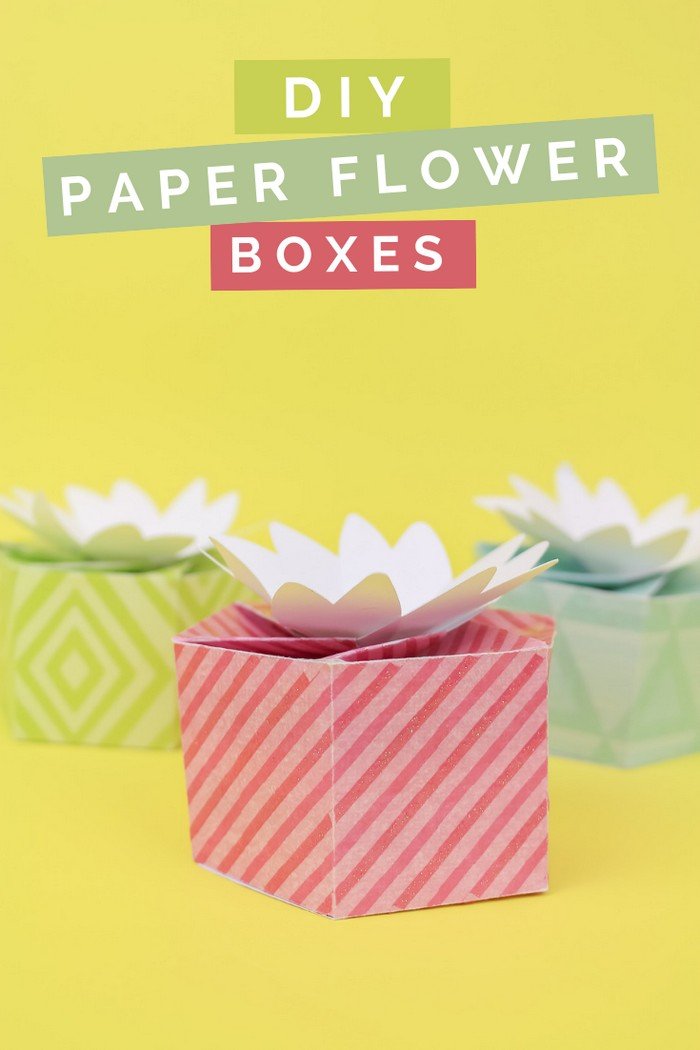
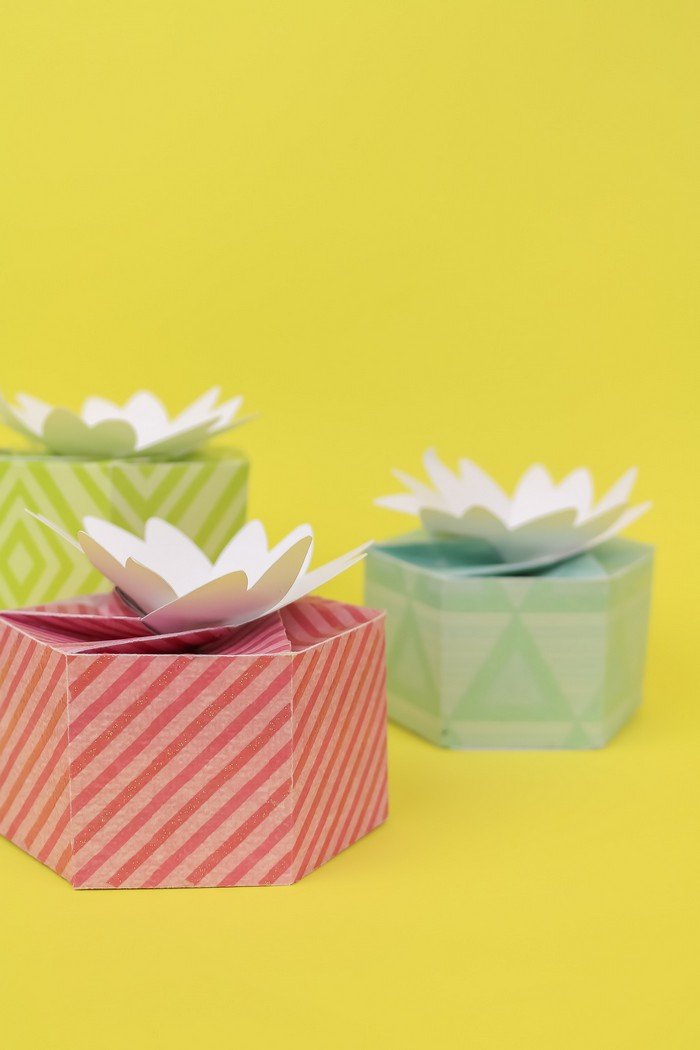
Once you have chosen the perfect gift for Mother’s Day, you will want the gift wrap to be just as special! You can use your Cricut machine to make adorable flower-topped gift boxes to hold Mom’s gift in style. The Cricut makes creating the pieces of the gift box easy, but assembling the box is a little trickier. I will walk you through the process of putting these flower-topped gift boxes together to help you get a picture-perfect result.
DIY FLOWER TOPPED GIFT BOXES
Supplies You Will Need
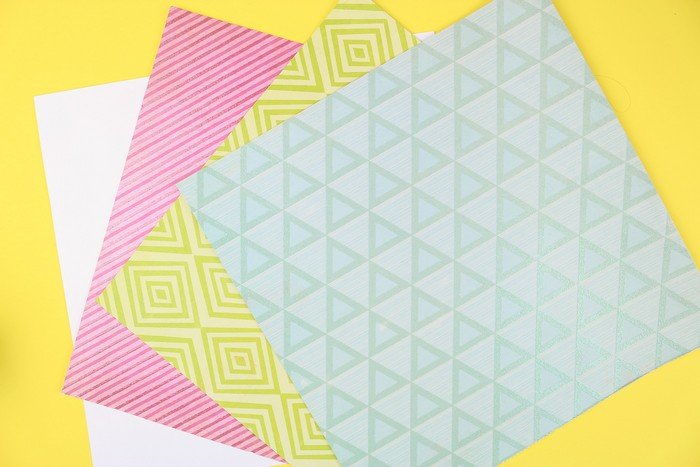
I chose to make my gift boxes out of patterned scrapbook paper, but you can choose whatever kind of paper you like the best. Use this cut file to create three small gift boxes. The white layer in the file will create the flowers on the top of the boxes, while the colored layers will create the boxes themselves. You will need both the fine point blade and a scoring tool (either the stylus or the scoring wheel) to make these boxes.
These are all affiliate links, if you make a purchase (of anything from these retailers, not just these items) after clicking through, I will earn a small commission. Ads and affiliate links are the way I am able to keep this website running and to offer you free tutorials all year long. Thank you so much for supporting me and Mad in Crafts!

Want to know which craft supplies I always keep in my craft room?
Visit the Mad in Crafts Amazon Storefront to learn more and to buy your own supplies!
Assembling the Flower Topper

After you have cut and scored all the pieces of the gift box, you should have six separate pieces. Three of them will look like this. This will become the flower on the top of the gift box.
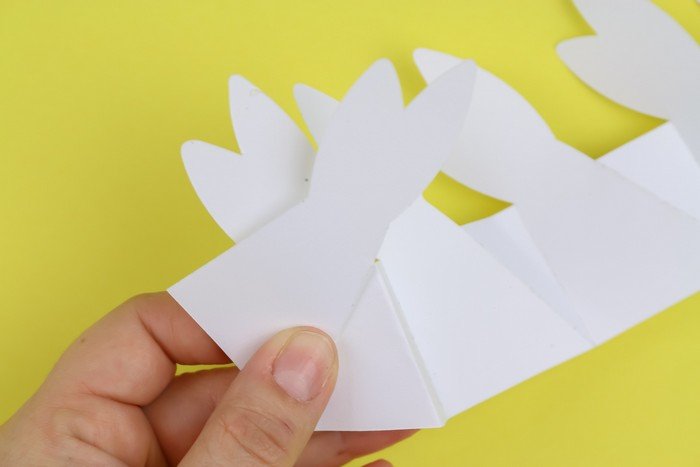
Begin by folding along all of the score lines. The folds should cause the petals of the flower to overlap as shown above.
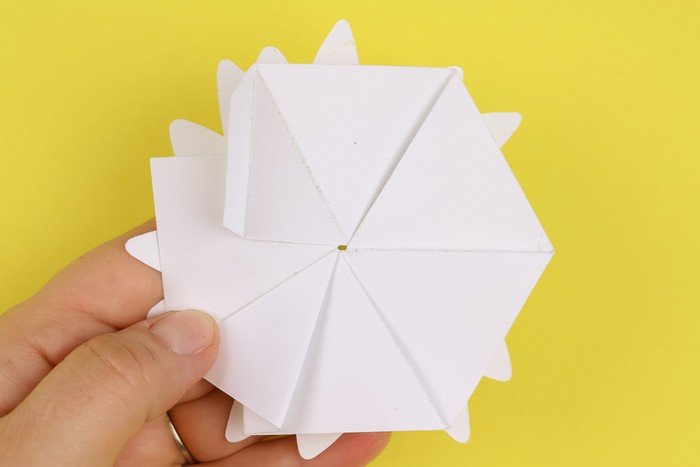
When you have folded along all of the score lines, the underside of this piece should look like this.
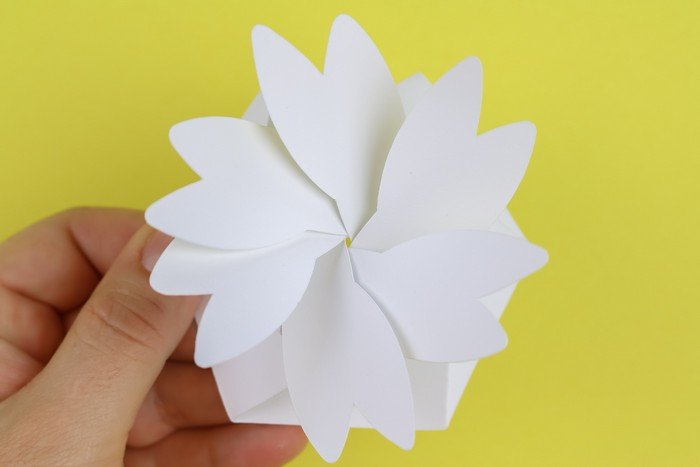
And the top of the flower piece should look like this. Set this flower topper aside for now.
Assembling the Gift Box
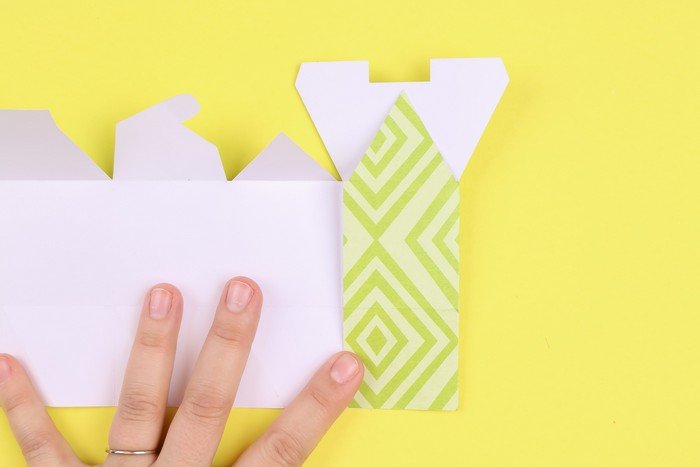
You should also have three pieces that will become the box part of each of the gift boxes. Once again begin by folding along all of the score lines. I recommend starting by folding along all of the vertical score lines. These folds will create the sides of the finished gift box.
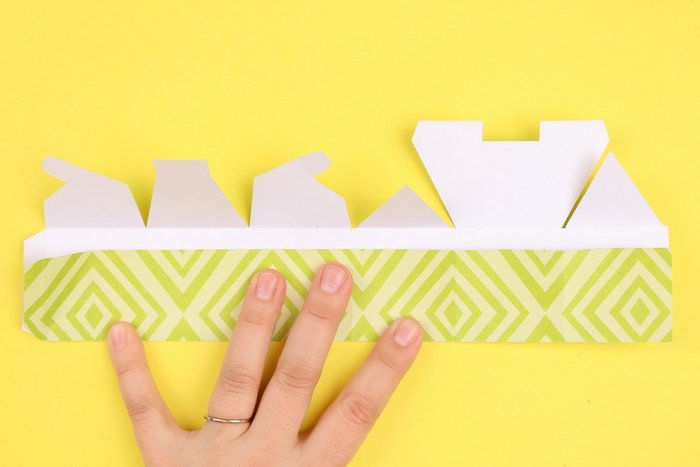
Next, fold along the horizontal score lines. The portion folded up in the photo above will become the top of the gift box (along with the flower).
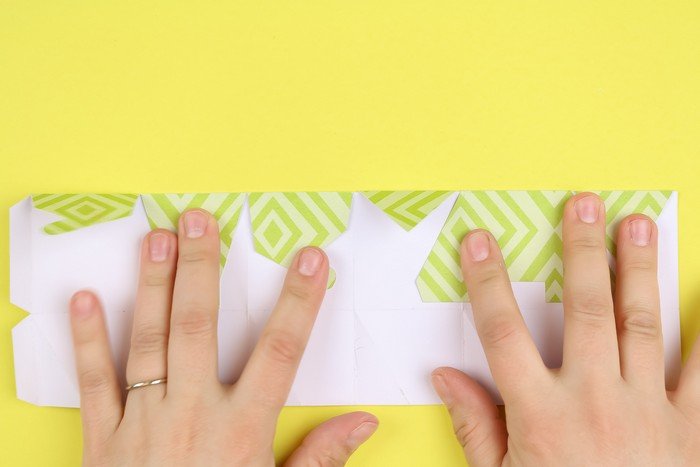
These pieces will lock together to create the bottom of the gift box.
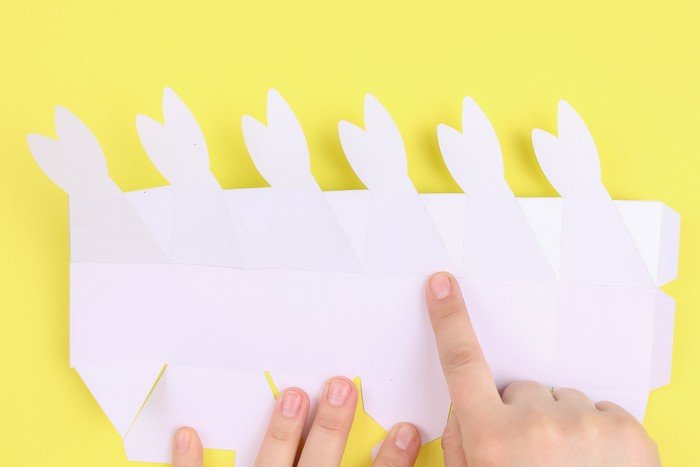
Using a glue runner or double-sided tape, attach the flower pieces to the inside of the box piece. Make sure that all of the score lines and tabs match up properly.
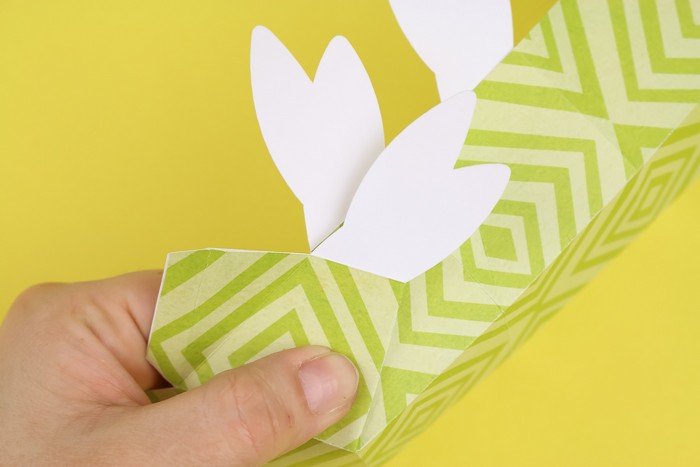
You will know you have attached the flower piece correctly if you can still overlap the petals when you fold along the score lines.
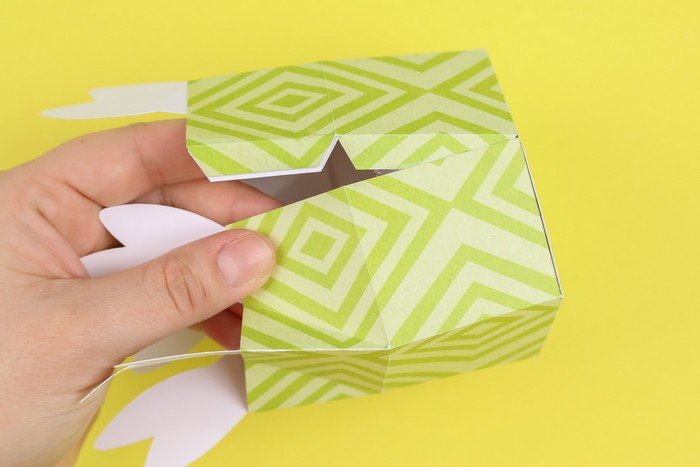
Next, I recommend gluing or taping the tabs to the inside of the gift box. Use a strong glue or tape for this step because those create the structure of the finished box.
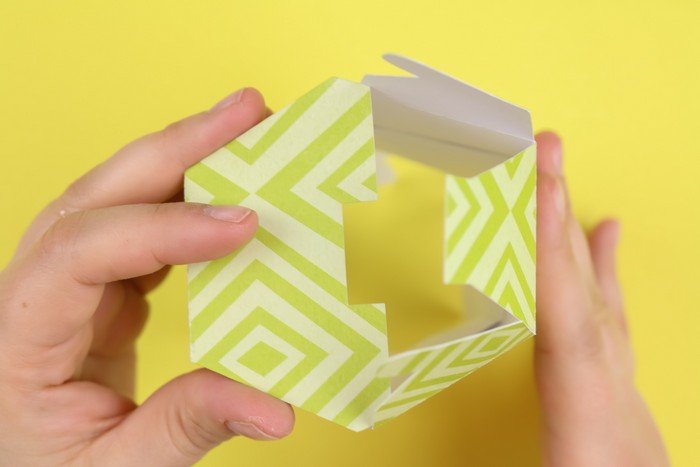
Now it is time to work on the bottom of the box. Fold the two triangle pieces in, as well as the largest piece on the bottom of the gift box (as shown above).
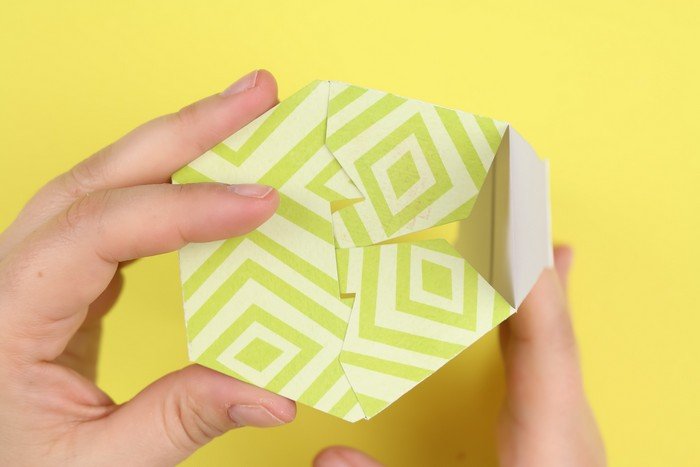
Then, fold the two pieces that have tabs on them down, tucking the tabs under the largest portion of the bottom of the box (shown above).
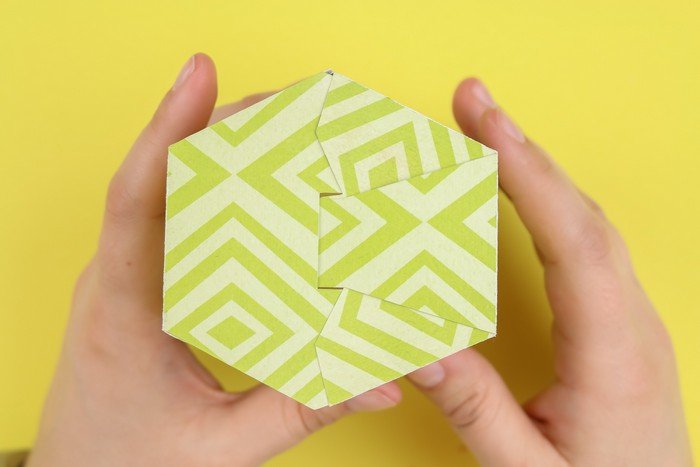
Lastly, fold the final piece down, tucking the tab under the largest portion of the bottom of the box (shown above). Secure the bottom of the box with glue or tape.
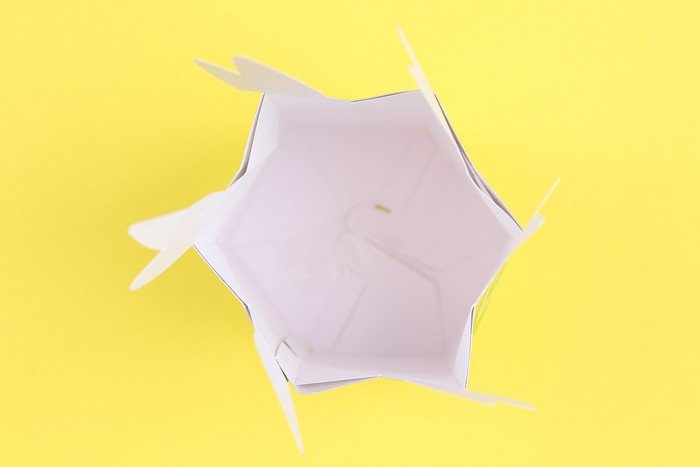
The main structure of the box is complete. Now is the time to fill the box with your thoughtful Mother’s Day gift!
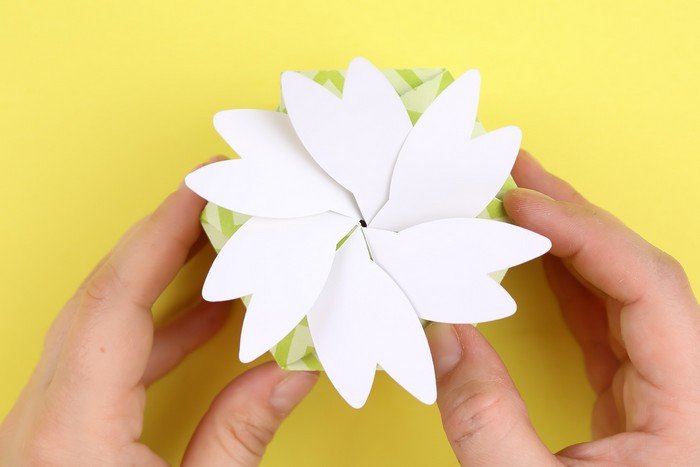
Finish the present by folding and overlapping the top of the box to create the flower. Press down gently on the center of the flower to lock it in place.
DIY Paper Mother’s Day Gift Boxes
This cut file creates three gift boxes, so you can give pretty presents to all the moms, grandmas, and godmothers in your life!
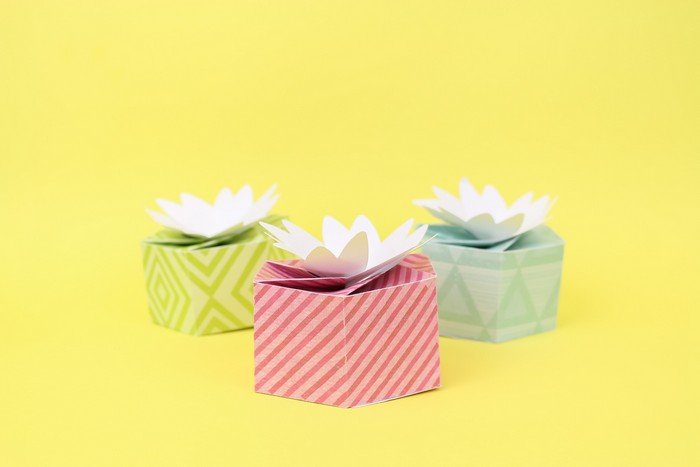
The flowers on the top of the gift box add such a sweet touch, and they eliminate the need for any kind of bows or ribbon!
What special gift would you wrap up in these adorable flower-topped gift boxes? Let me know in the comments below!

