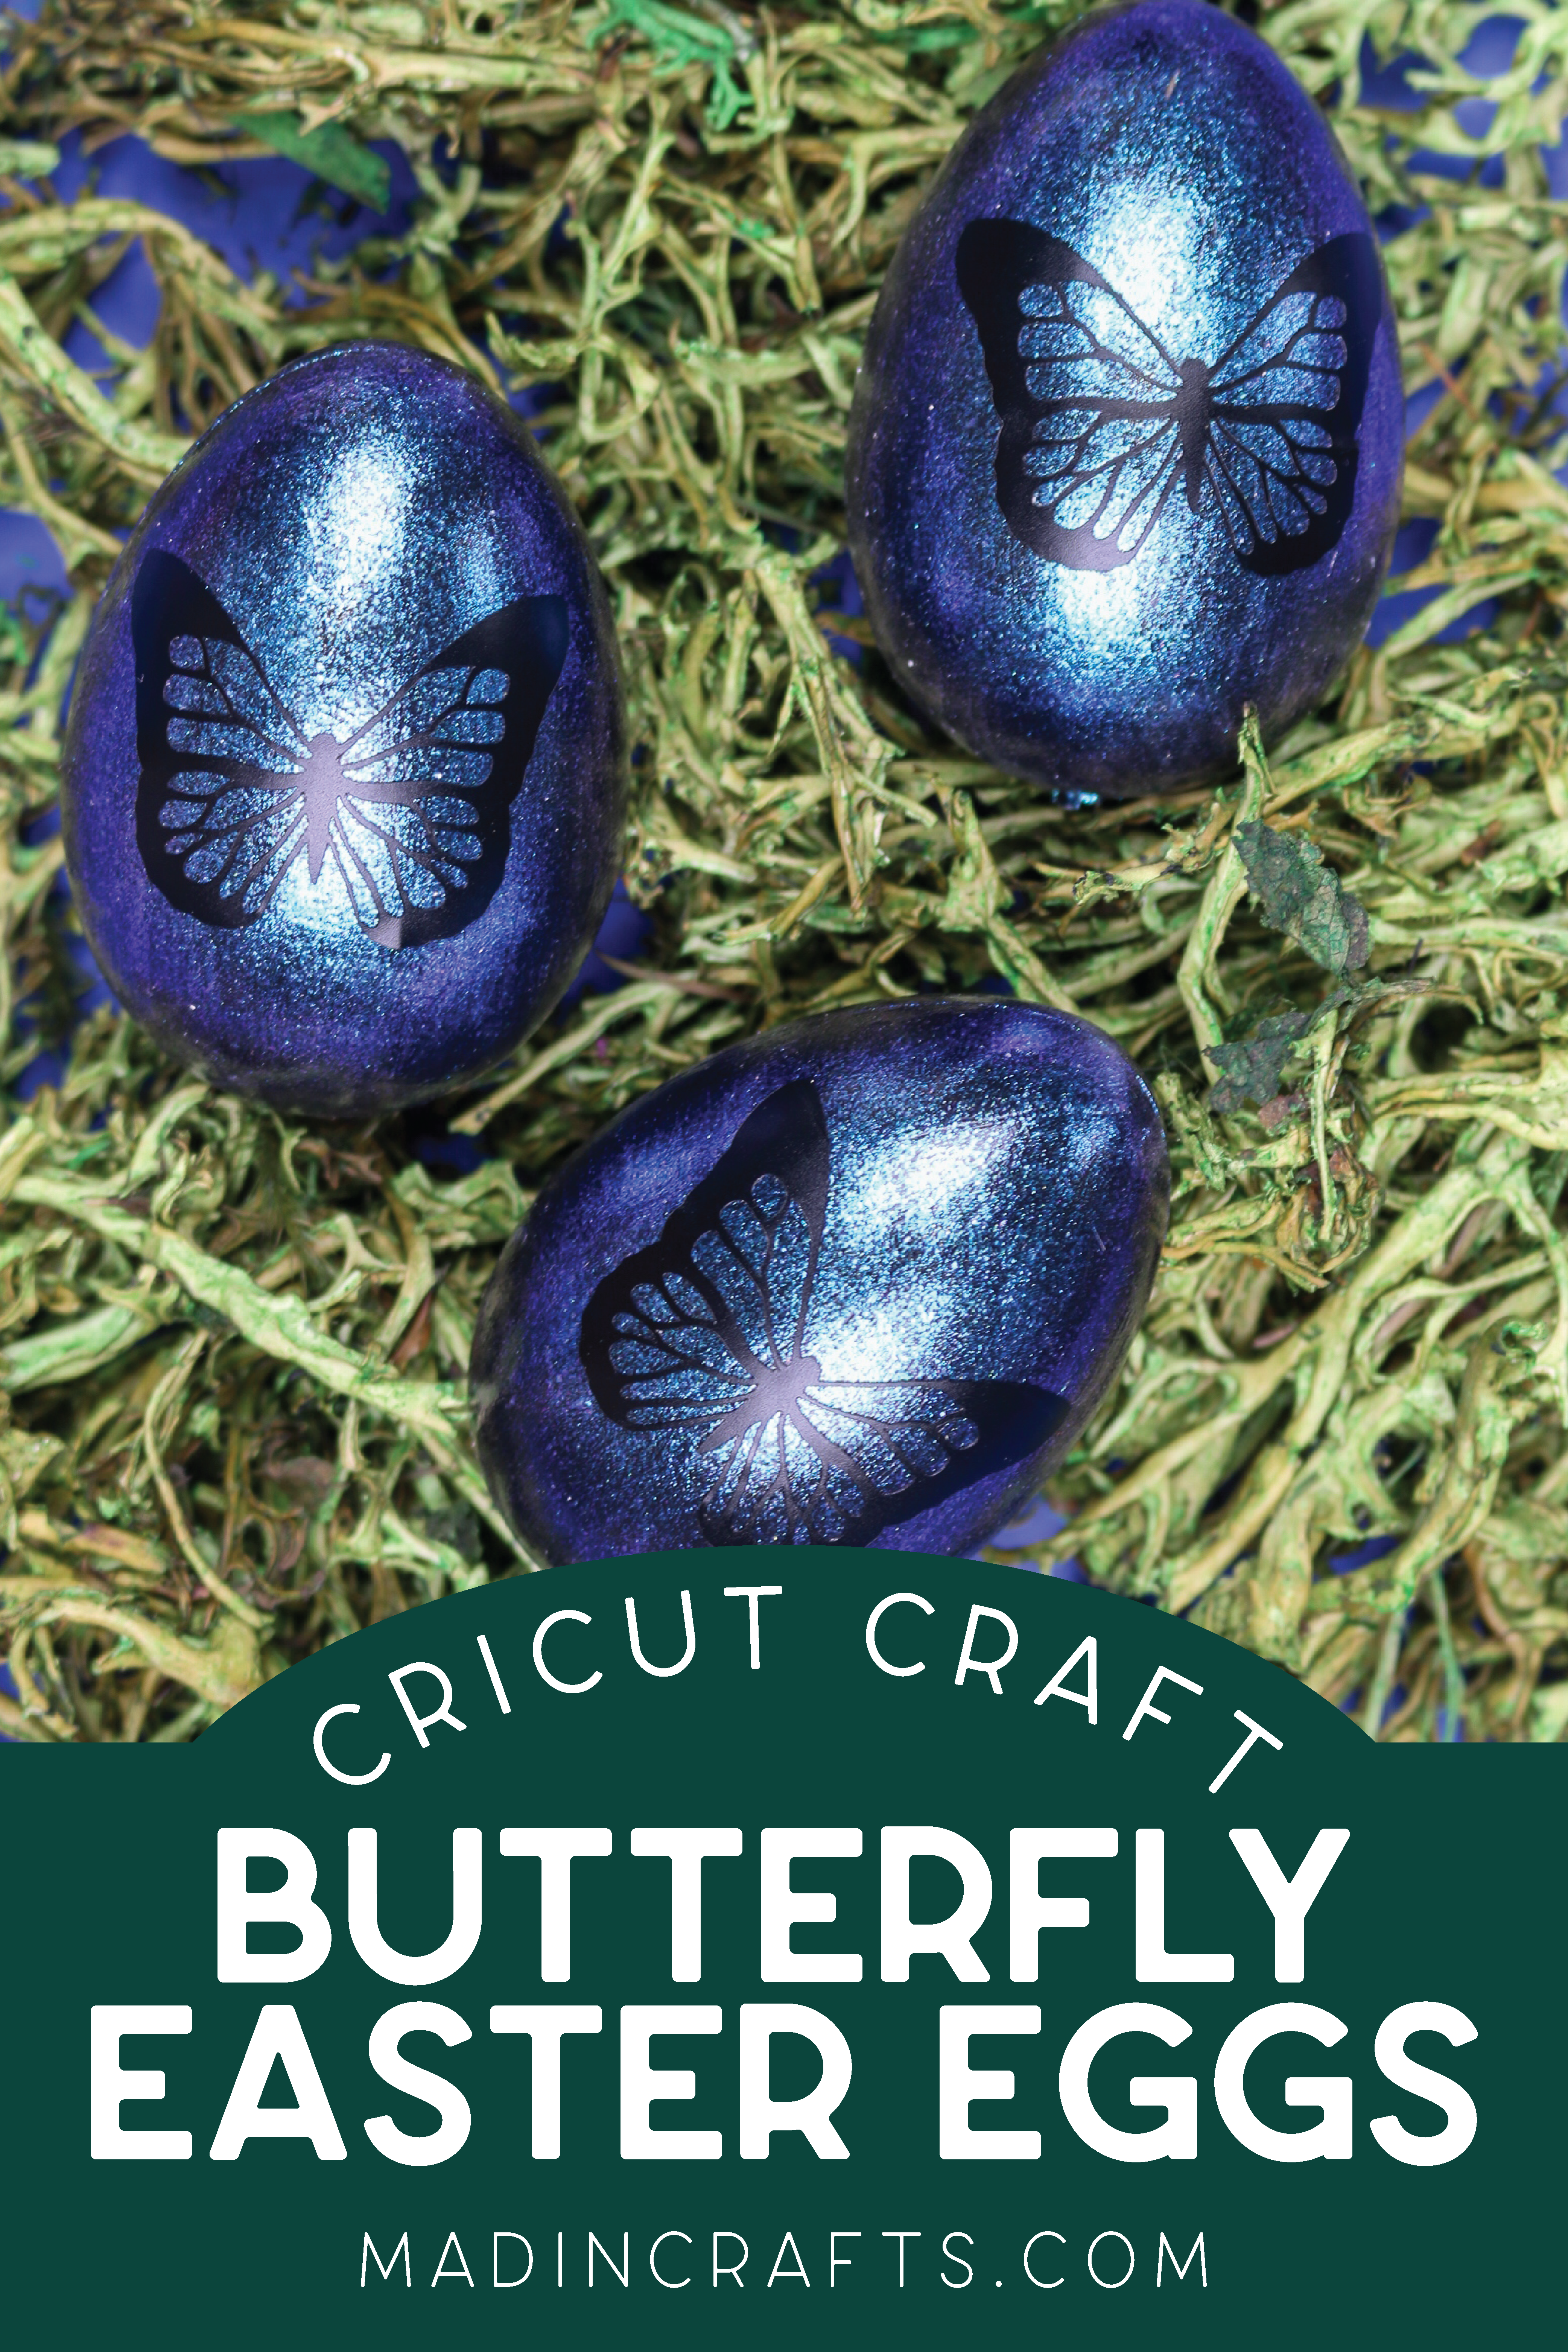
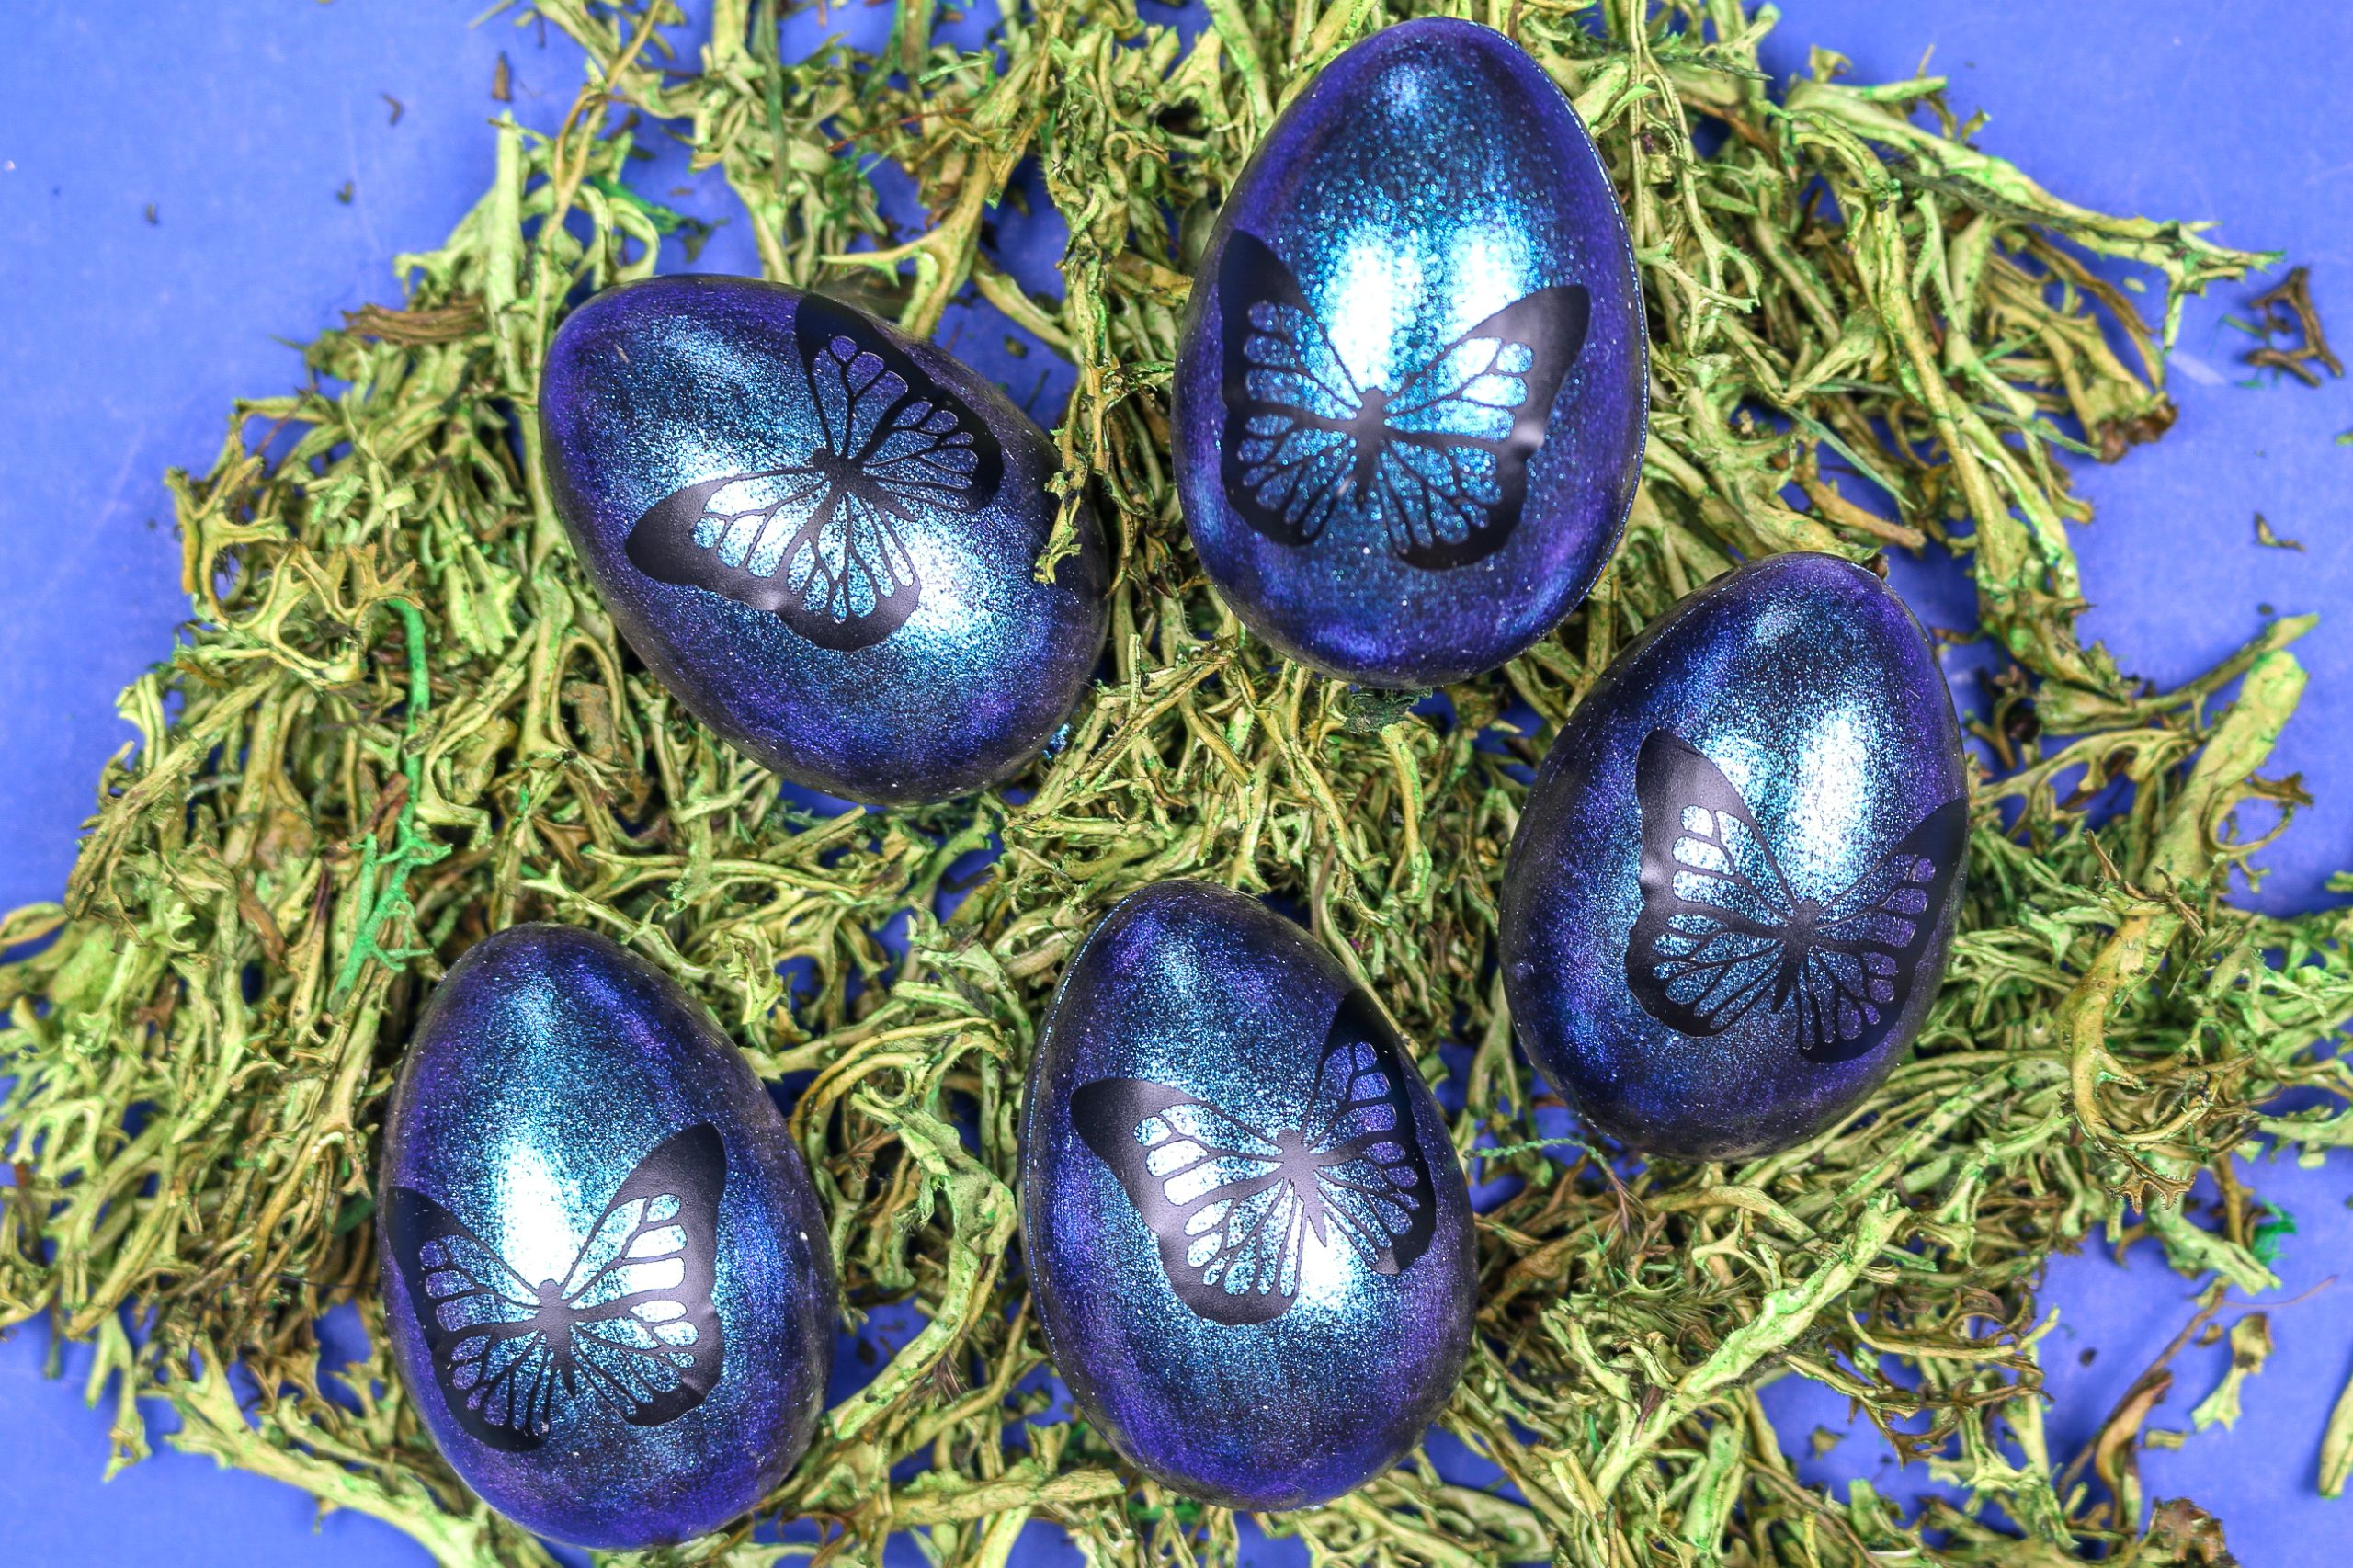
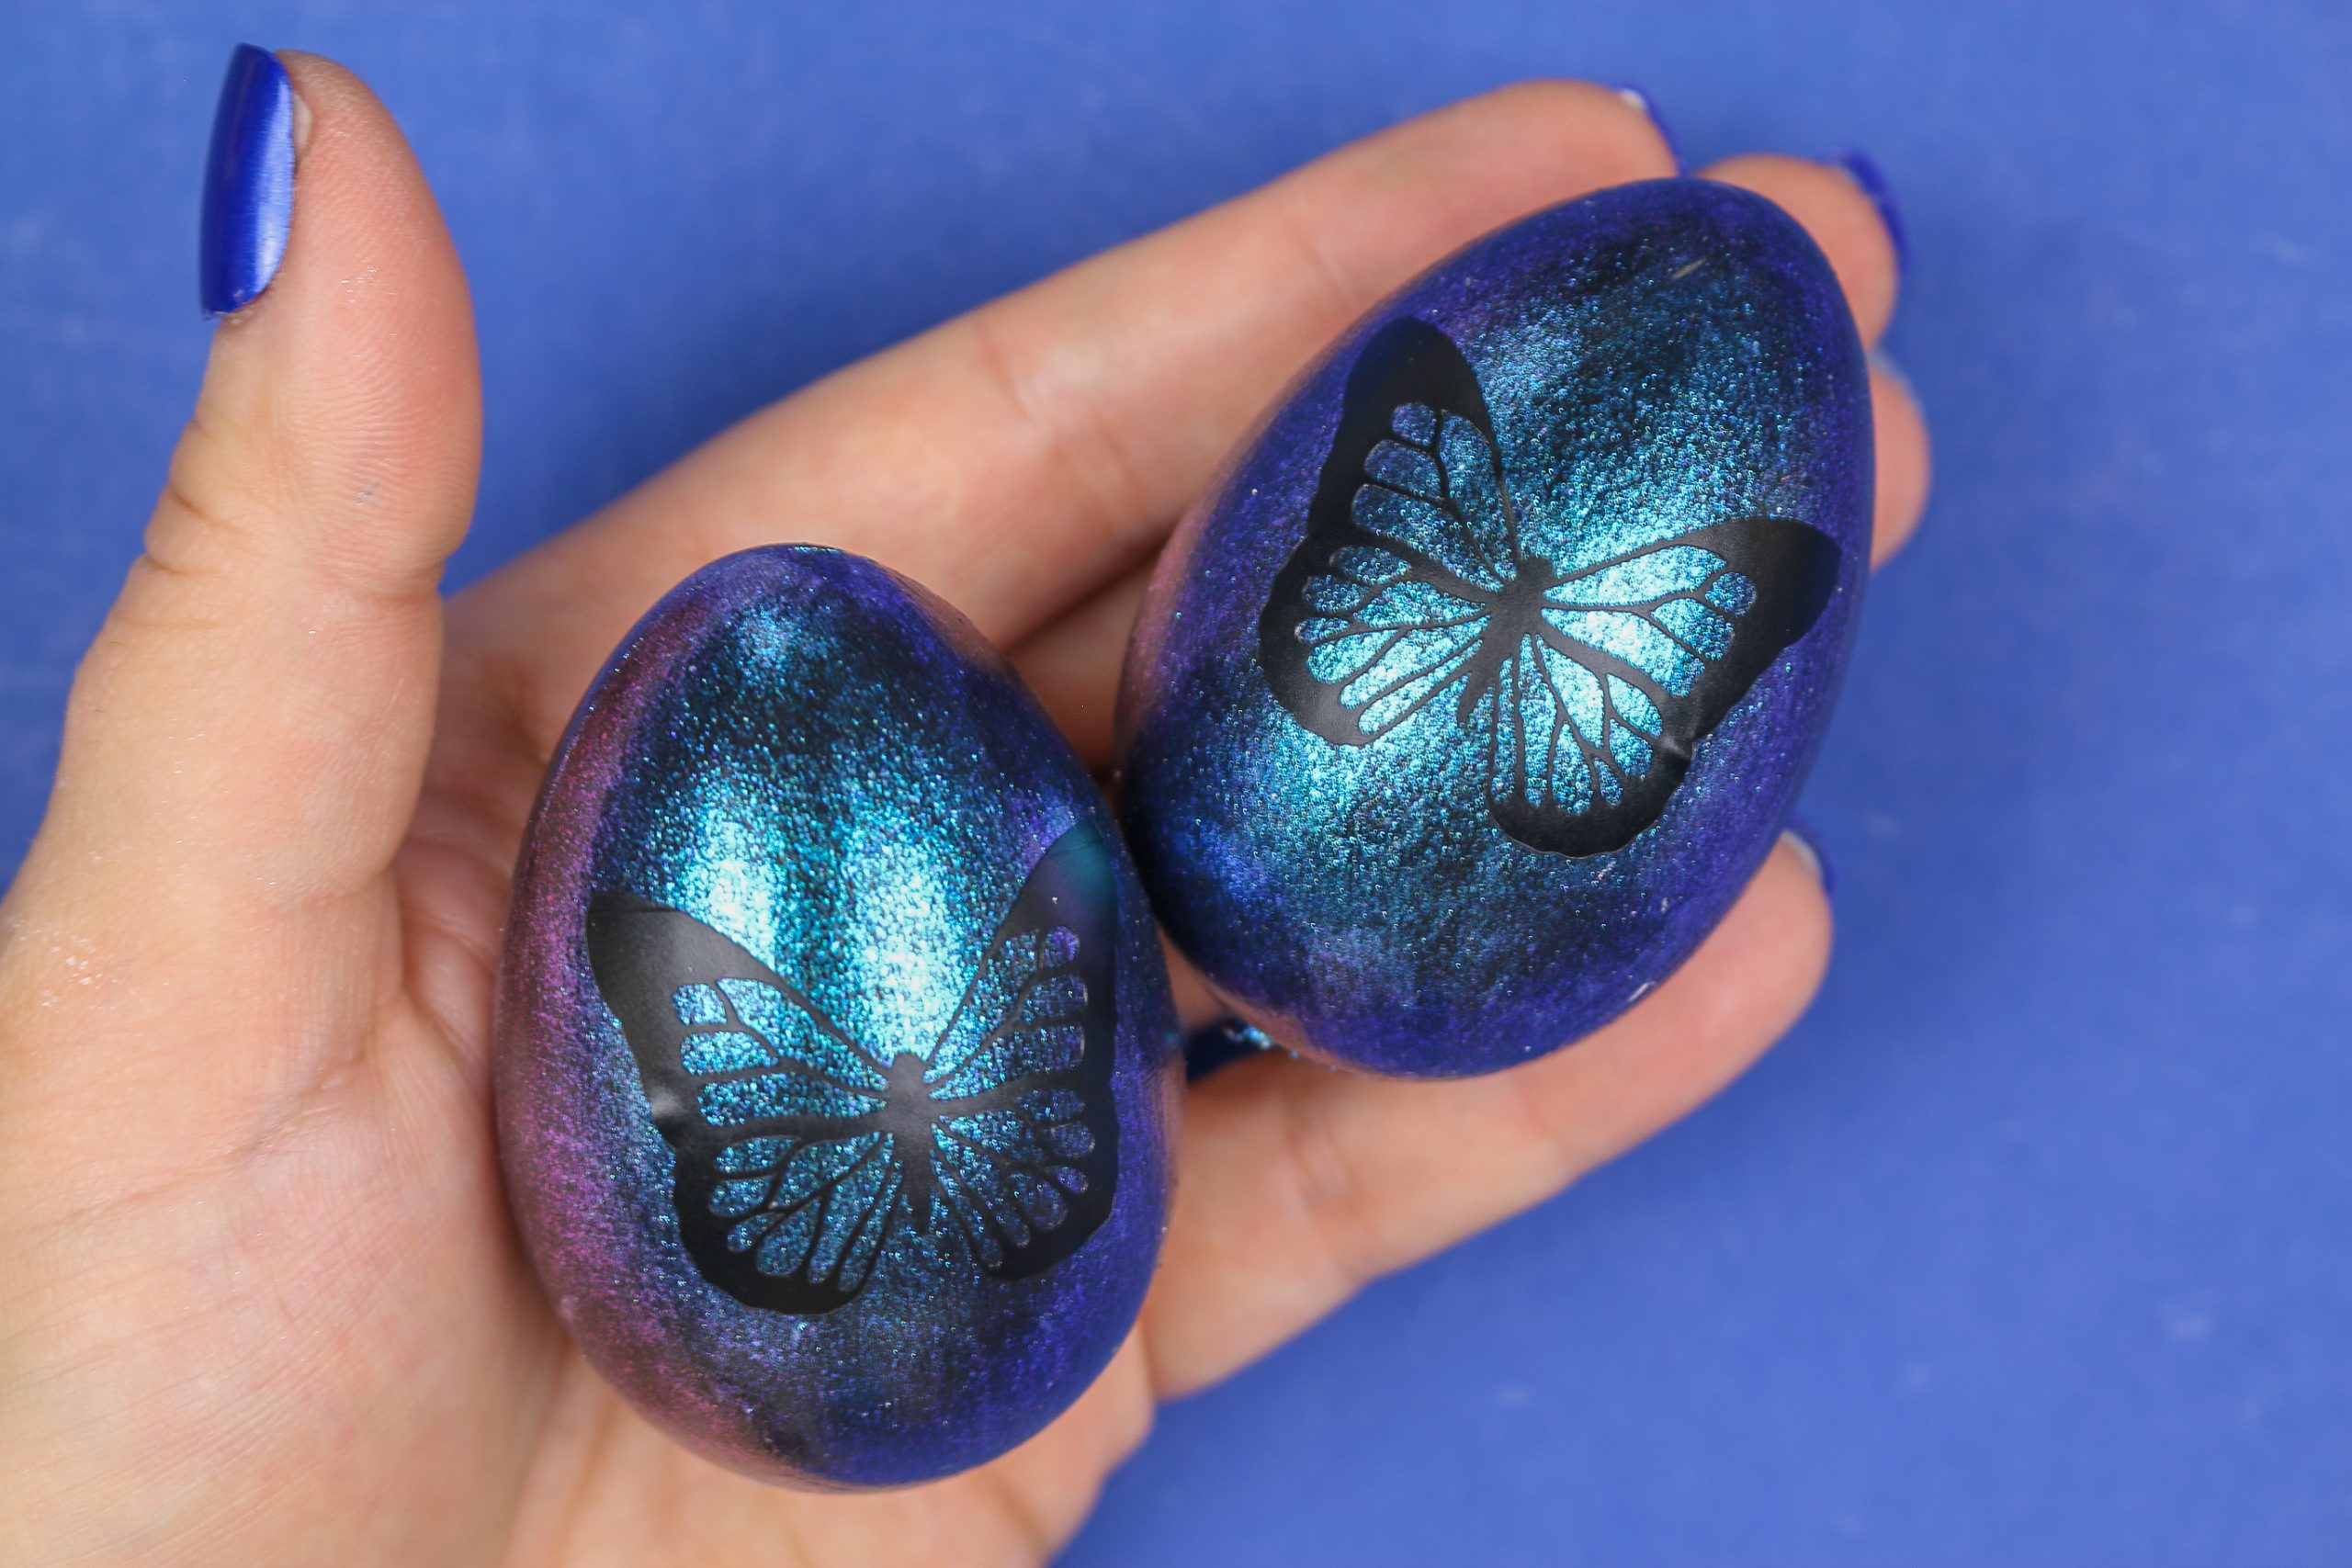
I have written before about how I love butterflies as Easter symbols, but you might not know that I am not a big fan of sharing personal space with butterflies. They are far too swoopy for my liking. My children both had field trips to butterfly gardens when they were in preschool, and the swoop-iest, and scariest, butterfly was also the most beautiful. When closed, the butterfly’s camouflaged wings made it nearly invisible, but when it took flight it spread its giant, stunning bright blue wings. I created these butterfly Easter eggs to have all the beauty of that butterfly with none of the swooping.
DIY CRICUT BUTTERFLY EASTER EGGS
WHAT DO YOU NEED TO MAKE EASTER EGGS WITH A CRICUT?
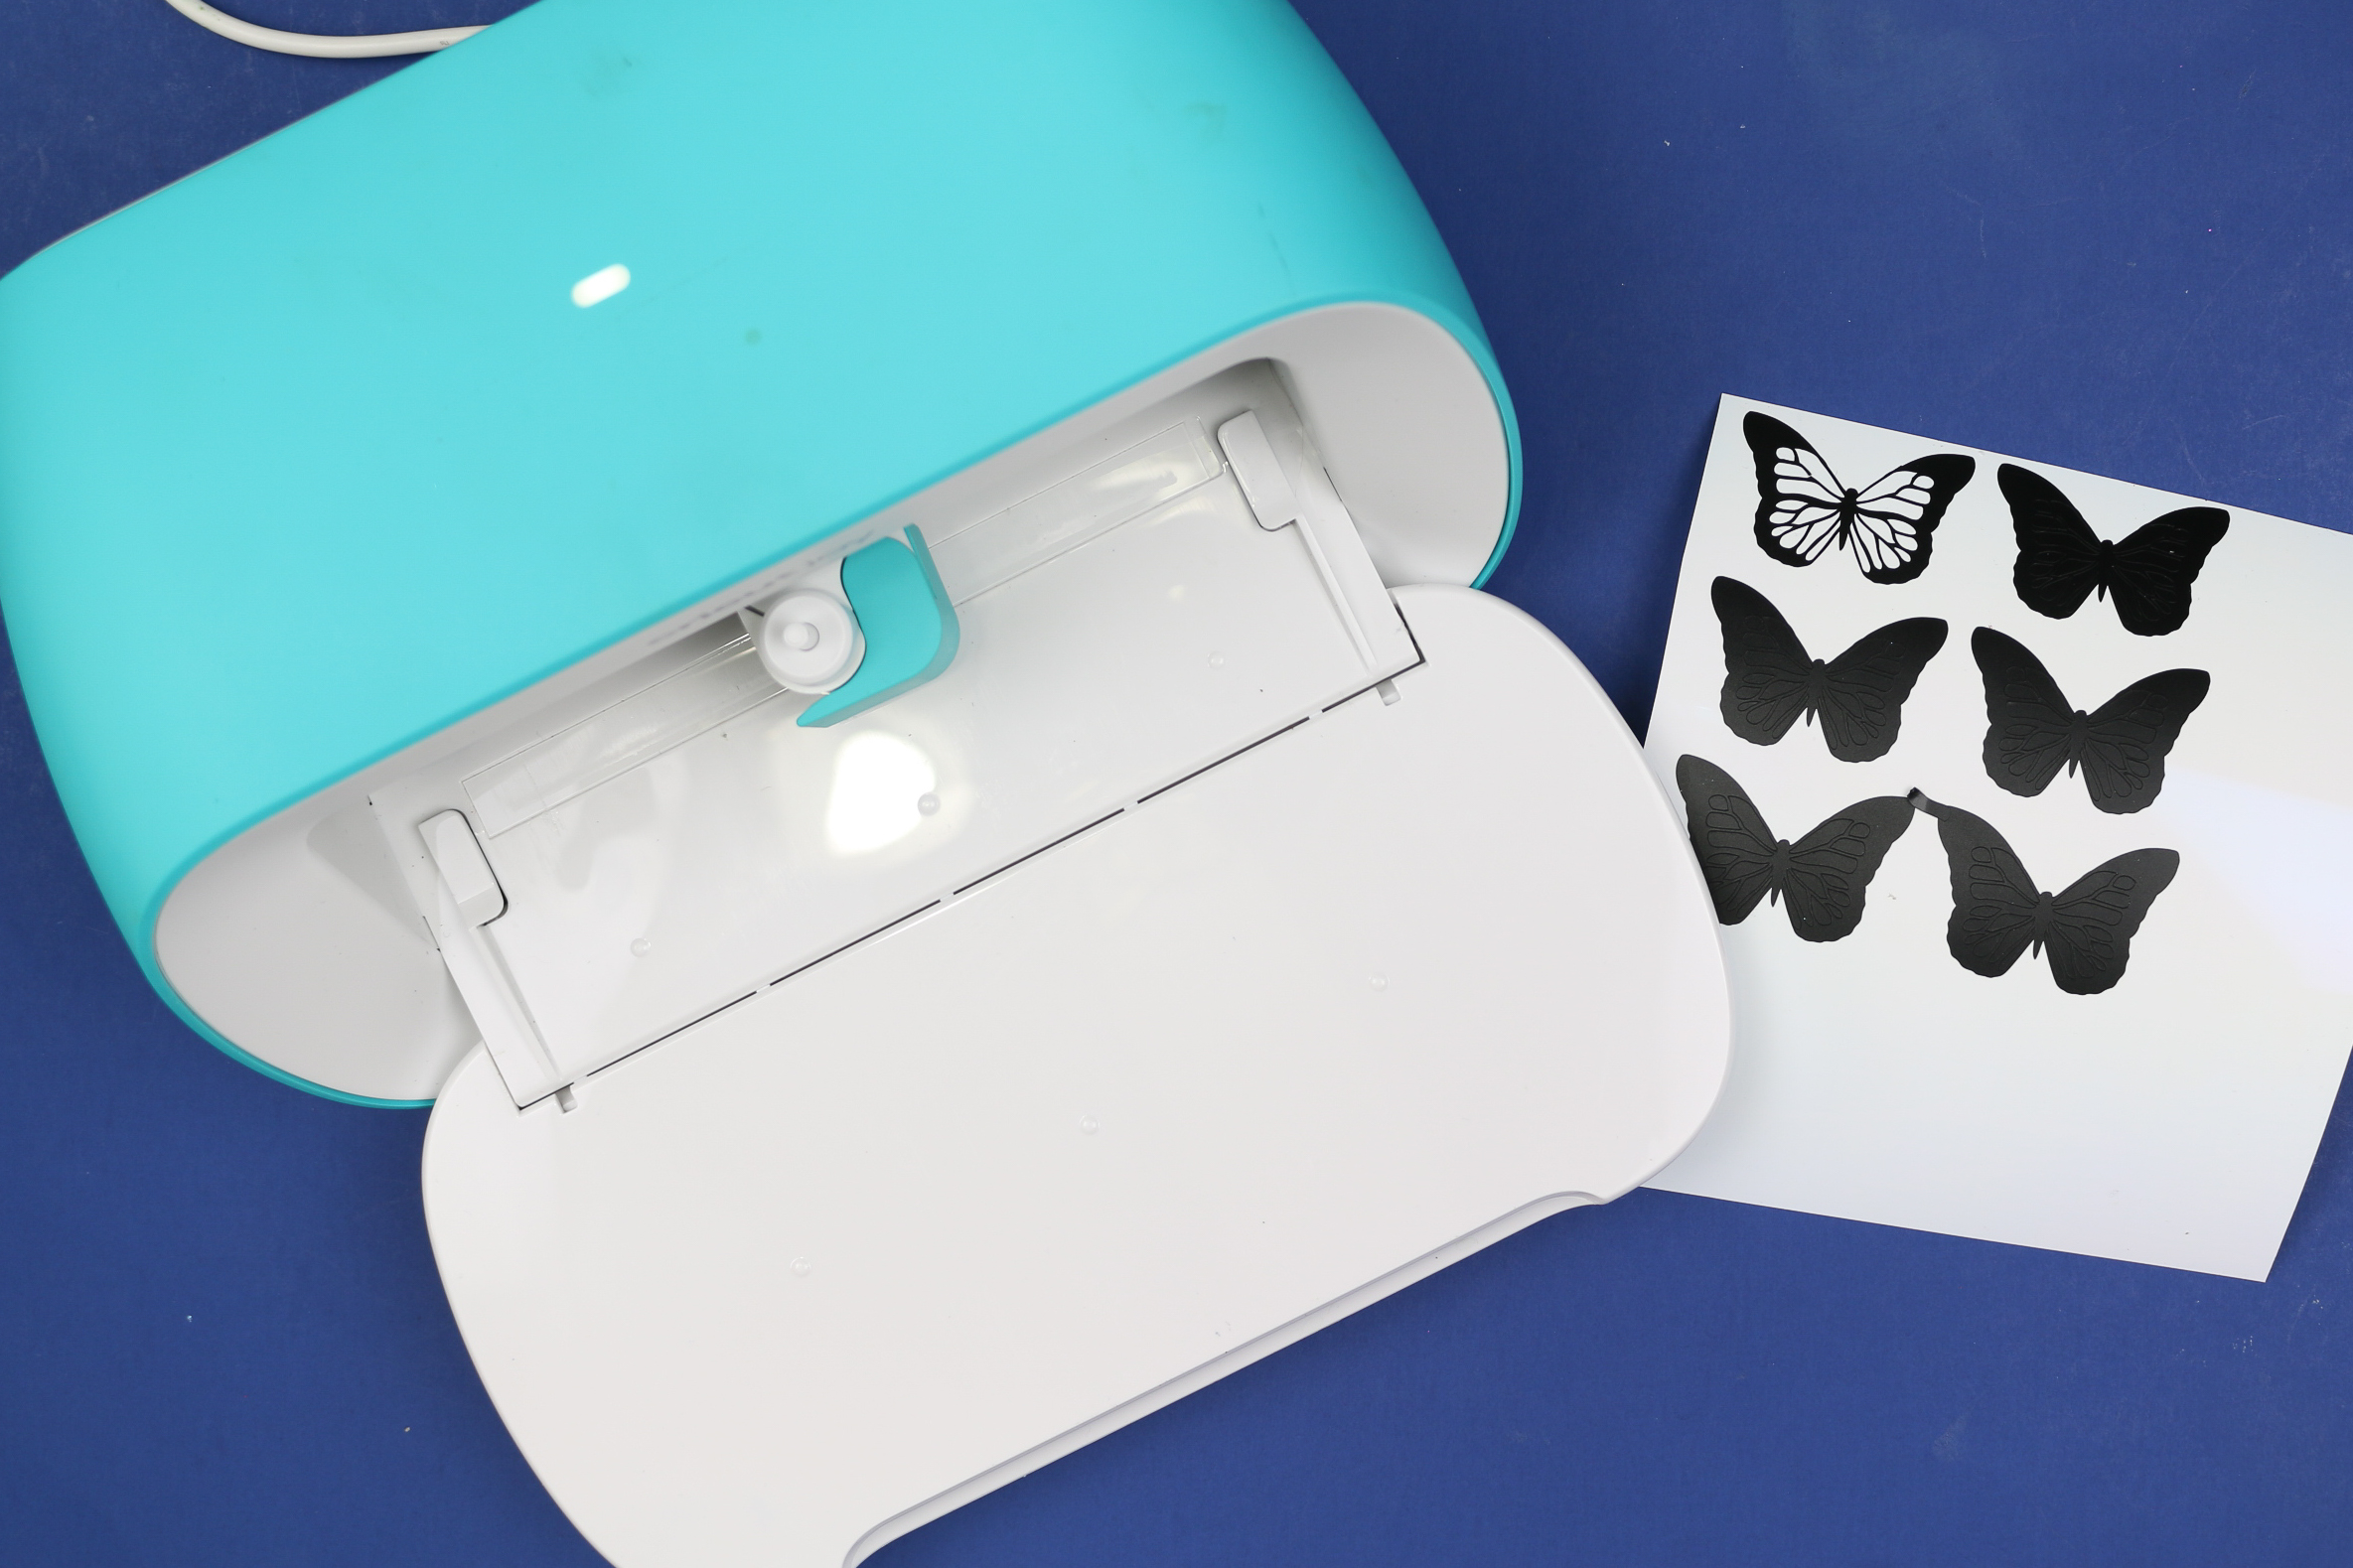
Since Easter eggs are so small, you won’t need much vinyl at all to decorate your eggs. This is a great project to use any scrap vinyl you have stashed away. I used my Cricut Joy because it’s the easiest of my machines to pull out, but you can make this Easter decor project with any Cricut you have.
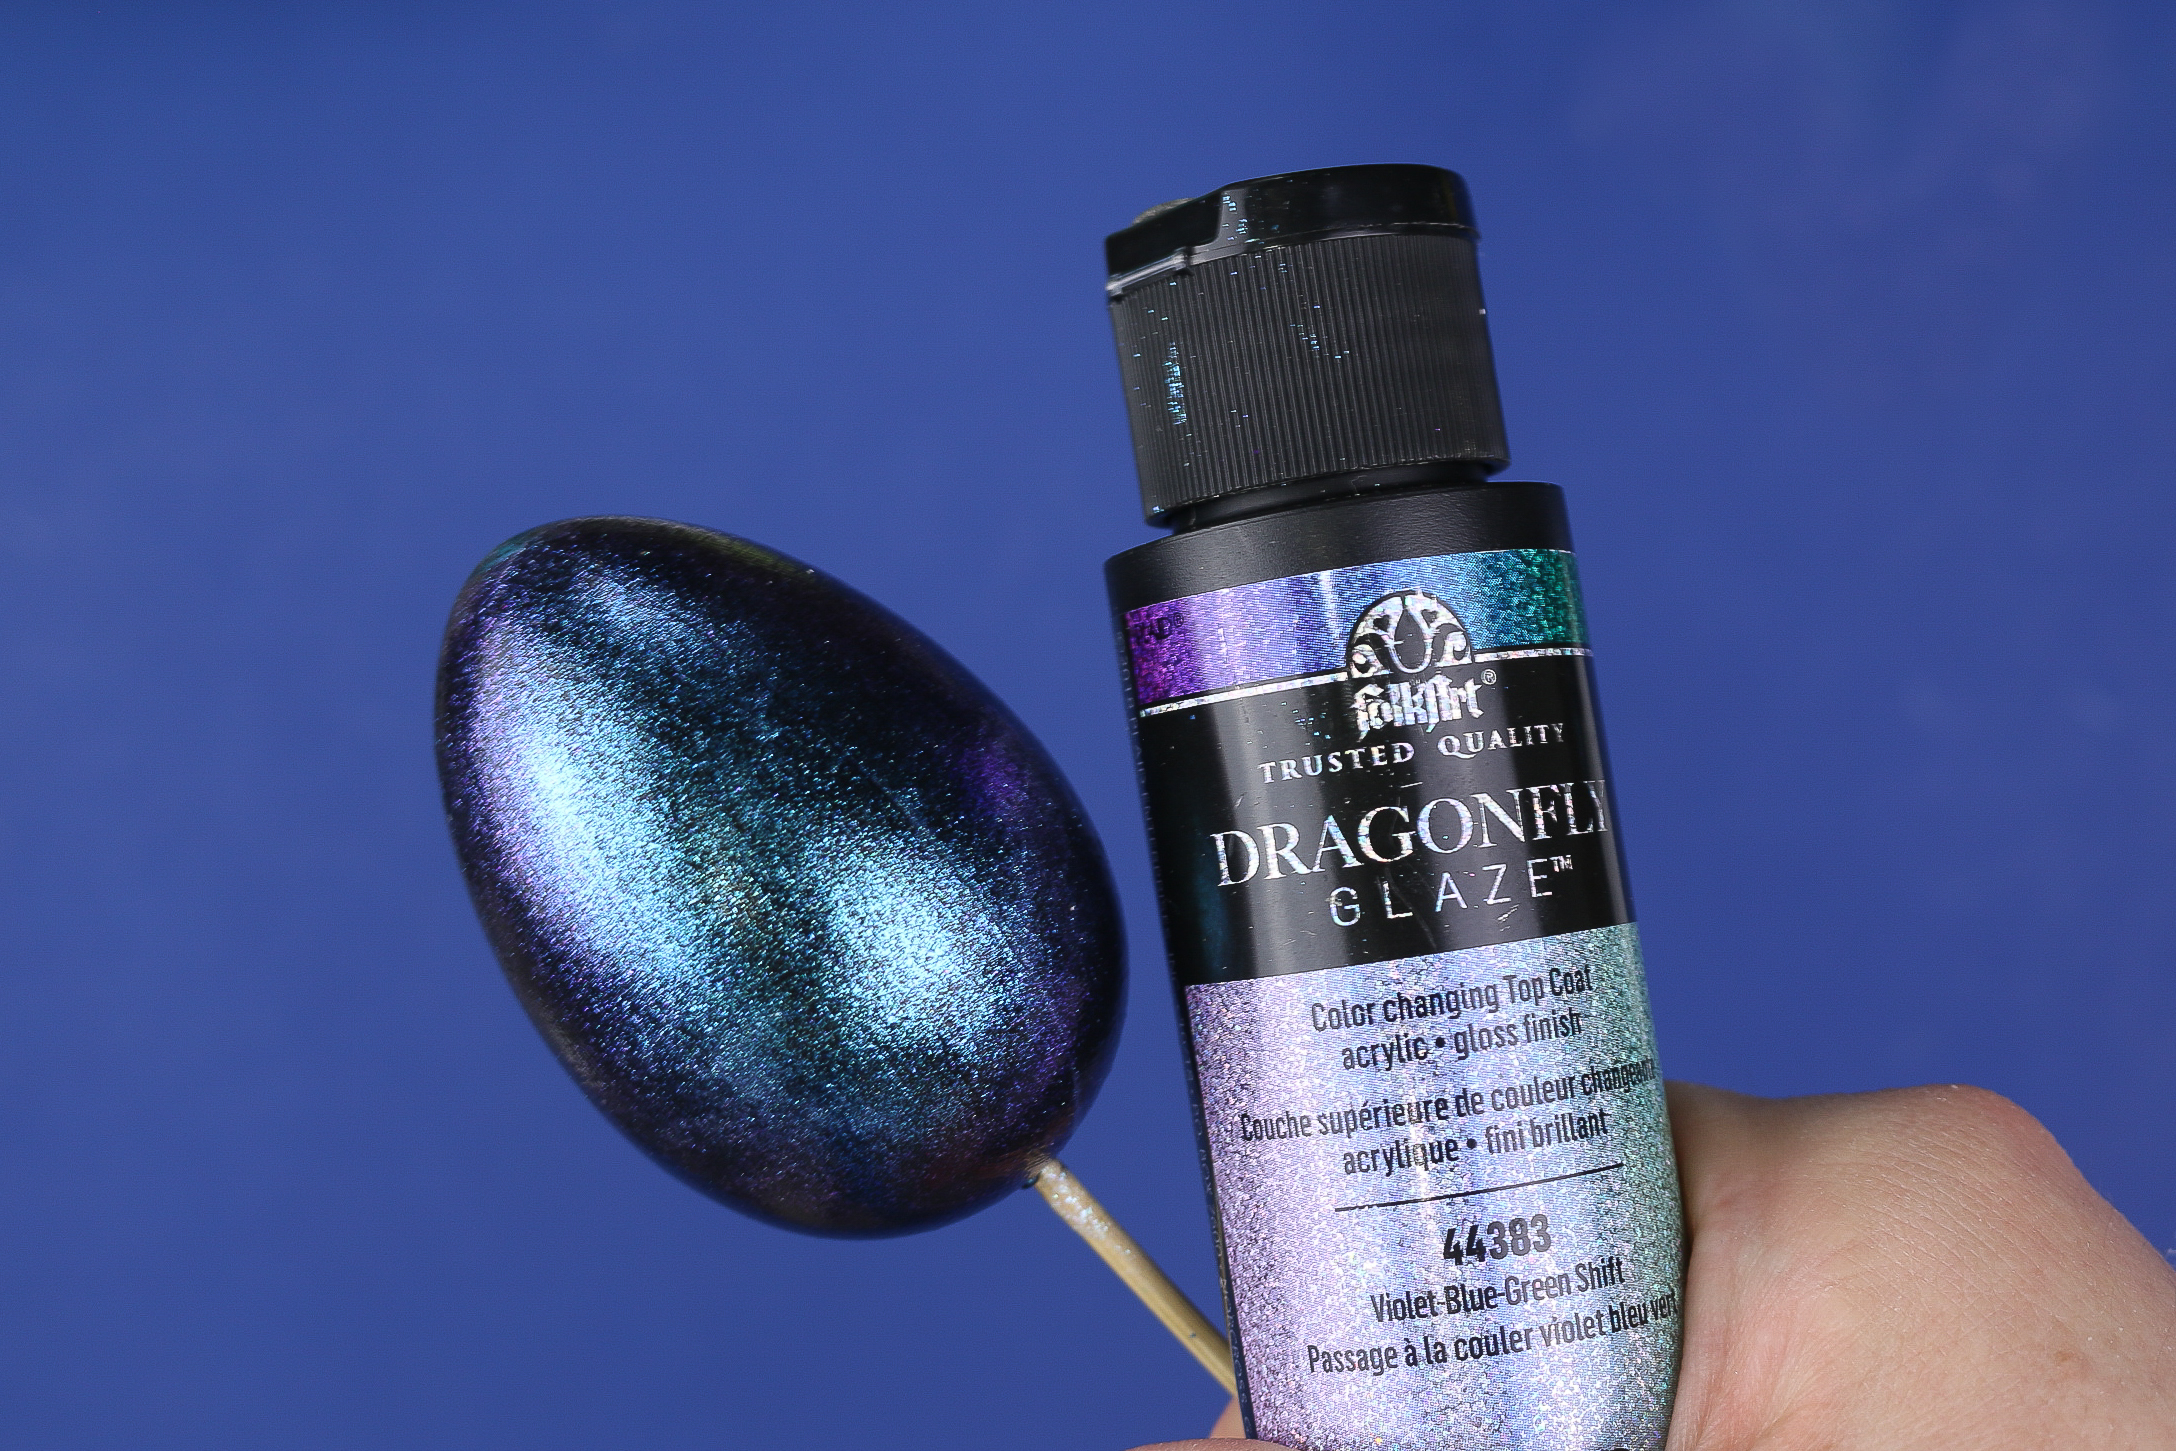
I used plastic eggs that I found at Dollar Tree. You want single-piece eggs (whether they are paper mache, plastic or wood does not matter), so avoid the two-piece eggs that you put candy in. The seam would be too visible on those eggs. You can paint your eggs however you would like, but I like the way the Dragonfly Glaze mimics the iridescence of butterfly wings.
These are all affiliate links, if you make a purchase (of anything from the site, not just these items) after clicking through, I will earn a small commission. Ads and affiliate links are the way I am able to keep this website running and to offer you free tutorials all year long. Thank you so much for supporting me and Mad in Crafts!
- eggs (plastic, wood, or paper mache)
- black craft paint
- Violet-Blue-Green Dragonfly Glaze
- paintbrushes
- Cricut
- cutting mat
- black permanent vinyl
- weeding tools
- transfer tape

Want to know which craft supplies I always keep in my craft room?
Visit the Mad in Crafts Amazon Storefront to learn more and to buy your own supplies!
HOW DO YOU MAKE BUTTERFLY EASTER EGGS WITH A CRICUT JOY?
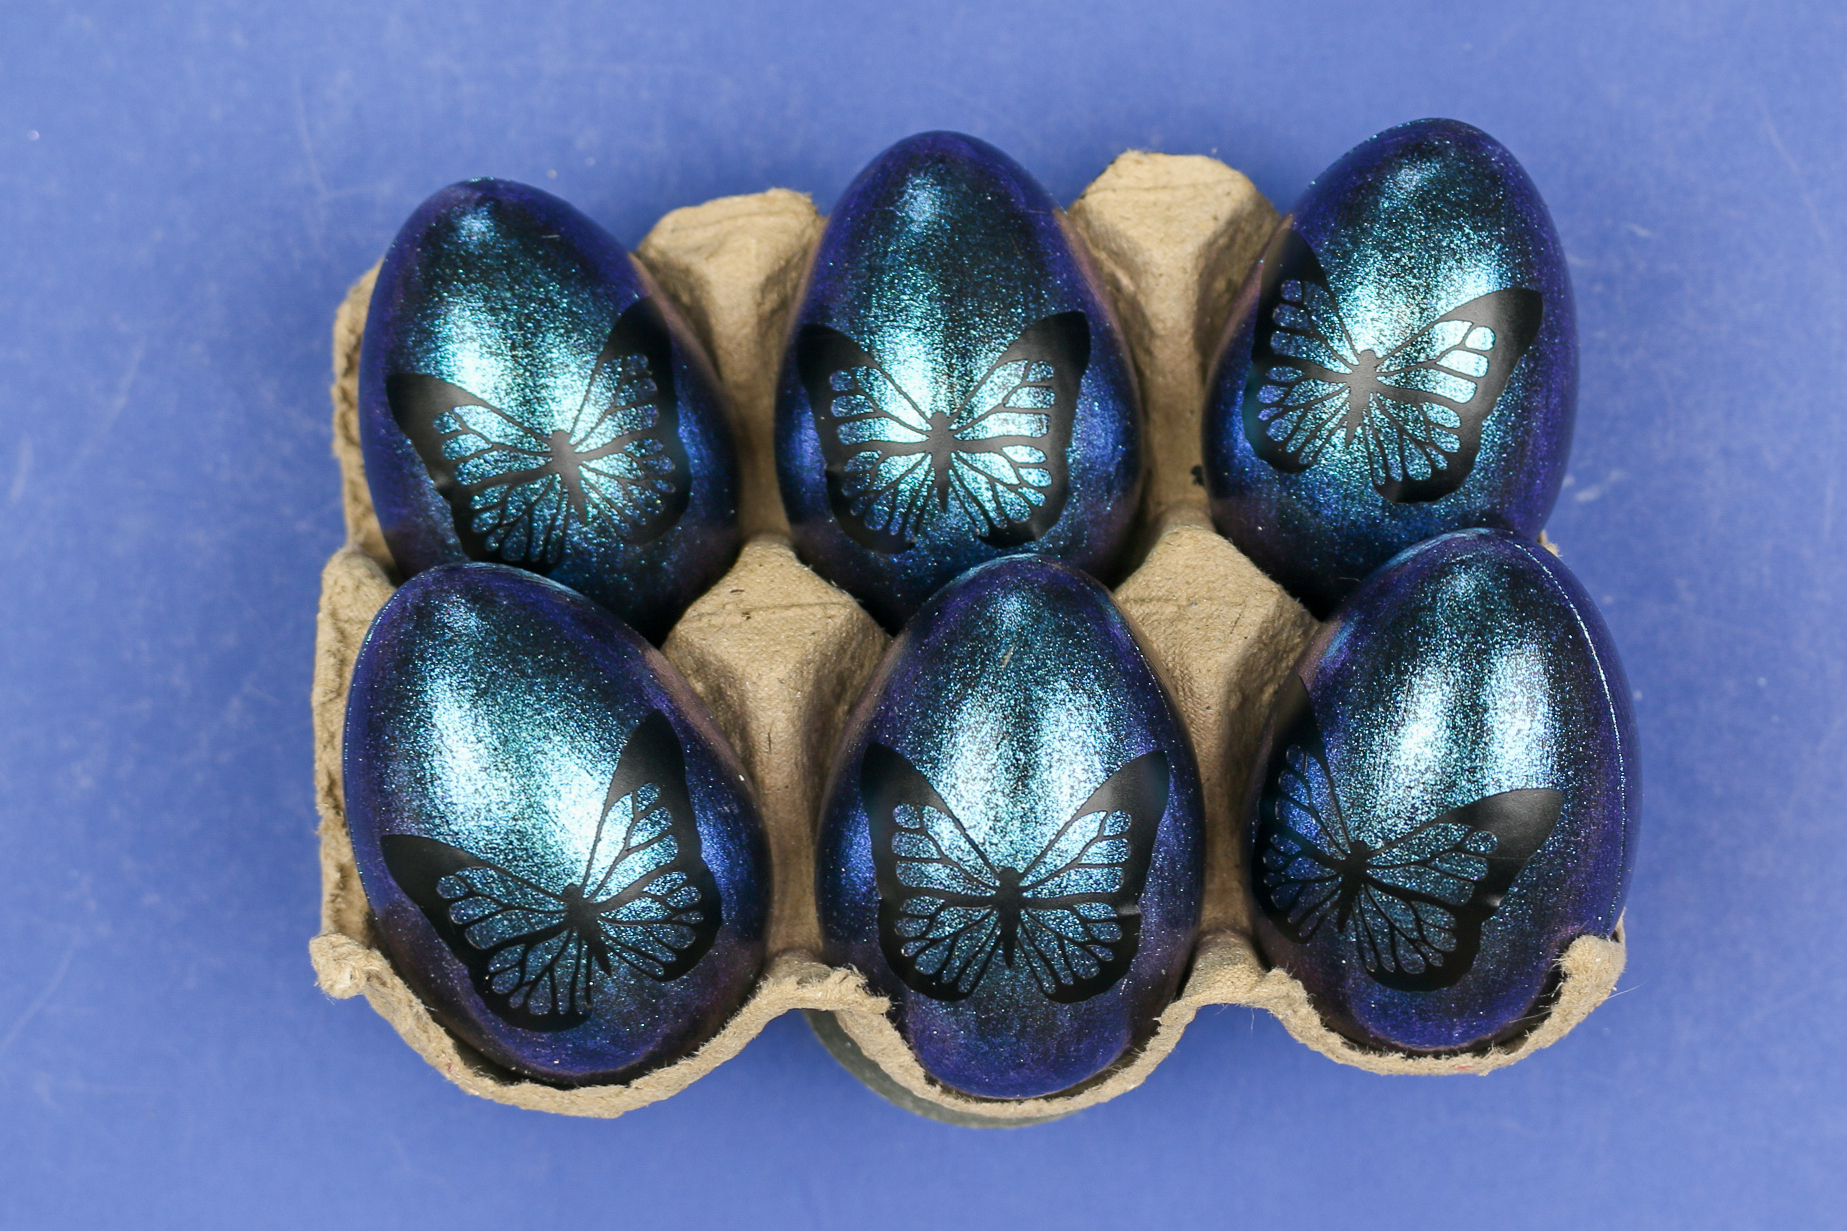
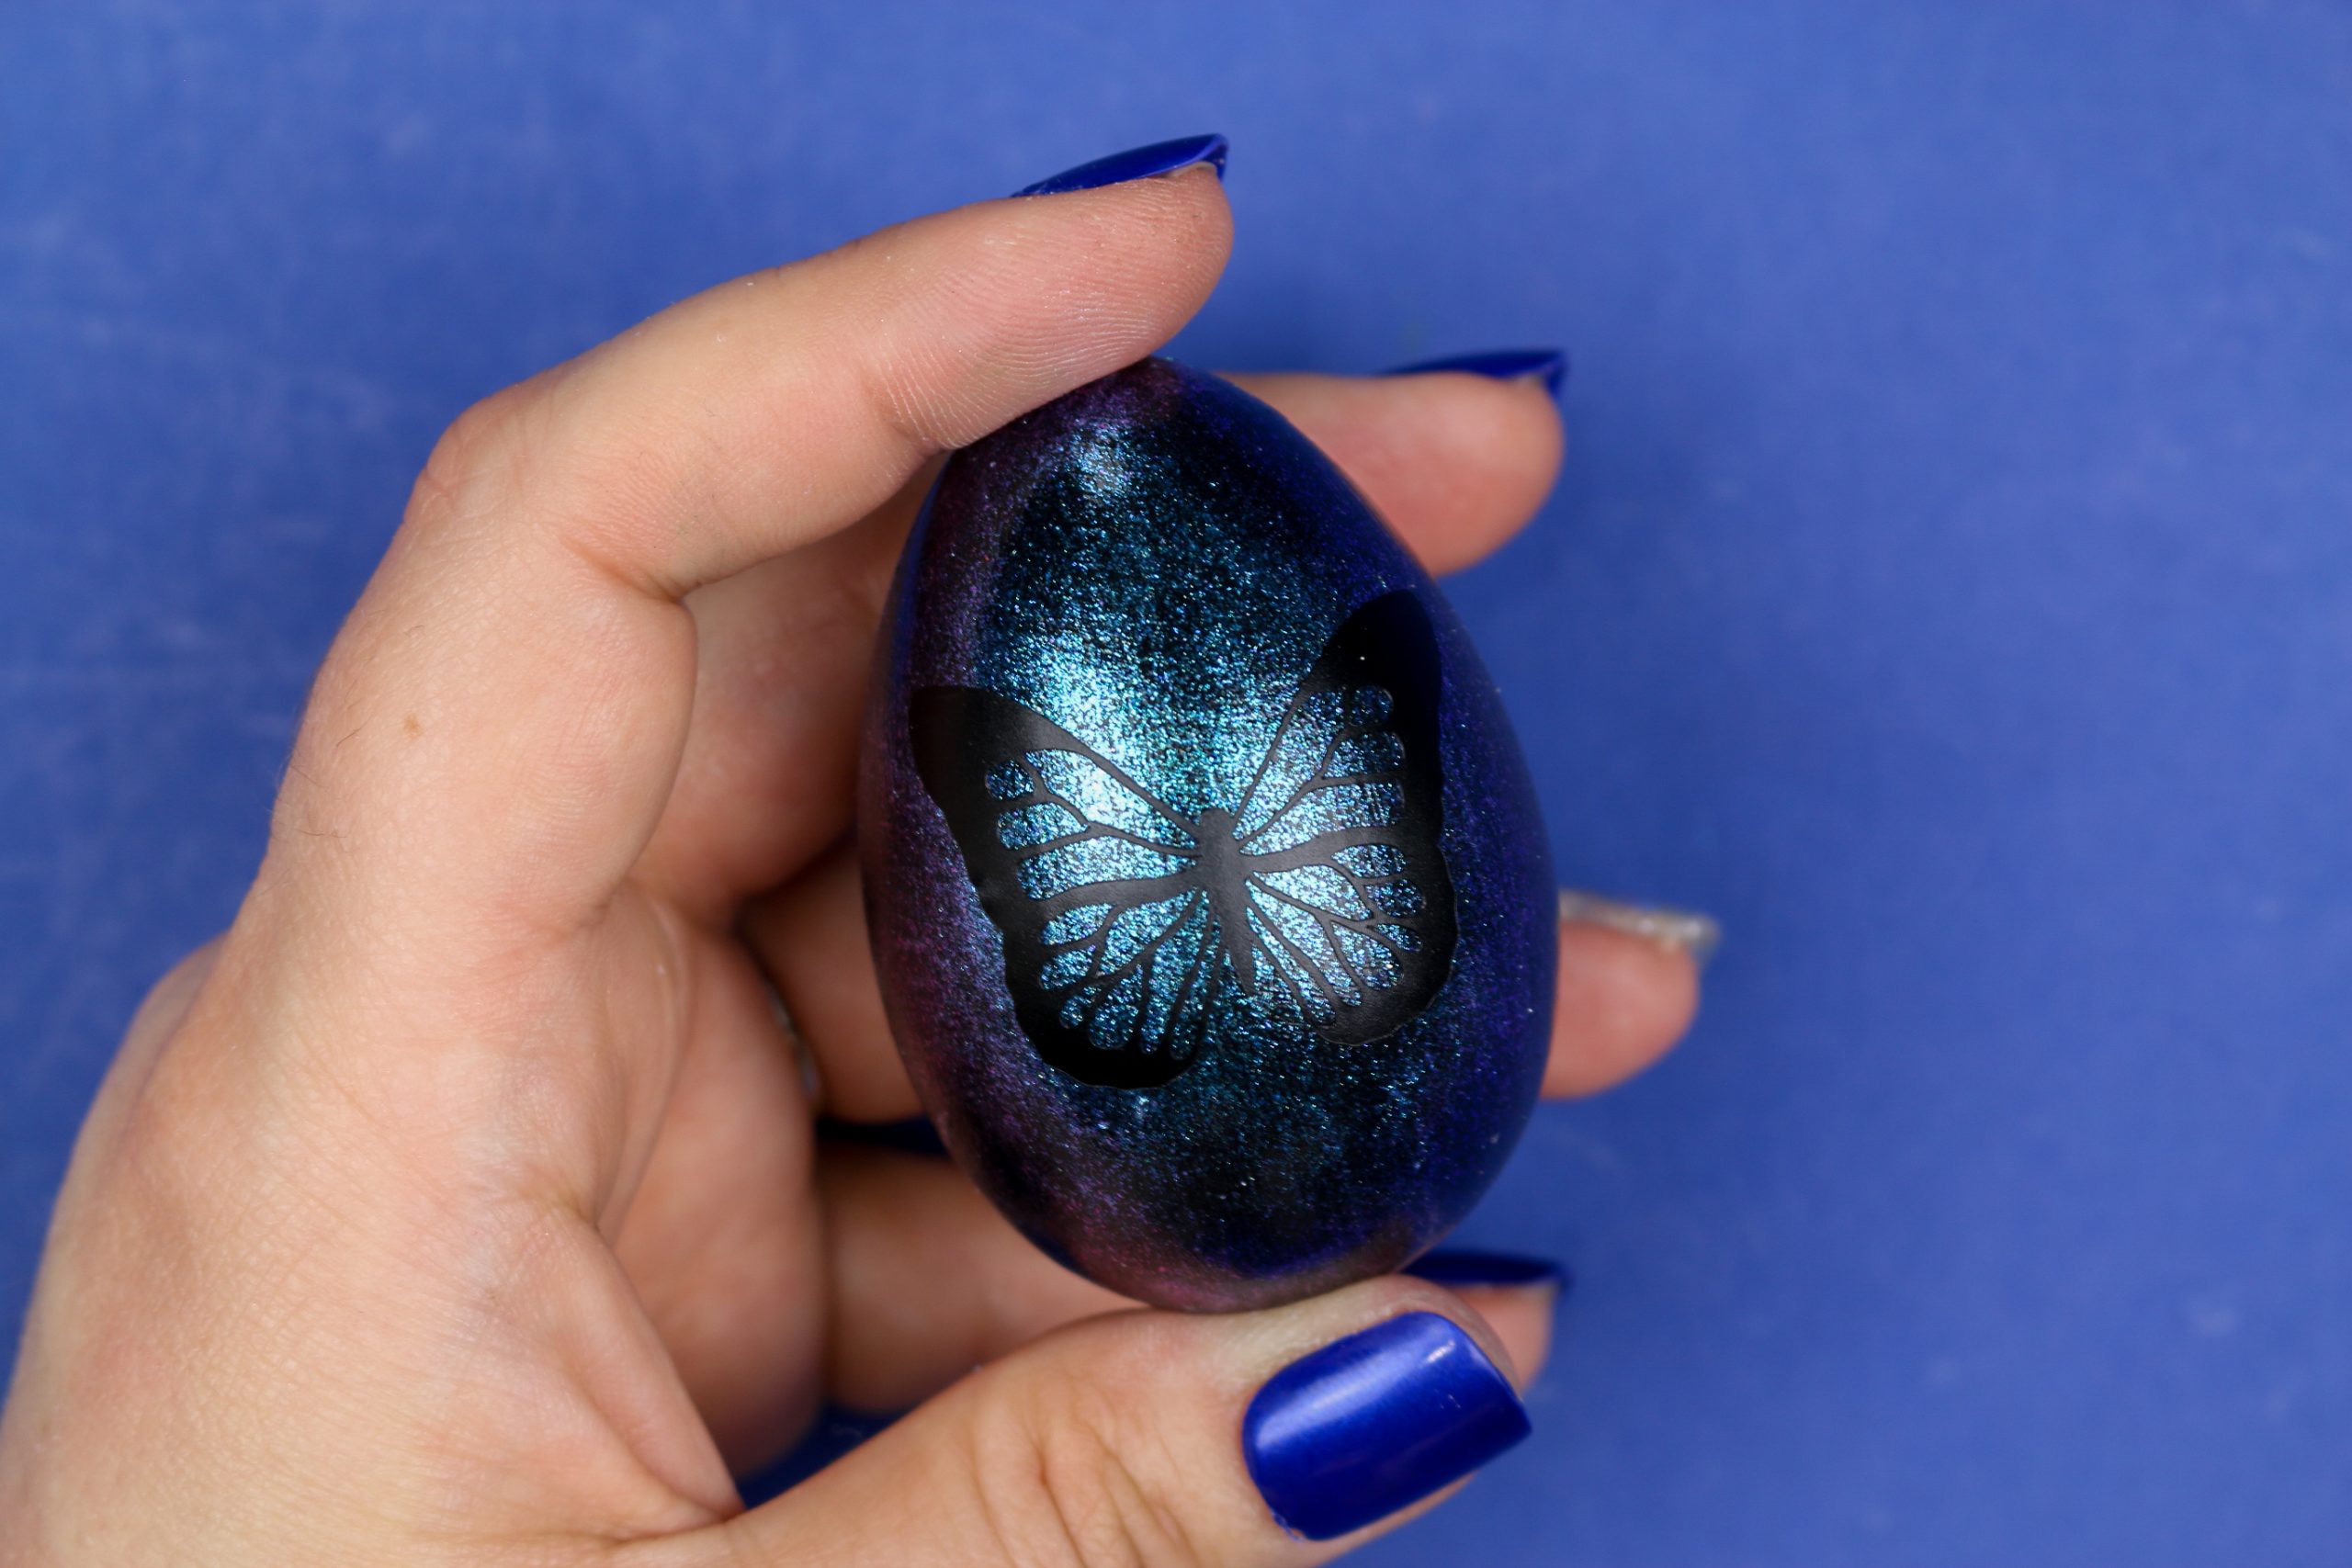
These shimmering Easter eggs will be a beautiful addition to your Easter table. The vinyl butterfly wings serve as windows to the beautiful paint glaze beneath.
Butterfly Easter Eggs
- Start by painting the plastic eggs with a base coat of black craft paint. Let the paint dry completely.
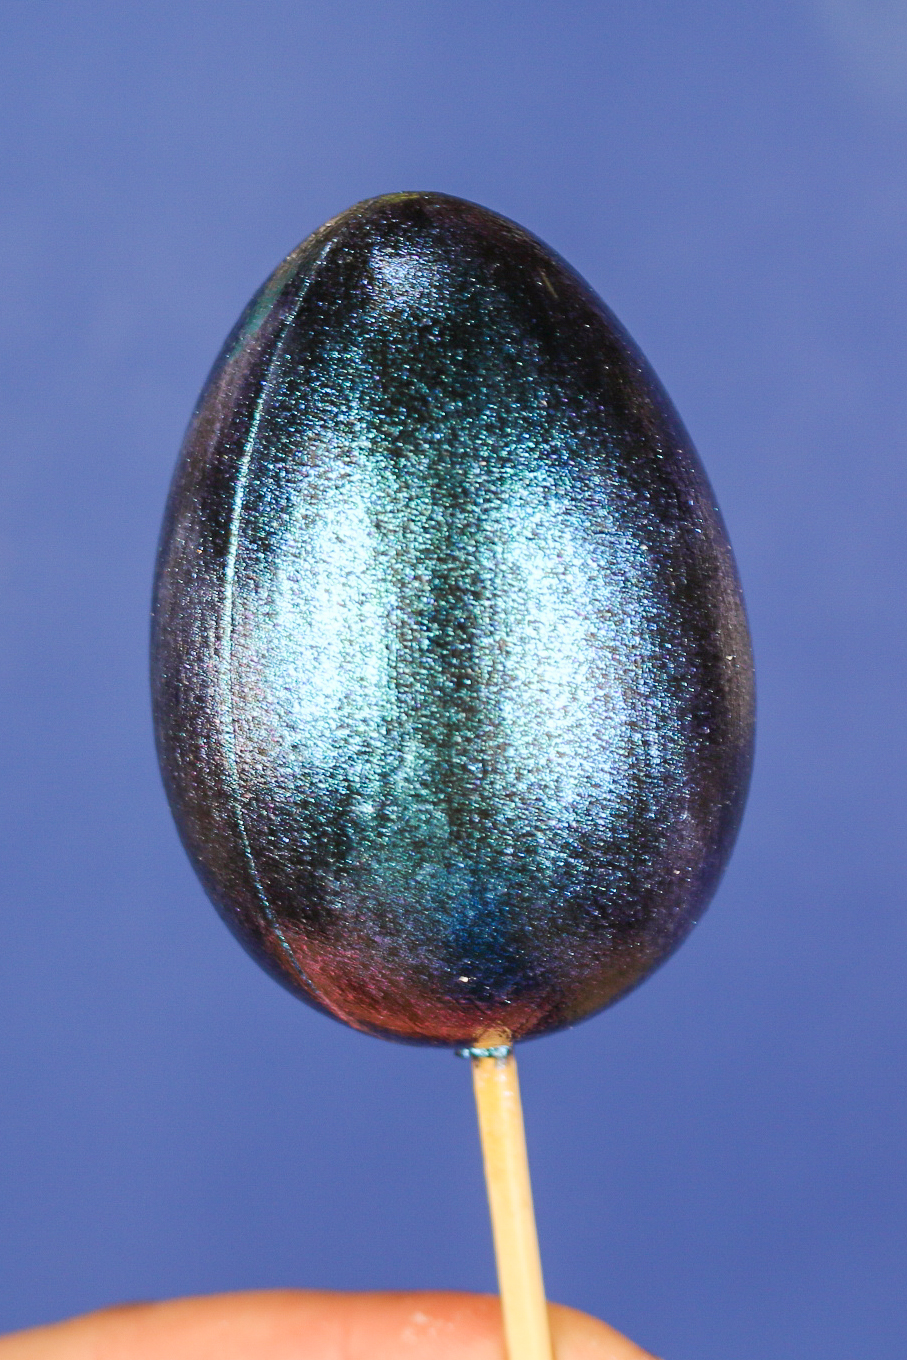
- Paint on a few thin coats of Dragonfly Glaze.
I have shared tips for working with Dragonfly Glaze in the past.

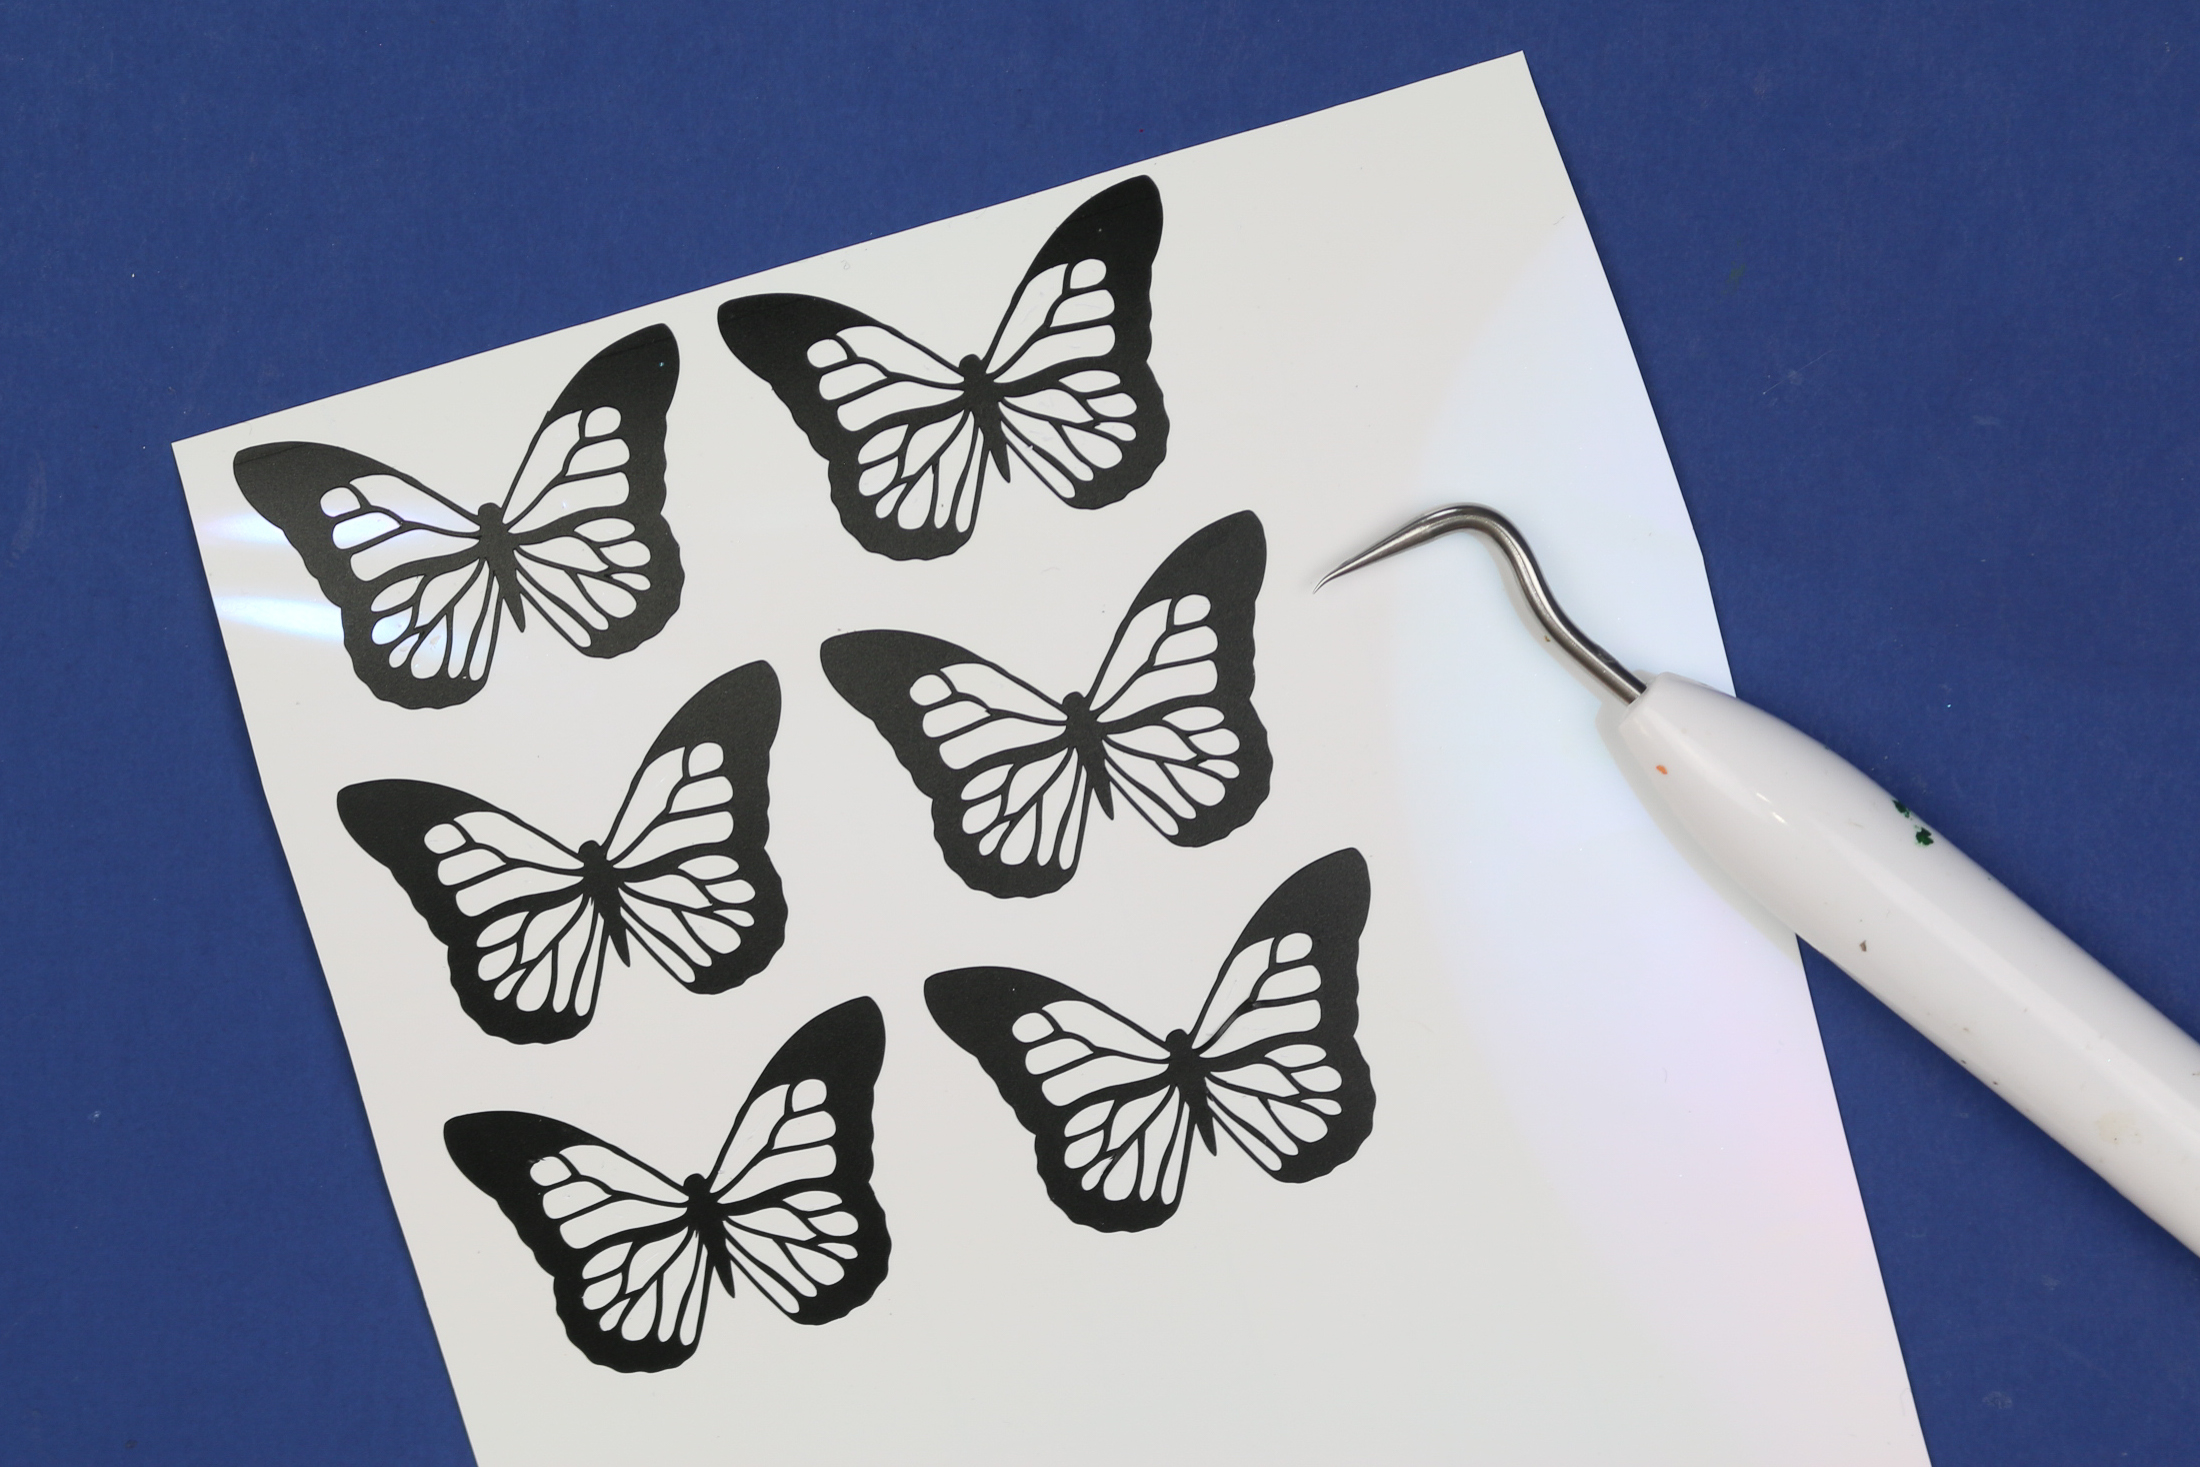
- Cut butterfly shapes out of your vinyl using a Cricut machine. Weed the excess vinyl away.
Cut as many butterflies as you would like. I chose to put one butterfly on each egg.

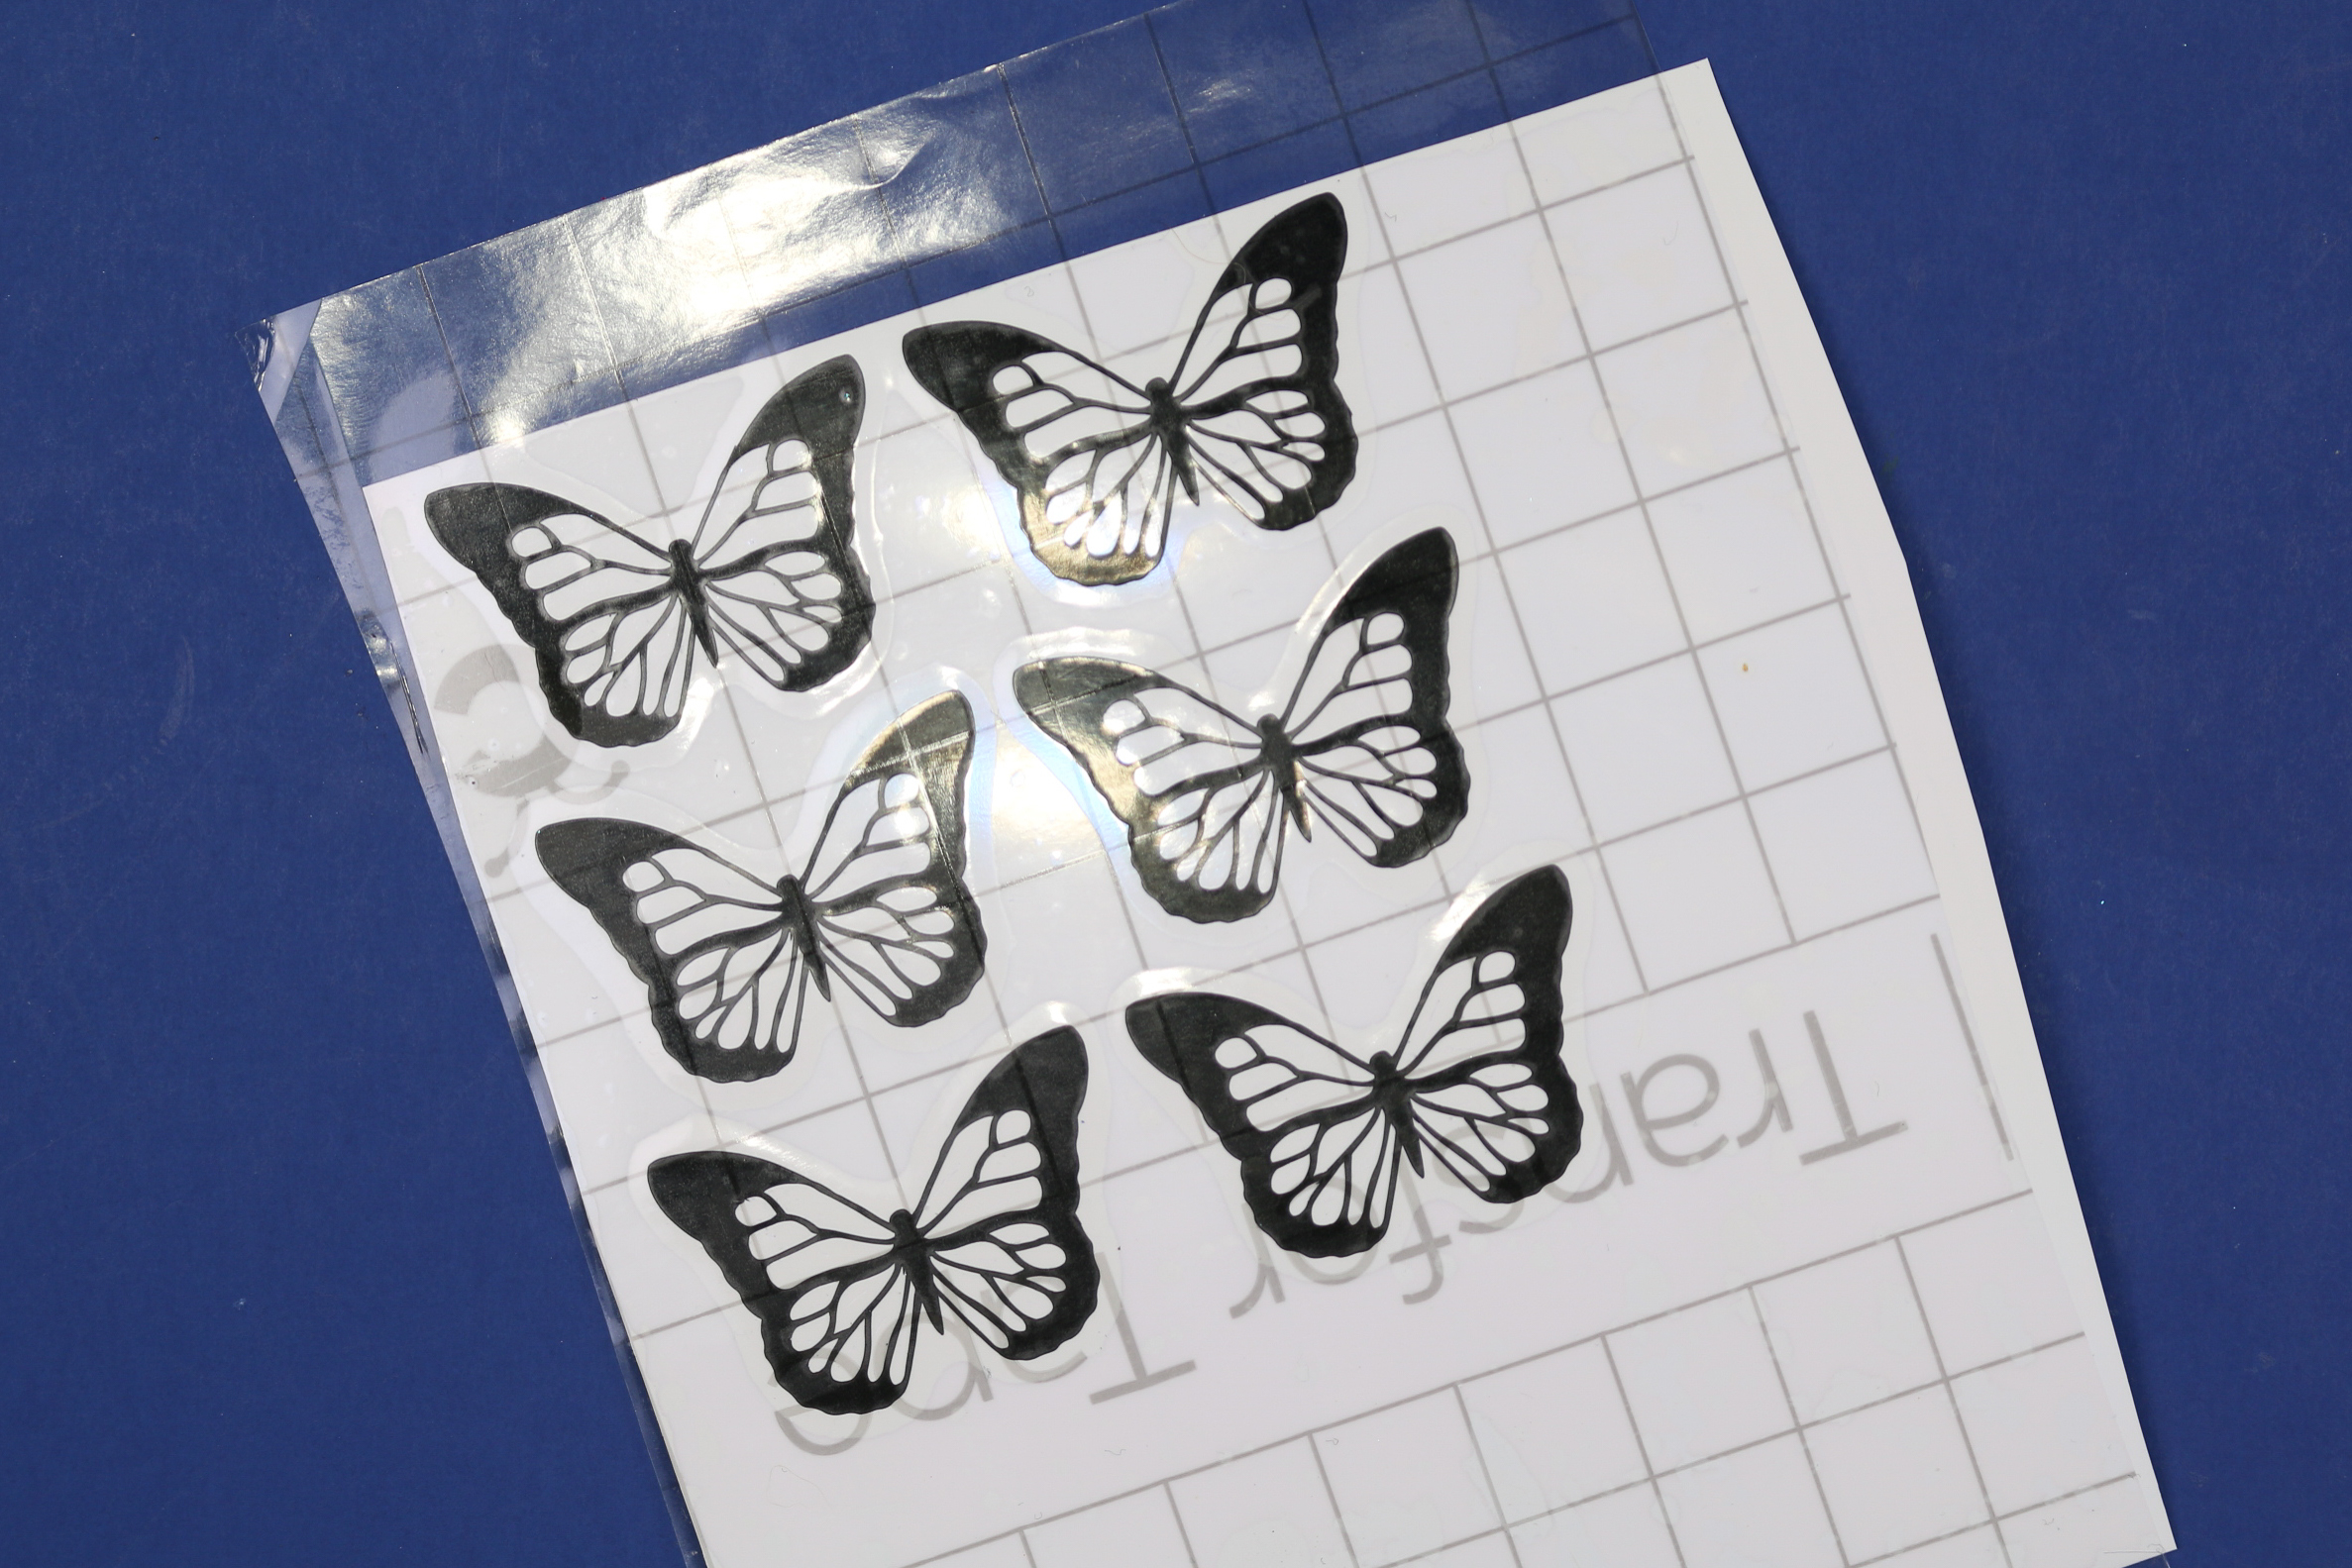
- Apply transfer tape to the weeded butterflies. Then cut the butterflies apart to make them easier to apply to the eggs.

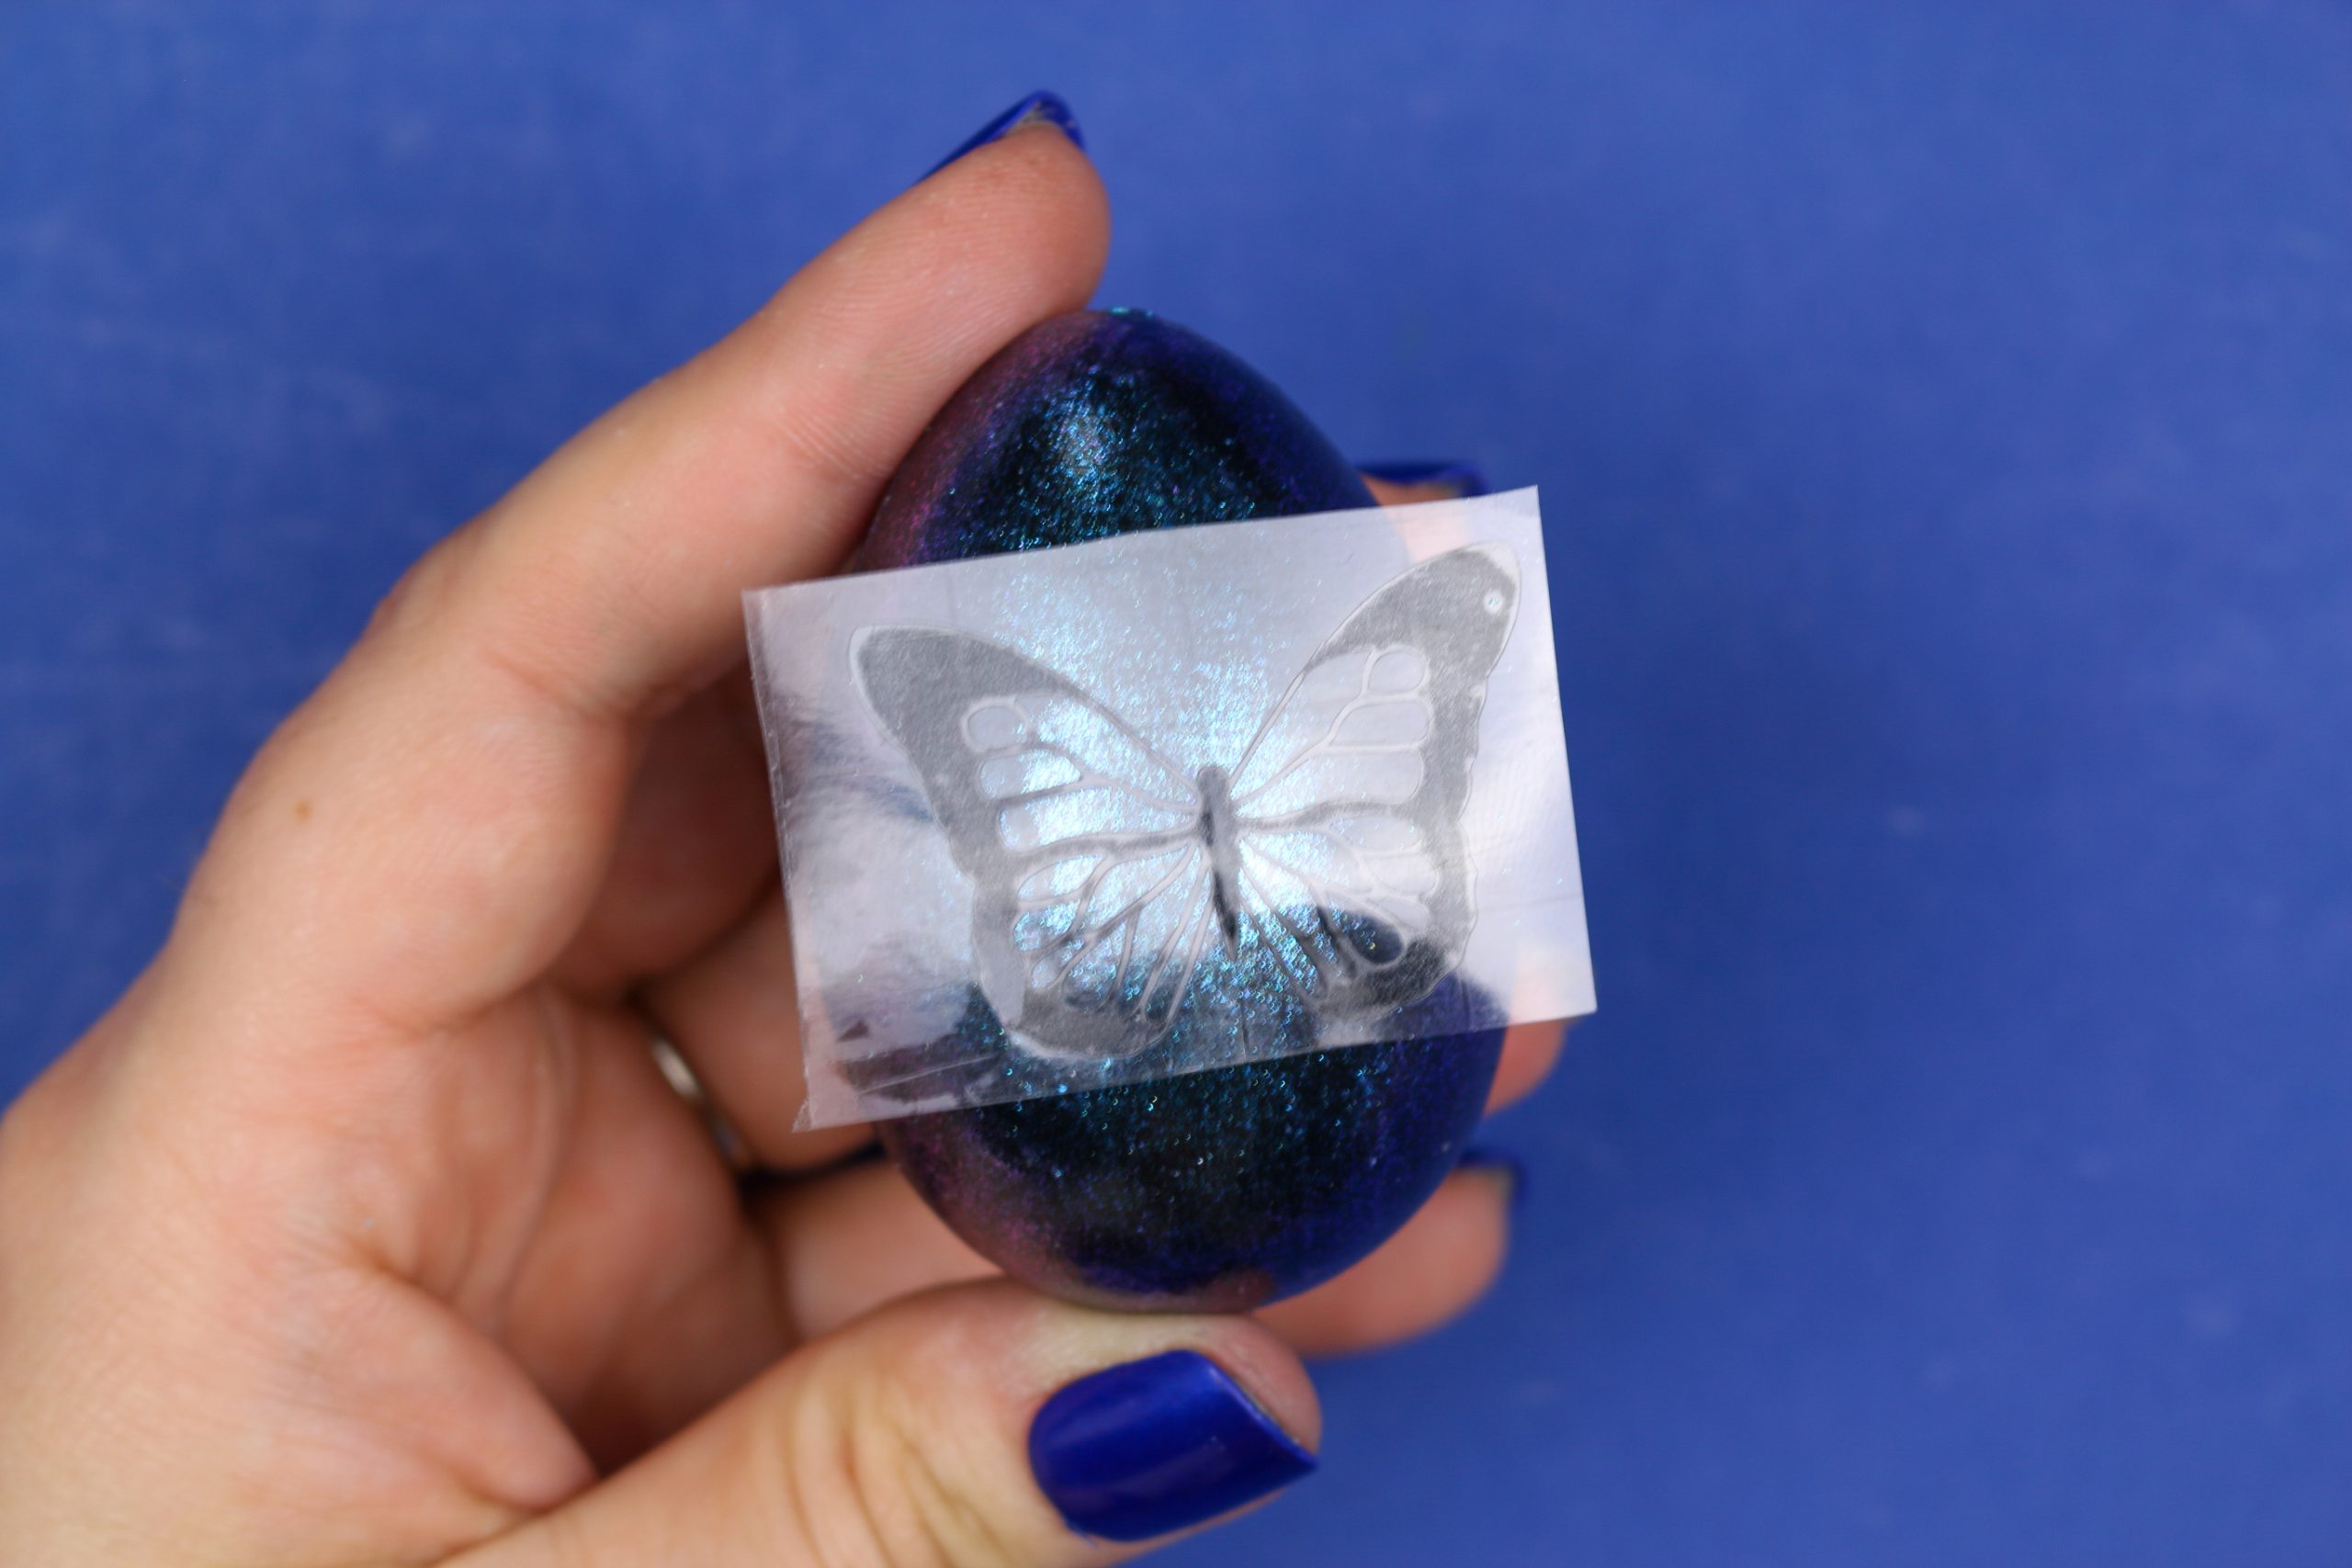
- Center the vinyl on an egg. Press down on the center of the design (aka the body of the butterfly).

- Press outward from the center of the vinyl, smoothing the vinyl as you go.
Carefully peel back the transfer tape, and smooth out any wrinkles that may remain. There is enough negative space in the butterfly design that it should curve around the egg well.

- Optional: You can add a coat of clear sealant to keep the vinyl secure.

WHERE DO I GET THE BUTTERFLY SVG FILE?
I created a shared a free Butterfly Cross SVG a while back. I used one of the eight layers of that free SVG to create these eggs. First, visit that post and get the free SVG, then follow these simple steps.
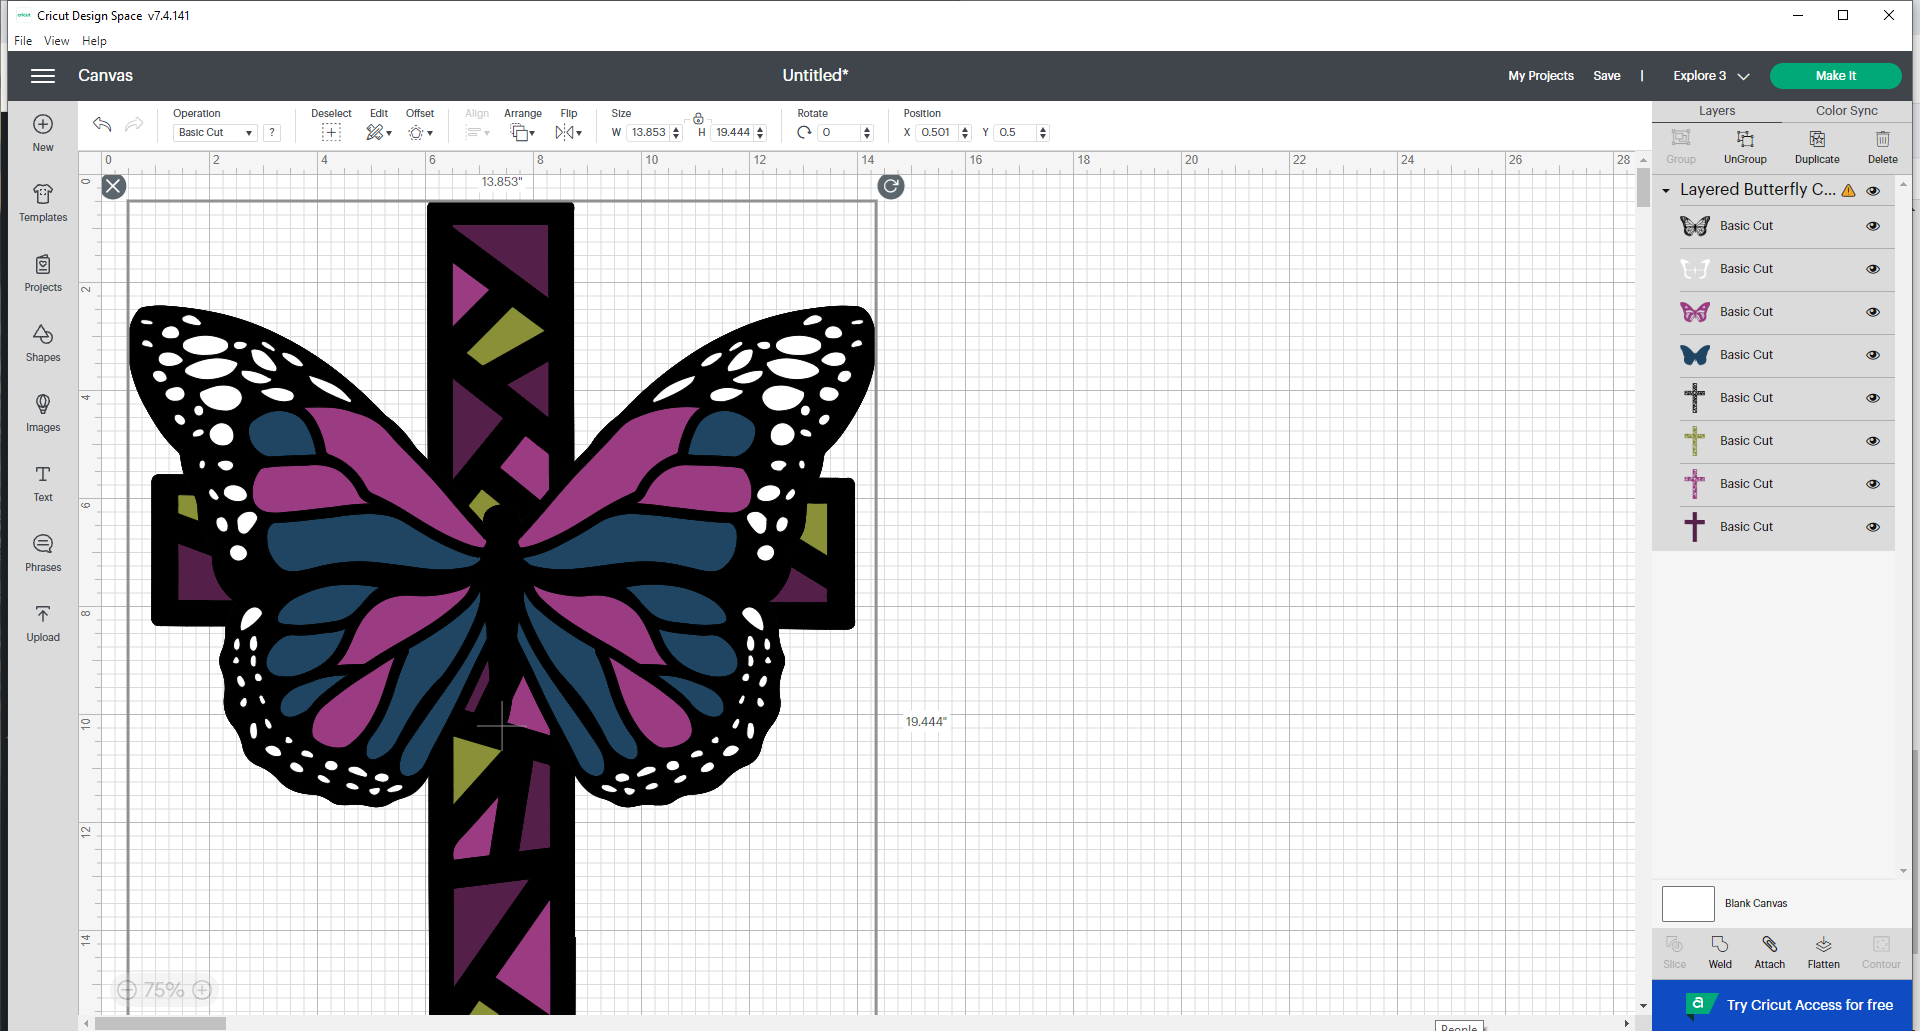
You will begin by opening Cricut Design Space and creating a new canvas. Insert my Butterfly Cross SVG into the canvas.
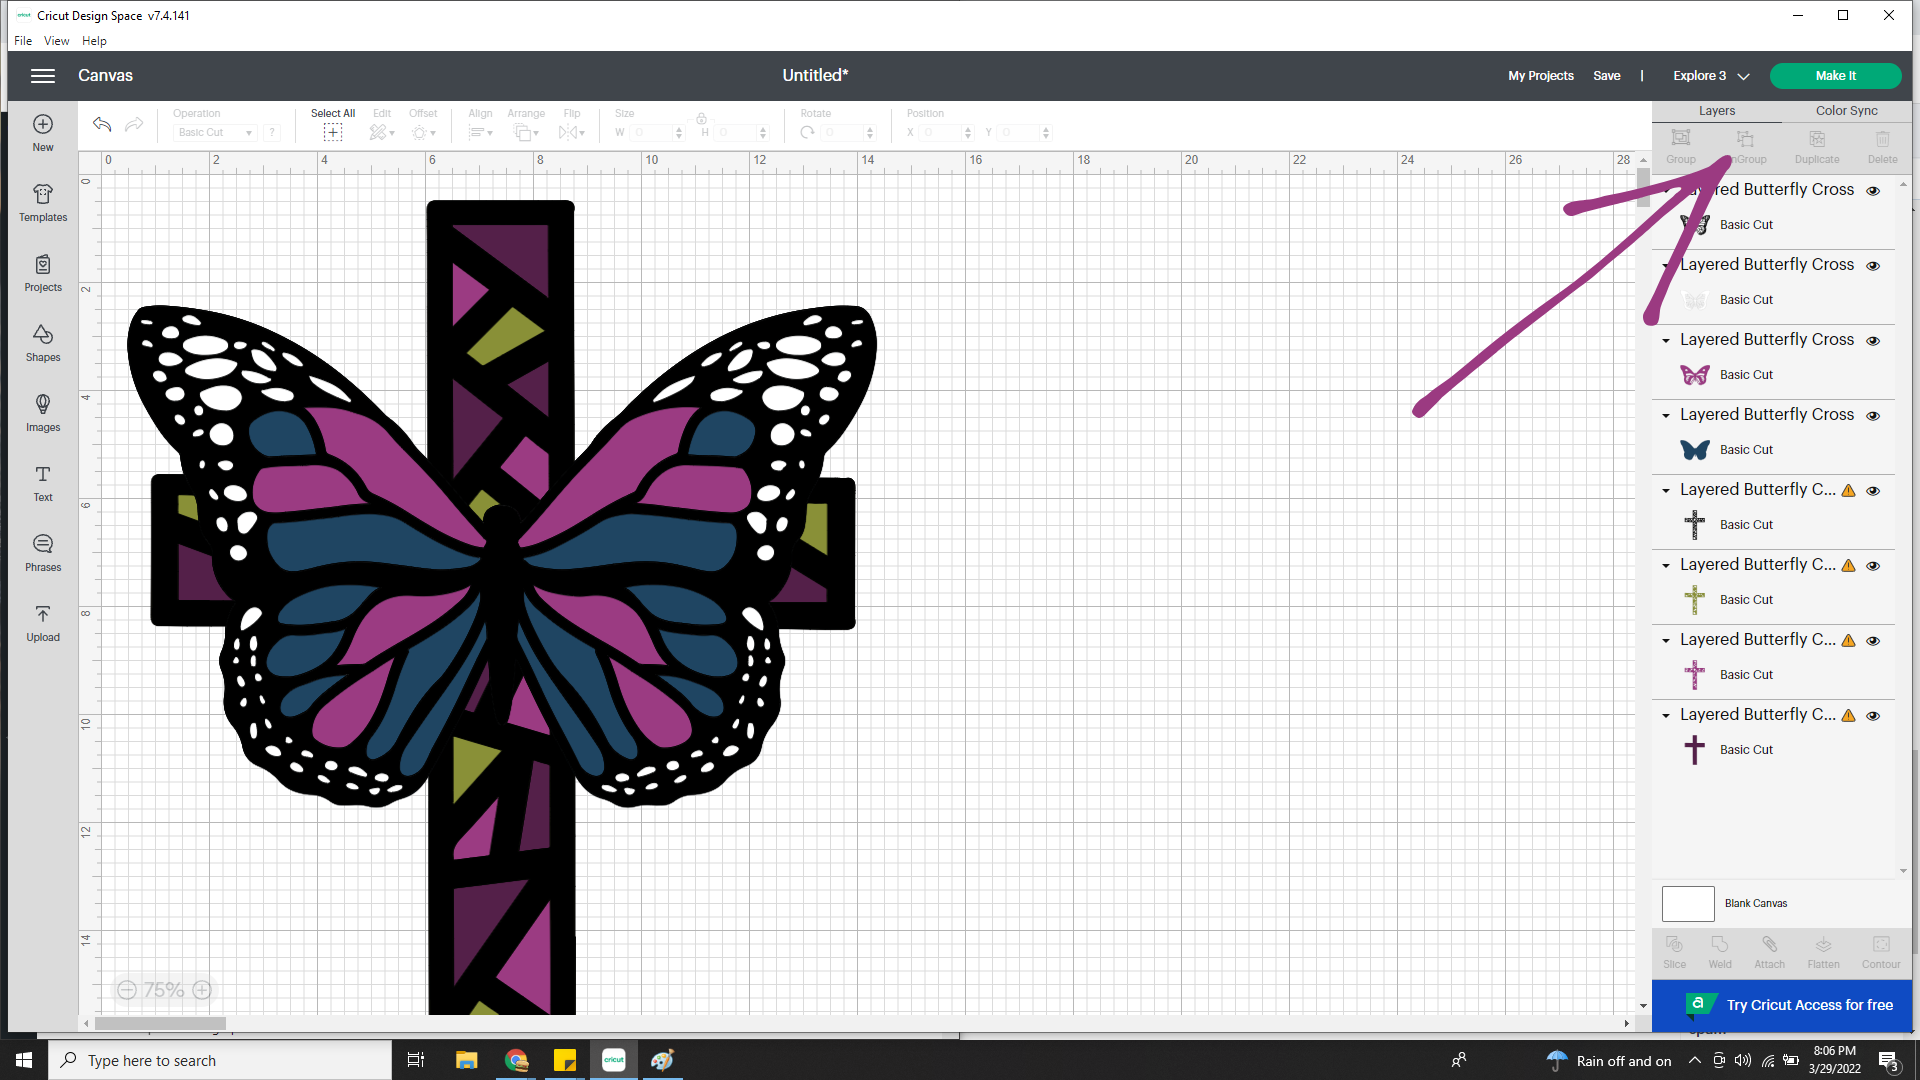
That SVG has 8 layers that are grouped together. Ungroup the layers by selecting the design in the Layers menu, and then clicking the Ungroup button.
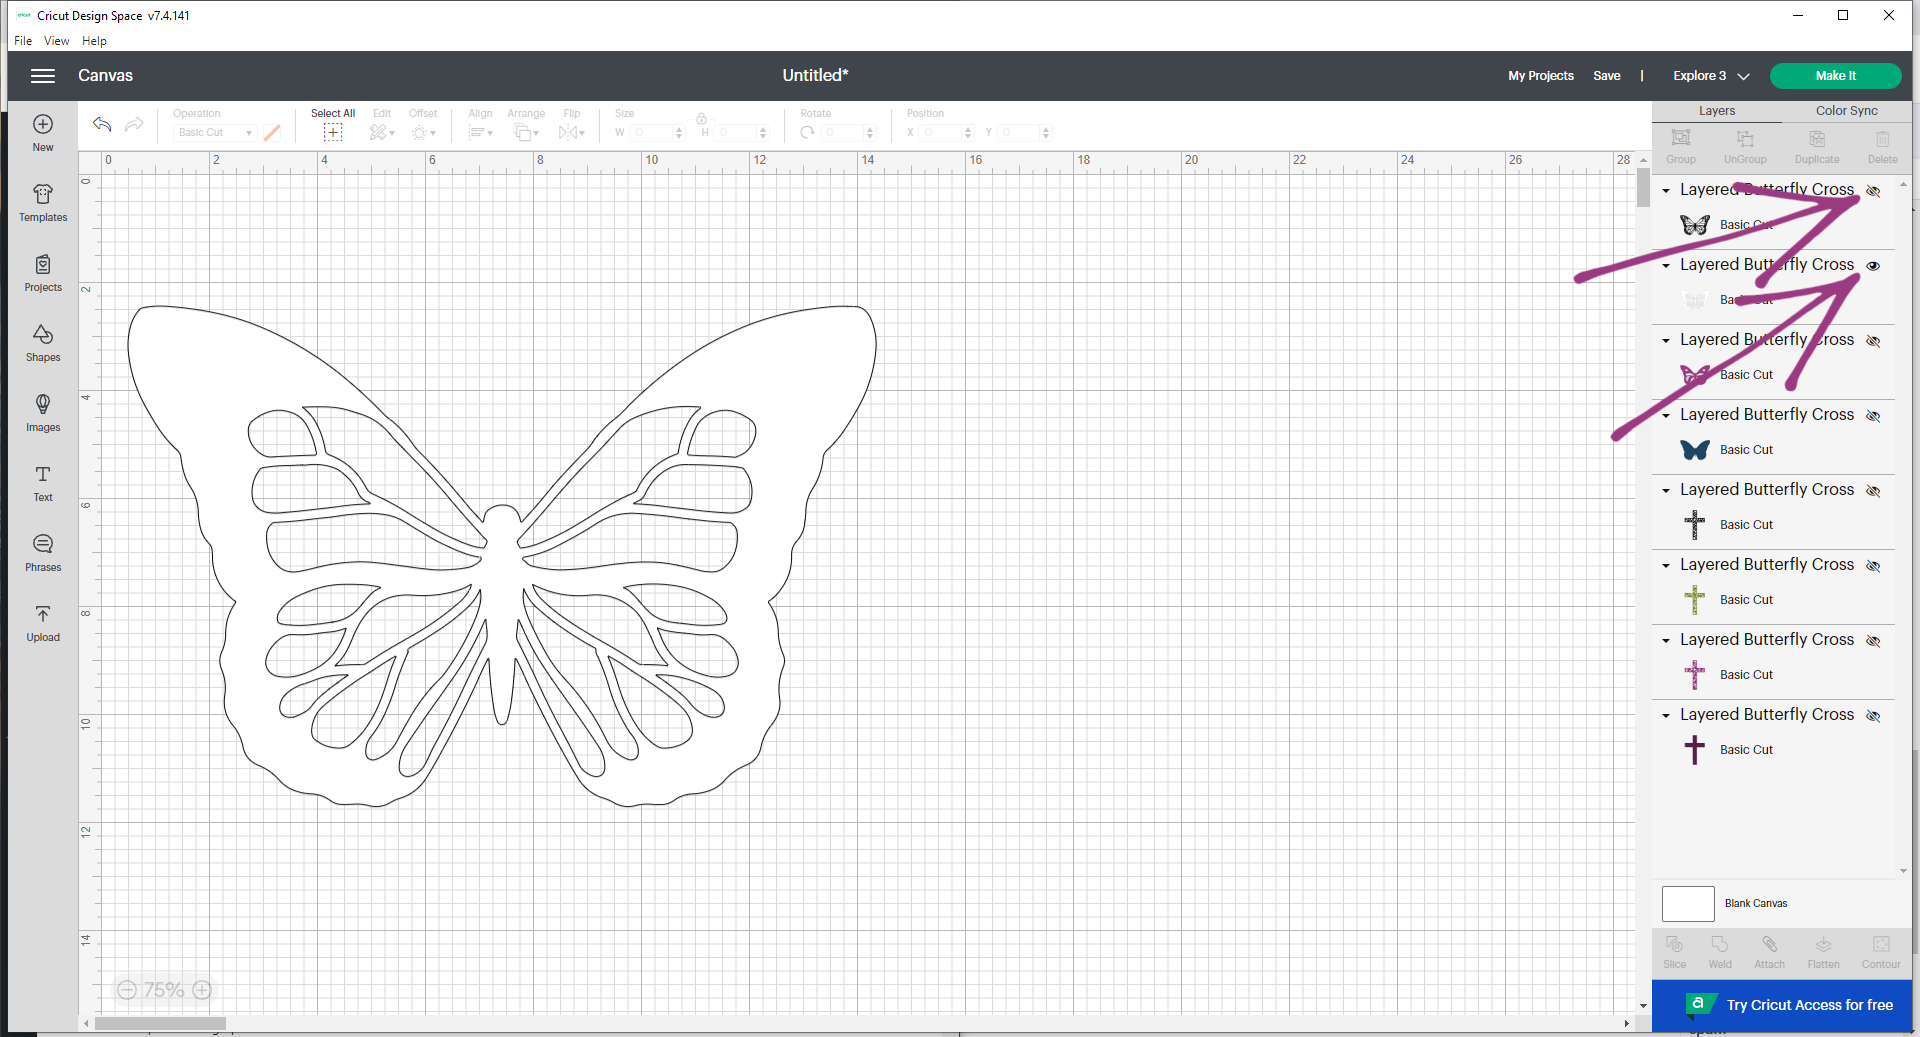
Once the layers are ungrouped, you begin hiding almost all of the layers. Click the eye icon on each of the layers EXCEPT the white layer. This should leave only the white layer visible. Doing this step ensures that your Cricut machine will only cut this layer’s design. You can recolor the layer to match your vinyl, if you would like, but you don’t have to.
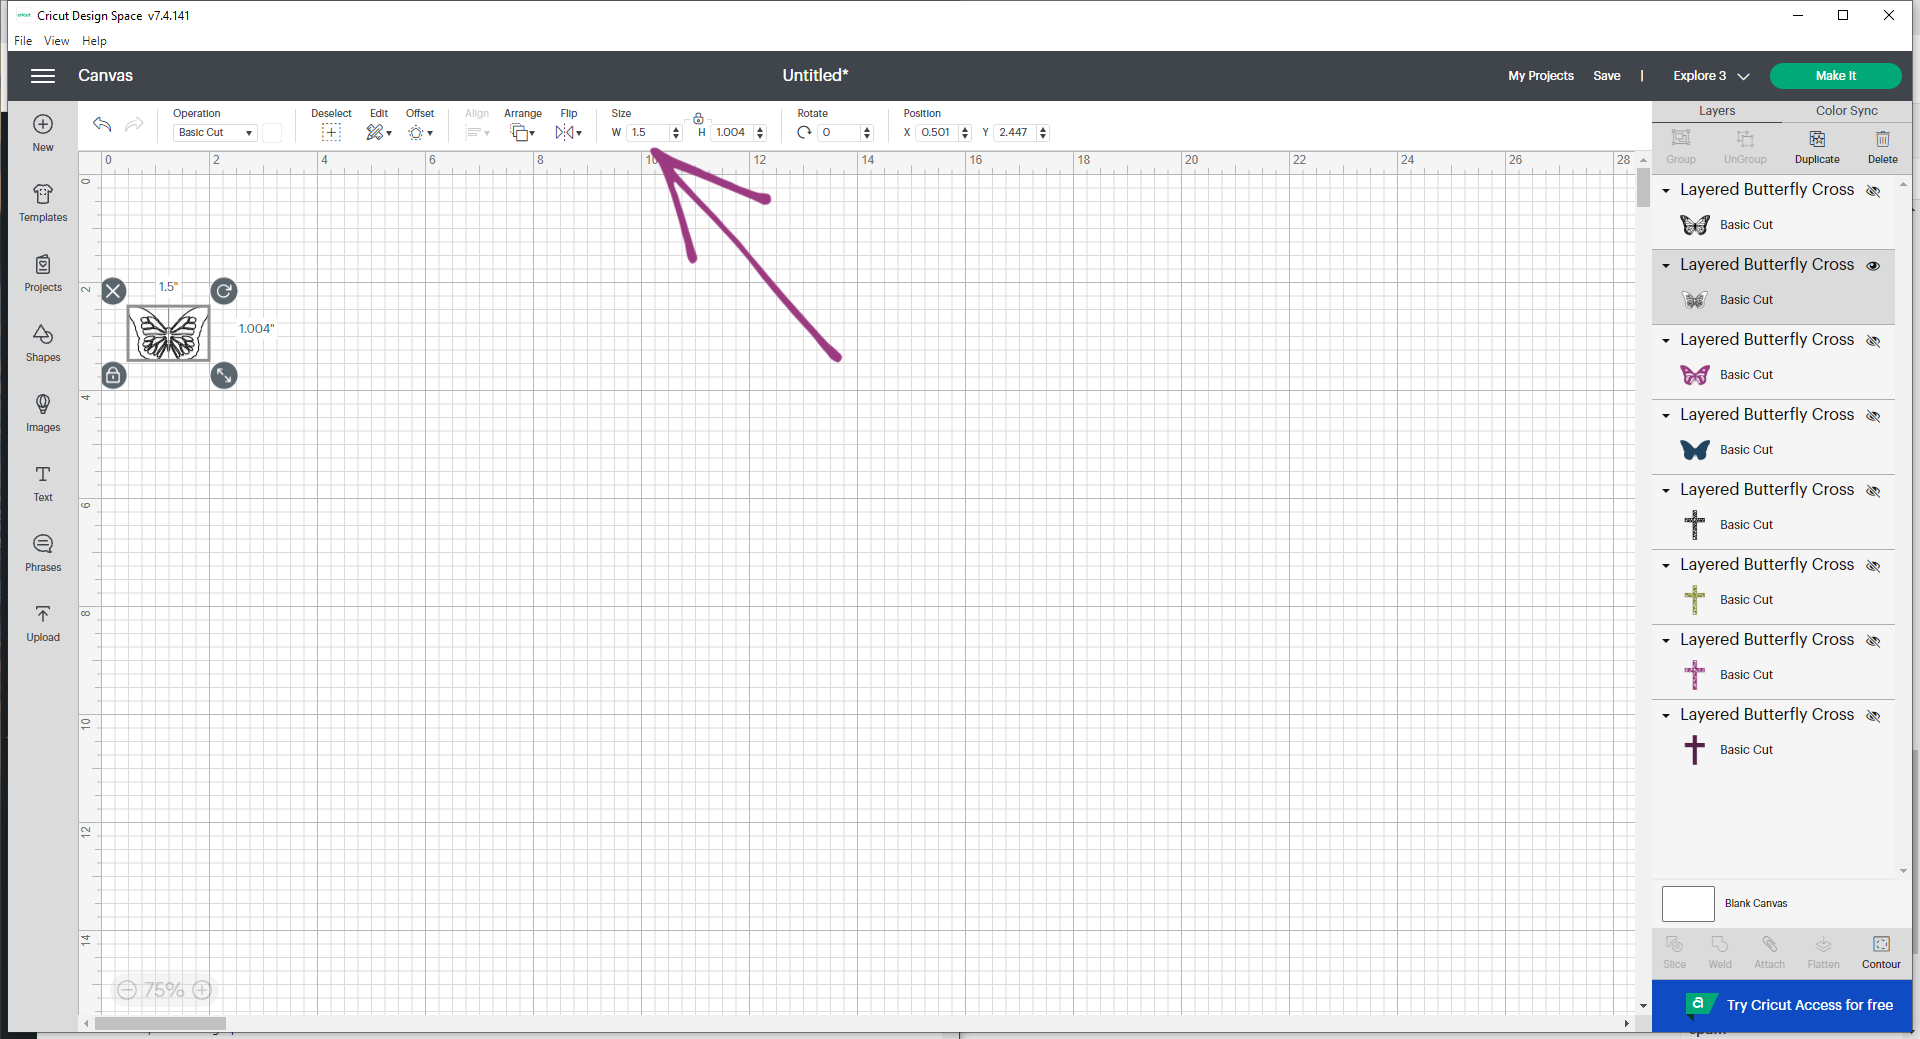
Finally, resize the design to fit your eggs. I resized mine to be 1.5″ wide. Now duplicate this layer so you have as many butterflies on your canvas as you would like to cut.
Now you can cut the butterflies out of vinyl like you normally would.
HOW CAN YOU USE THESE BUTTERFLY EGGS?
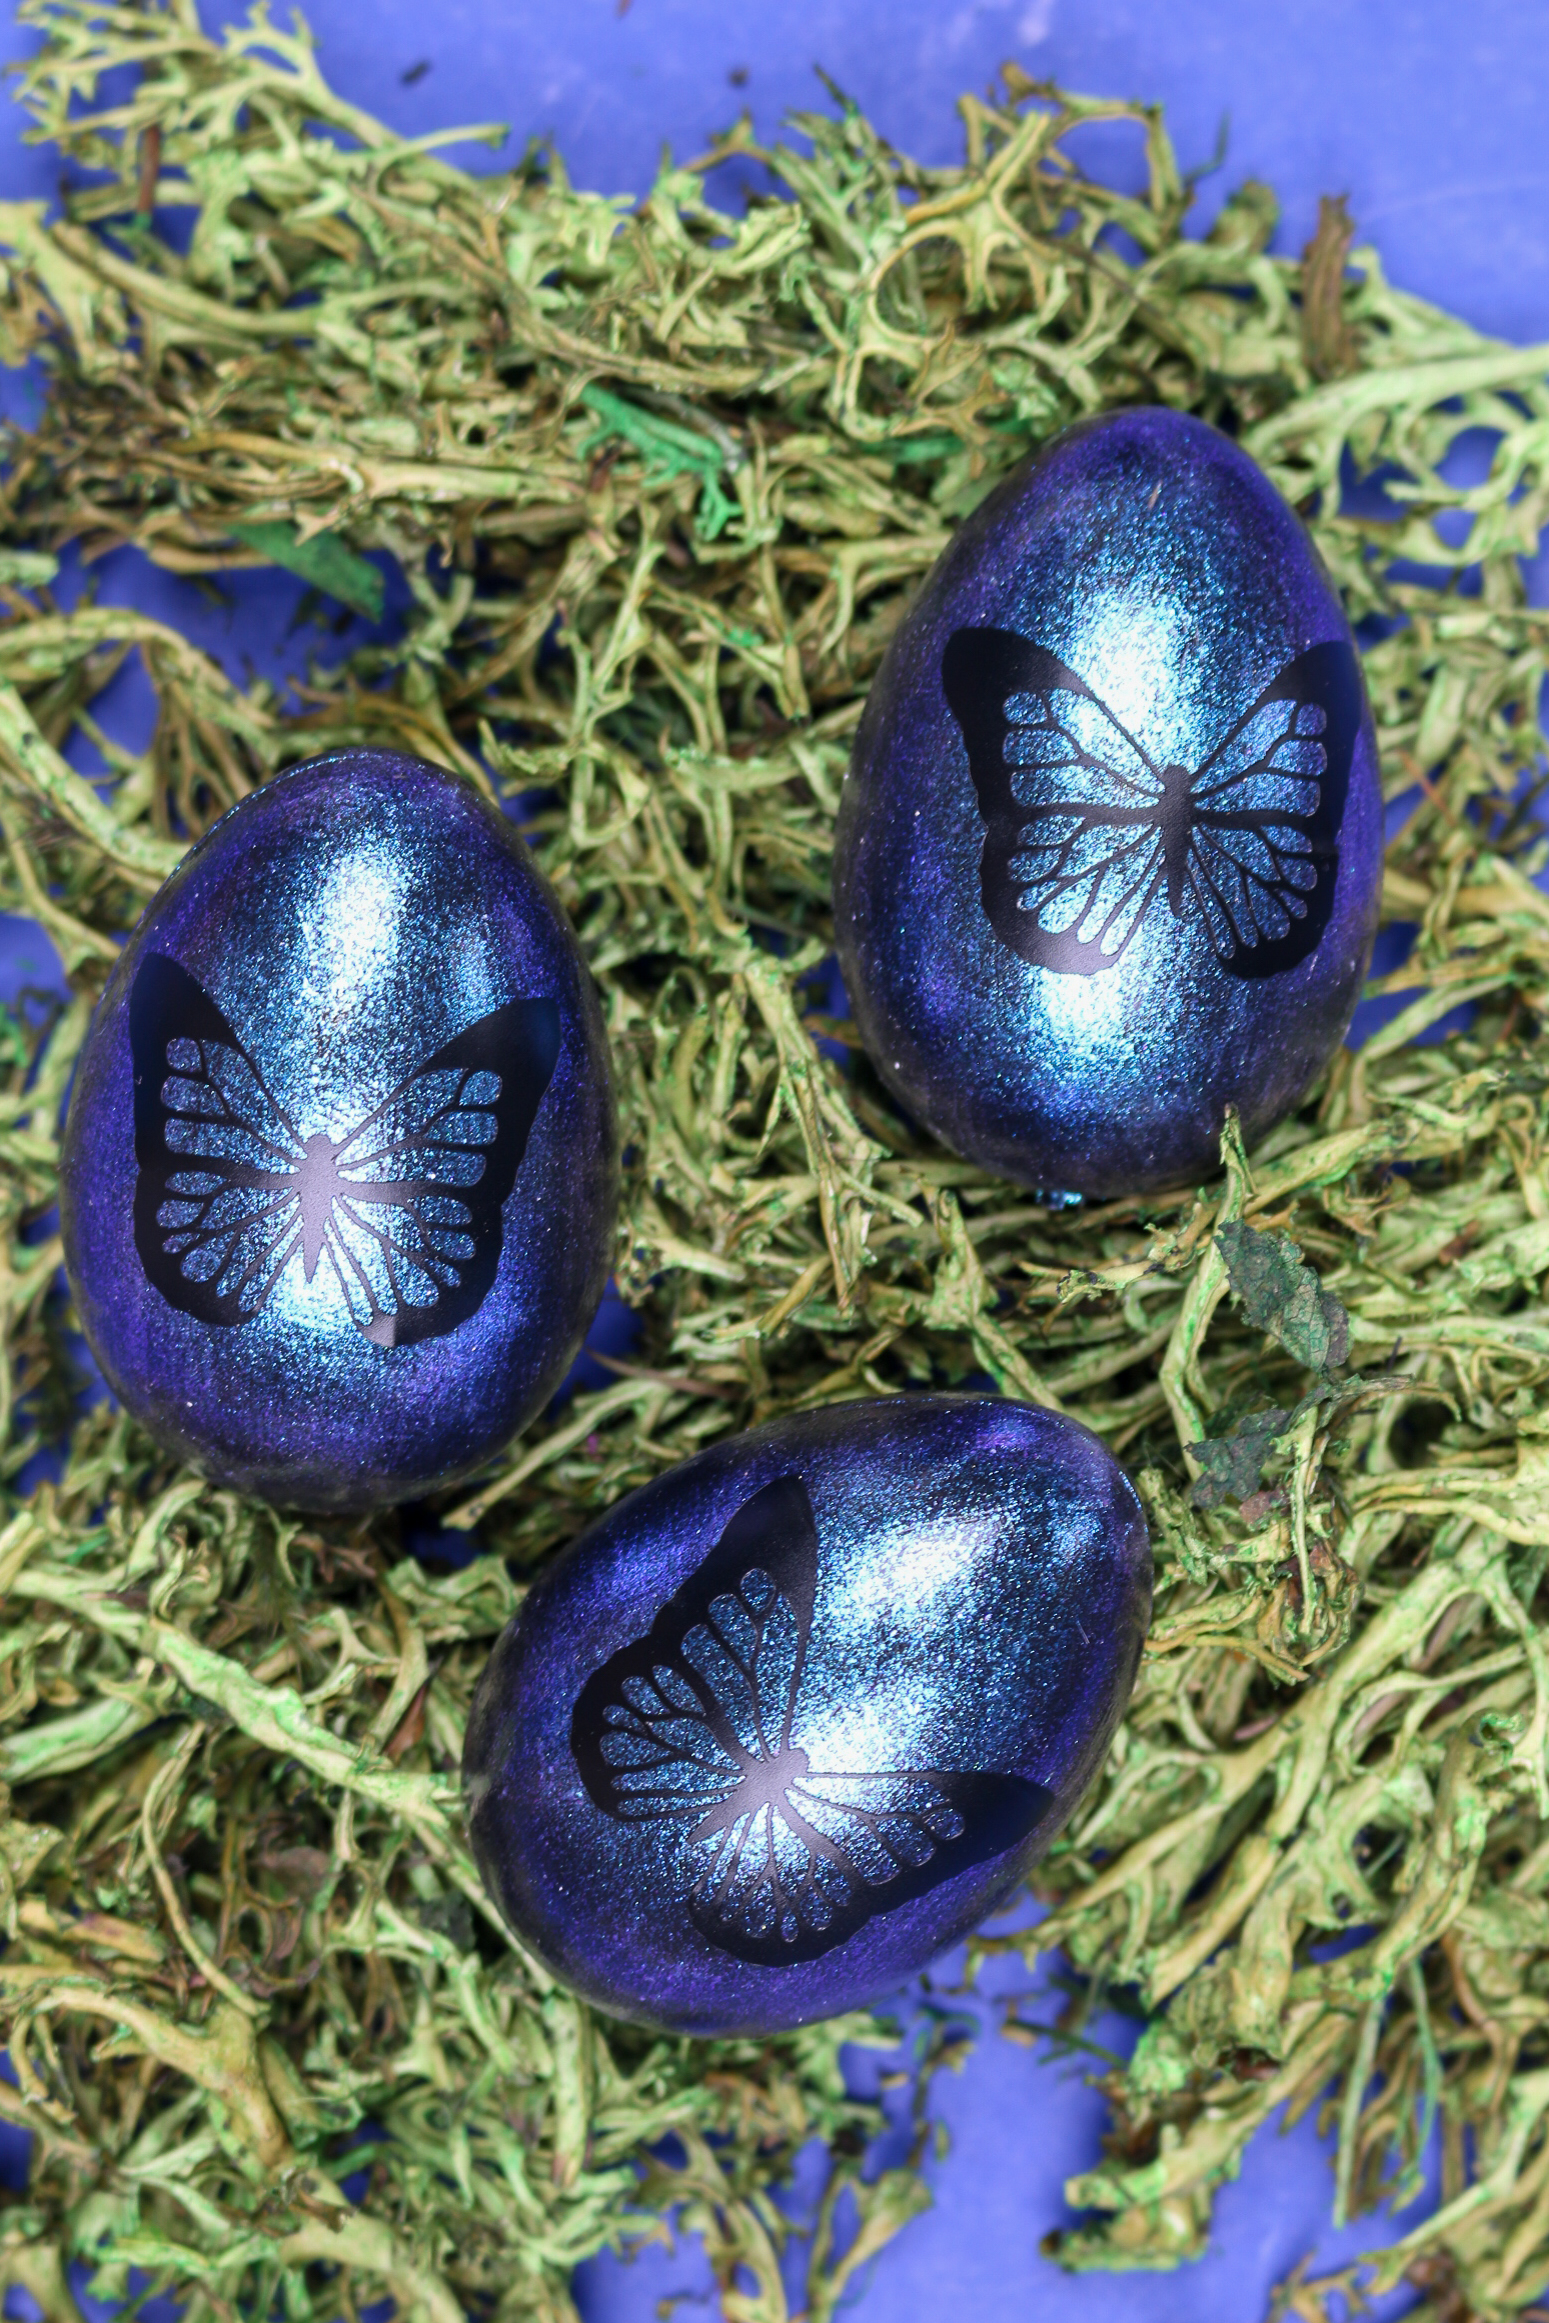
You can use these beautiful butterfly Easter eggs anywhere you would normally use Easter eggs. I love the way they look contrasted against the green of reindeer moss like you see in the photo above.
Tuck them into an Easter basket, use them on your Easter dinner table, add them to a front door wreath, or hide them for your kids to find!



Thank you, Jessica for the tutorial. I love how beautiful they look.