Mad in Crafts

  • Email
  • Facebook
  • Instagram
  • LinkedIn
  • Pinterest
  • Twitter
  • YouTube
  • Home
  • About
    • ABOUT JESSICA
    • CONTACT
    • MEDIA KIT
    • Seen On
  • PRIVACY
  • CRAFTS
    • HOLIDAY
      • VALENTINE’S DAY
      • ST. PATRICK’S DAY
      • EASTER
      • FOURTH OF JULY
      • FALL
      • HALLOWEEN
      • THANKSGIVING
      • CHRISTMAS
    • HOME DECOR
    • KIDS
    • MISC
    • Wearable
      • JEWELRY
      • PURSES, CLUTCHES AND TOTE BAGS
      • T-SHIRTS
    • FREE PRINTABLES
    • FREE SVGs
  • DIY
    • Gardening
    • Health
    • ORGANIZATION
    • Outdoor
    • Room Makeover
    • The Mad House
  • Recipes
    • Dessert
    • DINNER
    • DRINKS
    • Snacks and Appetizers
  • ENTERTAINING
    • Birthday Party
    • Party
    • Wedding
  • SHOP
Please note: This page may contain affiliate links. If you click a link and choose to make a purchase from the partnership site, I will earn a commission. Thank you for supporting Mad in Crafts!

BLACKLIGHT REACTIVE CENTERPIECE AND SERVING DISHES

October 28, 2016 by madincrafts 3 Comments

highlighter-hacks-for-diy-parties

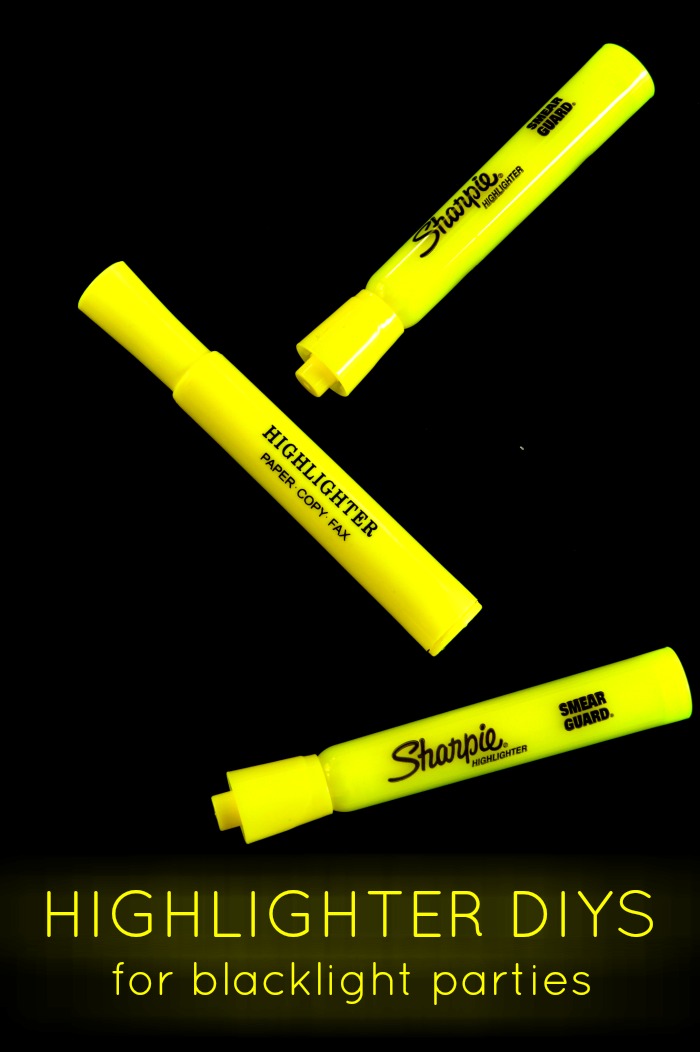
One of the best and cheapest tricks for decorating a blacklight party can be found in the office supply aisle.  Yellow highlighters glow like crazy under blacklights, so you can use them to add fun glow all over the party.  I used highlighters to create a blacklight reactive centerpiece and bright serving dishes for my daughter’s glow party.

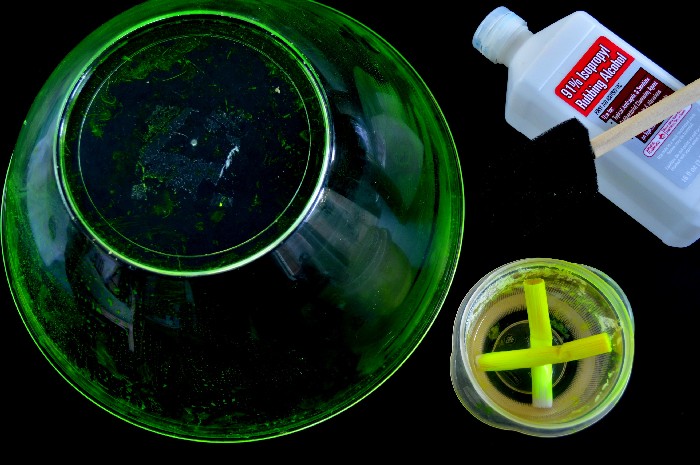
highlighter-alcohol-ink

I searched and searched for blacklight reactive dishes for the party.  I did end up buying blacklight reactive party plates (affiliate) for the guests to use, but I didn’t want to spend a ton of money on buying glowing bowls we’d never use again.  I did a little experimentation and came up with this neat trick to make glowing serving dishes.  

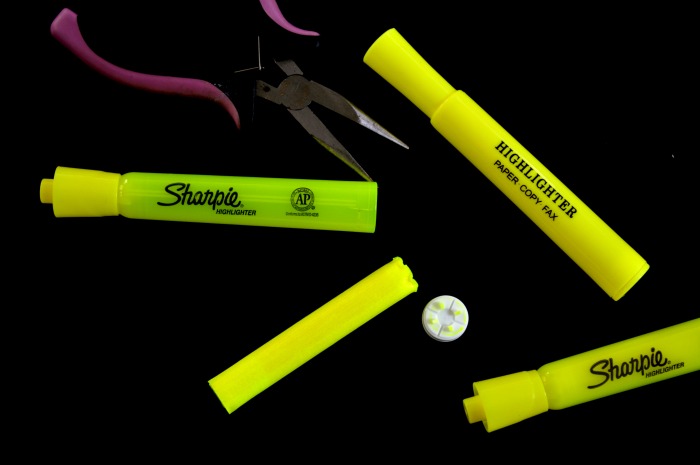
remove-highlighter-core

First, I bought some hard plastic serving dishes from Dollar Tree.  It’s important that you make sure you buy clear plastic dishes; I found mine near the wedding section of DT.  Next pick up a package of yellow highlighters (the other colors don’t work as well) and some plastic gloves.  Use a pair of pliers to carefully remove the end of the highlighter so you can get at the marker core.  Wearing gloves, remove the core and put it in a small disposable bowl.  Add 1/2 cup of 91% rubbing alcohol to the bowl, and use your gloved hands to squeeze the ink out of the marker core.  This  should create a highlighter alcohol ink.

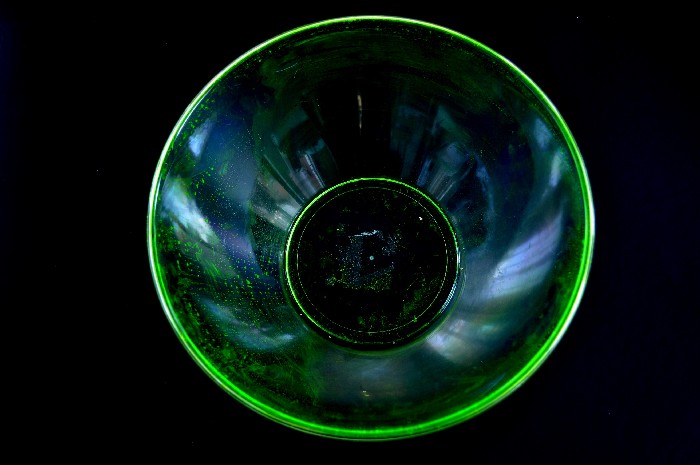
diy-blacklight-bowl

Next, protect your work surface because this will get a little messy.  Use a foam brush to paint the alcohol ink onto the OUTSIDE of the plastic bowl.  You don’t want the highlighter ink to come in contact with the food you will serve, so DO NOT paint the inside of the bowl.  The alcohol will dry quickly, so you can apply more than one coat if you need to.

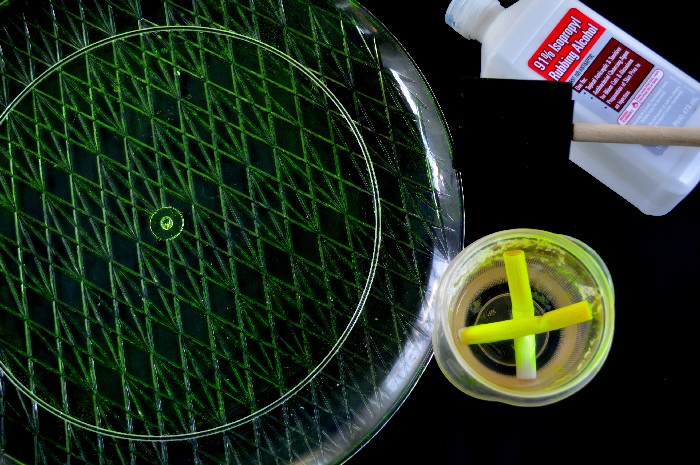
diy-blacklight-platter

This same process looks equally cool on textured plastic dishes.  Fair warning though:  The highlighter ink will dry down, but some may still come off on your hands when you handle it.  It washes off, but I wanted to make sure you were aware.  If you are worried about the transfer, you could try sealing the ink with a clear spray sealant, but don’t get the sealant anywhere food will touch.

To make the glowing centerpiece for the food table, I filled two large glass vases with water and added one highlighter core to each vase.  I let them sit for a while and then squeezed the remaining ink into the water.  I filled the two smaller vases with tonic water, which glows blue under blacklight.

You can get a good look at the glowing centerpiece 21 seconds into the video.   You see the blacklight reactive serving dishes at 0:12 and 0:19 in the video.

You might also like these other glow-in-the-dark DIYS:

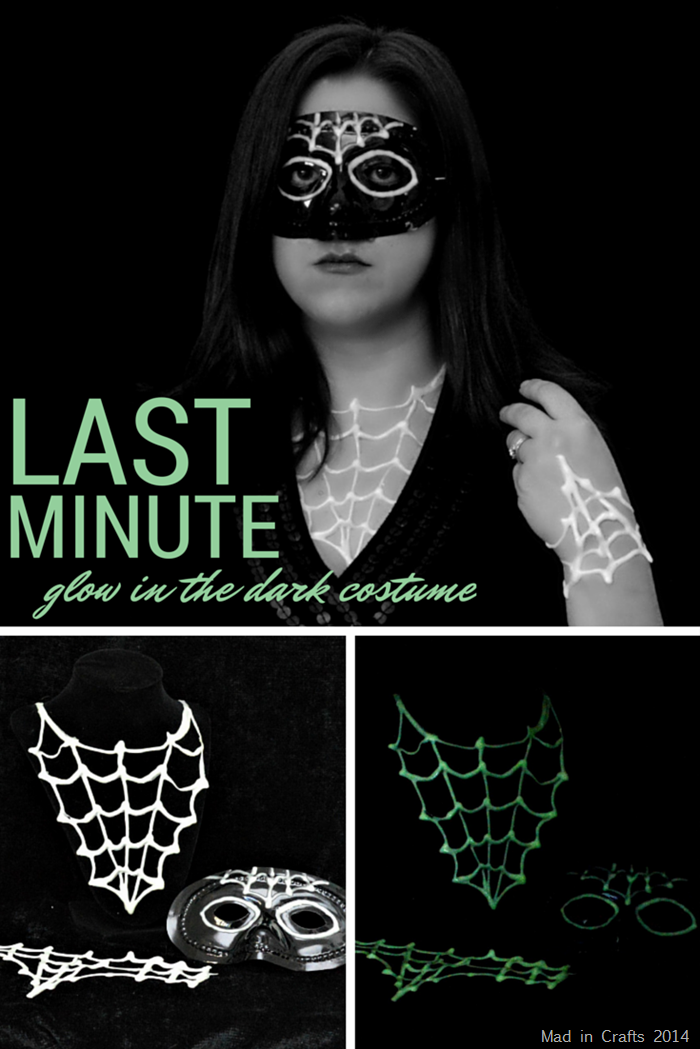
Halloween diy spider costume accessories

LAST MINUTE GLOW-IN-THE-DARK COSTUME ACCESSORIES

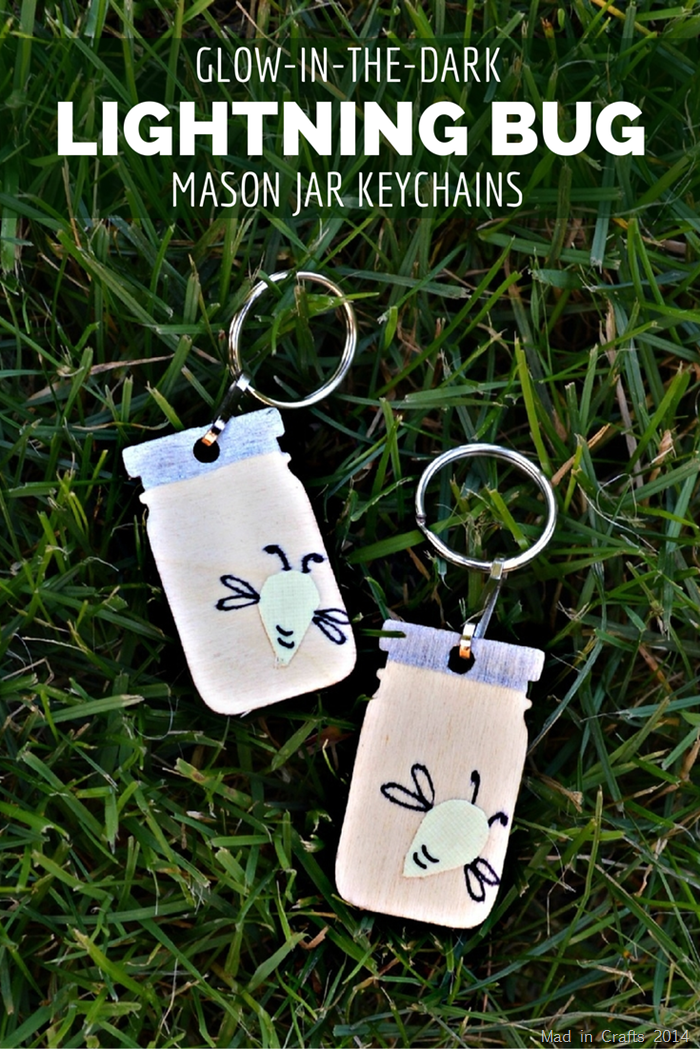
mason jar key chains with glow in the dark fireflies on grass

GLOWING FIREFLY KEY CHAINS

Filed Under: Birthday Party, Party, Uncategorized Tagged With: affiliate, birthday party, blacklight, decorations, dollar store, highlighter, neon, party, tutorial

Share on Facebook
Facebook
Pin on Pinterest
Pinterest
Tweet about this on Twitter
Twitter
Share on LinkedIn
Linkedin
              

Comments

  1. Angela says

    May 14, 2018 at 2:05 pm

    How long before the party do you crack the glow sticks and paint your bowls?

    Reply
    • madincrafts says

      May 14, 2018 at 2:40 pm

      I painted the bowls a few days ahead of time. I cracked the glow sticks and jewelry in the hour before the party started. Hope that helps!

      Reply

Trackbacks

  1. DIY GLOW PARTY Birthday Party Mad in Crafts says:
    May 12, 2020 at 3:04 pm

    […] Did you know that highlighters fluoresce under black lights? You can use highlighters to make a variety of glow party decorations including some really cool centerpieces. […]

    Reply

Leave a Reply Cancel reply

Your email address will not be published. Required fields are marked *

Recipe Rating


About Jessica

Search the blog…

Gallery of Valentine's Day Crafts
DIY Home Organization
Delicious Dessert Recipes

Copyright

You're welcome to link to Mad in Crafts or use a single image with a brief description to link back to any post. Republishing posts in their entirety is prohibited. Feel free to pin on Pinterest!

Affiliate Disclosure

Jessica Hill is a participant in the Amazon Services LLC Associates Program, an affiliate advertising program designed to provide a means for sites to earn advertising fees by advertising and linking to Amazon.com

Copyright © 2021 · Metro Pro Theme on Genesis Framework · WordPress · Log in

We use cookies to ensure that we give you the best experience on our website. If you continue to use this site we will assume that you are happy with it.Ok