I can rationalize to myself the money I spend on new houseplants fairly easily, but somehow I can’t bring myself to shell out big bucks for fancy decorative pots. When I saw that Sculpey had a cute silicone mold that made leaf shapes, I decided to try making a cheap terracotta pot look a bit nicer. I created this botanic Liquid Sculpey planter in less than an hour!
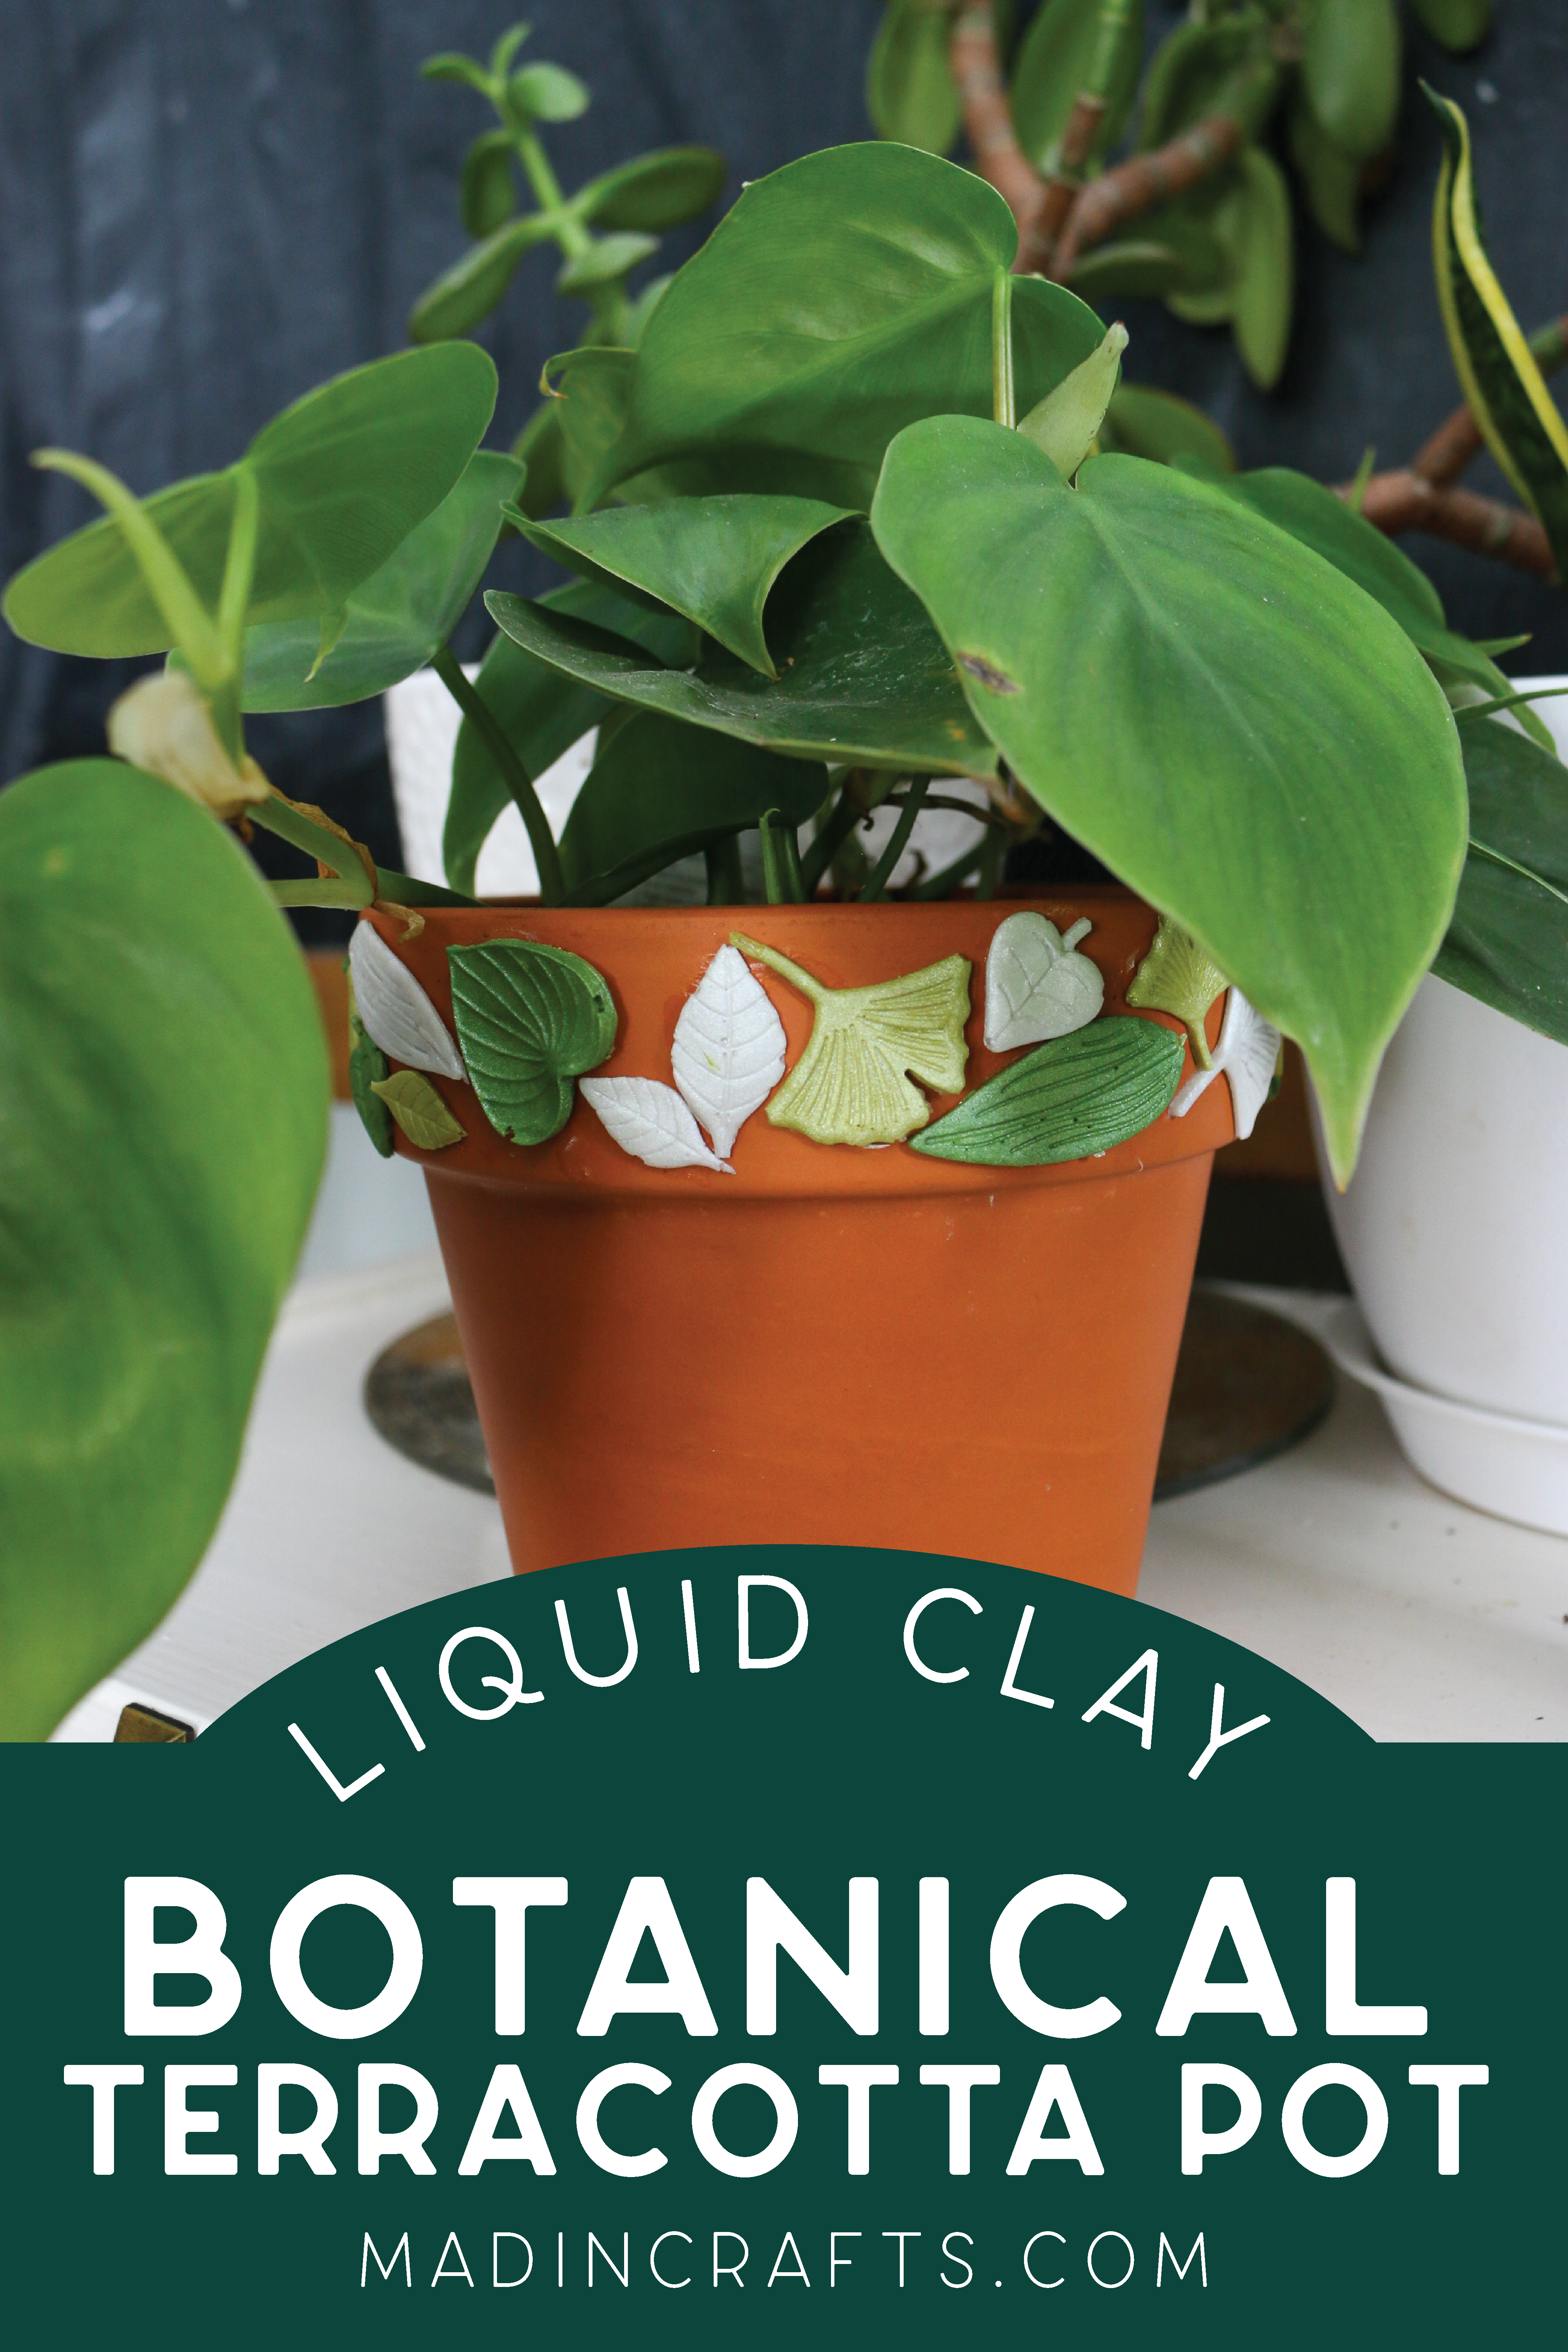
BOTANIC LIQUID SCULPEY PLANTER
WHAT YOU NEED TO DECORATE A POT WITH LIQUID CLAY
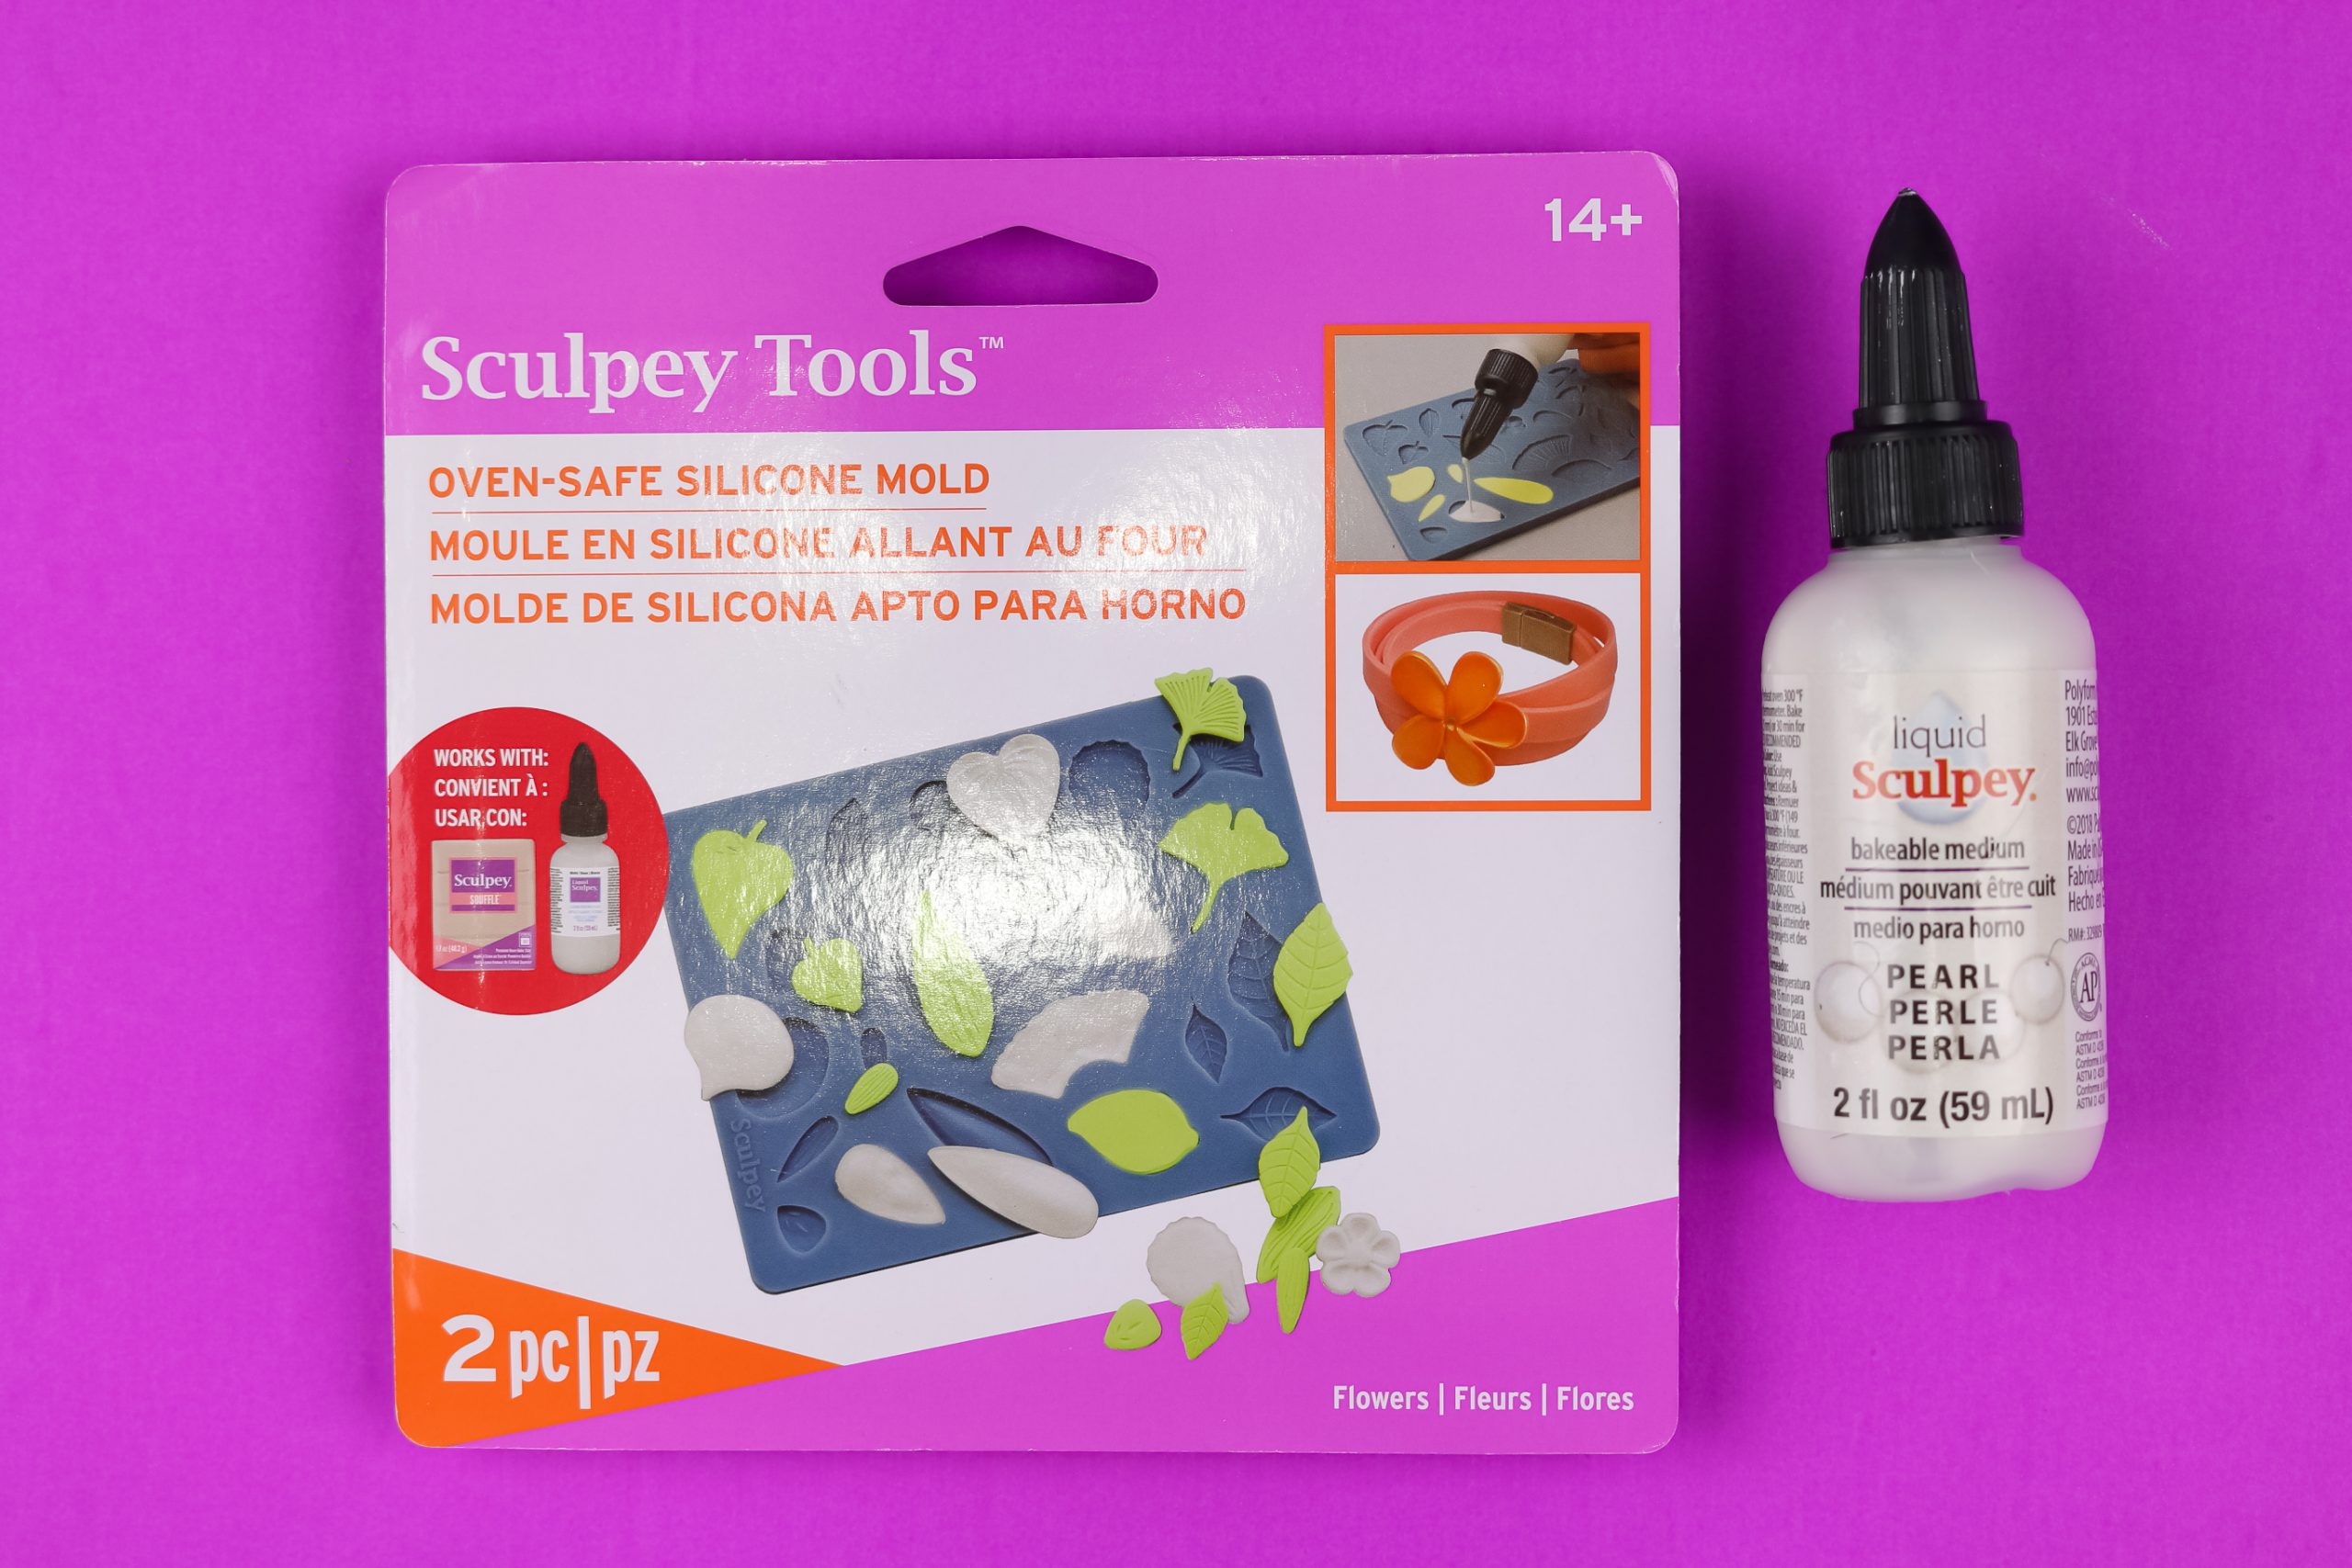
I love using Liquid Sculpey with their bakeable silicone molds. I have made butterflies and snowflakes with their thinner silicone molds in the past. This mold can be used with either liquid clay or regular polymer clay.
These are all affiliate links, if you make a purchase (of anything from the site, not just these items) after clicking through, I will earn a small commission. Ads and affiliate links are the way I am able to keep this website running and to offer you free tutorials all year long. Thank you so much for supporting me and Mad in Crafts!
- Sculpey Flowers mold
- Liquid Sculpey
- oven
- baking tray
- waterproof glue
- flower pot

Want to know which craft supplies I always keep in my craft room?
Visit the Mad in Crafts Amazon Storefront to learn more and to buy your own supplies!
DECORATING A PLANTER WITH LIQUID CLAY
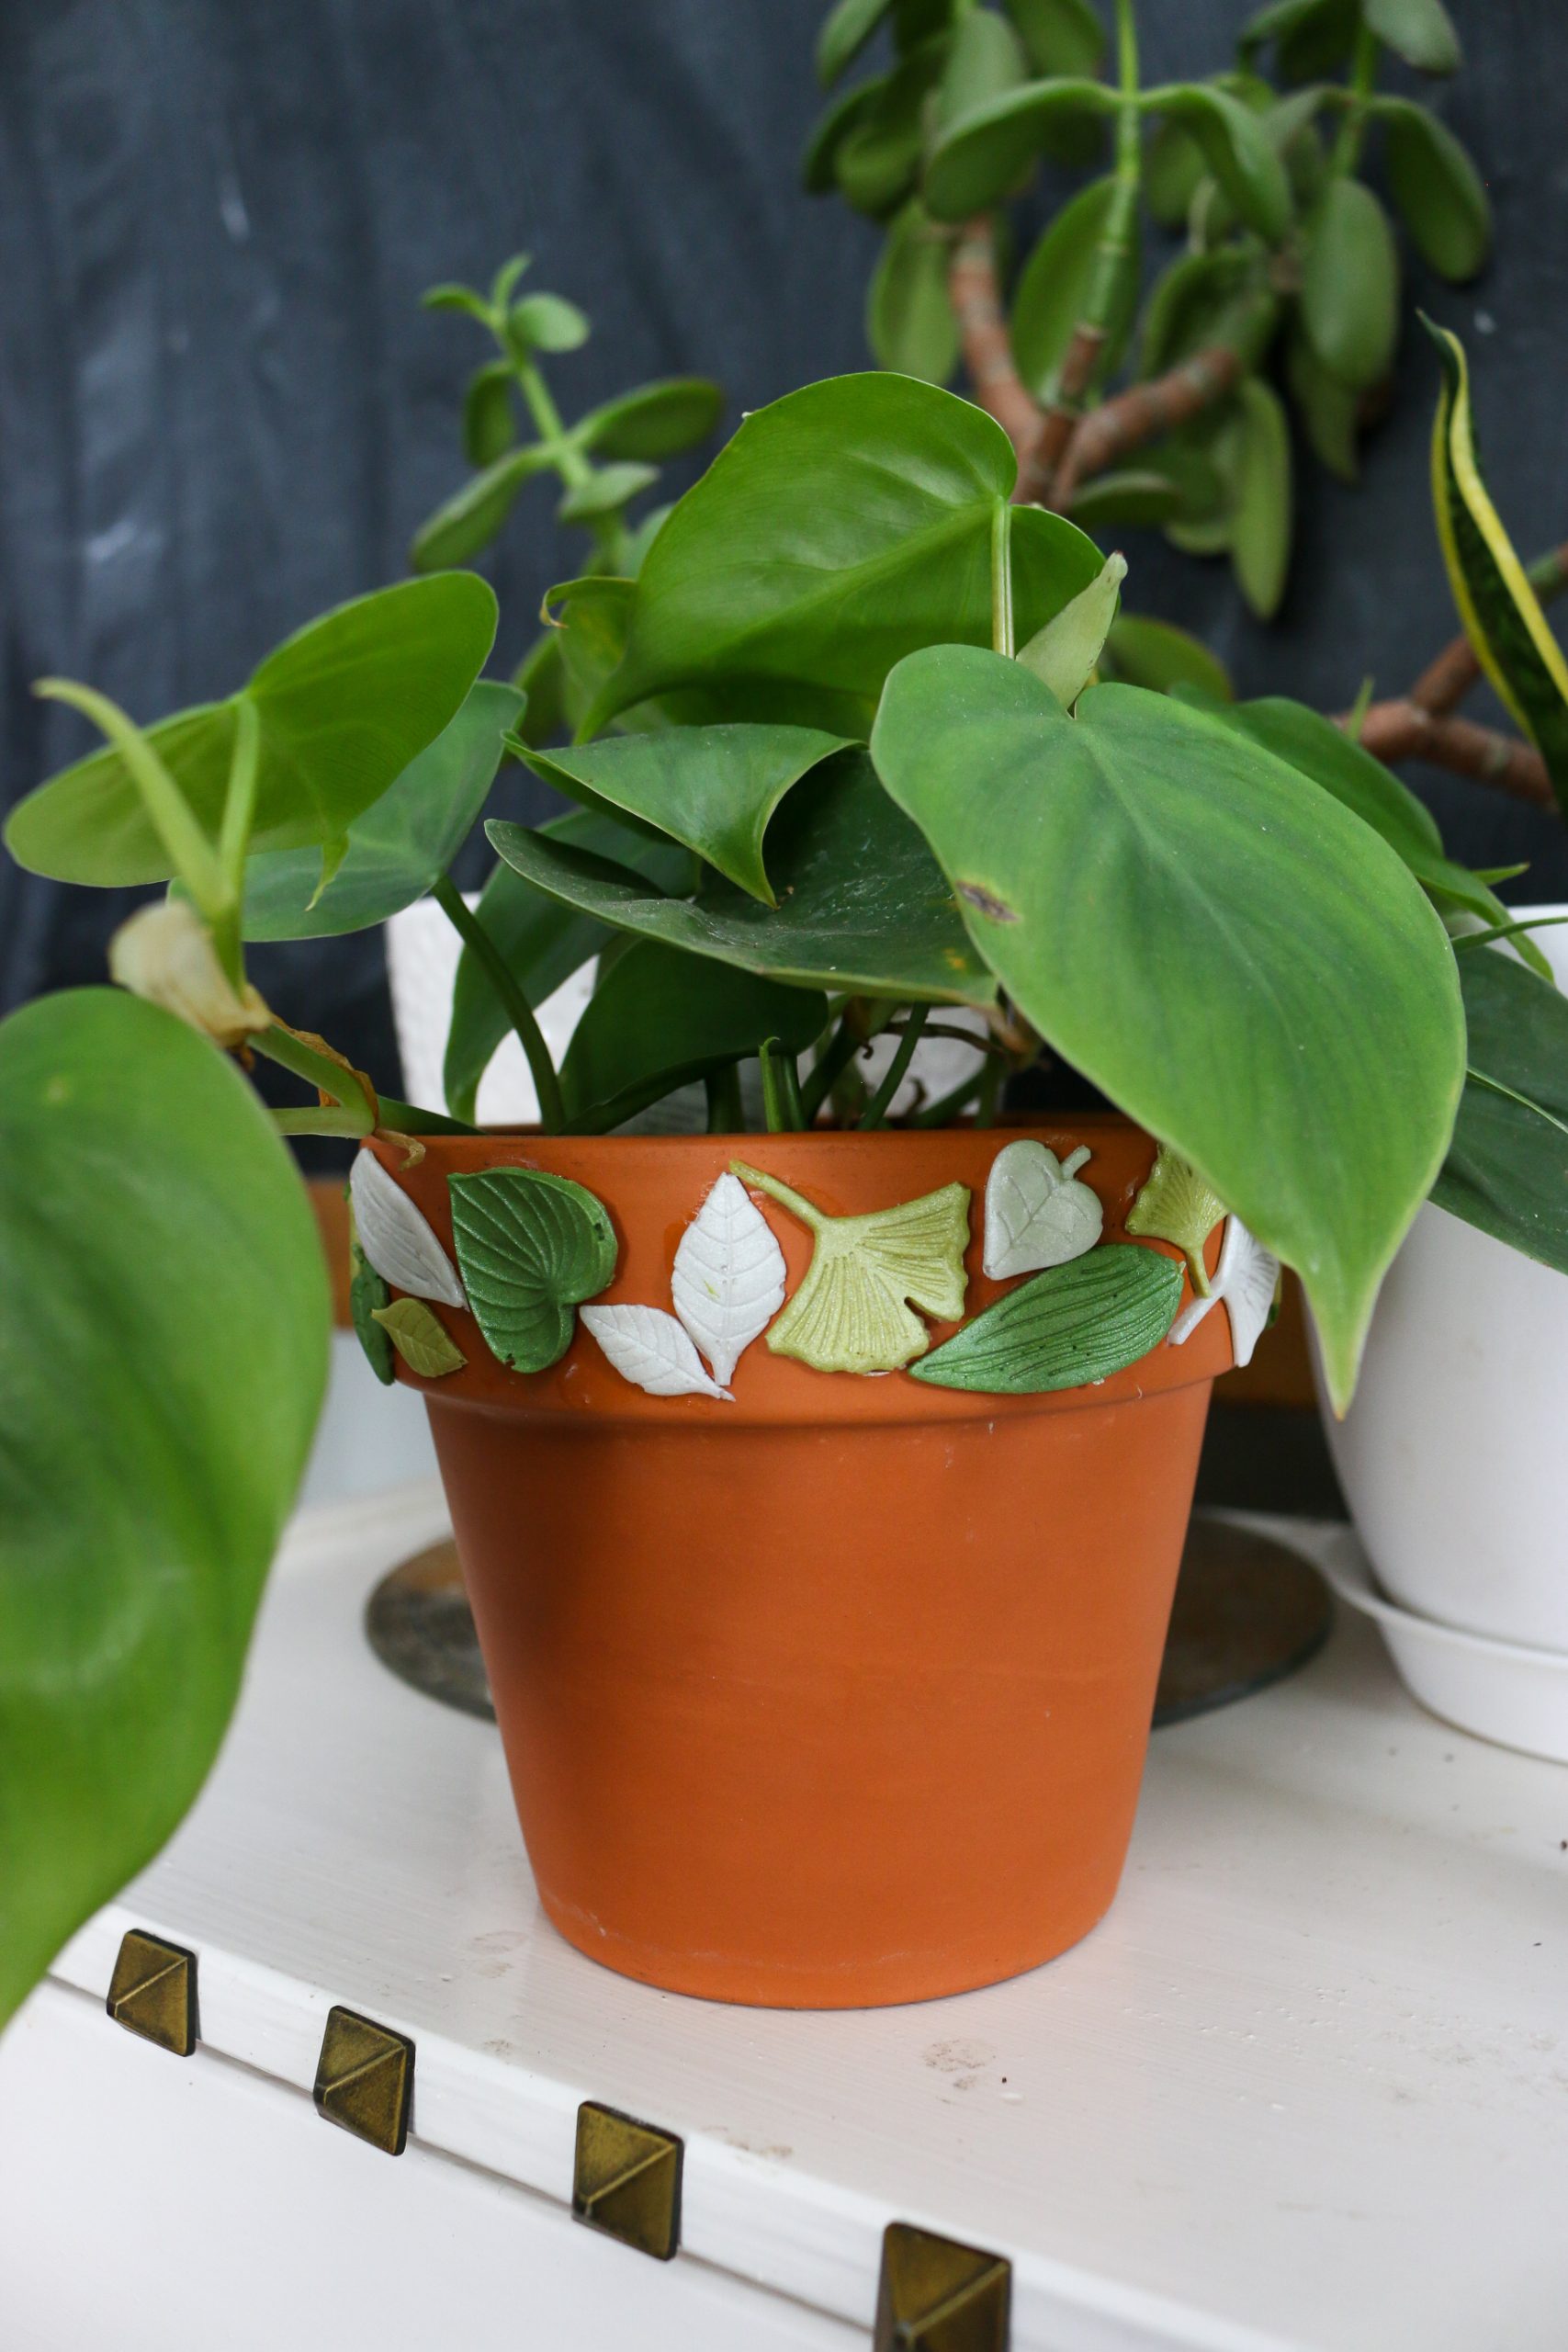
Terracotta pots are just about the cheapest planters you can find for your houseplants, and they generally work well (as long as you make sure they have a drainage hole!). They are pretty plain to look at though. I wanted to add some pizzazz by decorating the pot with small leaf shapes.
Decorate a Pot with Liquid Sculpey Leaves
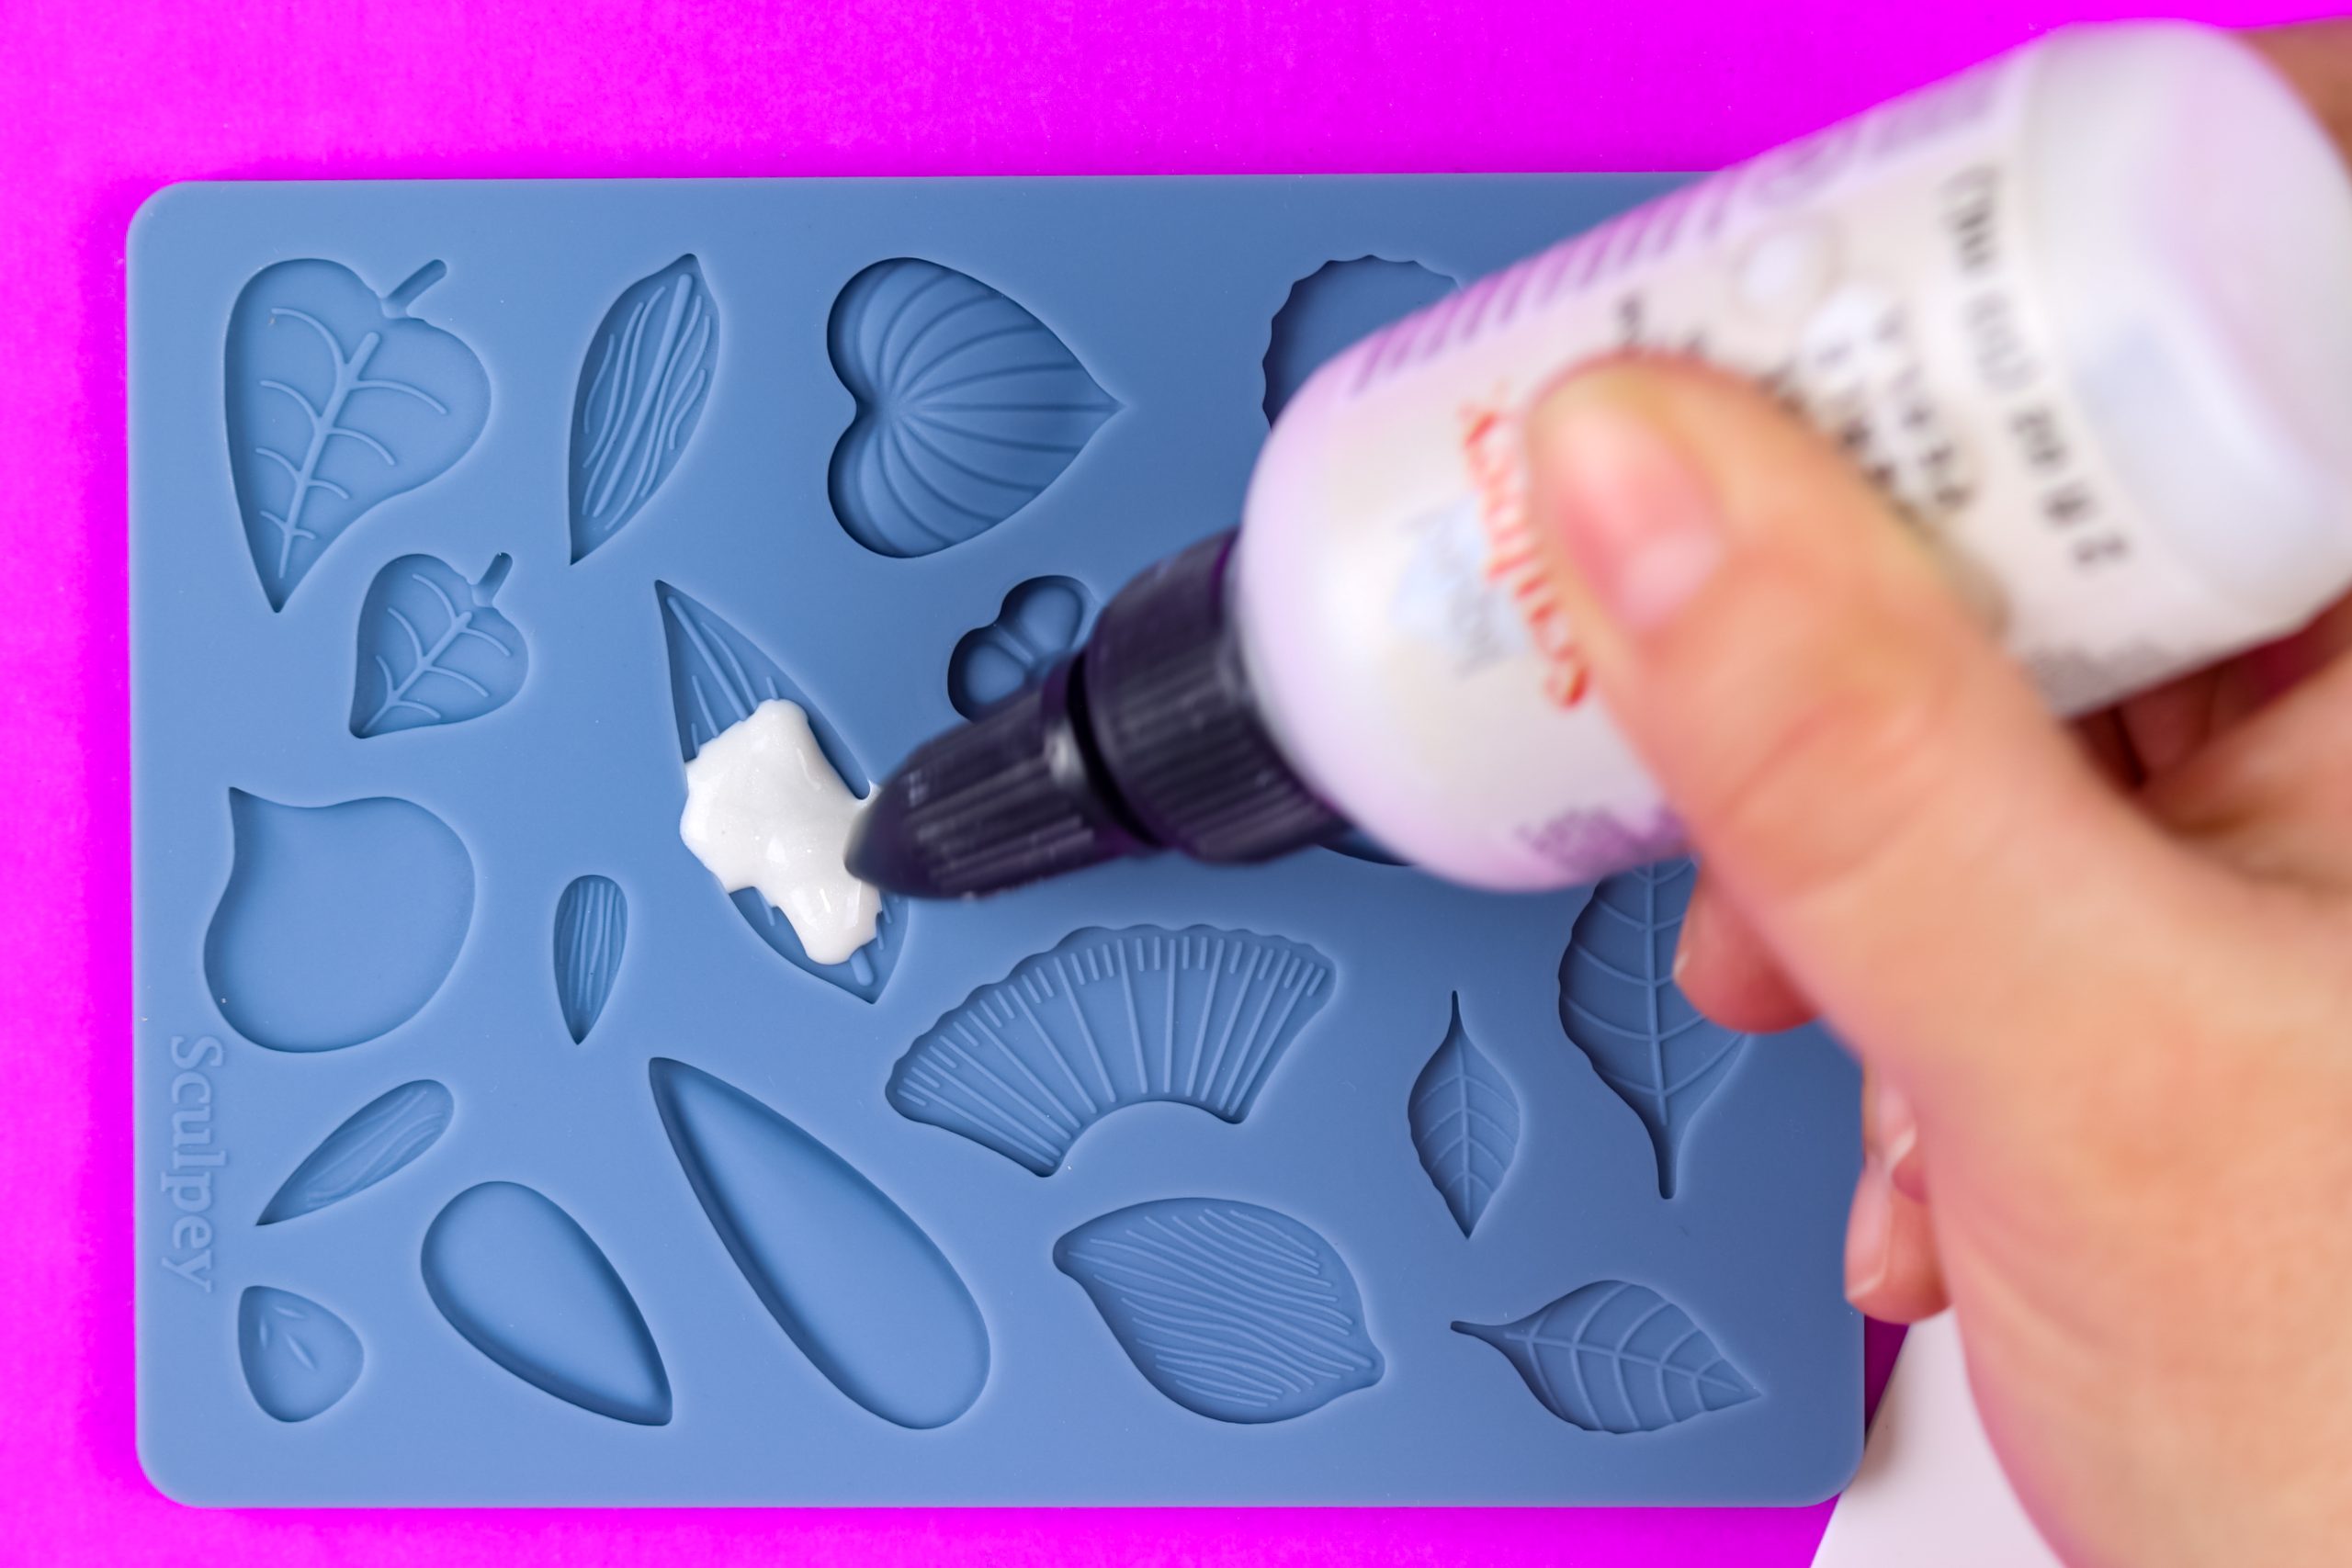
- Squeeze Liquid Sculpey into the silicone flowers mold.

- Ensure that all cavities are filled, then scrape off the excess Liquid Sculpey with the provided scraper.
You can put the excess Sculpey back into the bottle so you don’t waste any of the liquid polymer clay.

- Place the silicone mold on a baking tray for stability. Bake in a 275 F oven for 15 minutes.
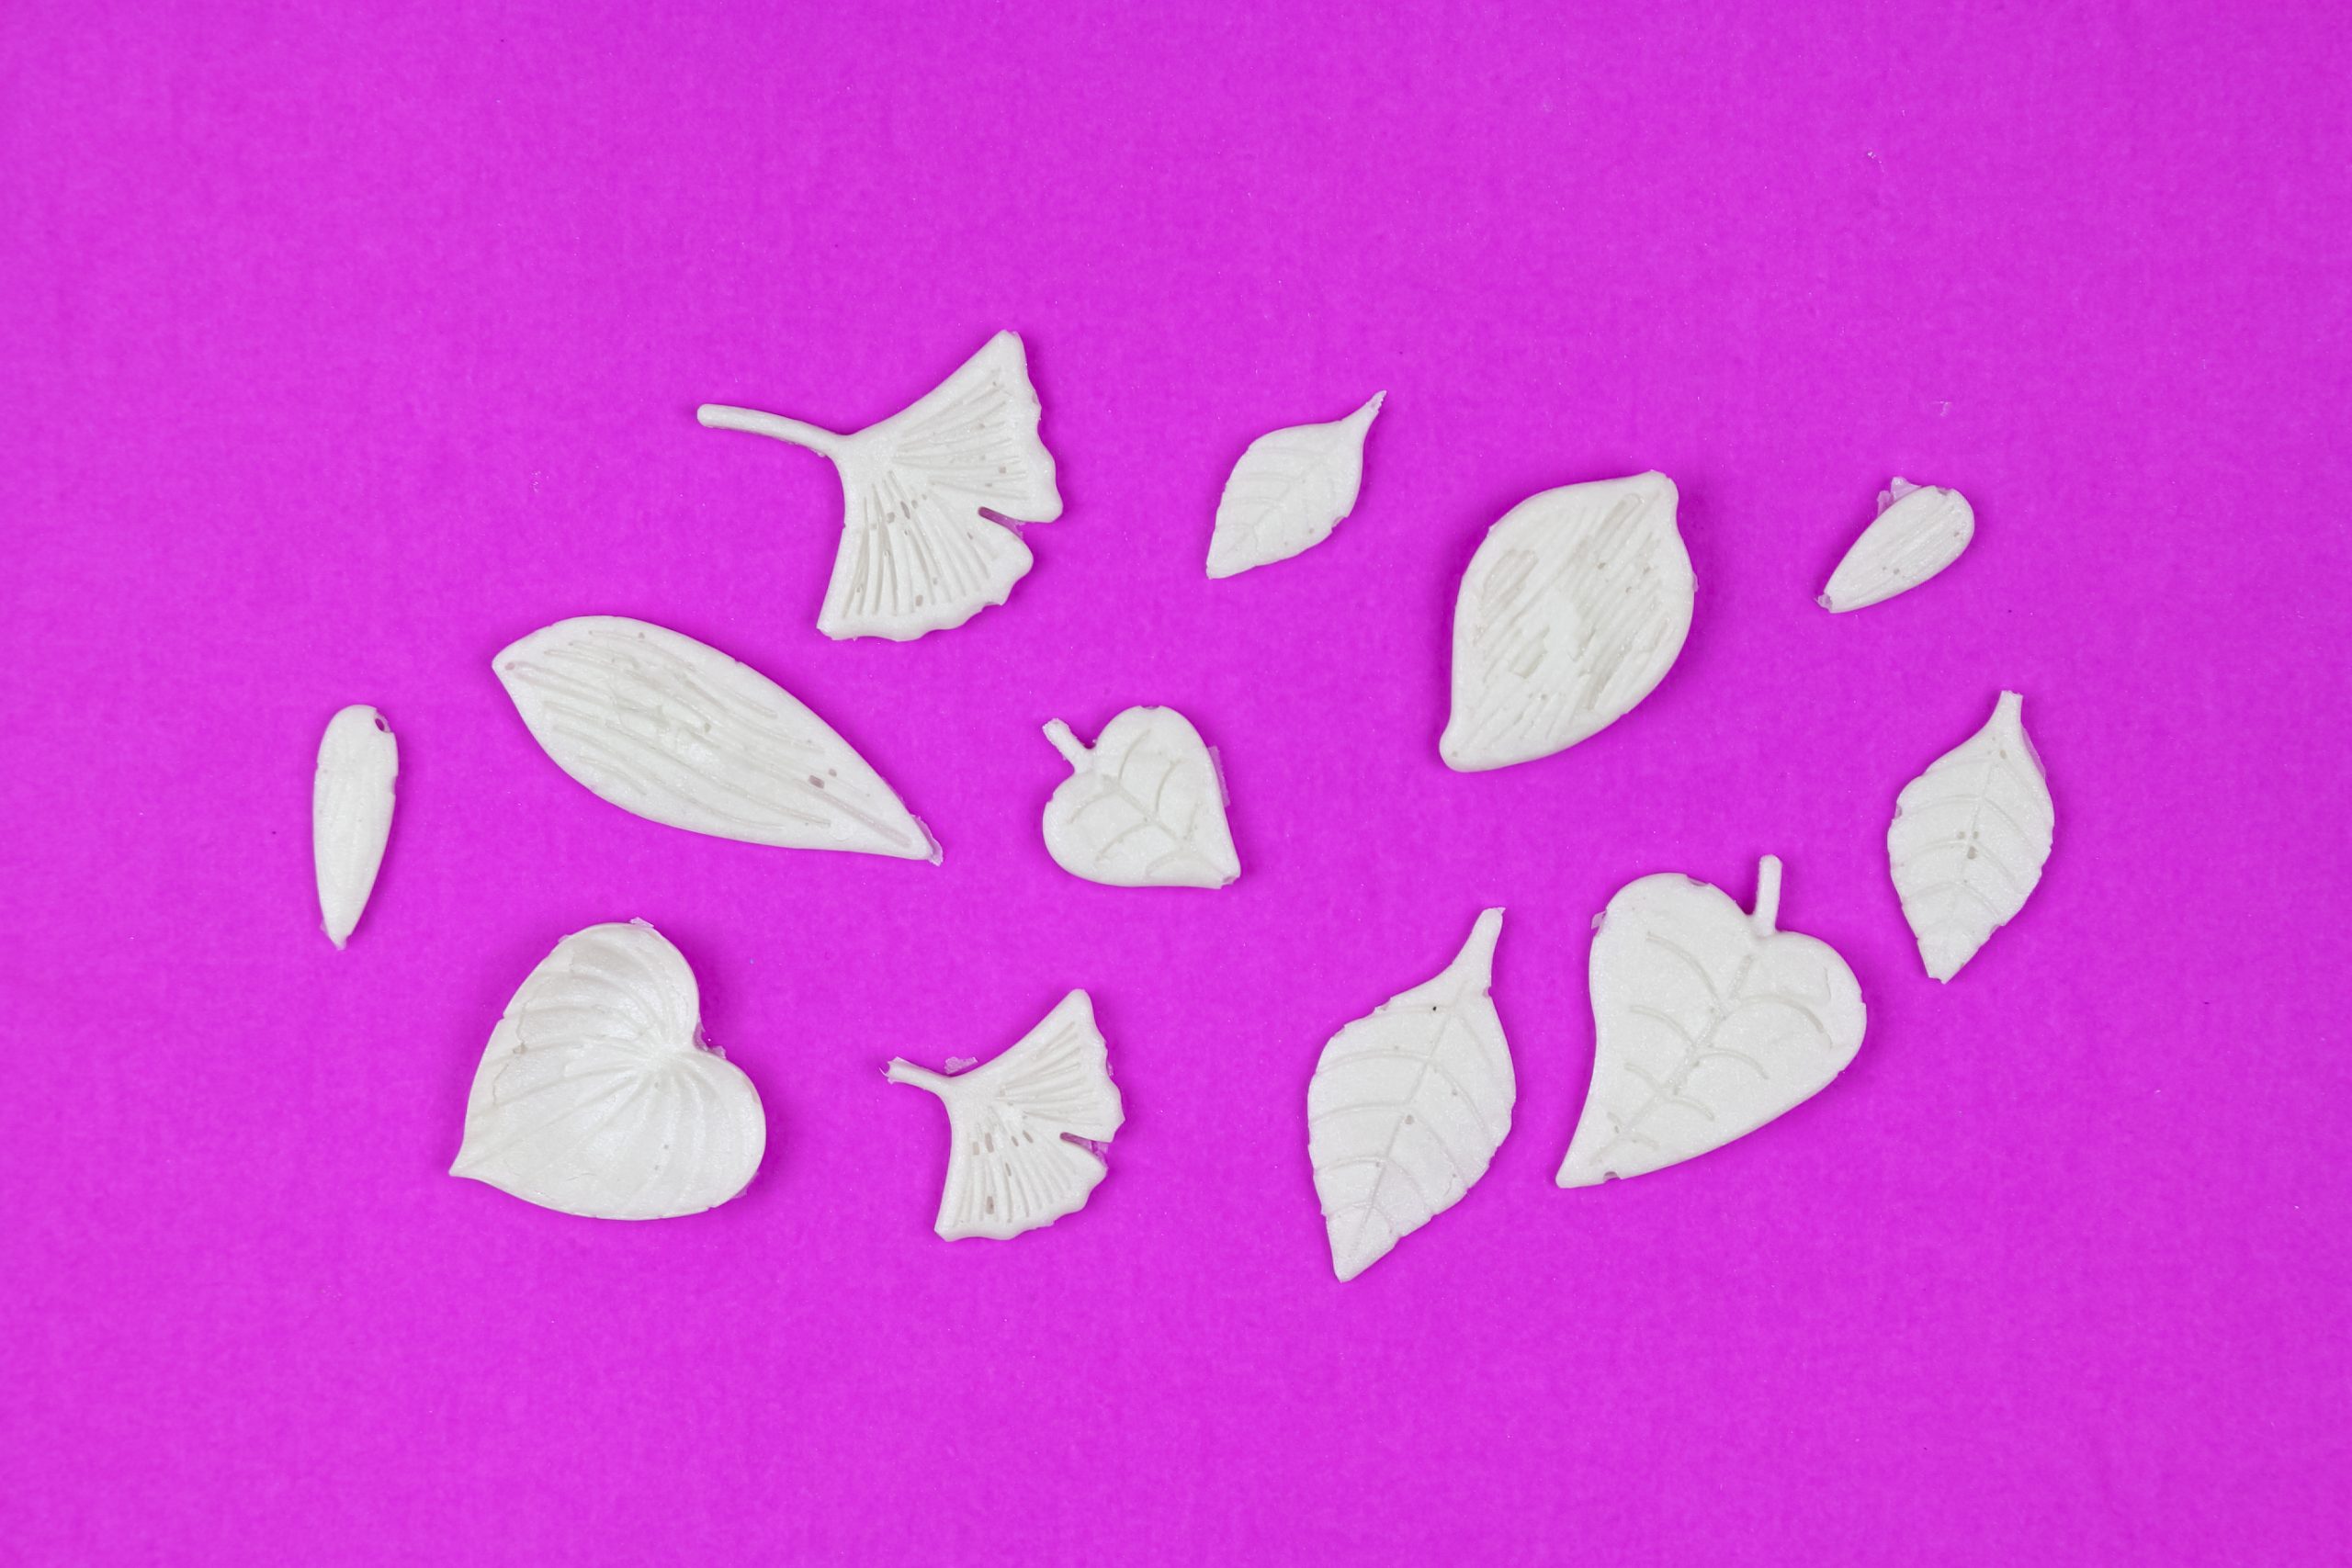
- Remove the mold from the oven and let it cool before removing the finished pieces.
If there is excess clay attached to the edges of your pieces, you can cut it away with scissors or a craft knife.

- (Optional) You can color the Liquid Sculpey by mixing in alcohol ink, mica powders, or other pigments before adding it to the mold.
These elements can affect the Liquid Sculpey. I noticed that when I added alcohol ink to the mixture, the finished pieces puffed up a bit.

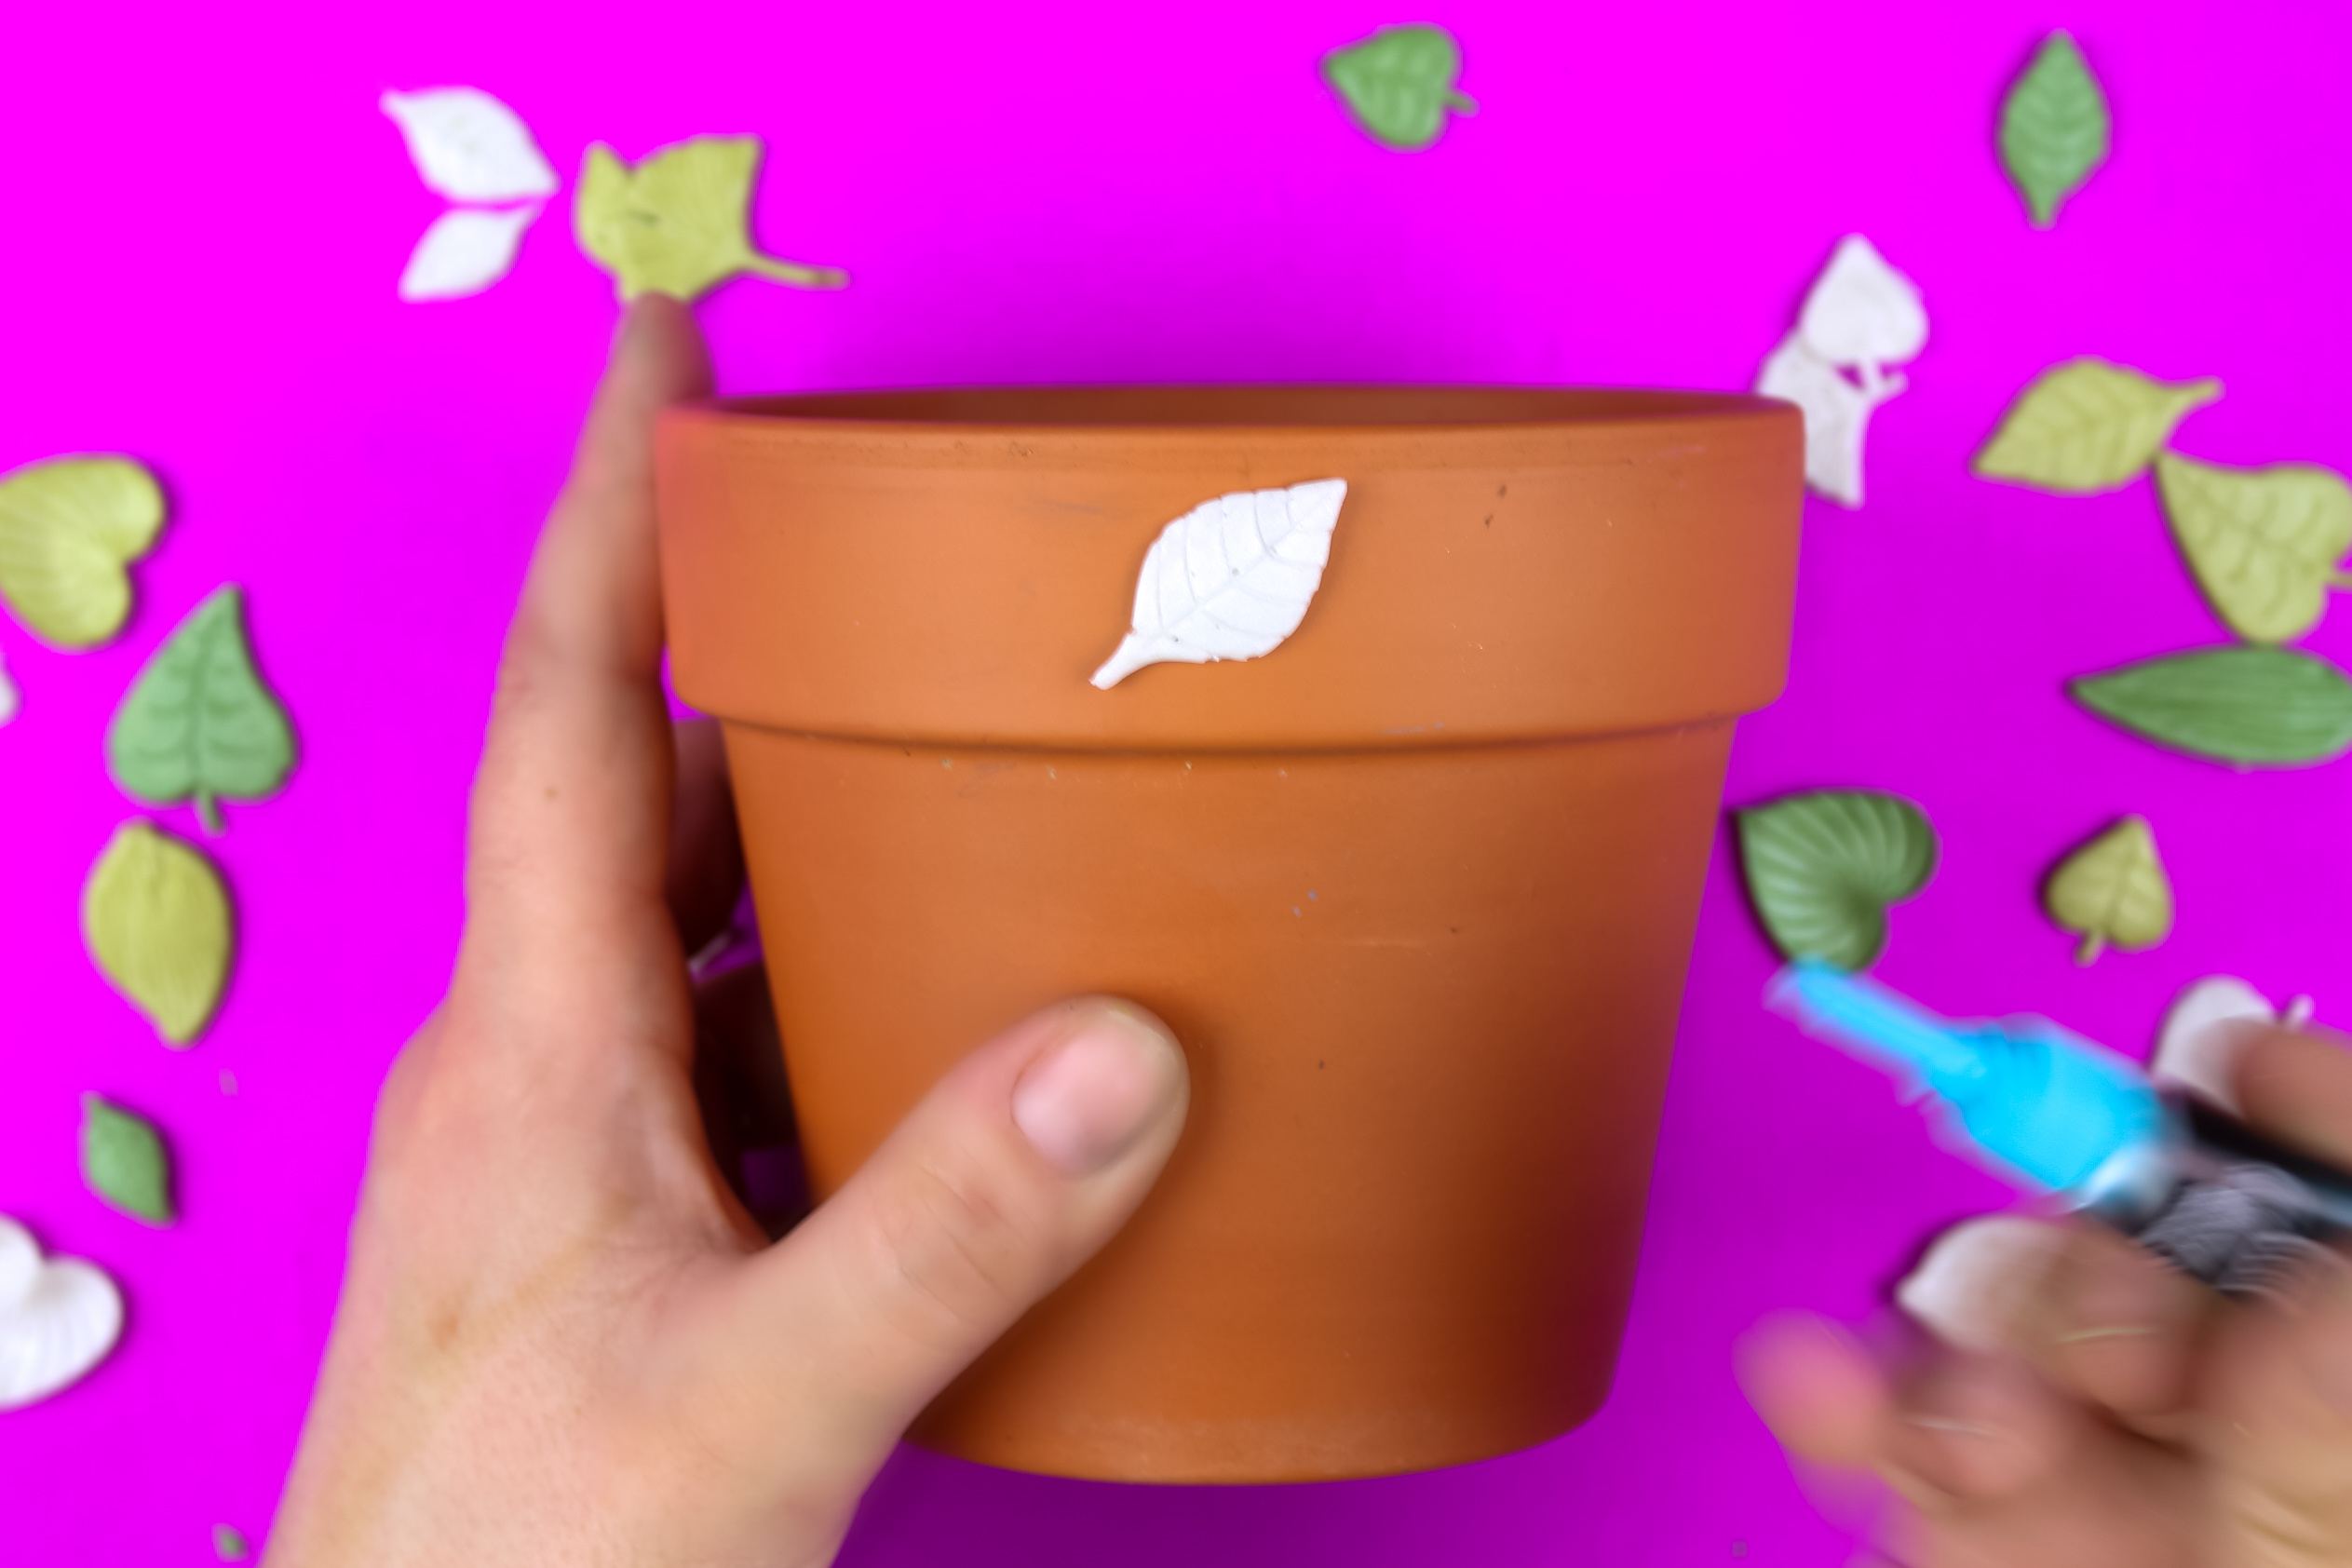
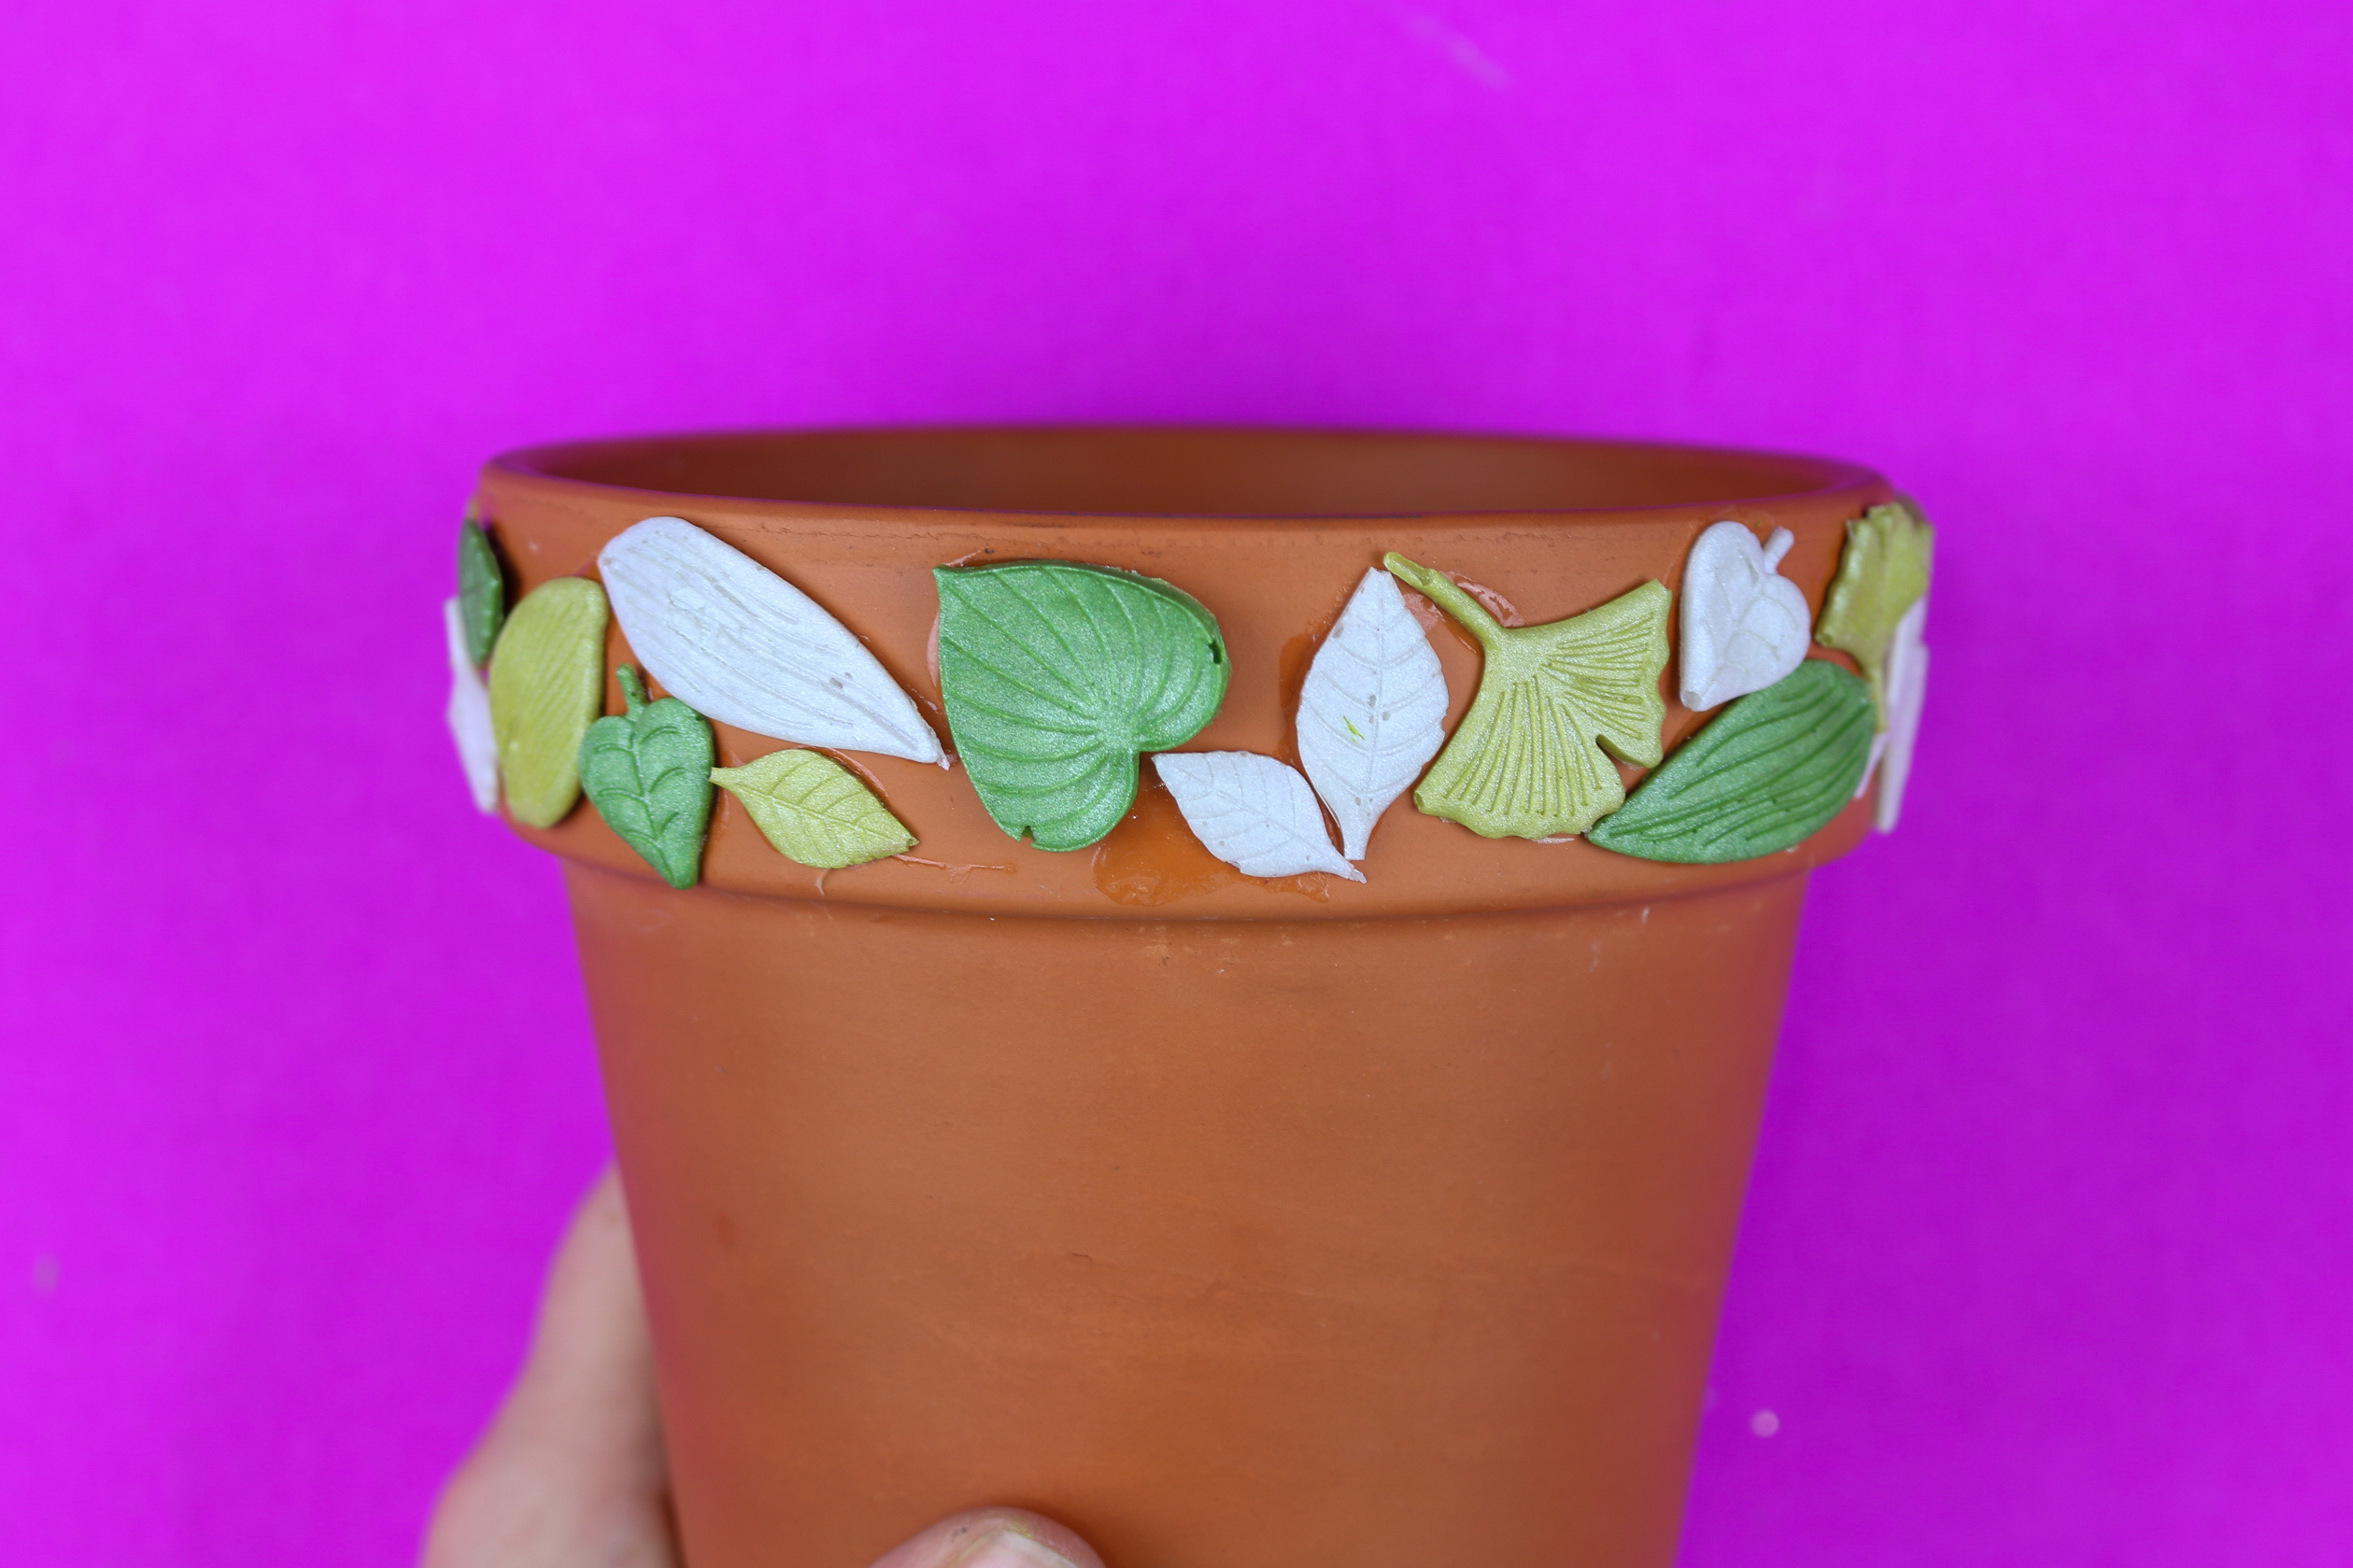
- Add the clay decorations onto your pot with waterproof glue. The pieces will be flexible enough to mold to the curve of the pot.

- Continue adding the small pieces until you are satisfied with the look of your pot.

CAN YOU PAINT LIQUID SCULPEY?
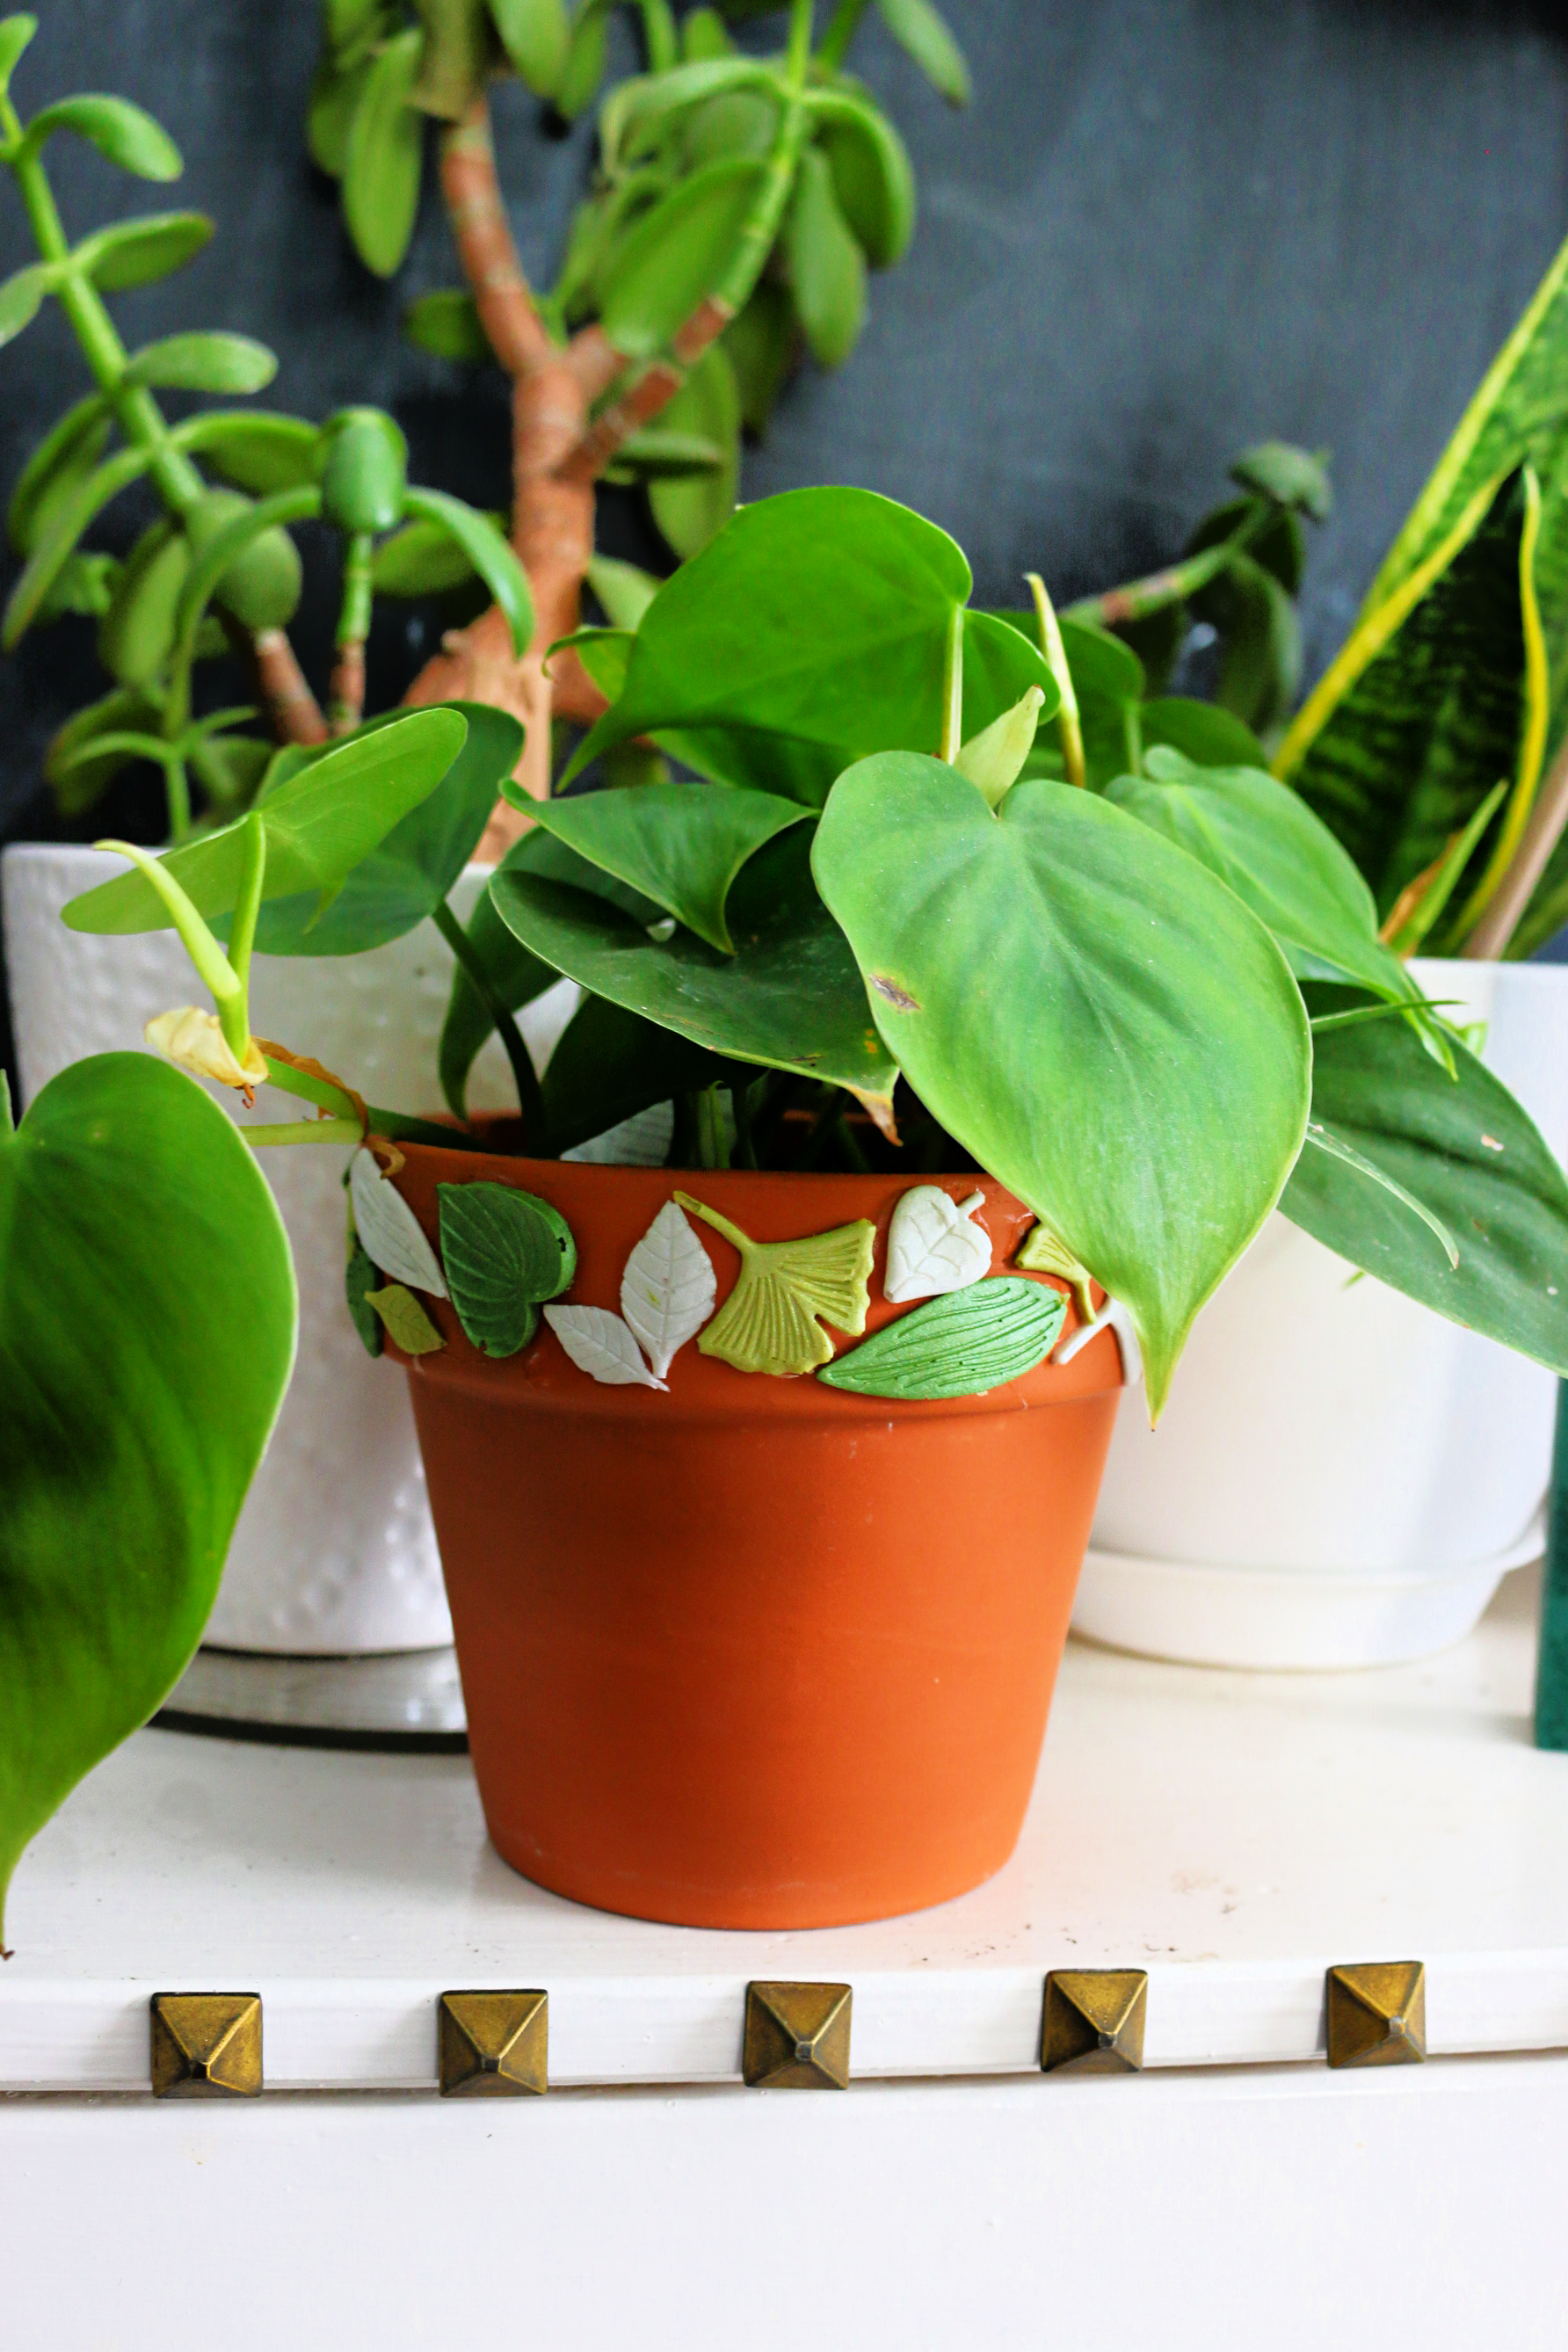
Initially, I left my finished pot unpainted. While I liked the green leaves that I colored with alcohol ink, all my other houseplants live in white pots.
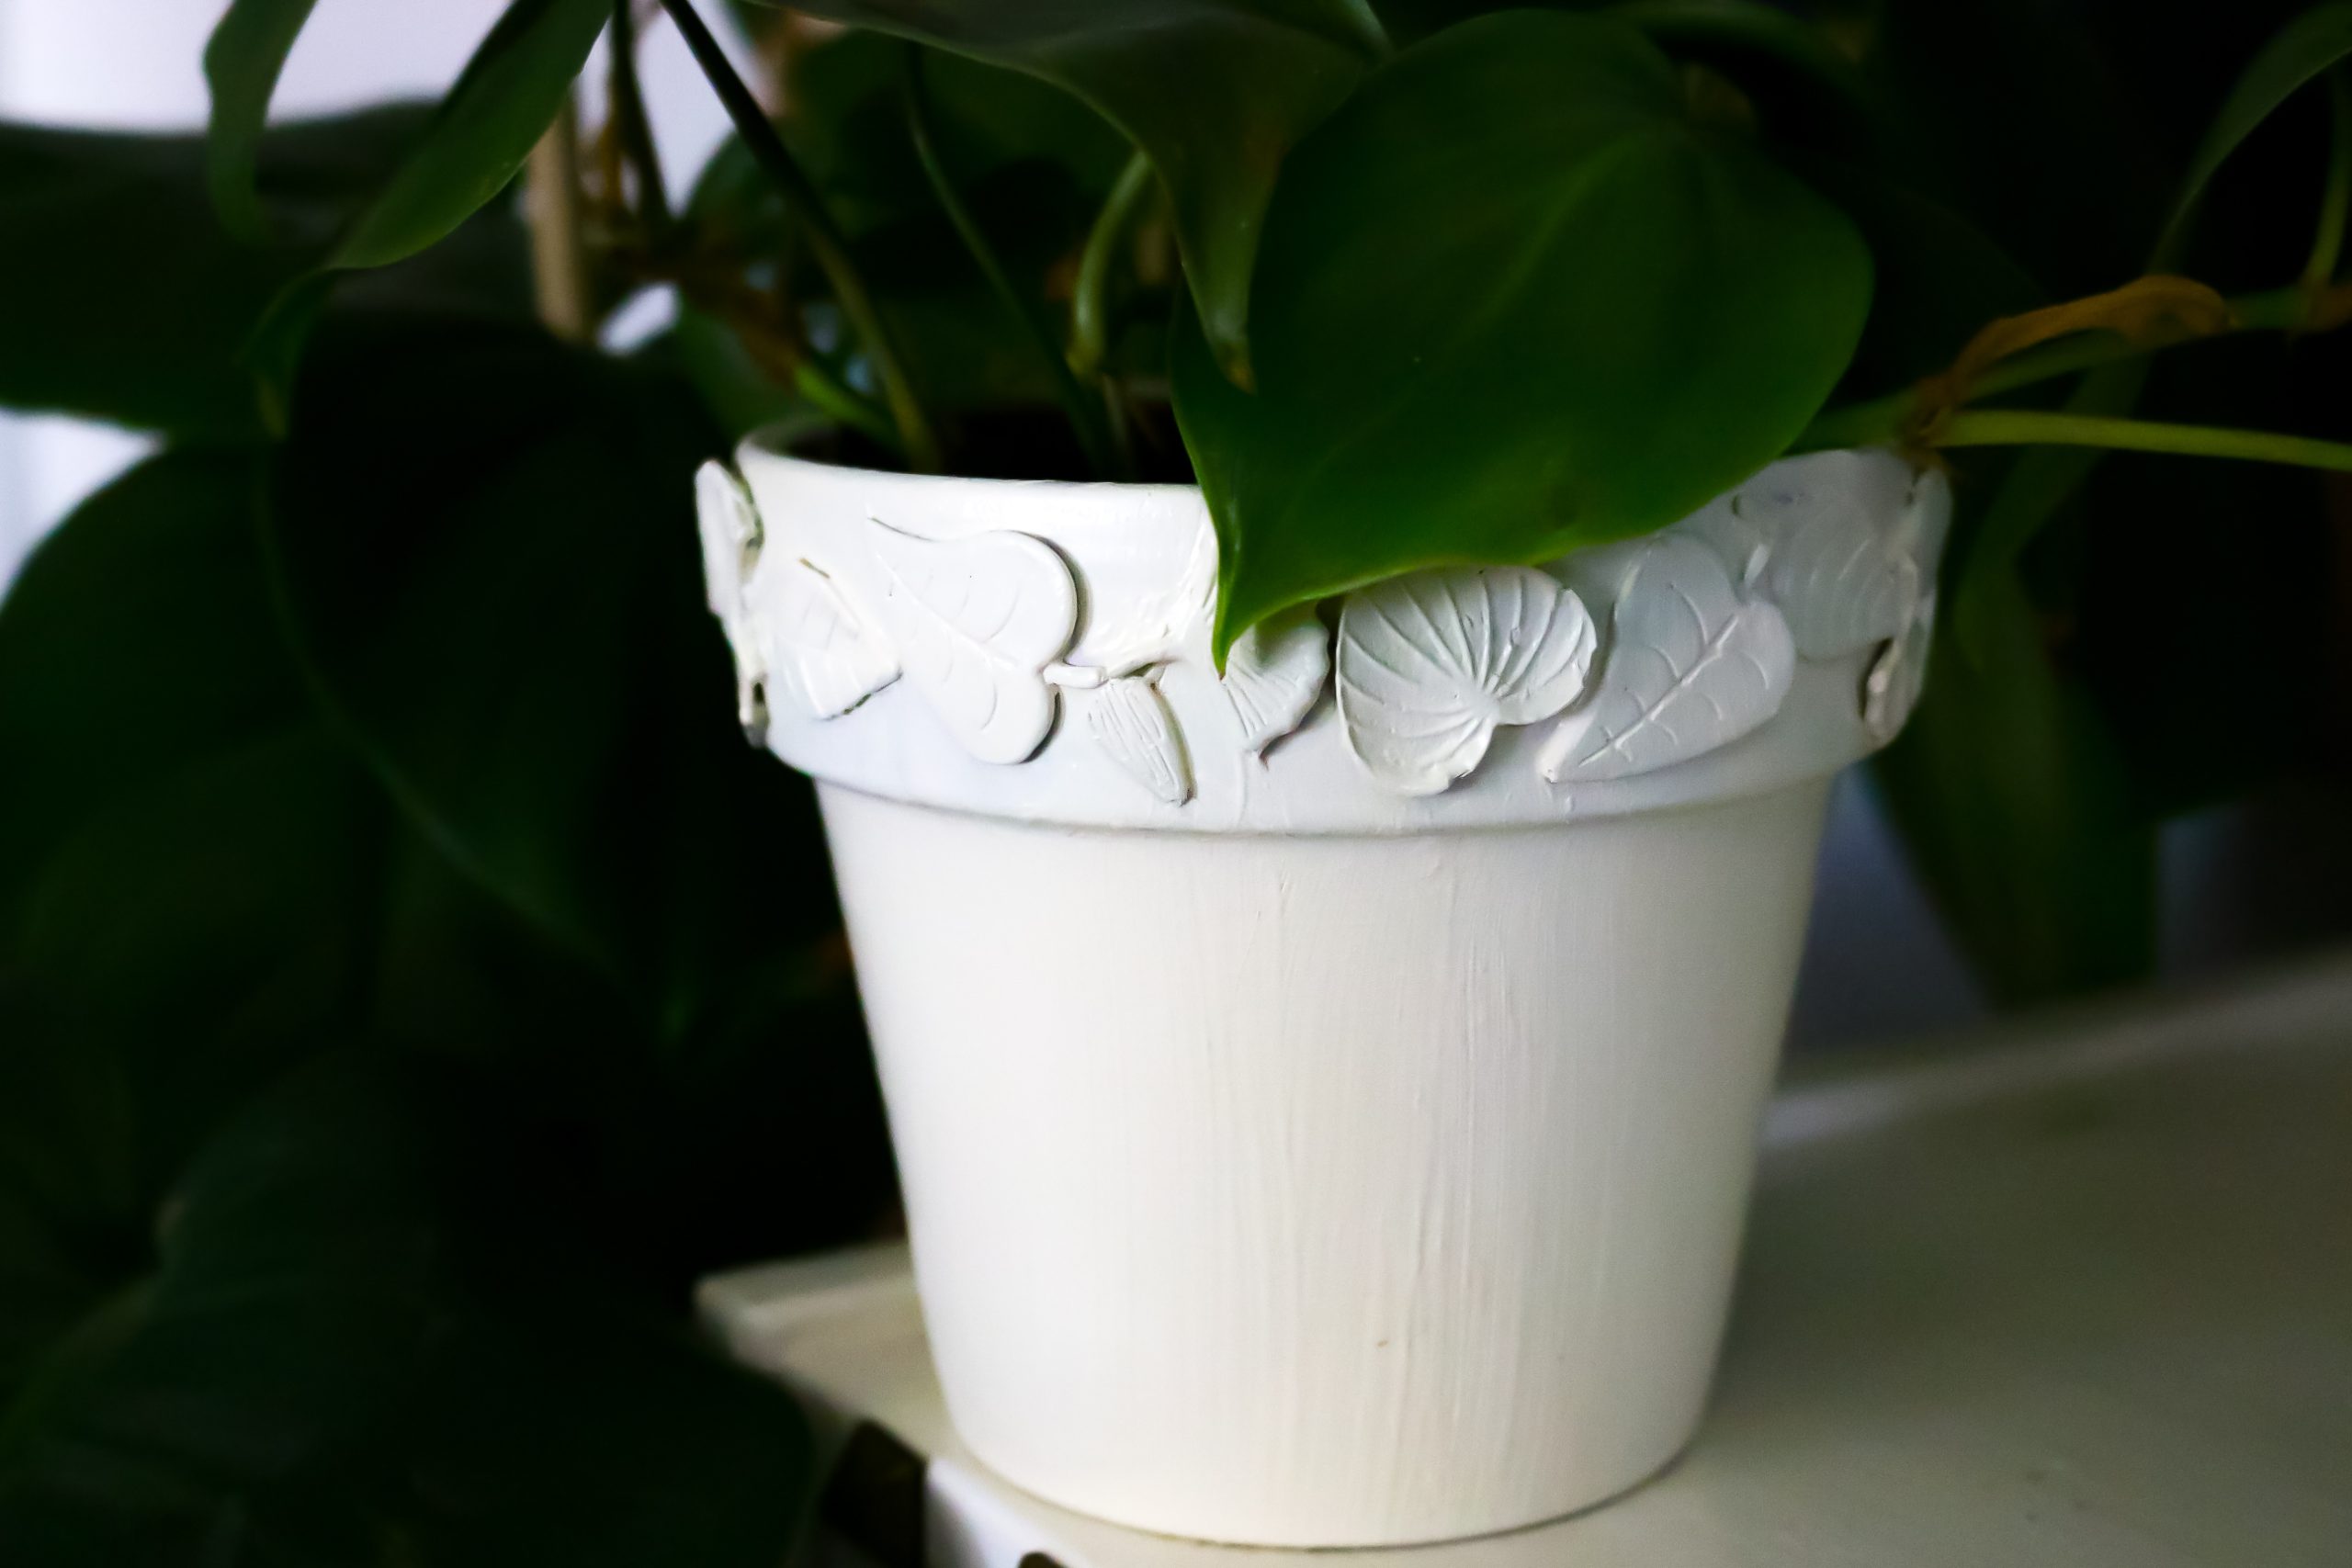
To give my decorated pot a monochromatic look, I painted over the embellishments and the pot with white acrylic paint. It took a little bit of effort to get in the nooks and crannies between the Sculpey embellishments. If you paint your pot, be ready to do several light coats. I don’t recommend using spray paint (although it would be way easier) as both the clay embellishments and your plant might not react well to it.
Once the glue (and any paint you may have used) dries, you can place a plant in your beautiful new pot. I love the way the leaves look dancing around the edge of this pot, but now I want to use my other Sculpey molds on other pots!




Leave a Reply