I am part of Elmer’s Craft-It Crew. I was compensated for my work, but the opinions are 100% my own.
My kids already have a gorgeous dollhouse. It was mine when I was little, and another little girl’s before it was mine. It is about as big as my daughter, however, and sometimes my kids want to play with their dolls and action figures somewhere other than the toy room. When Elmer’s asked me to make something with their cool chalk foam board, I decided to make a customizable foam board dollhouse that could move from room to room AND that would store flat when not in use.
CHALK FOAM BOARD DOLLHOUSE
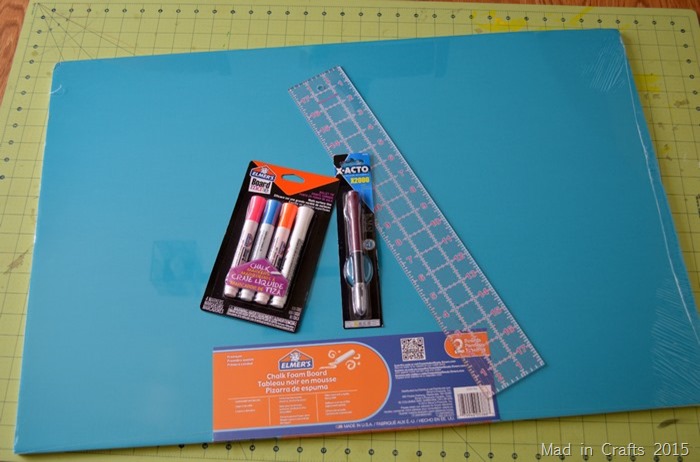
WHAT YOU NEED TO MAKE A FOAM BOARD DOLLHOUSE
You can definitely make a cool dollhouse using regular foam board (even the stuff from the dollar store). The cool thing about using the chalk foam board is that you are able to draw new decorations on the blue side of the board and erase them to change up the design of the house. NOTE: The chalk marker does NOT erase from the white side of the foam board.
These are all affiliate links, if you make a purchase (of anything from these retailers, not just these items) after clicking through, I will earn a small commission. Ads and affiliate links are the way I am able to keep this website running and to offer you free tutorials all year long. Thank you so much for supporting me and Mad in Crafts!
- 20″ x 30″ chalk foam board
- straight edge ruler (a yardstick would be even better than what I used)
- craft knife
- cutting mat
- chalk markers
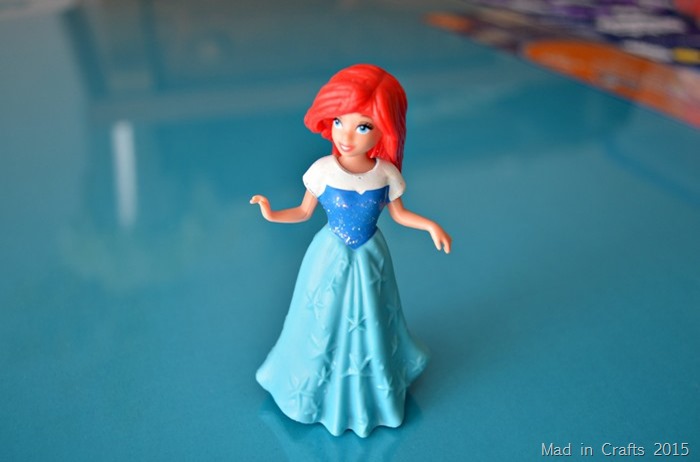
My daughter has about a dozen of these 3 1/2″ Disney princess dolls that she uses with her dollhouse furniture. I chose my play set measurements so they would fit these dolls, but you can adjust yours to fit the scale of your kids’ toys.
HOW TO MAKE A FOAM BOARD DOLLHOUSE
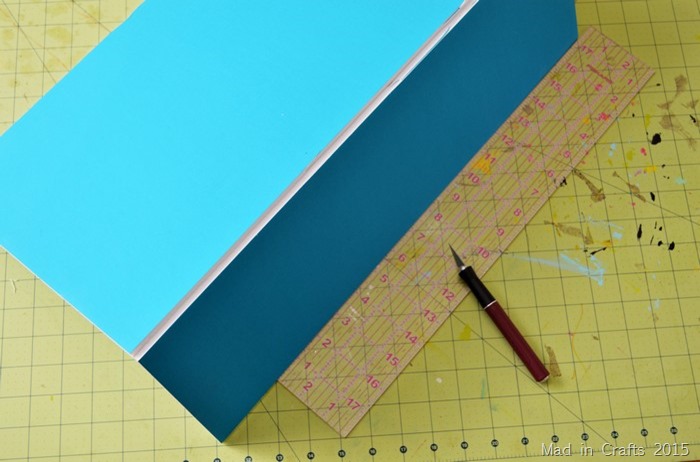
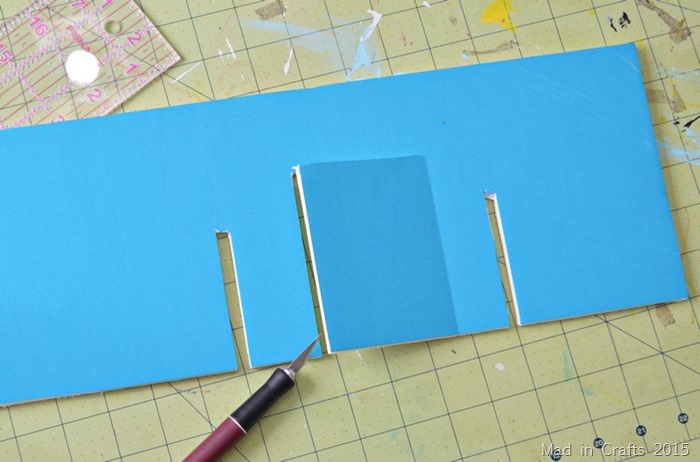
Foam board is fantastic for these kinds of miniature construction projects, but there are a few tricks to working with it. First, you will want to work with a sharp craft knife so that you can first score your cut lines, then cut through some of the foam center of the board. Once you have a good straight line started, you can bend the foam board at the cut line to snap along the line. Then cut the paper surface on the reverse side of the foam board along that bend.
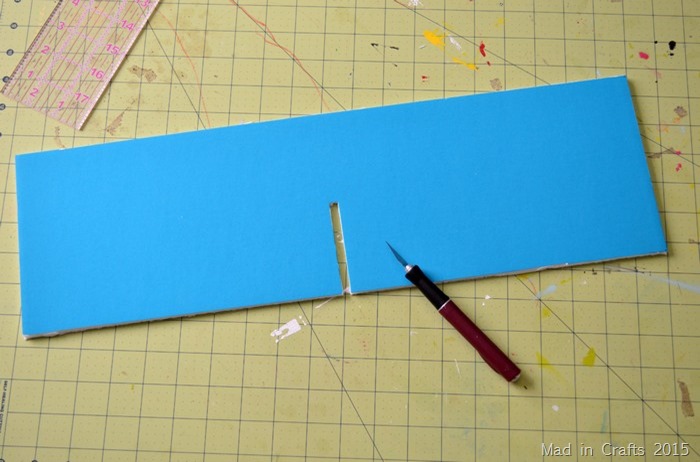
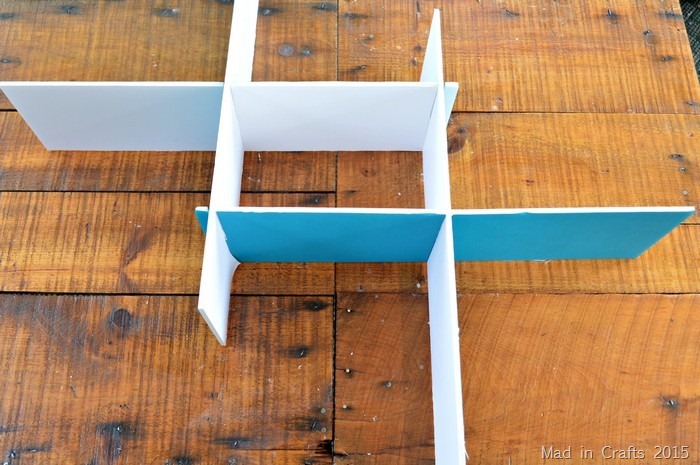
Wherever you would like the play set’s walls to intersect, you will need to make notches in both “walls” of foam board. Make the notches roughly the width of the foam board for a tight fit. Each notch should be half as tall as the foam board “wall.”
For example, my foam board is 3/16″ wide, so I cut the notches slightly smaller than that. I designed my playset walls to be 6″ tall, so I made each notch 3″ long.
I chose to cut a few doors in the playset as well. For my doors, I cut a 4″ x 3″ rectangle in the wall. I cut all the way through the foam on two sides of the door. On the third side, I scored and snapped the cut line but left the paper flap intact to act as a hinge.
This is the final layout of our dollhouse. I have pretty remedial math skills, so the layout is very basic. You can create intricate play sets, two-story dollhouses, and more out of this fun stuff!
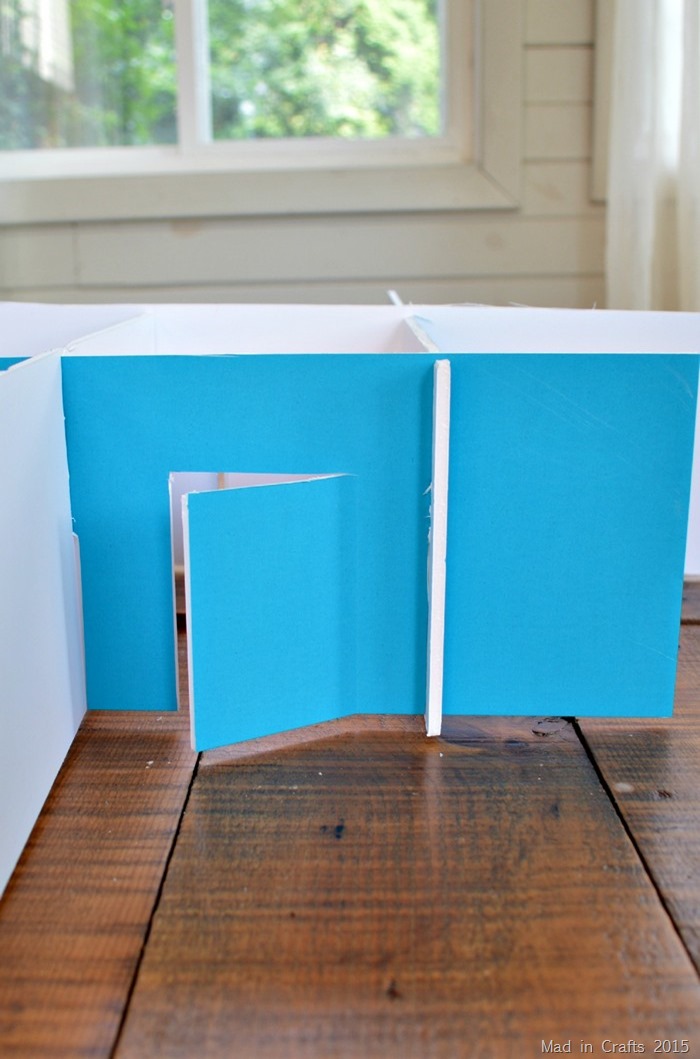
I am proud of my little hallway with the two functioning doors, though. Down the line, I may have to reinforce the “hinges” with duct tape.
DECORATING A FOAM BOARD DOLLHOUSE
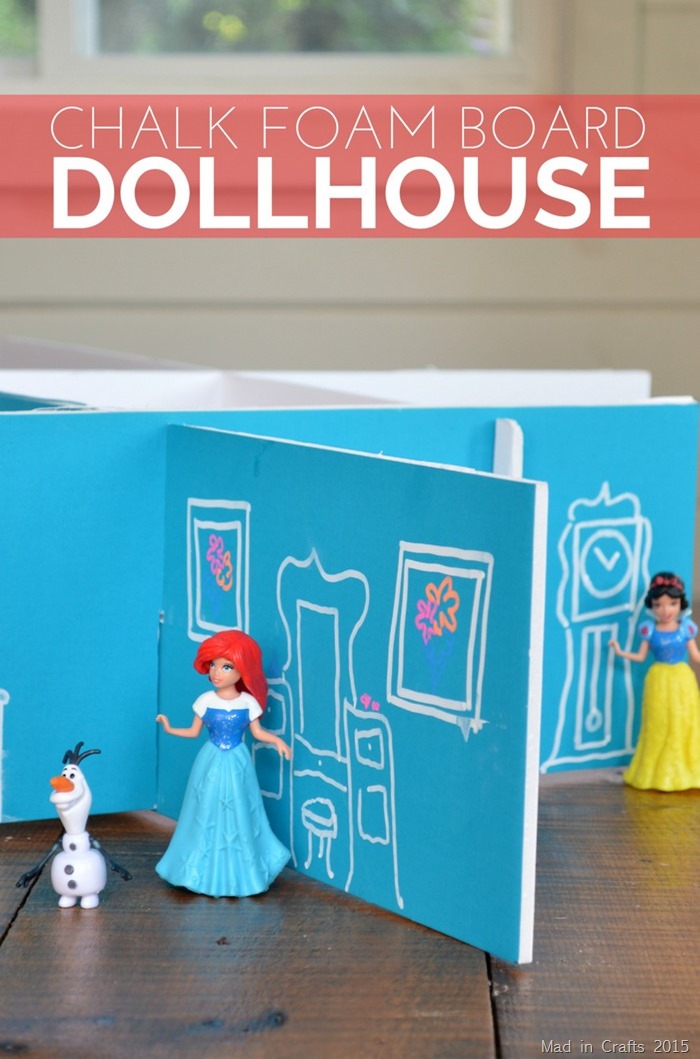
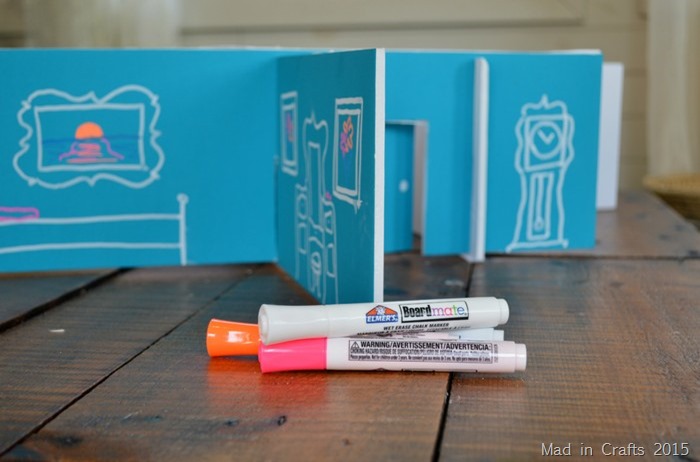
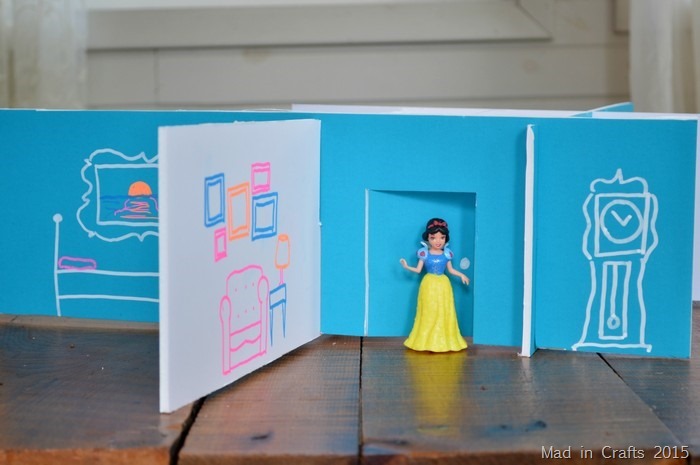
Now is when this playset really gets fun. I used Elmer’s chalk markers to trompe l’oeil some room settings onto the playhouse walls.
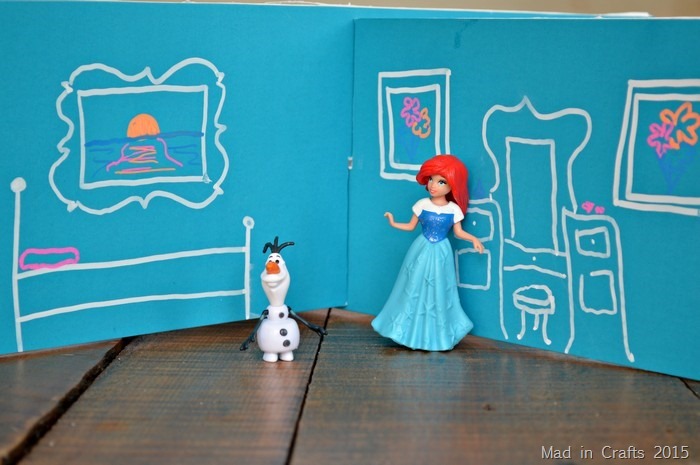
Ariel showing off her sleeping quarters to her buddy Olaf. He thinks the painting of the summer sunset is especially lovely.
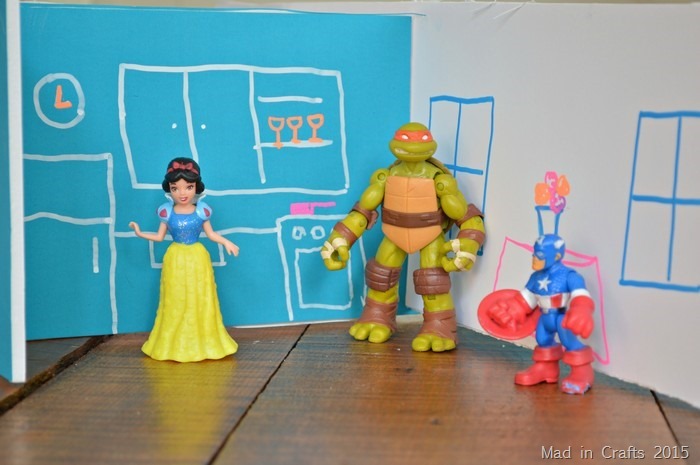
And Michelangelo is cooking up some tasty pizza for Snow White and Captain America. Because, why not?
Today the playset is fit for a household of Disney princesses, but tomorrow it can be the top-secret headquarters of S.H.I.E.L.D. With a damp cloth, the kids can wipe off the chalk maker and add new designs and decorations to the foam board walls. It can be a new playset every day!
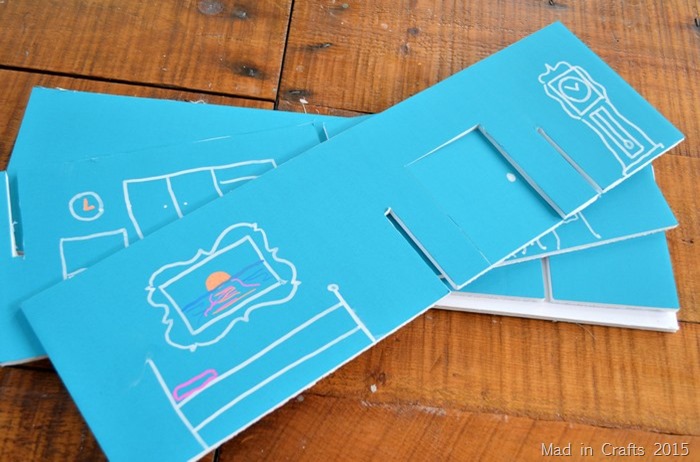
When the kids are finished playing, we can carefully take the walls apart and store them for tomorrow. I think my kids are really going to have fun playing with this and using their imaginations to create new situations for their toys.
And, since the foam boards come in a two-pack, we have another board to create with yet!
You might like these other kids crafts:




What a genius idea! My daughter would love this! I will try to make it too. Thanks for the inspiration!
Thanks so much! My kids have had great fun with ours.
I love your Elmer’s doll house design very much!
Spectacular use of creativity that will be so much fun!