This is a sponsored post. I was compensated and given free product for my work, but the opinions are 100% my own.
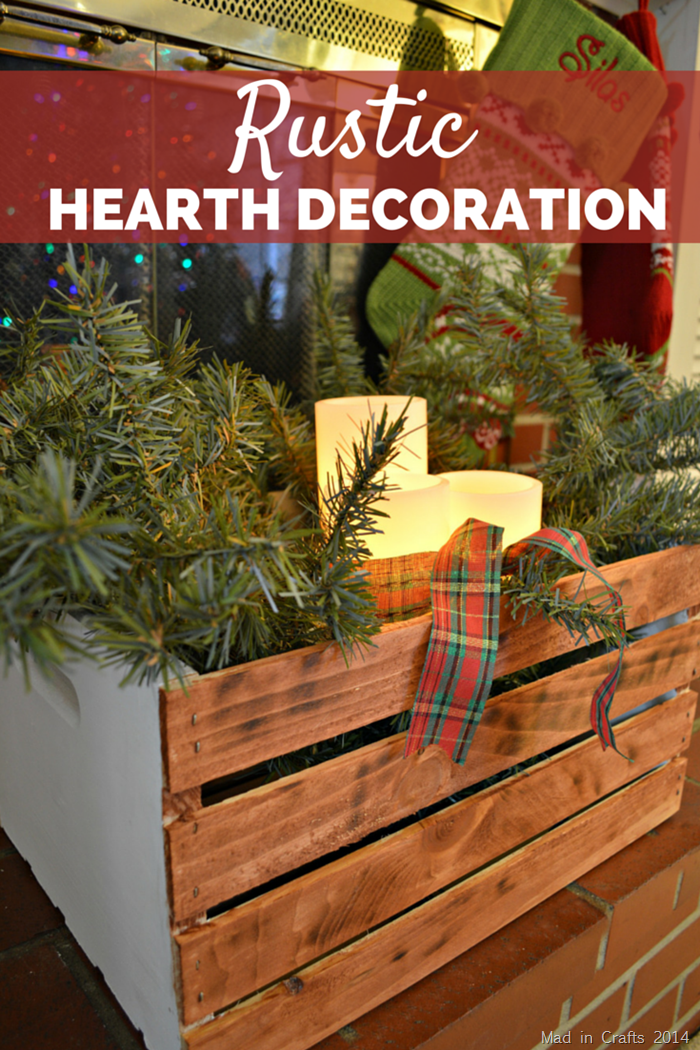
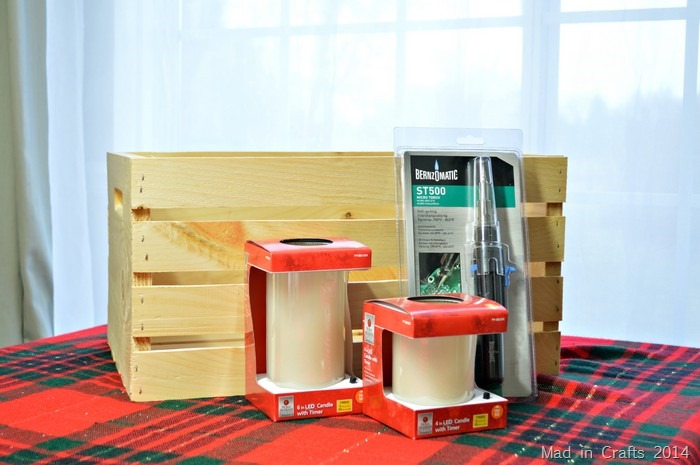
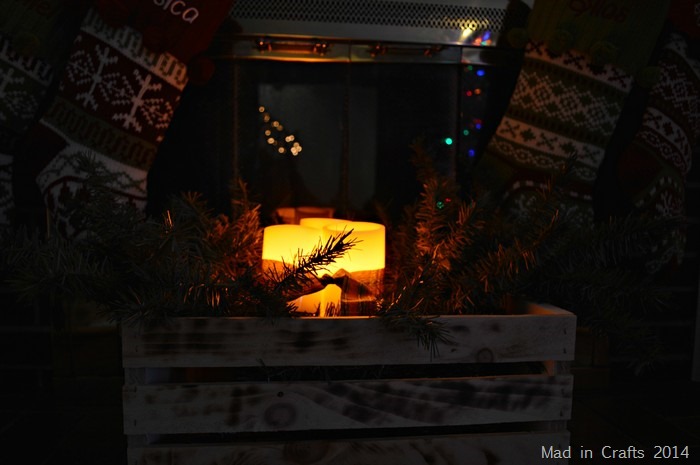
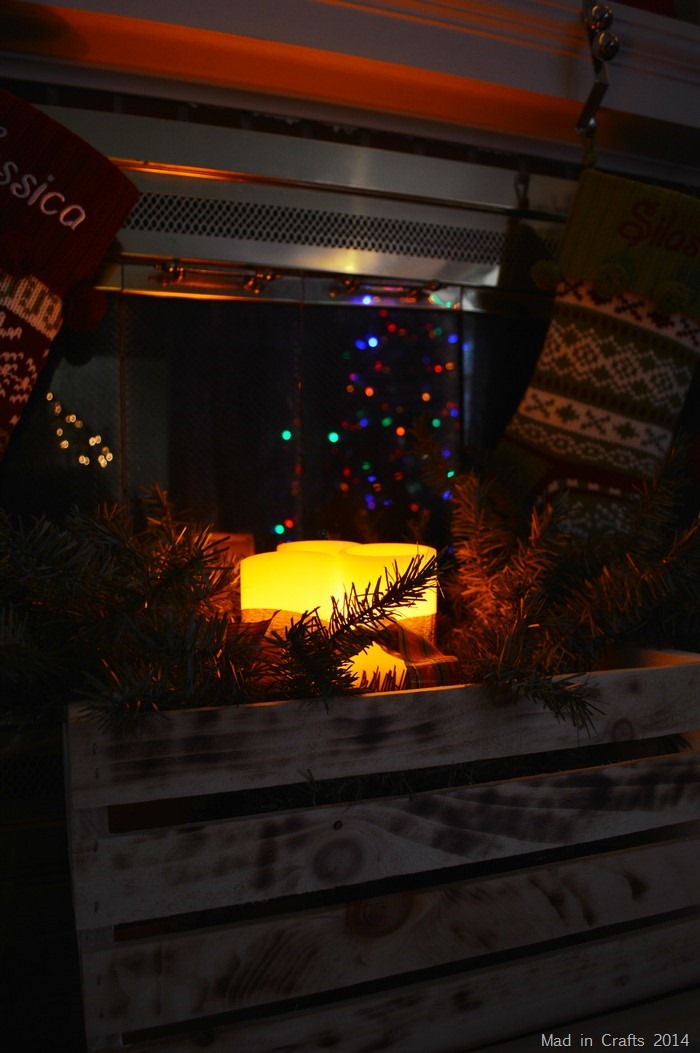
I have had fun decorating the mantel in The Mad House over the years we have lived in this house, but we have never done anything with the fireplace itself. We haven’t gotten around to having the chimney inspected, and I am not sure it would even be safe to light a fire in there. I wanted a bit of that warm fire glow this Christmas though, so I made up a rustic crate and filled it with greenery and flickering LED candles to simulate a cozy fire. This patina look can be achieved by using a BernzOmatic torch. For this particular project, I used the new BernzOmatic ST500 3-in-1 Micro Torch (available now at select Ace stores).
I picked up an inexpensive wooden crate at the hardware store, but the raw wood look wasn’t what I wanted for this project. I wanted the wood to have a visible grain, and I knew of a simple trick to draw wood grain out of cheap wood.
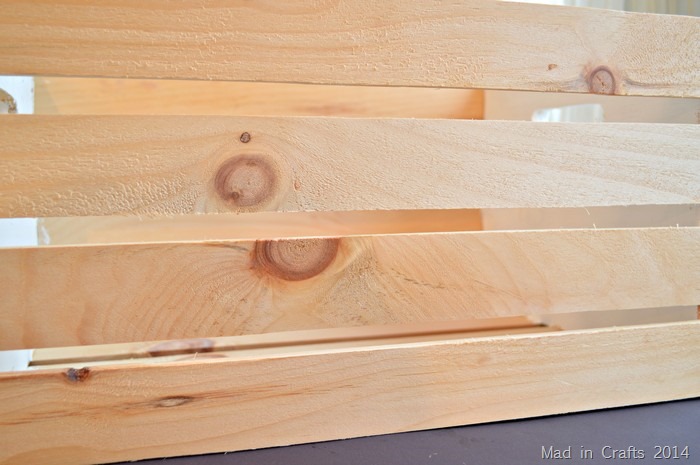
I purposely picked a crate that had some knots and imperfections on the slats. I wanted to bring the character out of the wood with my new micro torch from BernzOmatic. The BernzOmatic Micro Torch uses butane to create a focused flame from a torch that is small and easy to manipulate. I was a bit nervous about filling the torch with butane, but other than that the torch was very easy to use. This was my first time using a torch of any sort, but the ignition wasn’t much different from lighting one of those long candle lighters.
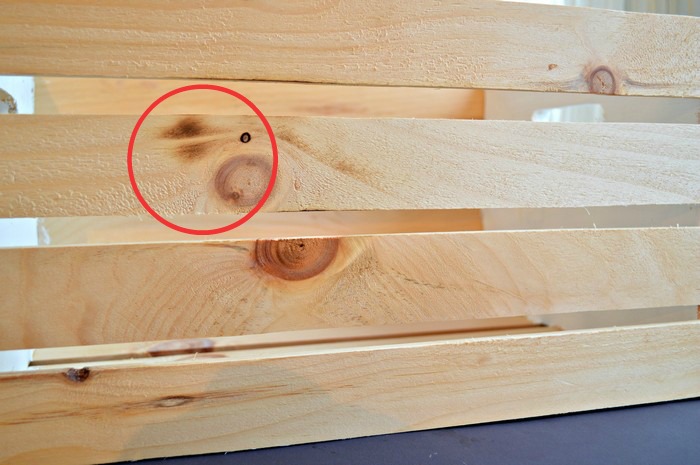
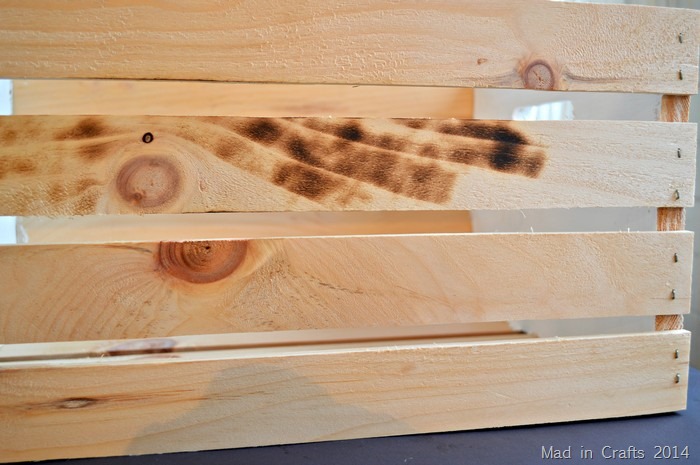
I set my BernzOmatic torch up as a gas torch, as opposed to using the soldering tip or heat blower setting, so that it would function with an open flame. I used the torch to scorch the crate slats to emphasize the grain.
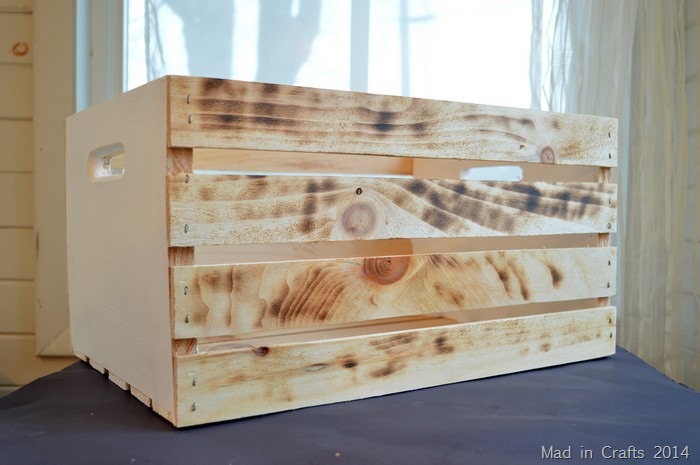
Little by little I moved the torch over the wood, creating areas of light and dark. If you attempt this project, be sure to wear safety glasses and work in a ventilated space since you will make a little bit of smoke.
After a little bit of work, I had the front of the crate finished. Doesn’t the wood look more interesting already? If you would like, you can leave the wood like this or you can choose to stain over the scorching.
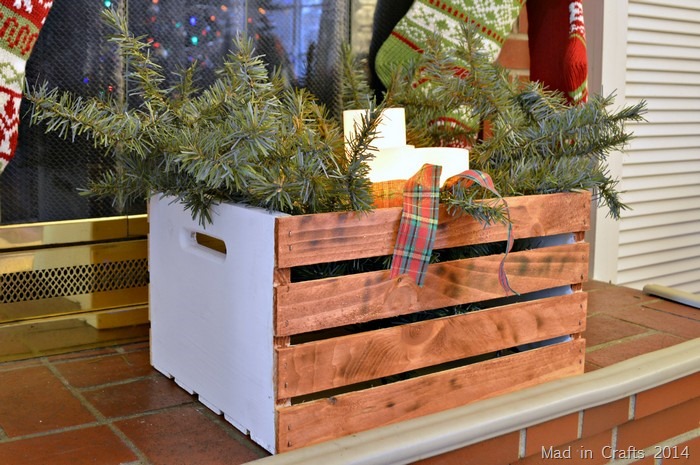
I used wipe-on stain to add a bit of color to the crate wood. The stain dries in less than an hour, so it is much quicker than traditional staining. I also used chalky finish paint to make the ends of the crate a snowy white.
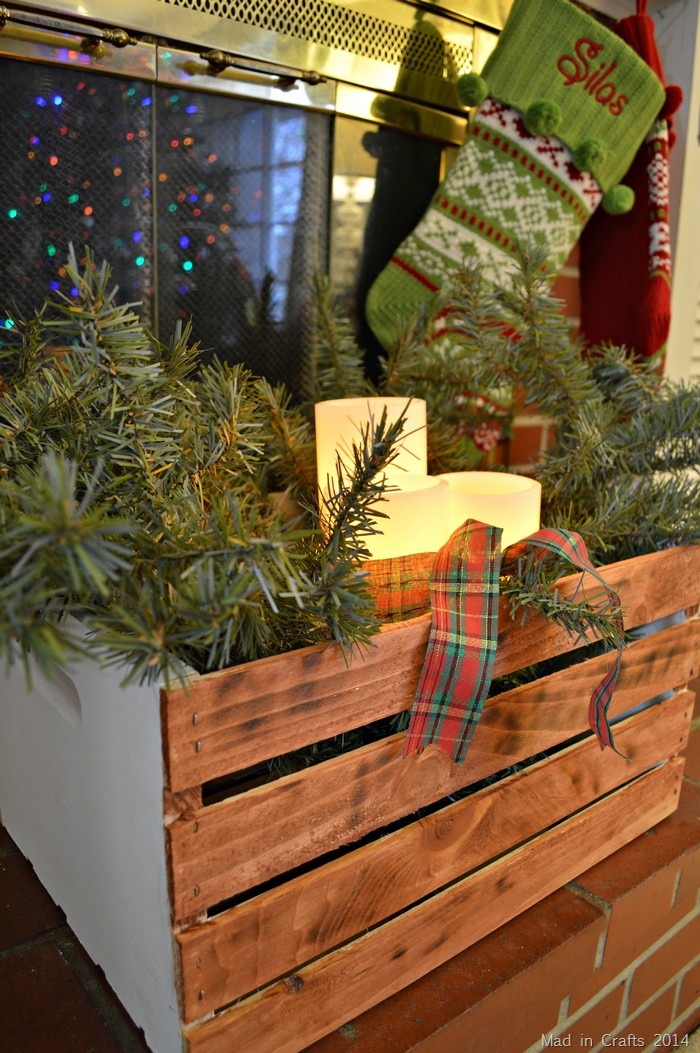
I still had some branches left from our old artificial tree after making two topiaries, so I used four of those branches inside the crate. I bought three battery-powered LED candles and bundles them up in a Christmas plaid ribbon.
The candles work on a timers, so they automatically turn on every 24 hours and stay on for 5 hours.
We can’t roast chestnuts over our fireplace, but the flickering glow of the candles is very cozy. I can’t wait to try out more projects with my new torch!



What a beautiful heath box and the LED candles are a perfect touch!
Super cute idea!!
I love this holiday decor! I have to share it with my mom – it would look perfect in her home!
My gosh I love all your projects and this is no exception! What a great spruce up for a crate!
How cool… love that aged look!
What a great tutorial! I actually thought it was an old crate to begin with!
How pretty!
Okay I need one of those torches!!
Yeah, it turns out playing with fire is fun! 😛