This year my parents gave us their old artificial tree, which is larger and nicer than our old one. I considered trying to sell our old tree on Craigslist, but the bottom row of branches was pretty beat up. I hated the idea of throwing the whole big tree away though.
I had pinned tutorials for DIY Christmas topiaries made from tomato cages and garland, hoping to make my own at some point. A light bulb went on in my head! Why couldn’t I use the branches of our old artificial Christmas tree instead of evergreen garland to make some pretty topiaries? It was a complete experiment, but honestly most of my projects are.
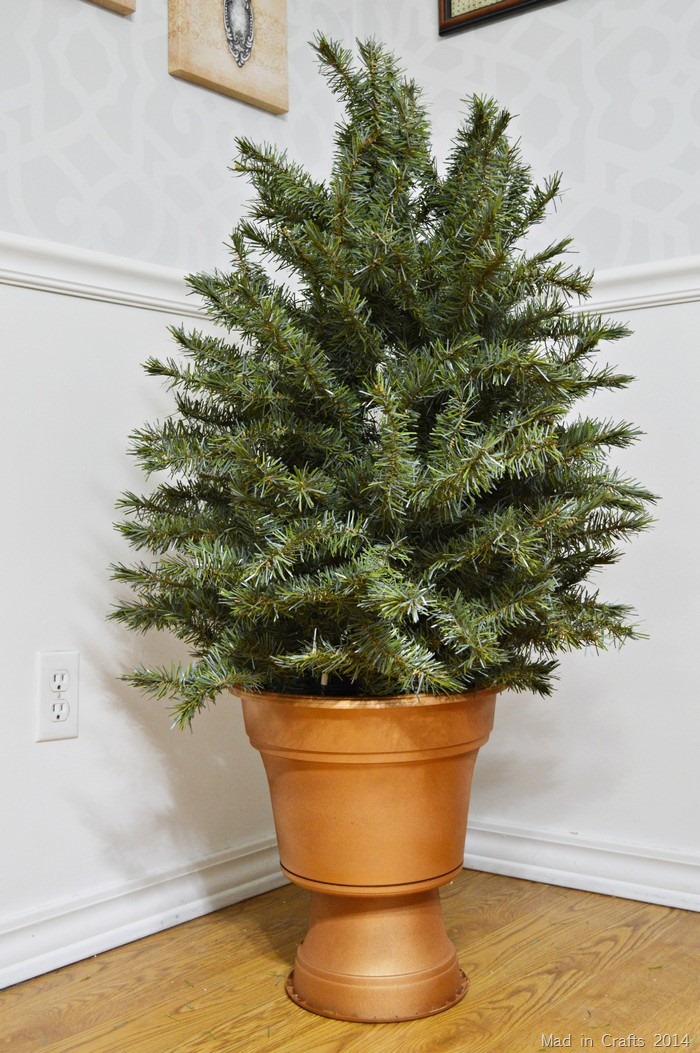
By using materials I had on hand (or scrounged from my parents’ garage) and upcycling the old tree, I was able to make two 3 foot tall topiary trees for FREE! You don’t need an entire tree to make one of these topiaries. Many people don’t put the bottom branches of their artificial tree on every year. Instead of boxing those branches back up, you could use them to make a topiary of your own.
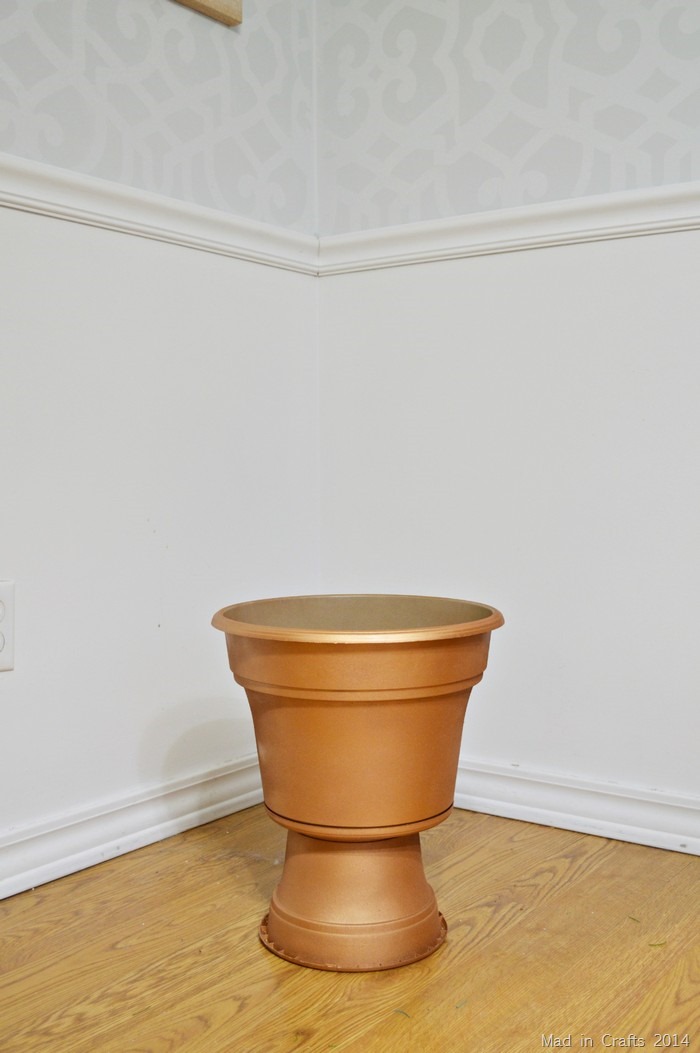
I made the topiary bases earlier this year to use as pedestal containers for my fall mums. They are made from two sizes of plastic flower pots which I then painted with Plutonium spray paint in Third Place Metallic (their bronze color).
You will need to weight the bases so the topiaries aren’t quite as top heavy. Just set something heavy inside the top of the two pots.
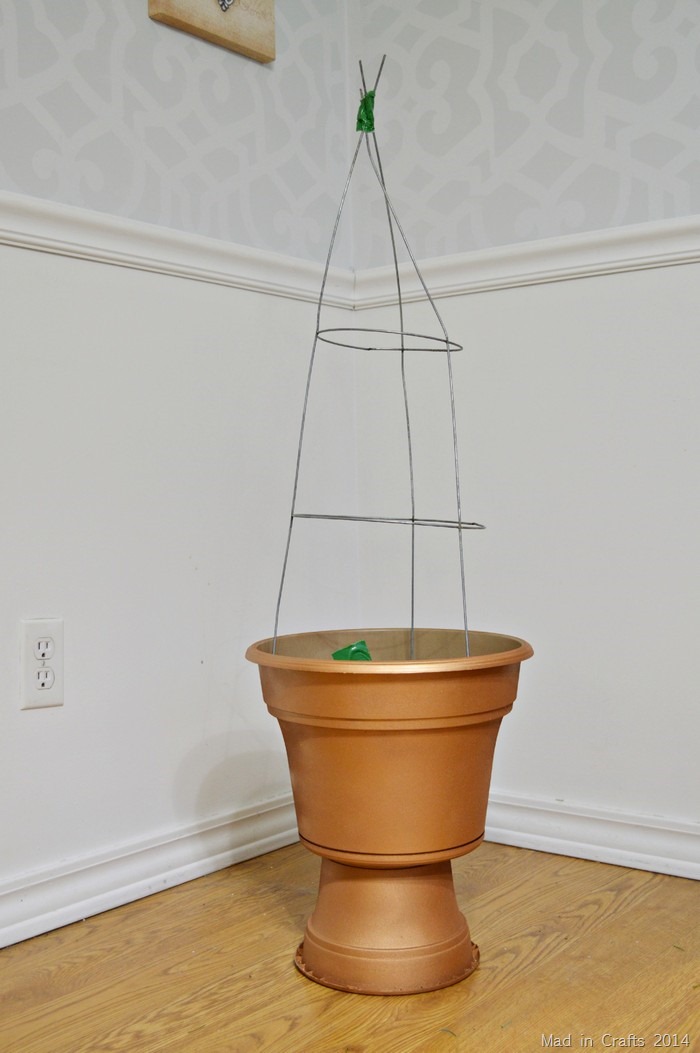
Just like the other topiary tutorial, the frame of these trees is an upside down tomato cage. I used duck tape to bring the three stakes together into a point and to tape the cage to the inside of the pedestal.
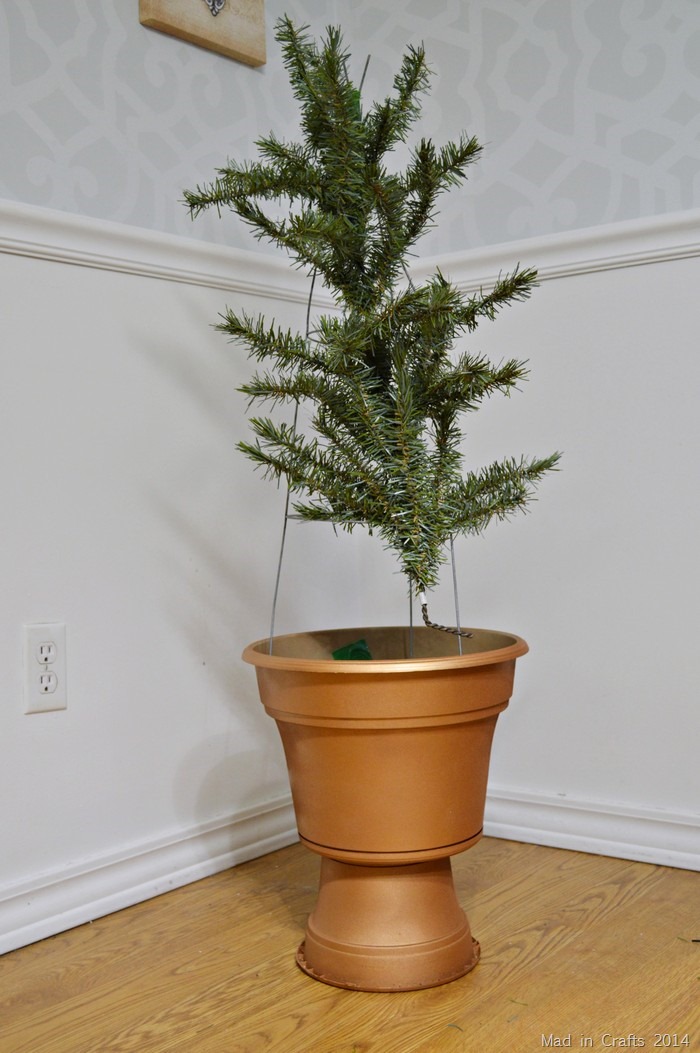
I took branches from our old tree and attached them to the frame using strong twist ties, but zip ties would also work. The L curve of each branch needs to be towards the bottom of the topiary and to point to the inside of the topiary.
I added tree branches in two layers, once around the top half of the tree and once around the bottom. The bottom layers’ L curves are actually inside the flower pot while the ends of the branches overlap the top layer of branches.
After I filled in any gaps with branches and secured the branches with twist ties, I “fluffed” the branches into a tree shape. I bent the individual branches down and out to fill out the topiary.
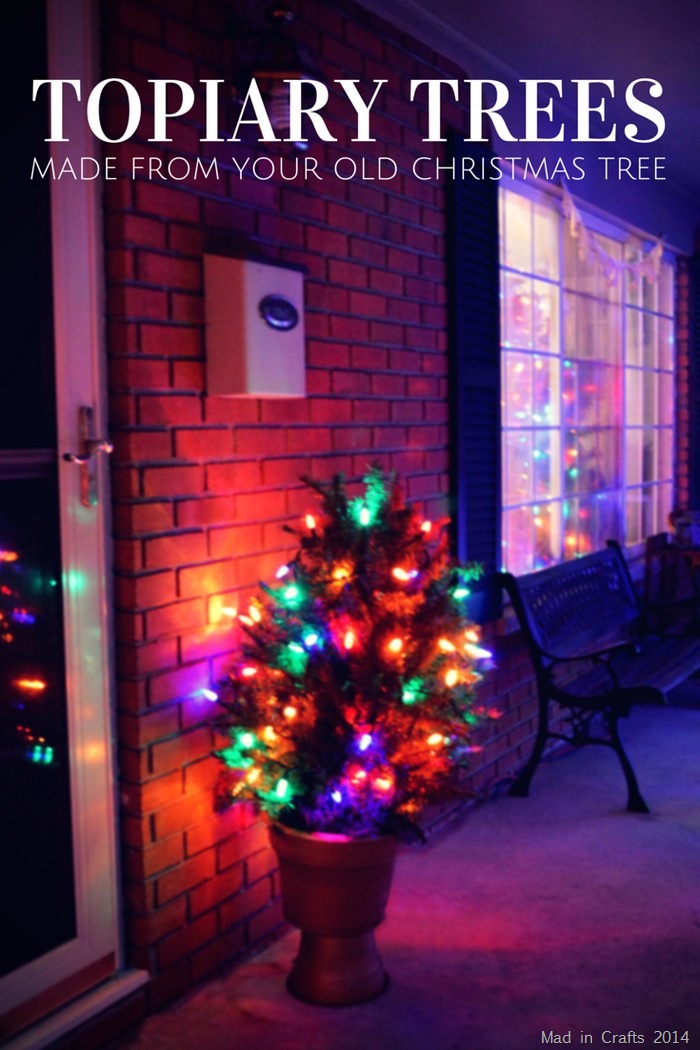
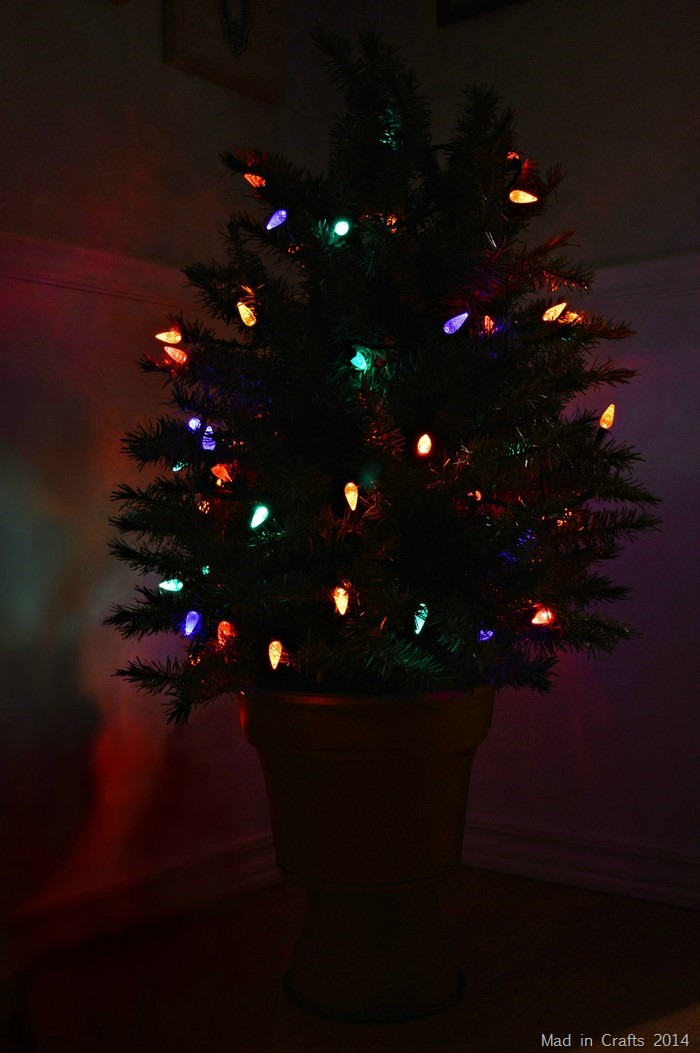
You can decorate the topiaries in whatever way best fits your décor. We use these large size multi-colored bulbs in all our of our outdoor décor, so I added a strand to each of the topiaries.
I placed one topiary on either side of our front door. They add some color to that side of our front porch and look so pretty with the rest of our lights at night!





super cute! great idea!