Yesterday I started the epic tale of the quest to refinish The Mad House staircase. We started the project nearly two years ago and, with the exception of some unexpected setbacks, had made good progress stripping and sanding the stairs.
I have added some affiliate links to the products we used in this project in case you are crazy enough to take on this DIY yourself!
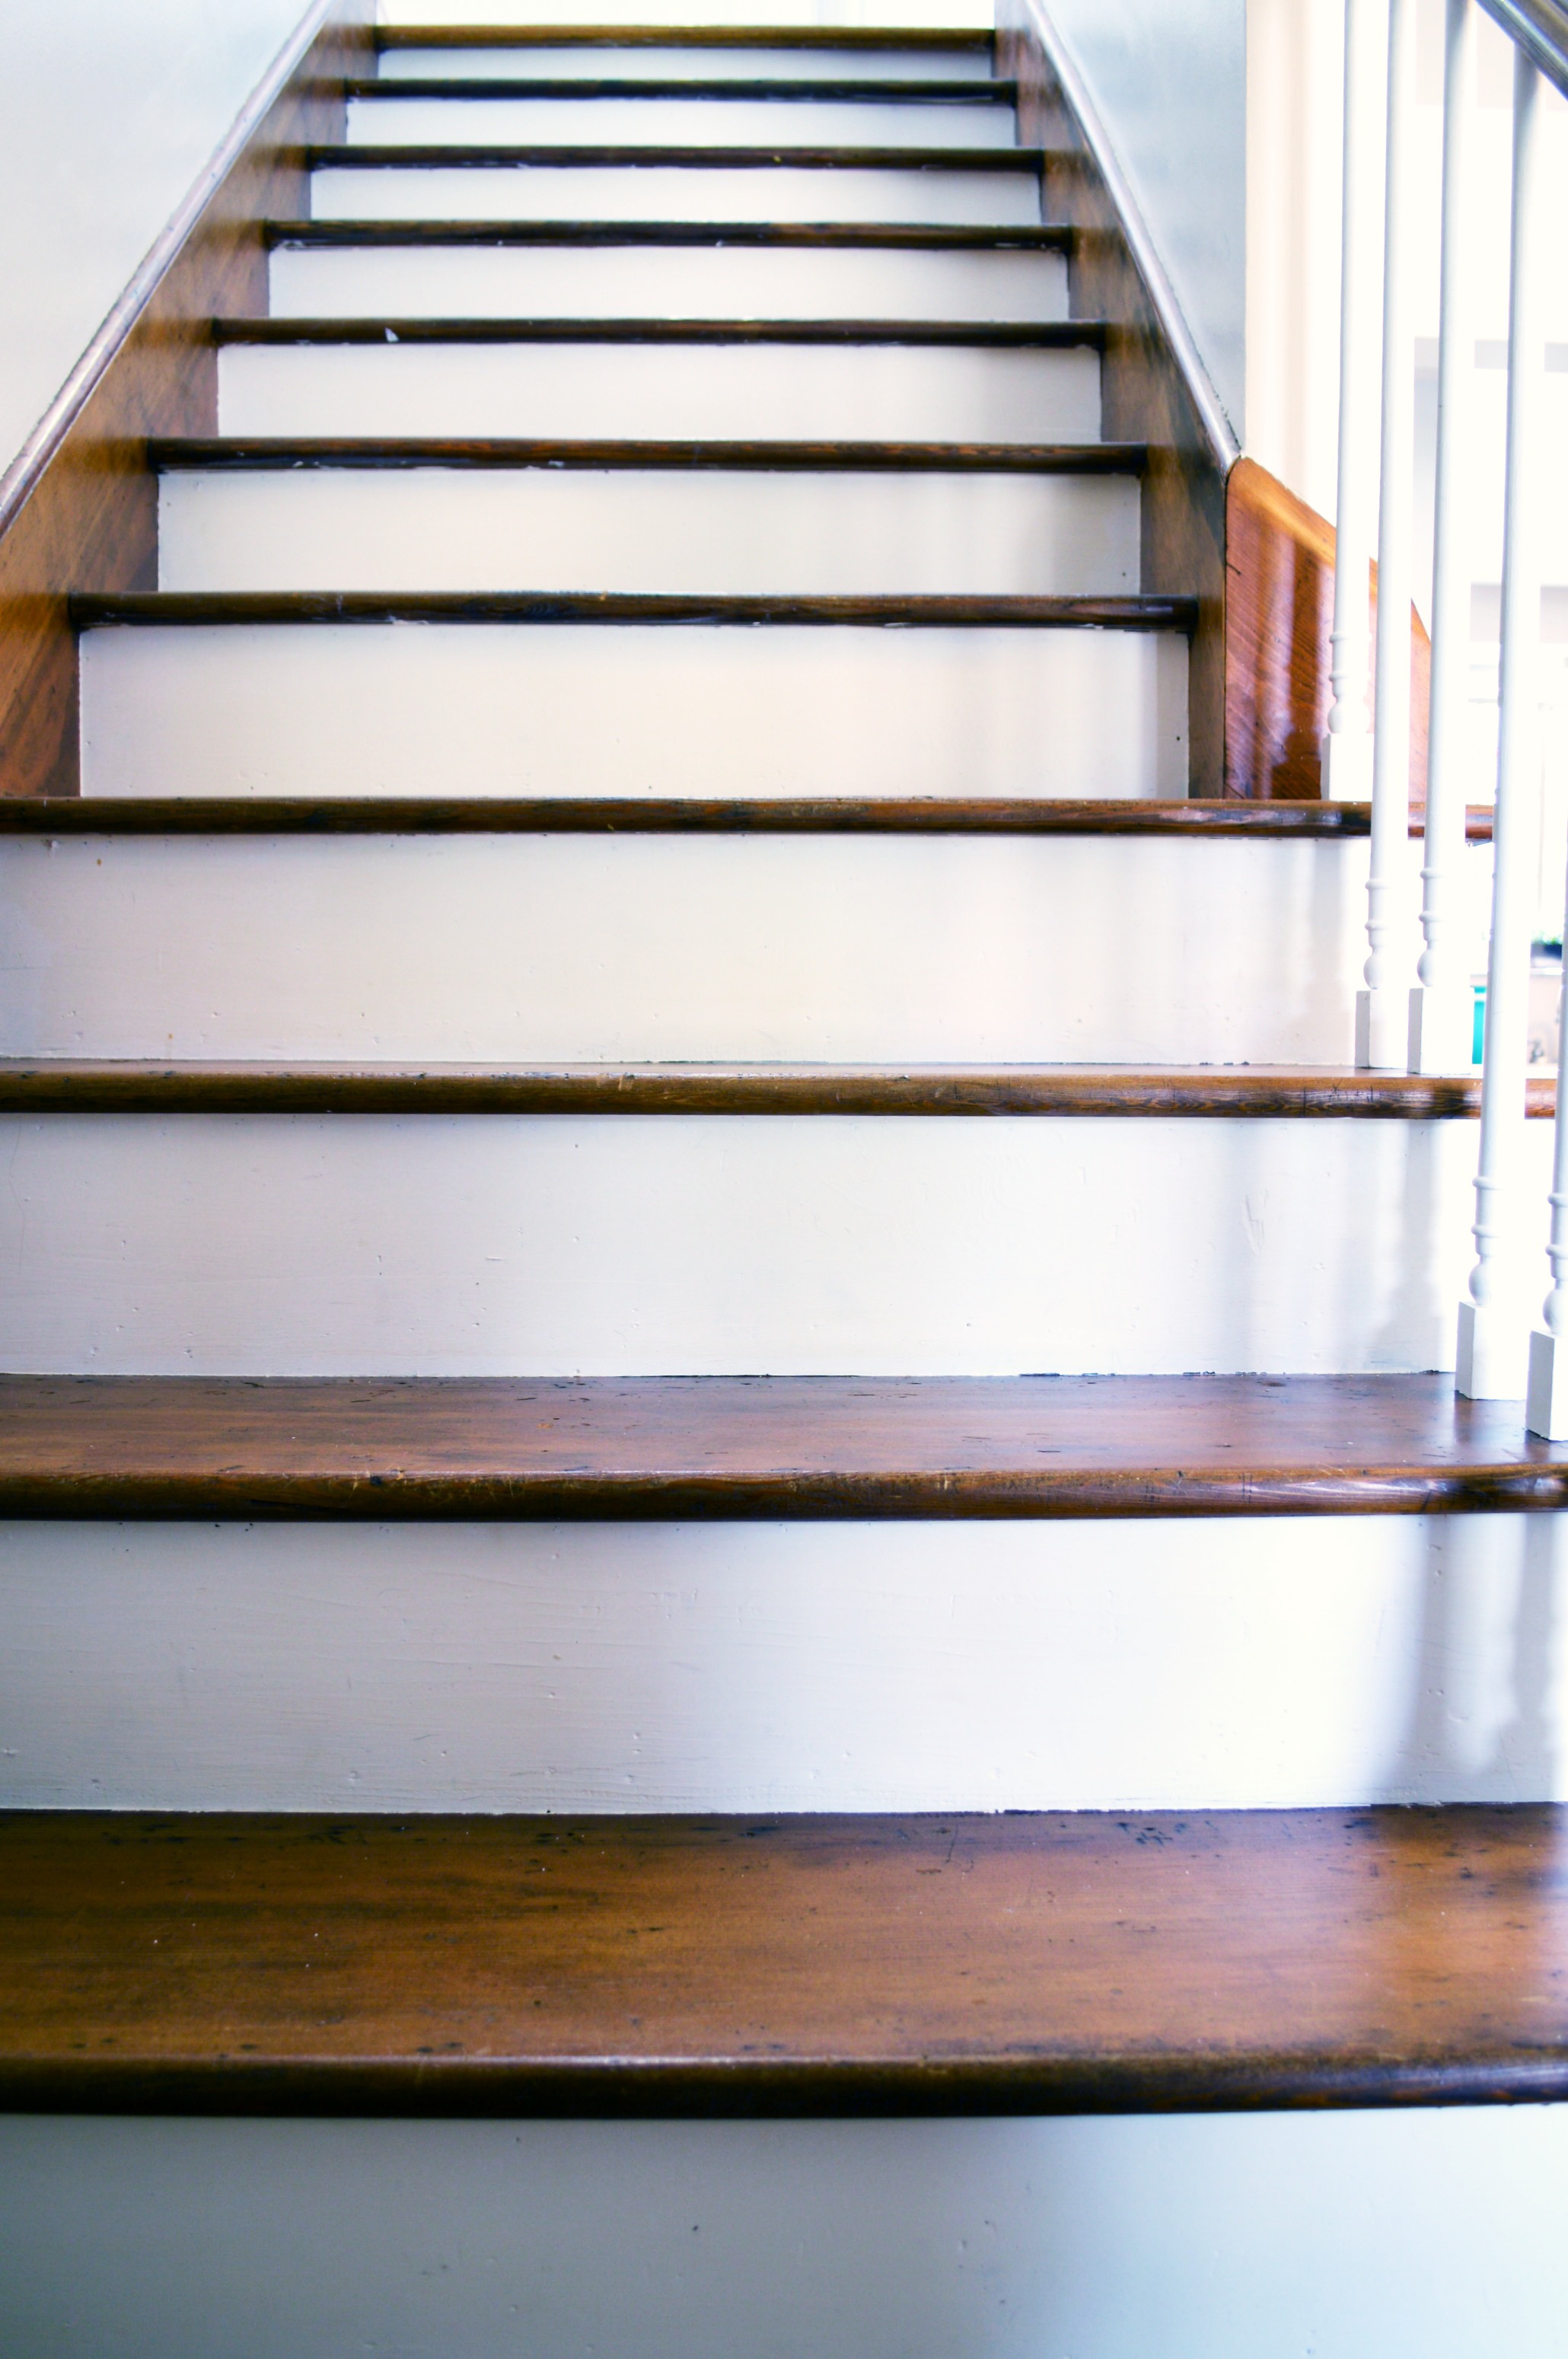
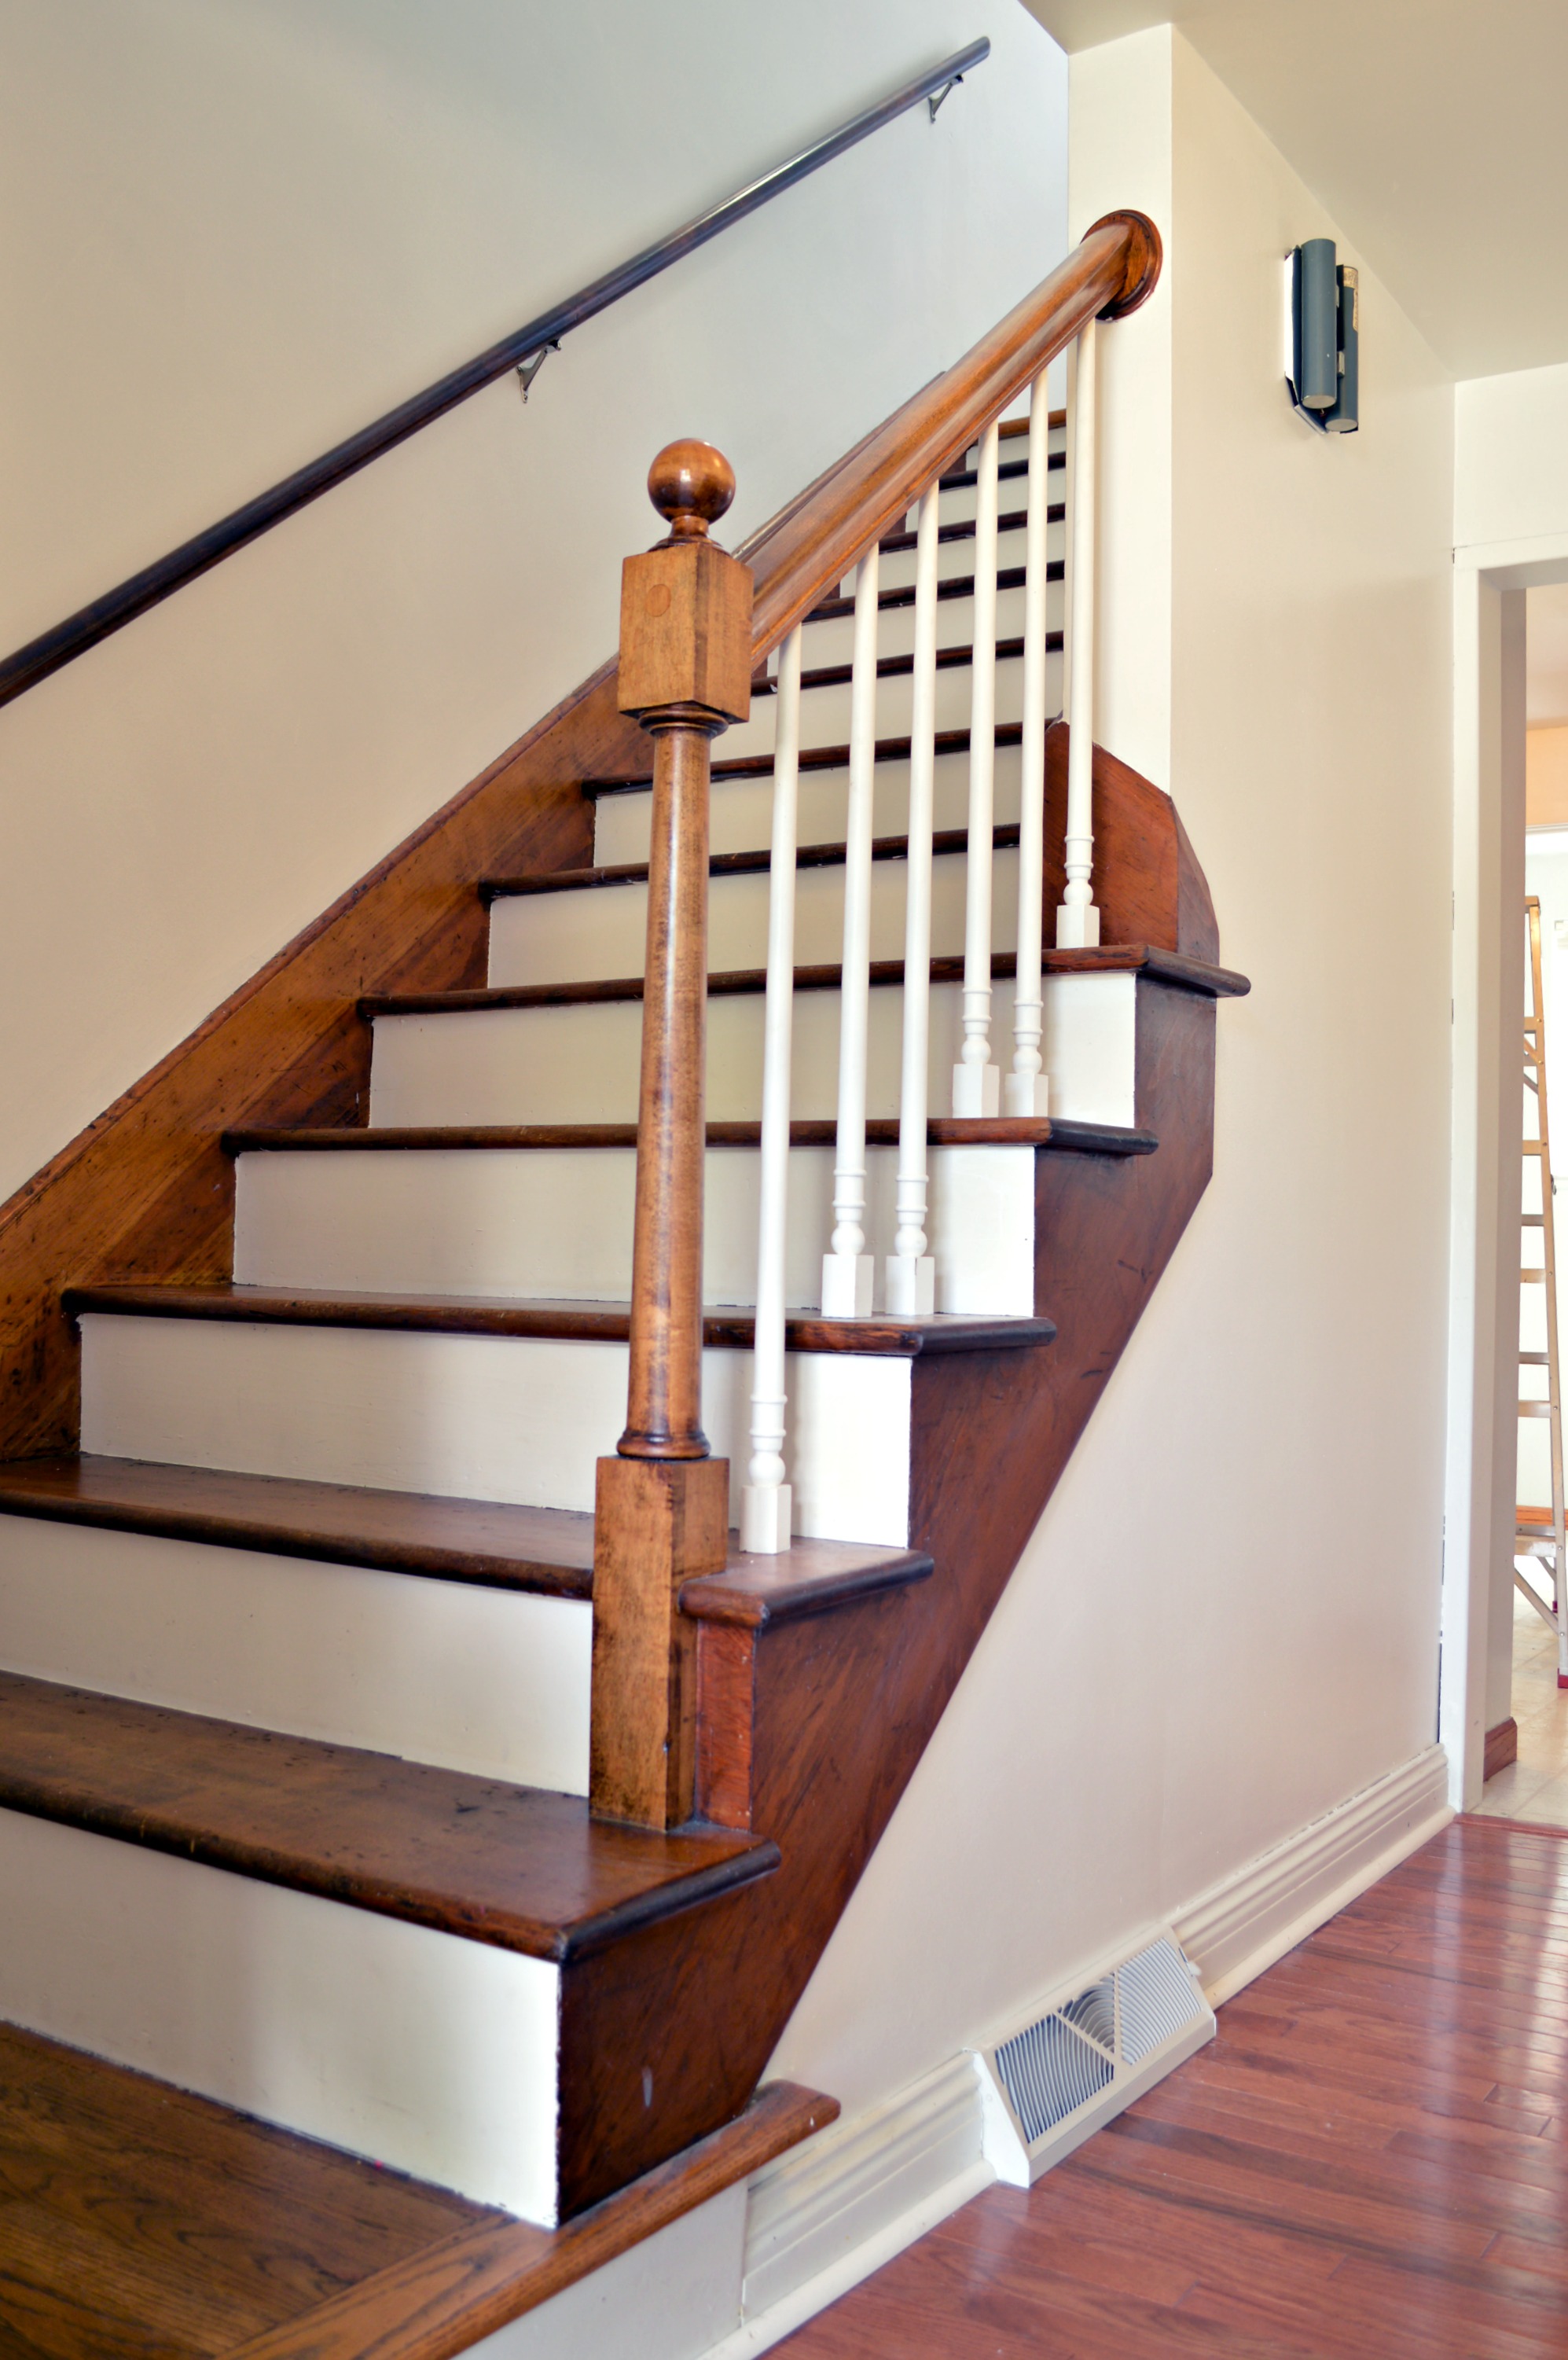
After hemming and hawing over which stain color would be best for our house and the type of wood we were working with, I decided on Minwax’s Provincial. It is a medium color with grey undertones. Because I didn’t want the stain color on the steps to be dramatically different from our hardwoods upstairs, we basically applied the stain to the wood and wiped it off immediately. Staining was easily the quickest and easiest part of this whole process.
The difficulty with all this progress was that all of the bedrooms in The Mad House are upstairs. Each time we applied a coat of stain or polyurethane, we were extending the time we needed to sleep downstairs or bunk up at my parents’ house. Not being able to use your stairs is kind of like having your power go out. You don’t realize how much you use them until you can’t.
After the staining and sealing was finished, I painted the risers with the same white paint that was on our walls. Of course, I ran into issues there too. To mask off the newly refinished wood, I used special painter’s tape meant to be gentle to the surface underneath the tape. Well, it didn’t harm the finish, but it let plenty of paint bleed under the tape. I had to use a putty knife and carefully scrape off the paint leakage on the woodwork.
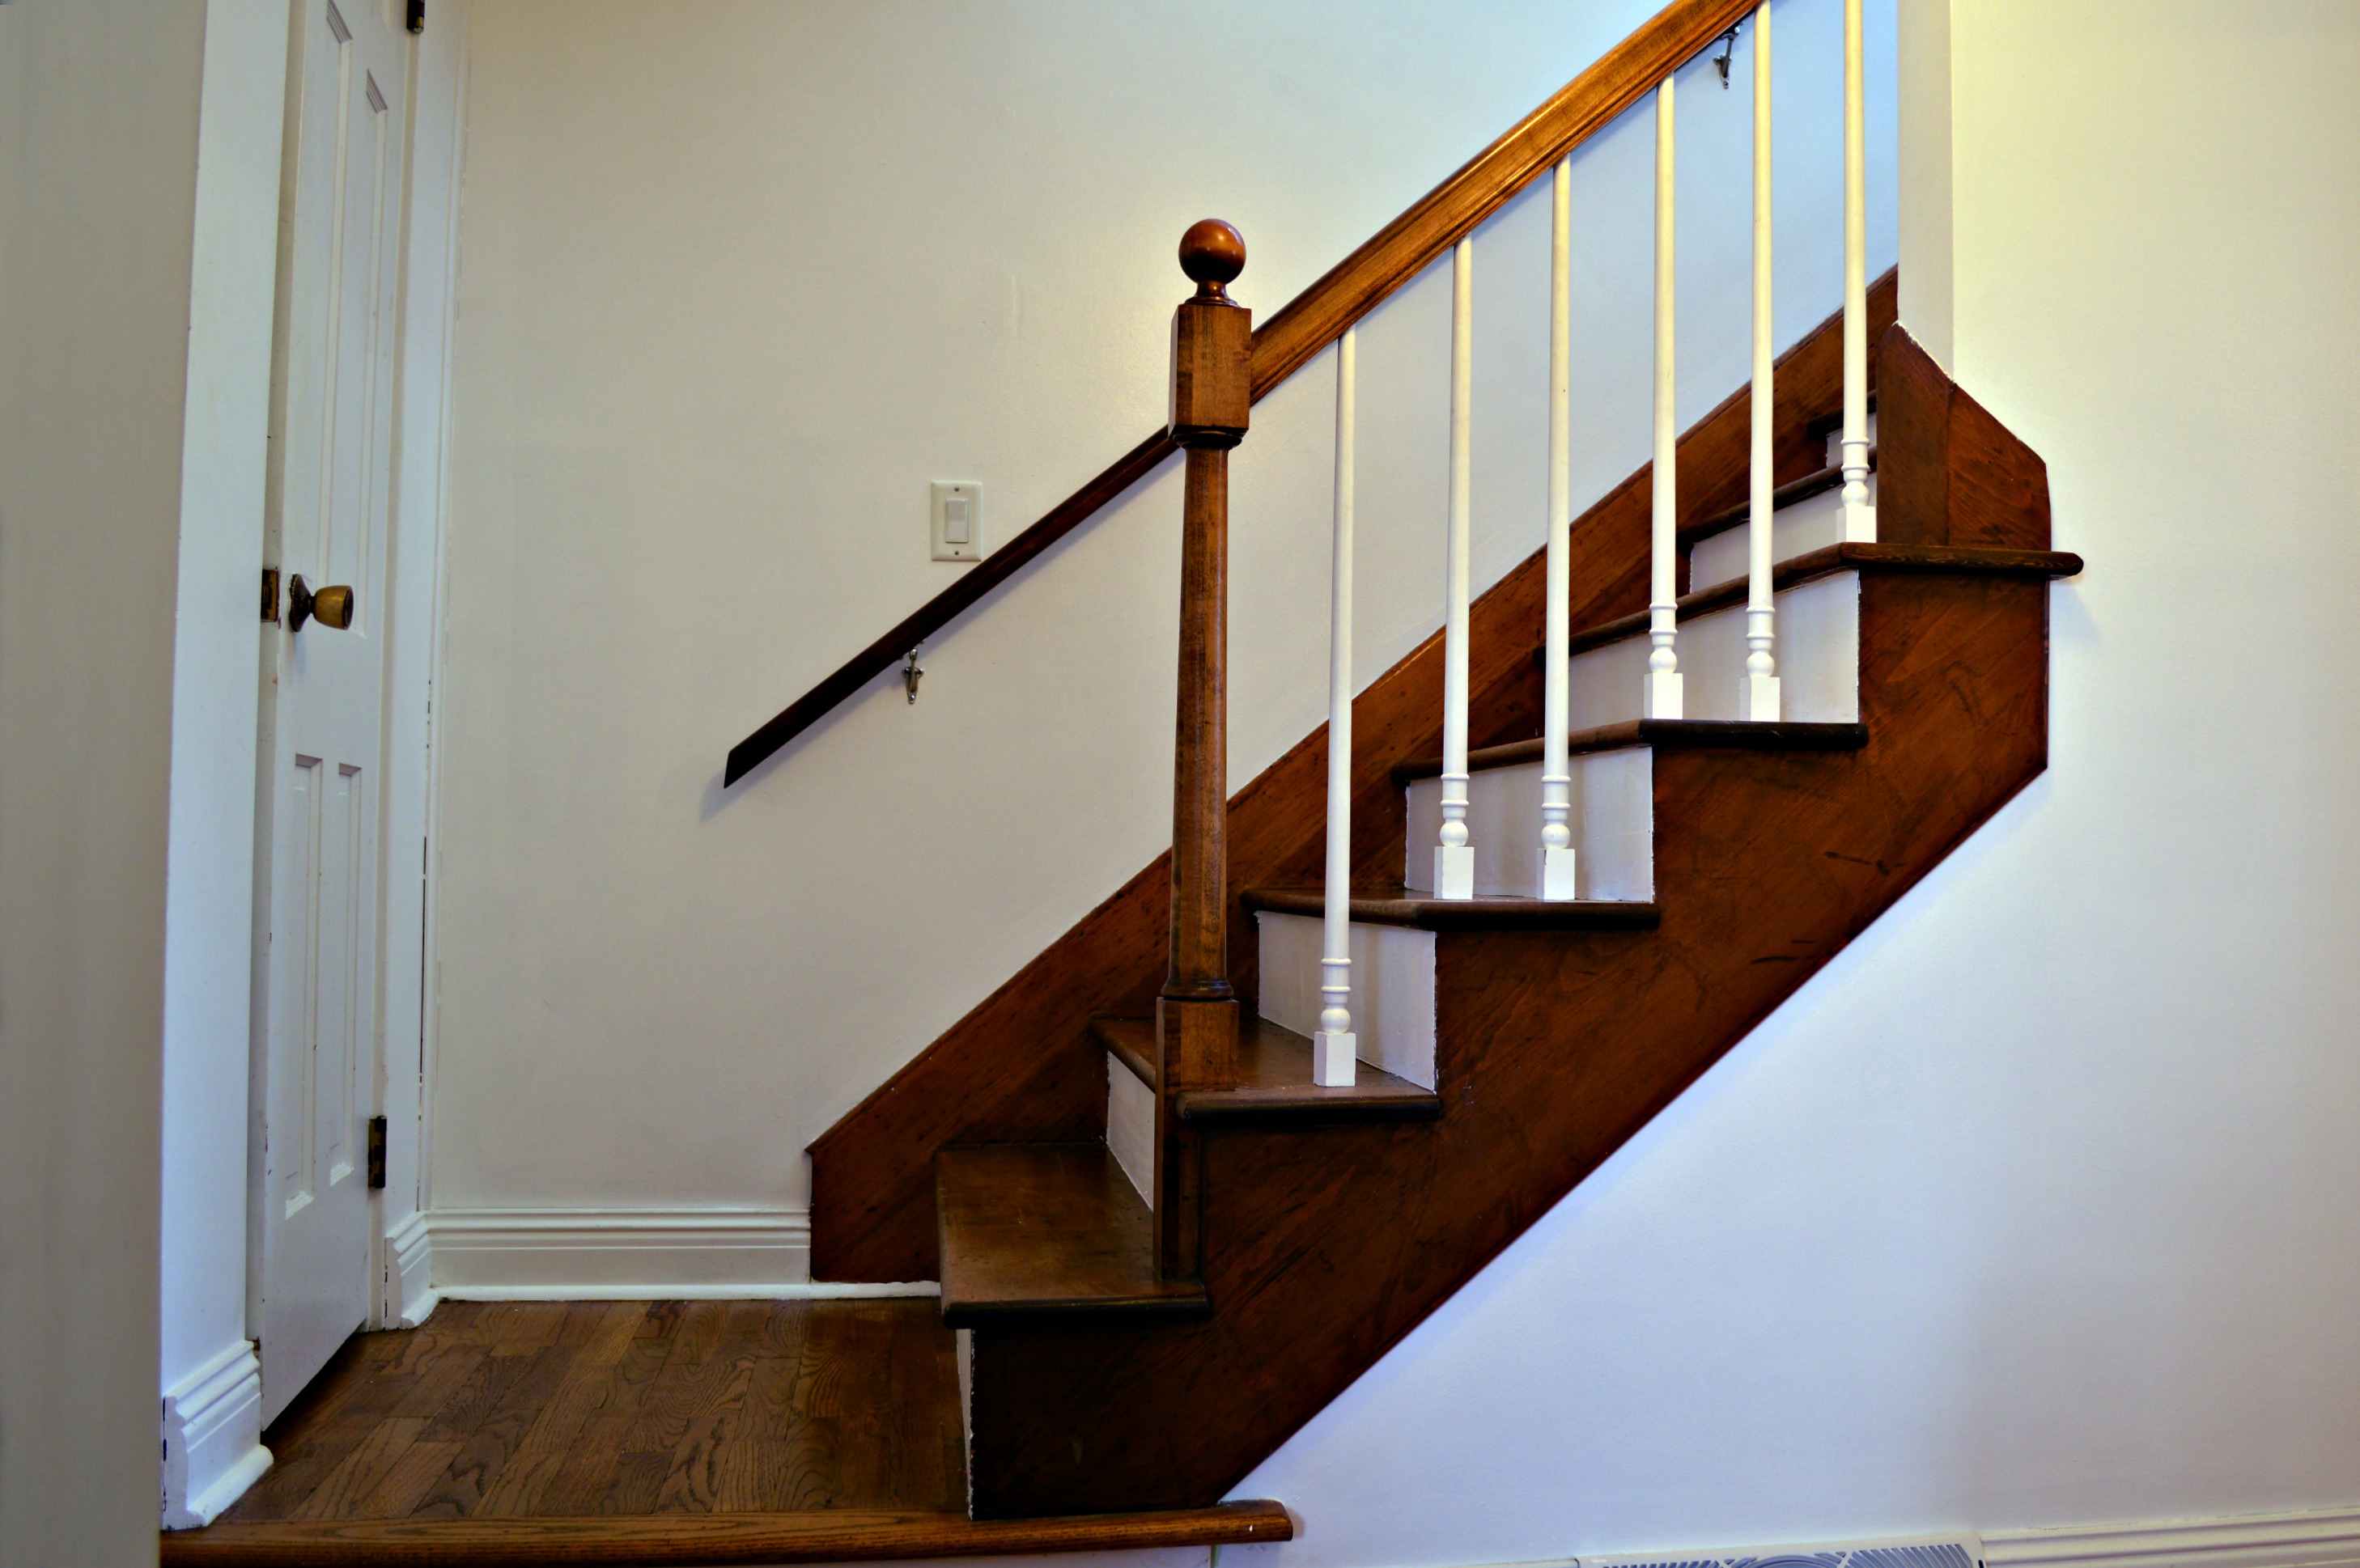
As the risers were drying I painted the balusters of our banister white as well. We had refinished the newel post and handrail, but I liked the lighter look of the painted balusters. I also removed, stripped, sanded, primed, and applied poly to the railing opposite the banister. Things were finally going well, right?
Actually, this is where the project completely stalled out. Instead of repainting the walls that were damaged when we stripped the stairs, we redecorated the upstairs bathroom. Instead of reinstalling the railing, we had new wood floors installed (which is ANOTHER story). Instead of finishing this one project, I started a hundred other projects. Sometimes that’s just how life works.
BUT, eventually we got it all done. Just last week, one month shy of two years after we started this project, my dad and I finished the painting in the hallway and reinstalled the railing. The stained wood treads are no longer blemish-free after two years of use, but the stairs do look much nicer now that they are finished.
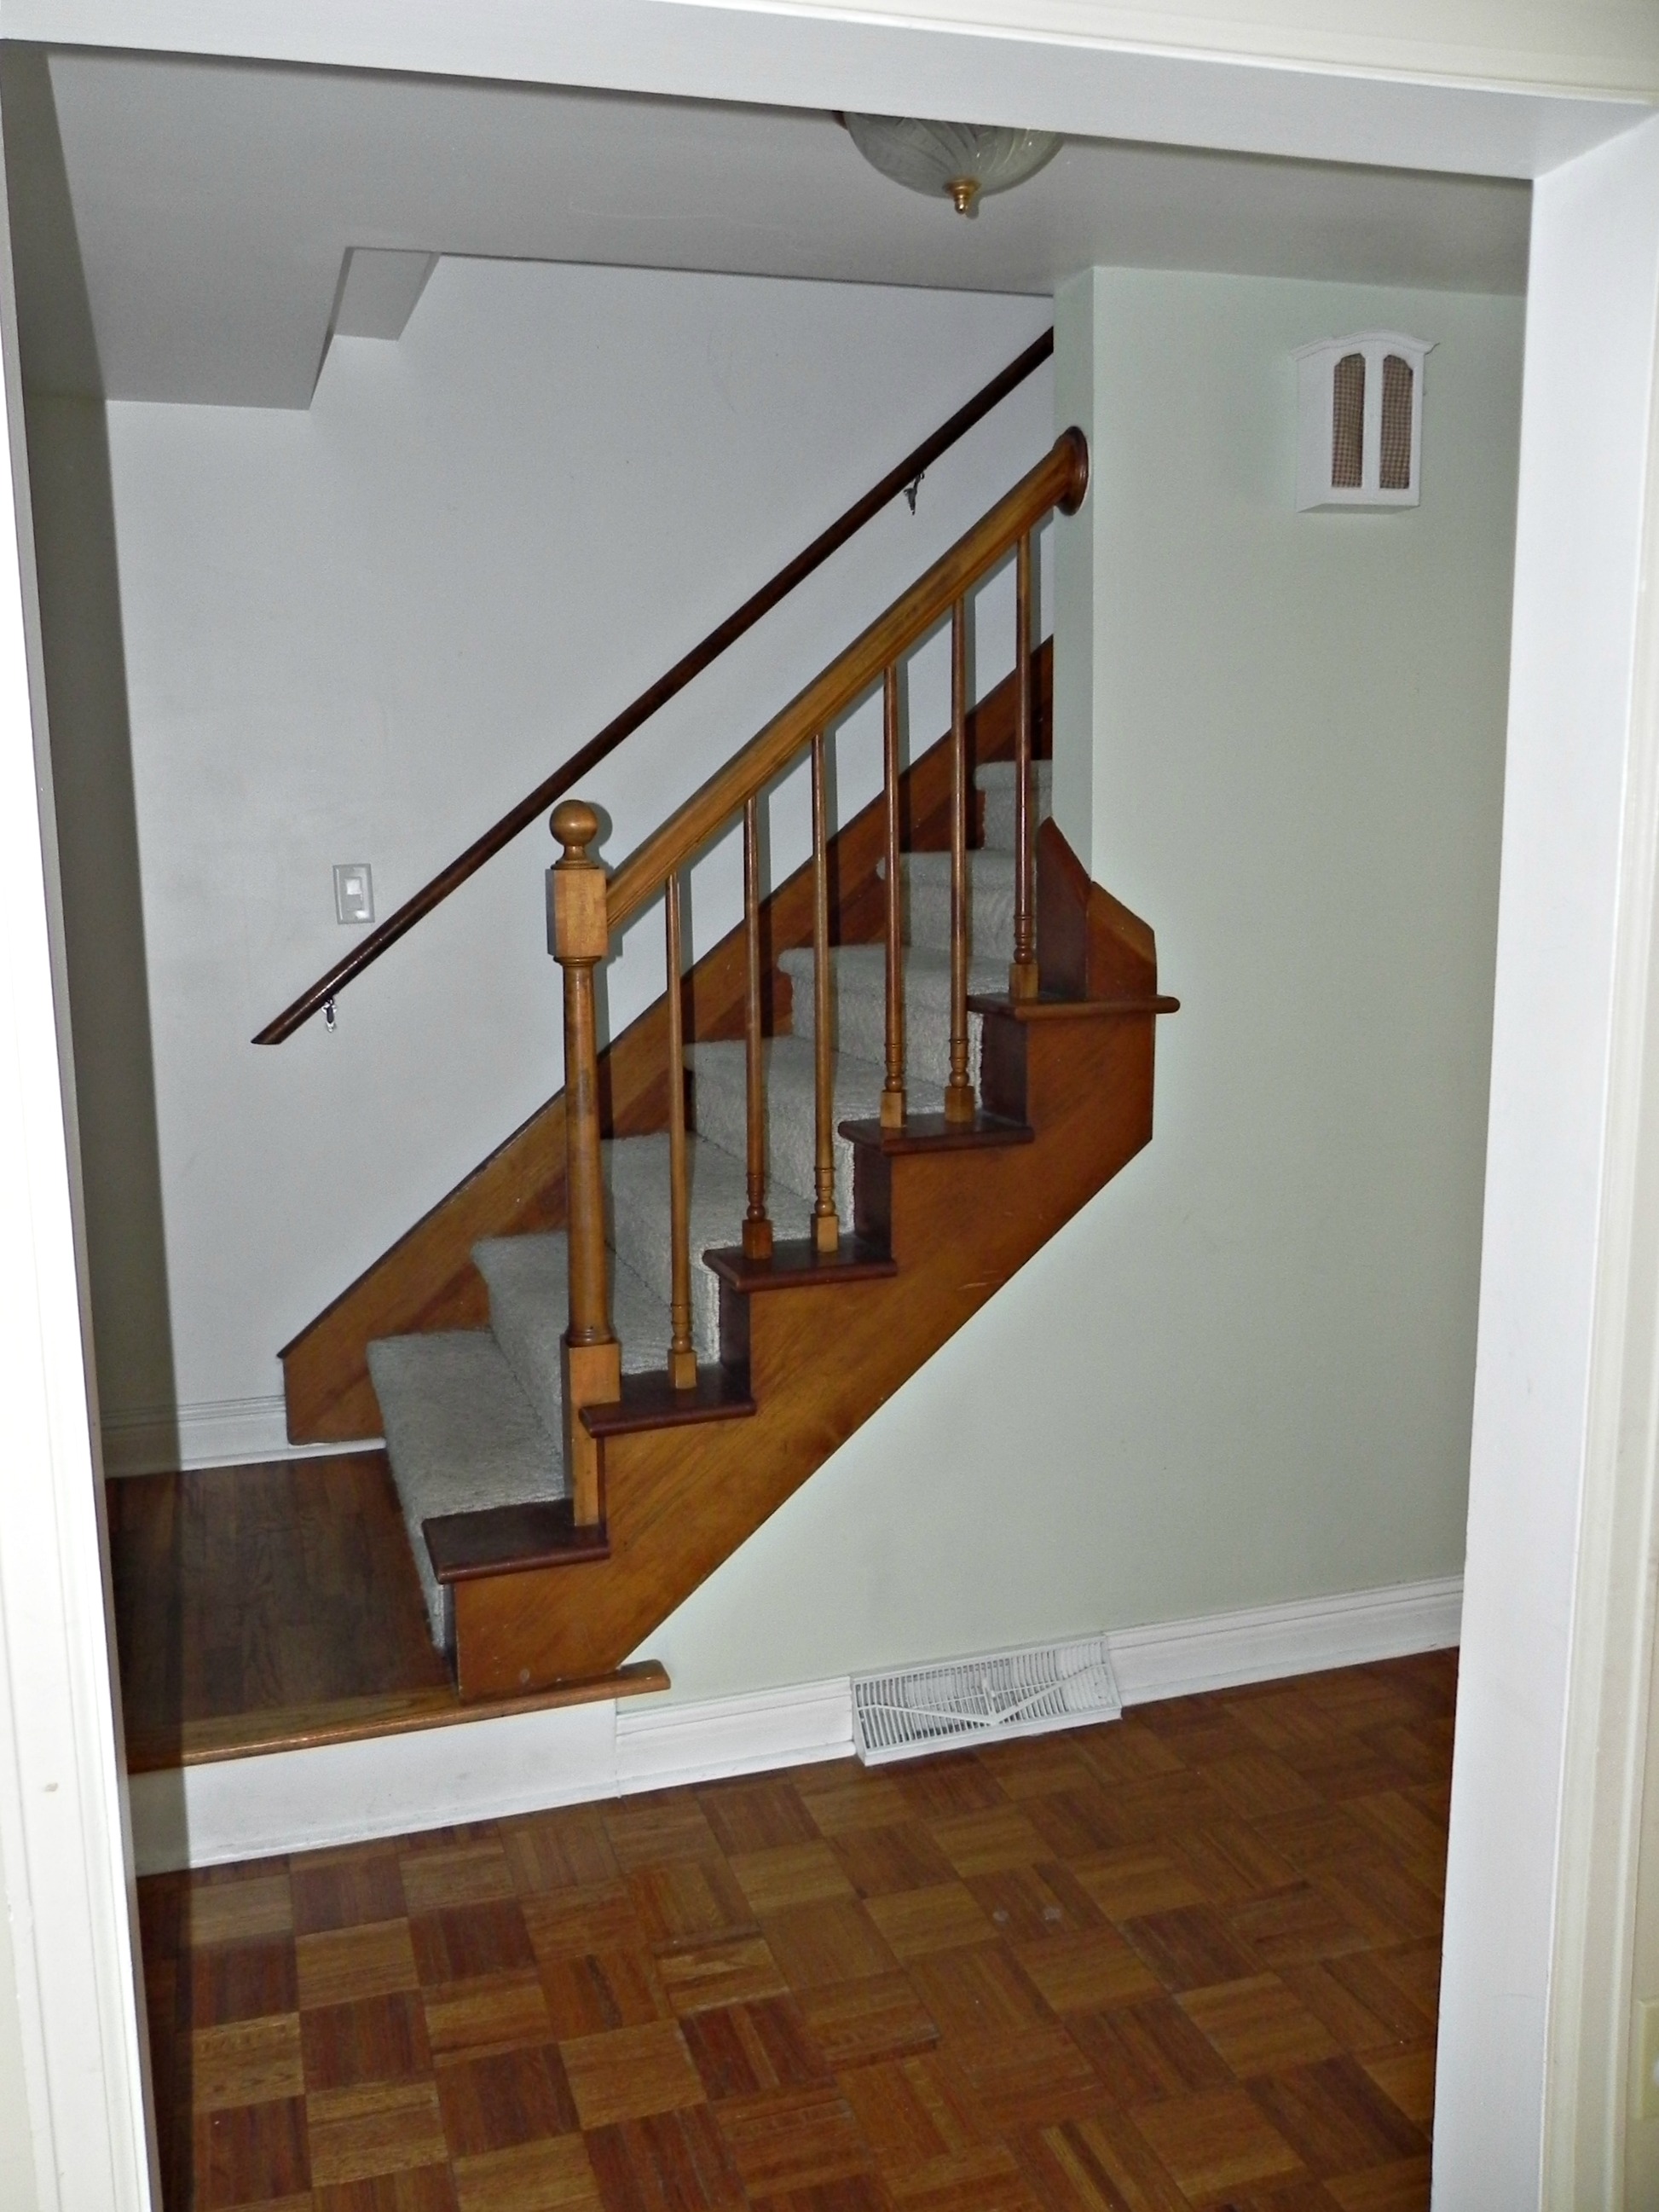
For a refresher, here is what the hall looked like when we moved in. Mint green walls, builder grade light fixture, dirty berber carpet, and parquet flooring.
For all the work and time that went into this project, I feel like the before and afters should be more spectacular. You will just have to trust me that removing the carpet and painting the risers white added an impressive amount of light to the entry way. The next step is to add decorative elements back into the front hall, which is always the fun part.
You are also getting a sneak peek at the hardwoods we had installed at the end of last year. Someday I will have the living room looking presentable so that I can take pictures for you, I promise. When I start a project I finish it. It just might take me two years.



I can relate to your staircase story. It all started with removing a vinyl wall paper, it’s time had passed (the kids grown and out of the house). The wall paper was easy enough (I had hung it and knew I prepped the walls properly). When it got to the liner, I was too exhausted and just plain did not want to do it. I hired a painter to finish removal of the liner and paint the walls. I thought I have never used a painter and deserved a treat. The first day, removal and patching of the walls, ceiling paint done.
Four o’clock I decided that the rug, up the stairs and down a hallway needed to go. Without much further thought, I started ripping it out. Knowing that the painters were arriving the next day at 8am. Talk about biting off more than I could chew! I worked into the night. I worried about the painters getting hurt, needing tetanus shots, I got all the walkable places nail, staple, and the many other sharp things that kept the rug adhered to the steps.
7:30am the next day the painters arrived to my apologizing for going into their space. They were impressed with my progress or so they said, they asked to see my hands. They knew. I am two weeks out and still chipping away at the vertical tack strips. The end is not quite in sight. Whew.
You don't think about how many staples hold down your carpet until you have to remove them!
I read both of your staircase project part 1 and part 2. You did a great job.
Thanks for sharing such an amazing project with us.