Mad in Crafts

  • Email
  • Facebook
  • Google+
  • Instagram
  • LinkedIn
  • Pinterest
  • Twitter
  • YouTube
  • Home
  • About
    • ABOUT JESSICA
    • CONTACT
    • MEDIA KIT
    • Seen On
  • LEGAL
  • CRAFTS
    • HOLIDAY
      • VALENTINE’S DAY
      • ST. PATRICK’S DAY
      • EASTER
      • FOURTH OF JULY
      • FALL
      • HALLOWEEN
      • THANKSGIVING
      • CHRISTMAS
    • HOME DECOR
    • KIDS
    • MISC
    • Wearable
      • JEWELRY
      • PURSES, CLUTCHES AND TOTE BAGS
      • T-SHIRTS
  • DIY
    • Gardening
    • Health
    • ORGANIZATION
    • Outdoor
    • Room Makeover
    • The Mad House
  • Recipes
    • Dessert
    • DINNER
    • DRINKS
    • Snacks and Appetizers
  • ENTERTAINING
    • Birthday Party
    • Party
    • Wedding
  • VIDEO TUTORIALS
Please note: This page may contain affiliate links. If you click a link and choose to make a purchase from the partnership site, I will earn a commission. Thank you for supporting Mad in Crafts!

DIY Stamped Clay Dish

February 19, 2013 by madincrafts 4 Comments

Please share!Email this to someone
email
Pin on Pinterest
Pinterest
Share on Facebook
Facebook
Share on Google+
Google+
Tweet about this on Twitter
Twitter
Share on LinkedIn
Linkedin
Share on StumbleUpon
StumbleUpon
Share on Yummly
Yummly

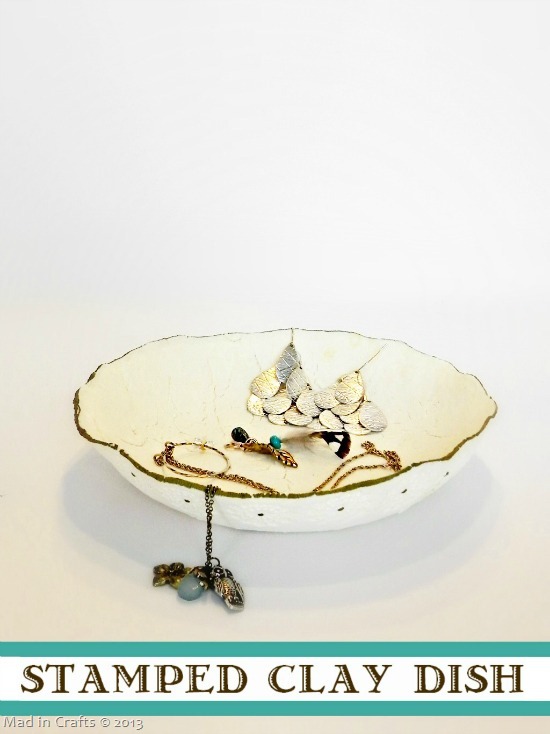
DIY Stamped Clay Jewelry Dish

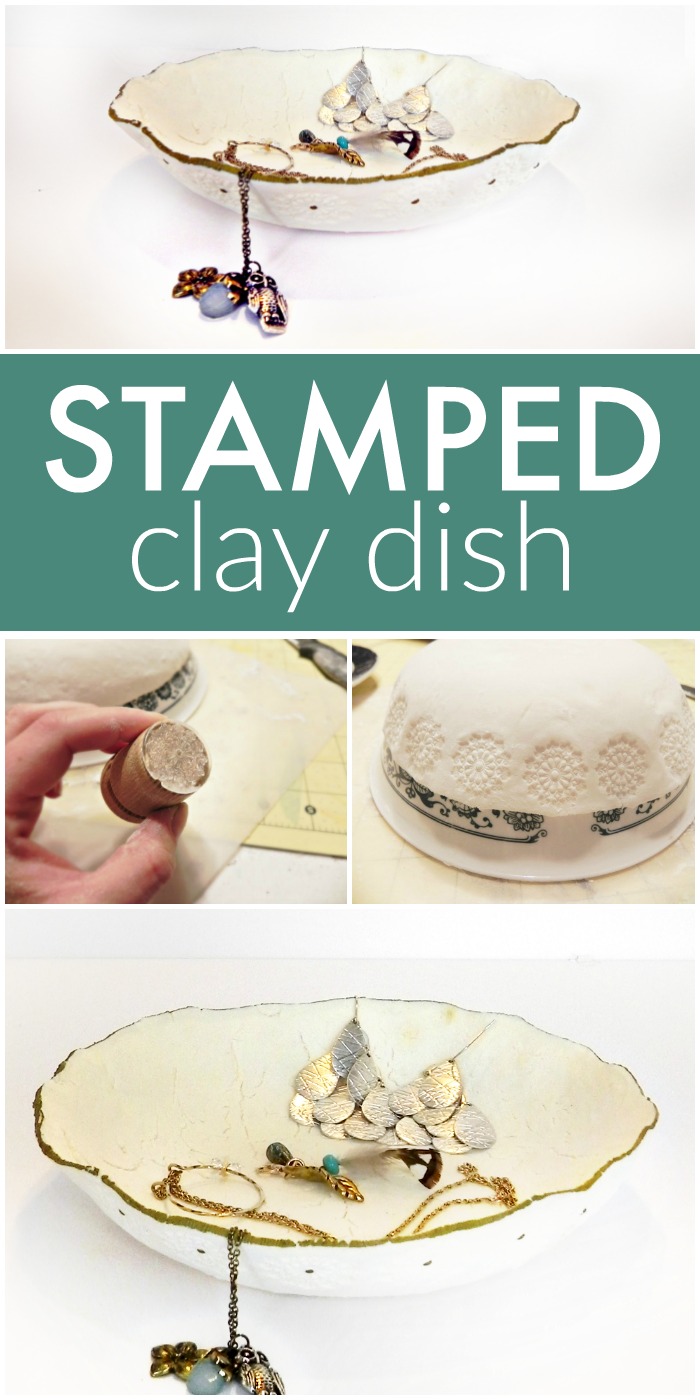
I had so much fun making the Stamped Clay Gift Tags at Christmas that I decided to try a few more experiments with the cornstarch clay and my PSA Essentials stamps.  If I could stamp and bake flat pieces of clay, what would happen if I tried to make something dimensional?  My first trial was to make a shallow dish that I could use for storing jewelry.

To make a Stamped Clay Dish, you will need:

MY LATEST VIDEOS

one batch of cornstarch clay dough (without the glitter)

rolling pin

large circle for tracing (like a dinner plate)

knife

an oven-safe bowl

stamps

oven

gold permanent marker

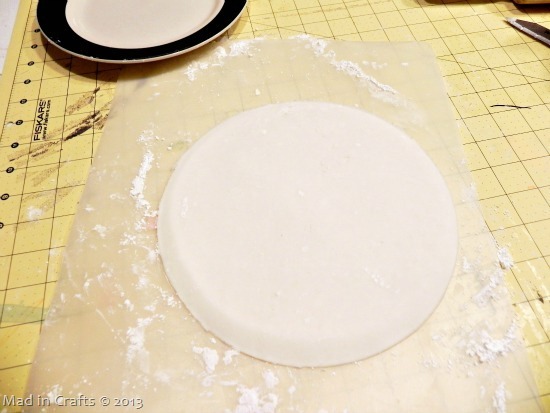
cut out clay dough

I rolled out a 1/4 inch thick layer of the dough and cut around it with a knife.

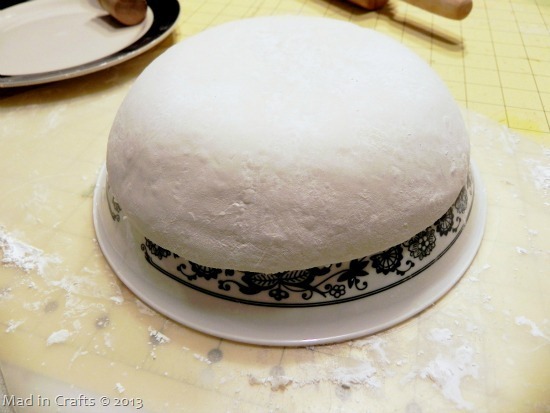
mold dough over bowl

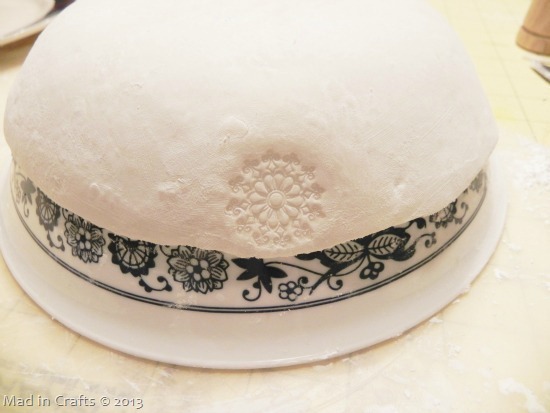
I carefully lifted up the circle of clay and formed it over the bottom of a Corelle bowl.  The clay isn’t going to be perfectly centered on the bowl, and that is fine.  I was going for a more primitive, handmade look anyway.

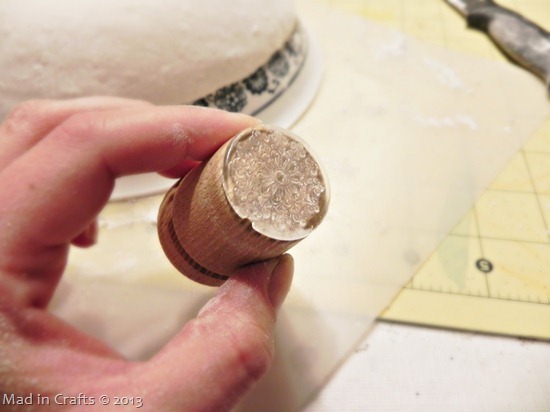
PSA stamp on wood block

I attached a PSA stamp to a wooden handle to make it easier to use.  You can use whatever you have on hand.

stamp into dough

Press the stamp firmly, but carefully, into the dough.  You want to leave a clear impression in the clay, but you don’t want to distort the shape of the dish too much.

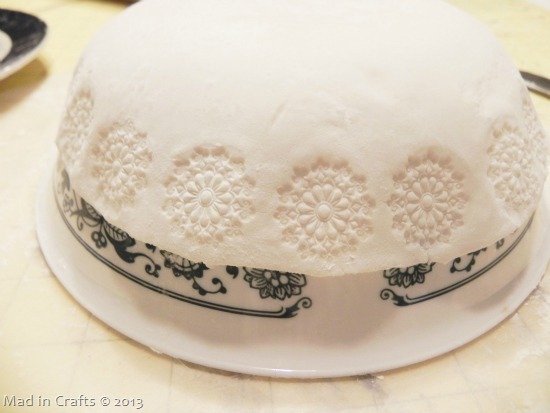
stamp around bowl

Continue stamping all the way around the dish.  Leaving the clay on the oven-safe bowl, bake in a 175 degree oven for an hour.  Remove the dish and oven-safe bowl from the oven and CAREFULLY take the clay dish off of the bowl.  Place the dish in the oven, right side up, and bake for 25 more minutes.

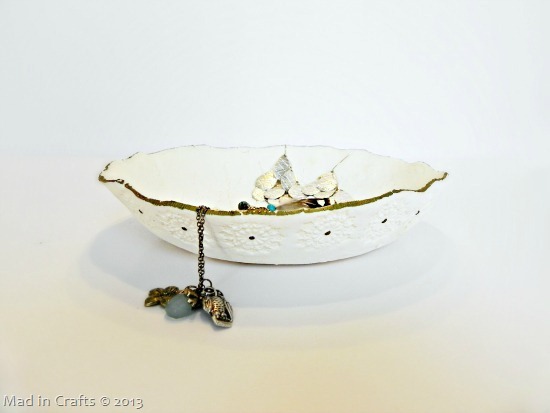
stamped clay dish for jewelry

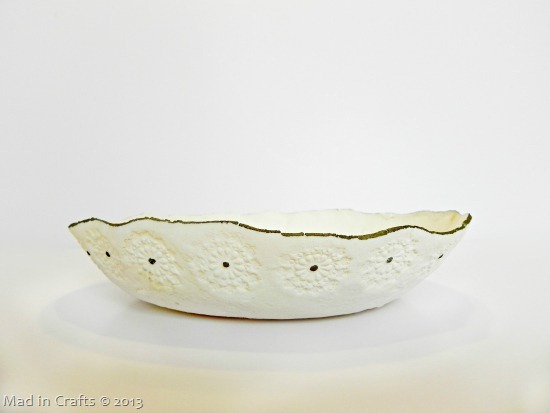
Remove the dish from the oven and let it cool.  Decorate the dish with a permanent marker or leave it plain.

Stamped Clay Dish

The dish is fragile, so I won’t be using it for anything more than decoration or holding some of my jewelry. I think it has a bit of a Southwestern feel to it, don’t you?   All in all, I think it was a pretty successful first experiment! 

DIY Stamped Clay Dish


Check out these other fun clay DIYs:

DIY Stamped Clay Dish

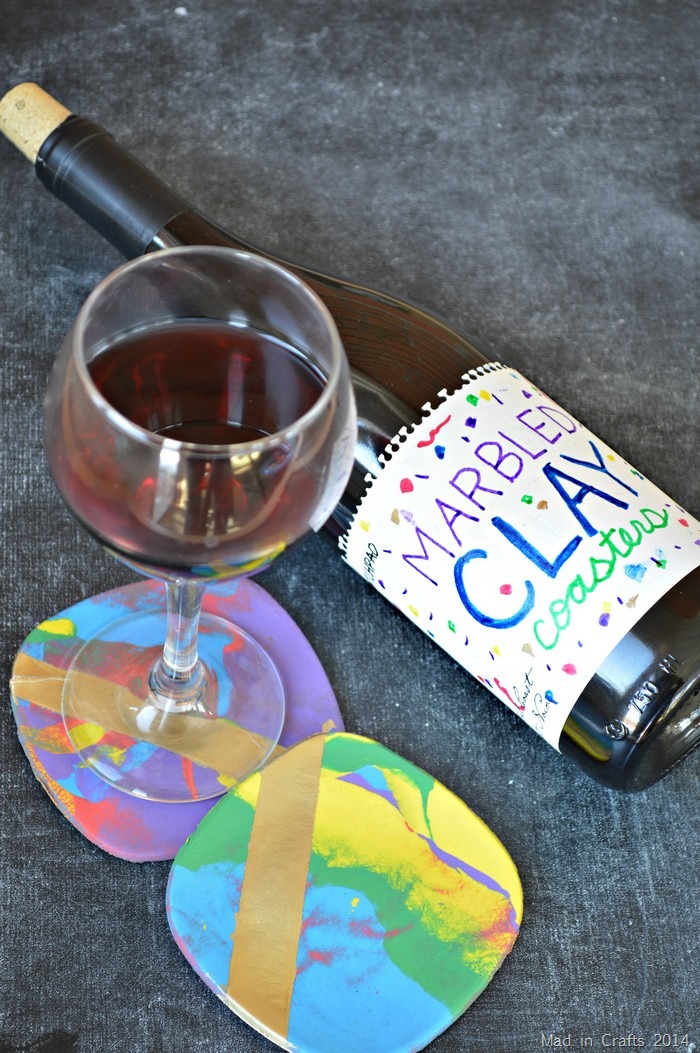
MARBLED CLAY COASTERS

DIY Stamped Clay Dish

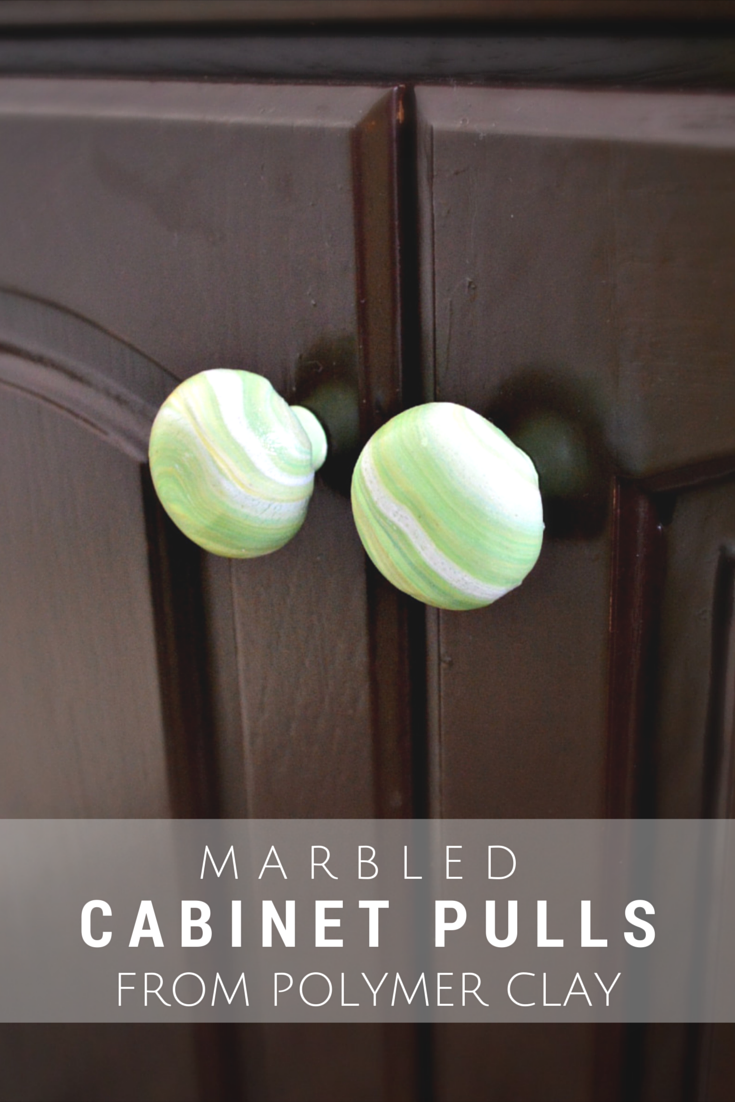
MARBLED CLAY CABINET PULLS

More Crazy Good Creativity!

QUICK & EASY PAINTED NARWHAL MASON JAR
DIY EPSOM SALT SNOWMAN ORNAMENT
“WE WHISK YOU A MERRY CHRISTMAS” OVEN ...
VINYL “CHRISTMAS SPIRITS” MUG TUTORIAL
ADDING DYE AND GLITTER TO RESIN PROJECTS

Filed Under: Handmade Gifts, Home Decor Tagged With: affiliate, clay, home decor, stamping, tutorial

Email this to someone
email
Pin on Pinterest
Pinterest
Share on Facebook
Facebook
Share on Google+
Google+
Tweet about this on Twitter
Twitter
Share on LinkedIn
Linkedin
Share on StumbleUpon
StumbleUpon
Share on Yummly
Yummly
              

Comments

  1. Deepa says

    April 7, 2014 at 9:36 am

    Fantastic job! I love it!

    Reply
  2. Courtney says

    December 5, 2014 at 2:50 pm

    Hi, this looks beautiful. If I make it thicker would it not be as fragile? I’m making them as Christmas gifts for the girls in our family but want them to hold up?! Thanks for the craft Idea I love it.

    Reply
    • madincrafts says

      December 5, 2014 at 5:43 pm

      Thicker clay would make the bowl more sturdy, but may take longer to dry than mine did. I would suggest trying one test bowl before you start making the ones you want to gift. Hope this helps!

      Reply
      • Courtney says

        December 5, 2014 at 9:17 pm

        Ok I made a few. A couple of them had lots of cracks. Do you know what may have caused this? Maybe to thick?

        Reply

Leave a Reply Cancel reply

Your email address will not be published. Required fields are marked *

Search the blog…

Copyright

You're welcome to link to Mad in Crafts or use a single image with a brief description to link back to any post. Republishing posts in their entirety is prohibited. Feel free to pin on Pinterest!

Affiliate Disclosure

Jessica Hill is a participant in the Amazon Services LLC Associates Program, an affiliate advertising program designed to provide a means for sites to earn advertising fees by advertising and linking to Amazon.com

Copyright © 2019 · Metro Pro Theme on Genesis Framework · WordPress · Log in

We use cookies to ensure that we give you the best experience on our website. If you continue to use this site we will assume that you are happy with it.OkNoRead more
No