Hey there, MiC readers! I’m Lucinda from Sew Wrong, a sewing and knitting enthusiast in Boston, MA. I write about current clothing projects I’m working on, how to copy current fashion trends, and I review sewing and knitting patterns. I’m also starting to teach sewing classes at a local art studio, Artisan’s Asylum, next month.
Who doesn’t love Joan Holloway’s style? Her curvy dresses, fabulous up-do’s, and fierce attitude make her my favorite Mad Men character. While I always pay attention to her clothes (I covet her wardrobe!), I noticed that she wears minimal jewelry – usually her signature pen necklace or some type of brooch from her rotating collection of pins.
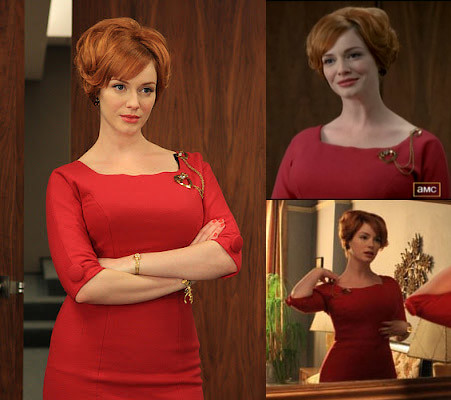
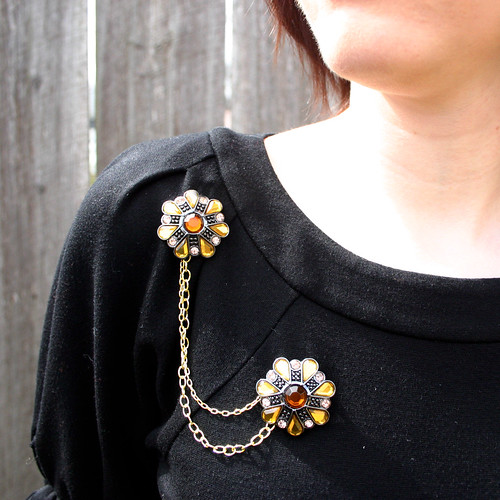
I fell in love with this brooch that she wore during the season one finale episode "The Wheel." My version of Joan’s chain-link brooch is a little flashier than what her character wears on the show but still has a vintage feel, and you can make it in a flash before heading out to your Mad Men themed party. Here’s what you need to make one of your own:
Materials:
2 pendants* – each of mine have a loop on the backside of the pendant instead of at the top
Length of chain* – I used two different types of chain to create more contrast
2 jump rings
2 pin backs – the kind I used have foam attached to them, making it easier to glue to the pendant
Pliers
Wire cutters
E6000 or other strong adhesive glue
*I purchased the pendants and chain at Michael’s Arts and Crafts
Directions:
Step 1. Decide how long you want the chains connecting the two pins to be. Looking at the screenshot of Joan, I figured out where I wanted my pins to be placed when wearing them and draped the chain between the two to get an idea of where I should cut my chain. Cut the second length of chain slightly shorter than the first – this will create a cascading drape effect when the pin is worn.
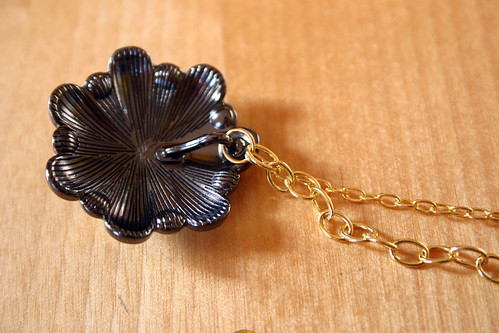
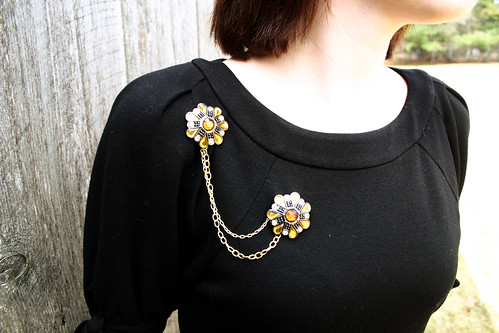
Step 2. Using pliers, attach a jump ring to both ends of the chain and secure the jump ring onto the pendant loop. Repeat for other pendant so that the chains are connected to both pendants. You should end up with something that looks like this:
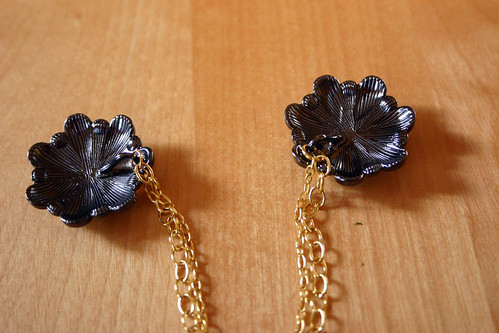
Almost done!

Step 3. Remove adhesive backing from the pin back and place a dot of glue at each end of pin back. Press firmly in place on back of pendant and hold for a few seconds while glue sets. Repeat for other pendant.
Positioning your new brooch is up to you – wear the two pins close together or spread them out to create different looks with the chain links.
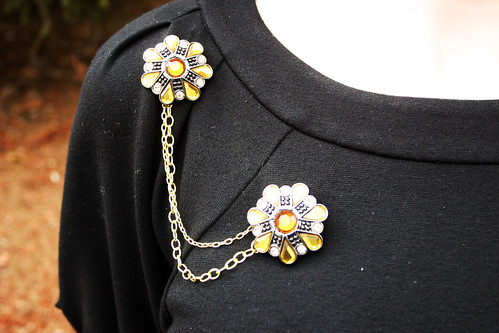
Wear your pin with a fun vintage dress and plenty of sass!
Thanks to Lucinda from Sew Wrong for this amazing and simple tutorial! I am going to be on the look-out for vintage-looking pendants now.
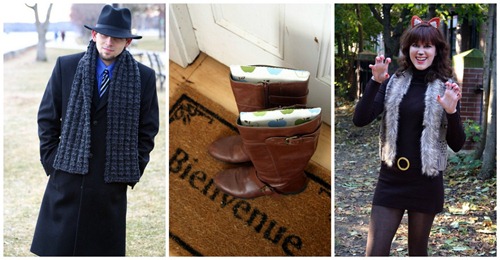
For more of Lucinda’s wonderful tutorials like her Boyfriend Scarf, these Boot Supports, and the fantastic Foxy Lady Vest.

