This is a sponsored post. I was compensated for my work, but the opinions are 100% my own.
Painting furniture with chalky paint is stupidly simple — it’s one of the reasons it is so popular with DIYers. You can get a beautiful finish with little to no prep work. I knew that chalky finish paint takes distressing techniques well, too, but I was always too lazy to try.
I figured that the reason I was painting with chalky finish paints was so that I didn’t have to bust out the sandpaper. Why would I use it after I was already done painting? Even though I was intrigued by the multi-layer paint finishes I had seen other DIYers try, I just wasn’t feeling the extra work. And then I discovered something game changing: you can distress chalky finish paint WITH WATER. Suddenly, I was on board.
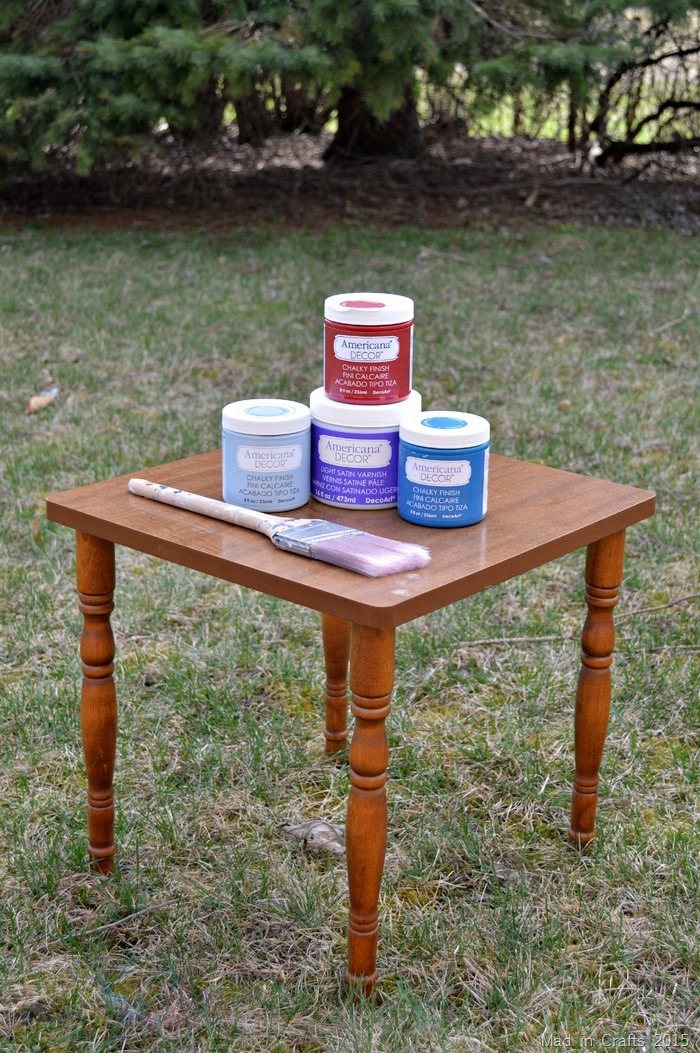
I wanted to try my hand at layering colors of DecoArt’s Chalky Finish paint. I am not usually a distressed furniture type of girl, but I liked the idea of having several colors of paint peeking out through the top coat, as if it were a vintage item that had been painted over and over. My mom gave me this plant stand that belonged to my grandmother to use for this project. Don’t worry, the table is old but it’s not a valuable antique or anything.
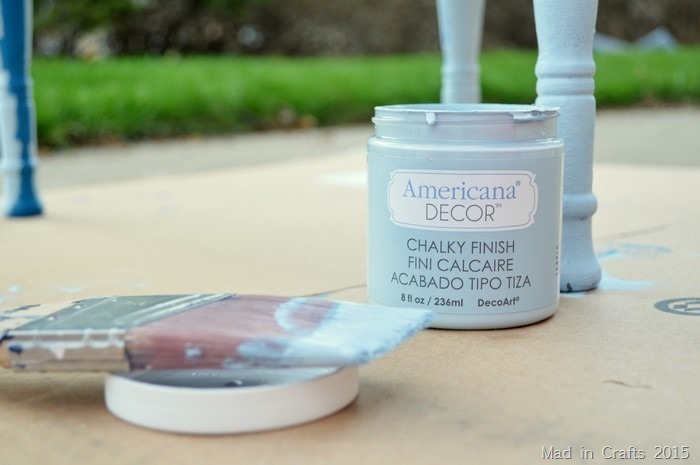
I knew I wanted to put the plant stand on our front porch. We already have a pretty blue stained bench on the porch and I usually plant flowers to carry out a red, white, and blue color scheme in the summer. I chose Chalky Finish paint in Serene (light blue), Romance (deep red), and Legacy (medium blue). I also ordered a container of varnish to protect the paint.
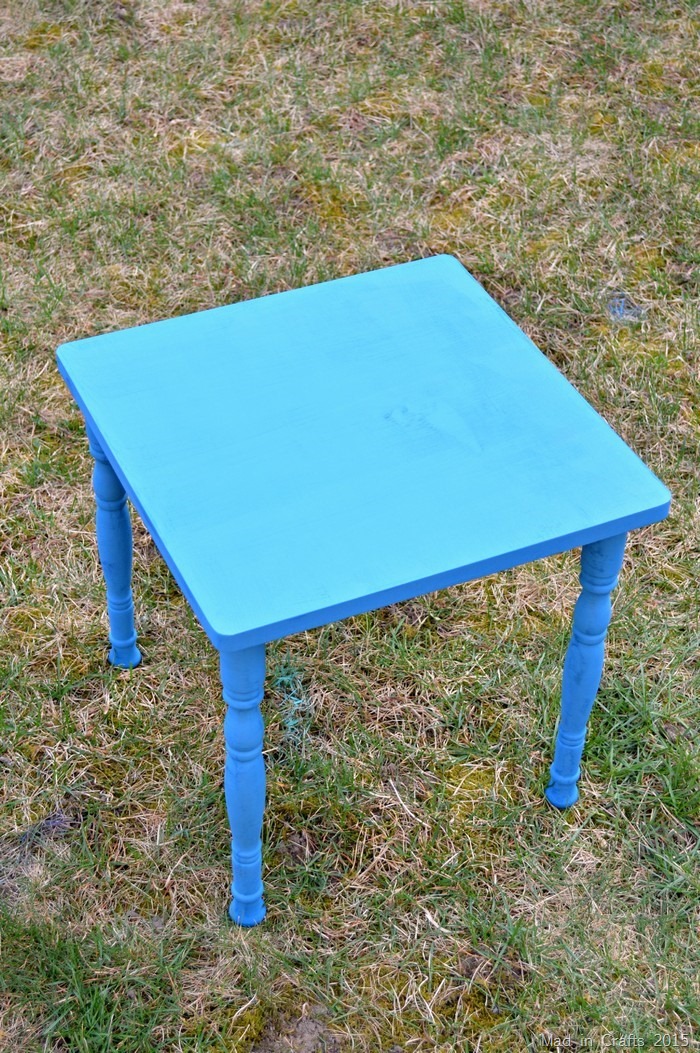
I didn’t do any prep work on the table before adding a coat of Chalky Finish paint in Legacy. The paint covered well and dried quickly, just like I expected it to. Chalk paint makes painting furniture SO easy.
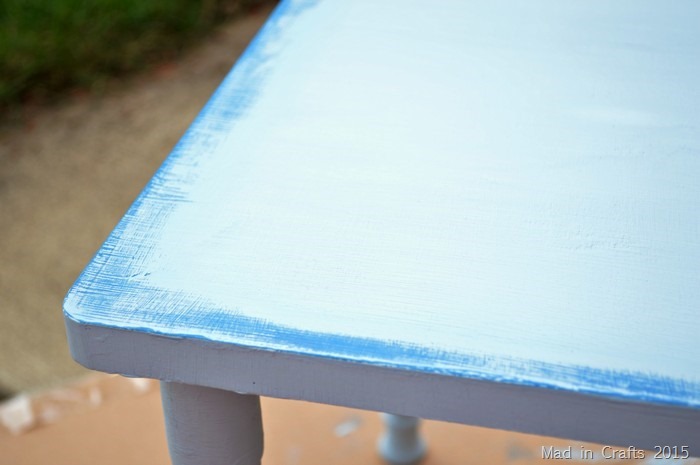
After the coat of Legacy totally dried, I applied a coat of Serene – a lighter blue color. This would be my middle color.
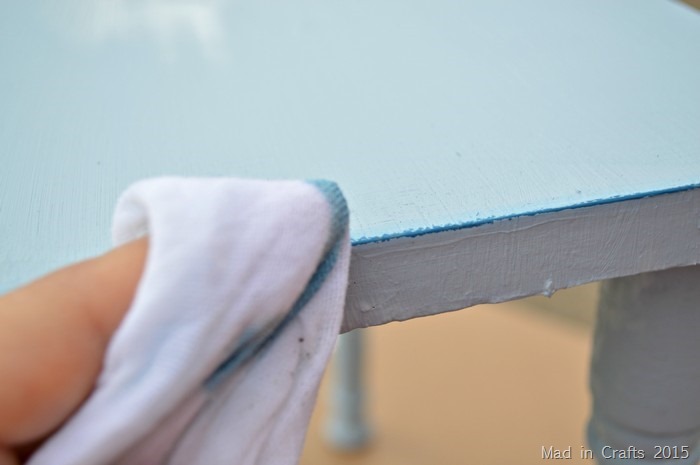
Here is the fun part. You can actually distress chalky finish paint with a wet cloth, if you follow a few simple rules. You have a window of time where wet distressing will work well. You want the paint to dry (which takes about 20-30 minutes) or it will just get gummy paint smooshes all over. You also don’t want the finish to get so hard that it’s impossible to rub off. If you hit the paint somewhere between 20 minutes and 1 hour after painting, it will work like magic. If you are working on a larger piece of furniture, that may mean you have to paint the piece in sections.
Just wet a clean white cloth with water and ring it out. Then use your finger to buff off the paint wherever you would like to distress the finish. You can see the Legacy color peeking through the Serene where I distressed along the edge of the table. Since I was planning on adding a third color of paint to the table, I did quite a bit of distressing at this point.
Doesn’t that look awesome? I was so pumped about the way these two colors looked together that I went on to use them on a planter project that I will be sharing tomorrow. After the coat of Serene fully dried, I added a final coat in Romance and distressed it in the same way. After that coat was dry, I applied a coat of DecoArt varnish to the whole table to protect the finish from the elements. If you are using chalky paint for a piece that will live outdoors, you need to finish with varnish.
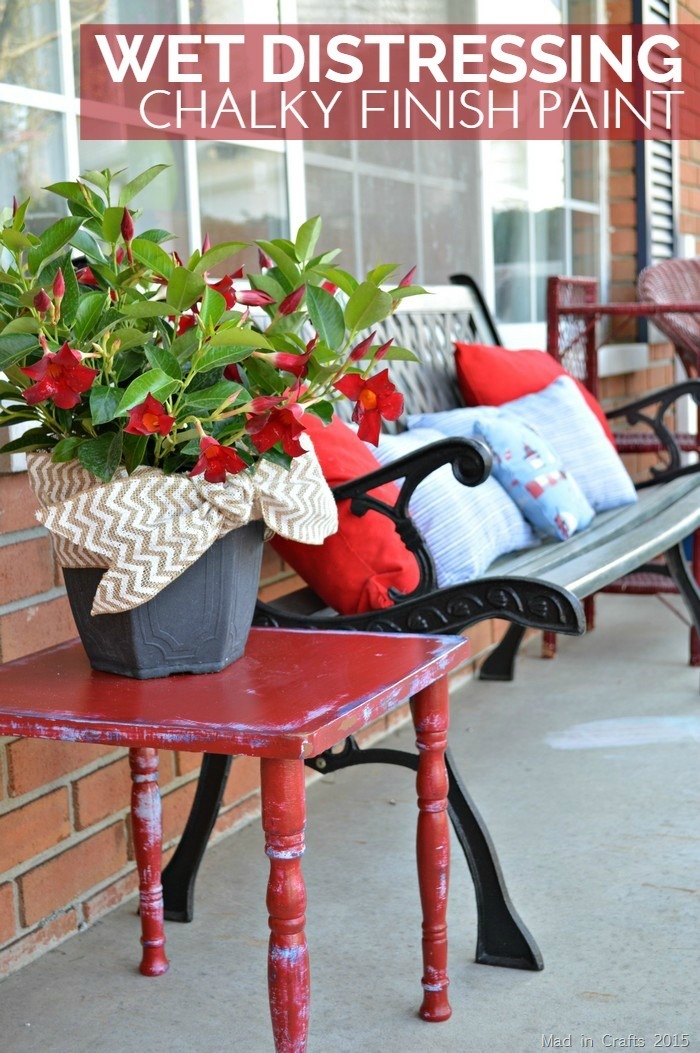
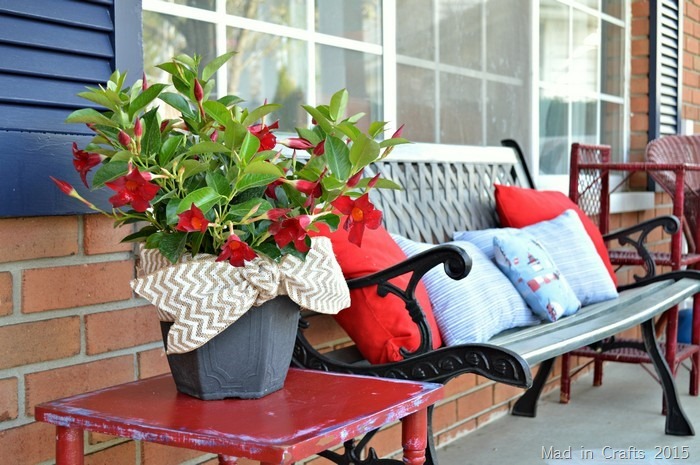
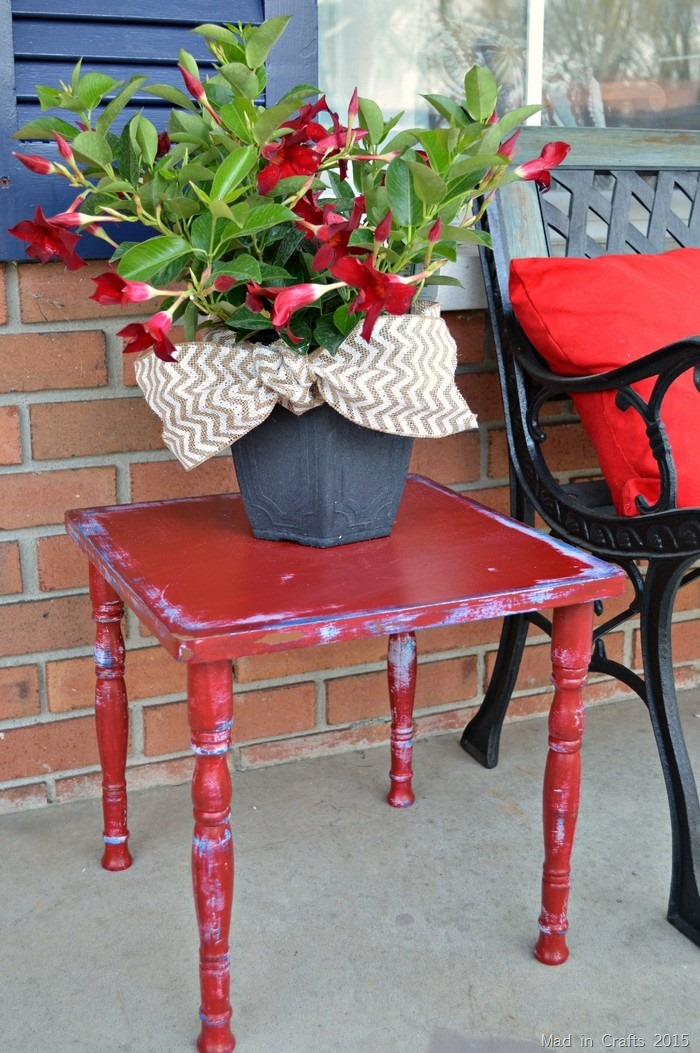
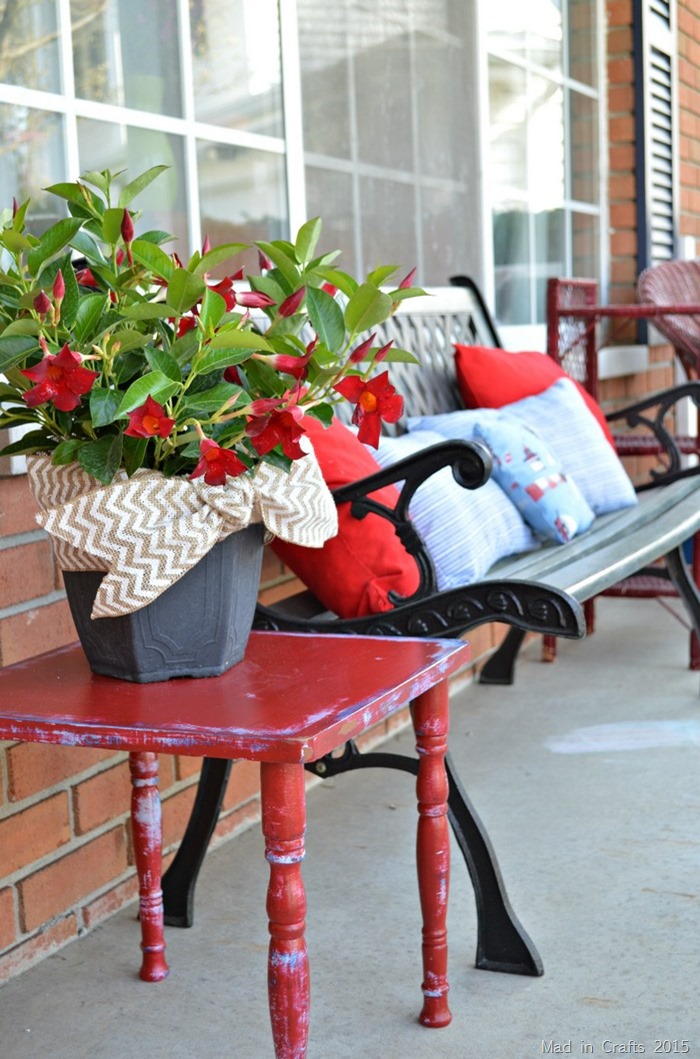
The final finish is so pretty! The layers of color that peek through the top coat of paint make it look like it has been repainted several times over the years. The icing on the cake is that my new flowers match the Romance paint perfectly!
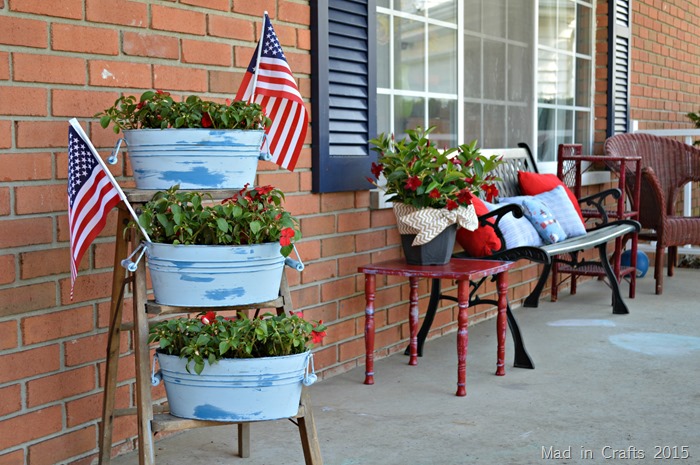
Even though I am not usually a huge fan of distressed furniture, I think this piece fits well on our traditional and patriotic front porch. The plant stand joins our other porch furniture and my summertime outdoor pillows.
You can really see the different layers of paint on the detail work on the stand’s legs. I had a lot of fun manipulating the wet cloth to create different amounts of distressing.
If you have ever been tempted to try chalky paint or distressing furniture, but have been worried you would mess it up, I encourage you to try this wet distressing technique. I really think you will like the results you can get with a little elbow grease.
The plant stand wasn’t the only item that got the wet distressing treatment. If you want to learn more about these pretty planters, you will have to check back in tomorrow! Visit the DecoArt Chalky Finish website for more chalk paint ideas and inspiration.
These are all affiliate links, if you make a purchase (of anything on Amazon, not just these items) after clicking through, I will earn a small commission. Ads and affiliate links are the way I am able to keep this website running and to offer you free tutorials all year long. Thank you so much for supporting me and Mad in Crafts!
- DecoArt chalky finish paint in Legacy
- DecoArt chalky finish paint in Serene
- DecoArt chalky finish paint in Romance
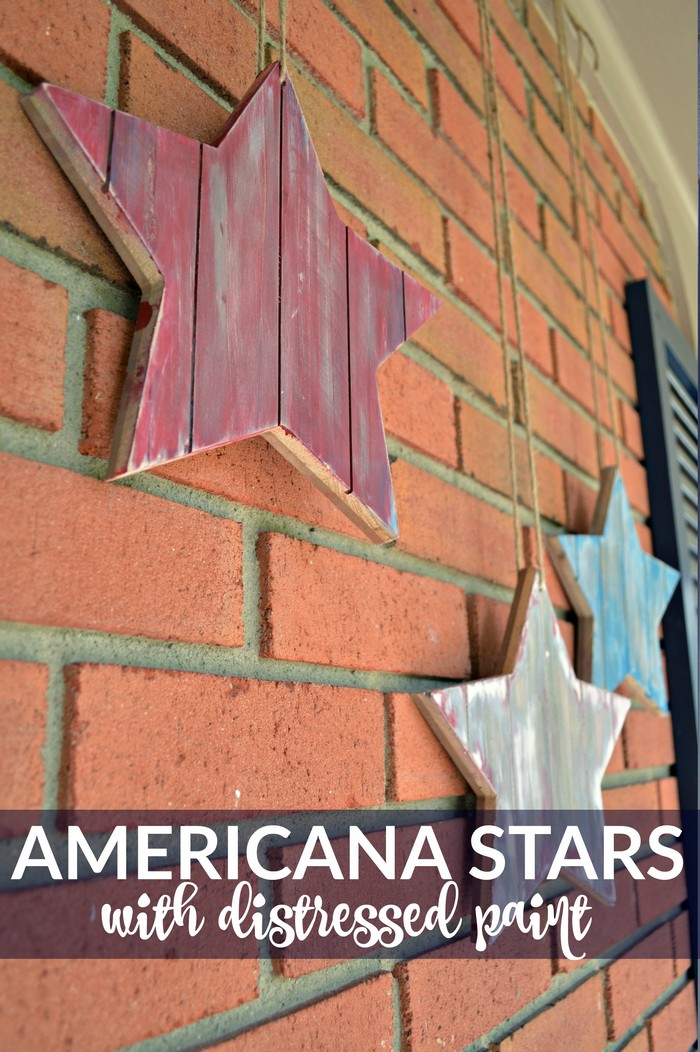
You might like these other projects using chalky paint:

WOOD SHIM AMERICAN FLAG

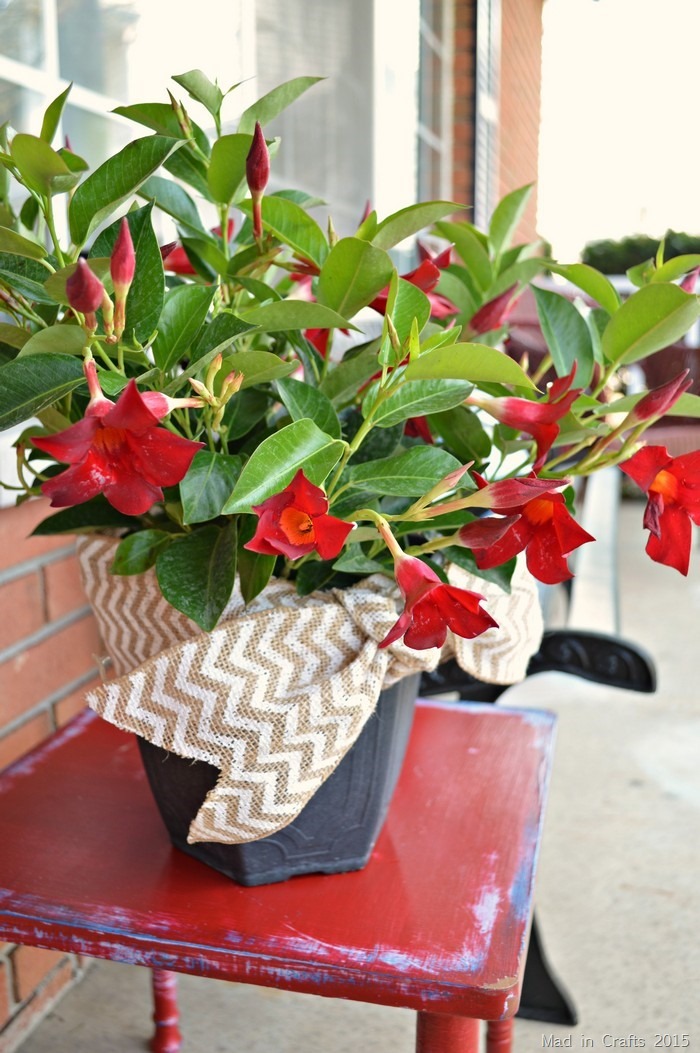


The red table looks great! Do you know what the red flowers are called? Your whole front porch decor looks really nice.
Thanks so much! Those flowers are called Dipladenia. I have never bought them before, so I hope they are easy to care for!