Mad in Crafts

  • Email
  • Facebook
  • Instagram
  • LinkedIn
  • Pinterest
  • Twitter
  • YouTube
  • Home
  • About
    • ABOUT JESSICA
    • CONTACT
    • MEDIA KIT
    • Seen On
  • PRIVACY
  • CRAFTS
    • HOLIDAY
      • VALENTINE’S DAY
      • ST. PATRICK’S DAY
      • EASTER
      • FOURTH OF JULY
      • FALL
      • HALLOWEEN
      • THANKSGIVING
      • CHRISTMAS
    • HOME DECOR
    • KIDS
    • MISC
    • Wearable
      • JEWELRY
      • PURSES, CLUTCHES AND TOTE BAGS
      • T-SHIRTS
    • FREE PRINTABLES
    • FREE SVGs
  • DIY
    • Gardening
    • Health
    • ORGANIZATION
    • Outdoor
    • Room Makeover
    • The Mad House
  • Recipes
    • Dessert
    • DINNER
    • DRINKS
    • Snacks and Appetizers
  • ENTERTAINING
    • Birthday Party
    • Party
    • Wedding
  • SHOP

Snowy Cone Trees Centerpiece

December 12, 2013 by madincrafts 3 Comments


Snowy-Cone-Trees-Tutorial_thumb4

Snowy Cone Trees Centerpiece

I am part of the Make It Fun! team.  I received compensation and complimentary products in exchange for creation of project ideas.

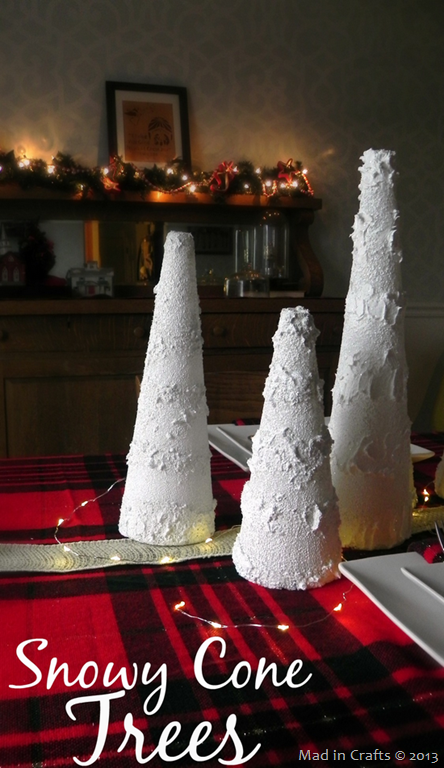
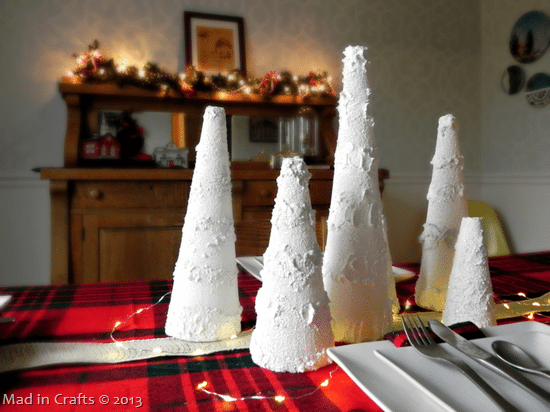
For this month’s Make It: Fun project, I put together a peaceful winter centerpiece for our dining room.  Foam cones become snowy trees in a few easy steps!

painted-cones_thumb2

To make a Snowy Cone Tree Centerpiece, you will need:

The following links are affiliate links and I may receive compensation if you purchase after clicking the links.

Make It: Fun cones in varying sizes

white craft paint

snow texture (I used both MS White Texture and Smooth Finish)

Diamond Dust

LED light strands

foam pouncer

plastic knife and spoon

start-with-painted-cone_thumb2

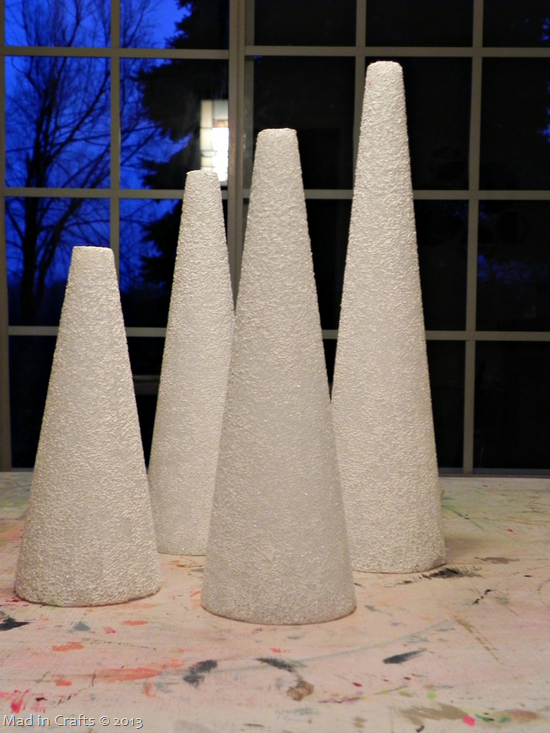
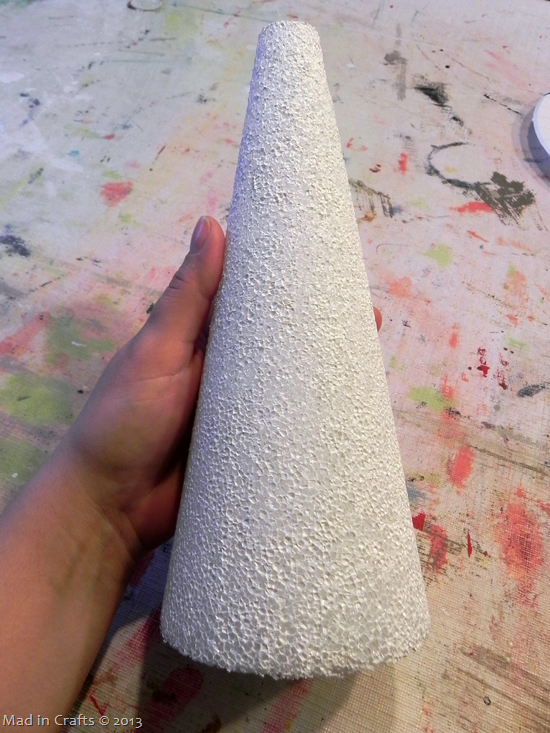
Begin by using the foam pouncer to add a coat of white craft paint to the foam cones.  You won’t get total coverage (unless you coat the whole surface with Smooth Finish), but that is okay.  The uneven paint gives the cone more snowy texture.

apply-snow-texture_thumb

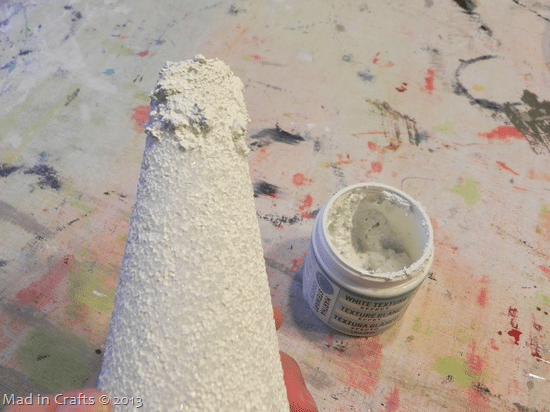
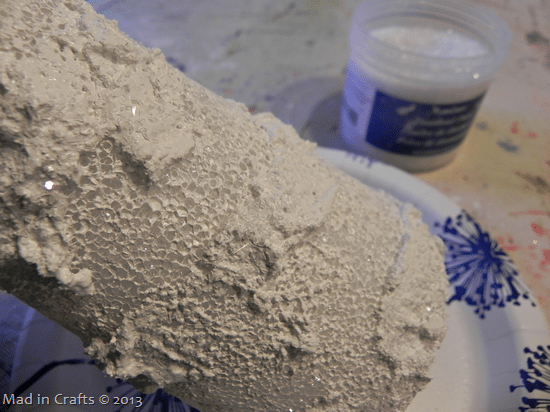
Use the plastic knife to spread on the snow texture in layers down the length of the cone.  Experiment with different application techniques like dabbing or swirling to create different snow looks.

add-glitter_thumb

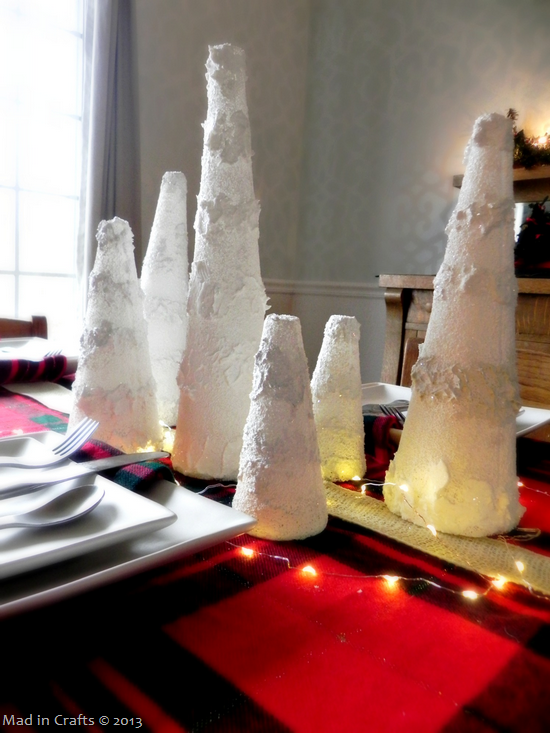
While the snow texture is still wet, sprinkle the Diamond Dust over the snow texture.  I have a big time crush on this glitter.  Made from finely ground glass, the dust has a sparkle that is totally different from traditional glitter.  It catches the light just like the surface of freshly fallen snow.

tiny-LED-lights_thumb2

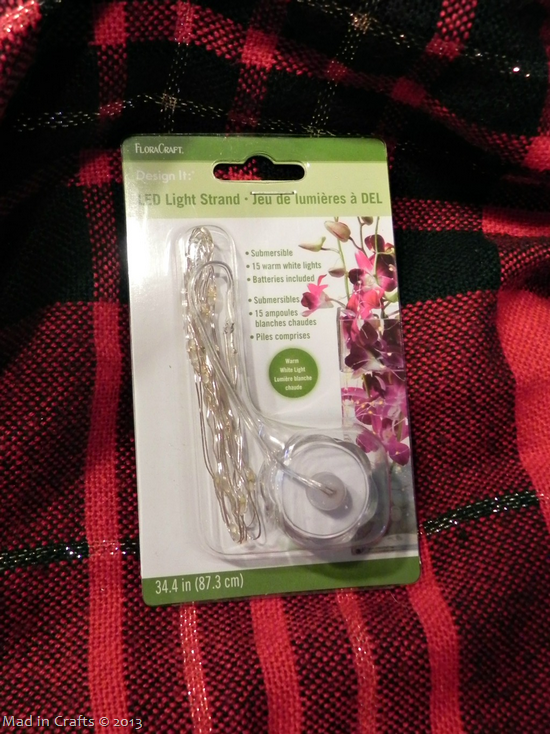
Another product I am digging are these Floracraft LED lights.  They are itty bitty, but give off surprisingly bright light.  They are also submersible!  Imagine how pretty they would be in a flowery wedding centerpiece!

led-lights_thumb1

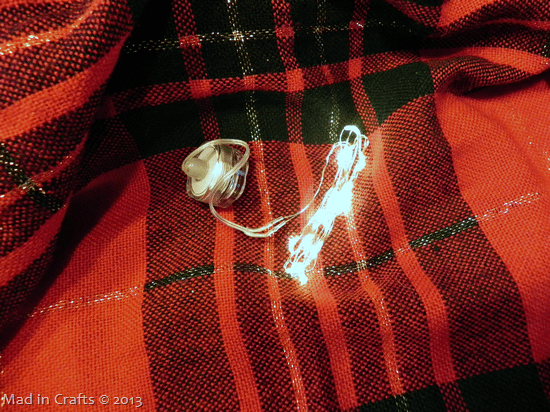
The little battery packs turn on with a twist.  Look how bright the lights are!

hollow-out-bottom_thumb1

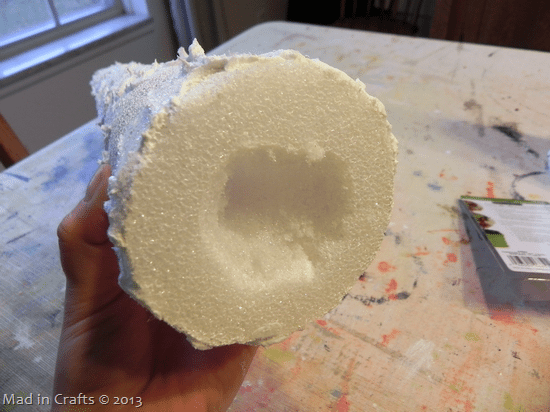
I wanted to add the lights to my table centerpiece without the battery packs being visible.  I scooped out some of the cones’ bottoms to create a hidey hole for the battery packs.  I still have access to turn them on and off, but they don’t detract from the décor.

Snowy-Cone-Trees_thumb

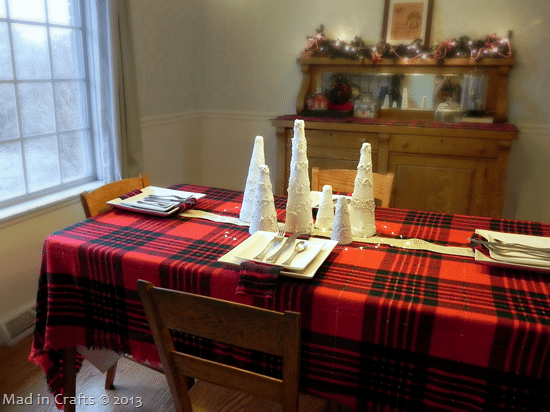
I grouped my snowy trees in the middle of my dining room table and lit up the lights.

Illuminated-Snowy-Cone-Trees_thumb1

The sparkle on the trees catch the light coming in from the window during the day and from the LED lights at night.

Snowy-Tree-Centerpiece_thumb

The snowy cones fit in with the rest of my cozy, plaid decorations this year.  And they are not specific to Christmas, so I can leave them up after the holiday too!

If you are interested in my other Make It: Fun projects, please check out my Year Round Wreath, Caramel Apple Bar, Faux Pallet Cornice, Ruffled Plaid Trees, and Winter Pom Wreath.


Did you like this post?  Think it’s worth sharing?  Please share with your friends using the social media share buttons on the toolbar at the bottom of the page!

Thanks,  Jessica

Filed Under: Christmas, Christmas Decorations, Holiday, Styrofoam Tagged With: Christmas, glitter, holiday, home decor, styrofoam

Share on Facebook
Facebook
Pin on Pinterest
Pinterest
Tweet about this on Twitter
Twitter
Share on LinkedIn
Linkedin
              

Trackbacks

  1. LAYERING A FROZEN PARTY TABLE - Mad in Crafts says:
    October 22, 2014 at 11:00 am

    […] used the snowy cone trees that I made for our Christmas table last year to cover the light strand switches and to add height […]

    Reply
  2. Frozen Christmas Crafts (over 19 ideas!) - * THE COUNTRY CHIC COTTAGE (DIY, Home Decor, Crafts, Farmhouse) says:
    August 6, 2015 at 2:25 pm

    […] Snowy Cone Centerpiece […]

    Reply
  3. INEXPENSIVE FROZEN BIRTHDAY PARTY DECORATIONS - Mad in Crafts says:
    February 1, 2017 at 12:26 pm

    […] table, I used supplies from my craft stash and from our Christmas decorations.  I made those Snowy Cone Trees last year, and they worked perfectly for the Frozen […]

    Reply

Leave a Reply Cancel reply

Your email address will not be published. Required fields are marked *

Recipe Rating


About Jessica

Search the blog…

Gallery of Valentine's Day Crafts
DIY Home Organization
Delicious Dessert Recipes

Copyright

You're welcome to link to Mad in Crafts or use a single image with a brief description to link back to any post. Republishing posts in their entirety is prohibited. Feel free to pin on Pinterest!

Affiliate Disclosure

Jessica Hill is a participant in the Amazon Services LLC Associates Program, an affiliate advertising program designed to provide a means for sites to earn advertising fees by advertising and linking to Amazon.com

Copyright © 2021 · Metro Pro Theme on Genesis Framework · WordPress · Log in

We use cookies to ensure that we give you the best experience on our website. If you continue to use this site we will assume that you are happy with it.Ok