This is a sponsored post. I received product and was compensated for my work, but the opinions are 100% my own.
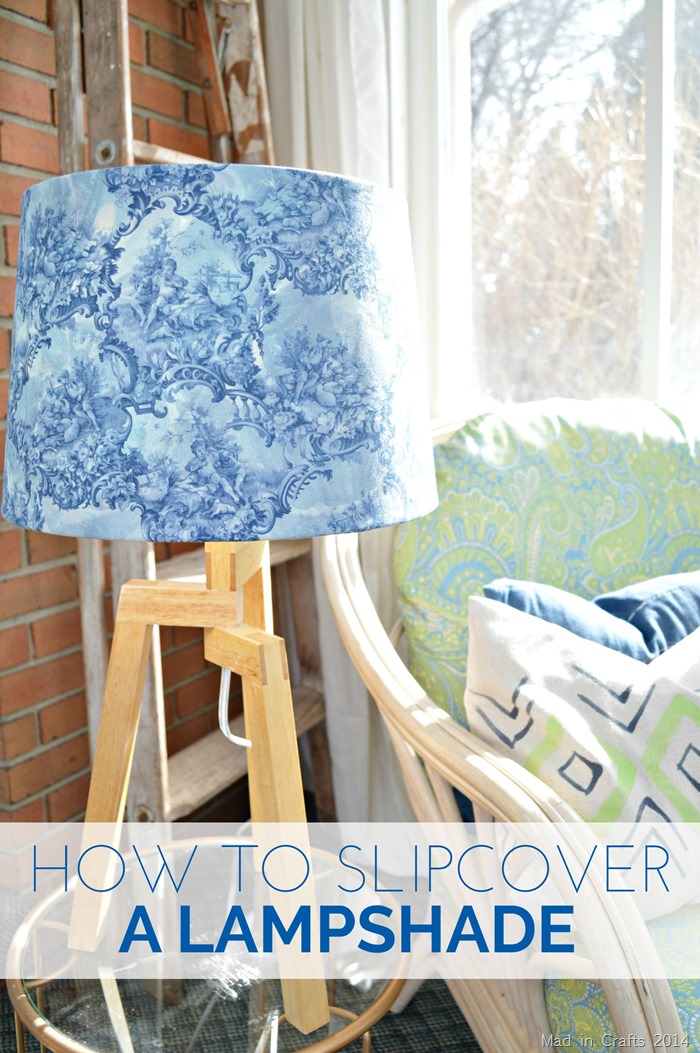
I have a lampshade problem. There was a point last year when I found myself owning twice as many lampshades as I did lamps. See, when I find a pretty lampshade at a thrift store I am compelled to buy it. Brand new lampshades are preposterously expensive, so finding a nice shade for a few dollars is more than I can resist. Unfortunately that led me to have a surplus of shades taking up precious storage space in our home. I eventually sold my stash of shades on Craigslist to other lampshade enthusiasts (that’s how I like to think of them anyway). But, now that I have a reasonable number of lampshades, what am I to do when I get the urge to switch up one shade with something more Spring-y? As I was switching out my throw pillow covers from cozy, Winter fabrics to lighter Spring fabrics, I thought, “Why can’t I do this to my lamps too?” Today I am sharing how easy it is to slipcover a lampshade!
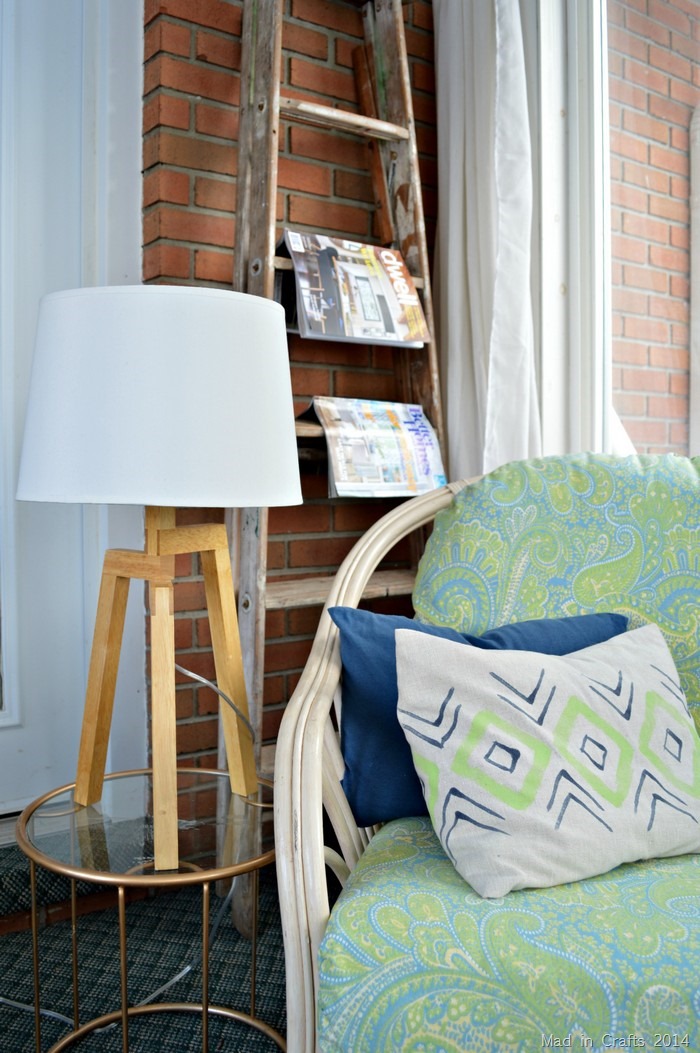
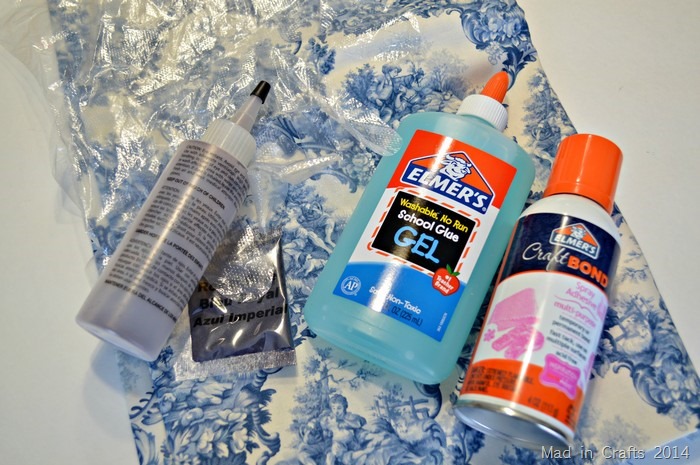
I had a pair of basic white drum shades on a pair of wood lamps for as long as I have owned them – both the lamps and the shades were found at Goodwill on the same trip. That was a good day. The lampshades were ready for a makeover, but I didn’t want to ruin them for future use. Enter Elmer’s products!
Of course, you can do this project with a piece of fabric and use it as is. I can never do anything the easy way, so I decided to try a few dyeing techniques on my blue and white toile fabric. Even if you decide to do some experimenting with your fabric, you will use the following steps to re-cover the lampshade regardless.
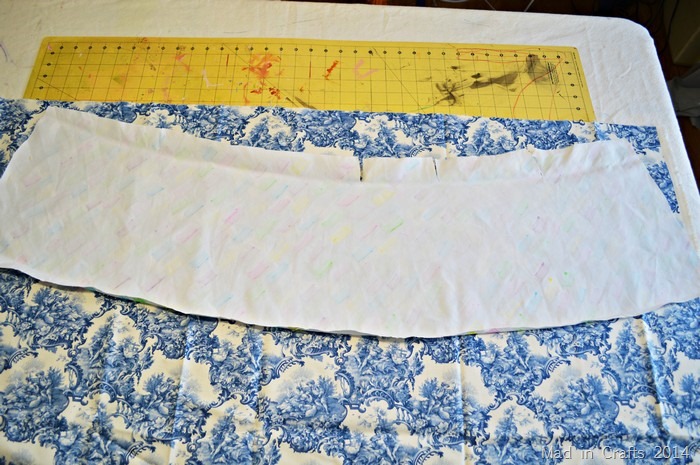
First, cut the fabric to size. You can either make a template from a scrap piece of fabric or use the fabric itself (just be sure you are making your pen marks on the wrong side of the fabric). Do this by laying the seam of the lampshade on the fabric and slowly rolling the lampshade across the fabric until the seam is once again against the fabric. As you roll the lampshade, trace the top and bottom of the shade onto the fabric. When you cut the fabric leave yourself a 1″-2” allowance on all sides, so that you can wrap the fabric around the top and bottom of the shade.
At this point I tried out a few new dye techniques, including using Elmer’s Gel Glue as a dye resist. I am still working on perfecting that technique, so I won’t share that tutorial until I am sure I have the process down.
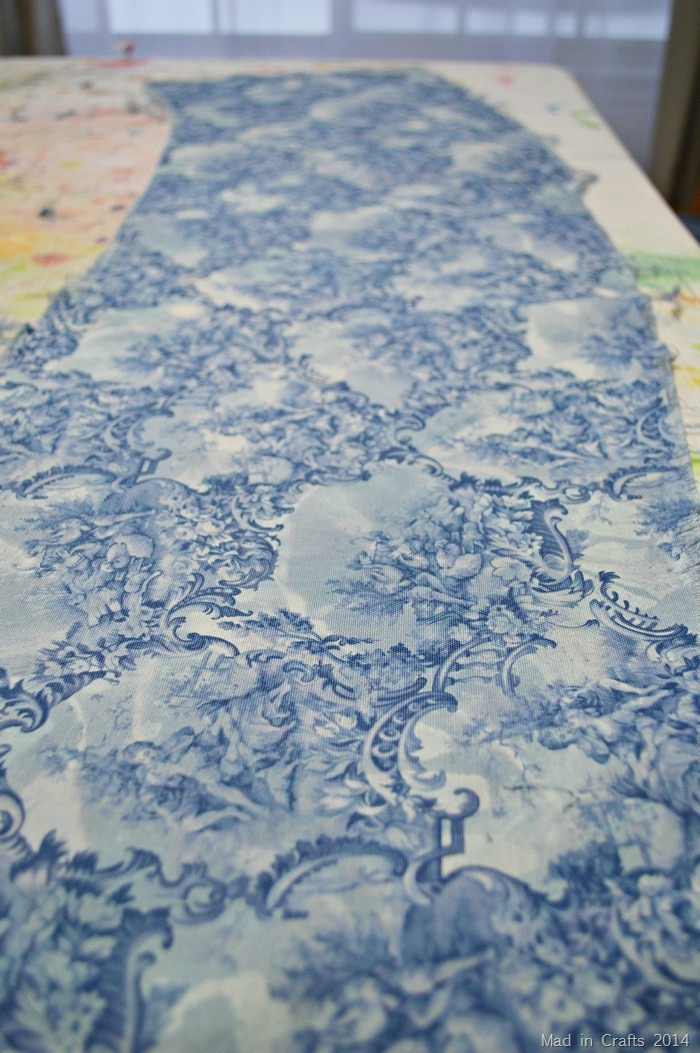
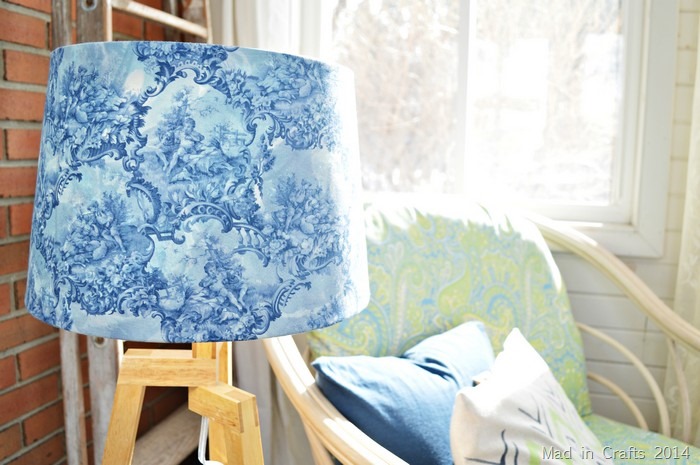
This is what my fabric looked like after all of my experiments were done. The dye toned down the fussiness of the toile print, making it much more my style.
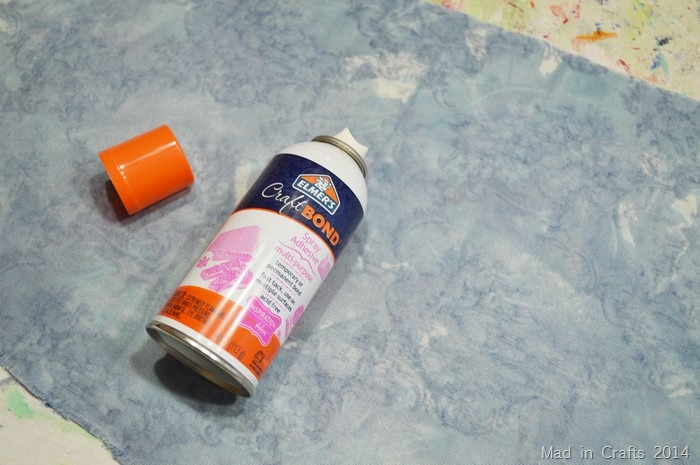
Iron the fabric to remove any wrinkles, and grab a can of Elmer’s Craft Bond. I have been using Elmer’s spray adhesive for decades. Seriously. I used it on my big History project my freshman year of high school. It’s good stuff.
The cool thing about Craft Bond is that you can use this one product for either a permanent OR a temporary bond. Since I only wanted to freshen up my lampshades for Spring, the temporary hold is what I wanted. Give the back of the fabric a light, all-over spray of Craft Bond (put down a protective surface under it to catch overspray) and let the spray dry for 3-4 minutes. By allowing the spray to dry, you will find that the adhesive becomes slightly less tacky. The fabric will still bond to your lampshade and hold well, but you will have the option of peeling the fabric off again when you are ready for another change. Cool, huh?
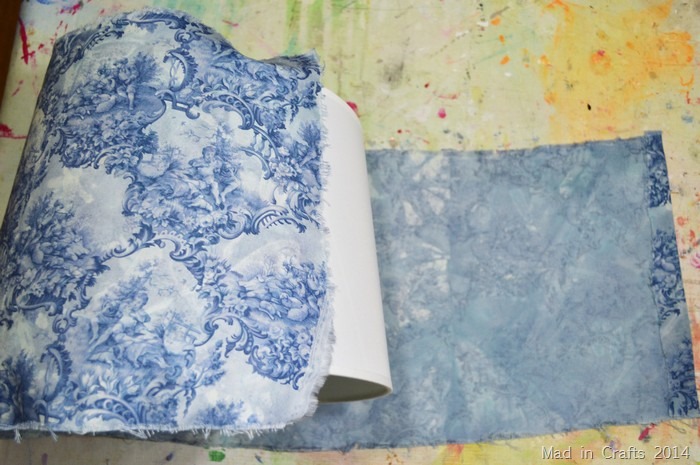
When the adhesive is ready, carefully roll the lampshade up in the fabric. Fold the end of the fabric over, give the flap a spritz of Craft Bond, and press it into place. If you create any wrinkles or bubbles as you roll, just reposition the fabric. It is very forgiving. If you have to start over so many times that the adhesive has lost its grip, just give it another all-over spray and wait another 3-4 minutes before trying again.
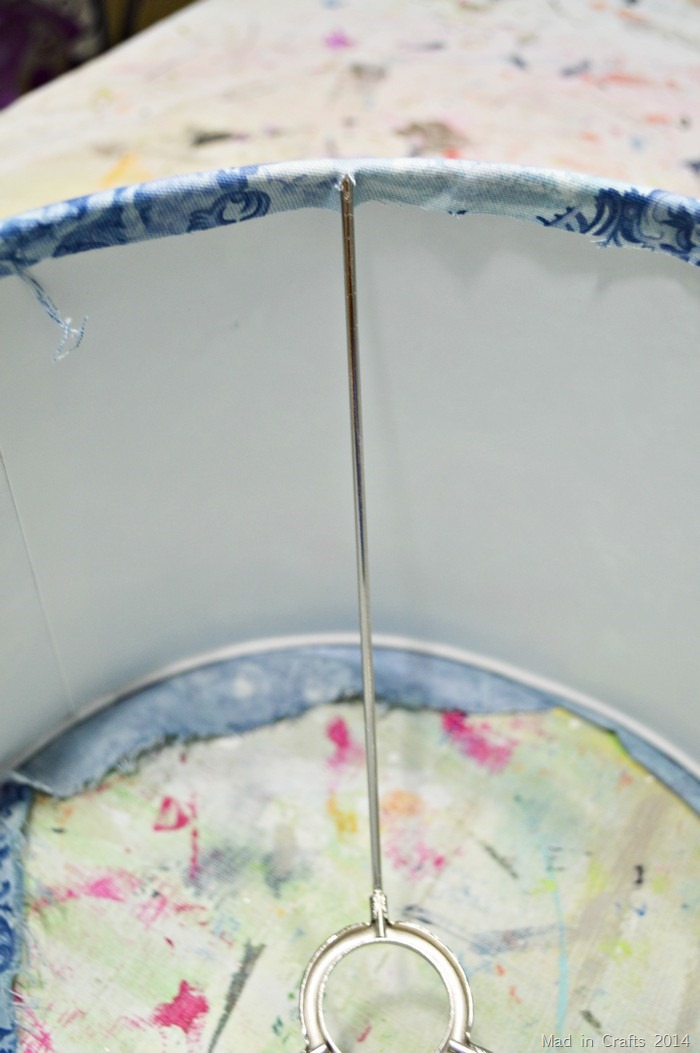
After the fabric has been applied to the sides of the shade, trim the excess fabric so that it folds over into the inside of the lampshade by about 3/4”-1”. Make small cuts around the interior frame where necessary, and press the excess fabric into place.
There you go! A brand new look for your lamp without having to drop twenty bucks or more for an entirely new shade!
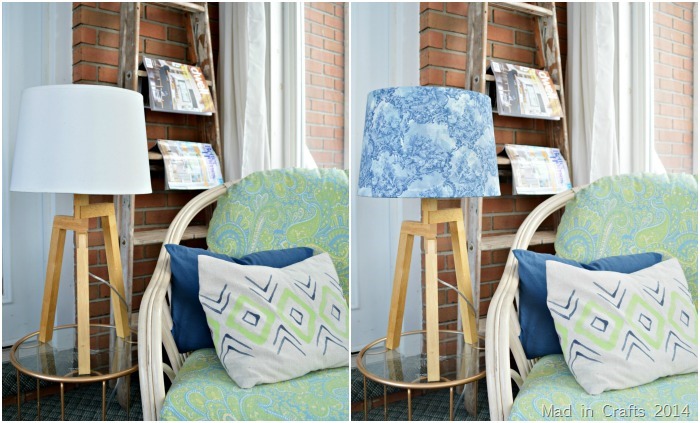
Check out the before and after of this low-risk project. I think my new shade looks fantastic, but when I get sick of that fabric I can just peel it away without any damage to the lampshade underneath. Is your mind whirling with all the possibilities? I know mine is!
You might like these other simple home decor DIYs:



What a great idea and tutorial! Thank you so much for sharing!
Great project!!
LOVE how easy this is and I LOVE the fabric!
This is such a great idea!
Looks great! Such an inexpensive way to change the look!
What a stunning transformation! I love the new look.
Wow – love how great this update looks! Love Elmer’s glue! This DIY can be customized in so many ways too!
I love the makeover! I had no idea that you could use the Craft Bond for either permanent or temporary. That is really neat!
So much easier than I thought it would be! And I love Elmer’s…they have something for almost every project!
What a great idea!! I love how it turned out!
I have thought of this idea as well, but using self-stick velcro at the seam and double-stick tape for the top and bottom. The cover could then be removed without being as stiff from adhesive and storage would be easier so they can be used again and again.