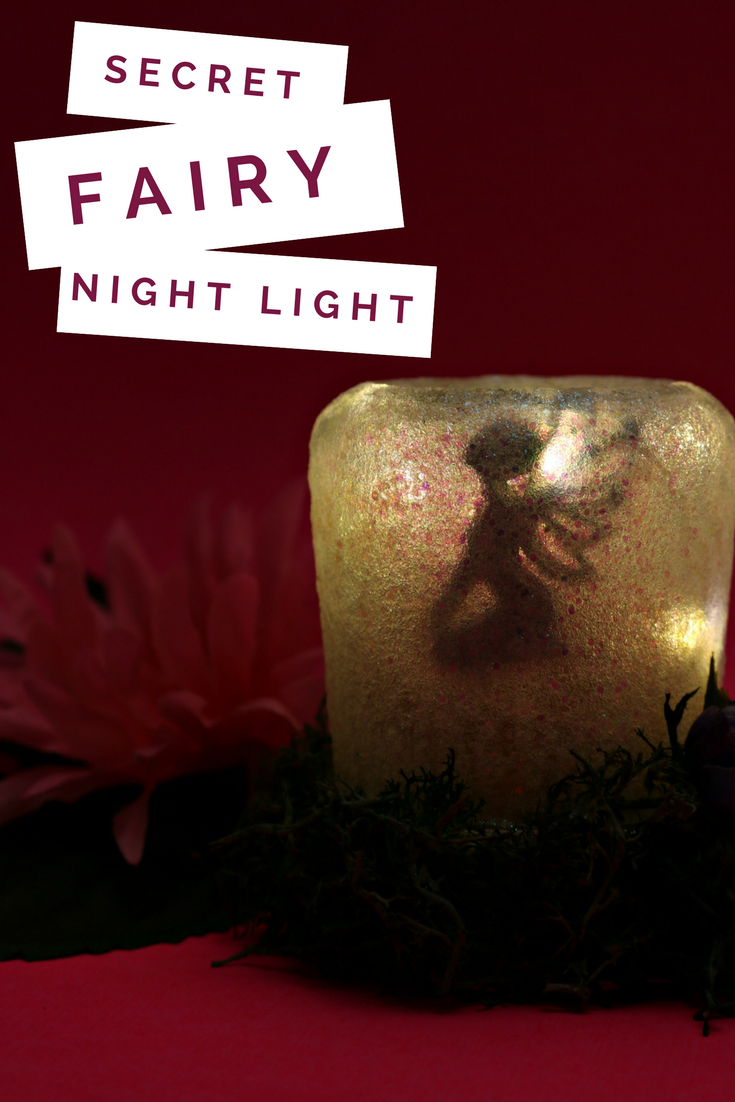
For the past year or two I have seen cute fairy jars around the internet. The idea is that that they are glittery jars in the daylight, but when you switch on the lights a secret fairy appears. My problem with the versions I saw was that you could always see the fairy even if the lights inside the jar were off. I wanted to try to create a version where the fairy inside was truly hidden. Then when you turn on the lights — MAGIC! I used dollar store materials and an upcycled jar to make my night light, so this something you could easily make at home. Keep reading to find out how to make your own secret fairy night light from a yogurt jar.
FYI: This is a picture-heavy tutorial, but the process itself isn’t as long as this post makes it look.
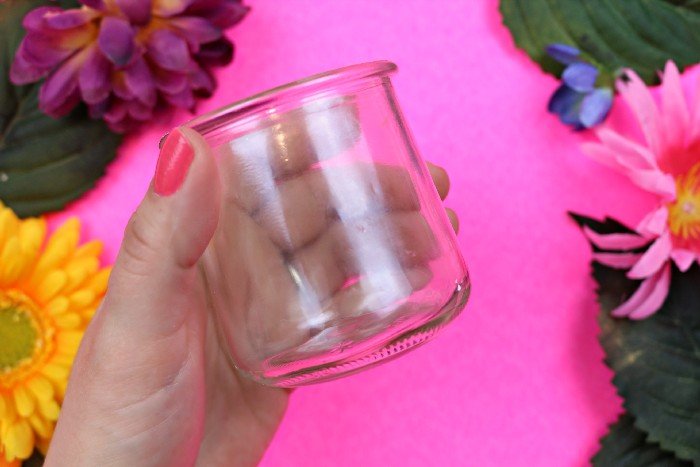
A few months back I fell into the marketing trap of a new yogurt brand, and I ended up with several small glass jars. I used a few of them to make crock pot candles last winter, but I still have a few left over. This project is a perfect use for one of those jars.
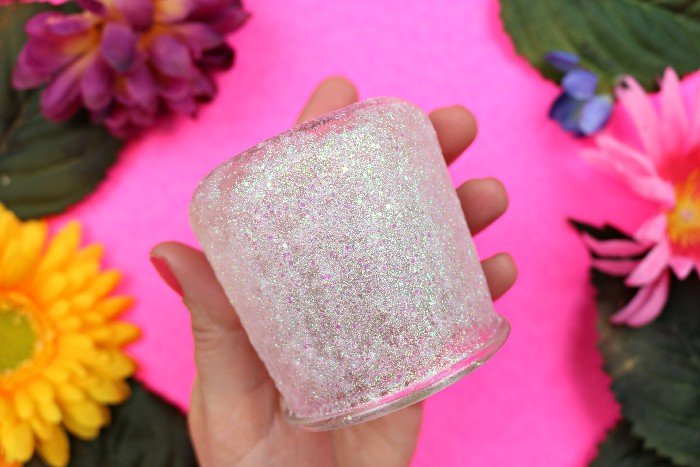
I really wanted to be able to effectively hide the fairy inside this night light, which meant I needed to coat the jar with enough glitter to make the glass opaque. I did this by adding a LOT of iridescent glitter to some Mod Podge. I wish I could give you exact amounts, but it will mostly depend on the type and size of glitter you use. You want the Mod Podge/glitter mixture to be more of a paste than a liquid. I applied a thick coat of the paste to the outside of the jar, giving it a sort of glitter crust. I allowed it dry overnight.
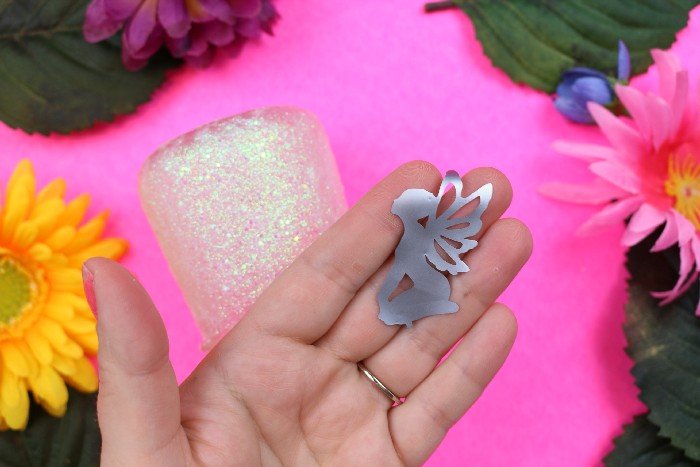
After the paste was completely dry, I used my Cricut to cut out some silver vinyl in the shape of a fairy. I used this free clip art and resized the image to be about 1 1/2″ tall. I used silver vinyl because it was the lightest color of adhesive vinyl I had on hand. I think white adhesive vinyl would make the fairy shape blend in with the glitter even more.
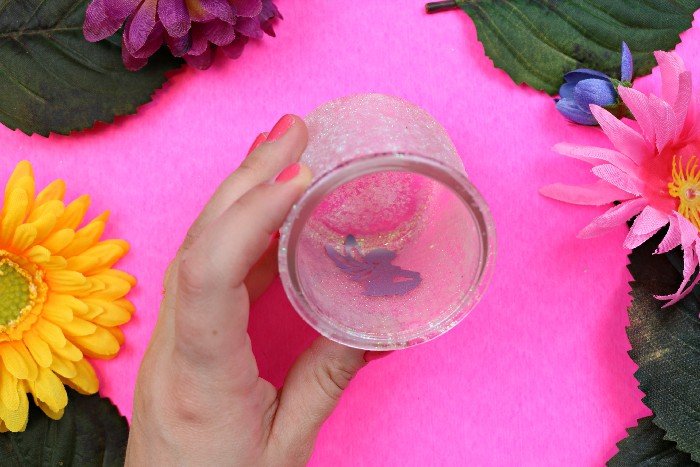
I placed the vinyl inside of the jar. Be careful to position the fairy shape just like I did. If you place the vinyl nearer to the opening of the jar, the shape will not be back-lit enough to be visible.
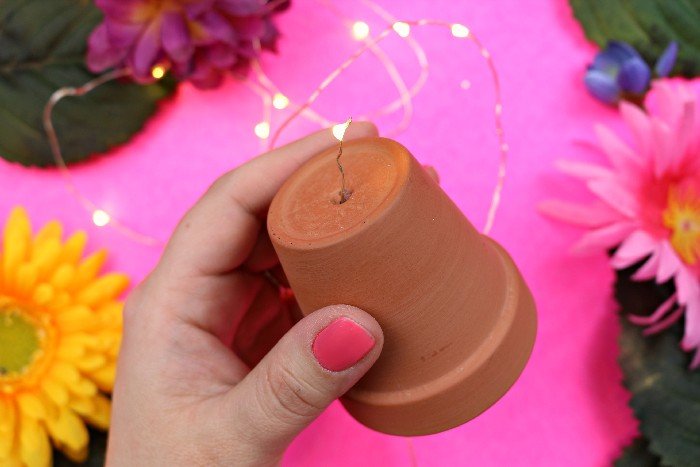
I used a mini flower pot from the dollar store as the base of the night light. I threaded some battery-powered LED fairy lights though the hole in the bottom of the pot.
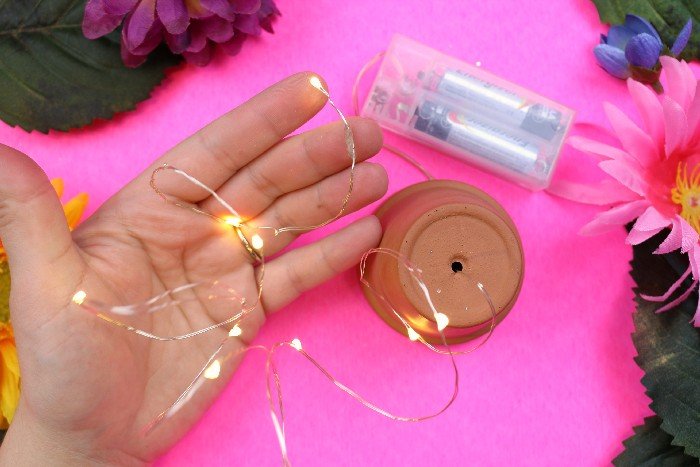
I carefully pulled all the lights through, leaving just the battery pack outside of the pot. Ideally, the battery pack would have fit inside of the pot, but I had to make do with what I had.
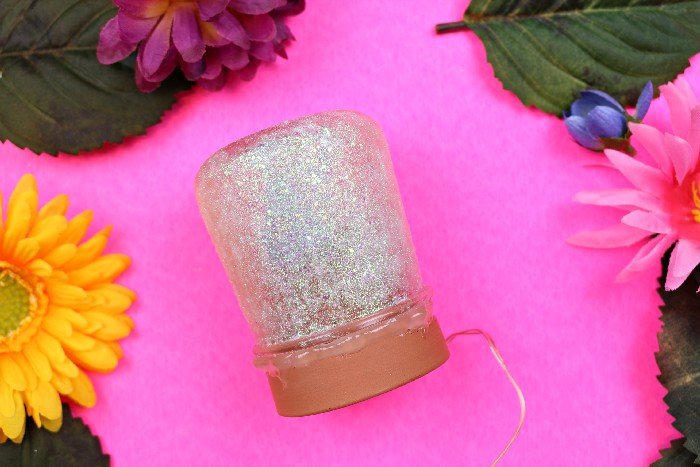
I coiled up the lights and put them into the jar, then slid the jar down over the flower pot. Then I secured the pot in place with a bead of hot glue. I didn’t worry about making the glue look nice because it was going to be covered up in the next step anyway.
See how you can’t see the fairy in the jar at all!
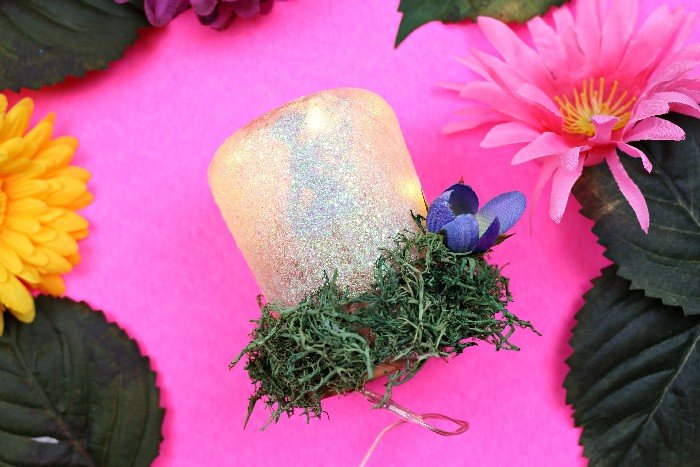
I glued a bit of reindeer moss from the dollar store to cover the glue and the flower pot. This stuff is messy, but it looks very “fairy garden” to me. Finally, I glued a small silk flower onto the base as well.
You can just barely see the fairy in the jar with both the room lights on and the night light switched on, but only if you know where to look.

When the room lights are turned off and the night light is switched on, you finally get to see the fairy in the jar!

This project went through several trial phases (AKA craft fails) before I finally got it right. Even though it was a frustrating process, I am so happy with how this fairy night light turned out!

If you make your own version of this project, PLEASE take a photo and tag me on social media (@madincrafts). I would so love to see it!
Don’t miss my Spring jar crafts from Day 1 and Day 2!
These are all affiliate links, if you make a purchase (of anything from these retailers, not just these items) after clicking through, I will earn a small commission. Ads and affiliate links are the way I am able to keep this website running and to offer you free tutorials all year long. Thank you so much for supporting me and Mad in Crafts!
- yogurt jar
- iridescent glitter
- Mod Podge
- paintbrush
- silver or white vinyl
- Cricut
- mini terracotta pot
- LED lights
- glue gun
- hot glue
- reindeer moss
- silk flower

Cactus Planter Jar – The Country Chic Cottage
No-Bake Tagalong Parfaits – The Cottage Market
Pimento Cheese – The Shabby Creek Cottage
You might like these other fairy DIYs:
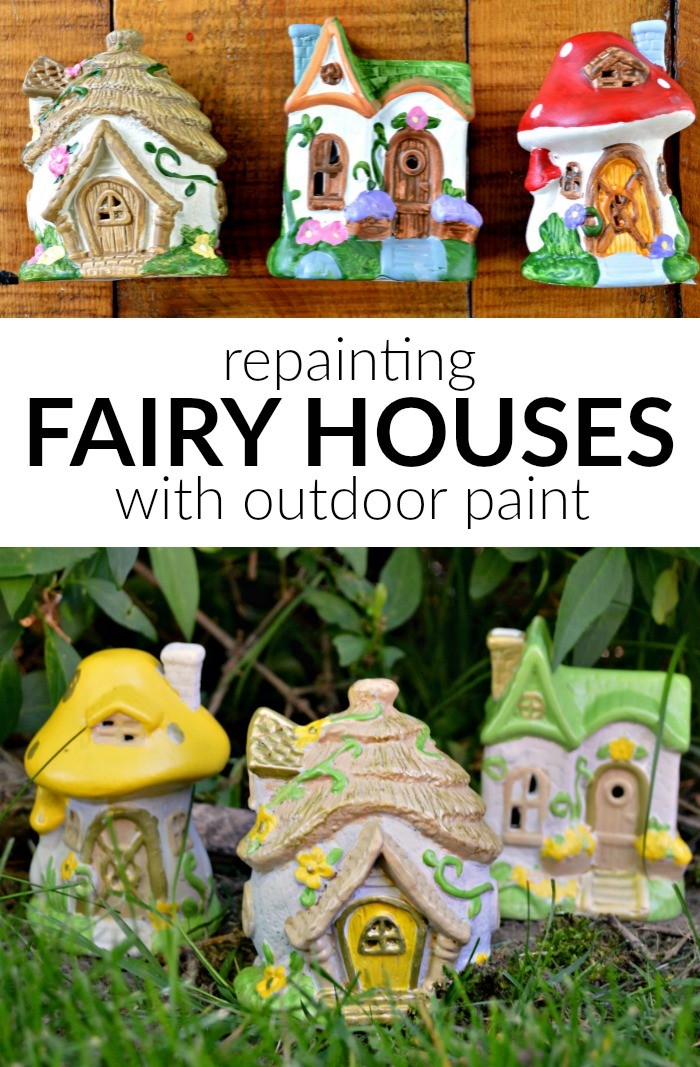
REPAINTING FAIRY HOUSES WITH OUTDOOR PAINT


This Fairy Night Light is simply MAGICAL!!! You never cease to amaze! Hugs…
Hi friends! Trust in the process of growth and evolution. Each obstacle is a stepping stone for personal growth.