Mad in Crafts

  • Email
  • Facebook
  • Instagram
  • LinkedIn
  • Pinterest
  • Twitter
  • YouTube
  • Home
  • About
    • ABOUT JESSICA
    • CONTACT
    • MEDIA KIT
    • Seen On
  • PRIVACY
  • CRAFTS
    • HOLIDAY
      • VALENTINE’S DAY
      • ST. PATRICK’S DAY
      • EASTER
      • FOURTH OF JULY
      • FALL
      • HALLOWEEN
      • THANKSGIVING
      • CHRISTMAS
    • HOME DECOR
    • KIDS
    • MISC
    • Wearable
      • JEWELRY
      • PURSES, CLUTCHES AND TOTE BAGS
      • T-SHIRTS
    • FREE PRINTABLES
    • FREE SVGs
  • DIY
    • Gardening
    • Health
    • ORGANIZATION
    • Outdoor
    • Room Makeover
    • The Mad House
  • Recipes
    • Dessert
    • DINNER
    • DRINKS
    • Snacks and Appetizers
  • ENTERTAINING
    • Birthday Party
    • Party
    • Wedding
  • SHOP
Please note: This page may contain affiliate links. If you click a link and choose to make a purchase from the partnership site, I will earn a commission. Thank you for supporting Mad in Crafts!

PLAID CARDBOARD DEER HEAD

November 16, 2015 by madincrafts 2 Comments

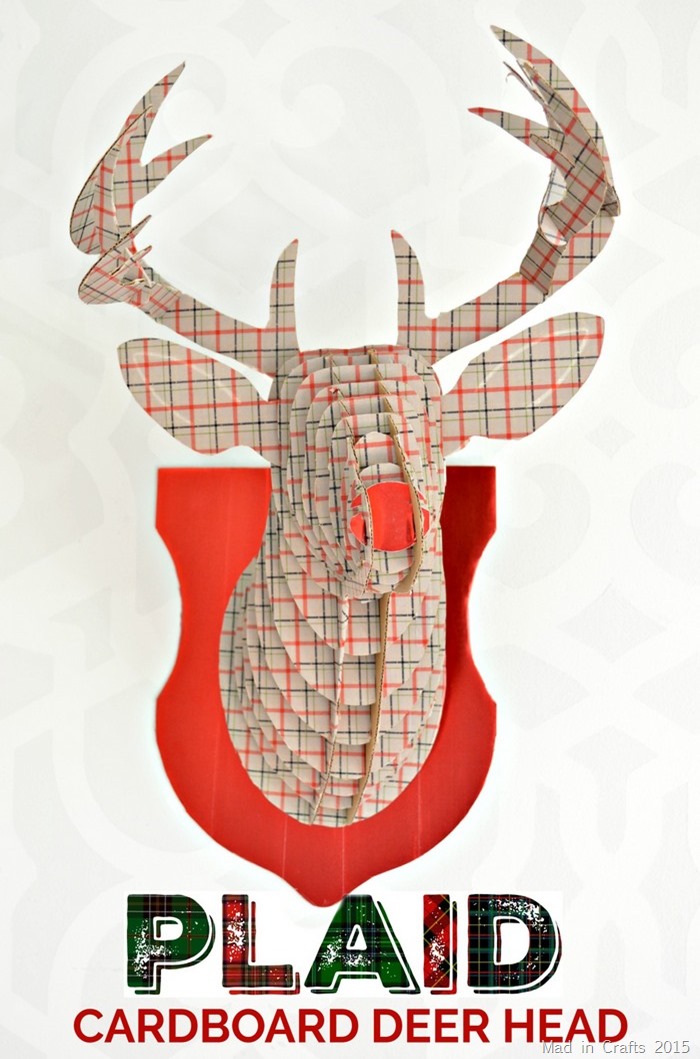
Plaid Cardboard Deer Head

A few weeks back I ran to Joann with a specific shopping list.  They didn’t actually have anything I needed in stock, but I still managed to leave with two full bags of goodies.  Among that haul were a cardboard taxidermy kit and two rolls of plaid decor tape!  People have been making cardboard taxidermy for years now, so I am very late to this bandwagon, but I was excited to add my holiday plaid touch to the standard mount.

mad-for-plaid-square_thumb.jpg

This is just the beginning of Mad for Plaid week!  I will share a Christmas DIY every day this week, and some of my crafty friends will be getting in on the action as well.

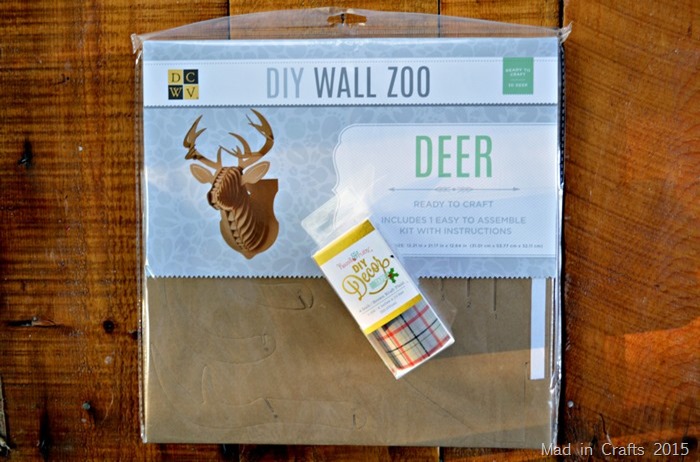
supplies

I found my supplies at JoannPLAID CARDBOARD DEER HEAD for a reasonable price — made more reasonable by their weekly coupon. 

apply pieces to tape

I began by carefully punching all the deer head pieces out of the cardboard.  I then got busy applying the tape to each piece, matching the pattern up if I needed multiple strips of tape.  

For most pieces, I only covered one side with tape, since the backside would not be visible when assembled.  I made sure I was applying the tape to the side of each piece that did NOT have the assembly numbers, so I didn’t have to play a guessing game when it was time to put the piece together.  A few of the antler pieces need tape on both sides because they are visible after assembly.

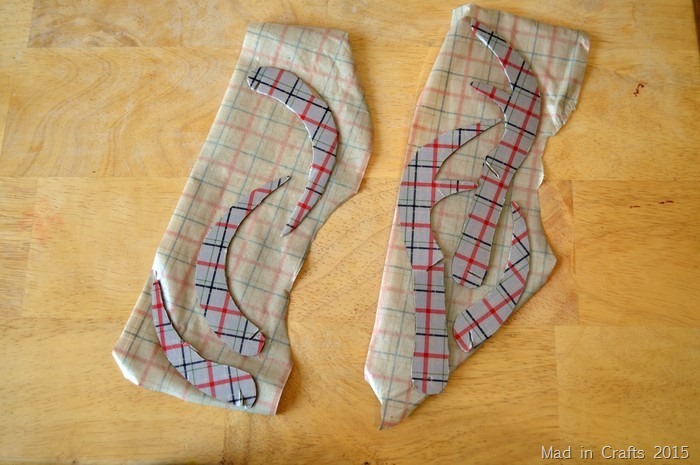
trim away excess tape

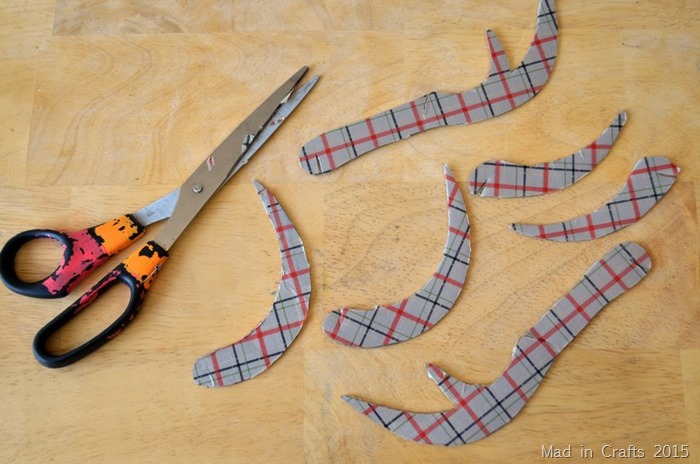
After applying tape to each piece, I carefully trimmed the excess tape away.  I think using a craft knife would have been even easier than using scissors, but I was too lazy to haul out my cutting mat.  Be sure to cut the tape away from the notches that are used to connect the pieces for assembly.

When all was said and done I used just shy of two rolls of the plaid tape to cover my deer head.

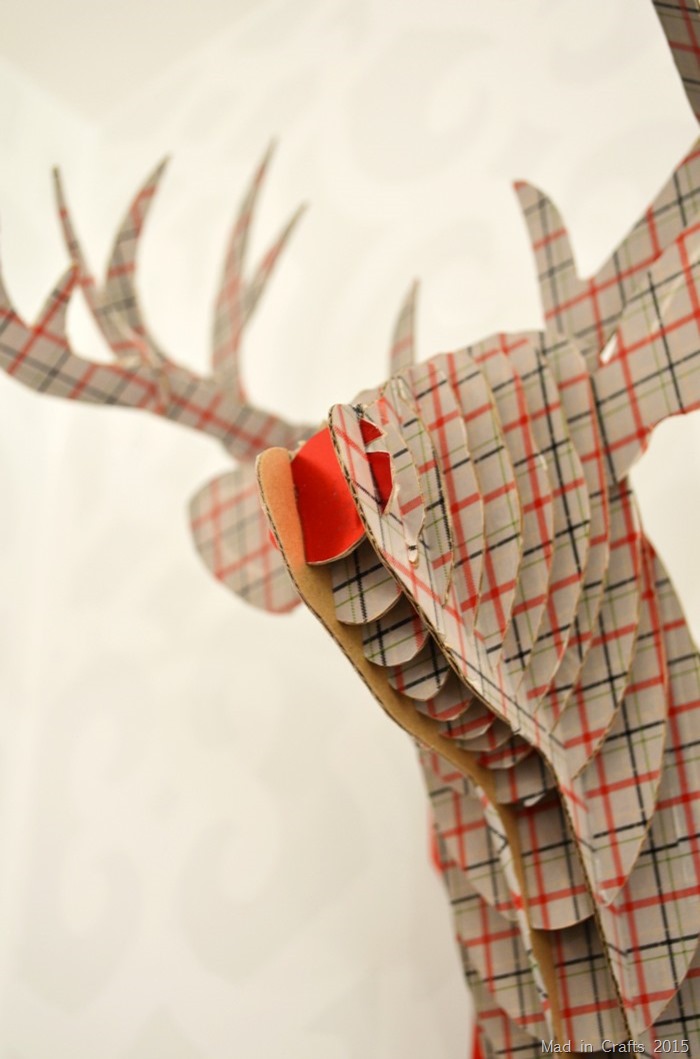
washi tape on cardboard deer head

Putting the deer head together was much easier than I was anticipating.  The pieces are cut very well and the notches are perfectly placed.  

If you are looking at the deer head very closely, from very specific angles, you can see that I didn’t cover every inch of it with the plaid tape.  It’s pretty unlikely anyone will notice, and it saved me a lot of taping.

output_rhwuNJ

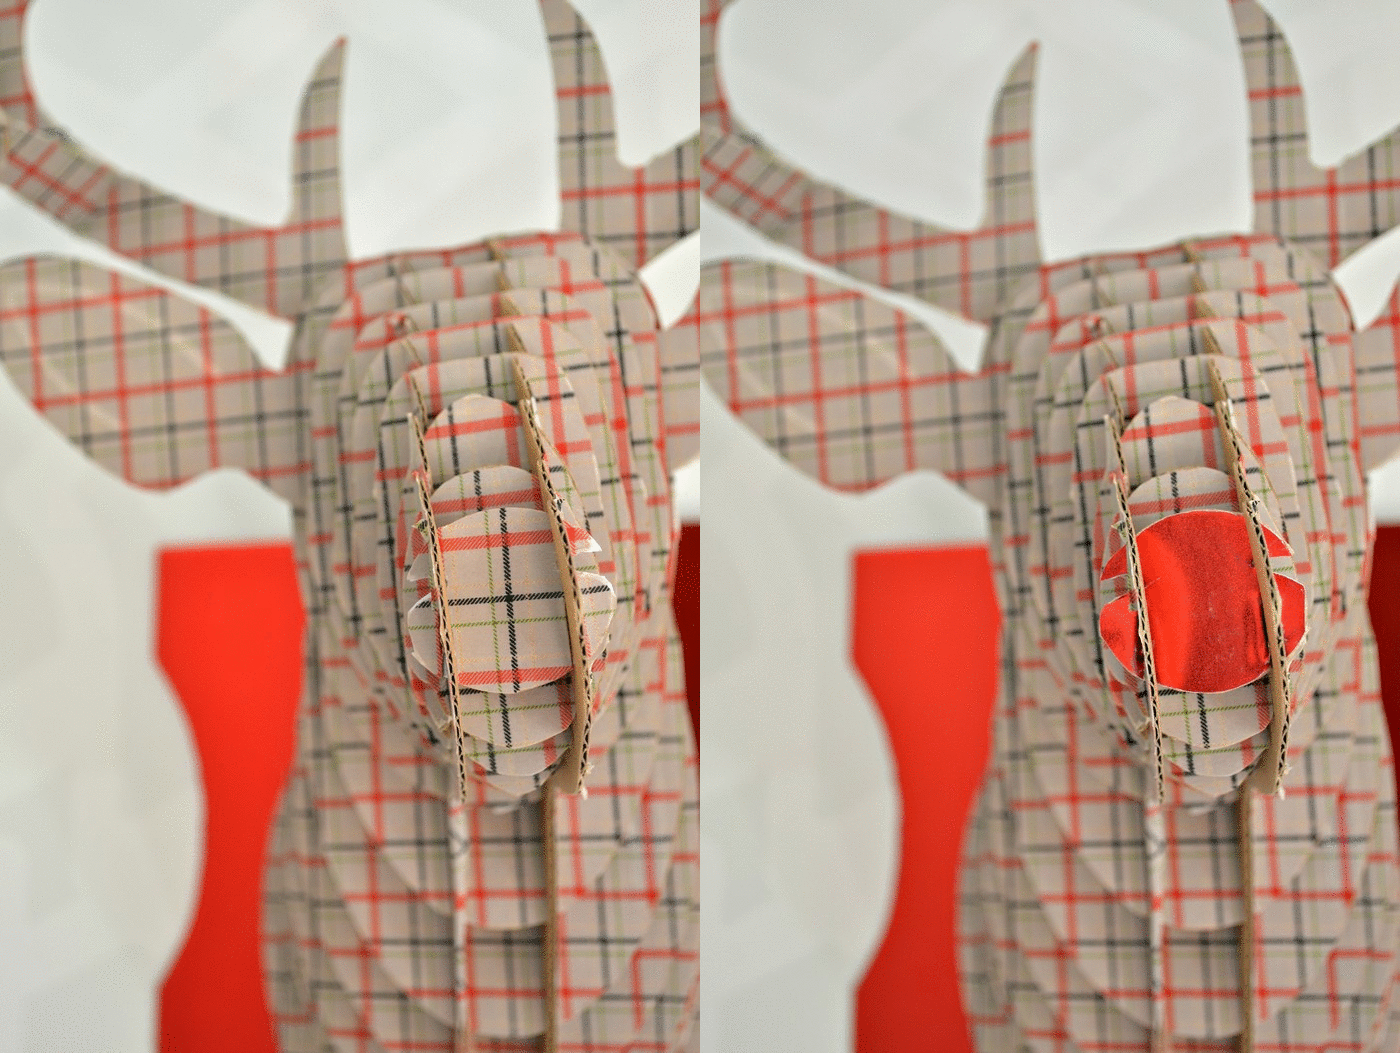
 I used the plaid washi tape on one side of the nose piece, and red decorator tape on the other.  

output_wYxwez

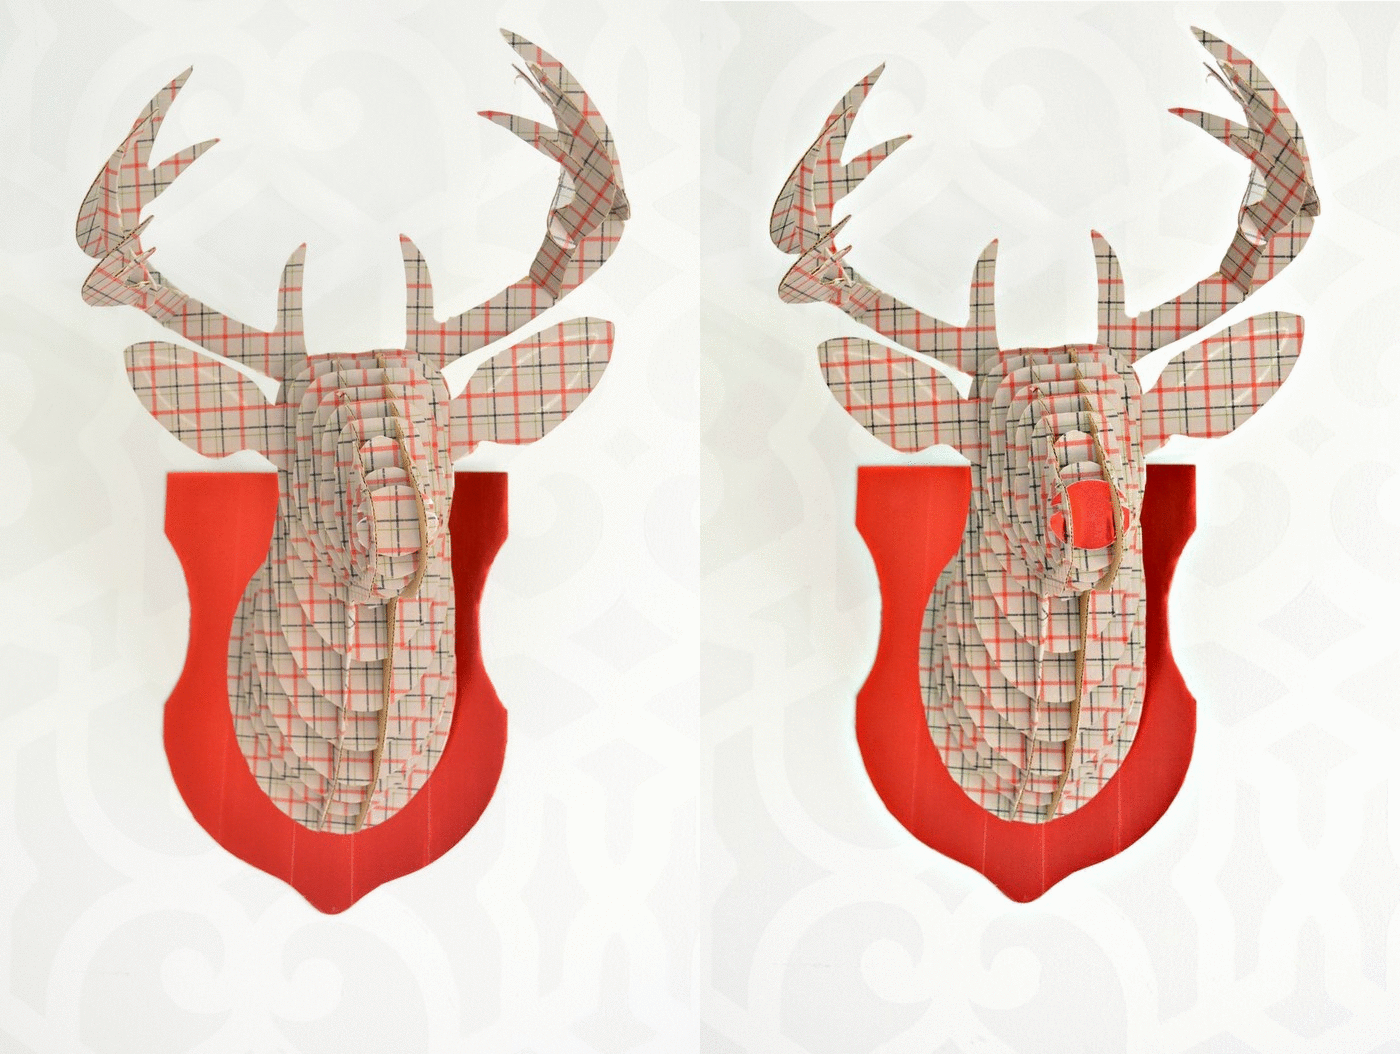
Now I can switch him from regular plaid deer to plaid Rudolph just by switching his nose around!  I used the same red tape on the “mount” of the piece.  I originally covered that with the plaid tape too, but the deer just blended into the mount.  I like the contrast of the red and the plaid, and I think he will make a great addition to all my other plaid Christmas decor (that you can find in a the gallery linked in my sidebar >>>).

Stay tuned this week for more plaid tutorials and pop over to these great blogs for their fantastic contributions to Mad for Plaid week!

Becoming Martha
Sweet Rose Studio
The Country Chic Cottage
365 Days of Crafts

Filed Under: Christmas, Plaid Tagged With: affiliate, cardboard, Christmas, Christmas decorations, deer, plaid, reindeer, rudolph, tutorial, washi tape

Share on Facebook
Facebook
Pin on Pinterest
Pinterest
Tweet about this on Twitter
Twitter
Share on LinkedIn
Linkedin
              

Trackbacks

  1. Plaid Christmas Decor Ideas For The Holidays - House of Hawthornes says:
    May 21, 2019 at 1:08 pm

    […] also made this super cool Plaid Cardboard Deer Head. I see these cardboard cutout guys at the store all the time and I never once thought to fancy them […]

    Reply
  2. 12 Plaid Christmas Crafts – The Country Chic Cottage | 1000 – Modern says:
    June 12, 2020 at 1:50 am

    […] madincrafts.com/… […]

    Reply

Leave a Reply Cancel reply

Your email address will not be published. Required fields are marked *

Recipe Rating


About Jessica

Search the blog…

Gallery of Valentine's Day Crafts
DIY Home Organization
Delicious Dessert Recipes

Copyright

You're welcome to link to Mad in Crafts or use a single image with a brief description to link back to any post. Republishing posts in their entirety is prohibited. Feel free to pin on Pinterest!

Affiliate Disclosure

Jessica Hill is a participant in the Amazon Services LLC Associates Program, an affiliate advertising program designed to provide a means for sites to earn advertising fees by advertising and linking to Amazon.com

Copyright © 2021 · Metro Pro Theme on Genesis Framework · WordPress · Log in

We use cookies to ensure that we give you the best experience on our website. If you continue to use this site we will assume that you are happy with it.Ok