The cold winter months always seem to bring some cold or respiratory virus along with them. I am always looking for ways to soothe coughs, headaches, and sinus congestion during cold and flu season. Vicks usually helps at night and hot showers usually help during the day, but what if I could combine those two things into one? I made these eucalyptus and peppermint shower melts to try to do just that.
Jump to RecipePEPPERMINT & EUCALYPTUS DIY SHOWER MELTS
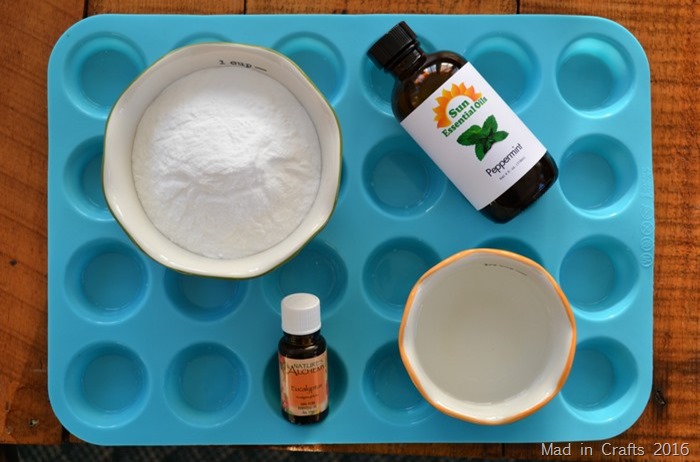
Ingredients You Will Need
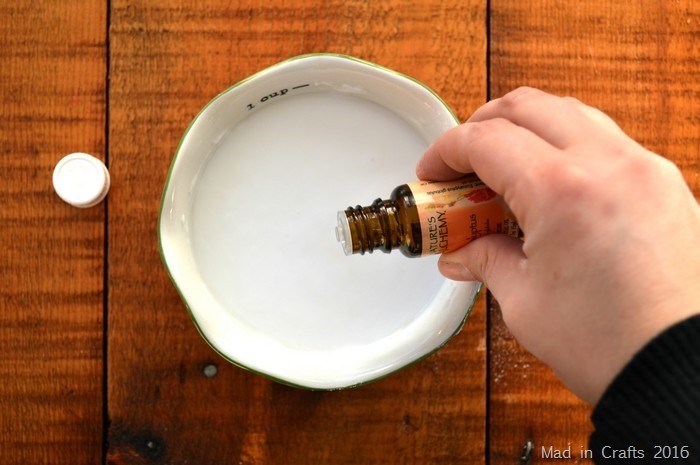
The melts are made from essential oils (don’t worry, I am not trying to sell you any) and baking soda. The baking soda is just a vehicle to get the oils into the shower’s steam. PS Do you see the cute little face in my bowl of baking soda?
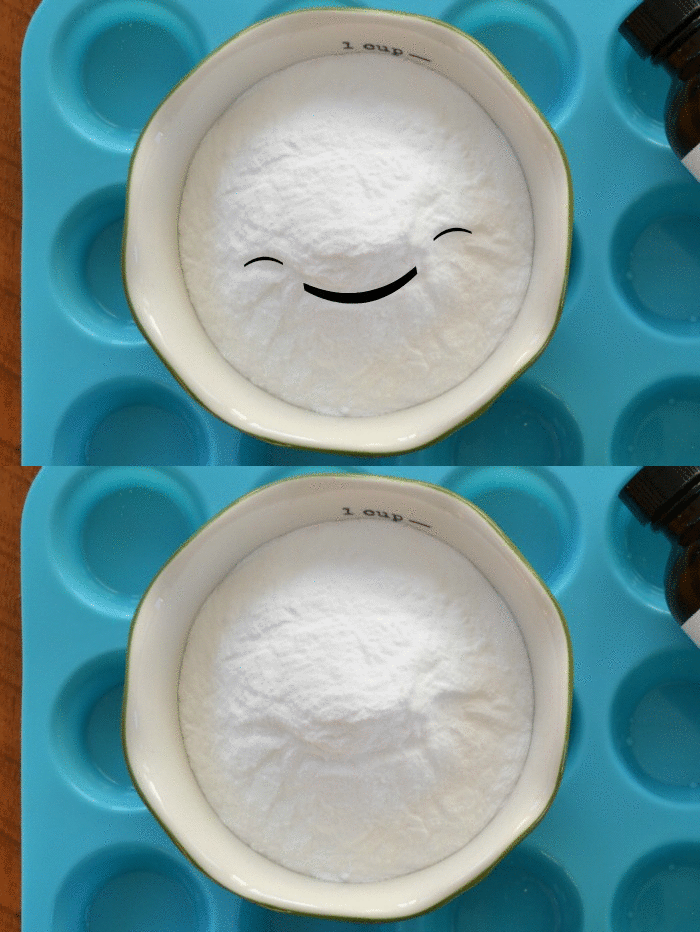
Anyway, I chose to use peppermint and eucalyptus oils because they remind me of the smell of Vicks which I always find relaxing. If you would rather, you could use citrus oils or lavender essential oil in your shower melts.
These are all affiliate links, if you make a purchase (of anything from the site, not just these items) after clicking through, I will earn a small commission. Ads and affiliate links are the way I am able to keep this website running and to offer you free tutorials all year long. Thank you so much for supporting me and Mad in Crafts!

Want to know which craft supplies I always keep in my craft room?
Visit the Mad in Crafts Amazon Storefront to learn more and to buy your own supplies!
Homemade Shower Melts Recipe
PEPPERMINT & EUCALYPTUS SHOWER MELTS
Equipment
- silicone molds
Materials
- 1/3 cup water
- 1 cup baking soda
- 20 drops eucalyptus oil
- 20 drops peppermint oil
Instructions
- In a medium bowl, mix together water and baking soda.
- Add in the peppermint and eucalyptus oil.
- Stir the mixture well.
- Spoon the mixture into a silicone baking pan.
- Bake the melts in a 350 degreen oven for 20 minutes.
- Let the pan of melts cool before de-moliding the shower melts.
Begin by thoroughly mixing the water and baking soda. The mixture will not seem very wet, which is a good thing. If your mixture is too wet it will take forever to bake.
After you have mixed the water and soda, add in 20 drops of eucalyptus oil and 20 drops of peppermint oil. You can adjust the amount based on your personal preferences, but that is a good ratio from which to start.
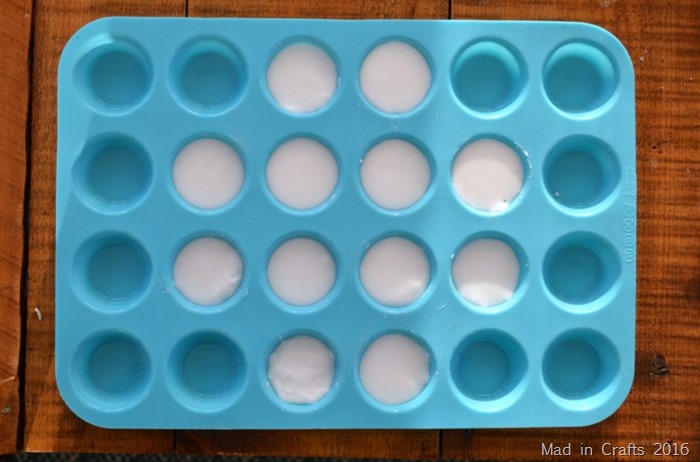
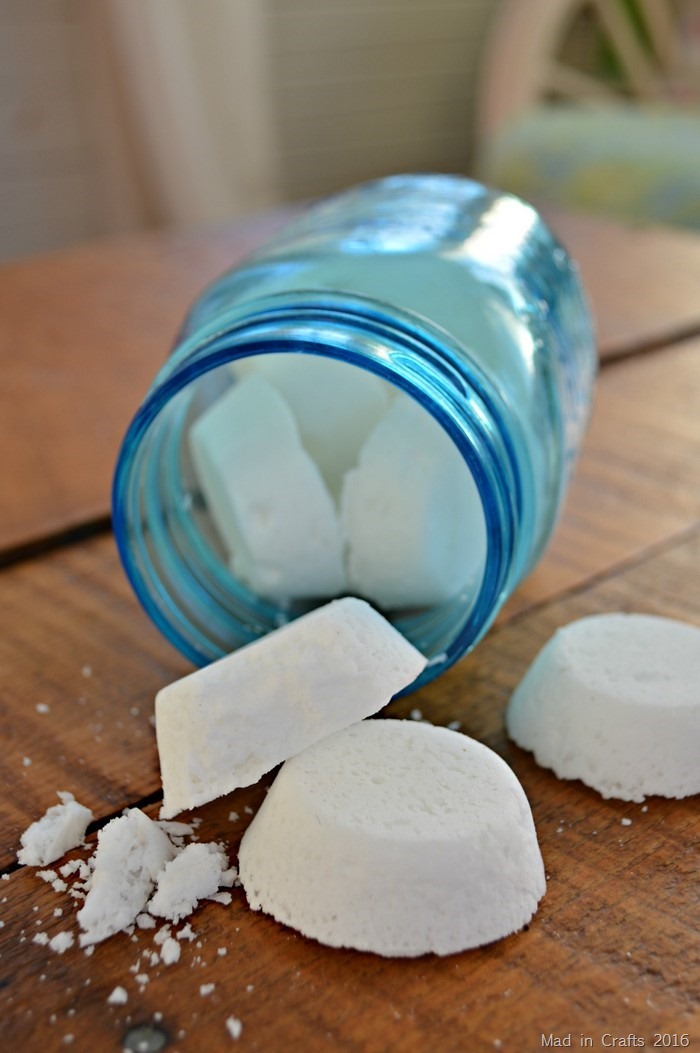
Stir the oils into the soda mixture, and then spoon the mixture into a muffin tin. I used a silicone mini muffin pan, which works really well for this project. The silicone makes it easy to pop the finished discs out without smashing them. However, the silicone pan is floppy, so be careful when carrying it.
Bake the mixture in a 350 oven for 20 minutes. If you are using a metal pan or a regular-sized silicone muffin pan, your bake time may vary. I would suggest setting a timer for 20 minutes and then checking on the discs every 5 minutes after that to see if they are fully dried.
Remove the pan from the oven, and let the whole thing cool.
How Do You Store DIY Shower Steamers?
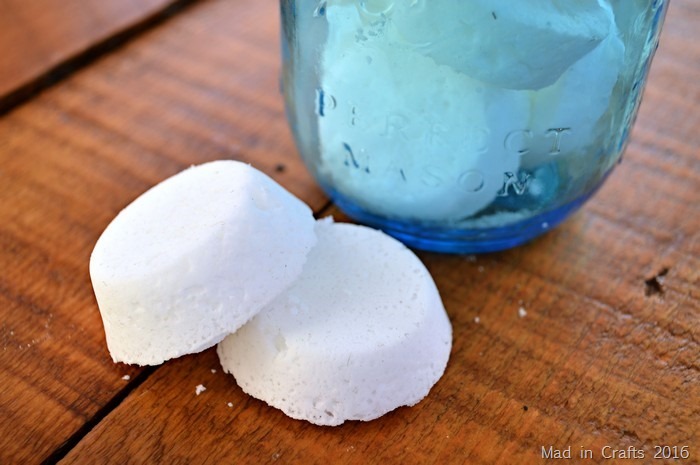
Before you pop the discs out of the pan, add a few more drops of the essential oils to each disc for added scent. Store the discs in an airtight container until use. Humidity is the enemy of these little guys.
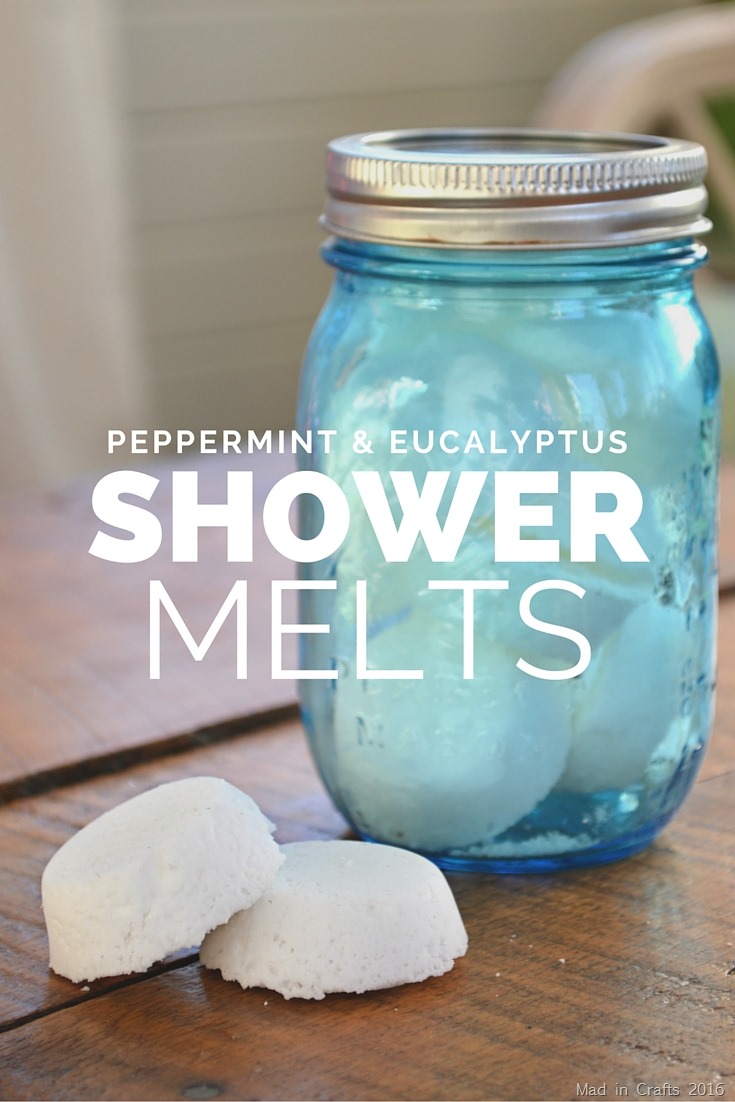
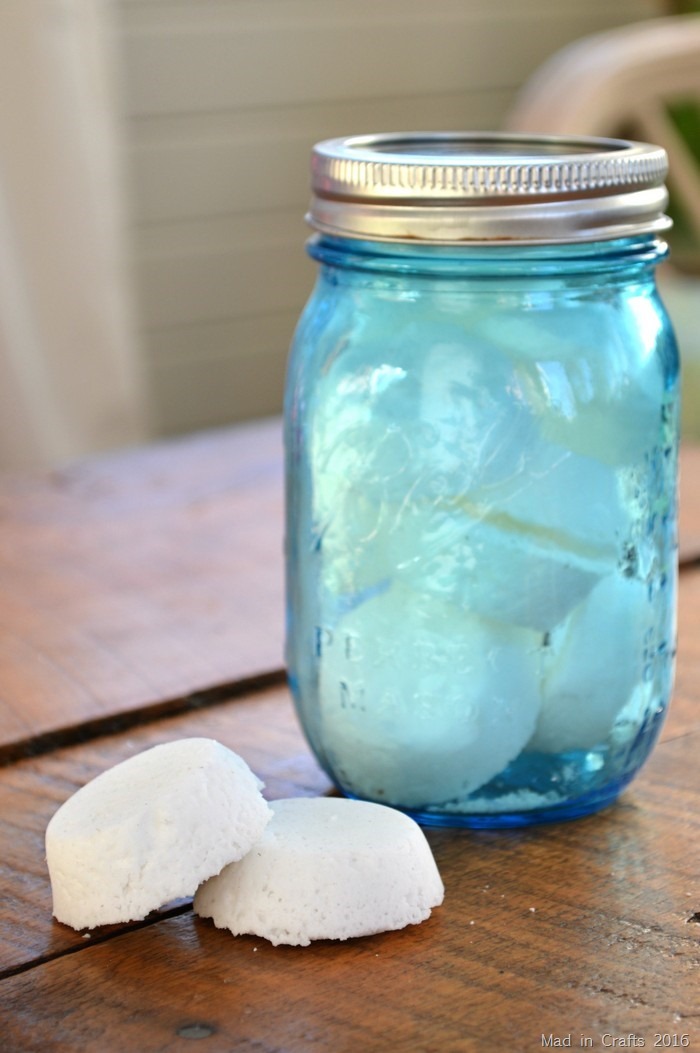
I suggest placing a few steamers in a glass jar if you are going to give these as gifts. Add a bit of ribbon and a tag that explains what they are and how to use them.
How Do You Use These Shower Melts?
If you are feeling stuffed up, or if you just want an amazing-smelling shower, place one or two discs at the end of your shower farthest from the shower head. That way the water will still hit the discs, but it won’t dissolve them immediately.
Make sure you are using these shower tablets correctly (especially if your kids may use them). They are meant to be used in the shower. They are not bath bombs. DO NOT use them in a bath. DO NOT use them in a humidifier. DO NOT eat the shower melts. That would just be dumb.
The bonus of these shower melts, unlike with other spa products, is that they are actually good for your shower drain. After you finish your shower, pour a little white vinegar down the drain to combine with the baking soda and loosen up the gunk down there. I can’t promise that it will clean out your drains, but it should not hurt them.



A fantastic list of things you can make, and still be environment friendly. Love these little gems of information you can find on Pinterest. Will certainly visit again. Thank you
I used citric acid in my mix from another recipe, and they crumbled really bad when I tried to take them out of my mold 🙁 Is there any way to rescue them? Can I rehydrate the powder and bake in a silicone mold? I was just wondering since my mix has citric acid in it. Thanks!
The citric acid may have reacted with the water to give you the crumbly result. You might be able to break the melts up with a fork or whisk, and add in more oils to help them bind together better. Then leave them out to air dry, instead of baking them in the oven. If all else fails, just store the crumbles in an air tight jar, and shake some onto the floor of your shower before showering. Hope that helps!
I made these last night and followed the instructions except I added some food coloring and when I baked them in the oven they puffed up way over the edge and after 50 minutes of baking I was sure they were done, but then they cooled off and I tried to pop them out of the silicon mold some of them crumbled and others were done and I noticed they were still damp inside. So do I just keep baking them until they are all dry and do I not fill them to the top since they puffed up or was that due to the food coloring. Please give suggestions.
I am sorry your first batch didn’t turn out the way you liked. There are a few things that may have contributed to your frustration. First, your mixture may have been a bit too wet to start with. The water is added to the mixture only to hold the mixture together. Reducing the water amount from 1/3 cup to 1/4 cup might help. Second, the silicone mold I used for my melts has quite small cavities (about 2 inches in diameter and 1/2 inch depth). If the pan you used has larger cavities (or isn’t silicone), your melts will take much longer to fully dry. You could try baking them longer, and then turning off the oven and leaving the pan in the oven overnight. This may help dry the melts out more thoroughly. I am not sure what caused your melts to puff up unless there was some reaction to something in the food coloring. Baking soda should not react with water or essential oils in that way. I hope this helps!
Thank you for replying. I will try that tonight and see if that works. My molds are slightly larger so I am going to not fill them up and see what happen.
I did what you suggested and it worked perfectly. Thank you!!
I am so glad! Thanks for sharing the update too!
Why can’t you use them in the bath? I use baking soda in the bath for a skin condition I have regularly. The ingredients are very similar to a bath bomb. Just curious if I am missing something here. Thanks!
There is no carrier oil in these melts, and using peppermint oil directly on the skin can be irritating for some people. Bath bombs usually have a carrier oil (like coconut oil or sunflower oil) included in the ingredients.