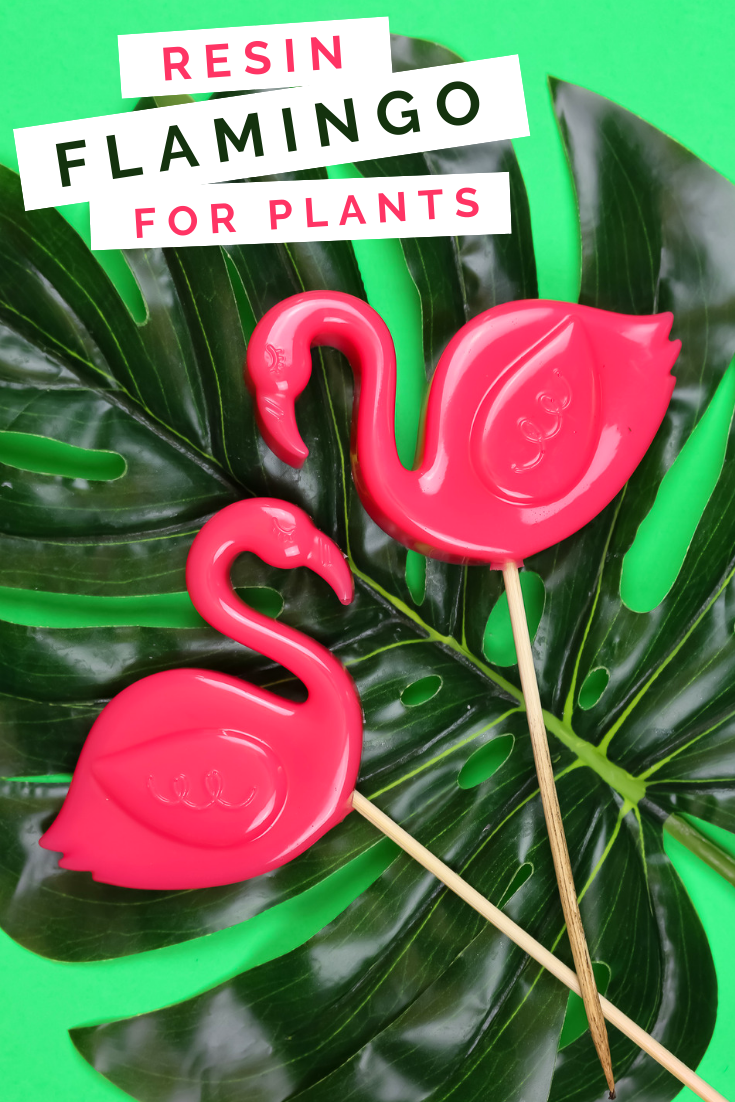
Not ready to let go of the warm weather fun of summer? You can make adorable miniature lawn flamingos to decorate your indoor plants to keep the summer vibes going all year round! I used a silicone popsicle mold and some easy to mix resin to create my tropical friends! Read on to learn how to make a set of your own.
MINIATURE LAWN FLAMINGOS FOR YOUR PLANTS
WHAT YOU NEED TO MAKE MINI LAWN FLAMINGOS
![]()
I found this silicone mold in the dollar area at Target last summer, so it might be difficult to find this exact mold. I will give you suggestions for alternatives in the product list below. You can also use the mini flamingo mold I used for these soaps to make itty bitty lawn flamingos!
These are all affiliate links, if you make a purchase (of anything from these retailers, not just these items) after clicking through, I will earn a small commission. Ads and affiliate links are the way I am able to keep this website running and to offer you free tutorials all year long. Thank you so much for supporting me and Mad in Crafts!
- Envirotex Lite
- Castin’ Craft resin pigment in red and white
- Mixing cups and stir sticks
- Gloves
- Flamingo mold (3D, smaller, cake mold)
- Skewers
HOW TO DYE RESIN
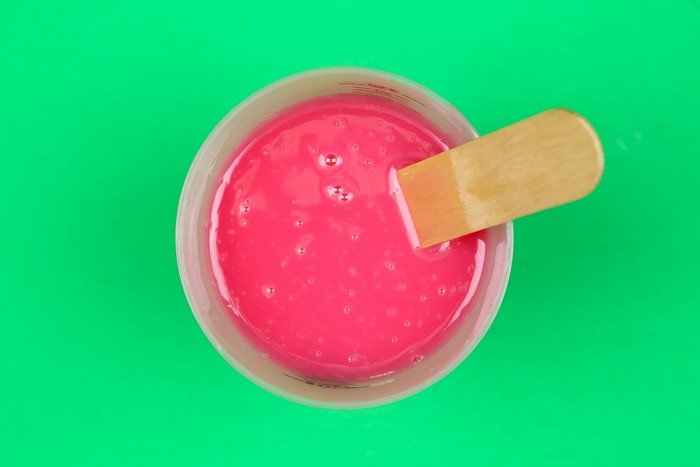
Wearing protective gloves (I buy mine at the dollar store), start by mixing the Envirotex Lite resin according to the package directions. You will want to use the two-cup mixing technique to make sure the resin is properly combined. Once the resin is mixed, add in a drop of white resin pigment and a drop of red. Start with just one drop of each, and then mix the resin fully before adding additional pigment. It’s easy to add more pigment but impossible to remove it once it’s mixed in. You are aiming for the vibrant pink of traditional lawn flamingos.
MAKING RESIN FLAMINGOS
![]()
If you find a silicone flamingo popsicle mold, insert a wooden skewer in the popsicle stick opening of the mold.
![]()
Next, use hot glue to seal up the hole around the skewer. Don’t skimp on glue! I wasn’t as thorough around one of my two skewers, and I ended up with a leak.
If you are using a different mold, you have two options. You can choose to pierce the mold to create a hole through which to insert the skewer. Or, if you don’t want to mess up your mold, you can wait until the resin has cured and use a high strength glue to add the skewer to the back of the flamingo.
![]()
Whichever route you take, next place the flamingo mold on a level surface. Carefully pour the pink resin mixture into the cavities of the silicone mold.
You can see that I had some of the resin leak out of the flamingo on the right side of the mold. This is why it’s always a good idea to protect your work surface when crafting with resin! I use dollar store posterboard, but a few layers of newspaper or a piece of old cardboard would work as well.
If any bubble rise to the surface of the resin, use a long arm lighter to pop them. Then cover the mold to protect the resin from dust and debris. Let it fully cure before removing the flamingos from the mold.
HOW TO USE MINI LAWN FLAMINGOS
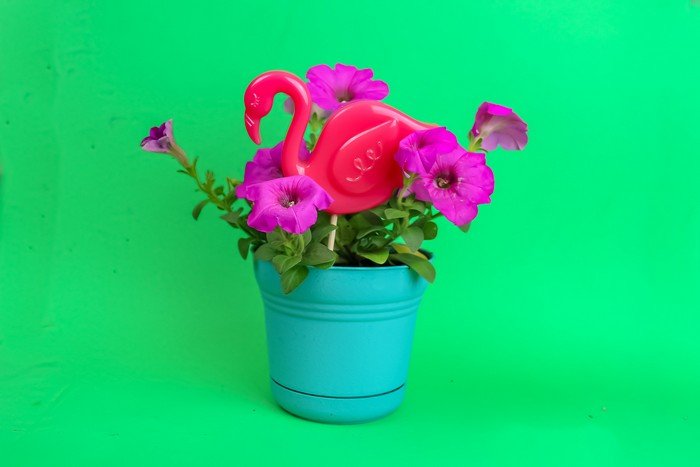
Didn’t this flamingo turn out so cute? Add your resin flamingos to potted plants or your flower garden for an additional pop of color!
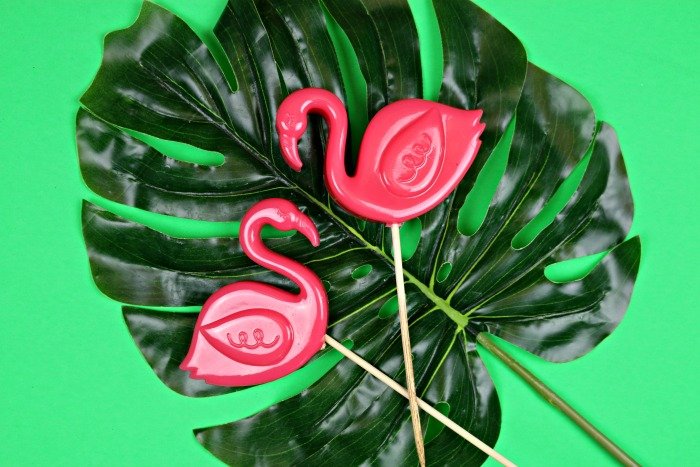
These guys would also make adorable party decor for any end of summer pool parties you have planned.
You might like these other DIYs:
PAPER AND RESIN SUCCULENT FRAME


I love the Flamingos they are so cute! I’ve been thinking about getting into some resin projects and maybe this could be my first. I will scour the dollar store shelves closer to summer time and see what I can find. Thanks for the tutorial it was informed and fun!
Yay! Thank you for the kind comment!