When I spotted that Mod Podge was releasing a line of resin and resin related supplies, I was so excited. I am a big fan of resin art, and Mod Podge is an incredibly trusted brand in the craft world. Plaid sent me some of the brand new supplies to try out, and I used them to make some beautiful coasters for our family room. Even newbies to resin crafting will be able to make marbled coasters with new Mod Podge Resin!
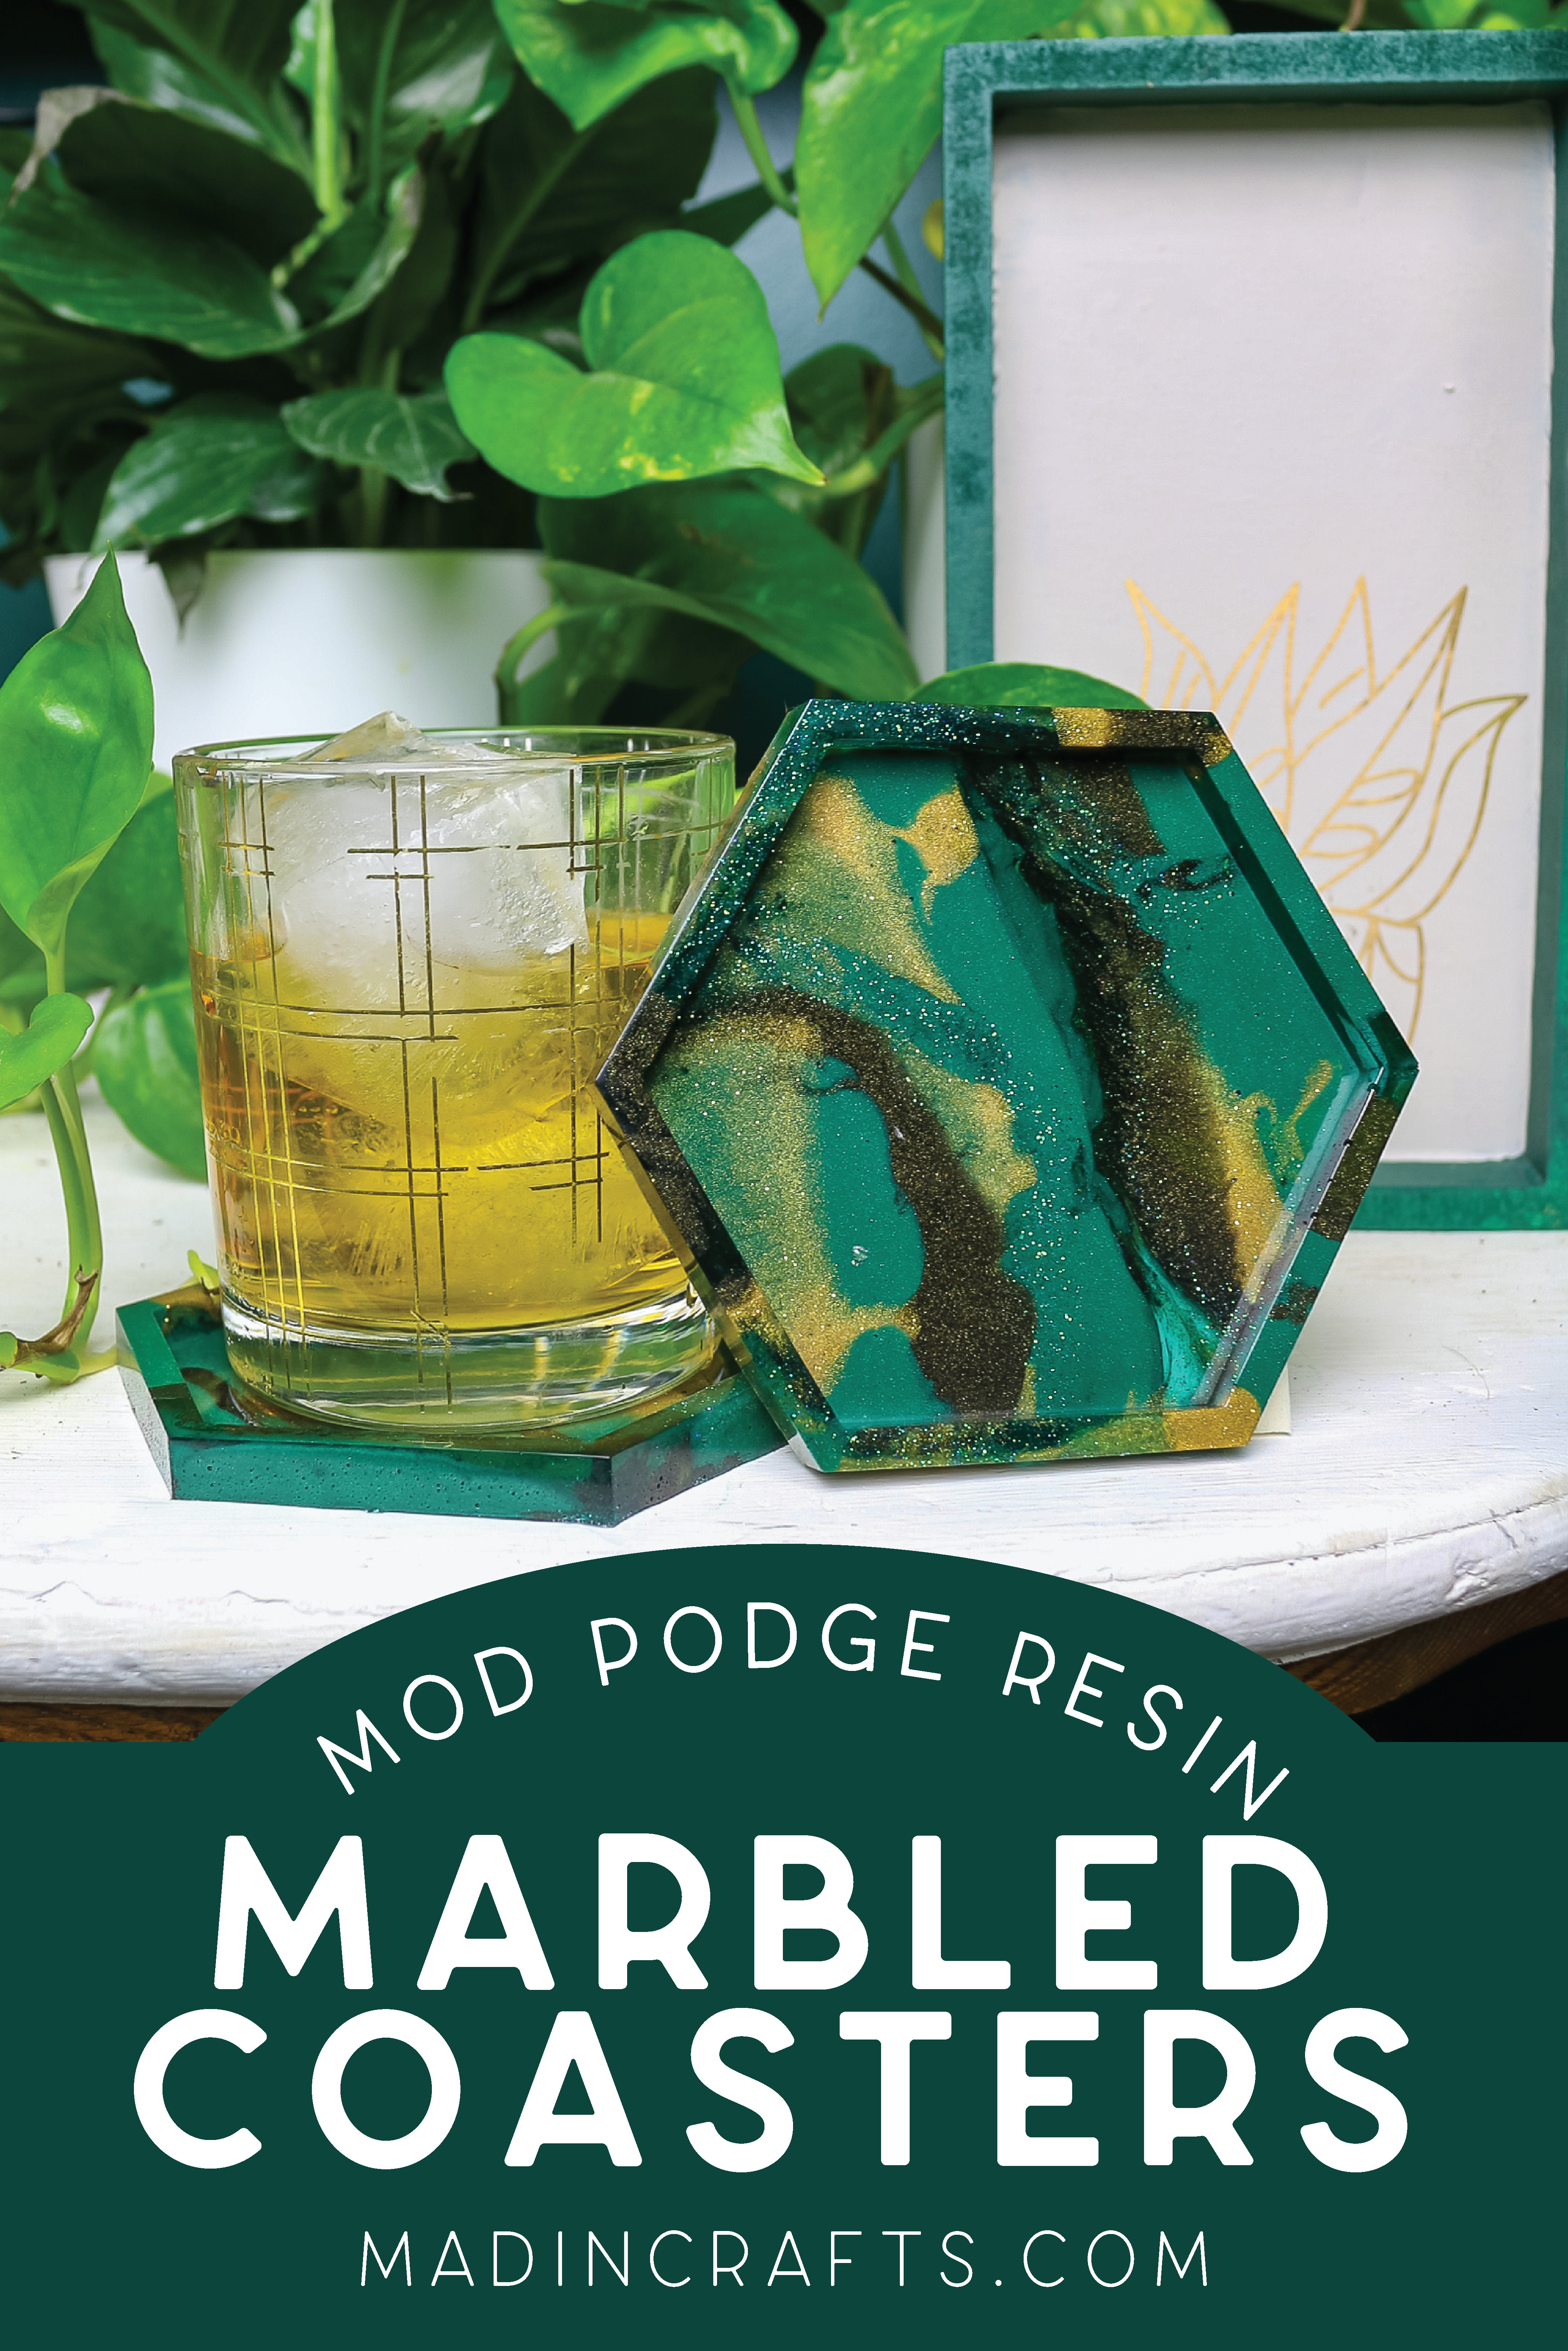
MARBLED COASTERS WITH NEW MOD PODGE RESIN
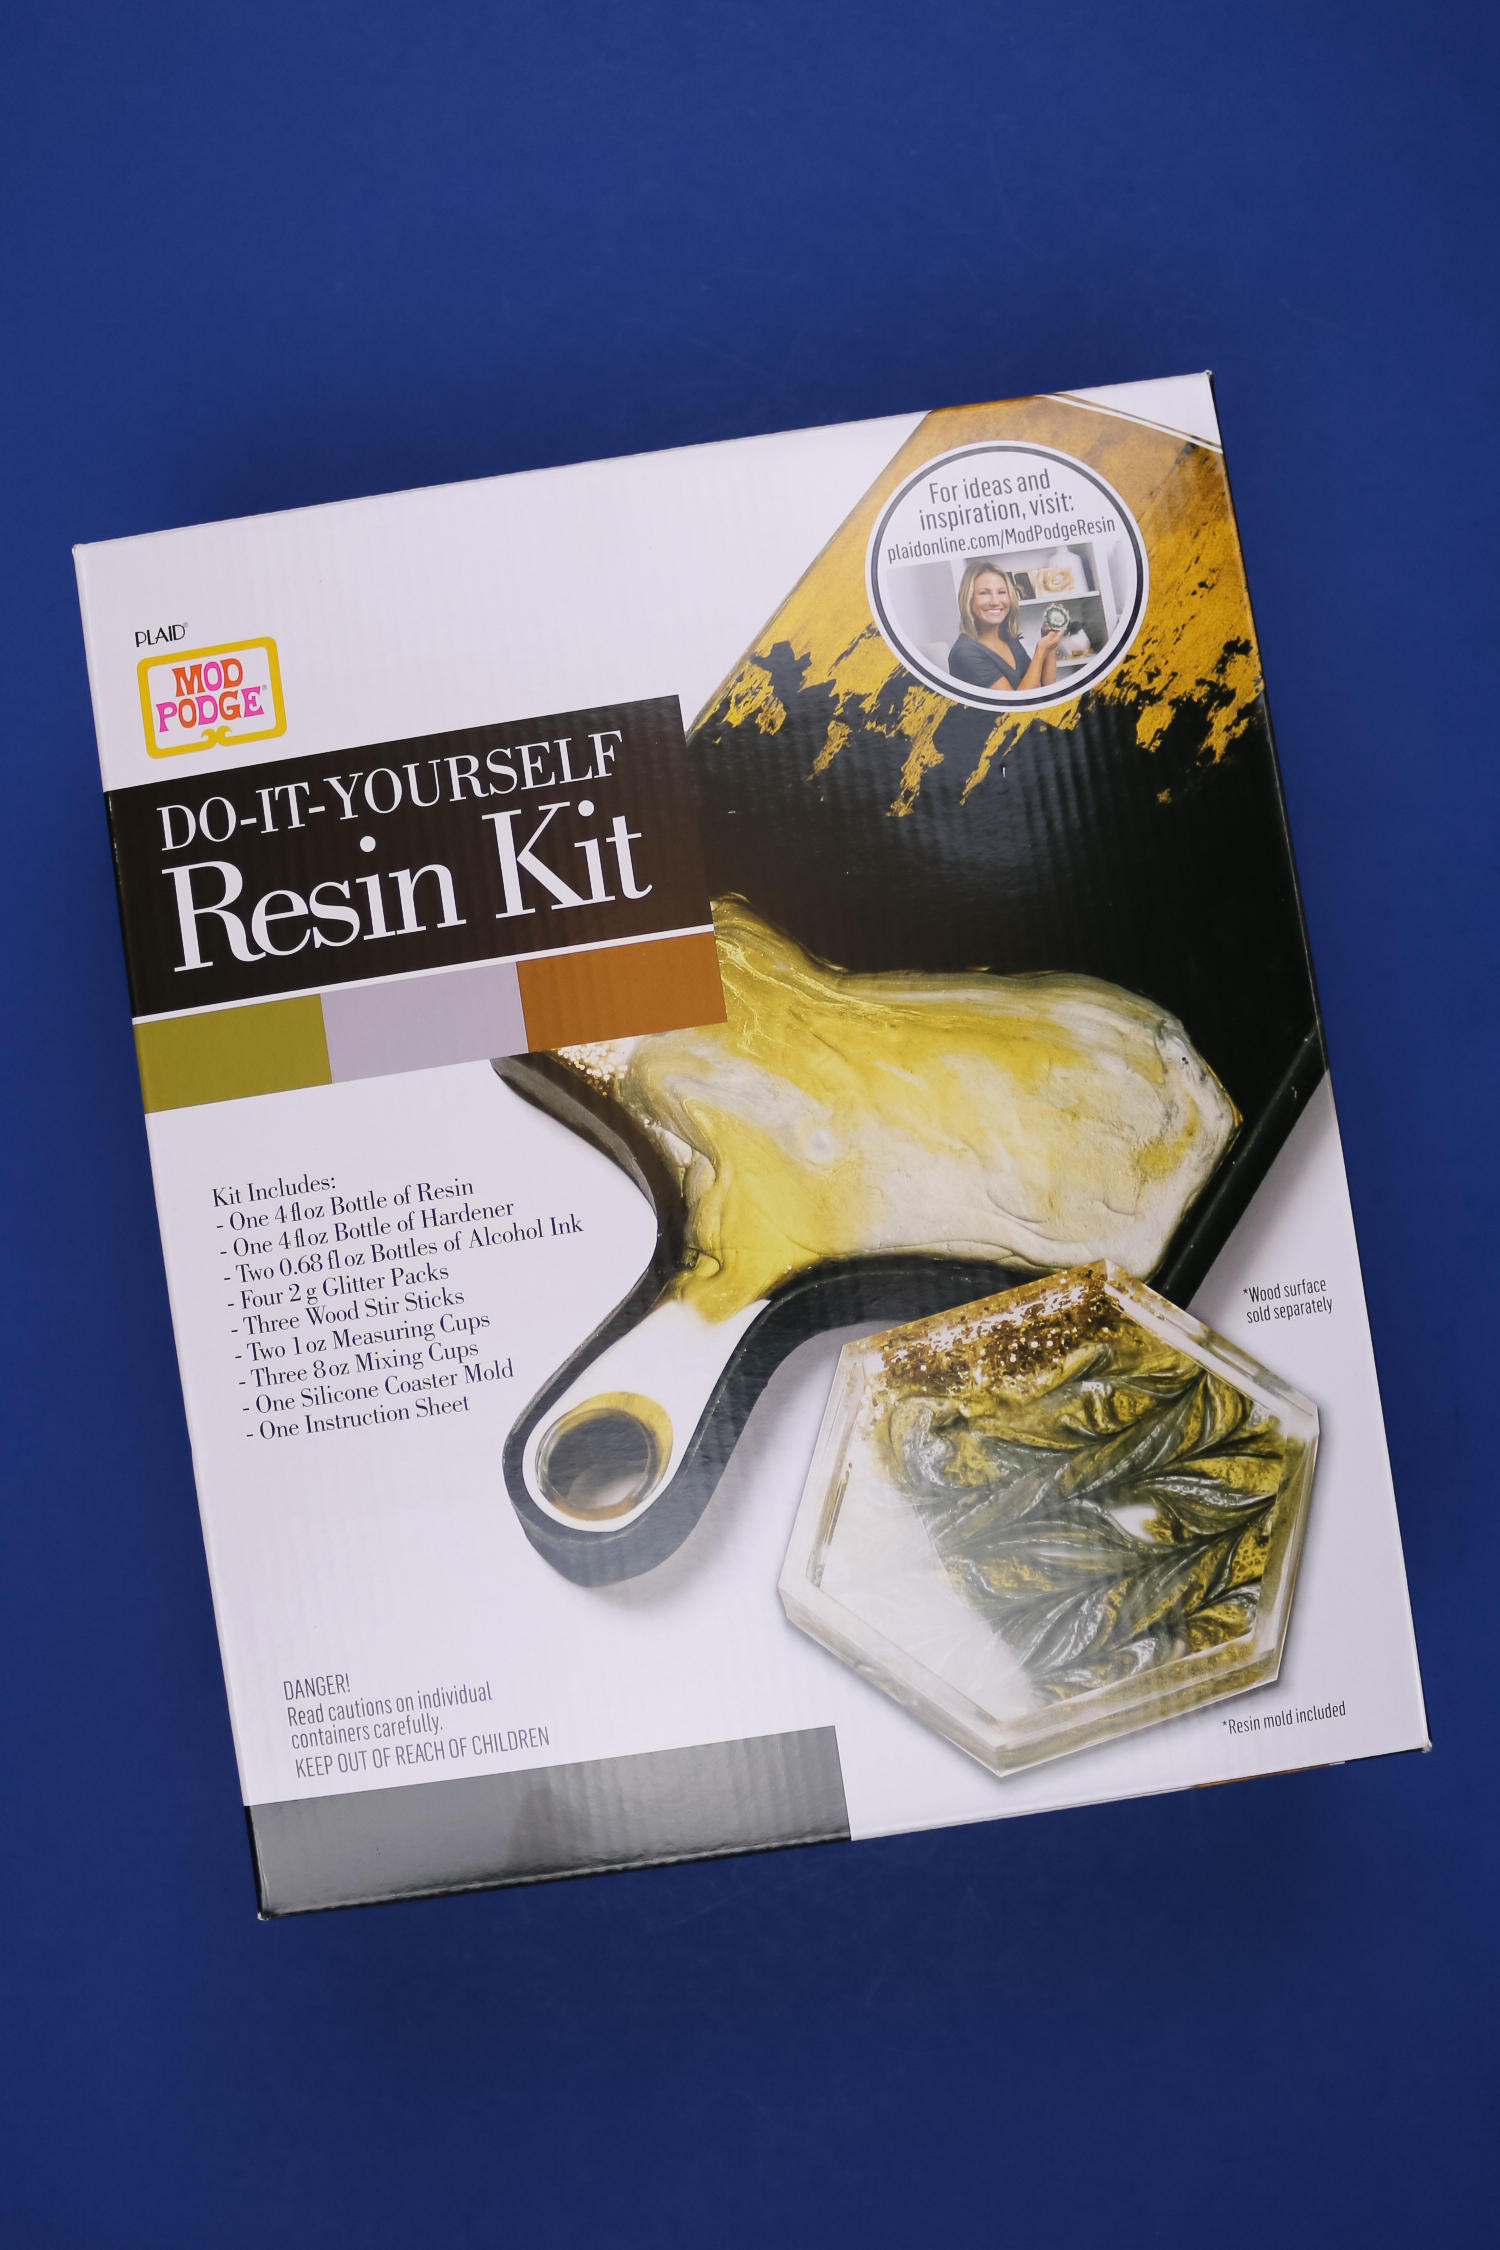
WHAT YOU NEED TO MAKE MARBLED COASTERS
I want to say thank you to Plaid for sponsoring this post. I was compensated for my work, but all the opinions in this post are 100% my own (like always).
Mod Podge has come out with DIY Resin Kits that have almost all of the supplies you need to create your own resin coasters right in the box. I mixed and matched Mod Podge supplies to make my coasters, so choose whatever works best for you.
These are all affiliate links, if you make a purchase (of anything from the site, not just these items) after clicking through, I will earn a small commission. Ads and affiliate links are the way I am able to keep this website running and to offer you free tutorials all year long. Thank you so much for supporting me and Mad in Crafts!
- Mod Podge Resin
- Silicone coaster molds
- Mixing cups
- Stir sticks
- Disposable gloves (I get mine from the dollar store)
- Silicone mat
- Alcohol ink
- Acrylic paint
- Glitter
- Long arm lighter
HOW TO MIX MOD PODGE RESIN
Mod Podge Resin is a 1:1 formula, which means that you always mix together equal parts resin and hardener. To determine how much resin your mold will hold, fill it with water and then dump that water into a measuring cup. That is how much resin you will need.
Plaid recommends that you measure each part in its own cup and then pour the two parts into a third cup before stirring for 3 minutes. (Tip: use the voice command on your phone to set the timer so you don’t get resin on your phone!)
After you have stirred for 3 minutes, let the cup of resin sit for another 2-3 minutes to let bubbles rise to the surface. There will still be some bubbles in the mixture, but this step will reduce the amount of them. At this point, you can add color and embeds into the resin mixture.
MIXING RESIN WITH ALCOHOL INK
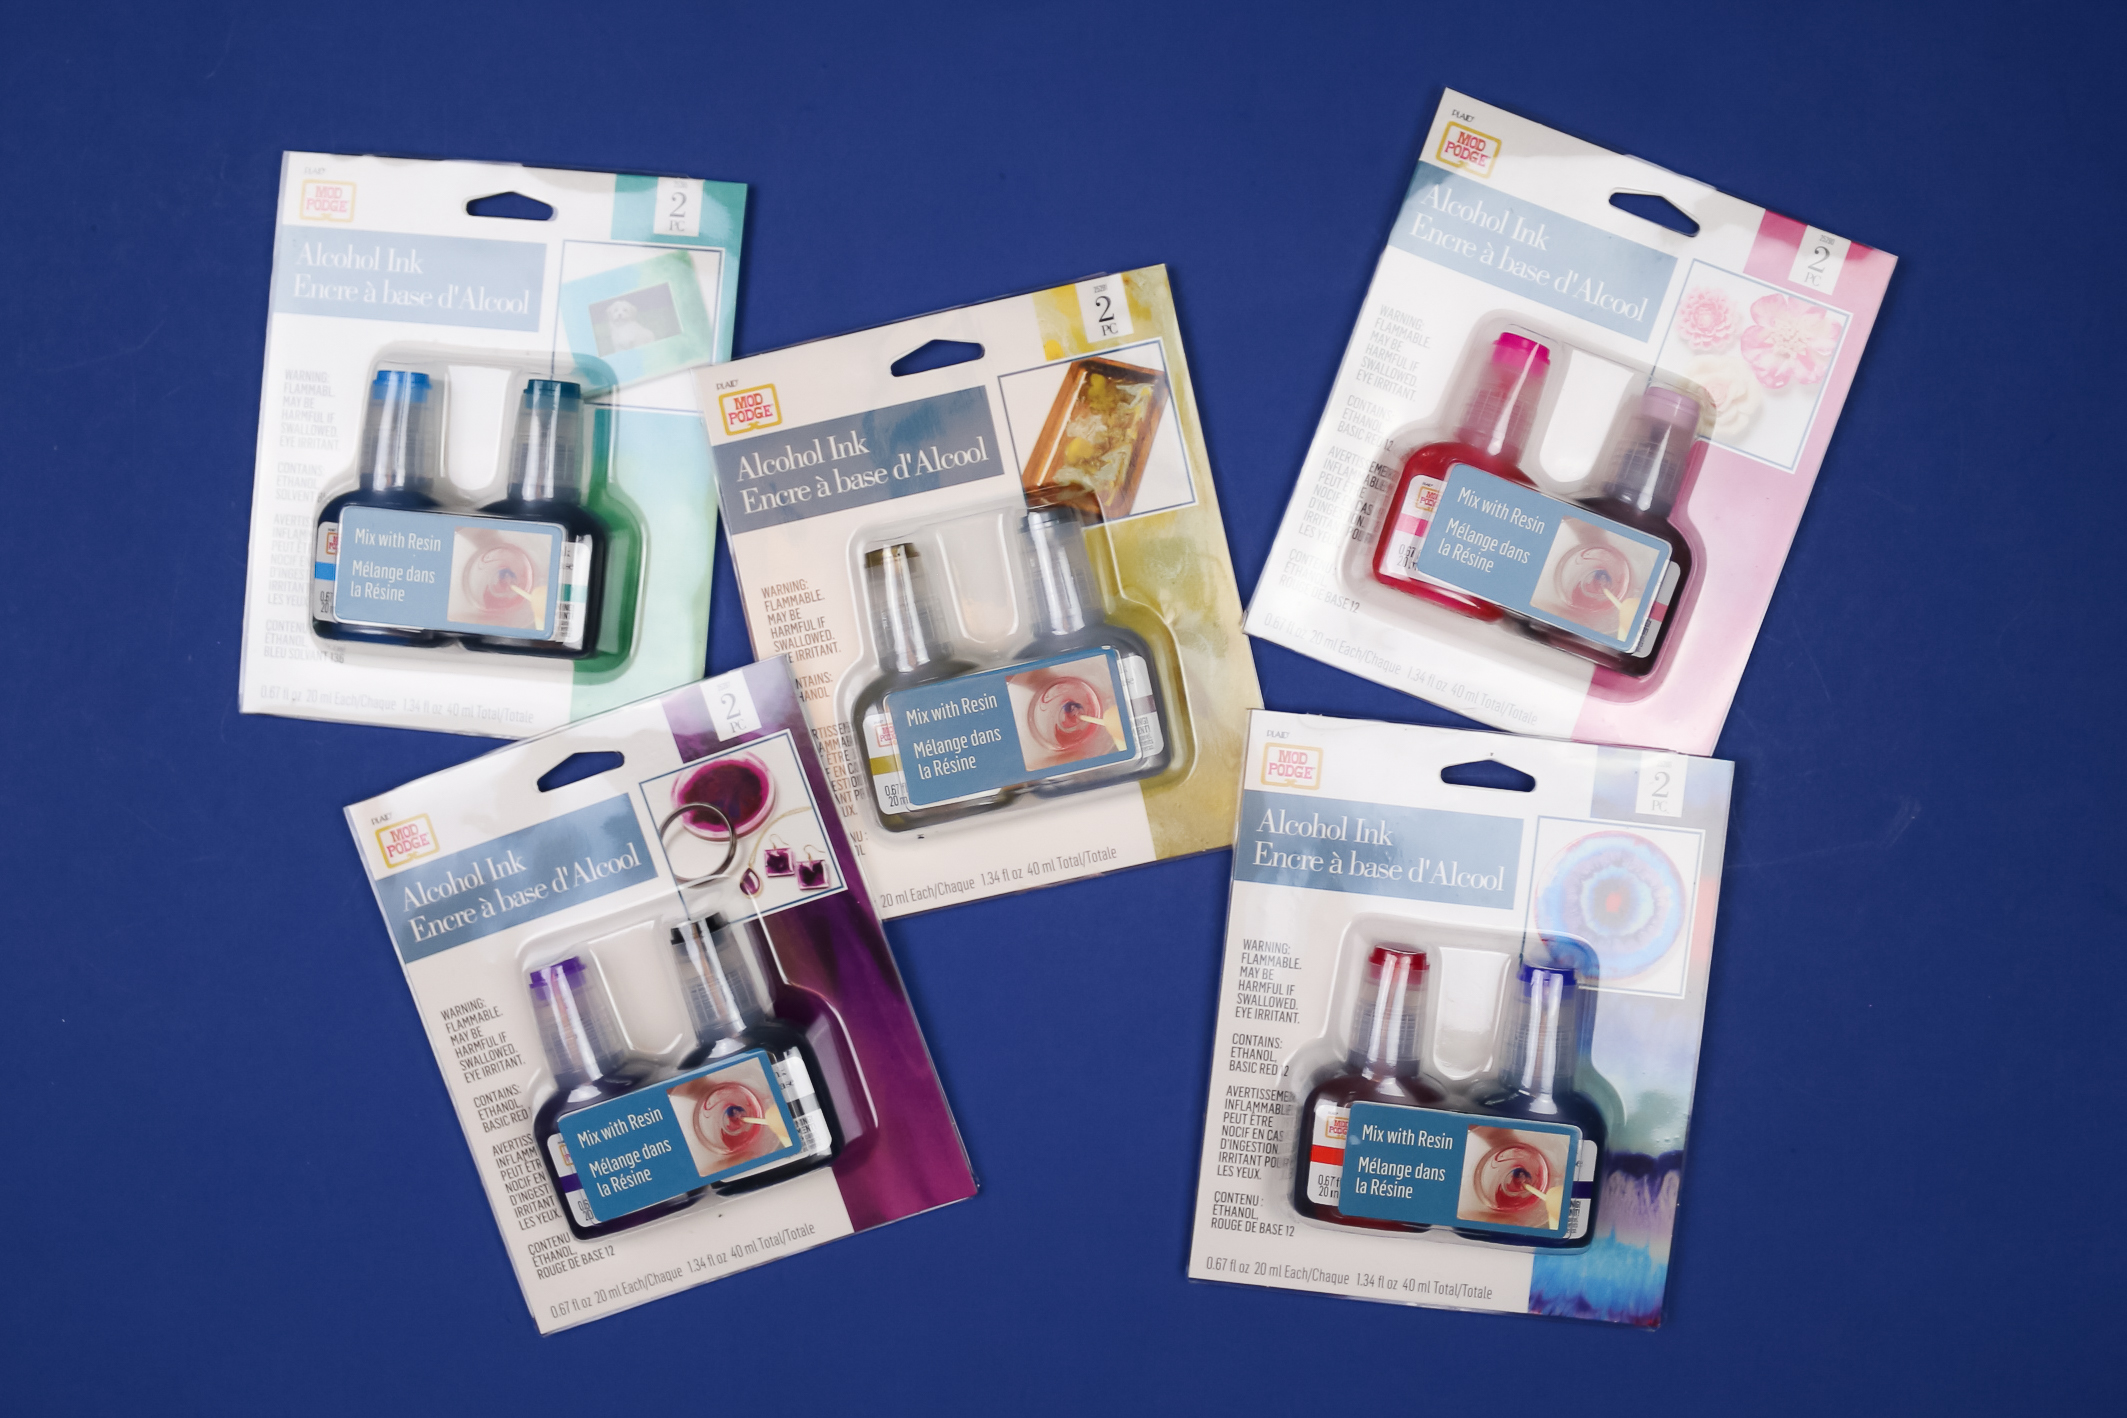
Mod Podge has come out with a line of alcohol inks that can be used for a wide range of craft projects, including resin projects. Add drops of the ink to your mixed resin to create transparent colors. Start with small amounts of the ink and build from there. Too much ink can affect how your resin sets up.
MIXING RESIN WITH ACRYLIC PAINT
For an opaque look, you can add custom color to your Mod Podge resin by mixing in acrylic paint! I recommend starting with a very small amount of paint and mixing it thoroughly. If the color isn’t as opaque as you would like, then add more. It’s always easy to add in more paint, but impossible to remove it if you add too much.
MIXING RESIN WITH GLITTER
You can add mix-ins like glitter, sequins, or other embeds to either clear resin, resin dyed with alcohol ink, or resin colored with acrylic paint. The glitter will show up better in clear or dyed ink; resin colored with paint is much more opaque.
USING MOD PODGE RESIN WITH SILICONE MOLDS
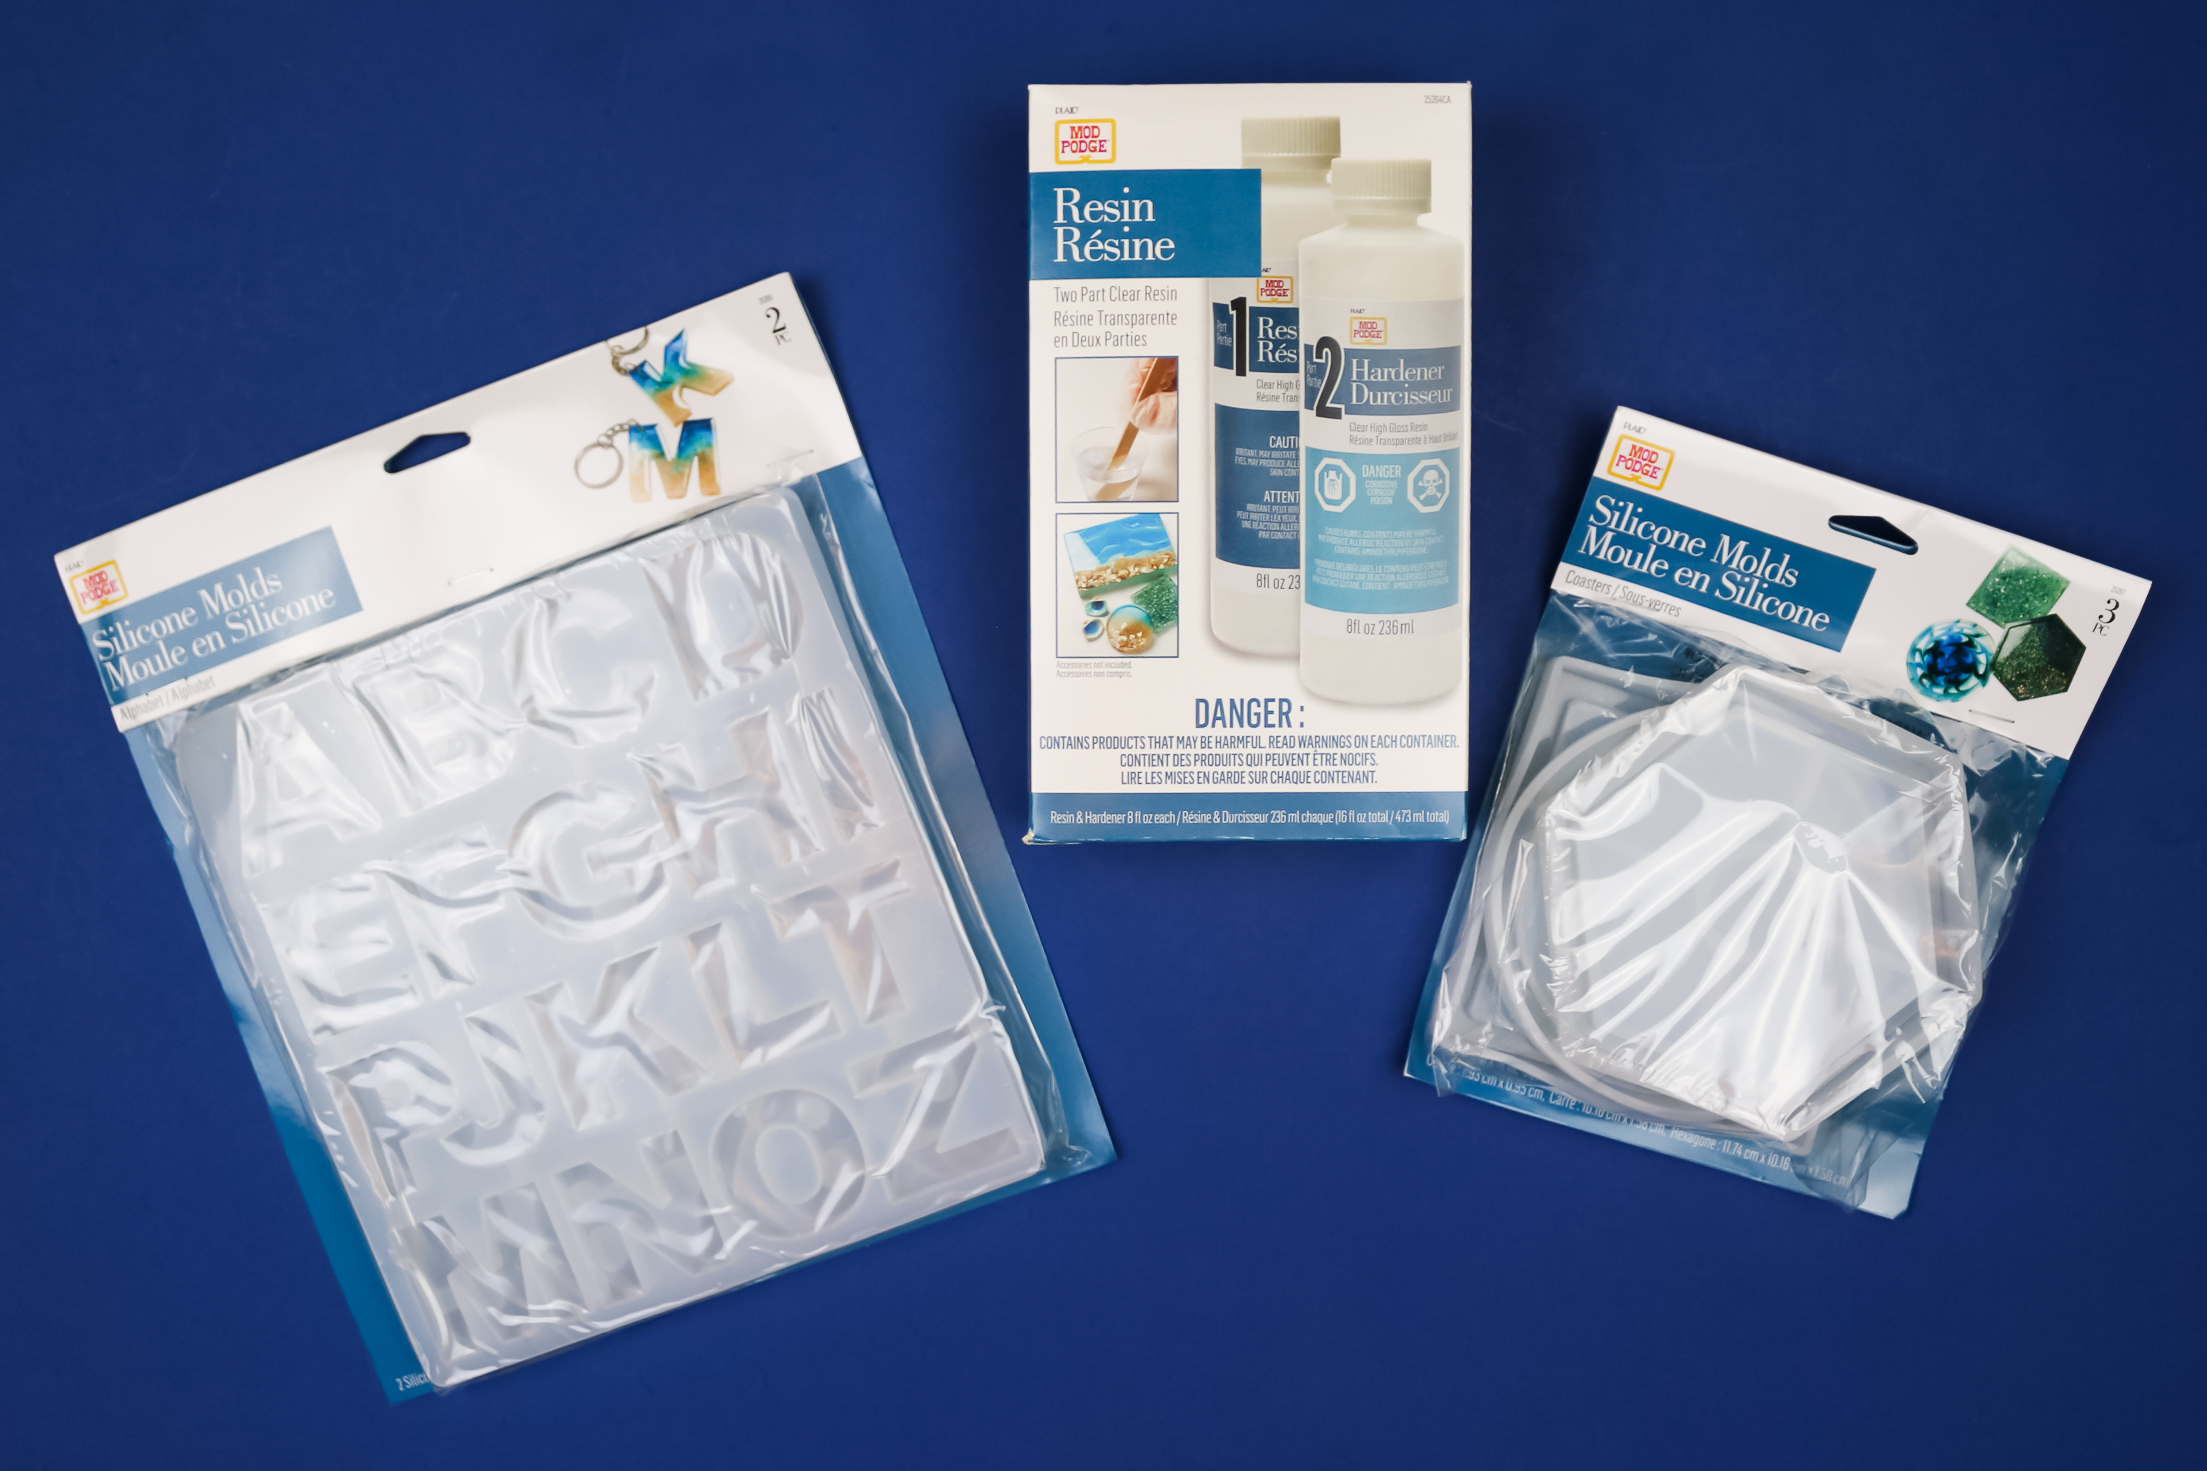
I love using silicone molds when I am working with resin. You can buy molds in almost any shape and size, and since resin doesn’t stick to silicone, you will be able to pop your finished project out after it has cured.
Mod Podge has released a few different silicone molds that work really well with their resin. For this project, I used two of their hexagon coaster molds.
Before you start any resin pour, you want to make sure your work surface is level. An unlevel surface can ruin your project and potentially make a big mess!
Now it’s time to start adding the resin into the coaster molds. For these molds, whatever you pour first will be the top of the coasters, so keep that in mind as you add colors and designs. Drizzle the resin into the mold a bit at a time to create beautiful marbled colors. You do want to fill the molds up, but don’t overfill them or you will have a mess on your hands.
Allow the resin to sit for a few minutes to allow bubbles to rise to the surface. You can use a heat gun, torch, or long arm lighter to pop the bubbles. The resin will self-level after the bubbles pop.
Place a box or other covering over your project to protect it from dust, etc. Then let the resin cure for 24 hours.
UNMOLDING THE RESIN COASTERS
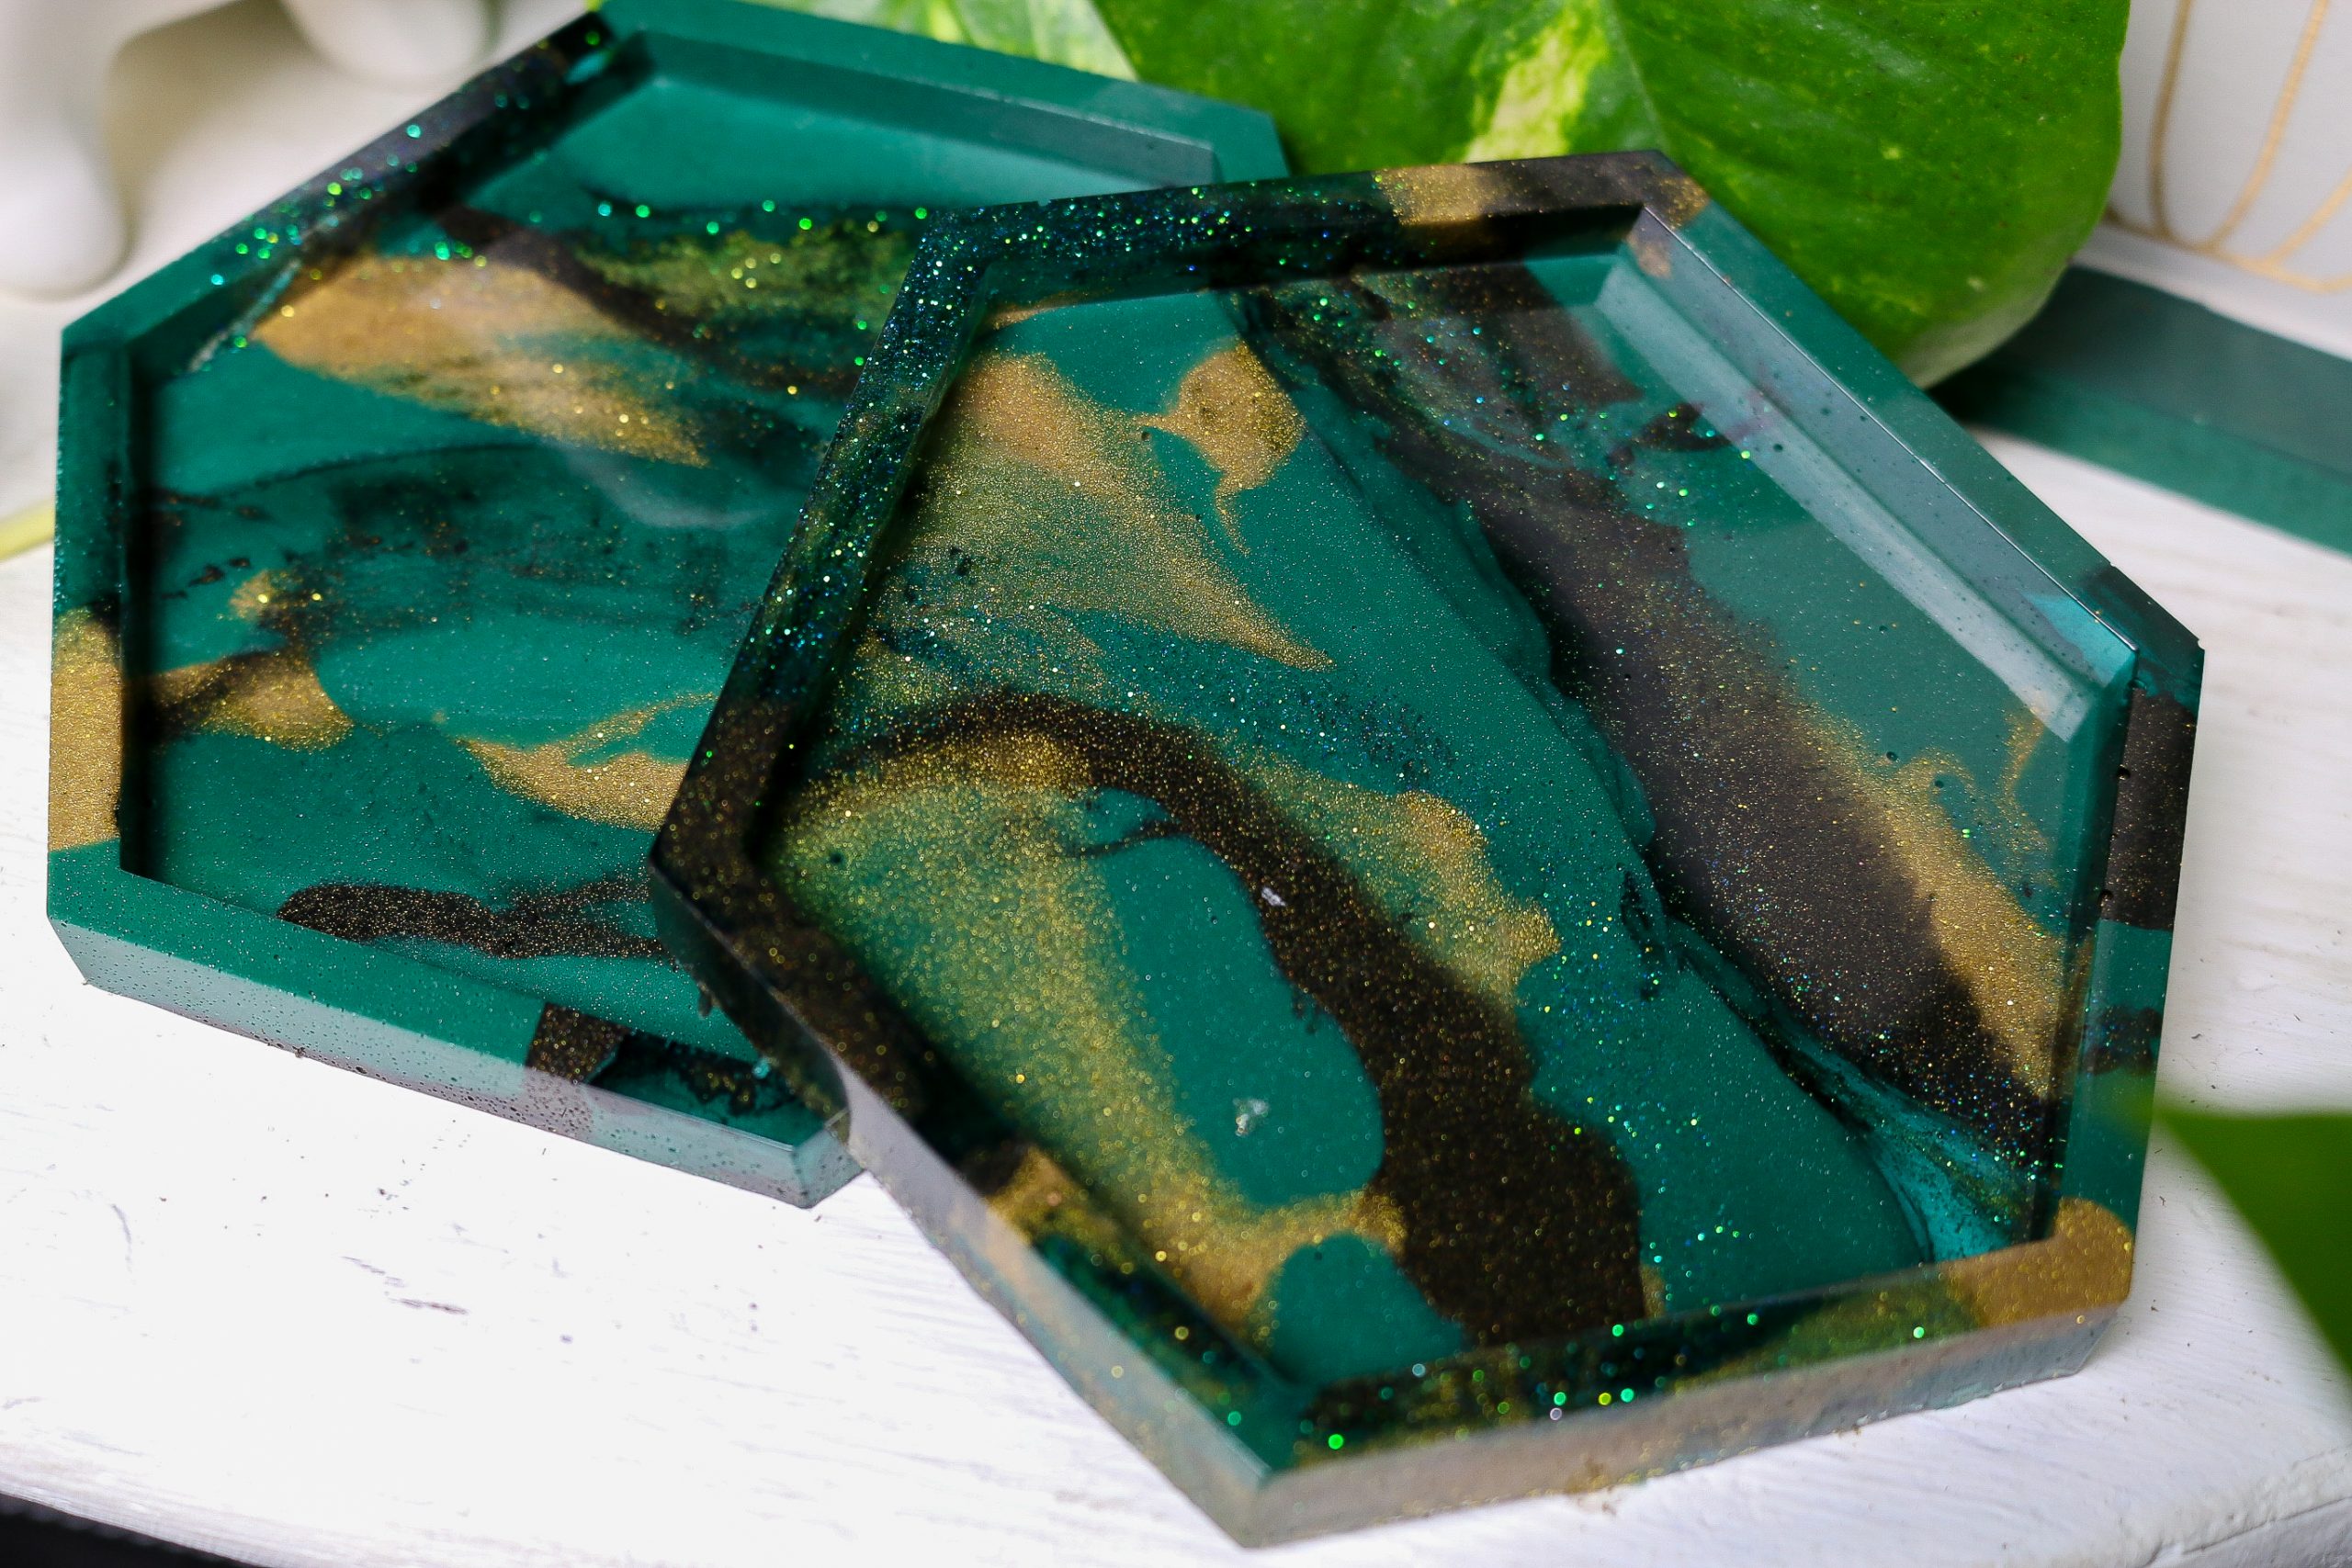
The coasters won’t be fully set when you first remove them from the molds, so don’t pull or stretch them. Let them sit unmolded for another few days before using them. They should be fully cured by then and super durable!
TIPS FOR USING MOD PODGE RESIN
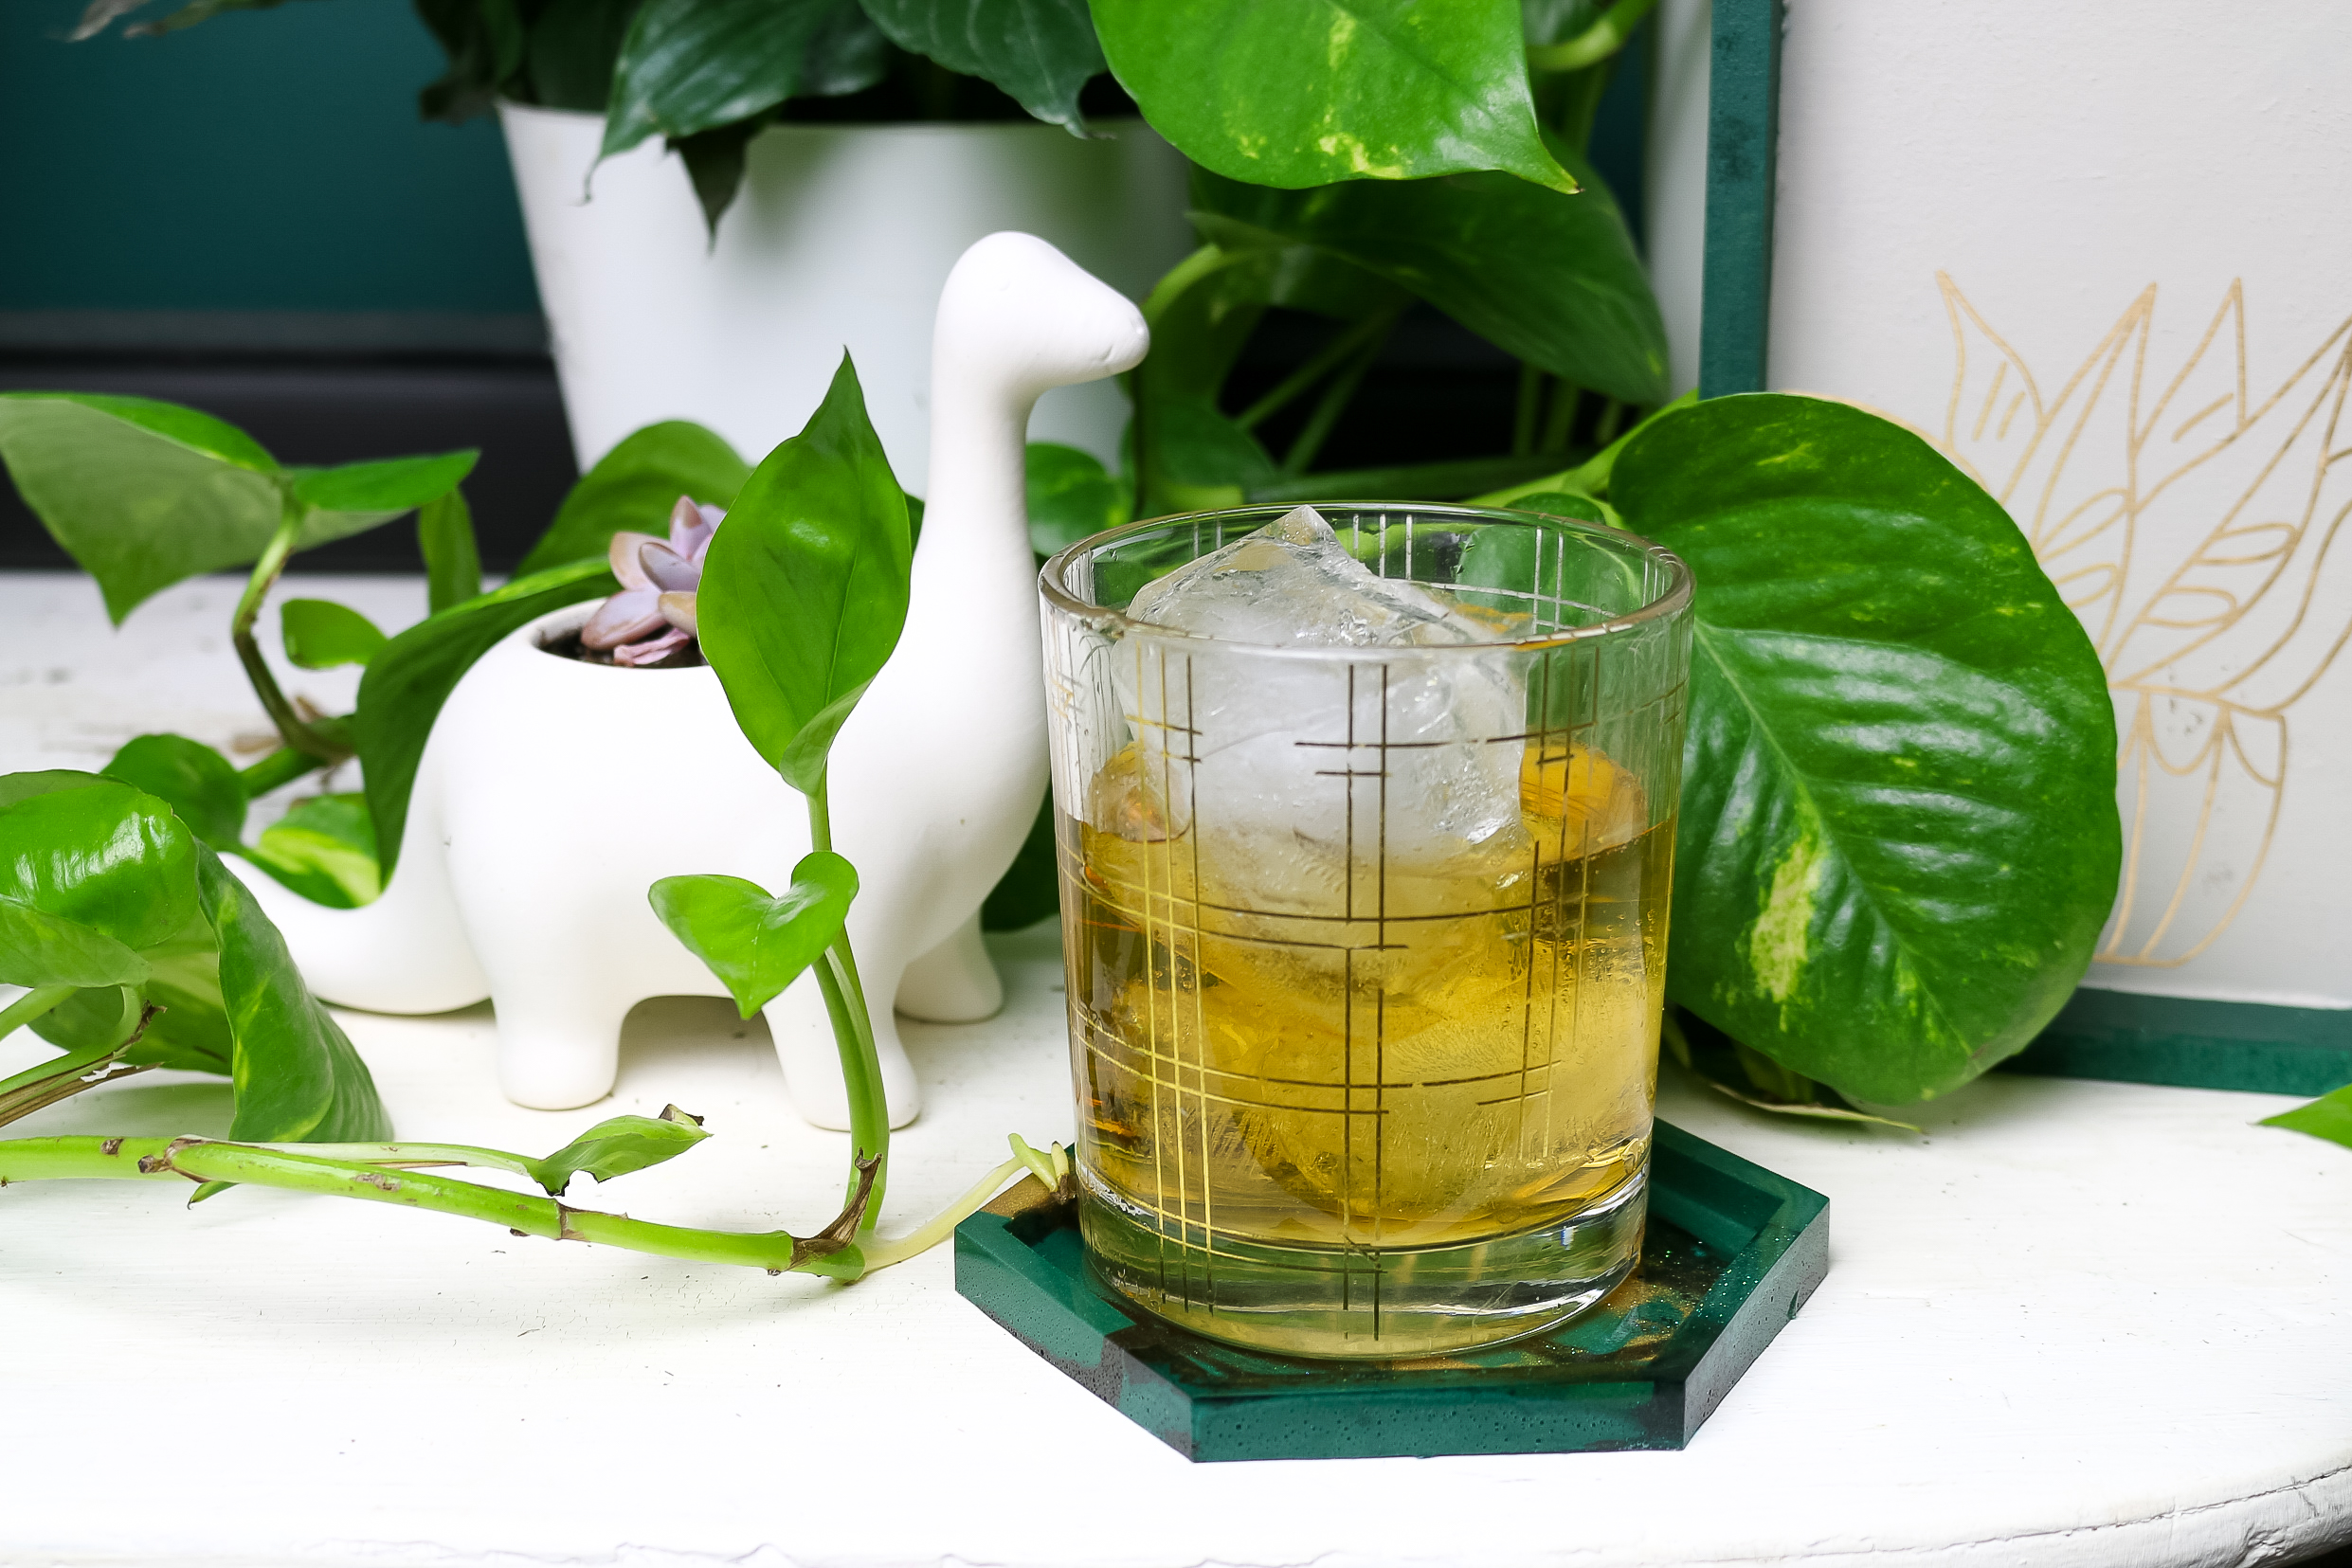
- Resin works best in slightly warmer environments. If your room or outdoor space is above 70 degrees, you will get the best results.
- Cover your workspace to protect it. Silicone mats can be purchased from Amazon and are perfect for resin work. If you spill a bit of mixed resin, let it cure on the mat and peel it right up!
- Stir thoroughly but slowly to avoid introducing air into the resin. This will reduce the number of bubbles in your resin.
- Check on your resin every few hours for the first 4 hours. You should be able to pop surface bubbles with a lighter for quite a while during this process.



Where do I purchase this product?
You can find it online, or in-store at Walmart, Michael’s, and Joann.
I just love resin and really want to make this marbled coasters, wonderfully done great job dear. Thanks