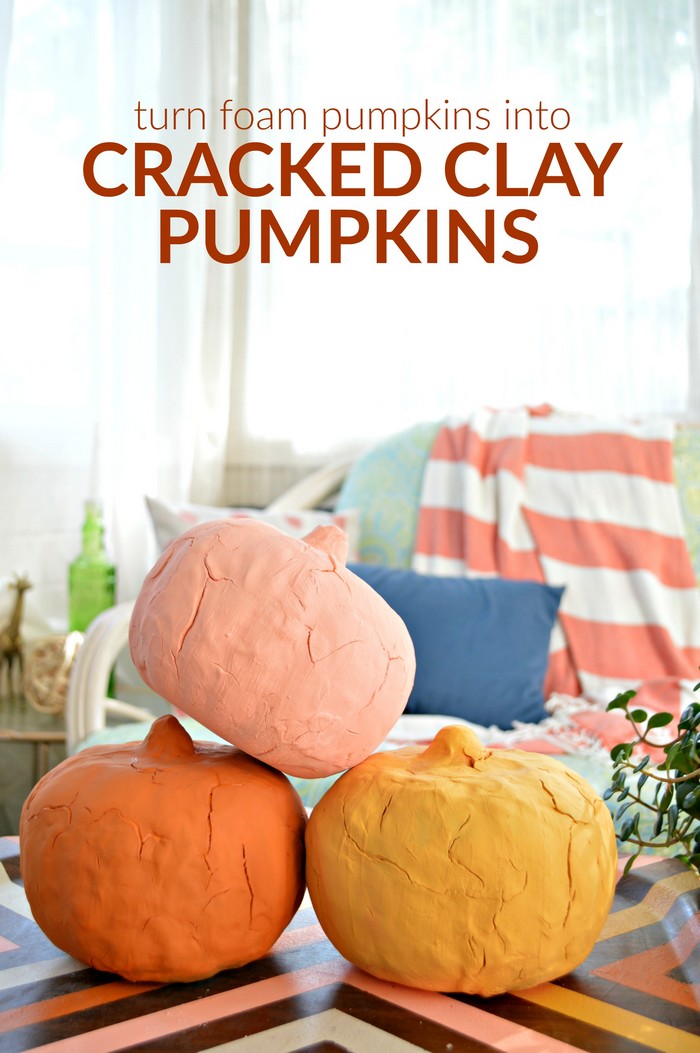
In my Dollar Tree Fall Haul, I showed you the foam pumpkins that I picked up and mused about giving them some sort of treatment to get rid of their obviously foam texture. After some brainstorming, I decided to try using air dry clay on the pumpkins to cover the foam. The result are these pretty cracked clay pumpkins.
Watch this short video to see how I gave plain dollar store foam pumpkins a pretty cracked clay finish. If you like the video, subscribe to my YouTube channel so you don’t miss any of my video tutorials.
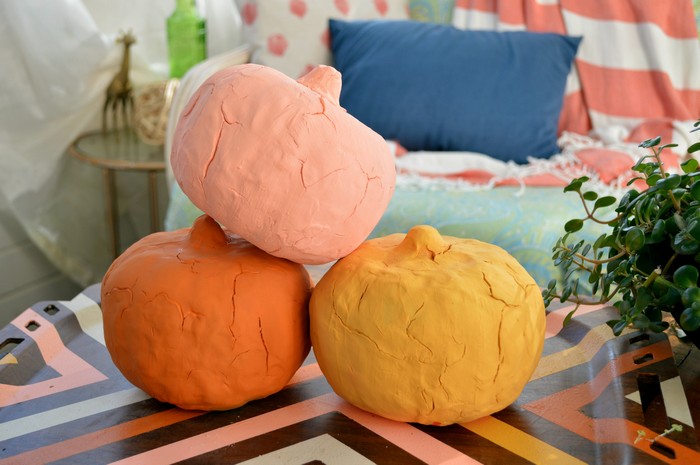
If you don’t like the cracked look, just mist the clay with water as you are working with it. That should keep the clay from cracking as it dries. I personally like the added texture of the cracks, but I think they would be pretty either way.
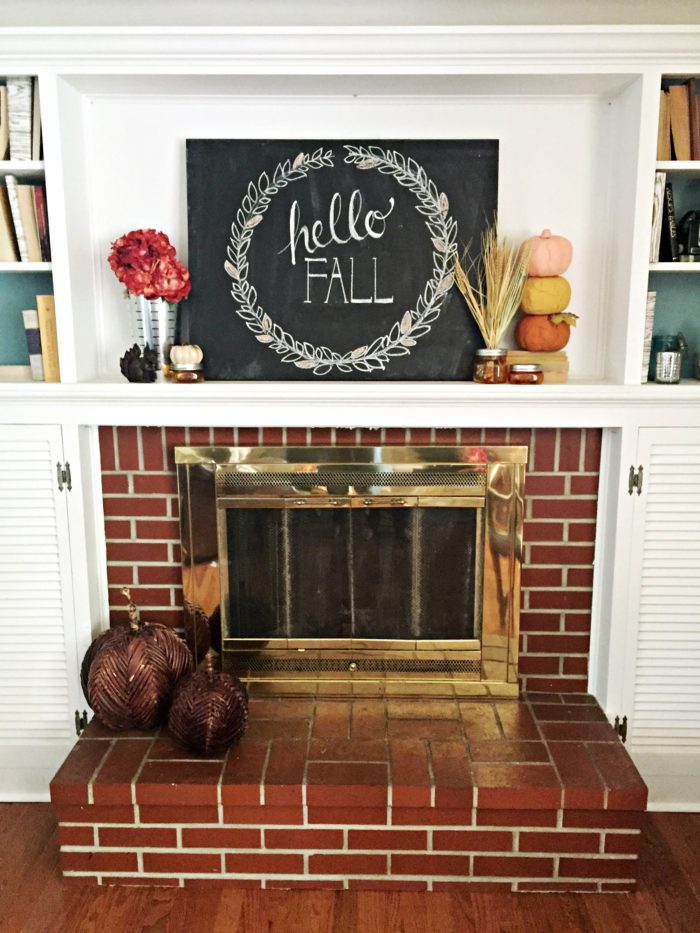
I painted these pumpkins using the same chalky finish colors that I used on the fall tray they are sitting on. I like the matte finish of the paint with the cracked clay. After the paint dried, I ended up stacking the pumpkins using some wood skewers, and adding them to my fall mantel.
These are all affiliate links, if you make a purchase (of anything on Amazon, not just these items) after clicking through, I will earn a small commission. Ads and affiliate links are the way I am able to keep this website running and to offer you free tutorials all year long. Thank you so much for supporting me and Mad in Crafts!
- foam pumpkins
- air dry clay
- Chalky Finish paint in Smitten, Heritage, and Inheritance
- paintbrush
You might also like these other pumpkin DIYs:
