As I have said more than once here on Mad in Crafts, I am not that big on Valentine’s Day. I am a bigger fan of the kind of love that is shown by plugging along day after day. Love that is shown in putting laundry away without being asked. A favorite meal being cooked even though it’s not a special occasion. A smiley face note tucked into a lunch box. Not grand gestures like a dozen roses or diamond jewelry, but rather the everyday work that keeps love going. The first song on The Black Keys’ album “Brothers” has a line that I love. “Love is the coal that makes this train roll.” That’s my kind of romance. You can take your own favorite song to create a love song lyrics t-shirt with a homemade stencil.
This is a sponsored post. I was compensated and given product for my work, but all opinions are 100% my own.
I decided to try Americana’s Multi-Surface paint by stenciling those lyrics onto a shirt. When I chose colors from Americana’s Multi-Surface line, I specifically chose neutral, beige-y colors. Sometimes Valentine’s is fuchsia and glitter and rhinestones and sometimes it’s a comfy grey tee shirt. Kind of like love.
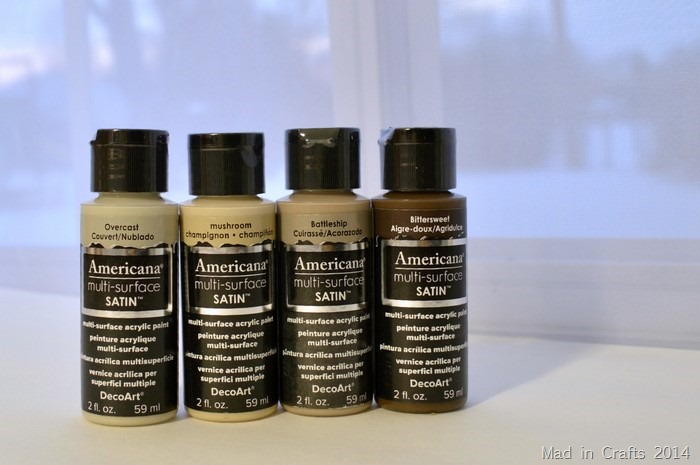
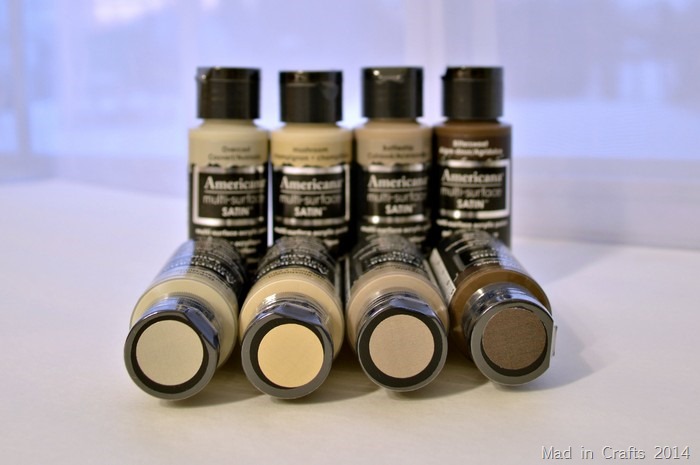
Americana Multi-Surface paints work on wood, metal, glass, terracotta, ceramic, paper, plastics, canvas, and fabric. Whew. That’s quite a list. These are the Americana colors I used, from left to right: Overcast, Mushroom, Battleship, and Bittersweet. Multi-Surface paints come in a wide range of pretty colors.
I designed a layout for my tee shirt stencil in PicMonkey and then cut that design out of freezer paper using my Silhouette. I found I had better luck cutting the stencil with the shiny side of the freezer paper up. Just be aware that if you use your cutting machine this way, you will have to reverse the image before cutting. If you would like the jpg of the design, click here.
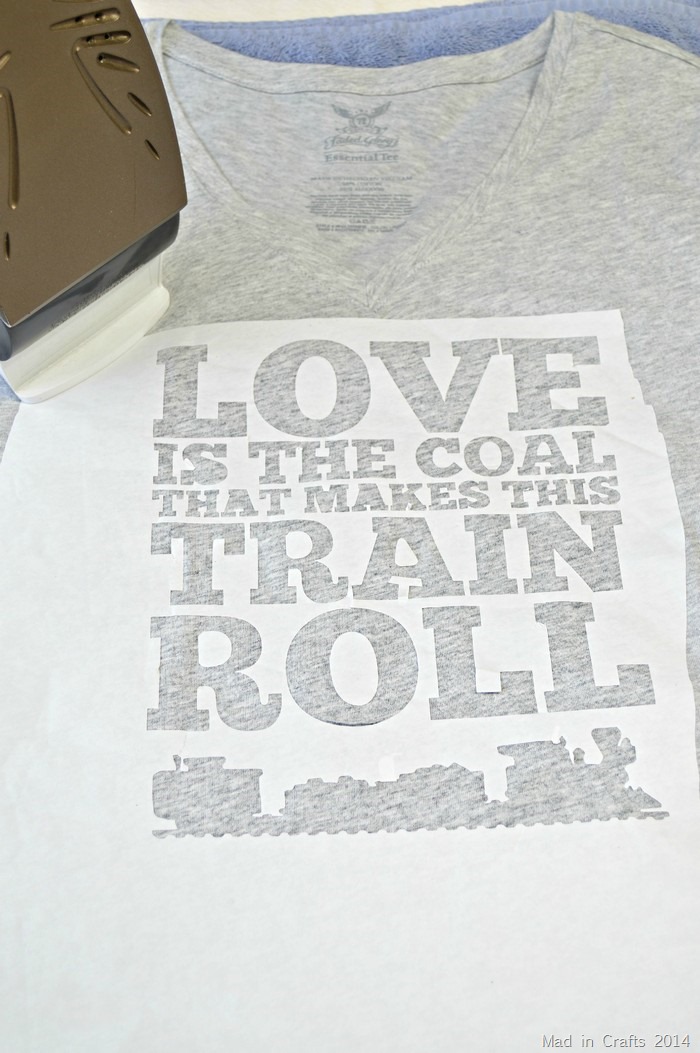
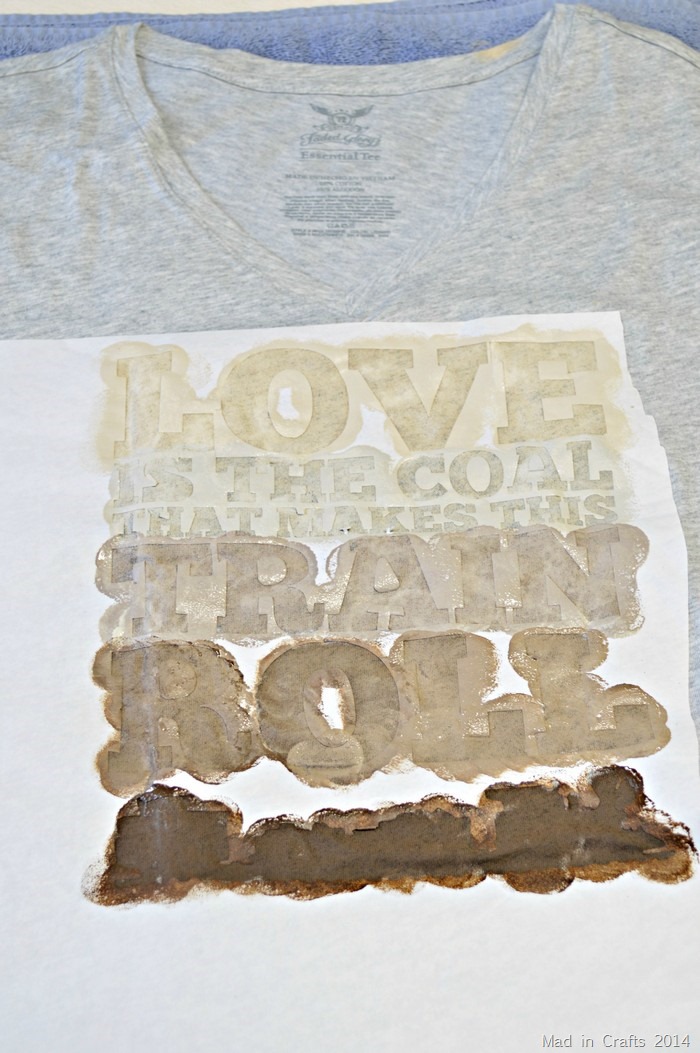
I ironed the stencil onto the tee shirt and pounced on my Americana paints in an ombre pattern.
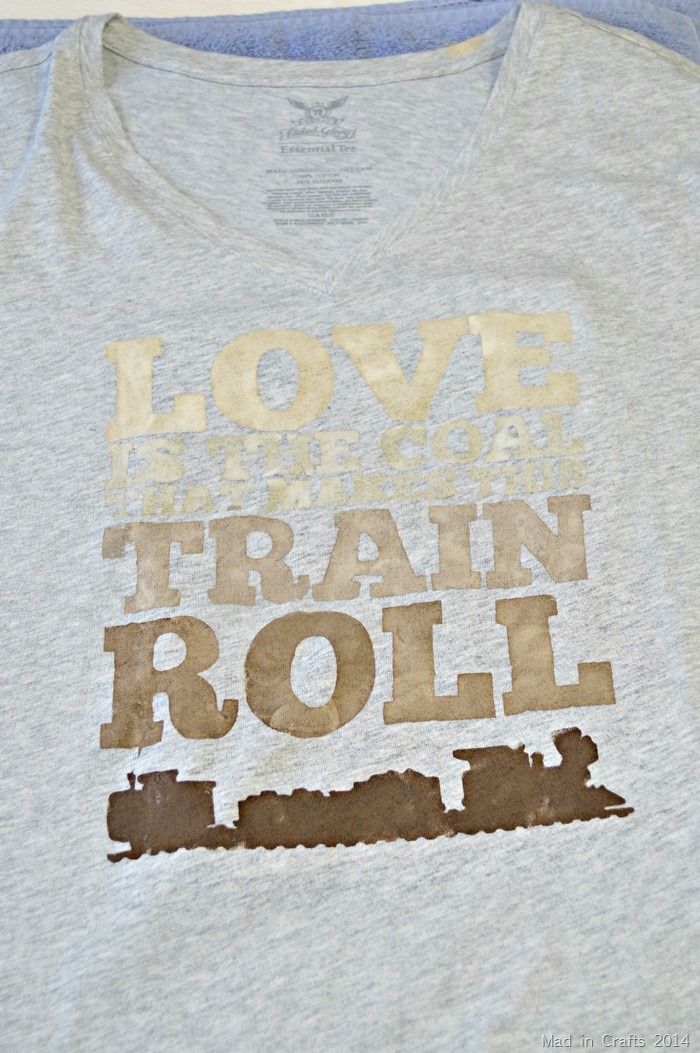
I carefully peeled off the freezer paper, including the areas inside the As, Rs, and Os, to reveal the painted design. Finally, I let the shirt dry fully before wearing it. The paint set very well into the cotton and didn’t make the shirt feel super stiff or scratchy.
These are all affiliate links, if you make a purchase (of anything from these retailers, not just these items) after clicking through, I will earn a small commission. Ads and affiliate links are the way I am able to keep this website running and to offer you free tutorials all year long. Thank you so much for supporting me and Mad in Crafts!
Try these other homemade shirt tutorials too:





That’s fantastic! I love how it turned out!
Thanks so much!
Love this Jess!! Great pics! 🙂
Cute idea!! And I’m with you – I’m not that big into Valentine’s Day either 🙂
So cute! I love song lyrics in crafts.
Thanks, Amy! Me too!
Can I ask what cut settings you used with the freezer paper? I have tried everything I can think of, and everything I can find on the internet, and every setting I use tears the paper!! I’ve tried shiny side up and shiny side down. I’ve tried new mats, old mats, new blades, old blades…I’ve tried a blade setting of 1, 2 and 3, and speed of 3 and 1. I have tried thickness of 13, down to 6. Nothing has worked. Thank you! I love your shirt, btw.!!
I set the blade to 3, and set speed to 3 and thickness to 10. It was with a new mat and a relatively new blade too. Hope that helps!
Thank you so much for your help! I ended up changing my thickness setting to 3 and it works perfectly! (with a 3 for speed and a 3 for my blade setting)