If you have ever scrapbooked or made homemade cards, odds are you have a big stash of unused supplies and scraps of paper stuffed in a drawer somewhere. This project idea makes use of those bits and bobs and turns them into a fun useable Christmas decoration. I will give you a detailed list of the supplies I used to make my Santa Letter Plaque, but you should use whatever you have on hand!
To Make a Santa Letter Plaque, you will need:
plaque or scrap wood
craft paint (I used Martha Stewart Crafts’ Habanero)
paintbrushes
scrapbook paper (I used Martha Stewart’s Designer Paper Pack)
PSA Essentials inks and stamps
ultra-fine tip Sharpies (I used the 80s Glam pack)
paper cutter (I used the EK Success Rotary Cutter)
decorative tape (I used Duck Brand)
embellishments – I made mine with leather, Tulip Iron-On Crystals, Tulip Fashion Tweezers and the Tulip Cordless Heat Setting Tool
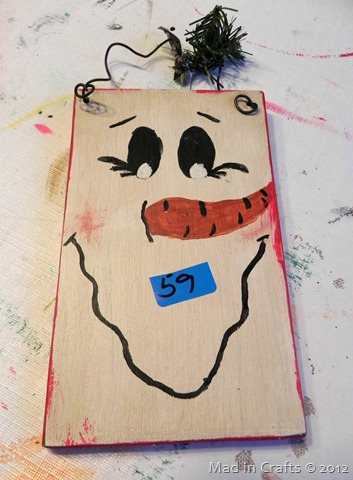
I found this funky-shaped hanging snowman plaque at Goodwill, but you could use any piece of scrap wood you have around. If you use a thicker piece of wood, you wouldn’t need to bother with wire to hang it, as it would probably stand on its own.
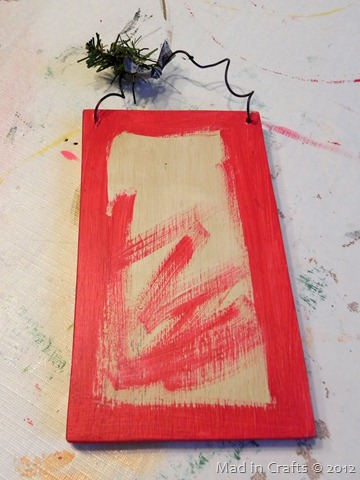
I began by painting the edges of the plaque with red paint. While it was drying I got to work on my stamped paper.
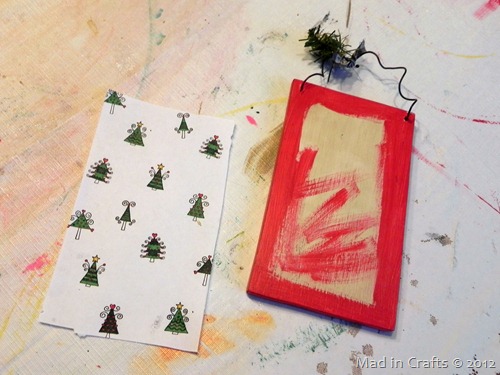
I used the PSA Essentials Whimsy Trees pack and black ink and stamped trees all over white paper. I used ultra fine tip Sharpies to color in the trees.
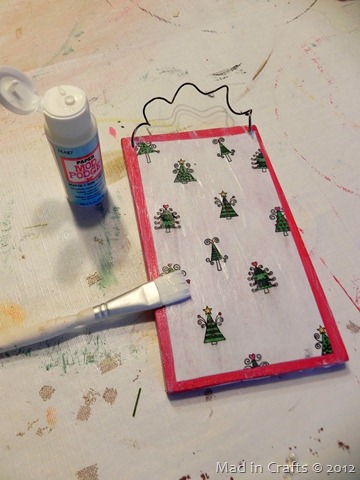
I trimmed the paper to size and used Mod Podge to glue it to the plaque.
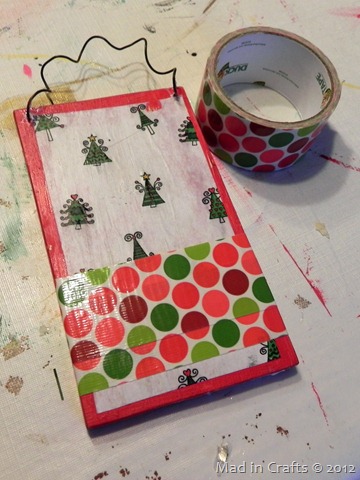
I added some polka dot Duck Tape to the plaque. This would be a great project for some really cute washi tape if you have any on hand.
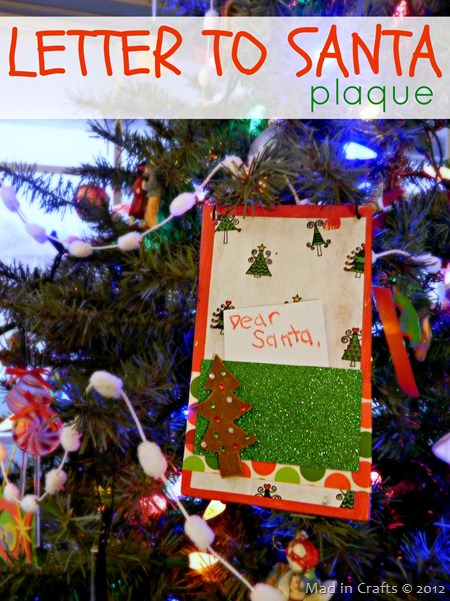
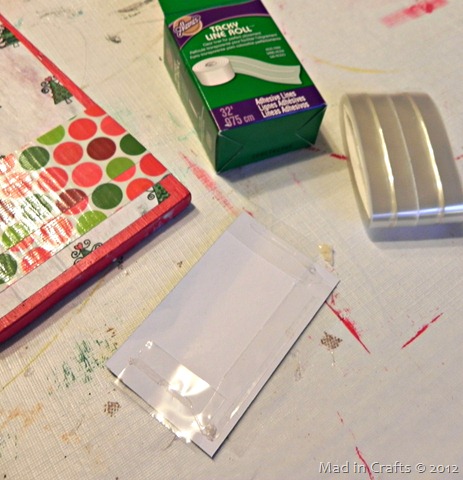
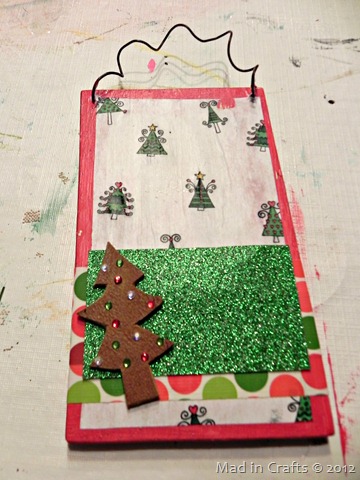
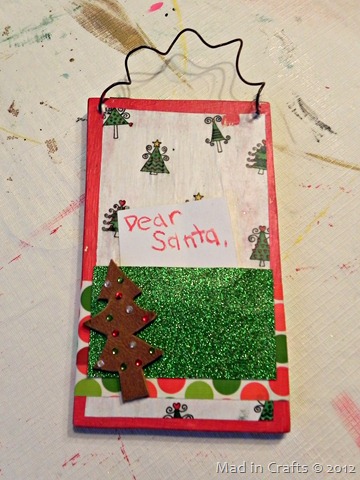
I cut a piece of green glittery scrapbook paper down and created a pocket by gluing three sides of it down using tacky line roll.
I created a fun Christmas tree embellishment from an old leather belt and gems.
Because the glitter paper makes a pocket, you can slip your child’s letter to Santa right in!
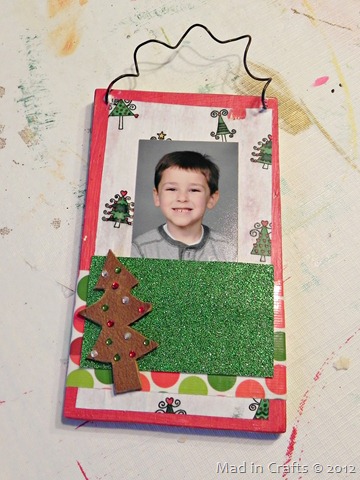
Of course, the pocket could be used for anything small enough to fit into the pocket. This would be a great way to frame a picture or some of your child’s special artwork!
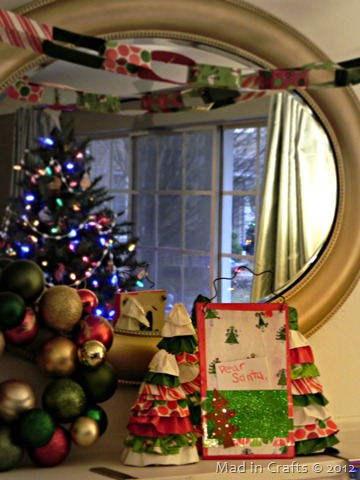
Either hang the plaque on the tree or leave it by the fireplace with some cookies for Santa!
Full disclosure HERE.
Did you like this post? Think it’s worth sharing? Please share with your friends using the social media share buttons on the toolbar at the bottom of the page!
Thanks, Jessica Hill




Leave a Reply