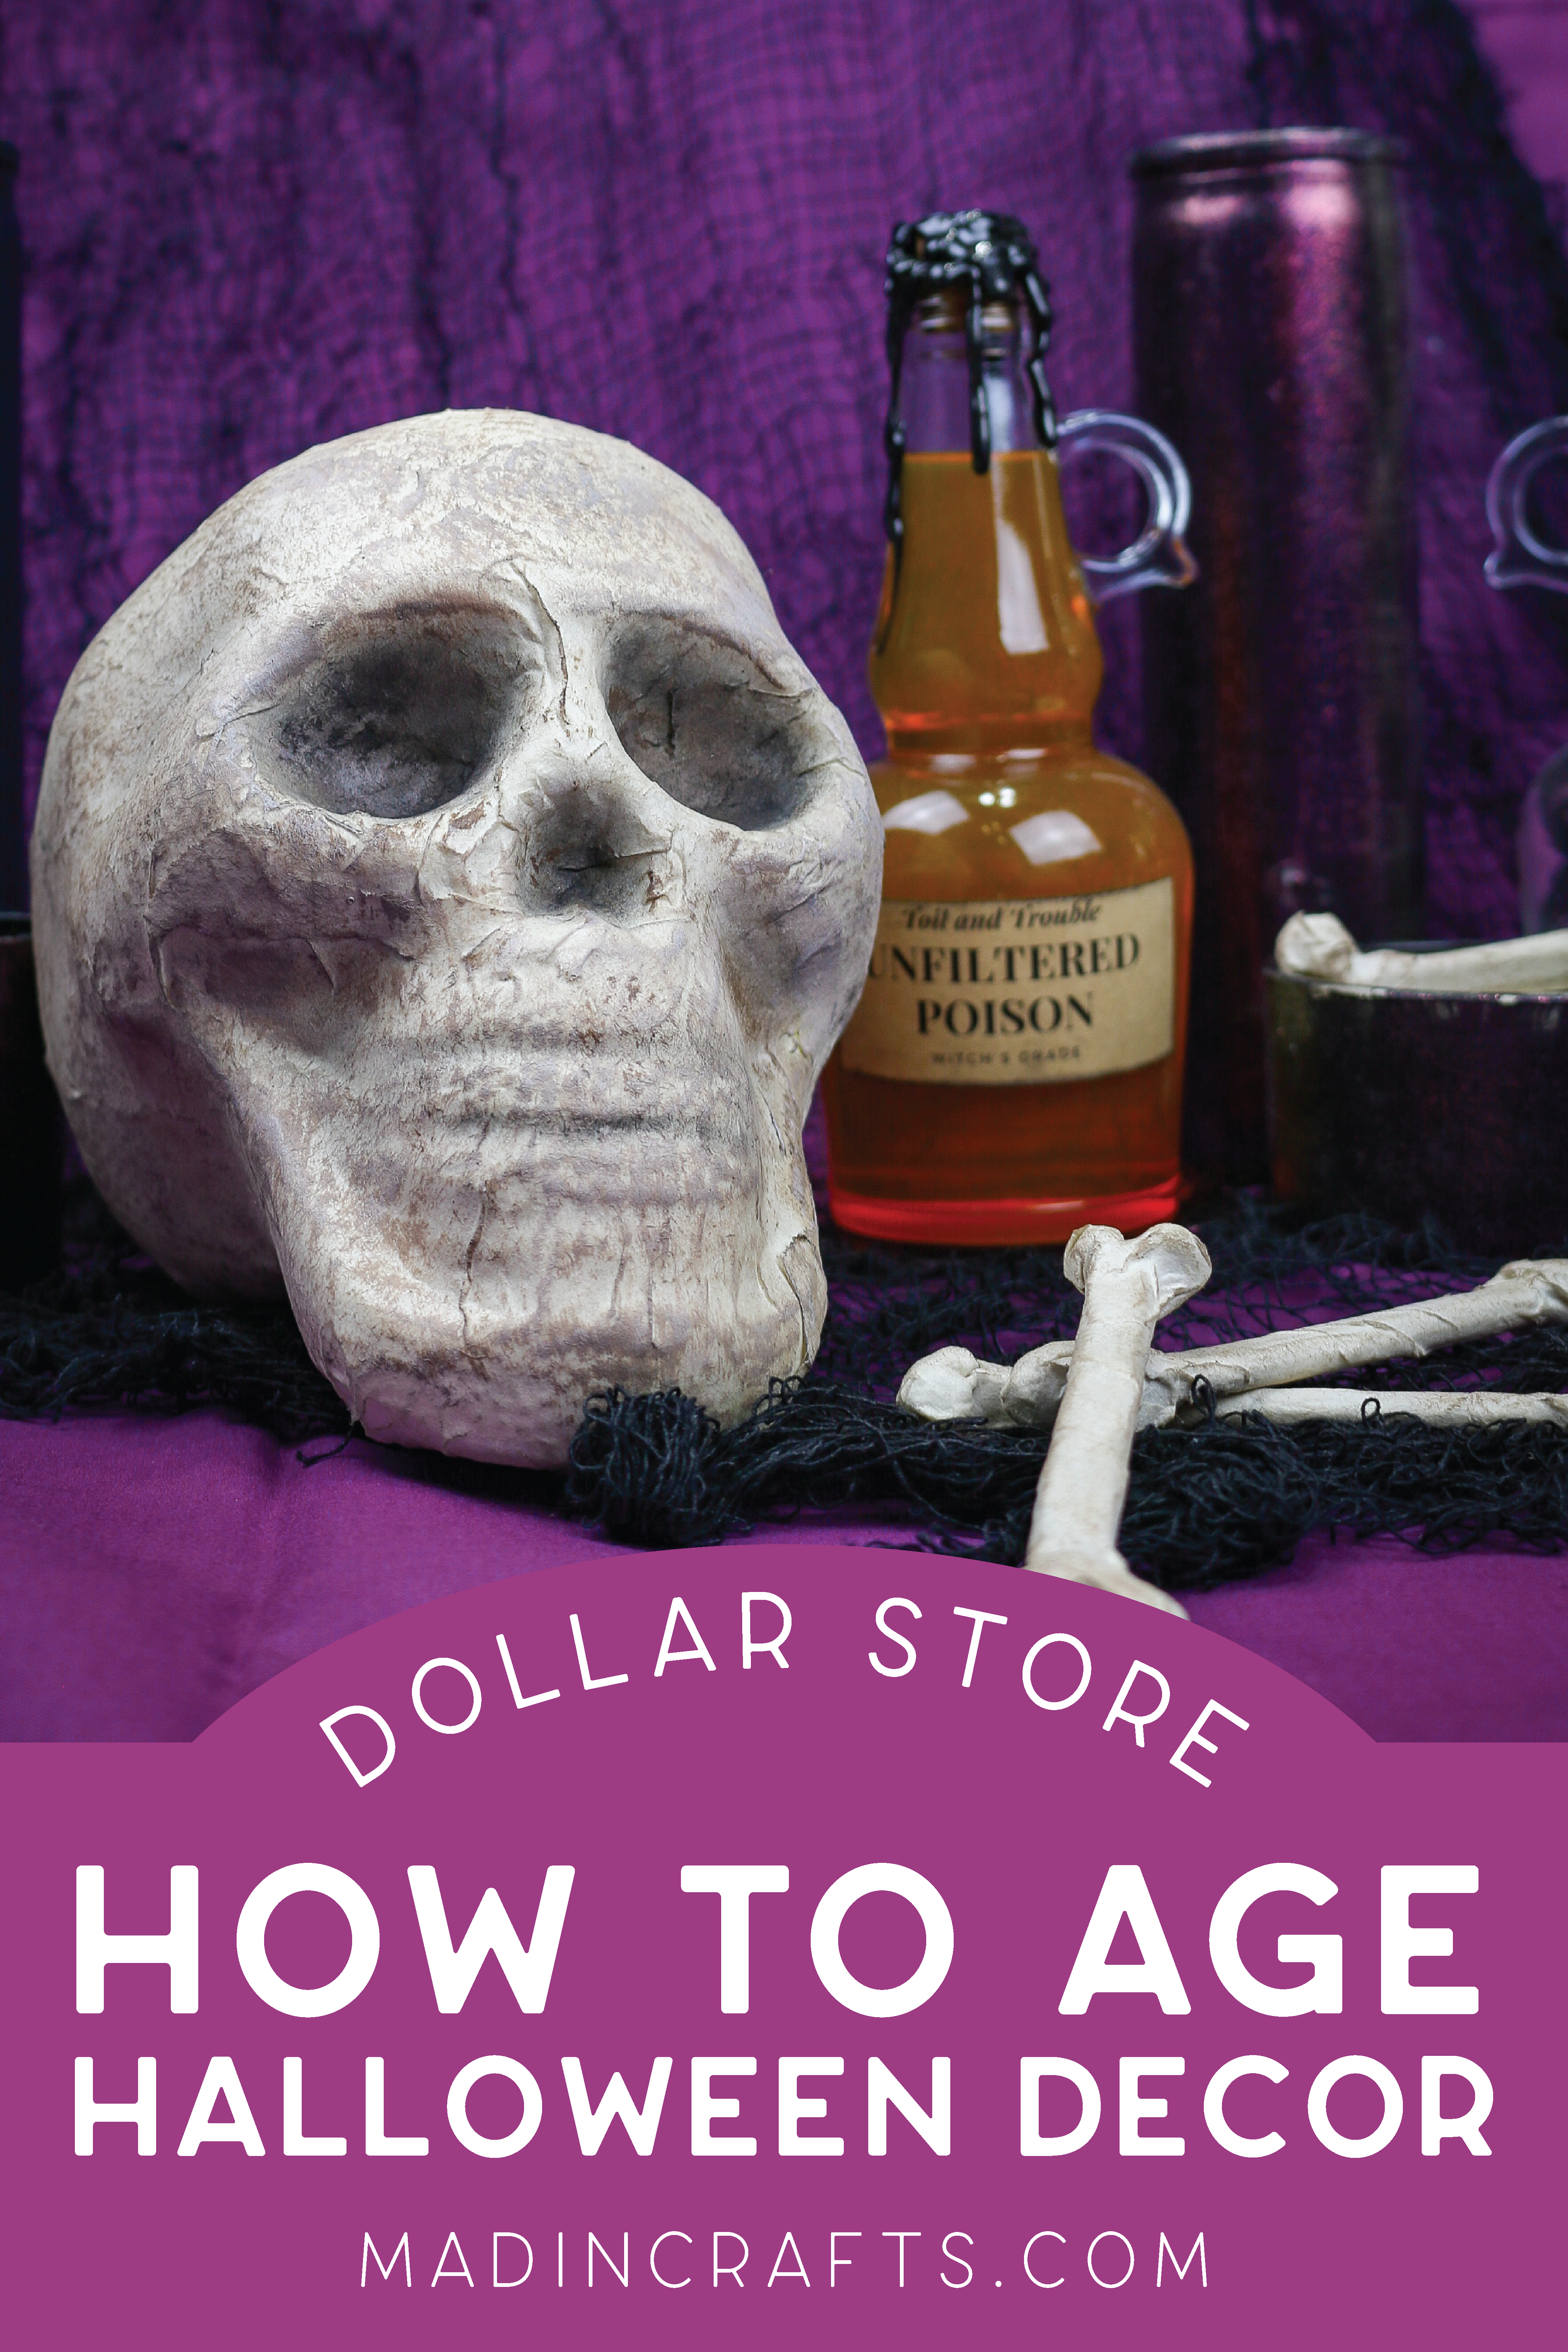
Dollar Tree is full of Halloween decorations this time of year, but it tends to look cheap and plastic. Because, well, it is cheap and plastic. Fortunately, you can make Dollar Tree Halloween decor look good with a bit of time and a few other supplies that you can find at the dollar store. Today, I am teaching you how to age a foam skull with paper mache to make it look old and spooky. You can use this same technique with other inexpensive Halloween decorations too!
HOW TO MAKE DOLLAR TREE HALLOWEEN DECOR LOOK GOOD
WHAT YOU NEED TO AGE CHEAP HALLOWEEN DECORATIONS
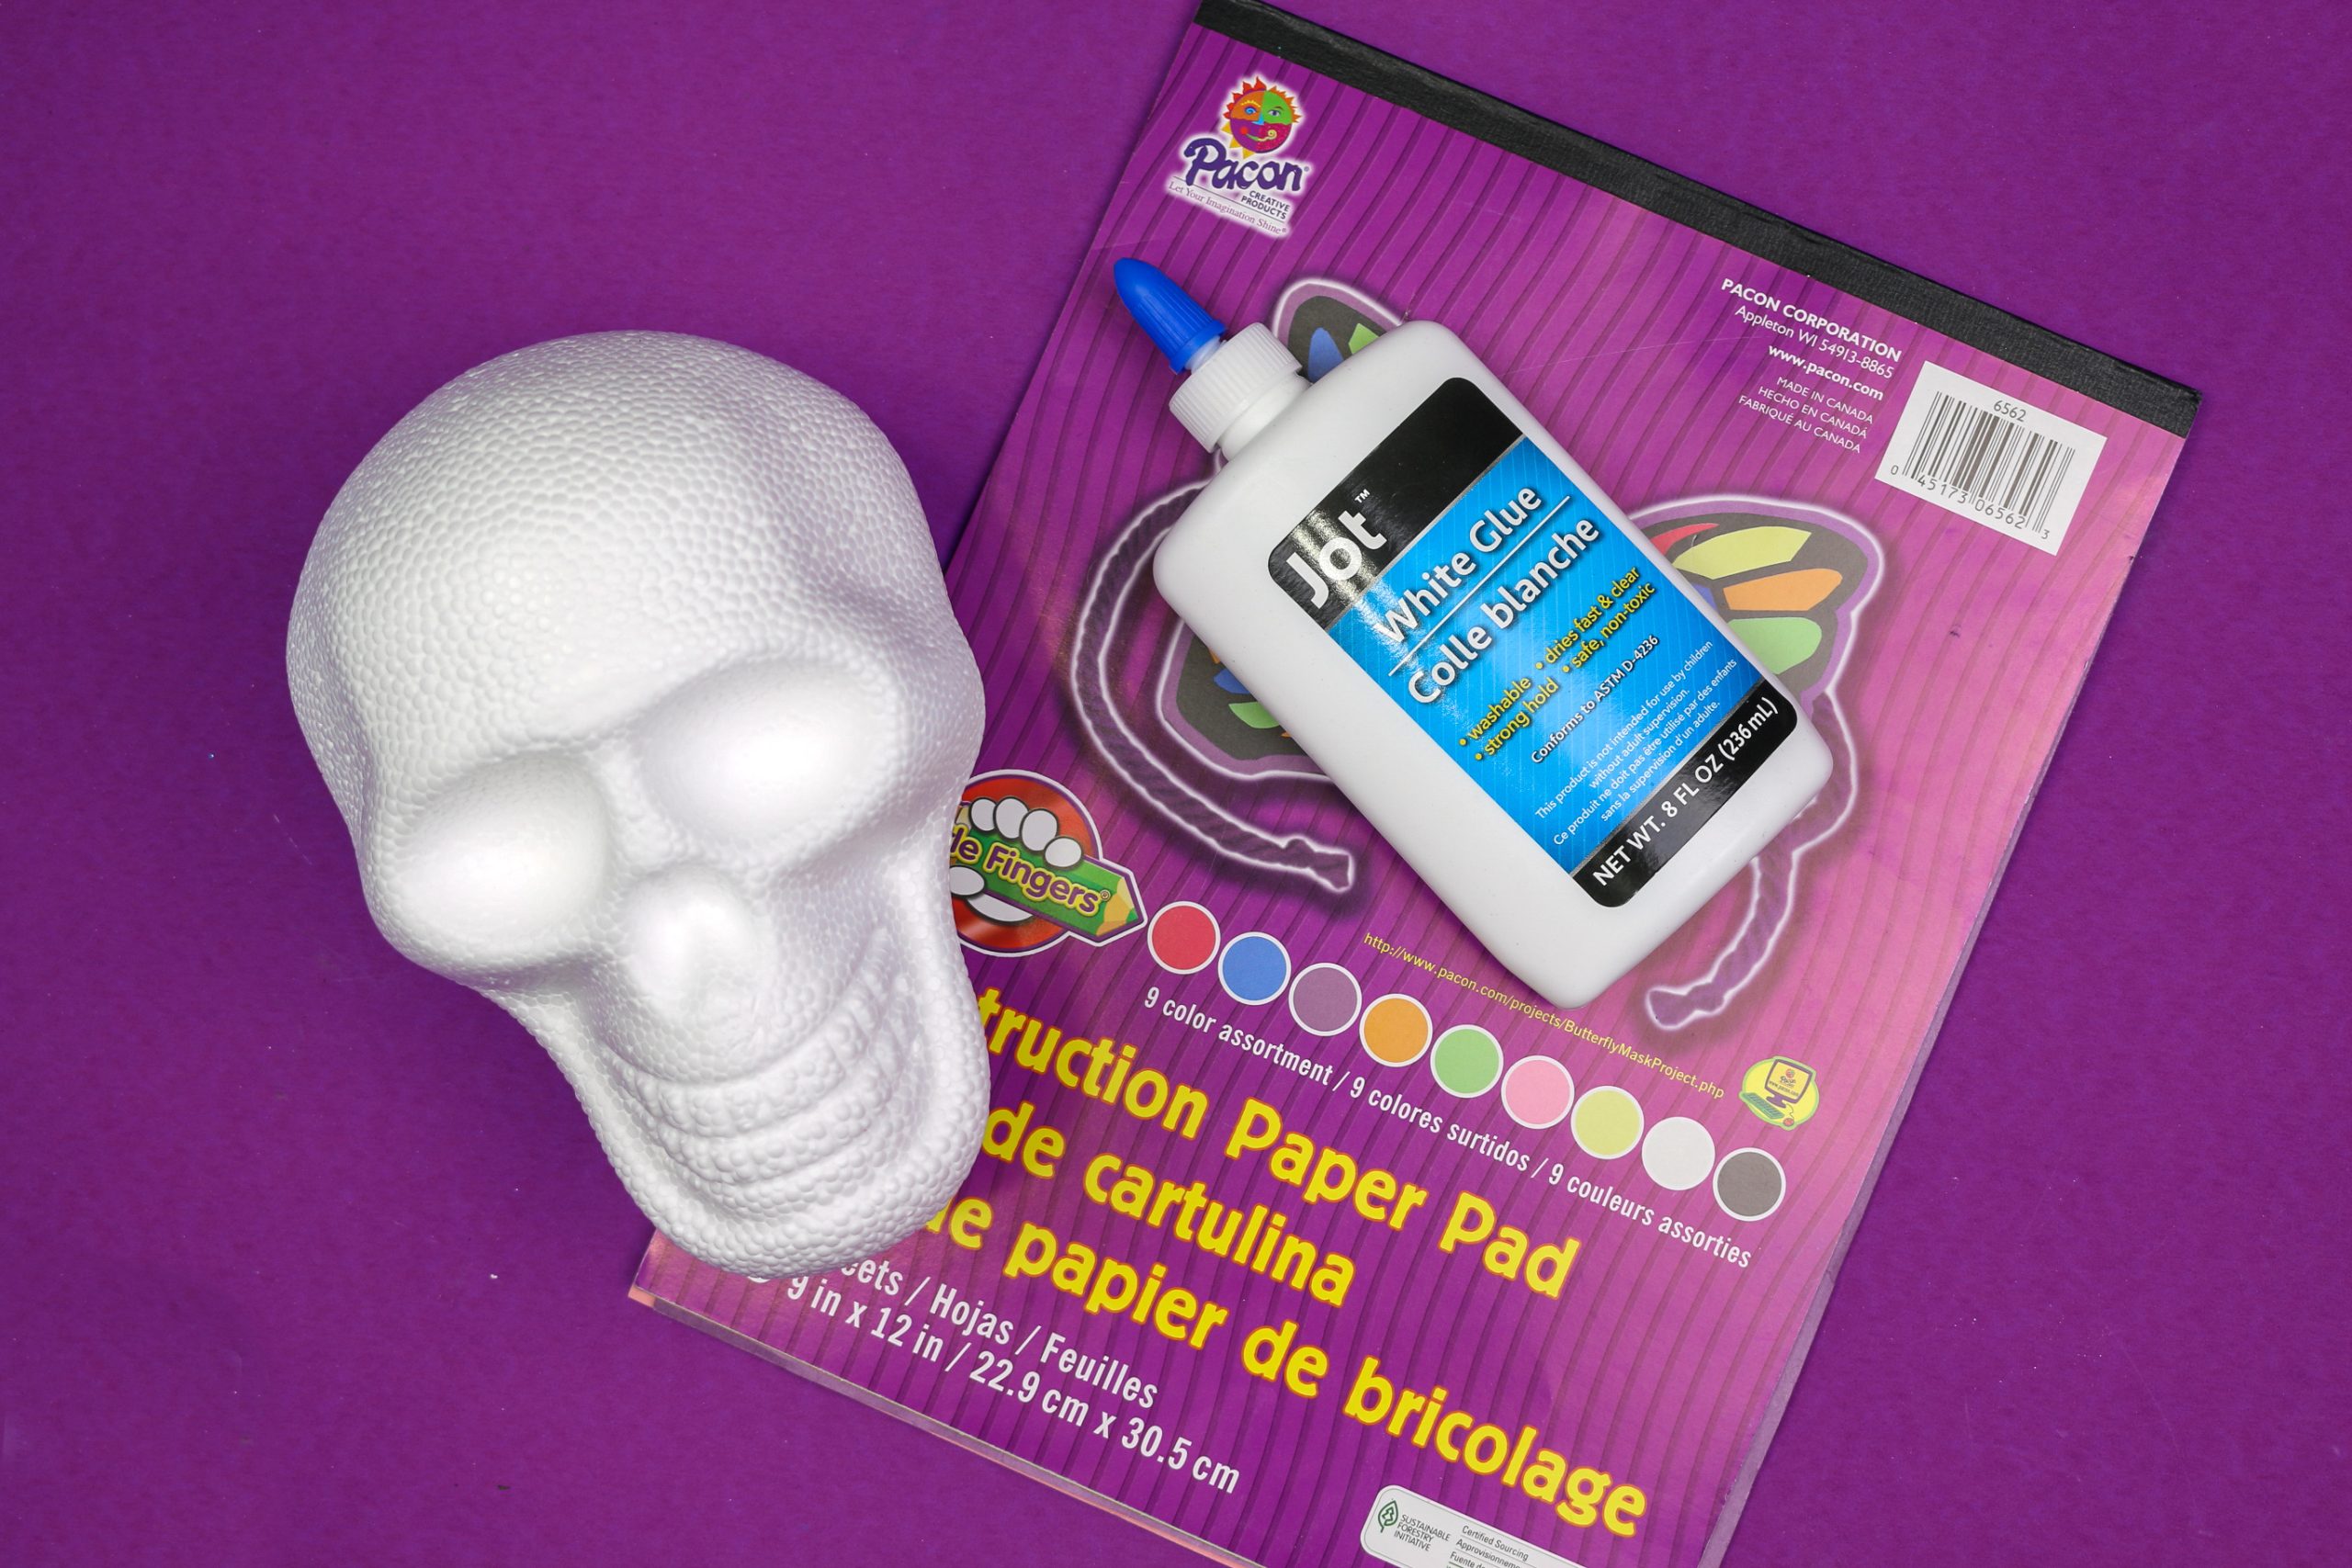
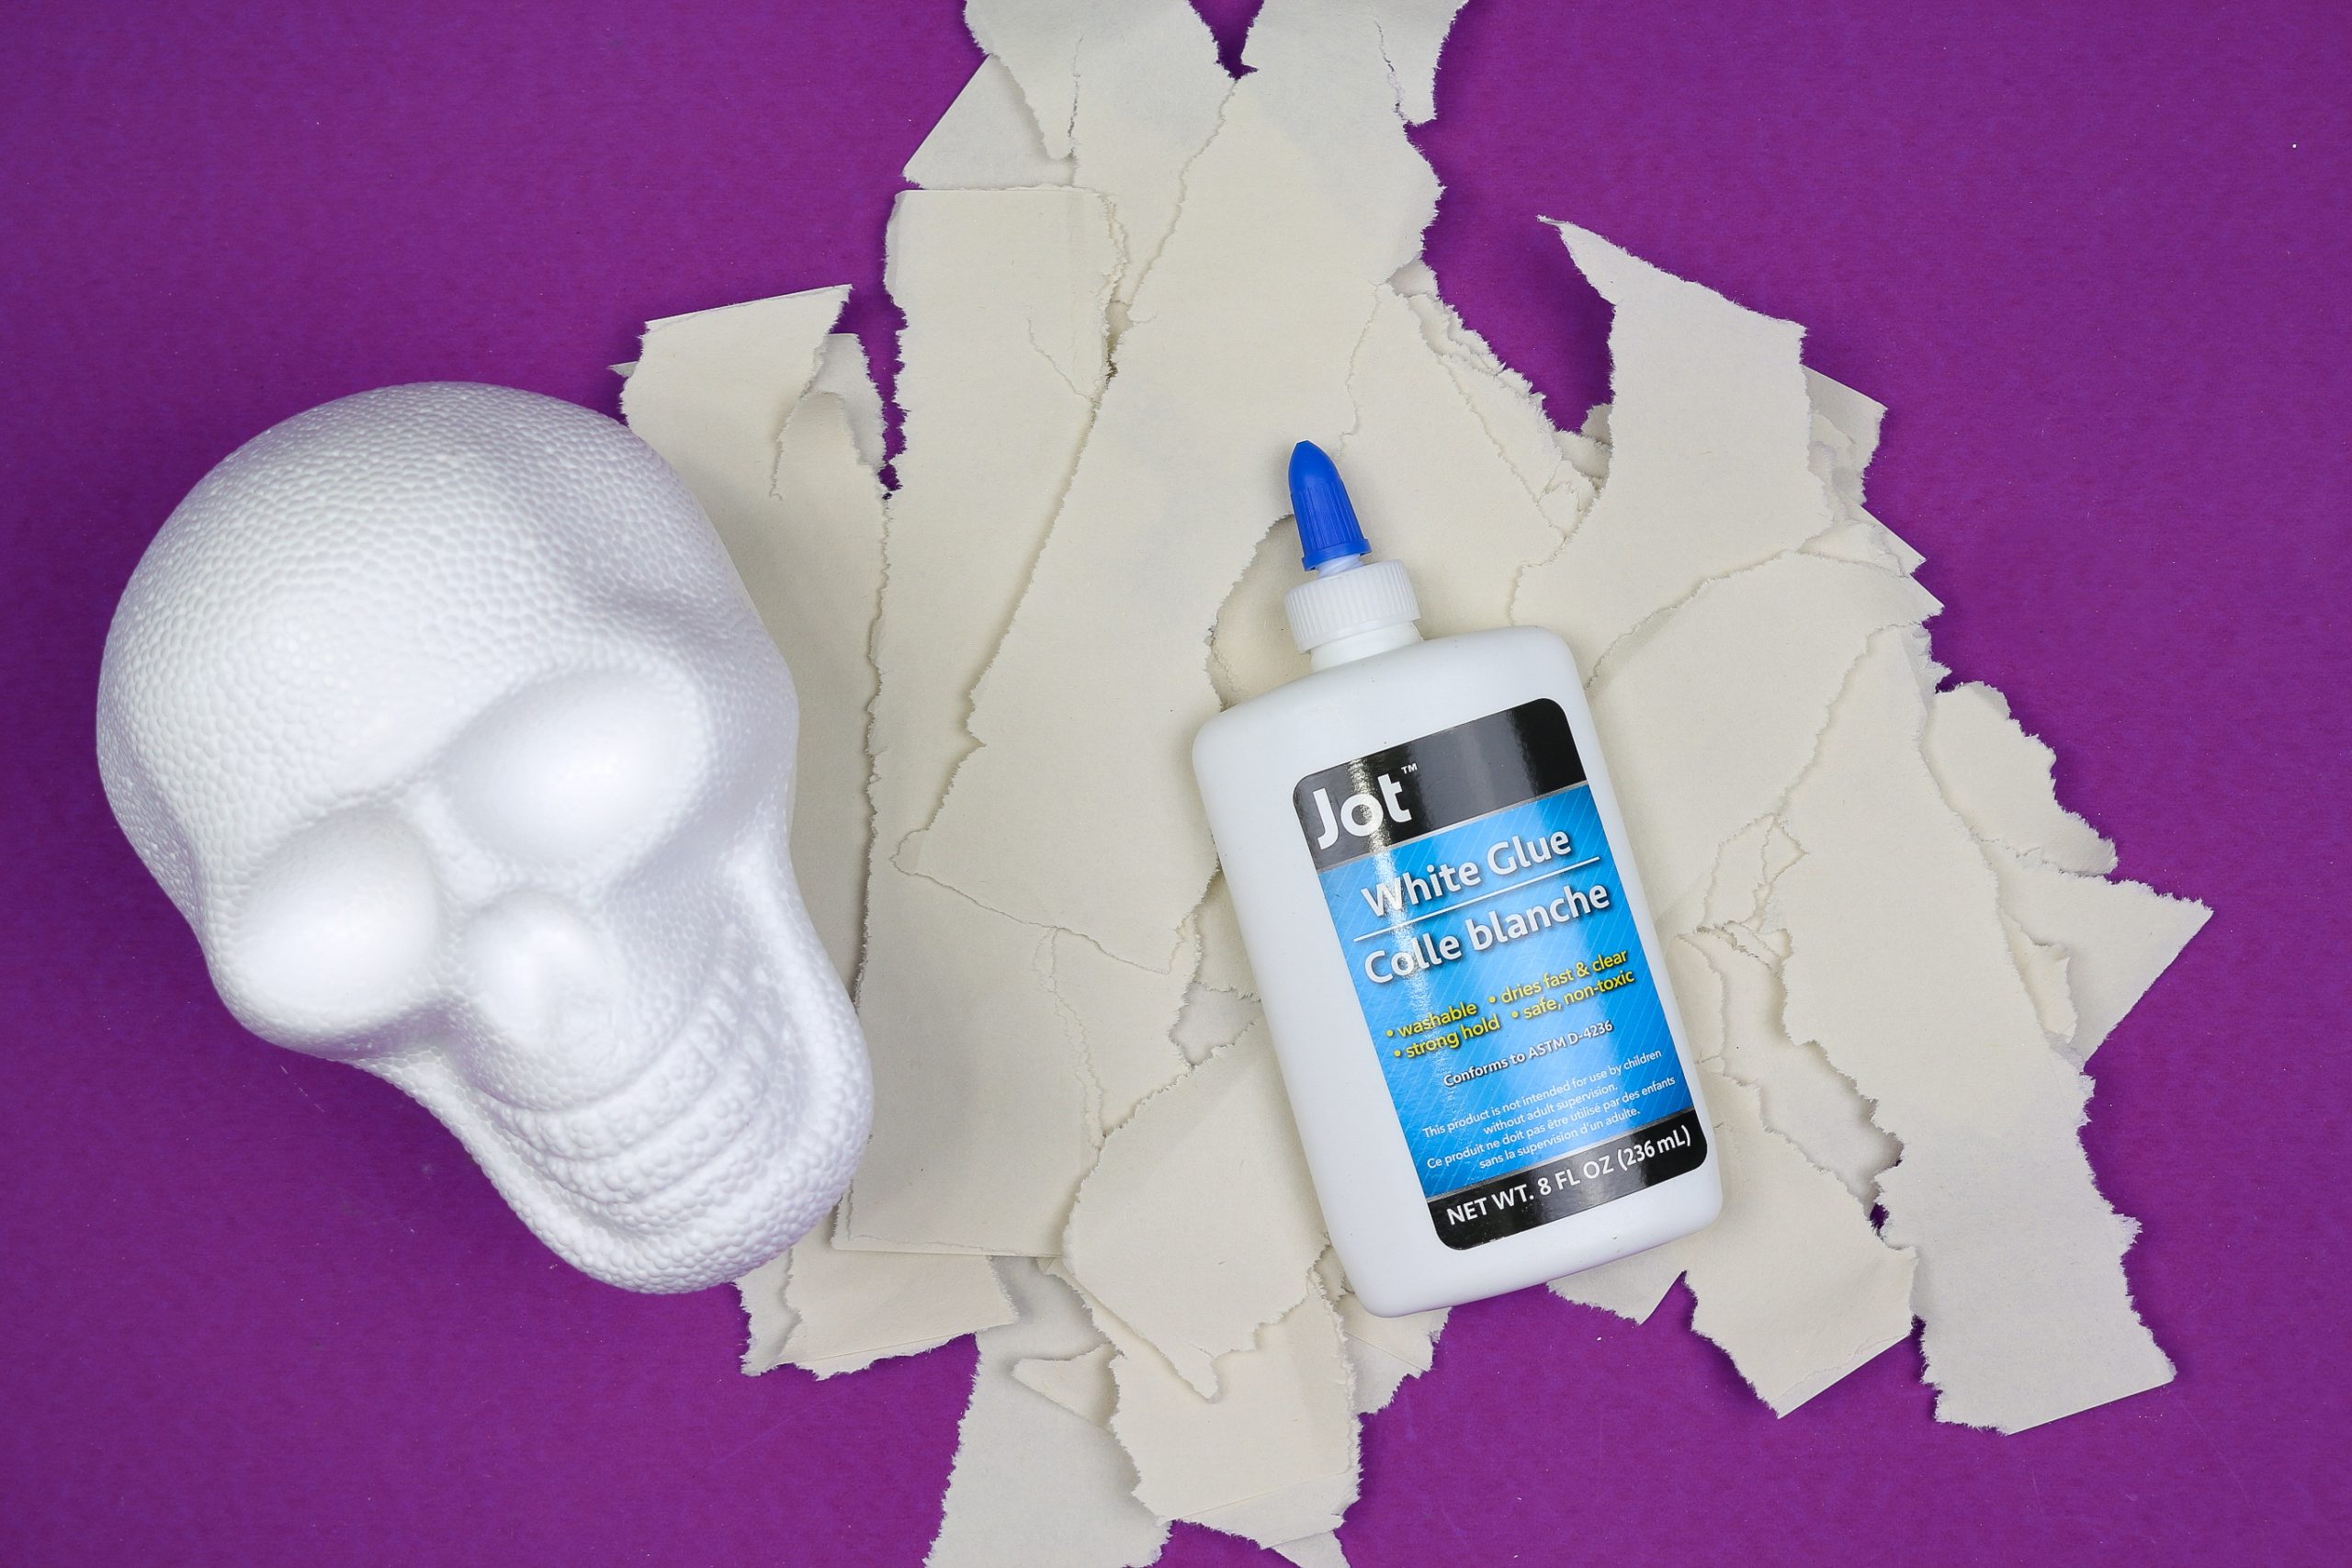
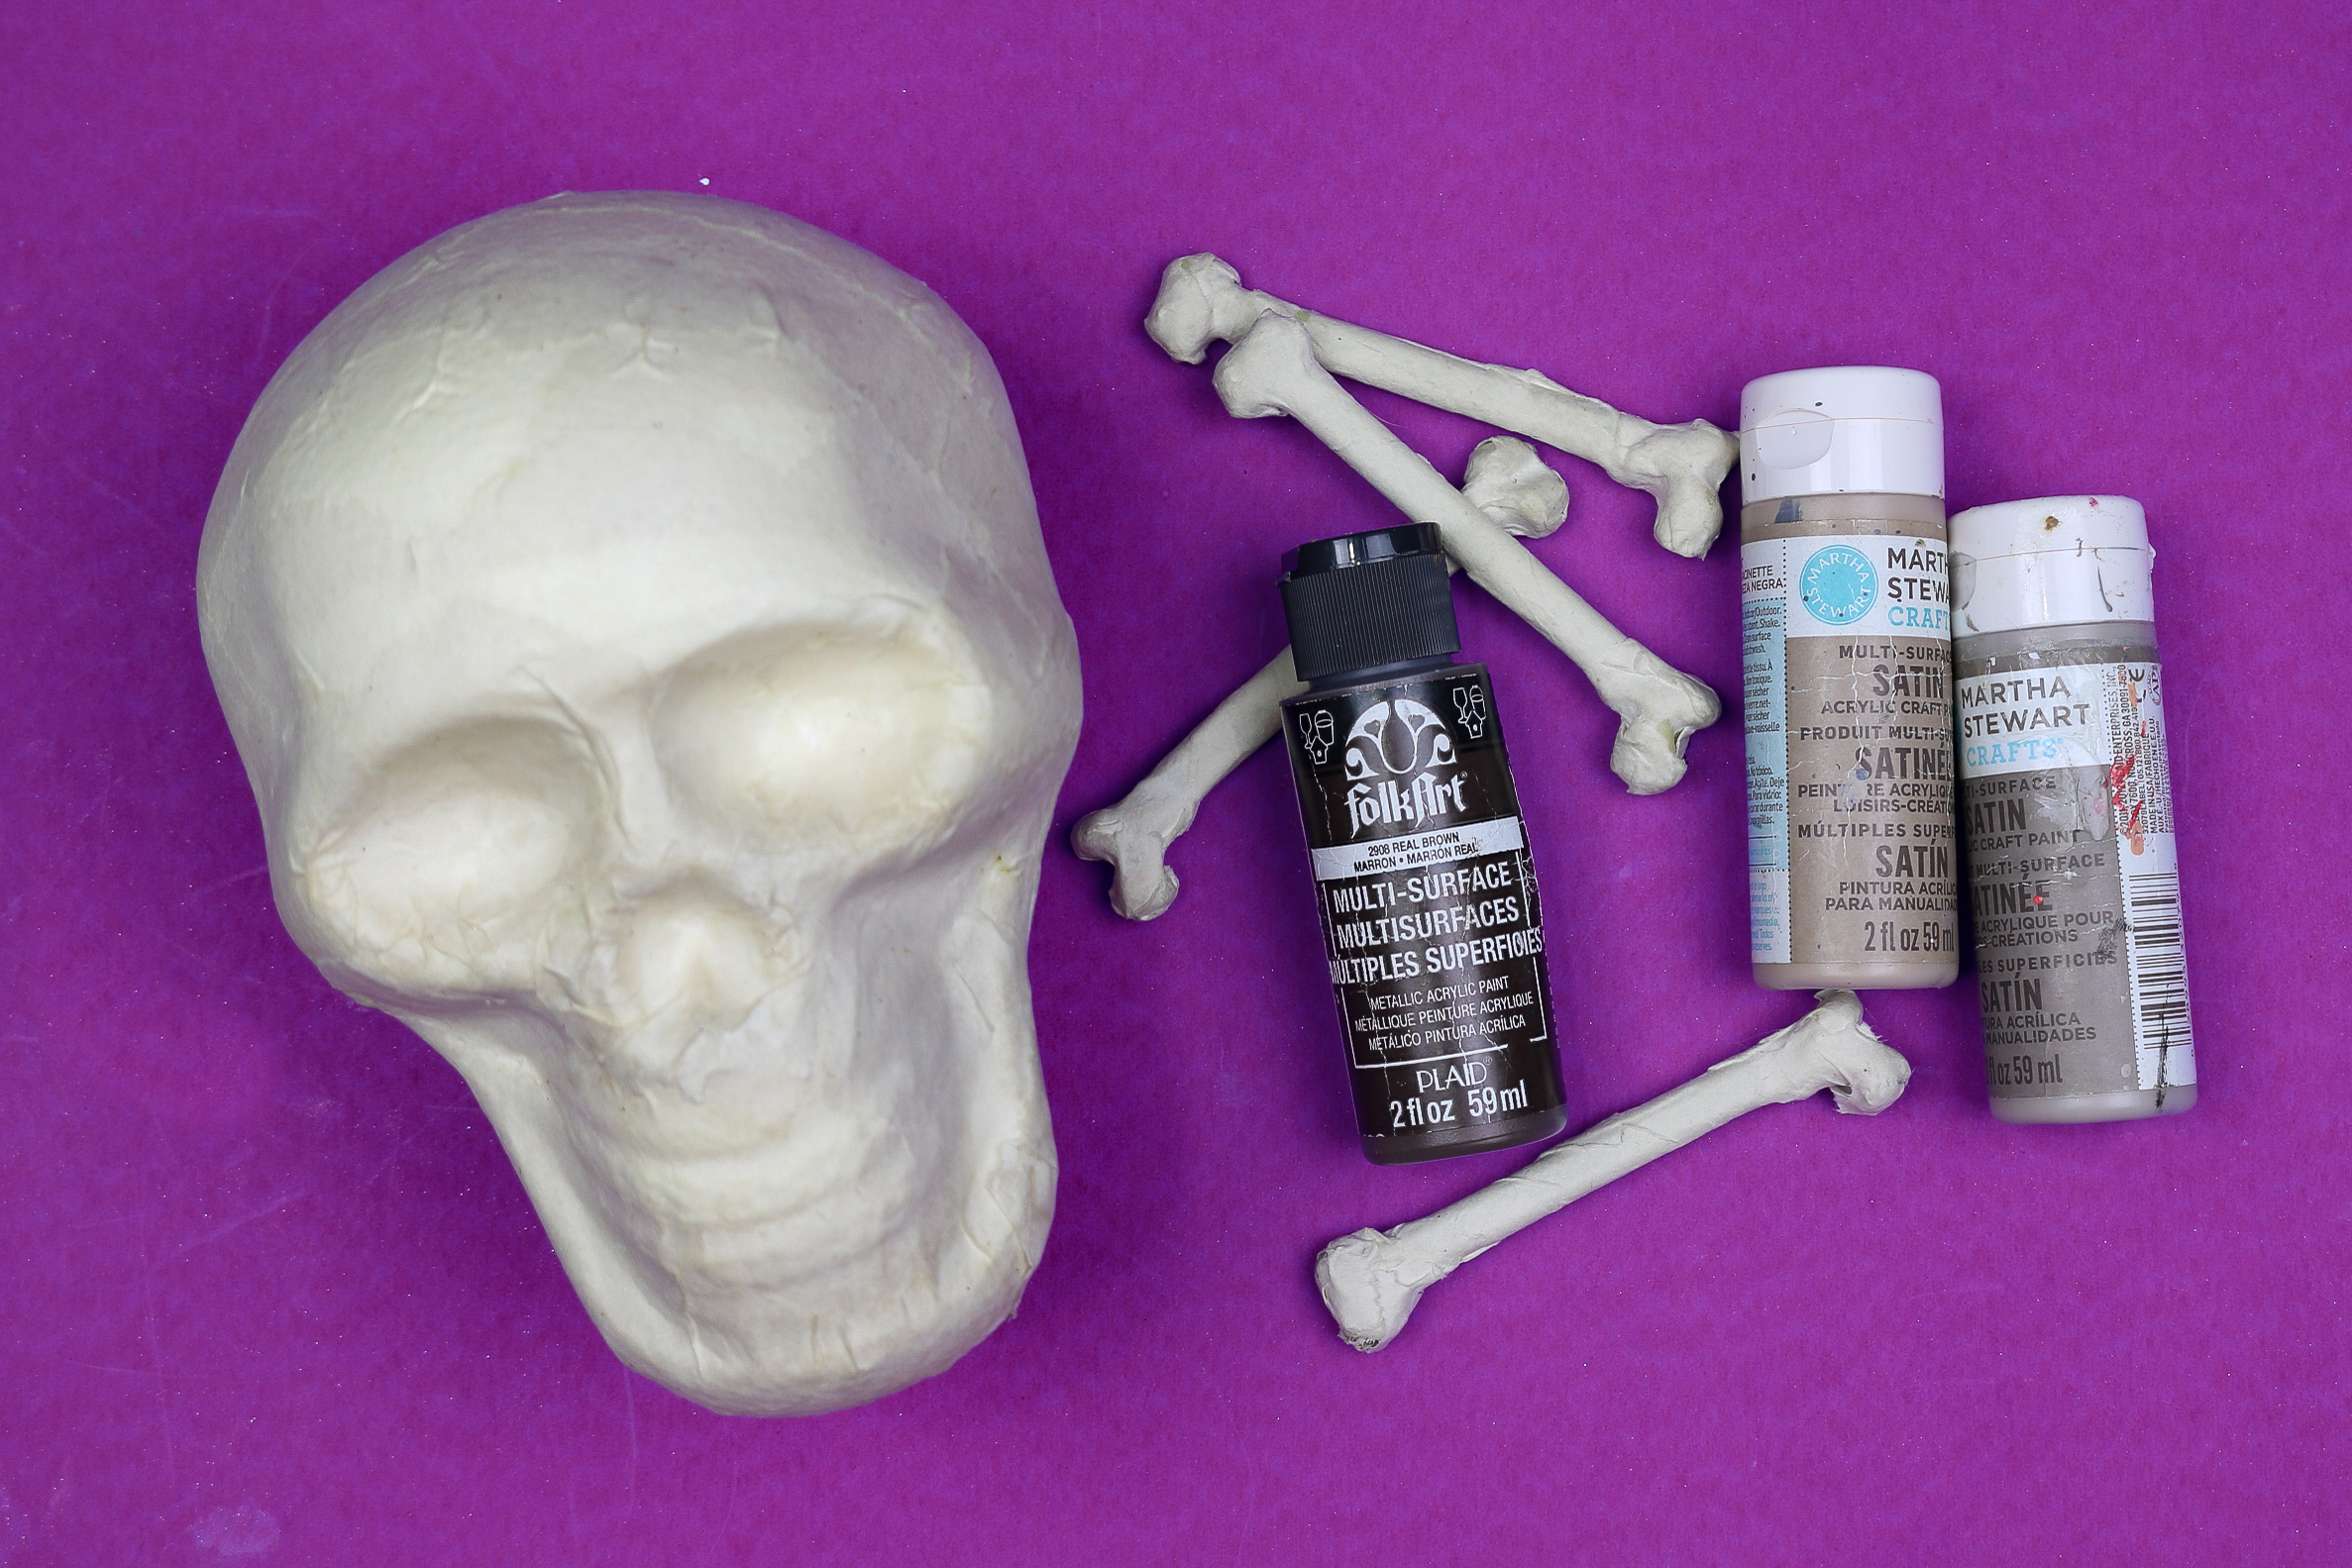
Dollar Tree always stocks some kind of skull decorations in the months leading up to Halloween. I used a styrofoam skull, but this aging process will also work on ceramic or plastic decorations. You can also find white glue, construction paper, acrylic paint, and eye shadow at the dollar store too if you don’t have those items on hand.
These are all affiliate links, if you make a purchase (of anything from the site, not just these items) after clicking through, I will earn a small commission. Ads and affiliate links are the way I am able to keep this website running and to offer you free tutorials all year long. Thank you so much for supporting me and Mad in Crafts!
- Dollar Tree skull (or other decoration)
- White construction paper
- White glue
- Bowl
- Water
- Paintbrush
- Craft paint
- Black pigment or eyeshadow

Want to know which craft supplies I always keep in my craft room?
Visit the Mad in Crafts Amazon Storefront to learn more and to buy your own supplies!
MAKING A DOLLAR TREE SKULL LOOK OLD
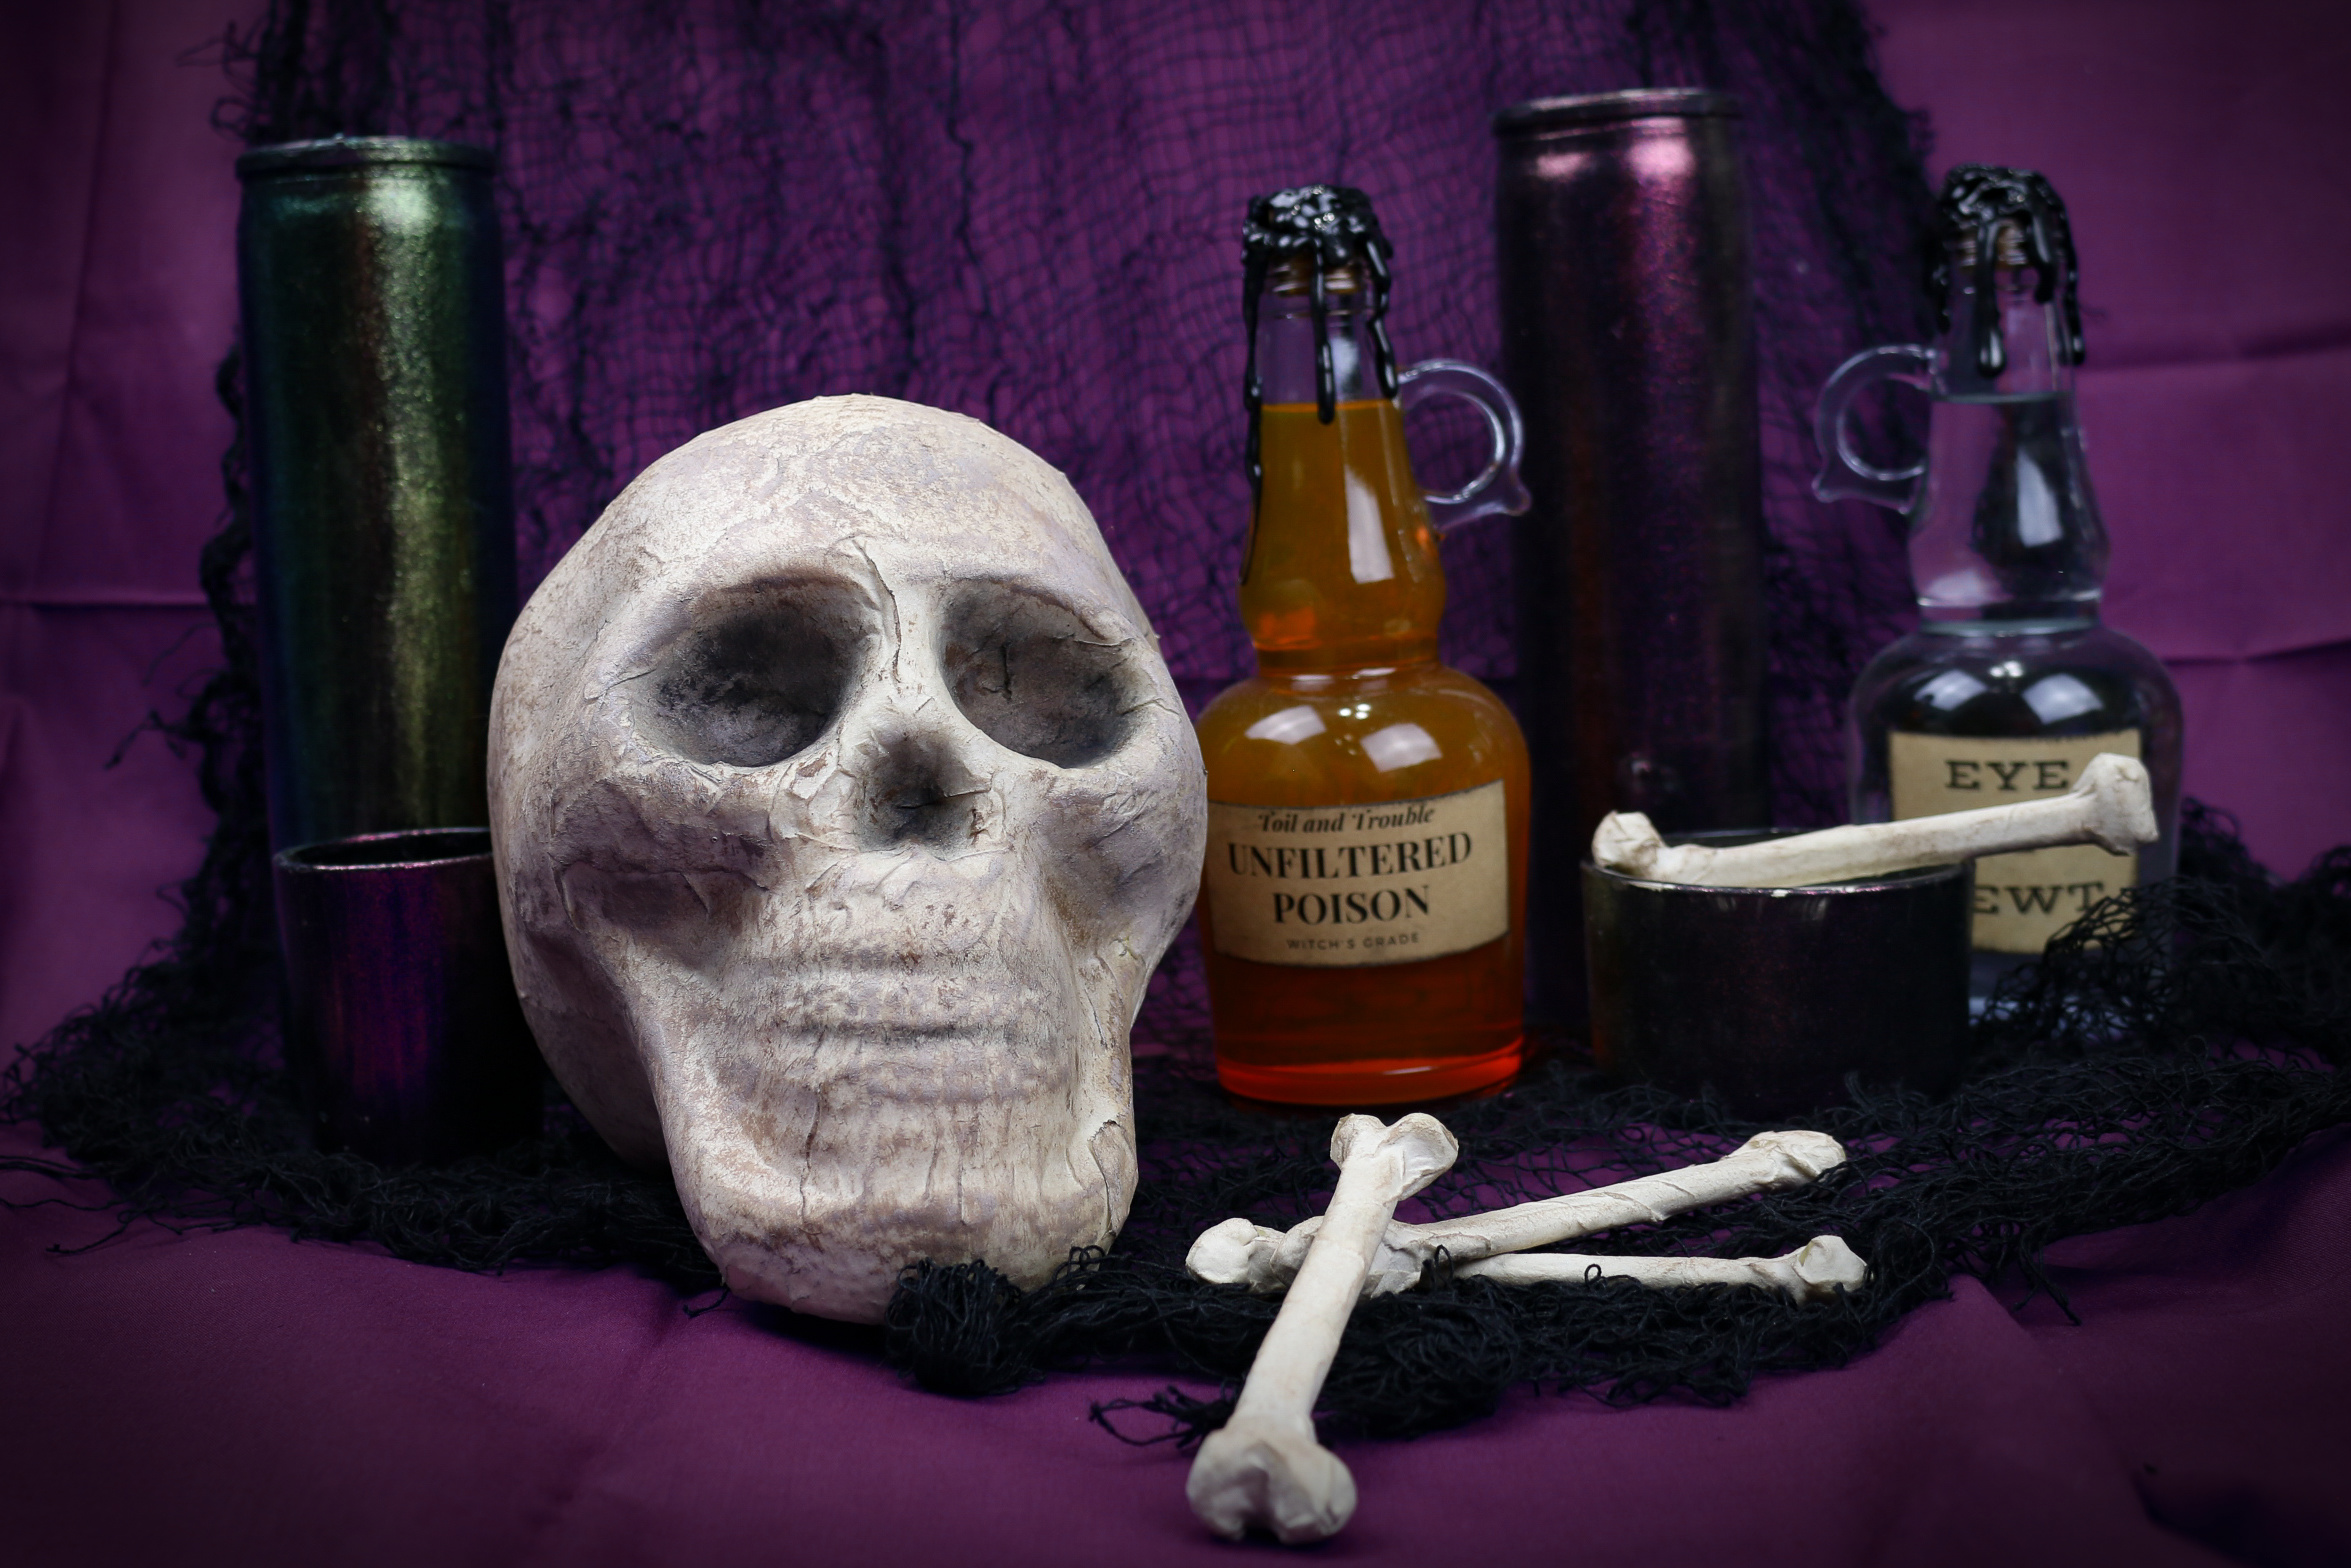
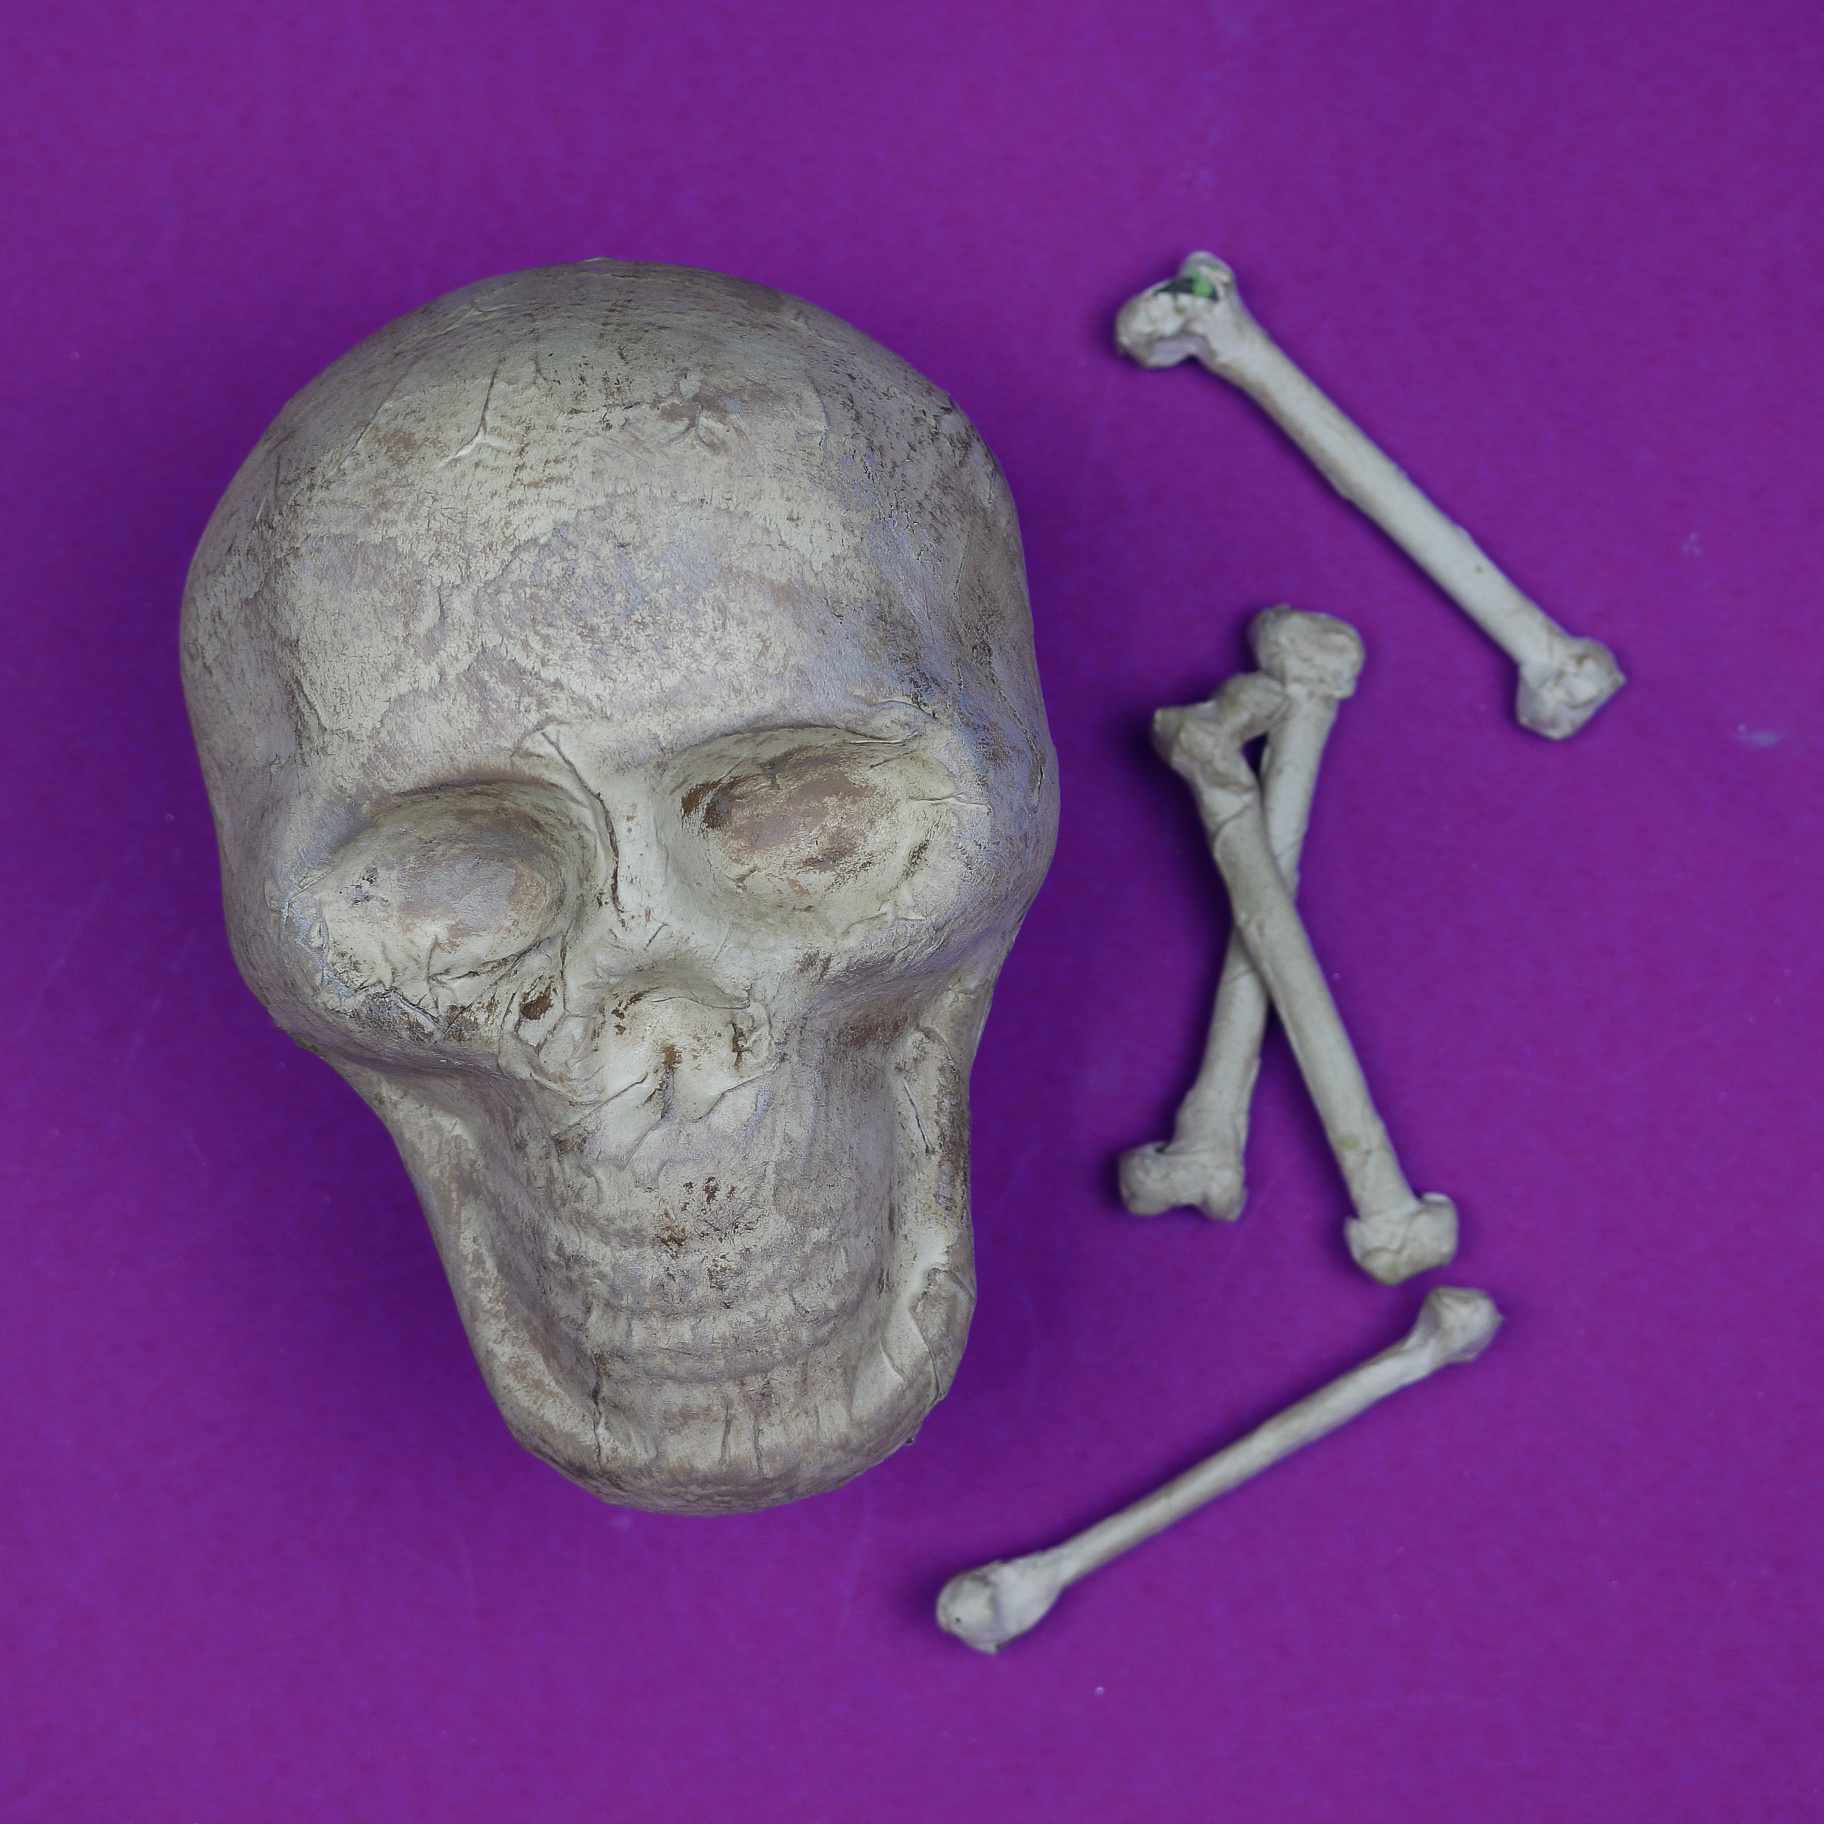
The trick to making cheap Halloween decor look better is to make it look old and dirty. Aging decorations that look cheap and plastic will make them look authentic and spooky! All it takes to make plastic decorations look older is some paper mache and dry brushing!
Aging Dollar Store Halloween Decorations
- Start by ripping sheets of white construction paper into strips.
Do not cut the construction paper. The rough edges of the rips will look older and more worn.

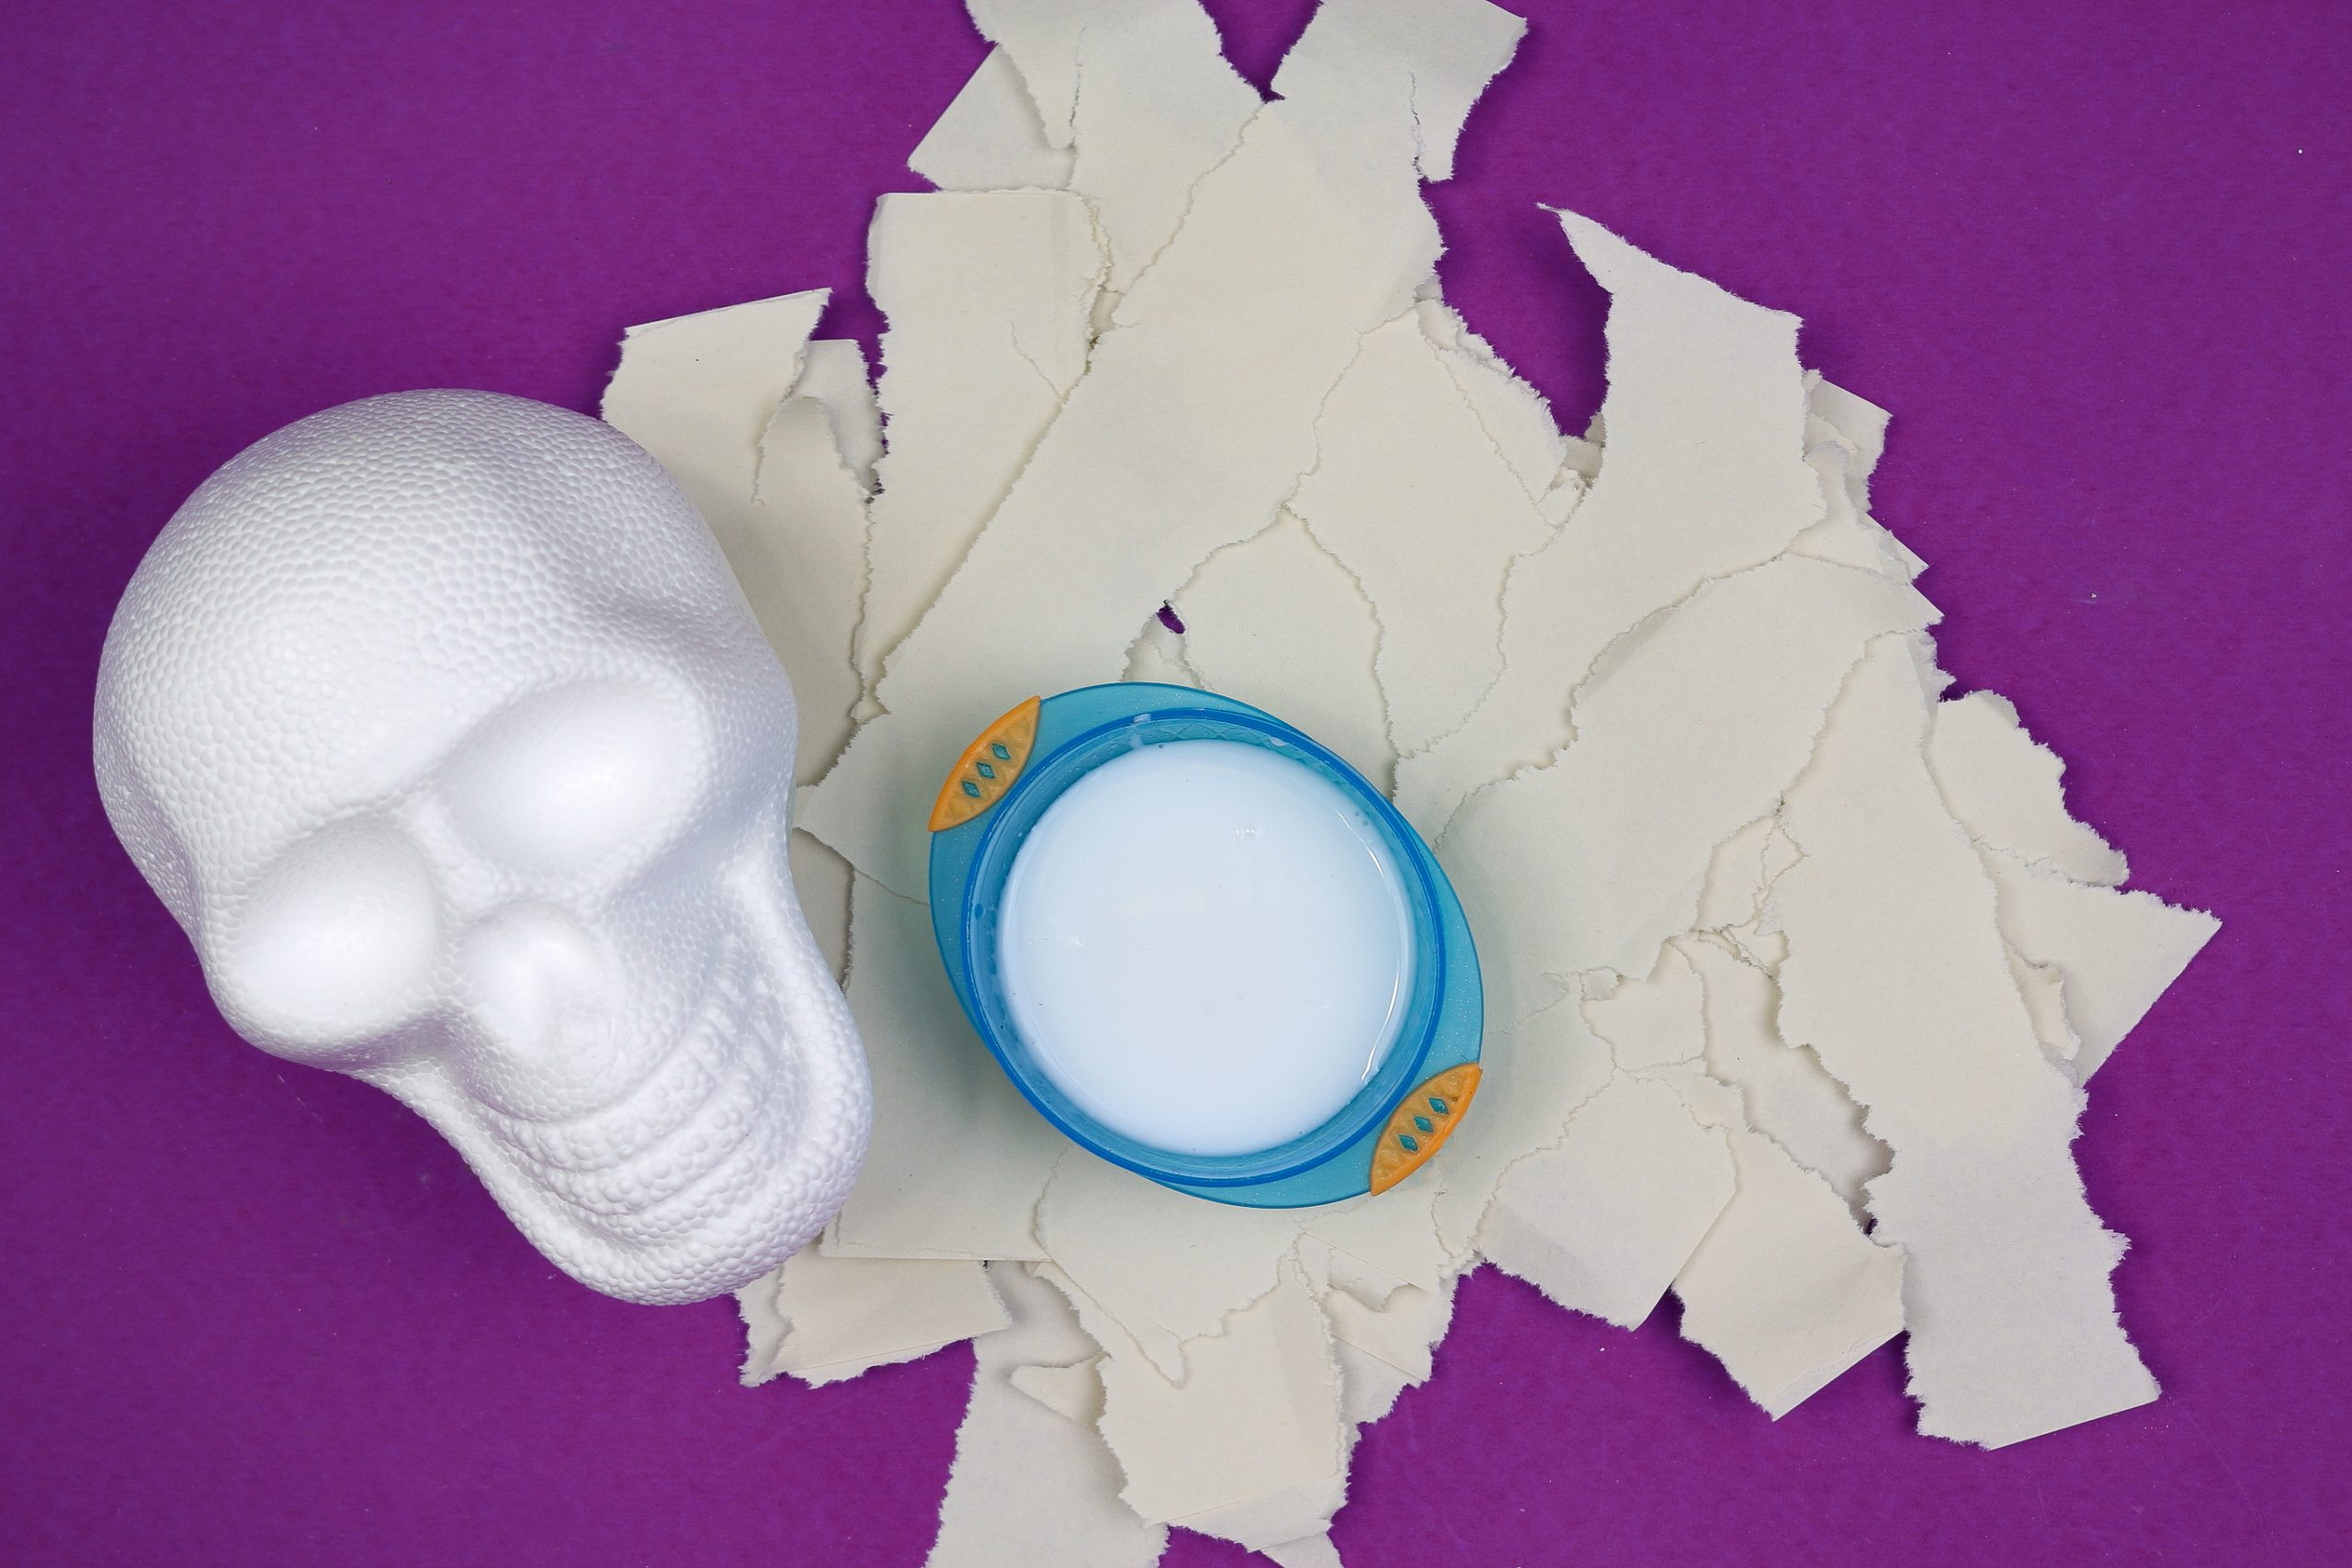
- Mix equal parts water and white glue in a shallow bowl to use as your adhesive.

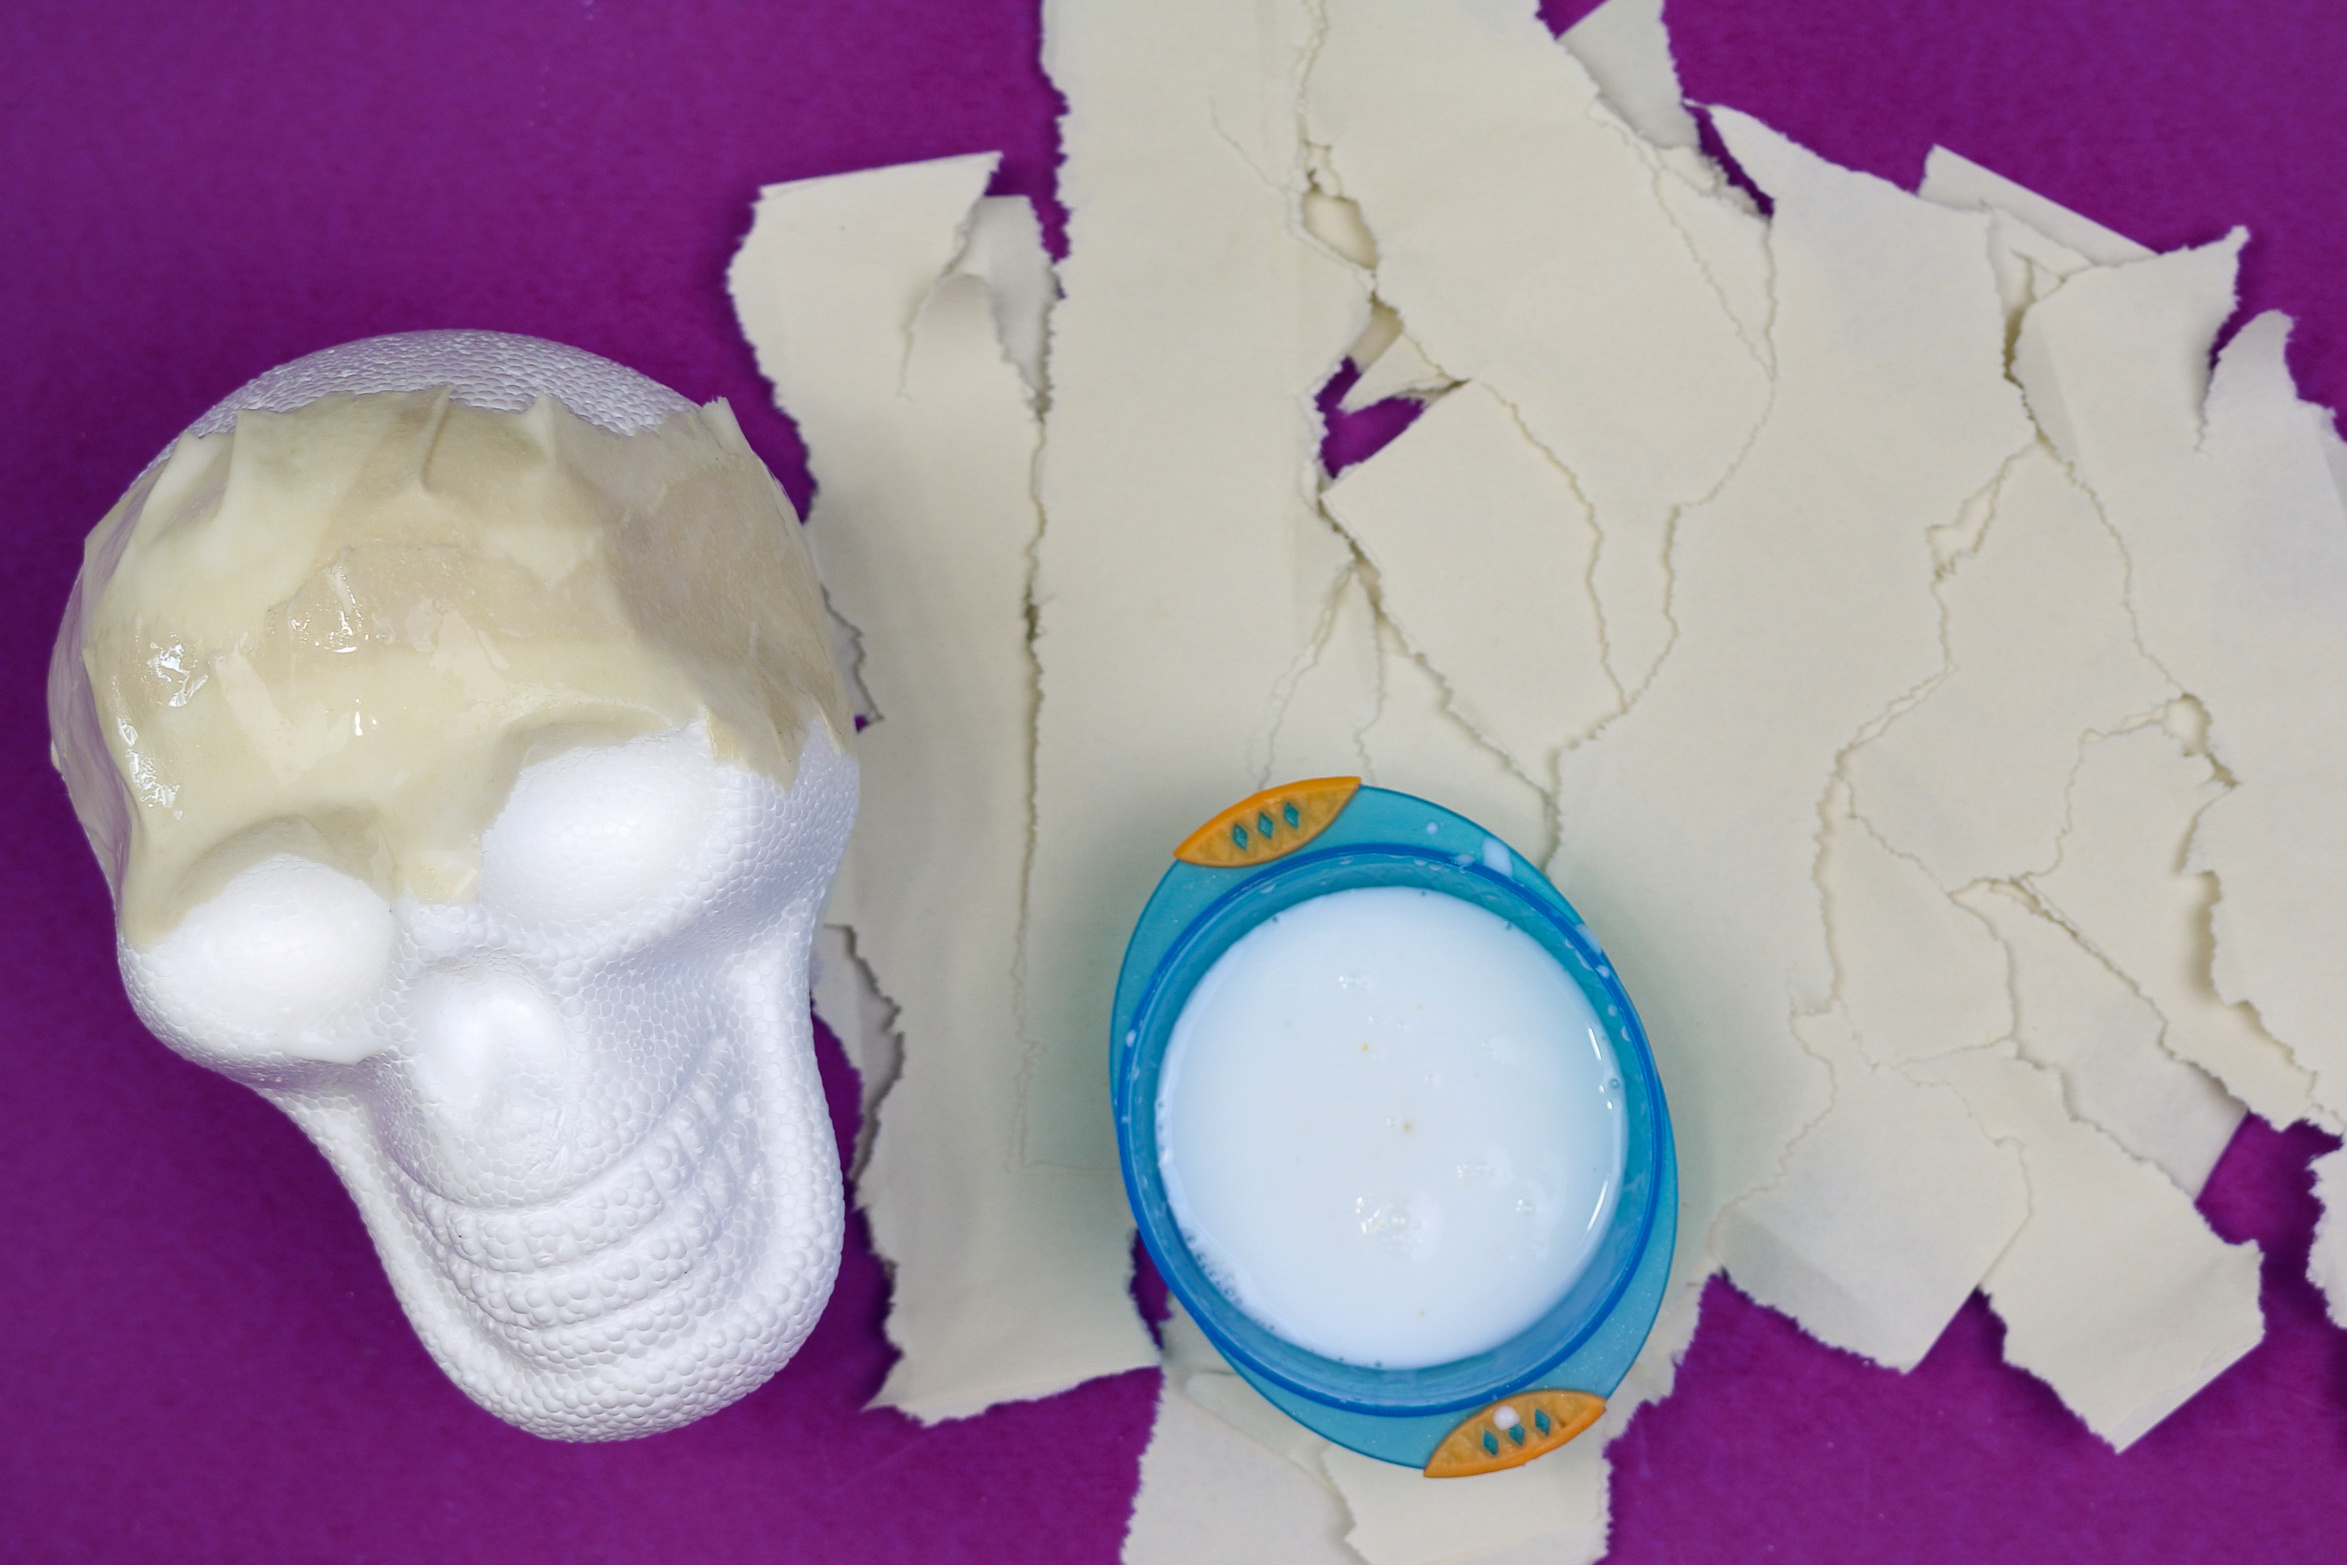
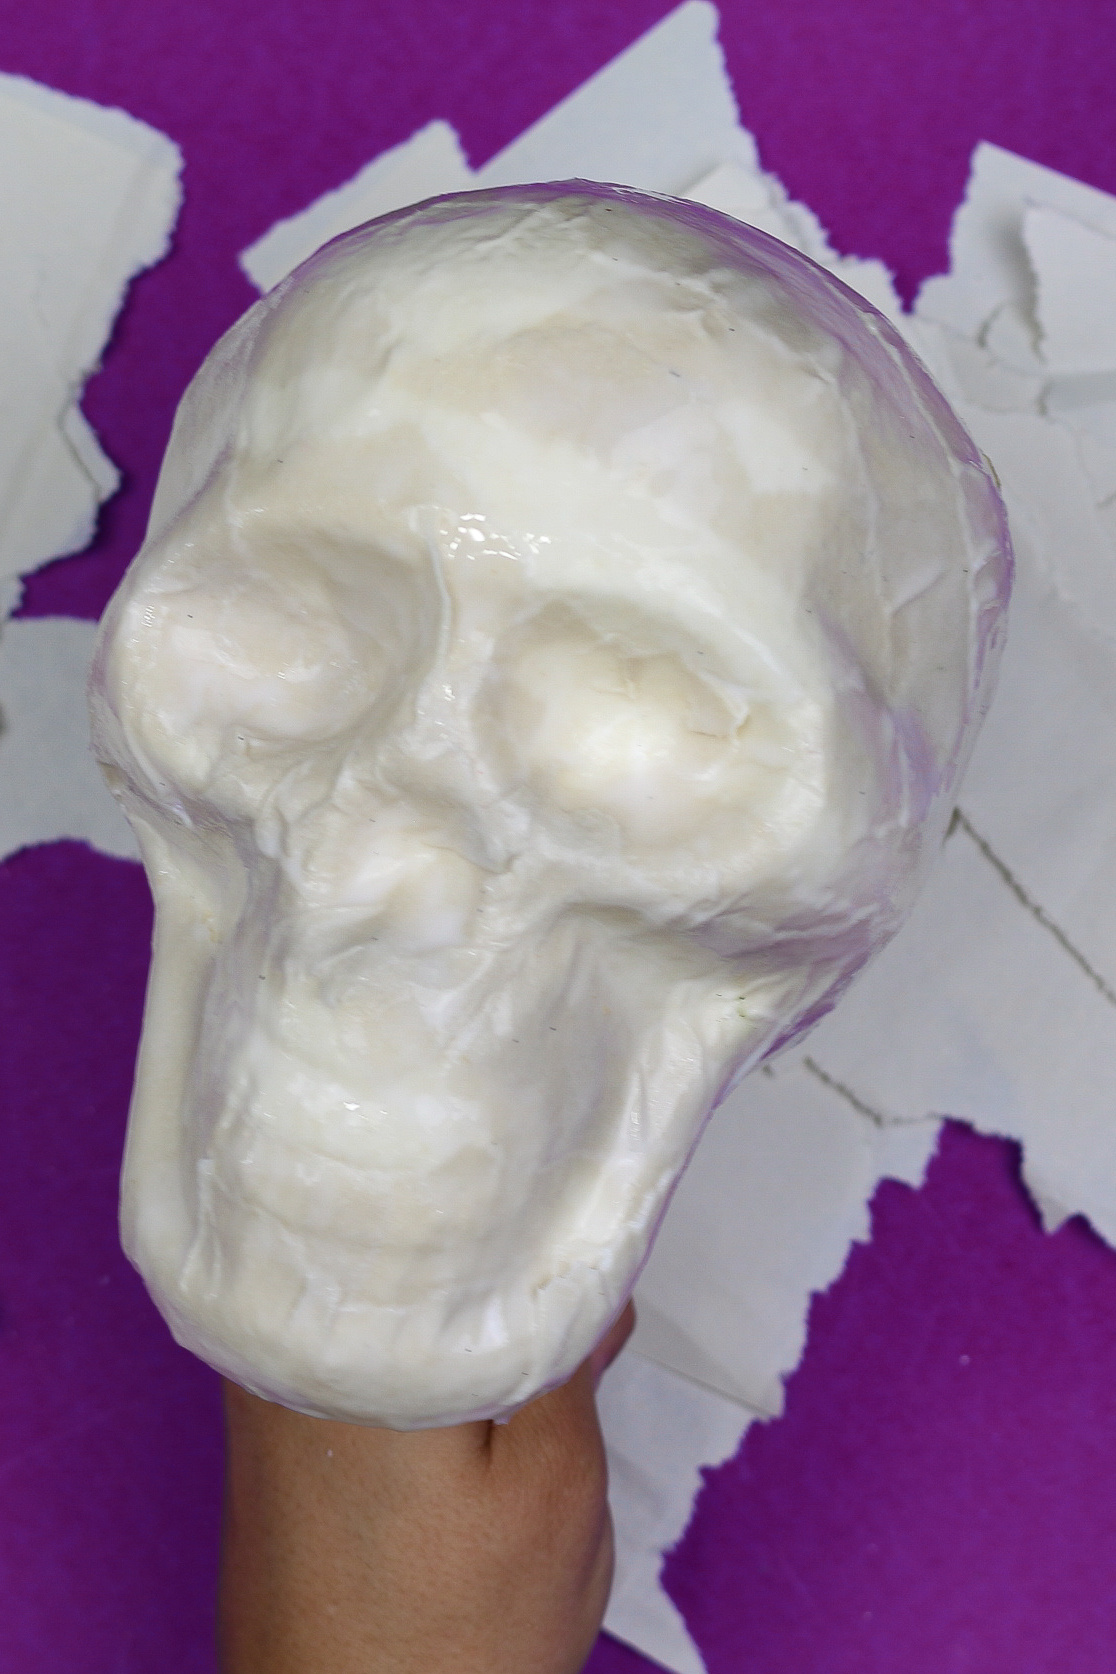
- Dip strips of construction paper in the glue mixture, squeegee off the excess between two fingers, and apply the paper to the foam skull.
Smooth the paper mache onto the skull shape forming the paper into the contours of the skull.

- Continue gluing strips of construction paper to the skull until it is completely covered. Allow it to dry completely before handling.
You can tear the strips into smaller pieces to fit in tighter areas of the contour of the skull.

- Choose a few colors of craft paint in browns and greys.

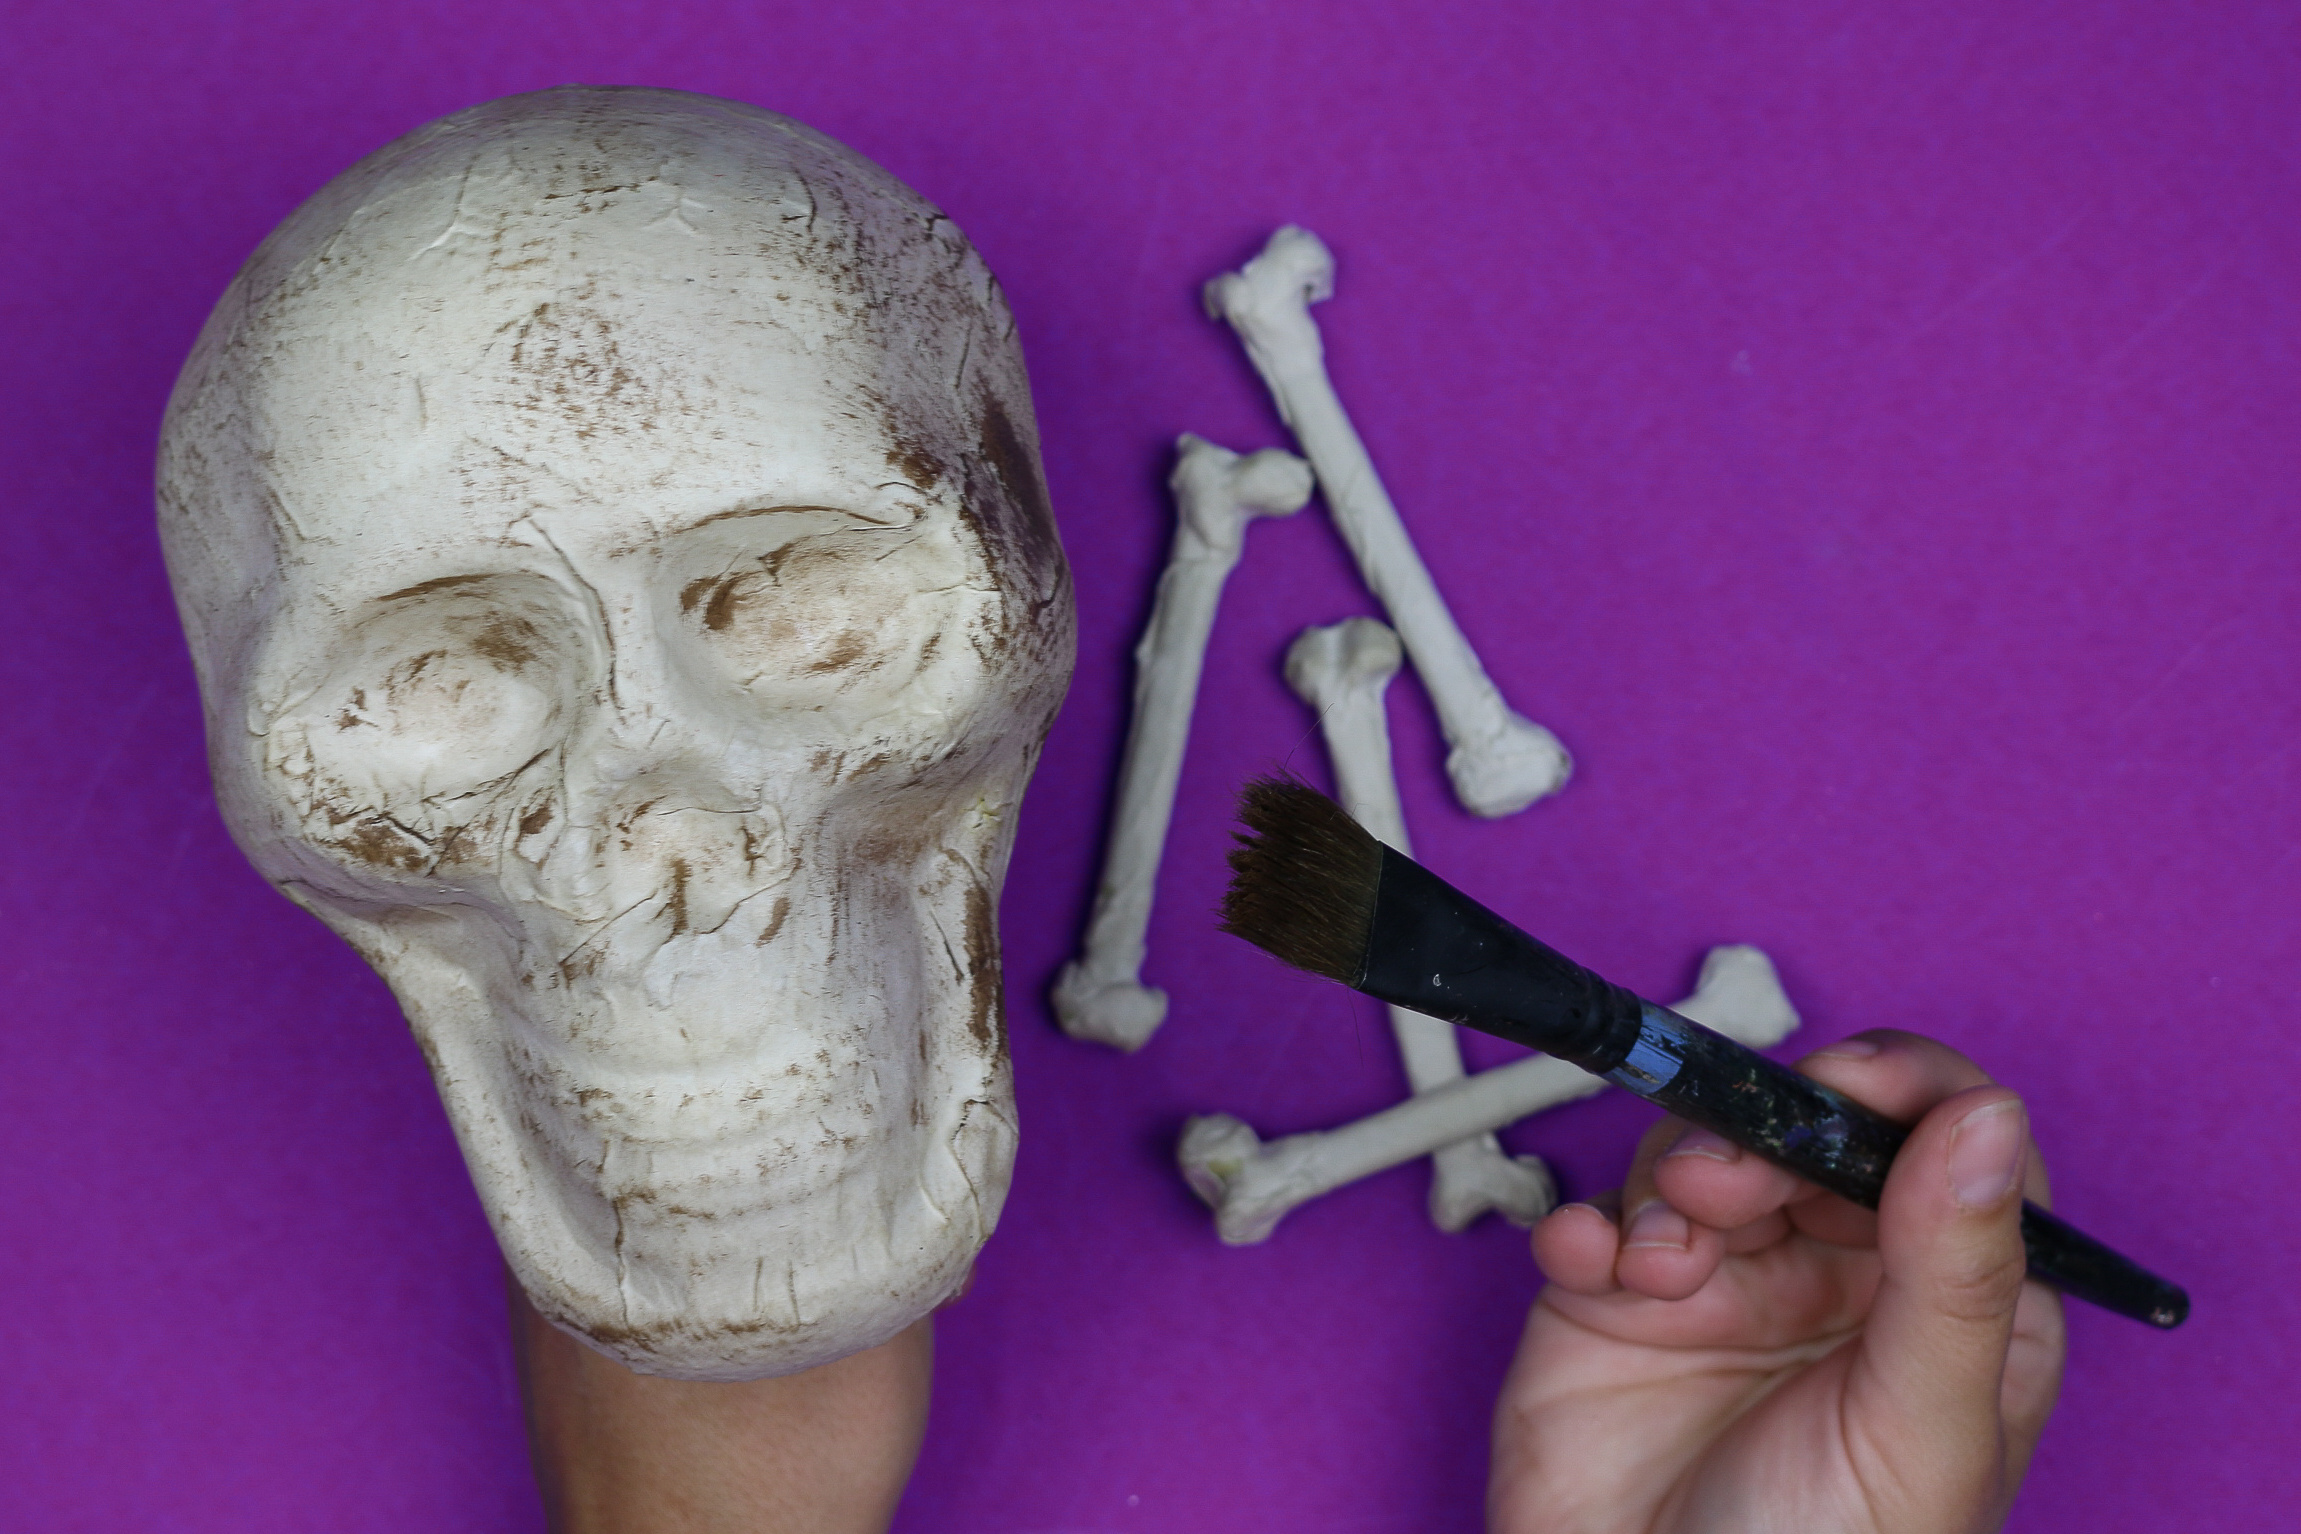
- Squeeze a small amount of paint onto a plate or paint tray. Put a small amount on a paintbrush, then tap most of the paint off onto a piece of scrap paper. Lightly dry brush that paint onto the surface of the skull.
Use a very light hand here! You can always add more paint, but it’s hard to take it off if you put on too much. A damp cloth can remove a bit of excess paint if needed.

- Layer the colors until you are satisfied with the aged and dirty look of the skull.

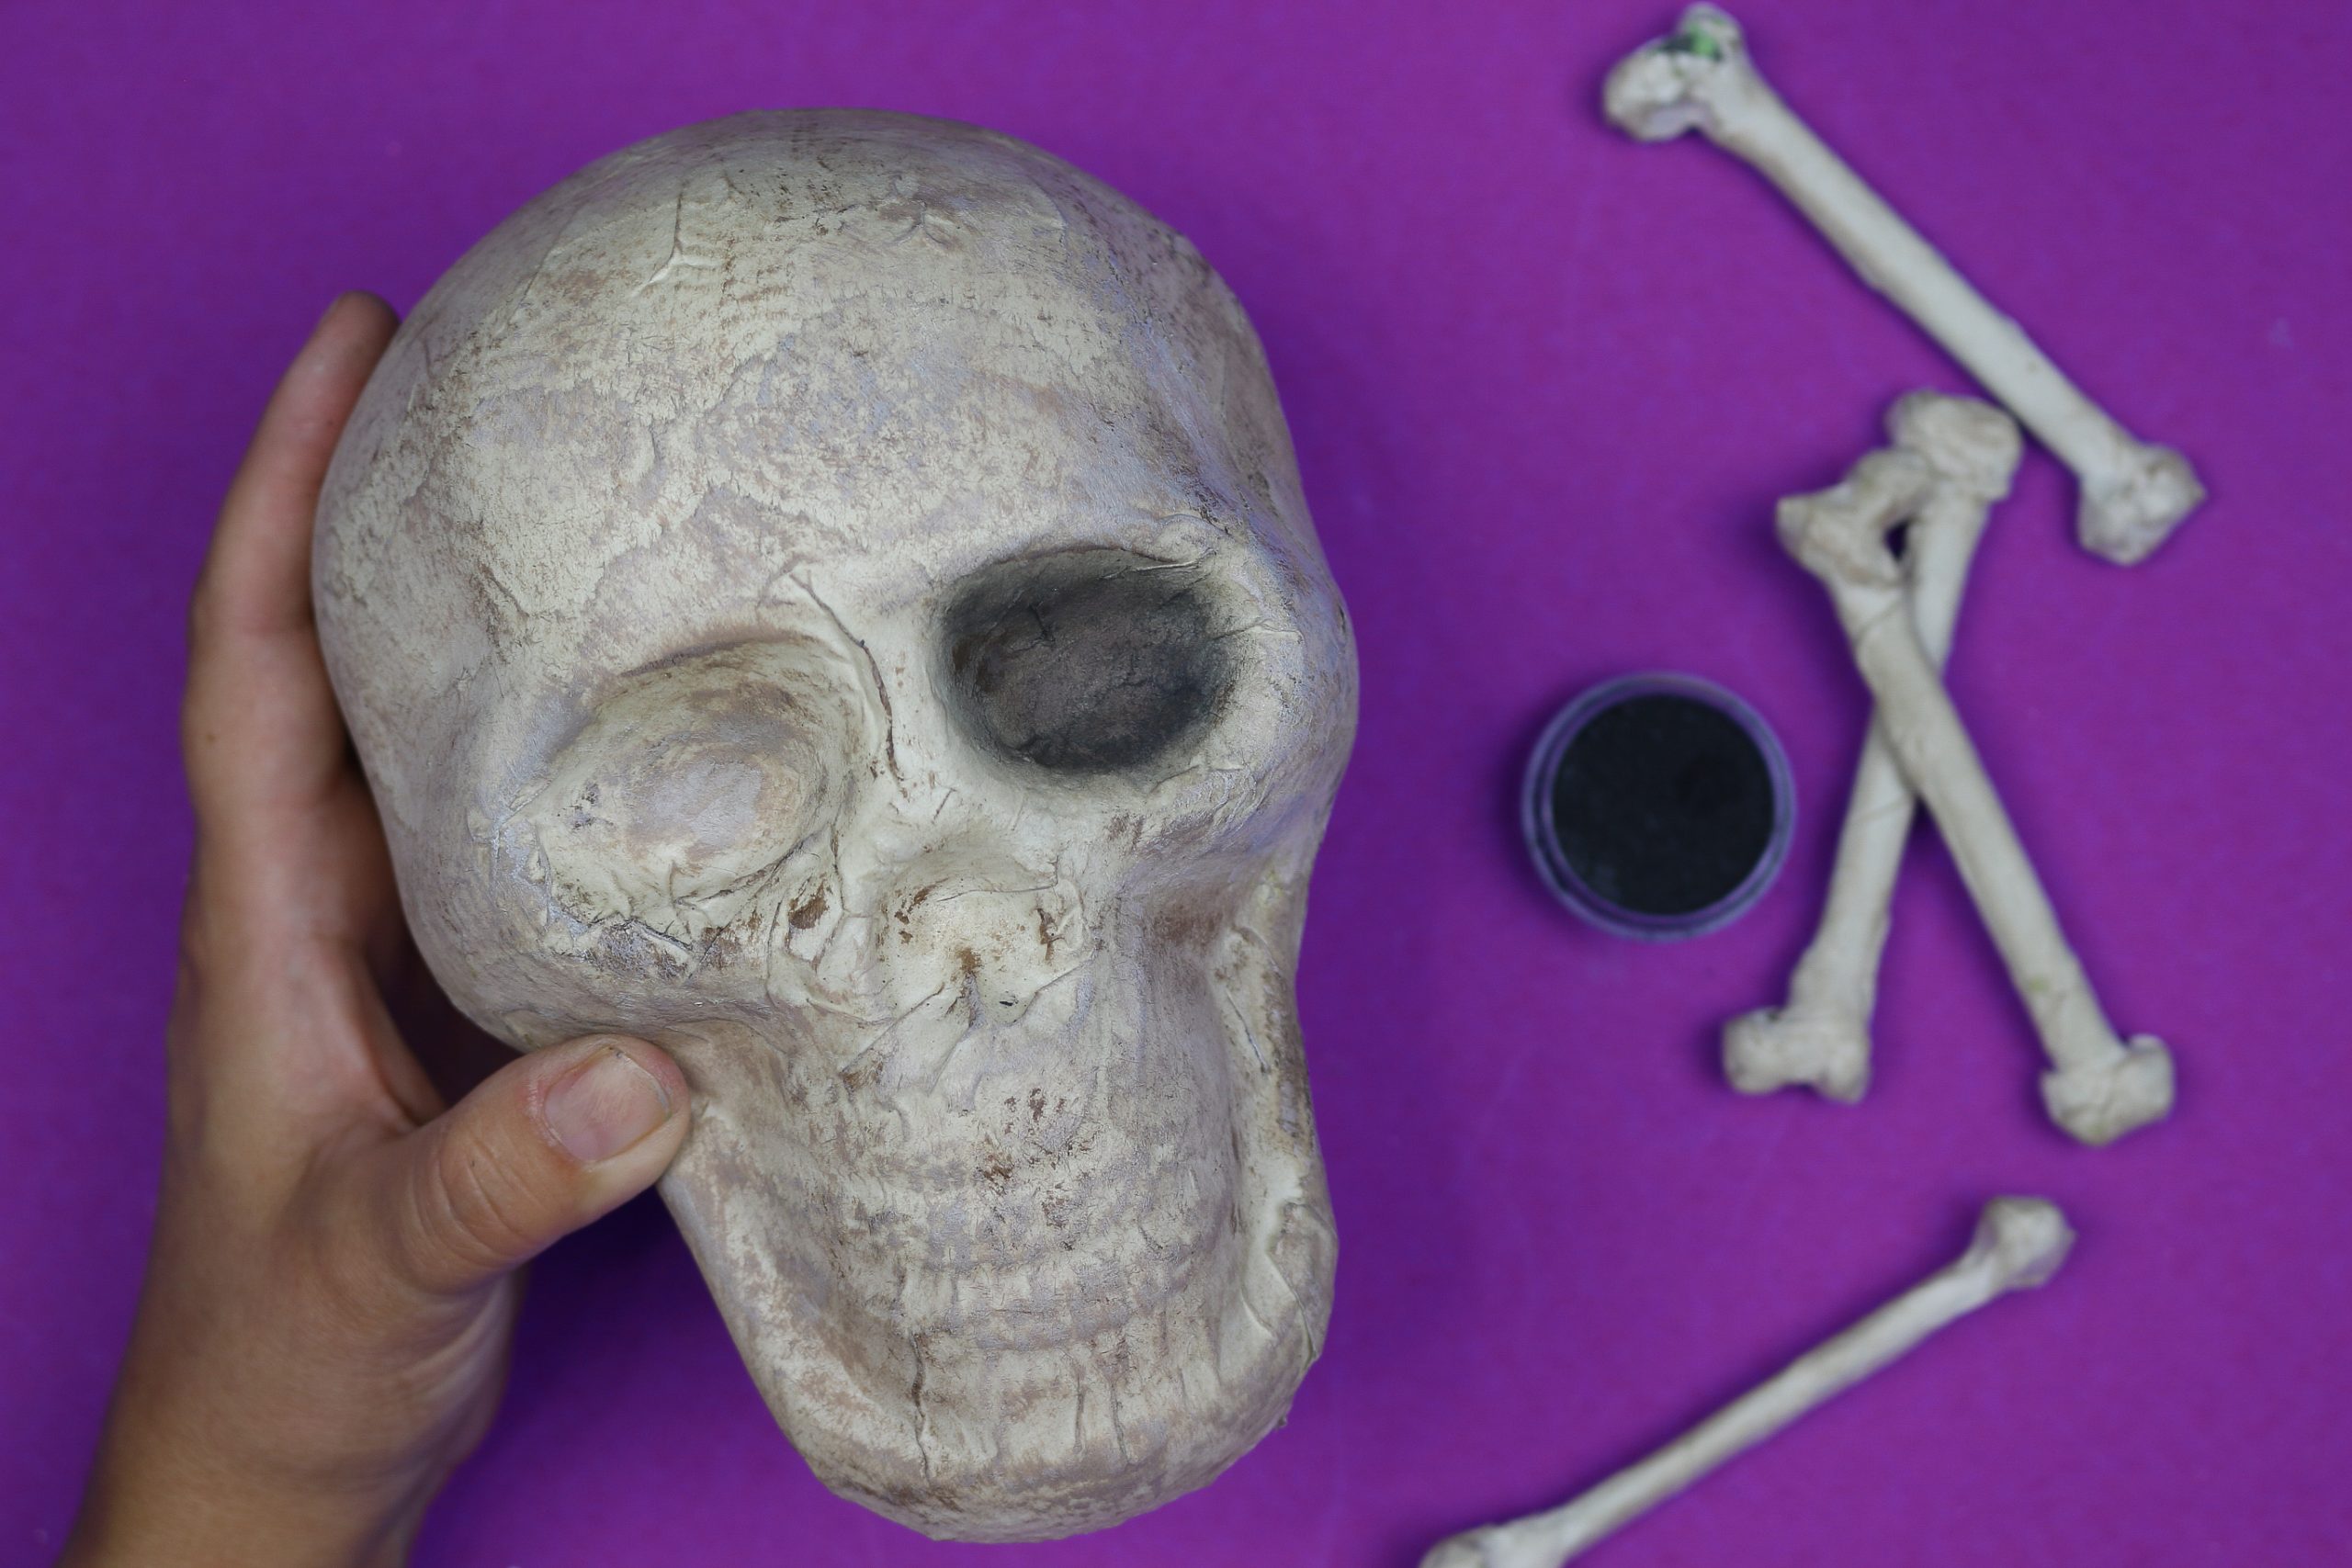
- Use a paintbrush (or makeup brush) to apply black pigment or black eye shadow to the recessed parts of the skull to create depth.
Make sure to get in the eye sockets, the nose, the mouth, as well as the hollows of the cheeks and temples.

AGING OTHER DOLLAR STORE HALLOWEEN DECORATIONS
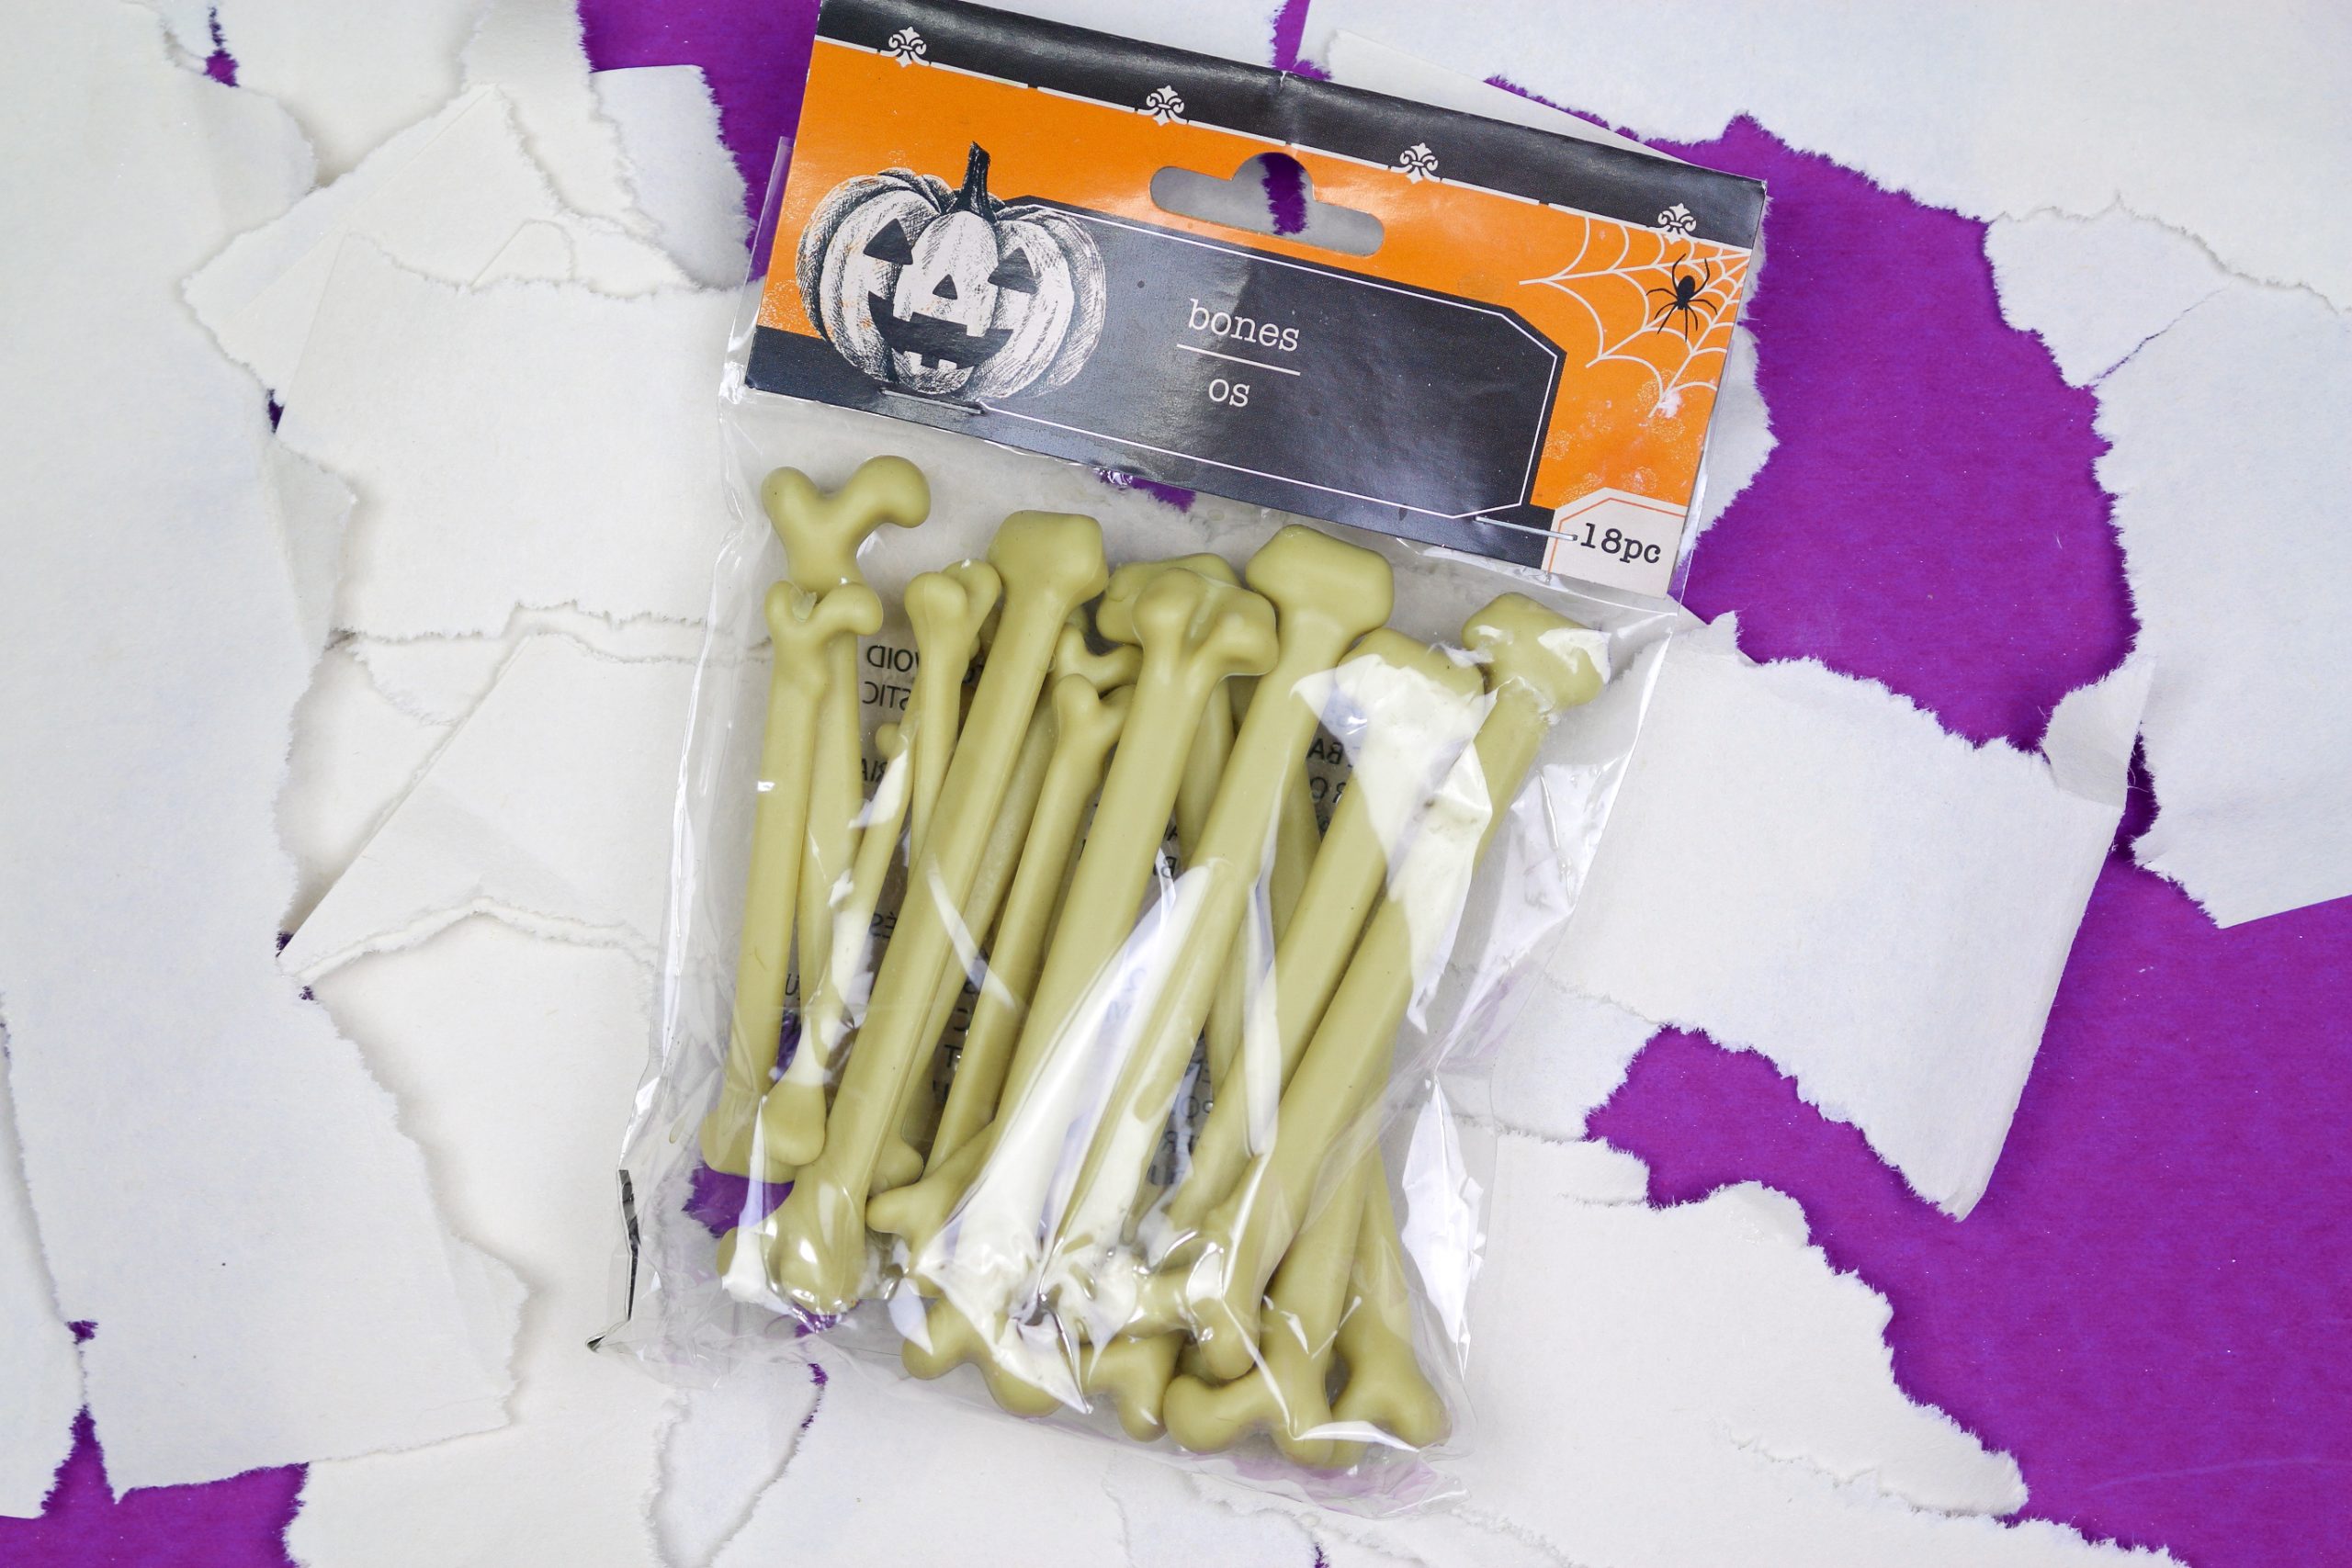
You can use this aging technique for other decor pieces too. I found this pack of bones in the Halloween section of the dollar store and used paper mache and craft paint to make them look less obviously plastic.
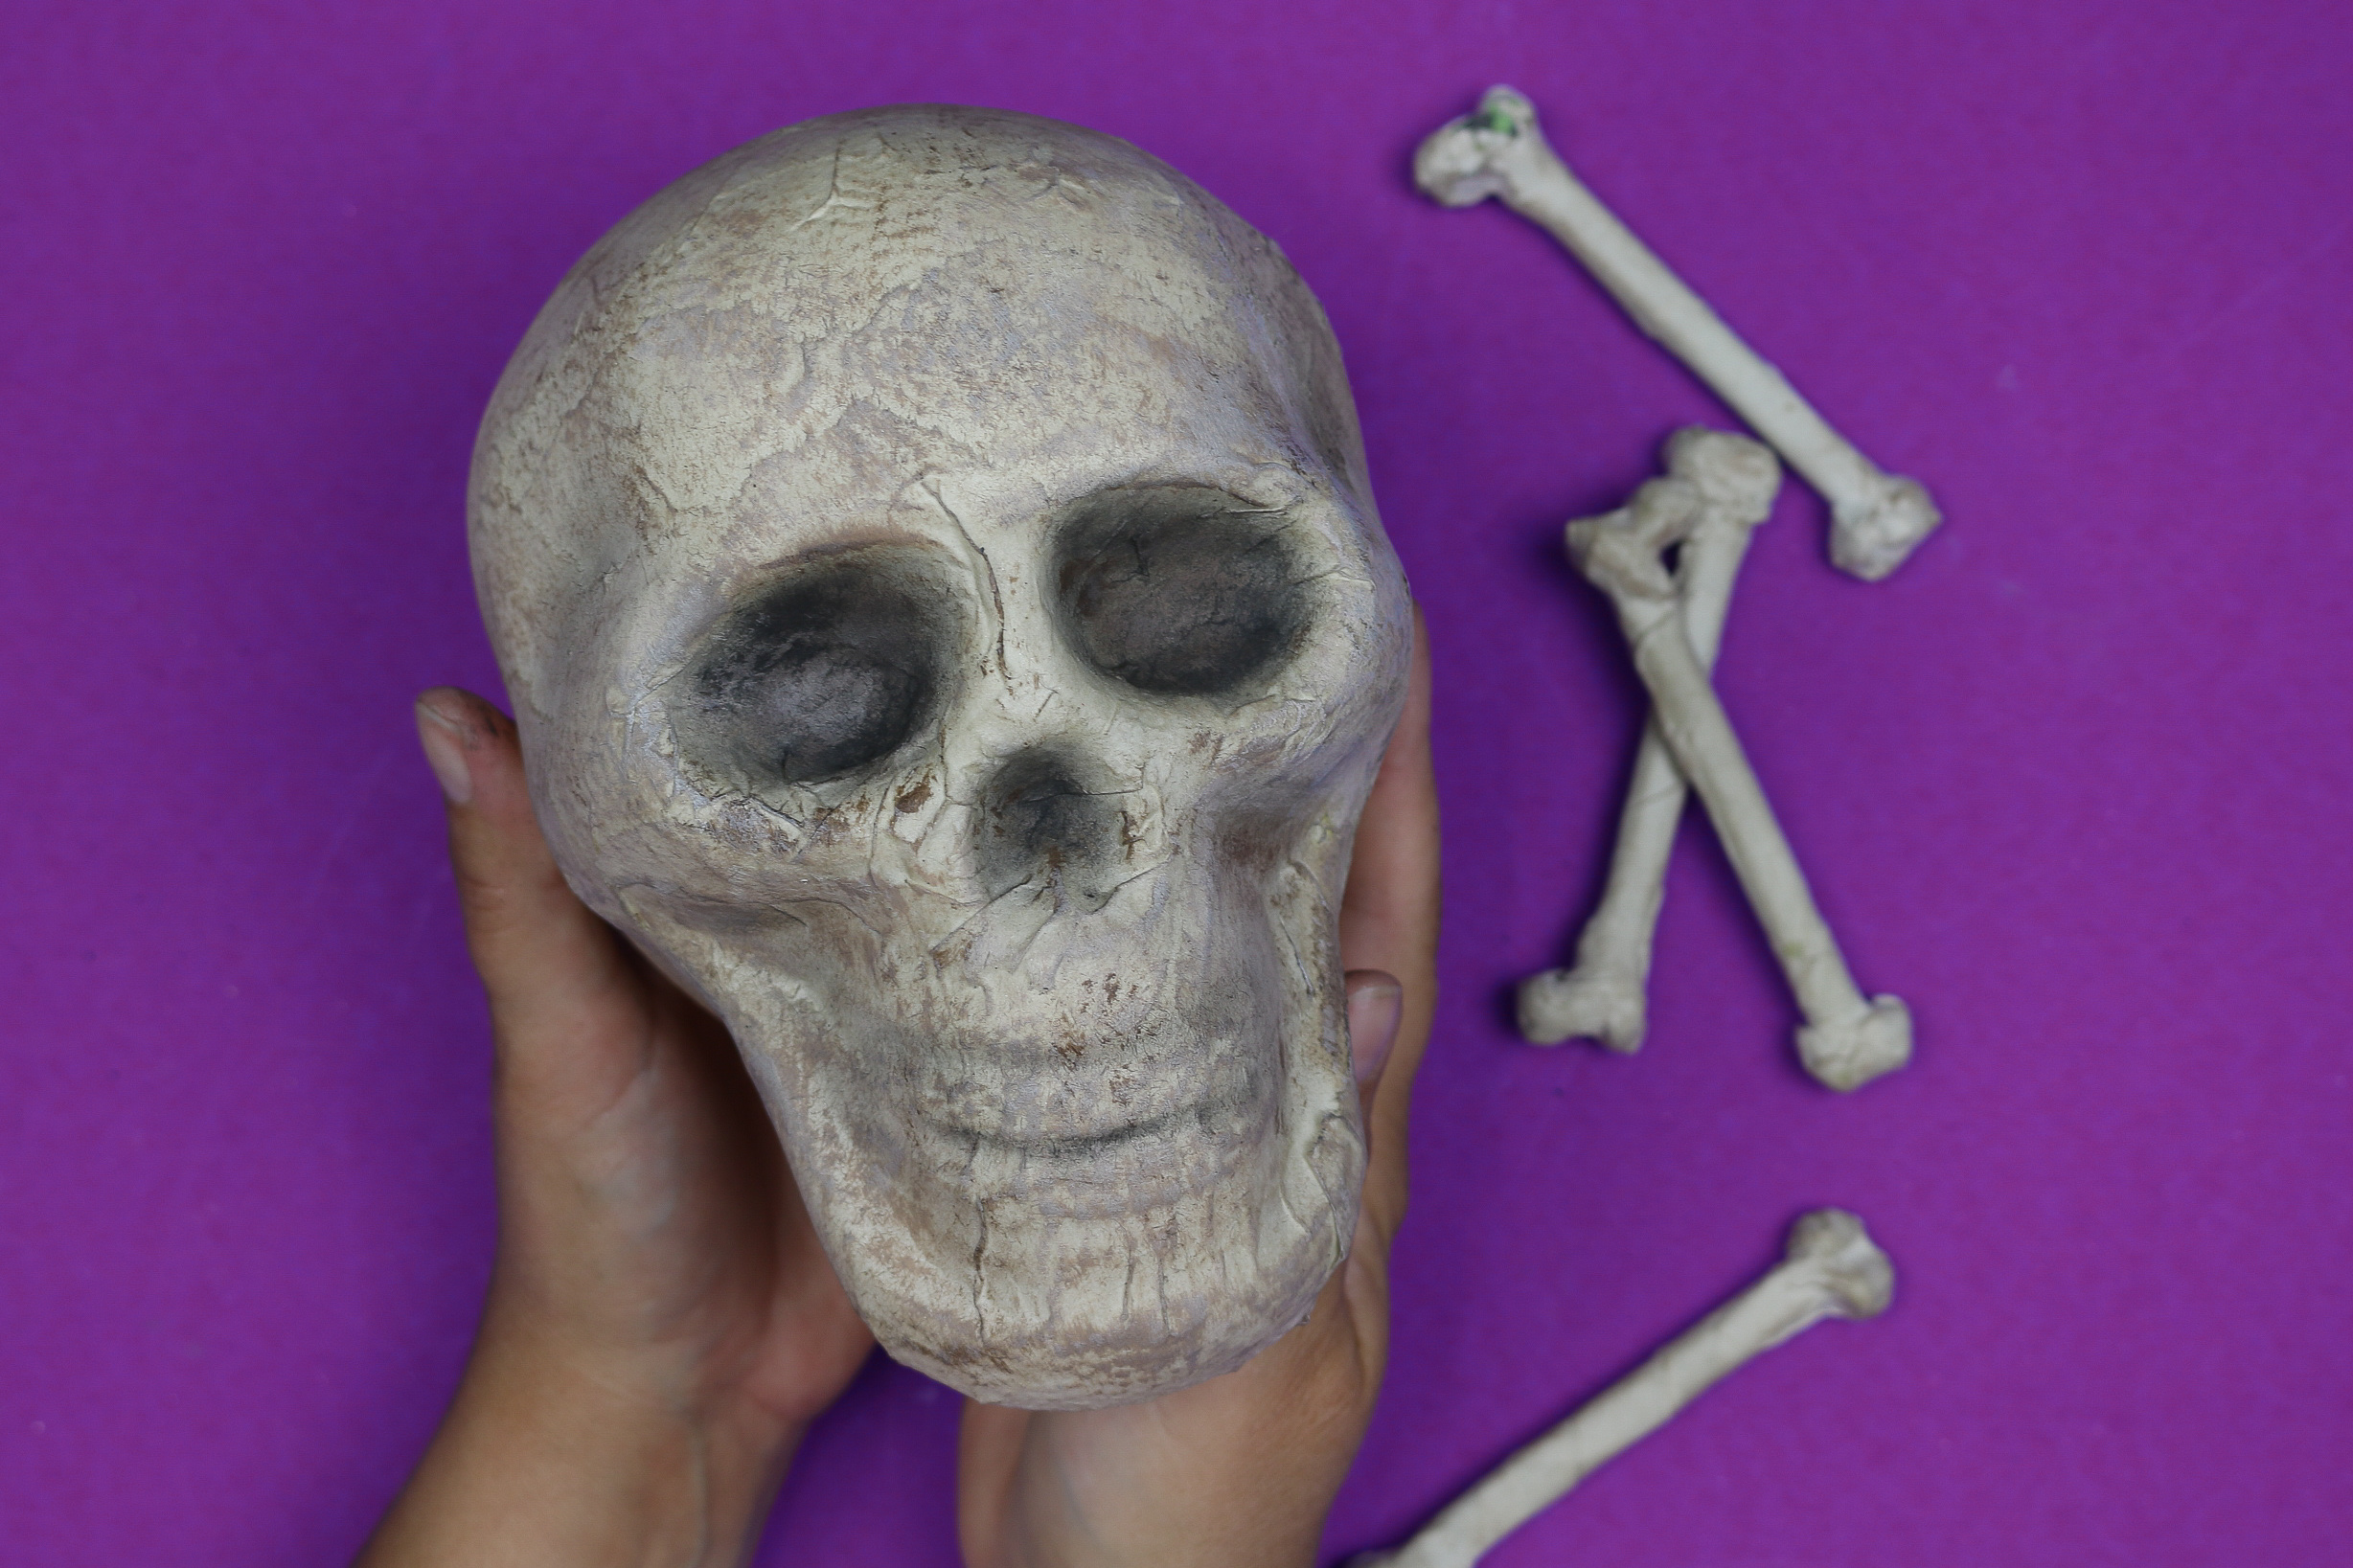
Here are a few other dollar store items that would look even better with a little aging:
- Large foam bones
- Halloween tombstones
- Ceramic skulls
- Halloween pumpkins with hands
- Plastic animal skeletons
- Foam pumpkins
- Plastic skull
HOW TO USE DOLLAR TREE SKULLS FOR HALLOWEEN
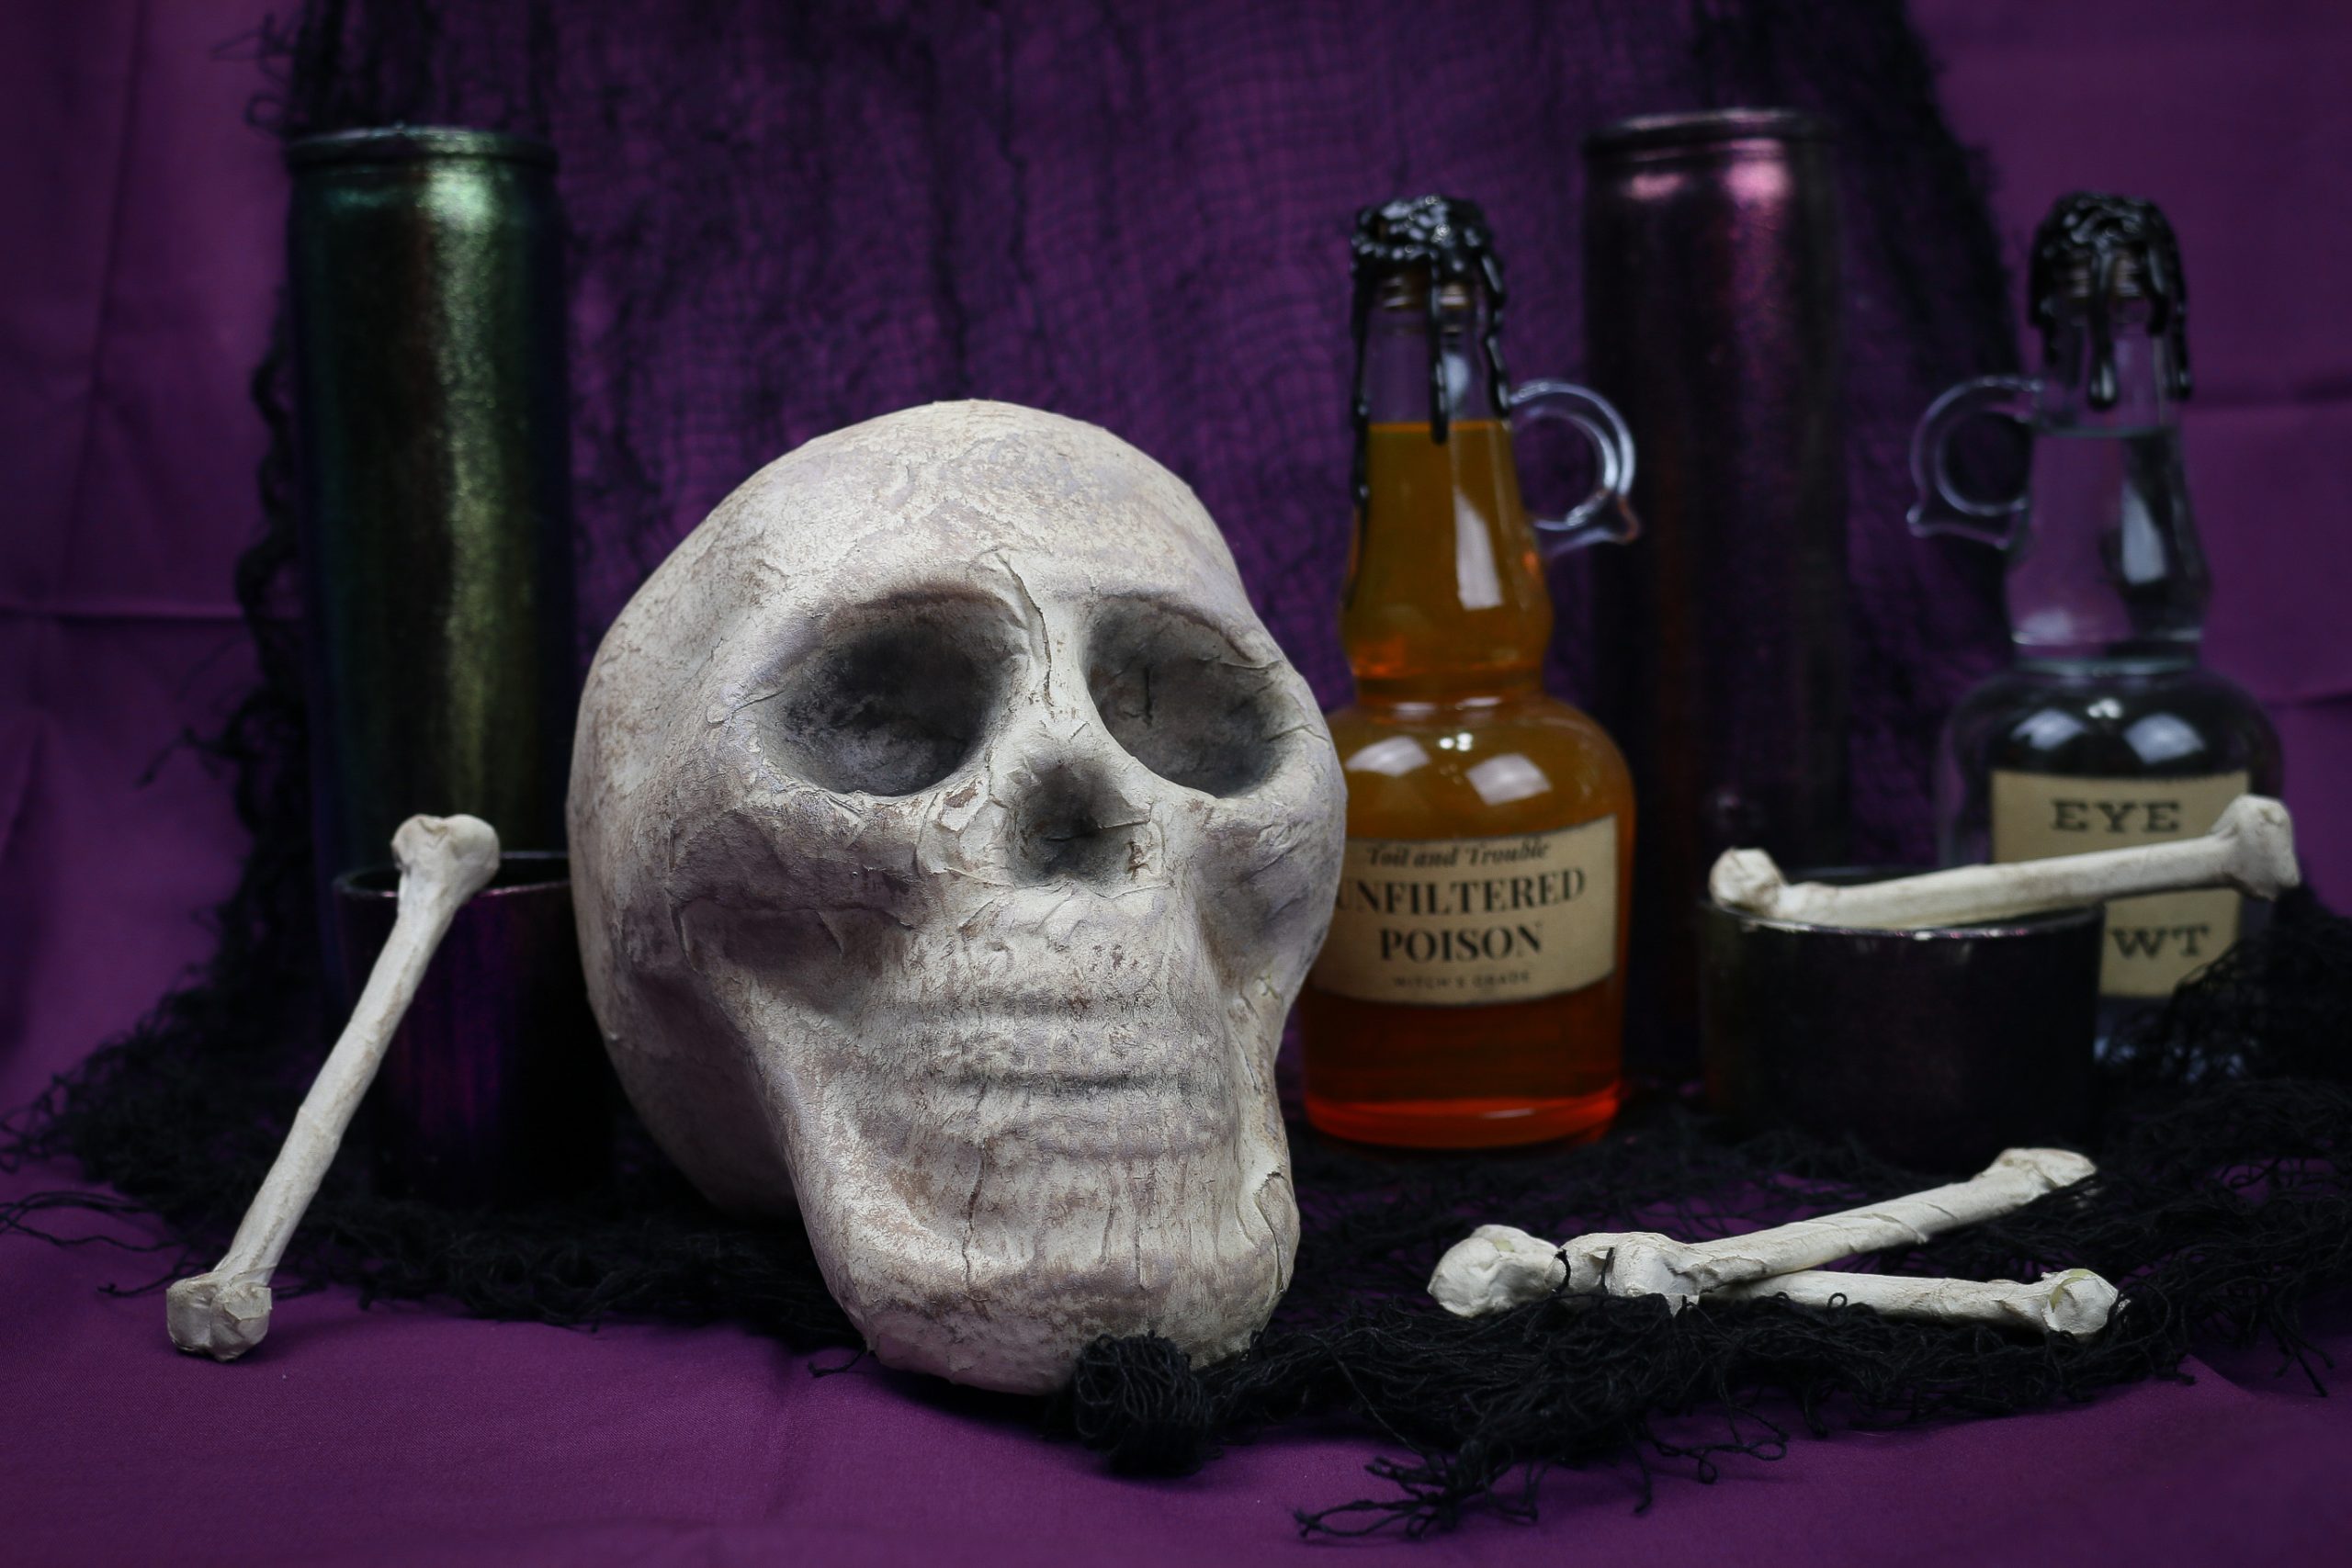
I displayed my finished skull and bones with some Halloween DIYs from past years. I added some Halloween candles, potion bottles, and jars in front of a creepy cloth that I purchased at the dollar store to create a small Halloween vignette.
You can use your new spooky skull all around your house. Place a few on your mantel, create scary Halloween wreaths, or tuck them into a bookcase with some other curiosities. I wouldn’t advise placing the skulls outside without weather-proofing them with a clear acrylic spray first to ensure the paper mache stays intact.
You might like these DIY dollar store Halloween projects:
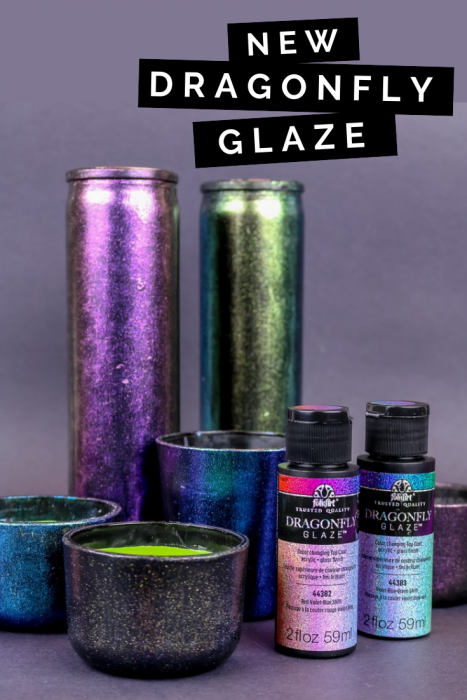
DOLLAR STORE CANDLE HOLDERS PAINTED WITH DRAGONFLY GLAZE
