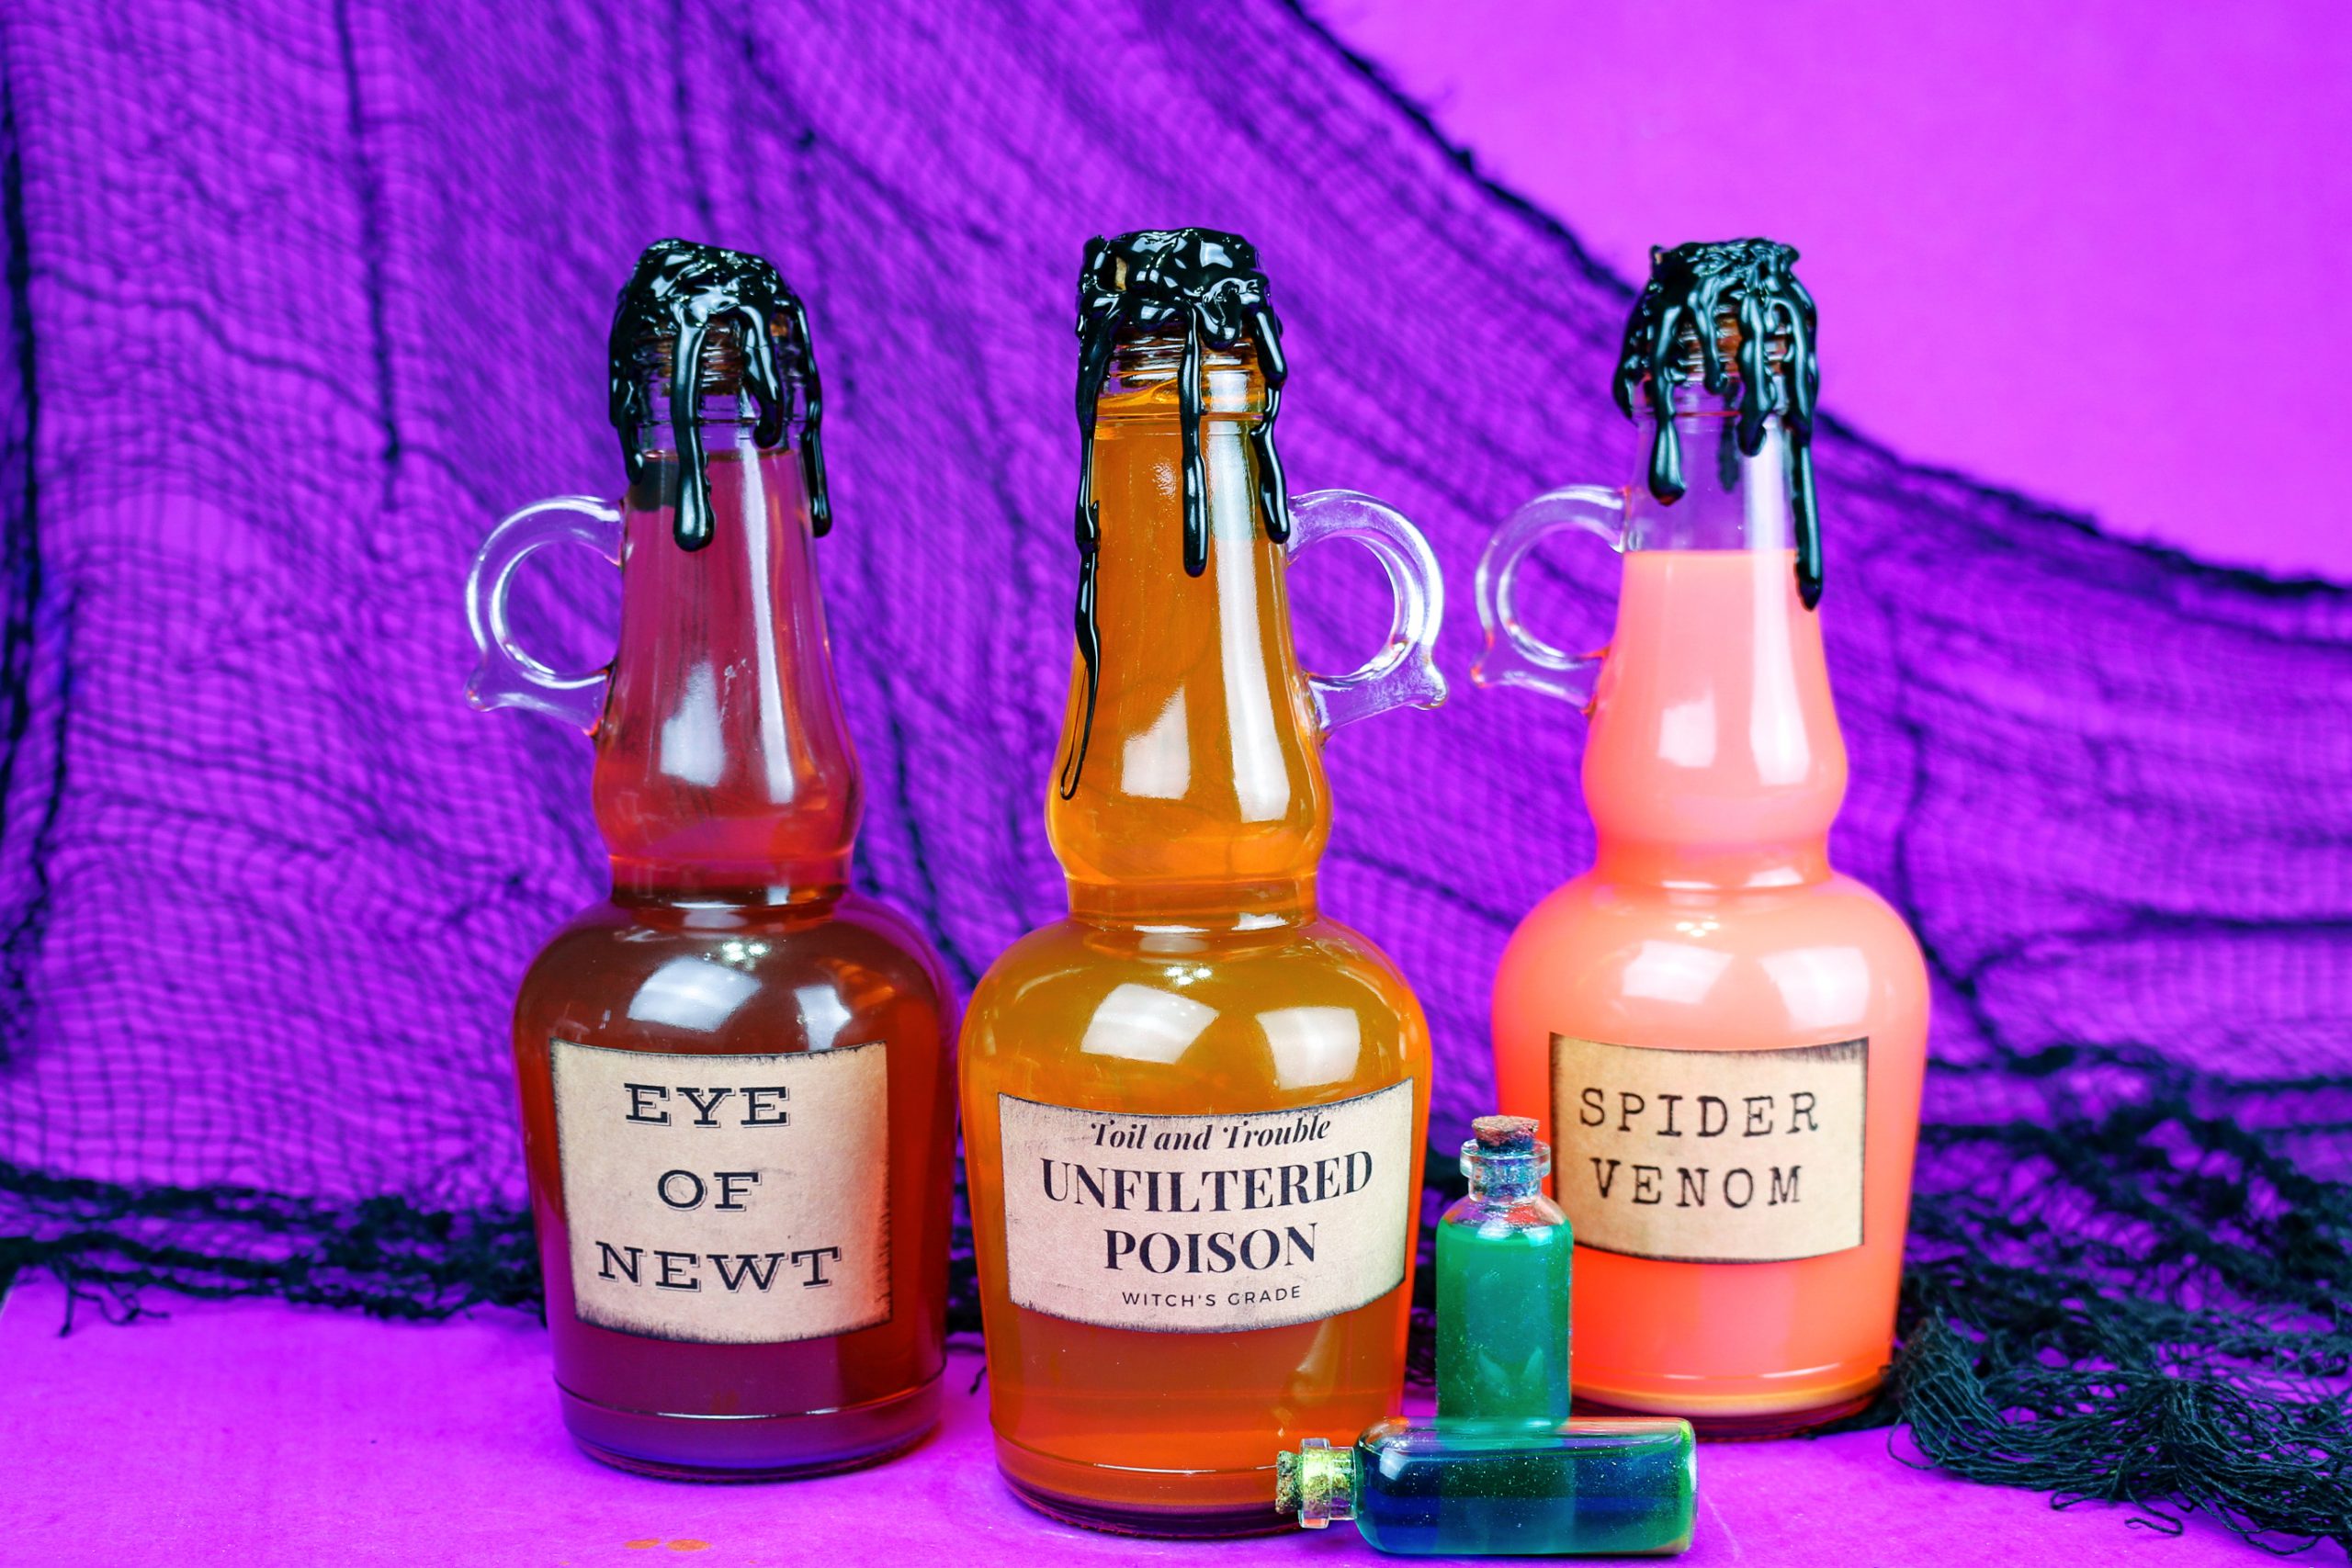
Are you getting ready to add some magical Halloween decor to your home? I have made my own version of the popular color-changing potion bottles that are more affordable because they use supplies from the dollar store. With just a few dollars worth of supplies, you can make your own Halloween potion bottles that have a magical surprise!
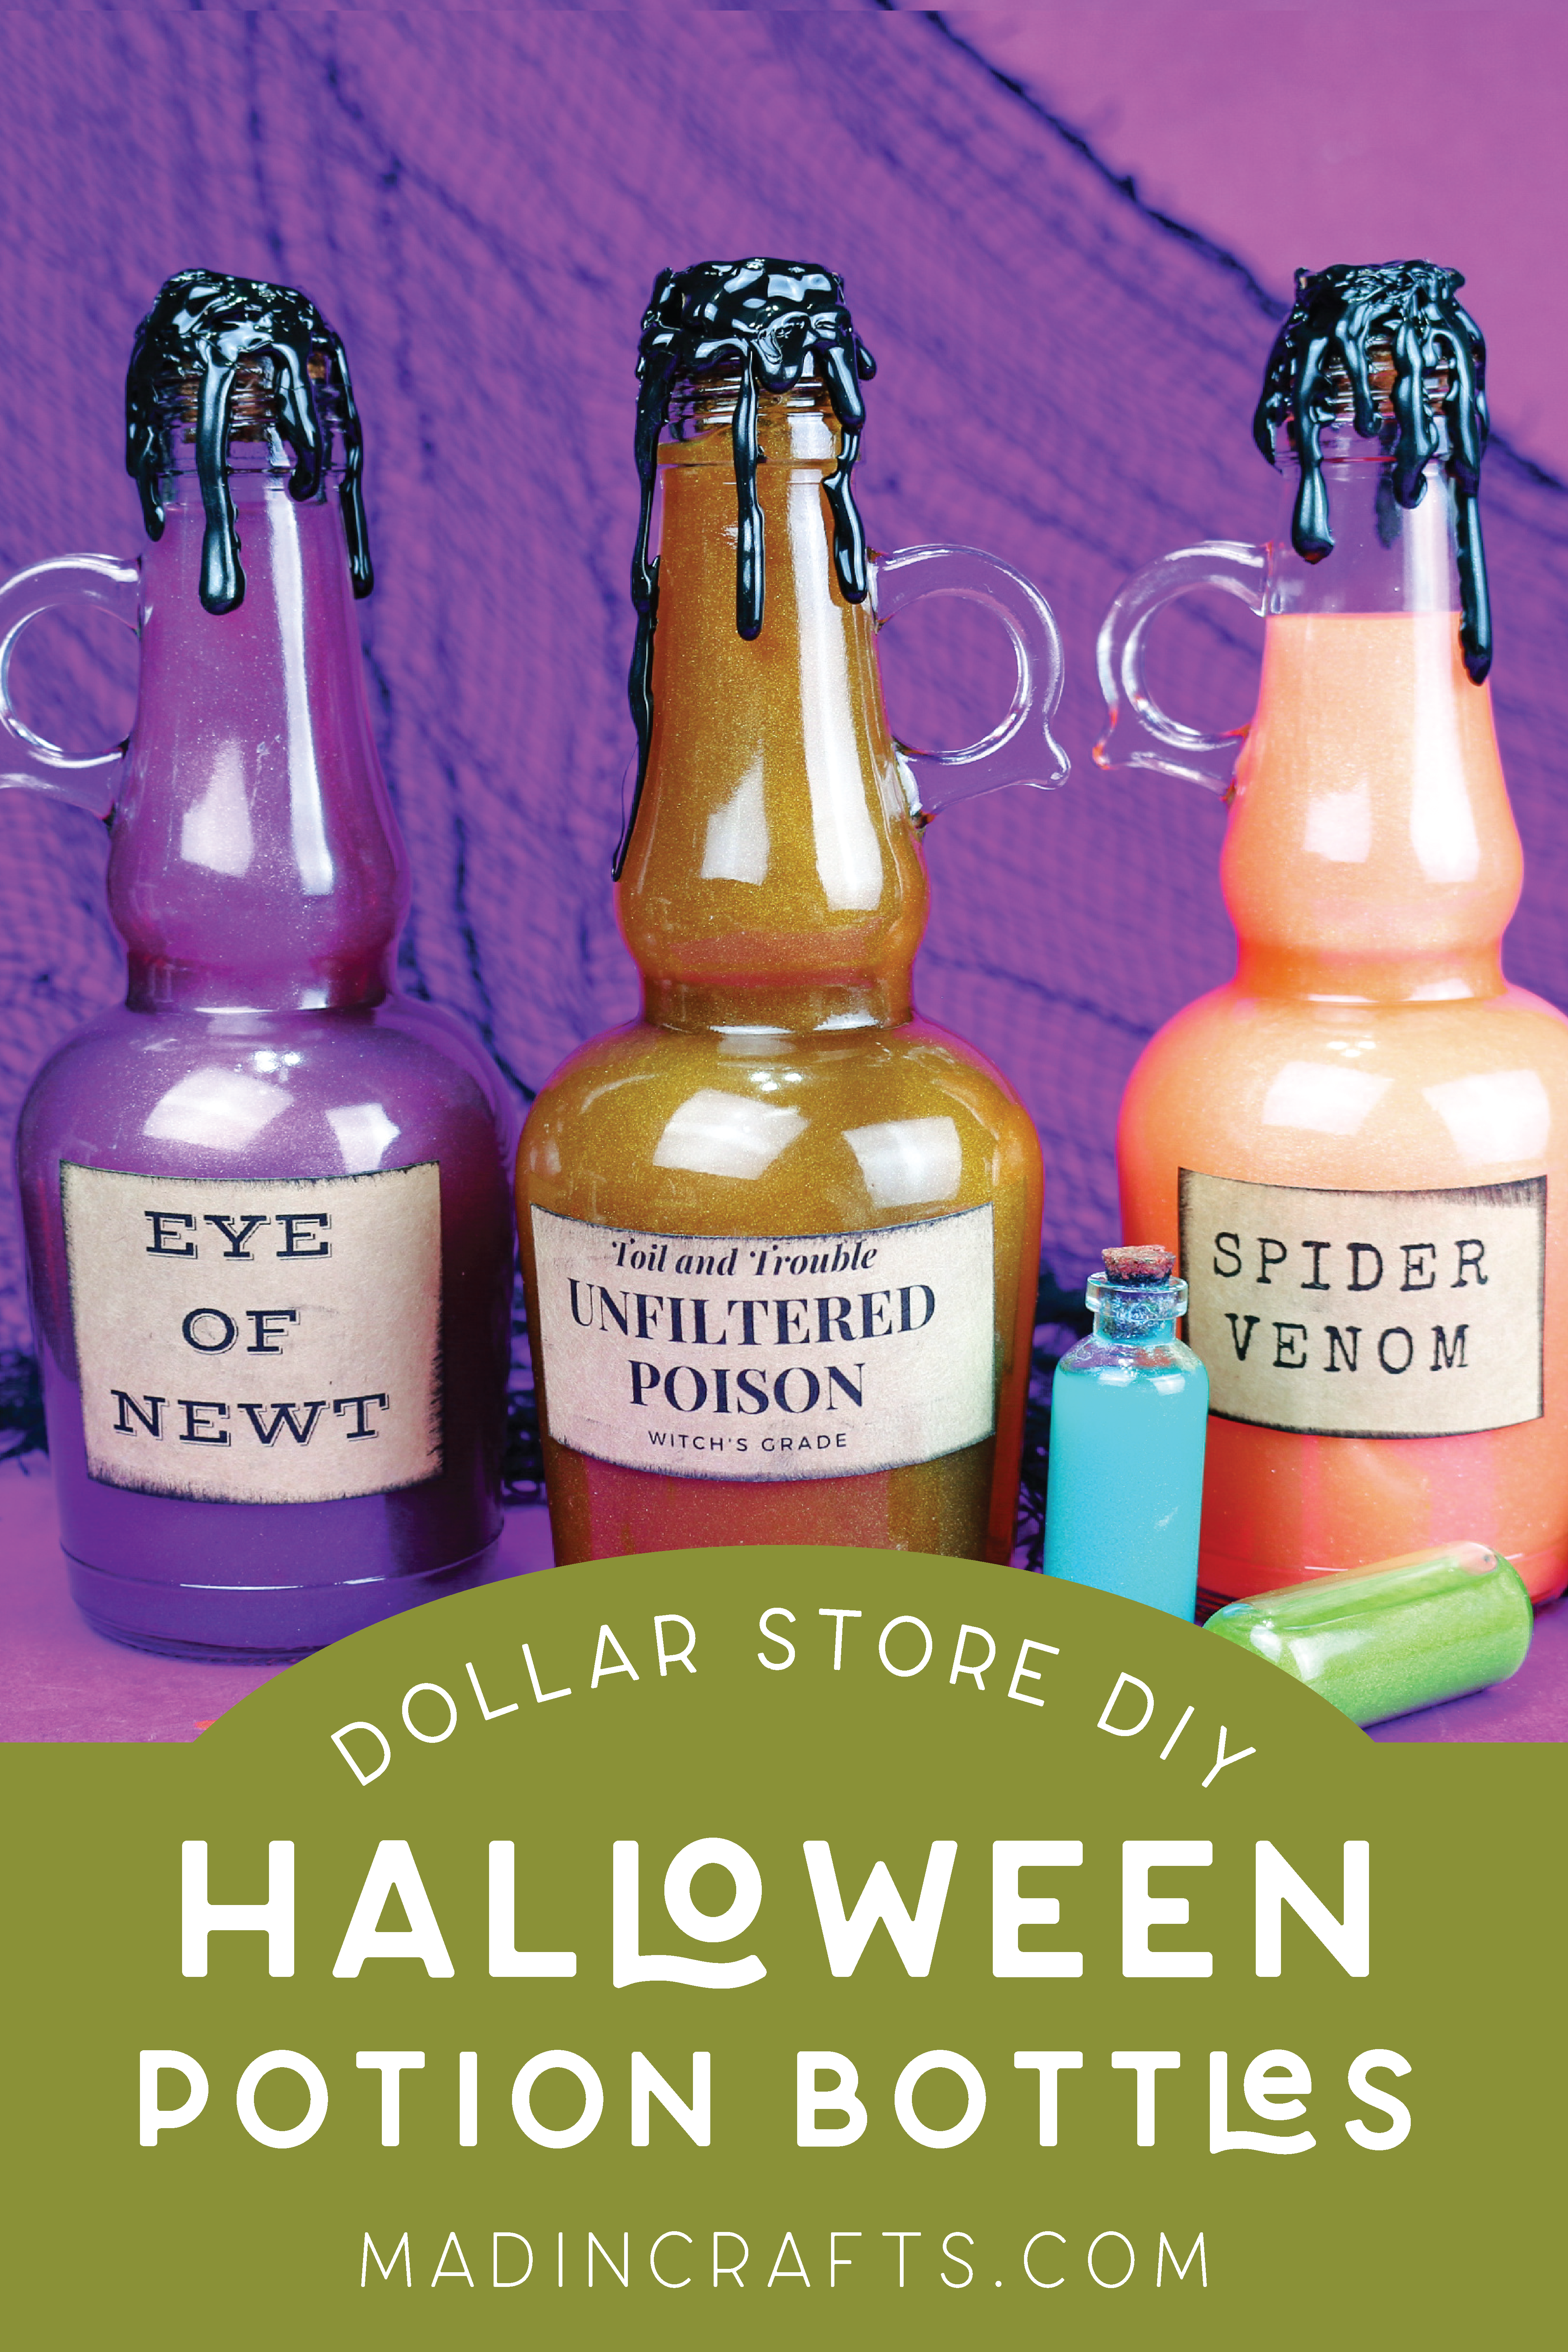
DOLLAR STORE HALLOWEEN POTION BOTTLES
WHAT YOU NEED TO MAKE MAGIC POTION BOTTLES
The other color-shifting potion bottle DIYs that I have seen use more expensive pigments, alcohol inks, and food coloring to get the magical swirling effect in the bottles. I bought the majority of the supplies I used for this project at my local Dollar Tree, but you might have some of the supplies in your bathroom already. I used dollar store loose pigment makeup to create the magical swirls in the bottles, but if you have makeup that you no longer use on hand, you can make the bottles without that extra cost!
These are all affiliate links, if you make a purchase (of anything from the site, not just these items) after clicking through, I will earn a small commission. Ads and affiliate links are the way I am able to keep this website running and to offer you free tutorials all year long. Thank you so much for supporting me and Mad in Crafts!
- glass bottles with stoppers
- rubbing alcohol
- highlighters
- shimmery makeup or mica powder
- glue gun
- black hot glue (optional)
- hot glue gun
- sticker paper (optional)
- black stamp pad (optional)
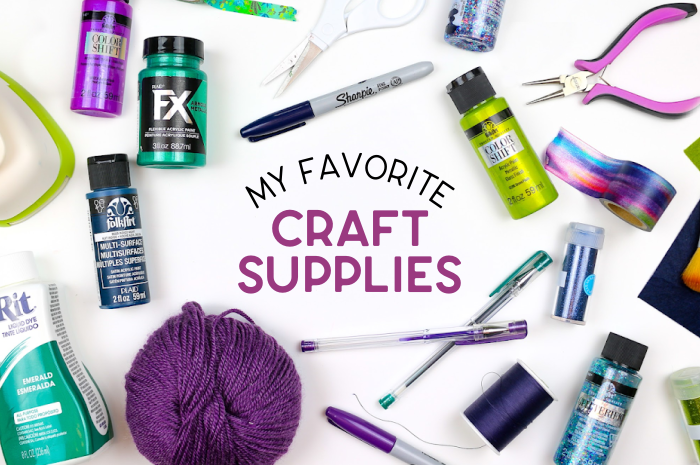
Want to know which craft supplies I always keep in my craft room?
Visit the Mad in Crafts Amazon Storefront to learn more and to buy your own supplies!
HOW TO MAKE POTION BOTTLES FOR HALLOWEEN DECOR
It is really easy to make your own magical potion bottles and you will feel a bit witchy yourself adding the ingredients into the bottle. Experiment with different ink and makeup color combinations to get fun new results. Watch the video below or scroll for the step-out tutorial.
Halloween Potion Bottles
- Pour rubbing alcohol into a glass bottle with a cork stopper until it is about 90% full.
- Remove the ink cartridge from a marker or highlighter.
- Carefully squeeze the ink into the bottle. Replace the cork stopper and shake to mix.
- Add powdered shimmery makeup in a contrasting color into the bottle.
If you don’t use loose pigment, you can break up pressed eyeshadow, highlighter, etc., and add that in. You DO NOT want to use matte makeup. Use something that has shimmer or glitter.
- Replace the cork stopper and shake to determine if you need to add more makeup.
- Optional: Print Halloween potion bottle labels onto sticker paper.
- Optional: Lightly distress the edges of the sticker labels with a black ink pad.
- Optional: Add the label to the bottle.
- Seal the cork onto the bottle with black hot glue.
If you don’t have black hot glue, you can use regular hot glue and paint it with black acrylic paint after it has dried.
HOW TO ACTIVATE THE “MAGIC” OF THE POTION BOTTLES
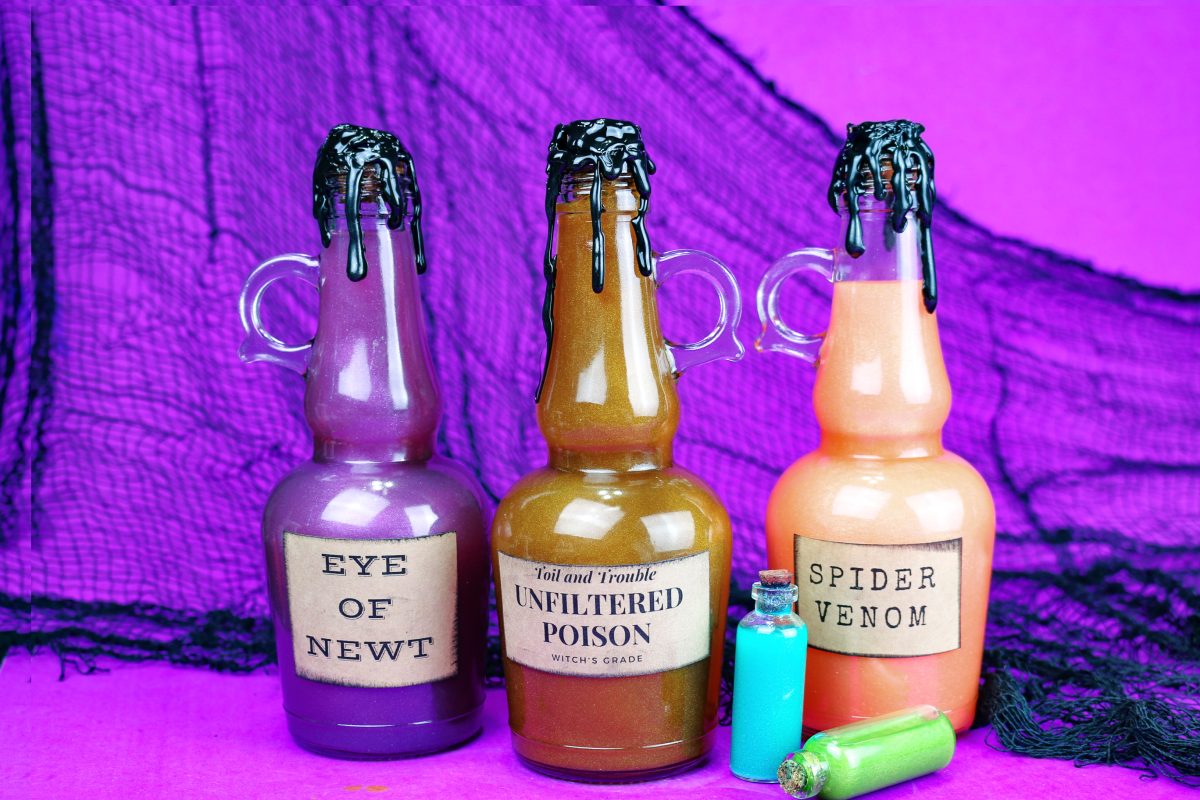
Because the powdered makeup is heavier than the rubbing alcohol, it will naturally settle at the bottom of the bottle. The liquid in the bottle will be the color of the marker that you used to color the rubbing alcohol. But when you give the bottle a good shake.
The pigments will magically swirl in the bottle! If the color of the marker and the makeup are distinctly different, the potion will even change color! The pigments will swirl for a minute or two, then they will begin to settle again. After a half-hour or so, the bottle will return to its original color. Anytime you feel the need for a little magic, just shake the potion bottle again!
FREE POTION BOTTLE LABELS
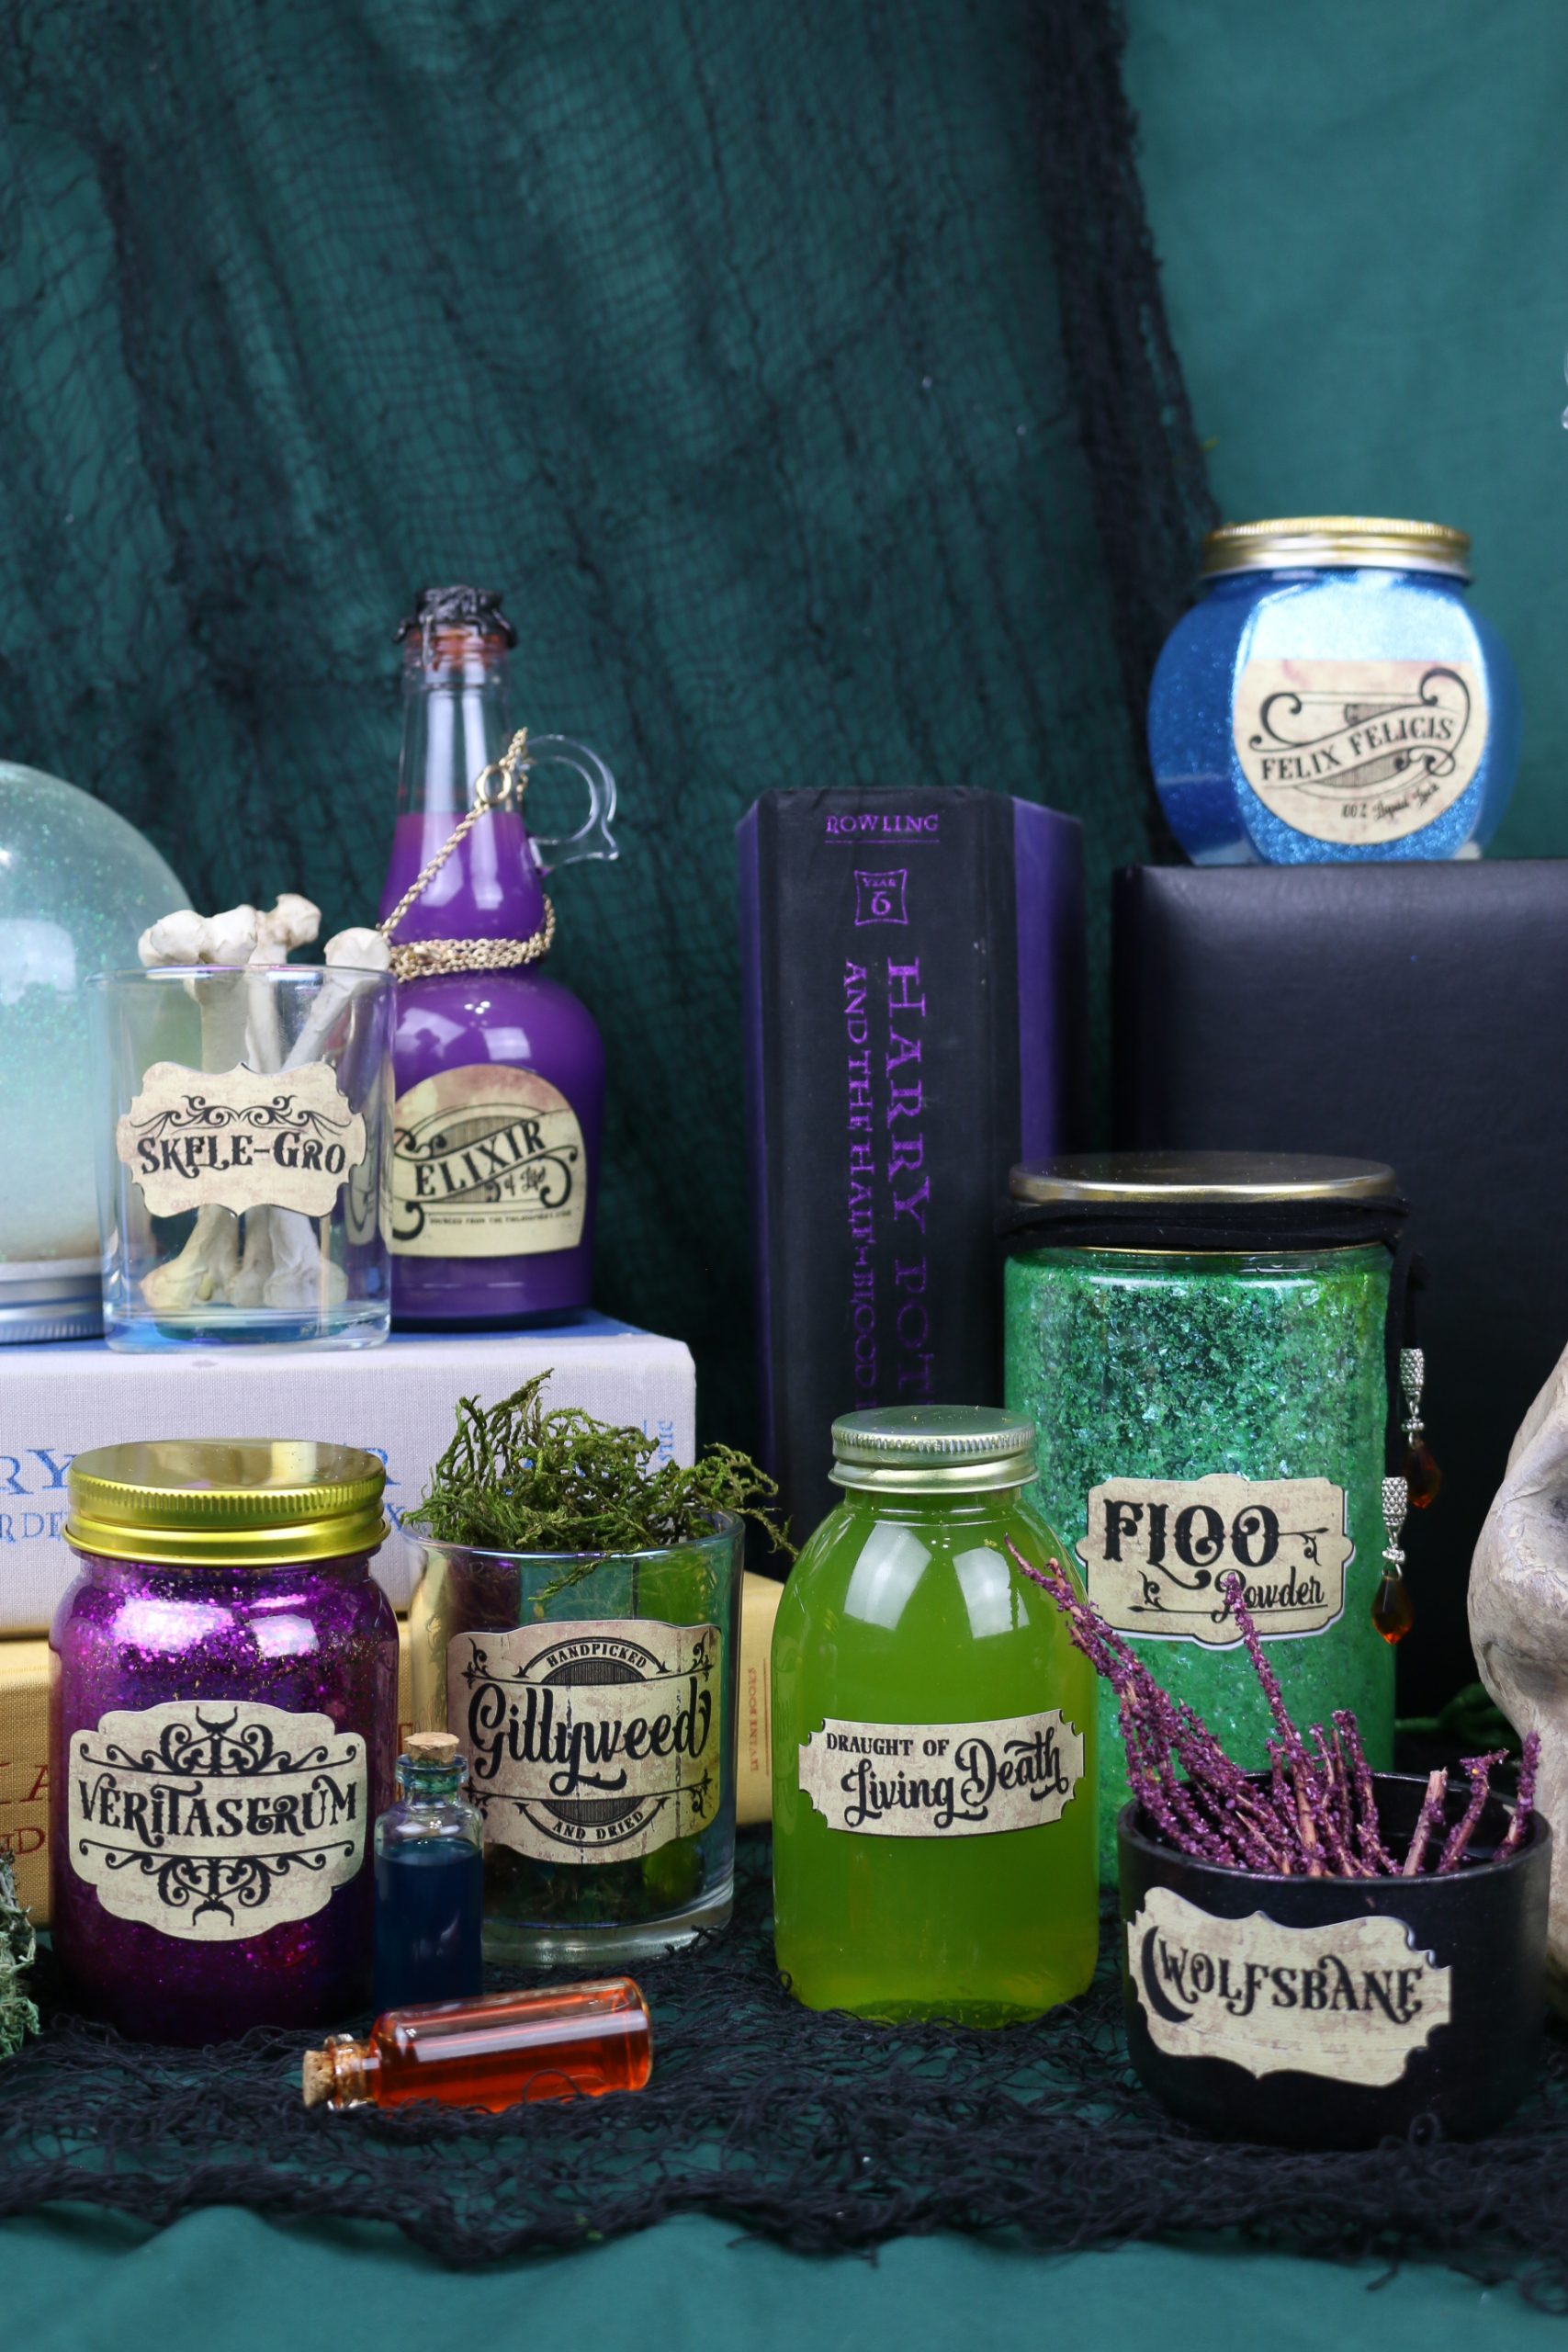
When I put these potion bottles together I used Free Printable Halloween Labels from The Country Chic Cottage to give them a specifically Halloween look. If you are a Harry Potter fan, you might be interested in my free print then cut Harry Potter potion labels. You can use them to make your own DIY Harry Potter potion bottles or make some spell ingredient jars with Mod Podge and fine glitter.
You might like these other dollar store Halloween DIYs:

GLAM BAT HALLOWEEN COSTUME ACCESSORIES