Bobbing for apples is great, but I have a Halloween party activity that your kids might like even more! Tweens and teens will love making DIY tie-dye socks for Halloween. This low-mess tutorial will let your party guests create their own one-of-a-kind socks complete with a fun trick or treat surprise!
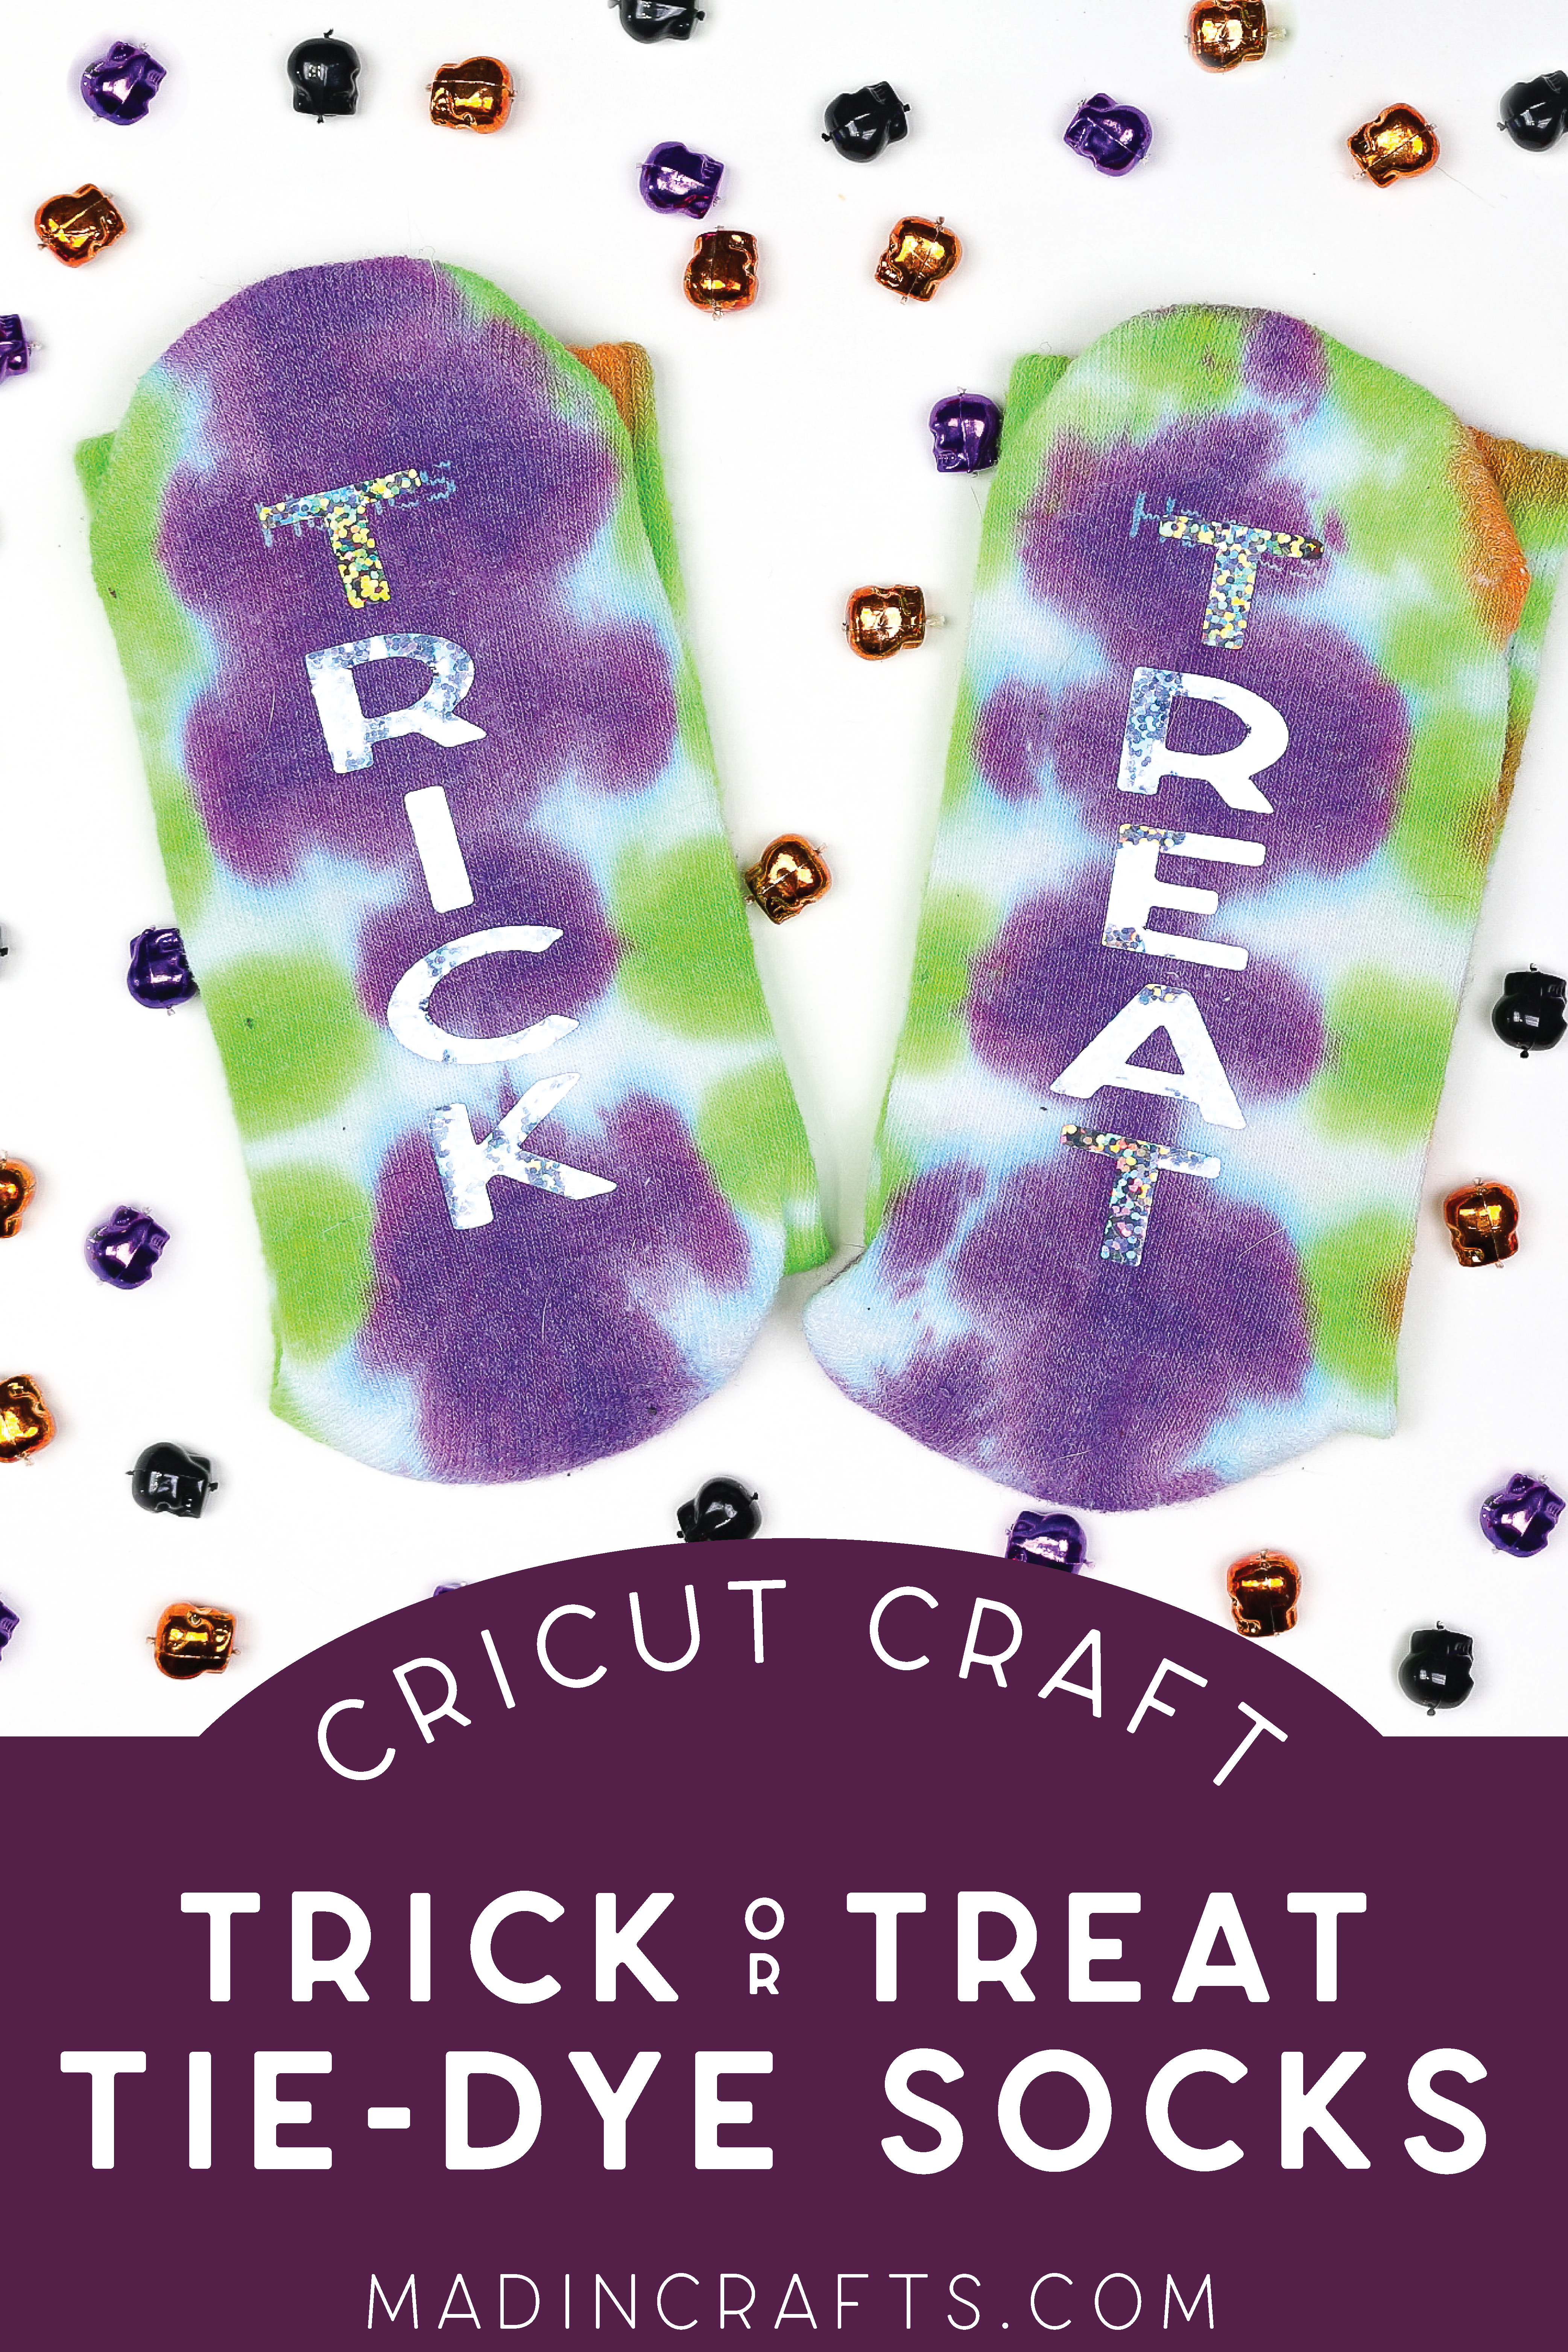
HALLOWEEN PARTY – DIY TIE-DYE SOCKS
WHAT YOU NEED TO MAKE TRICK OR TREAT TIE DYE SOCKS
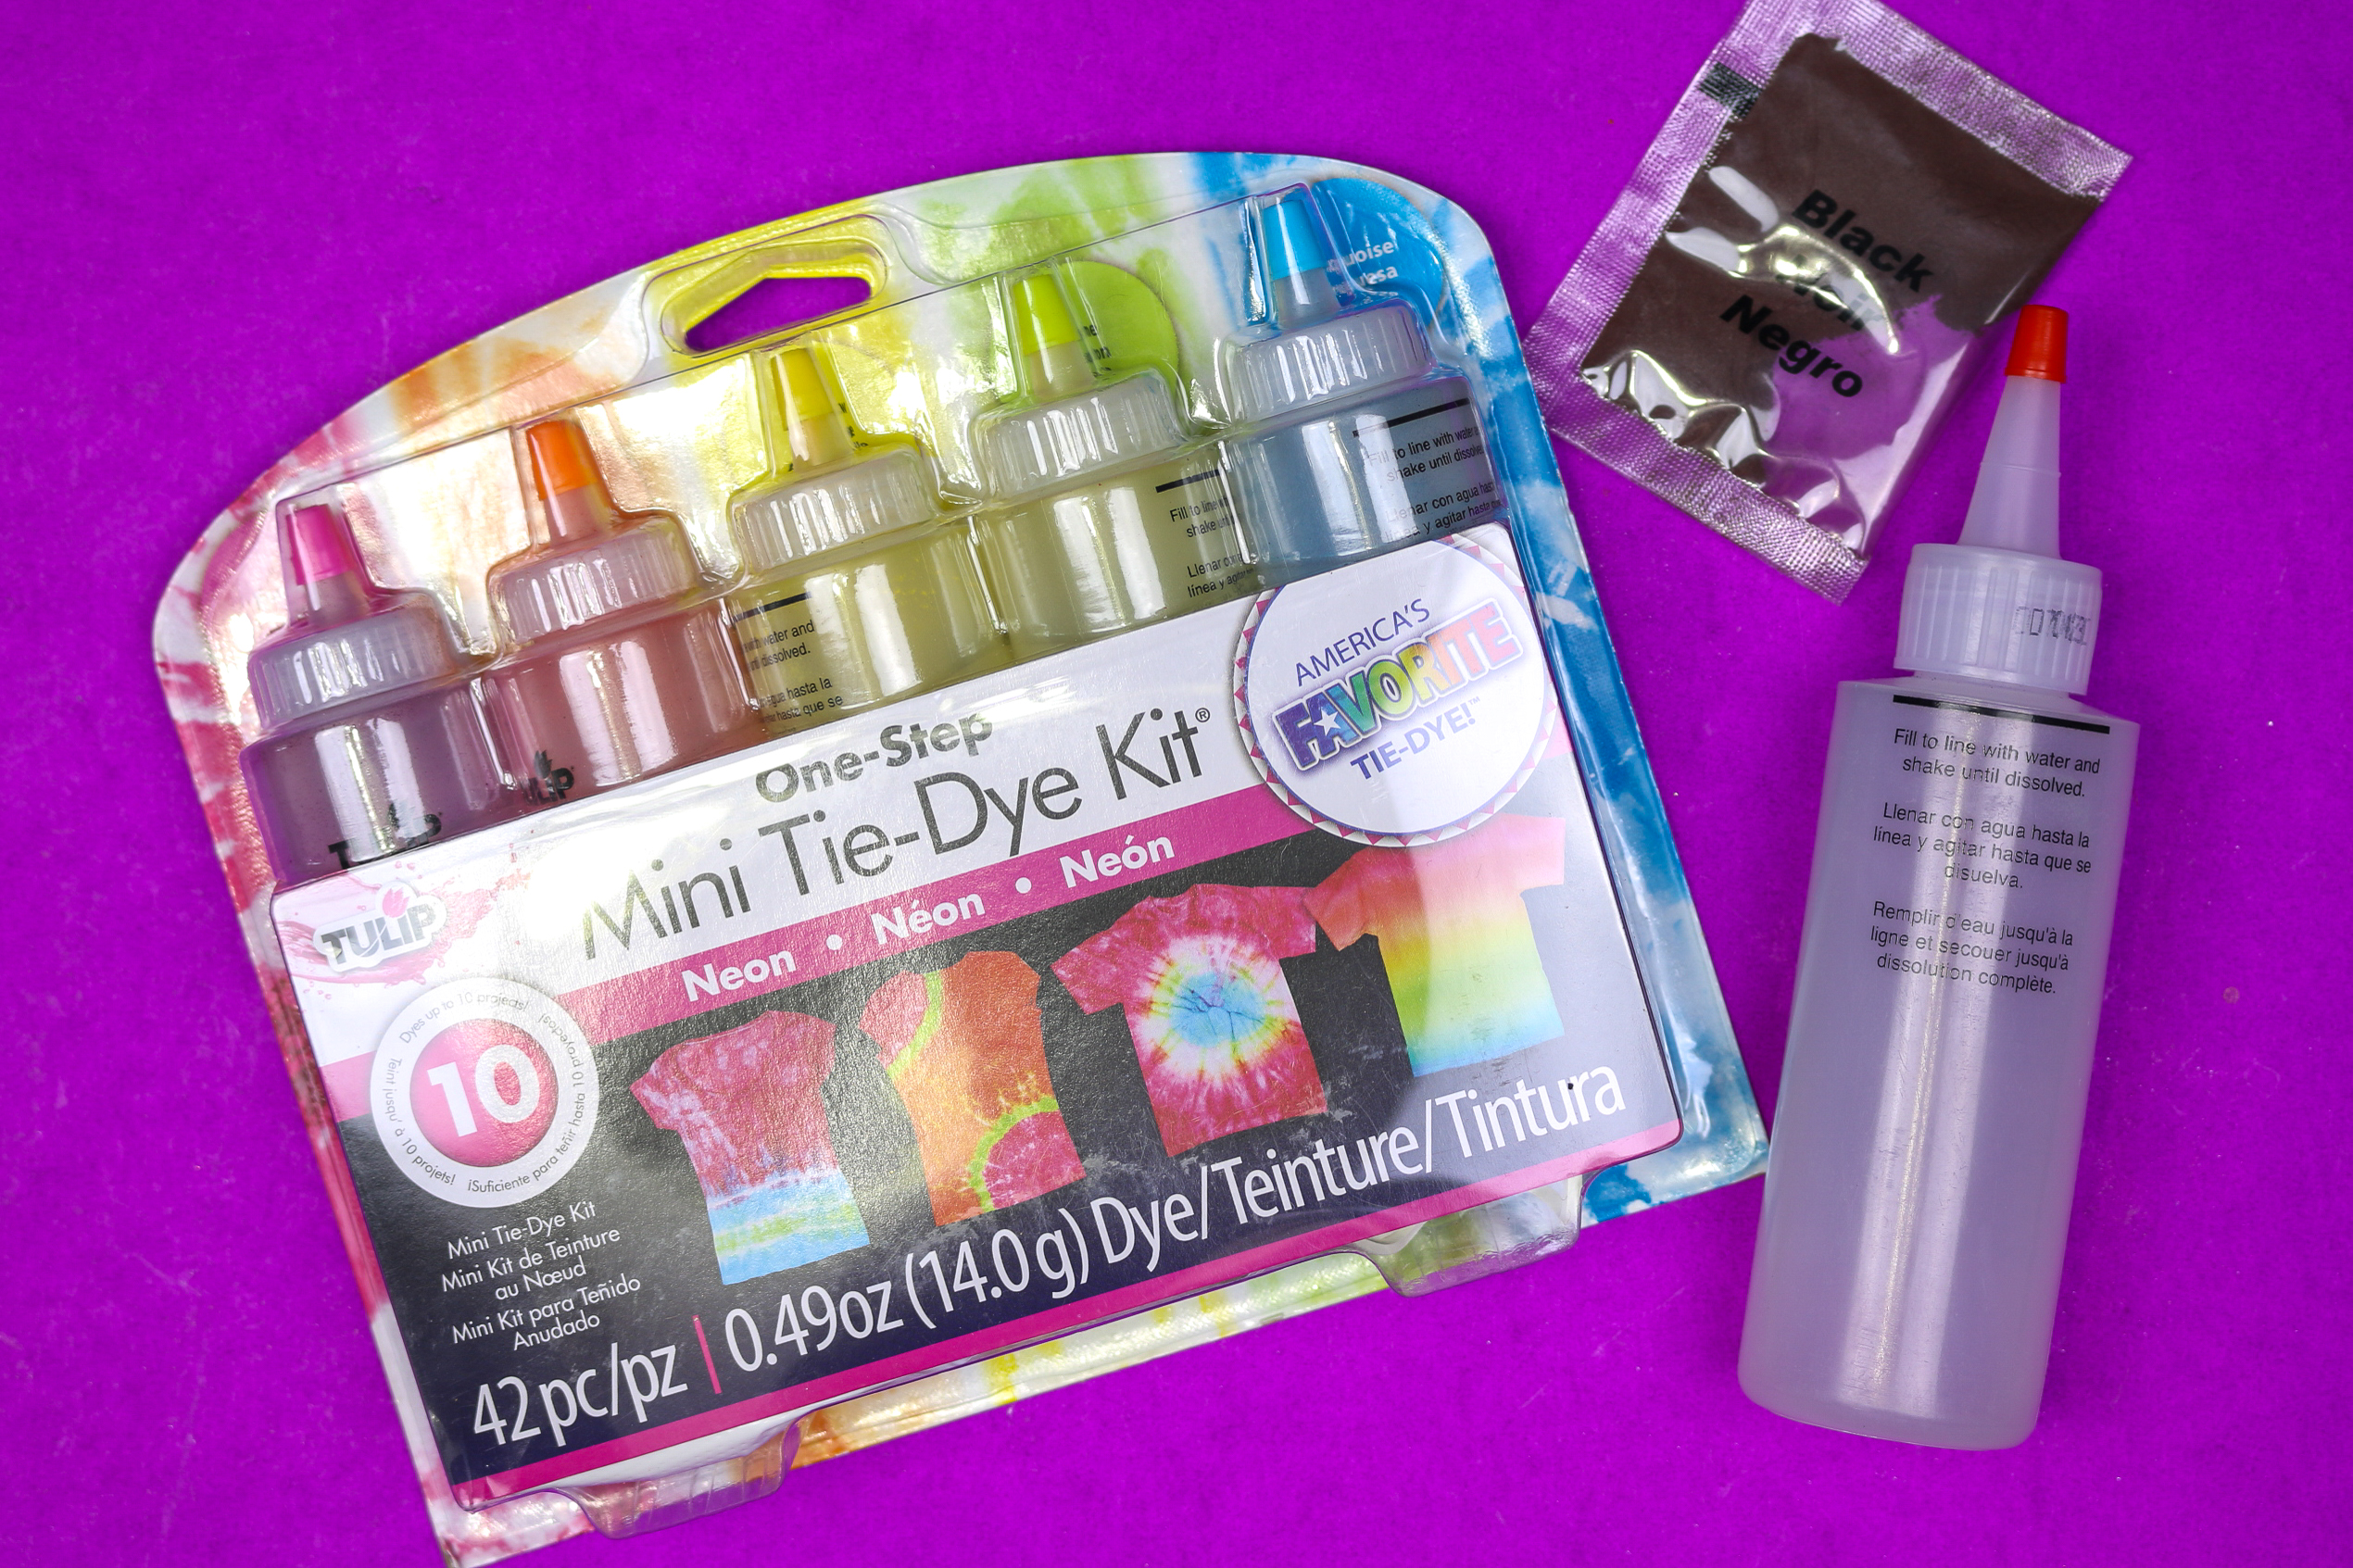
If I am tie dyeing, I am using a Tulip One-Step Kit. I cannot recommend these tie dye kits highly enough. For this project I used a bottle of black dye that I had left over from a different kit, as well as this Neon kit. I used the orange and lime colors as is. I mixed the blue and magenta together to create a purple color to complete my Halloween color palette.
These are all affiliate links, if you make a purchase (of anything from the site, not just these items) after clicking through, I will earn a small commission. Ads and affiliate links are the way I am able to keep this website running and to offer you free tutorials all year long. Thank you so much for supporting me and Mad in Crafts!
- Tulip Tie-Dye One-Step Neon
- Tulip Tie-Dye One-Step black
- White cotton or cotton/poly socks
- Zippered food storage bags
- Cricut
- Cutting mat
- Holographic Sparkle iron-on vinyl
- Weeding tools
- Iron or EasyPress
- Scissors
- Cardstock
- Color printer

Want to know which craft supplies I always keep in my craft room?
Visit the Mad in Crafts Amazon Storefront to learn more and to buy your own supplies!
ABOUT TULIP TIE DYE
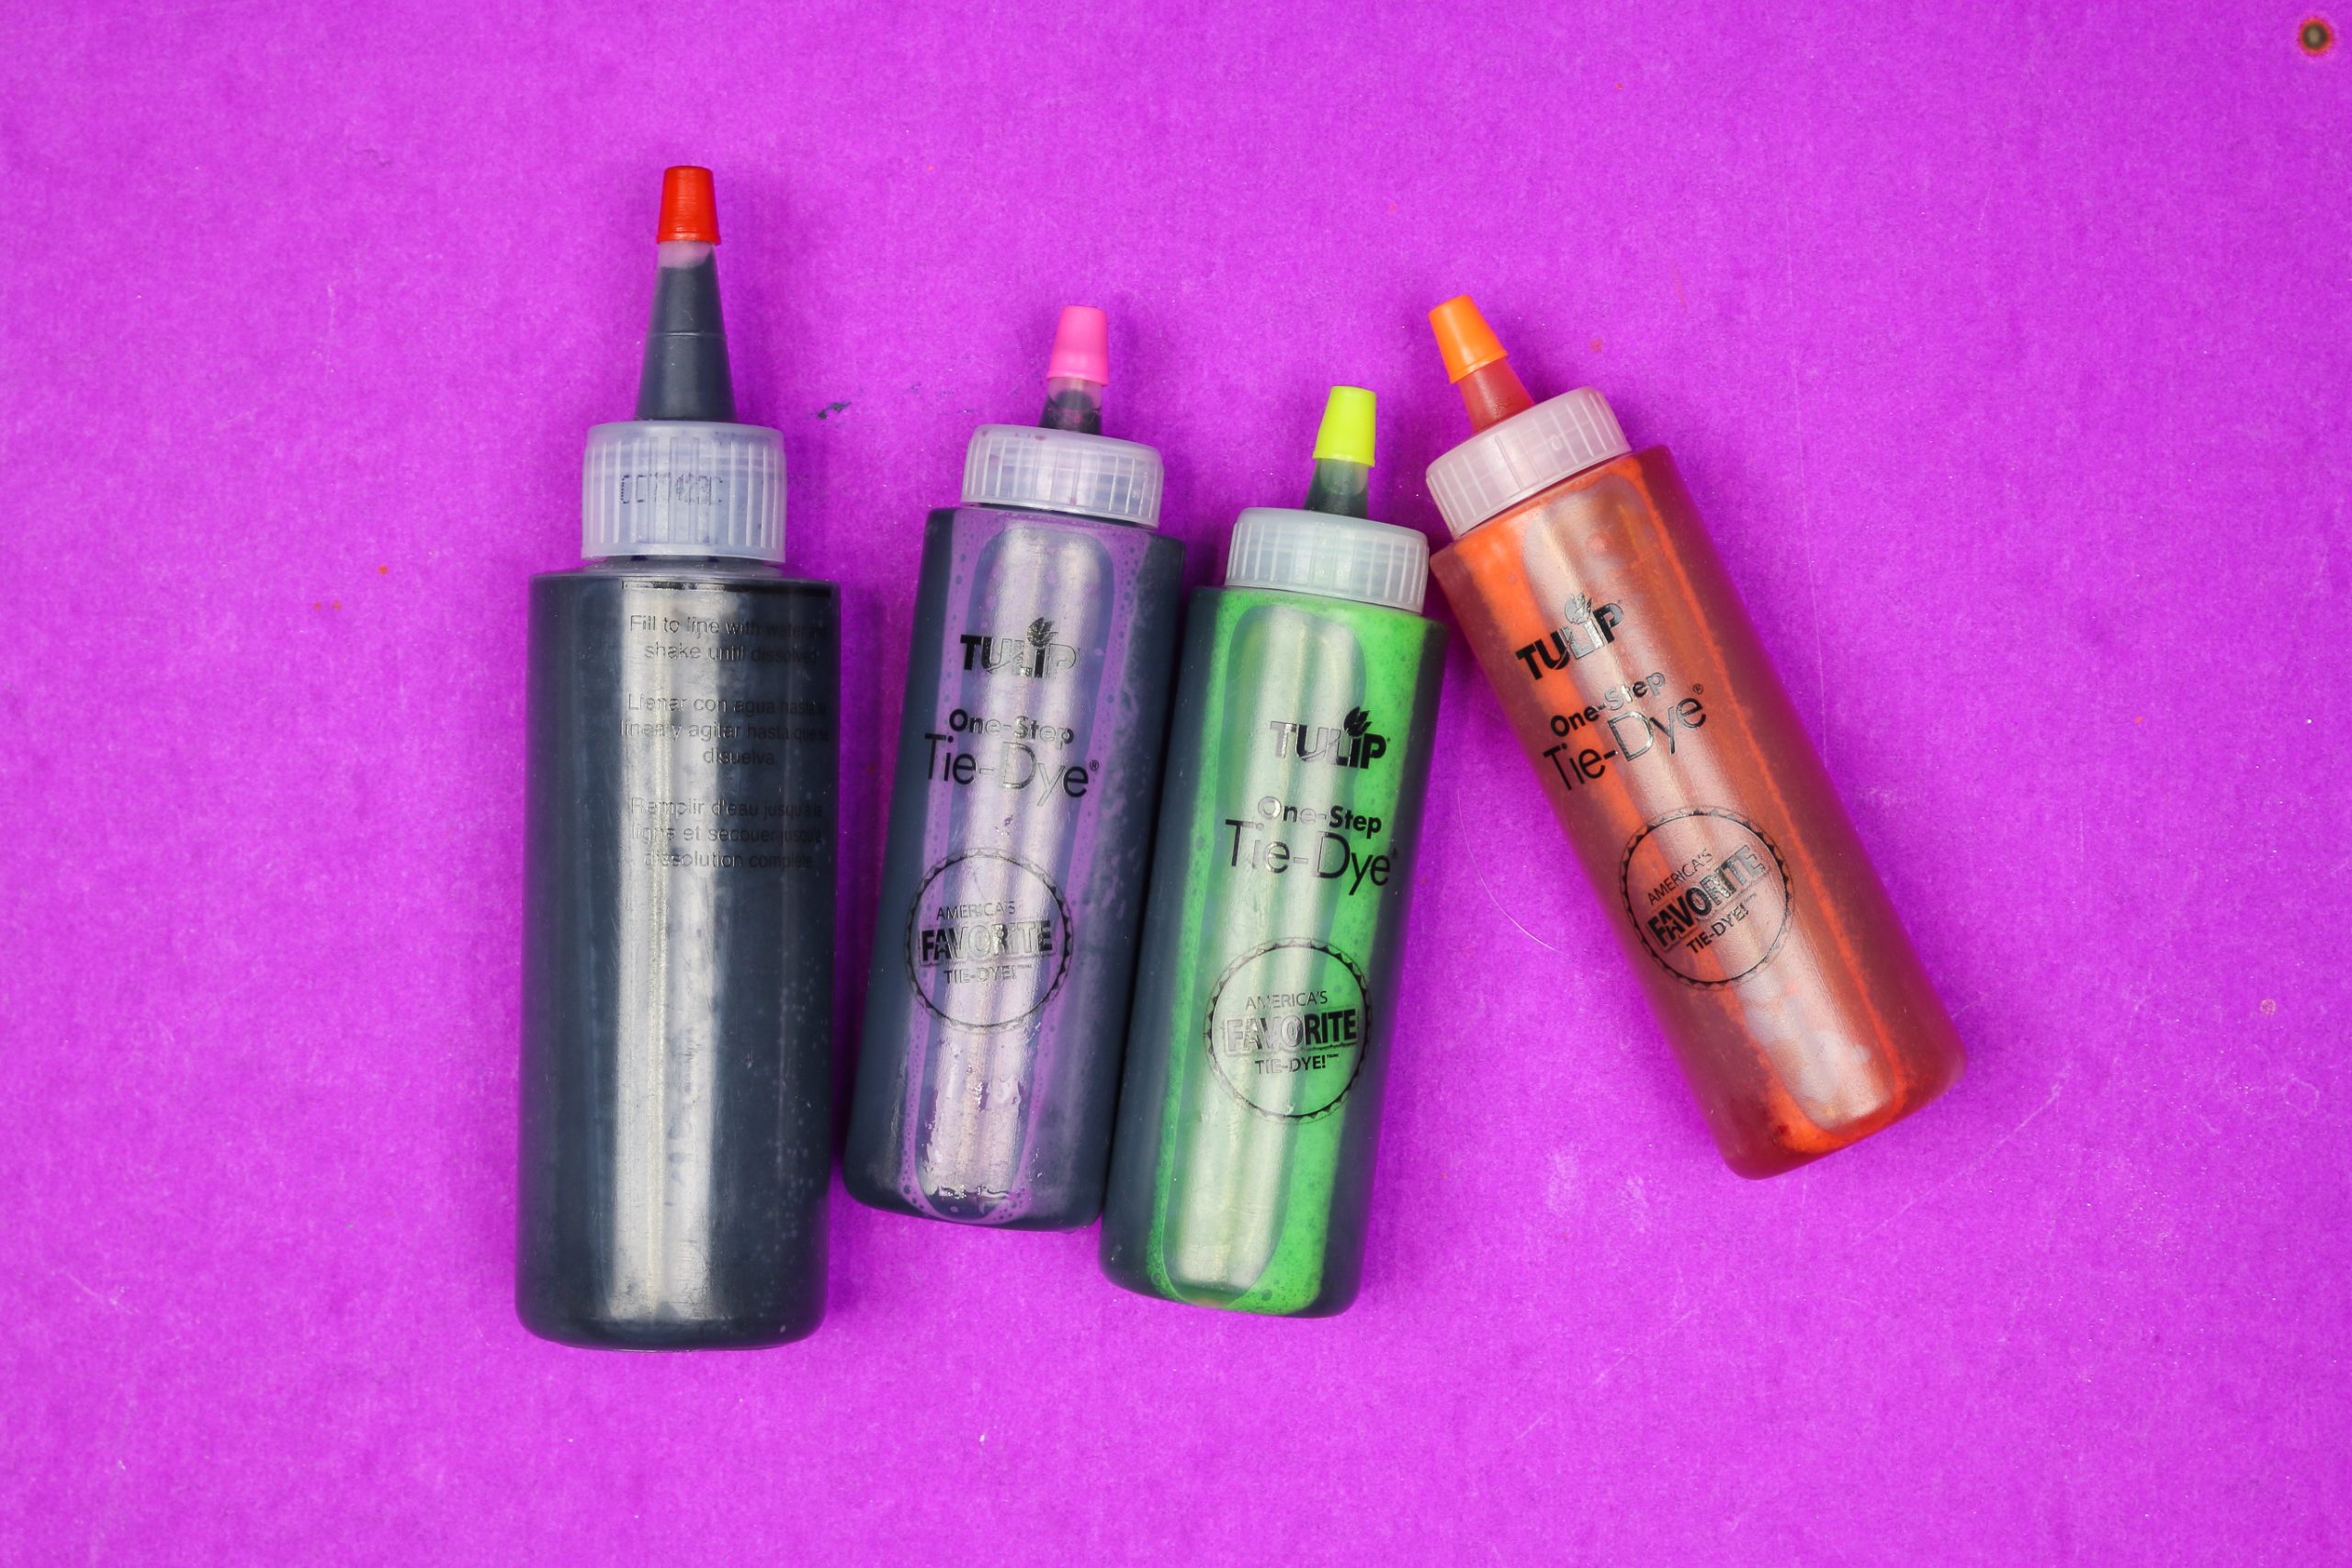
I use Tulip One-Step tie dye exclusively. This isn’t a sponsored post, I just love this stuff! I am not a fan of doing messy crafts with kids, but these kits take a good portion of the mess and stress out of tie-dyeing. Each bottle comes pre-filled with dye powder. You fill the bottle up the line with water, replace the cap, and shake to create bright, bold dye. Then you just squirt the bottles of tie-dye directly onto your project. No dunking or dipping needed! Each kit, no matter whether it’s a huge kit or a small one like I used, comes with rubber gloves and rubber bands too.
6 TIE-DYE SOCK PATTERNS AND FOLDING TECHNIQUES
Swirled Technique
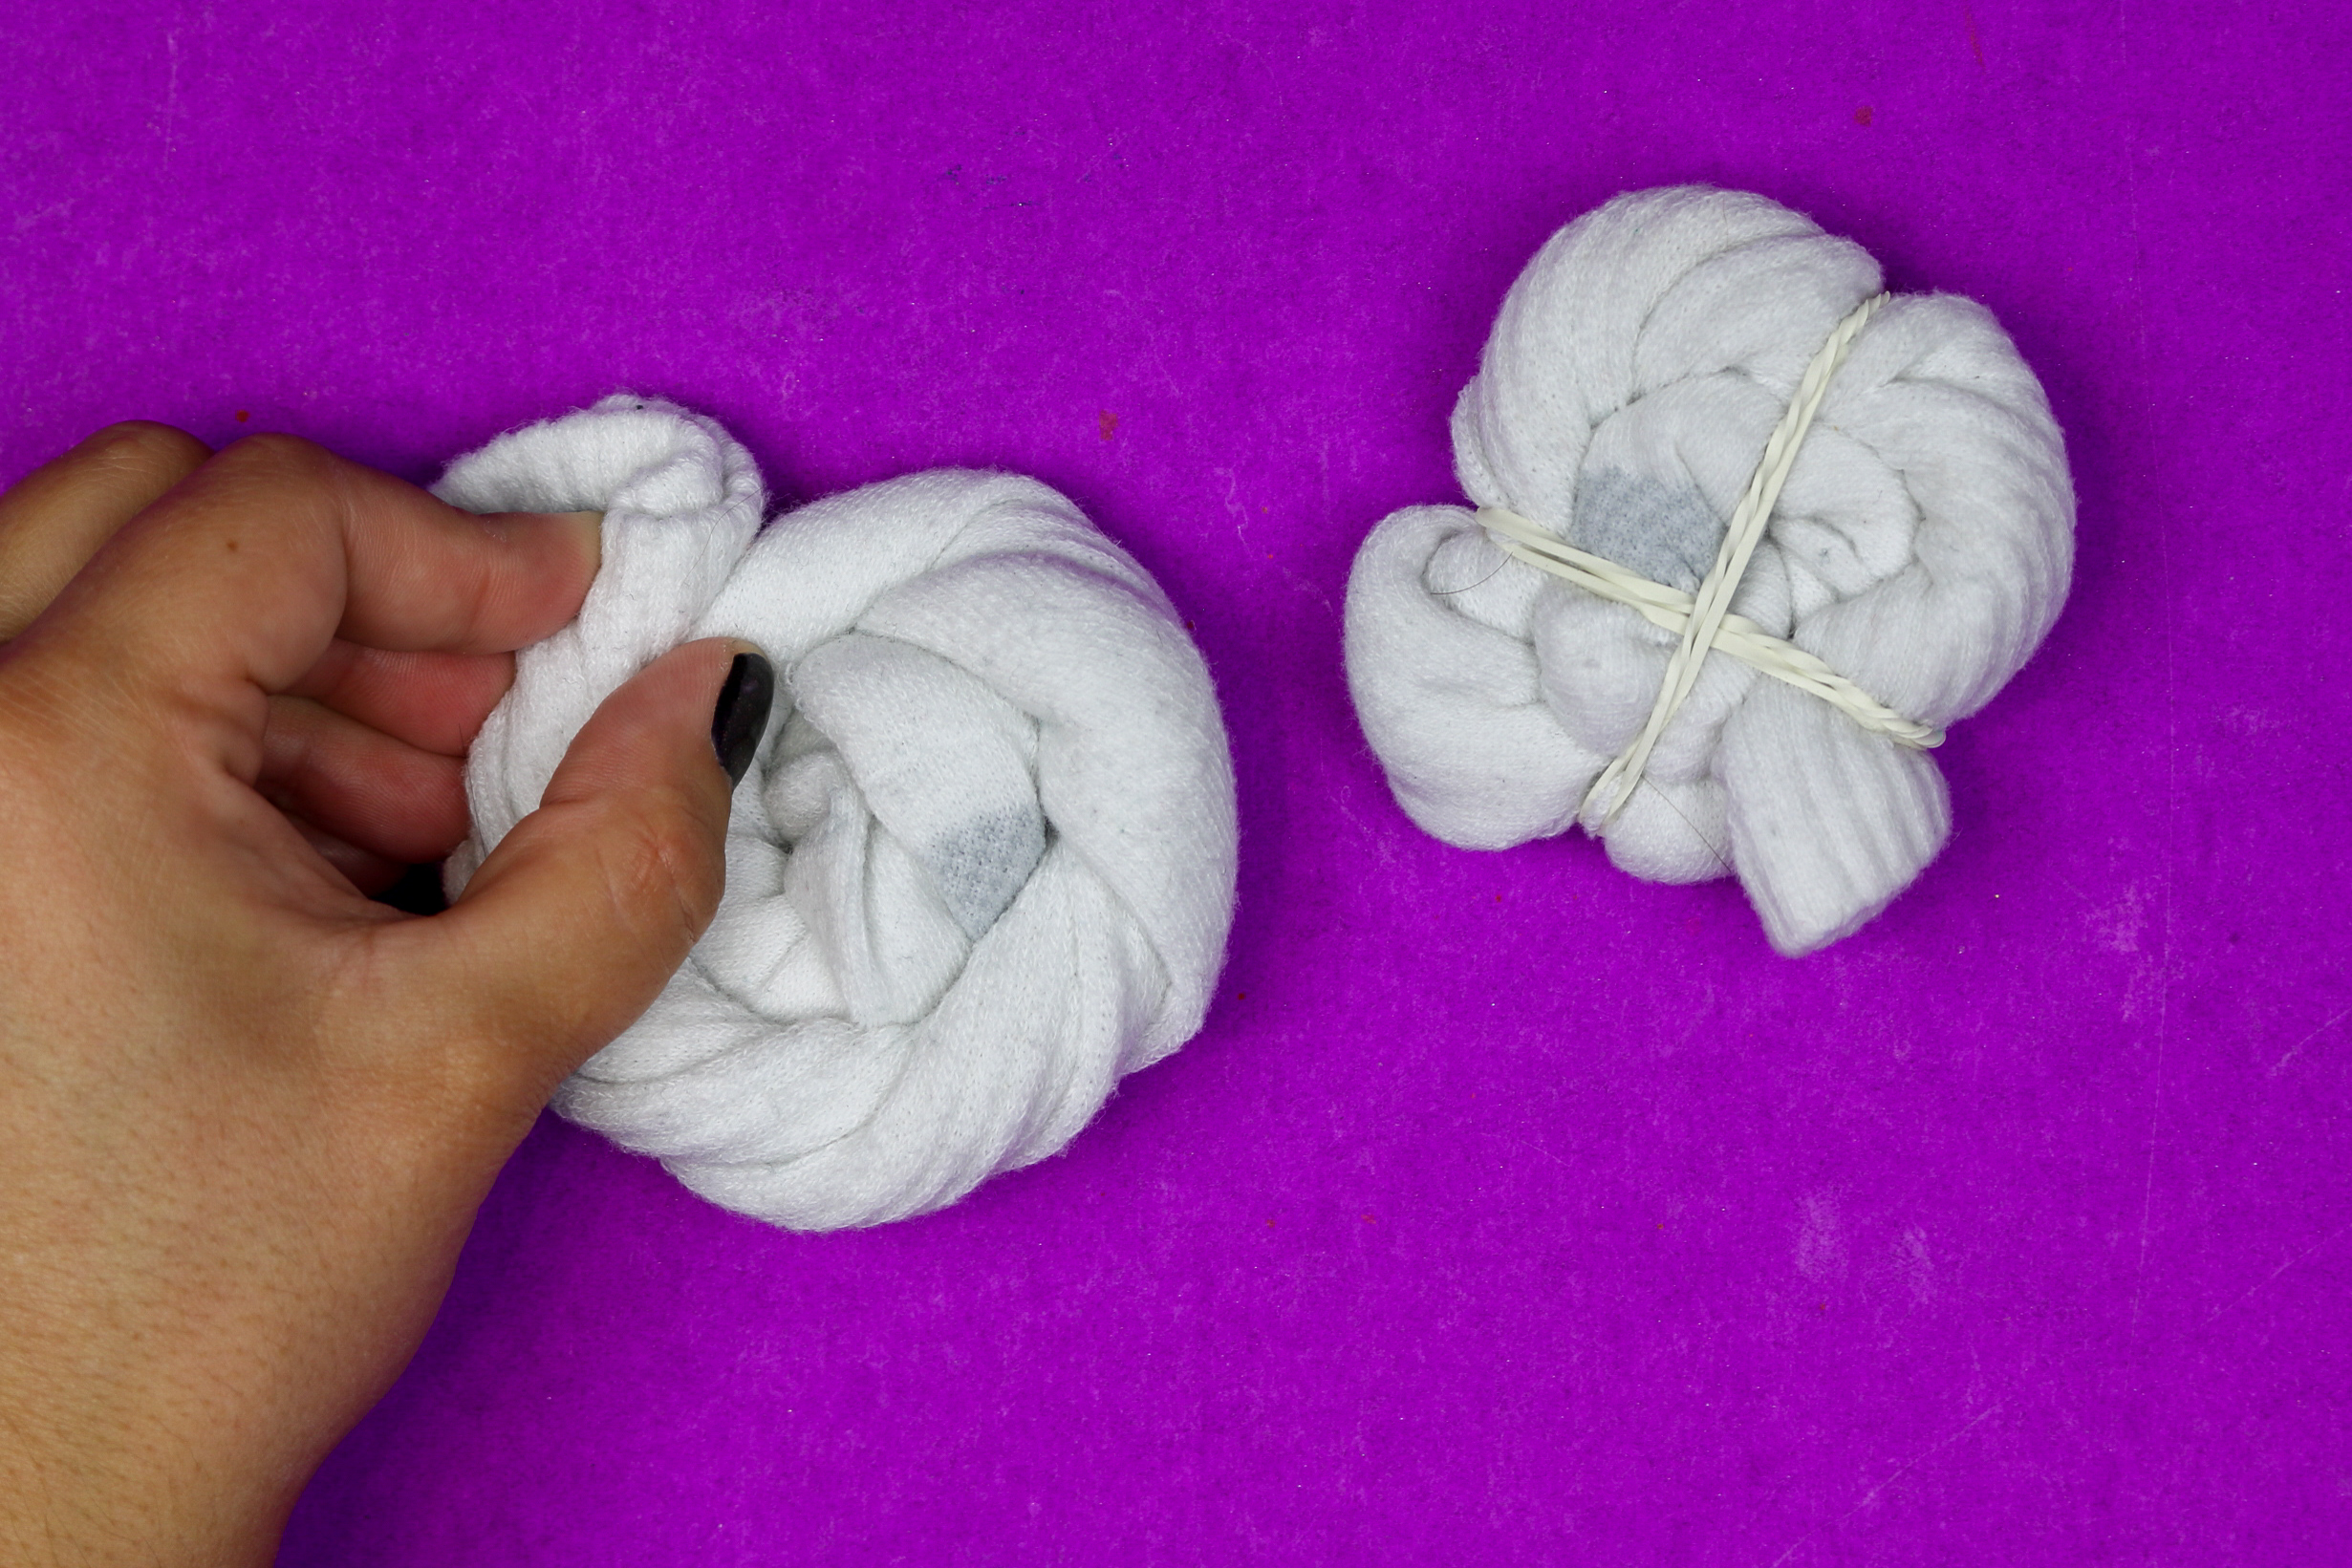
Twist the socks and swirl them like a cinnamon roll. Secure each sock with at least two rubber bands.
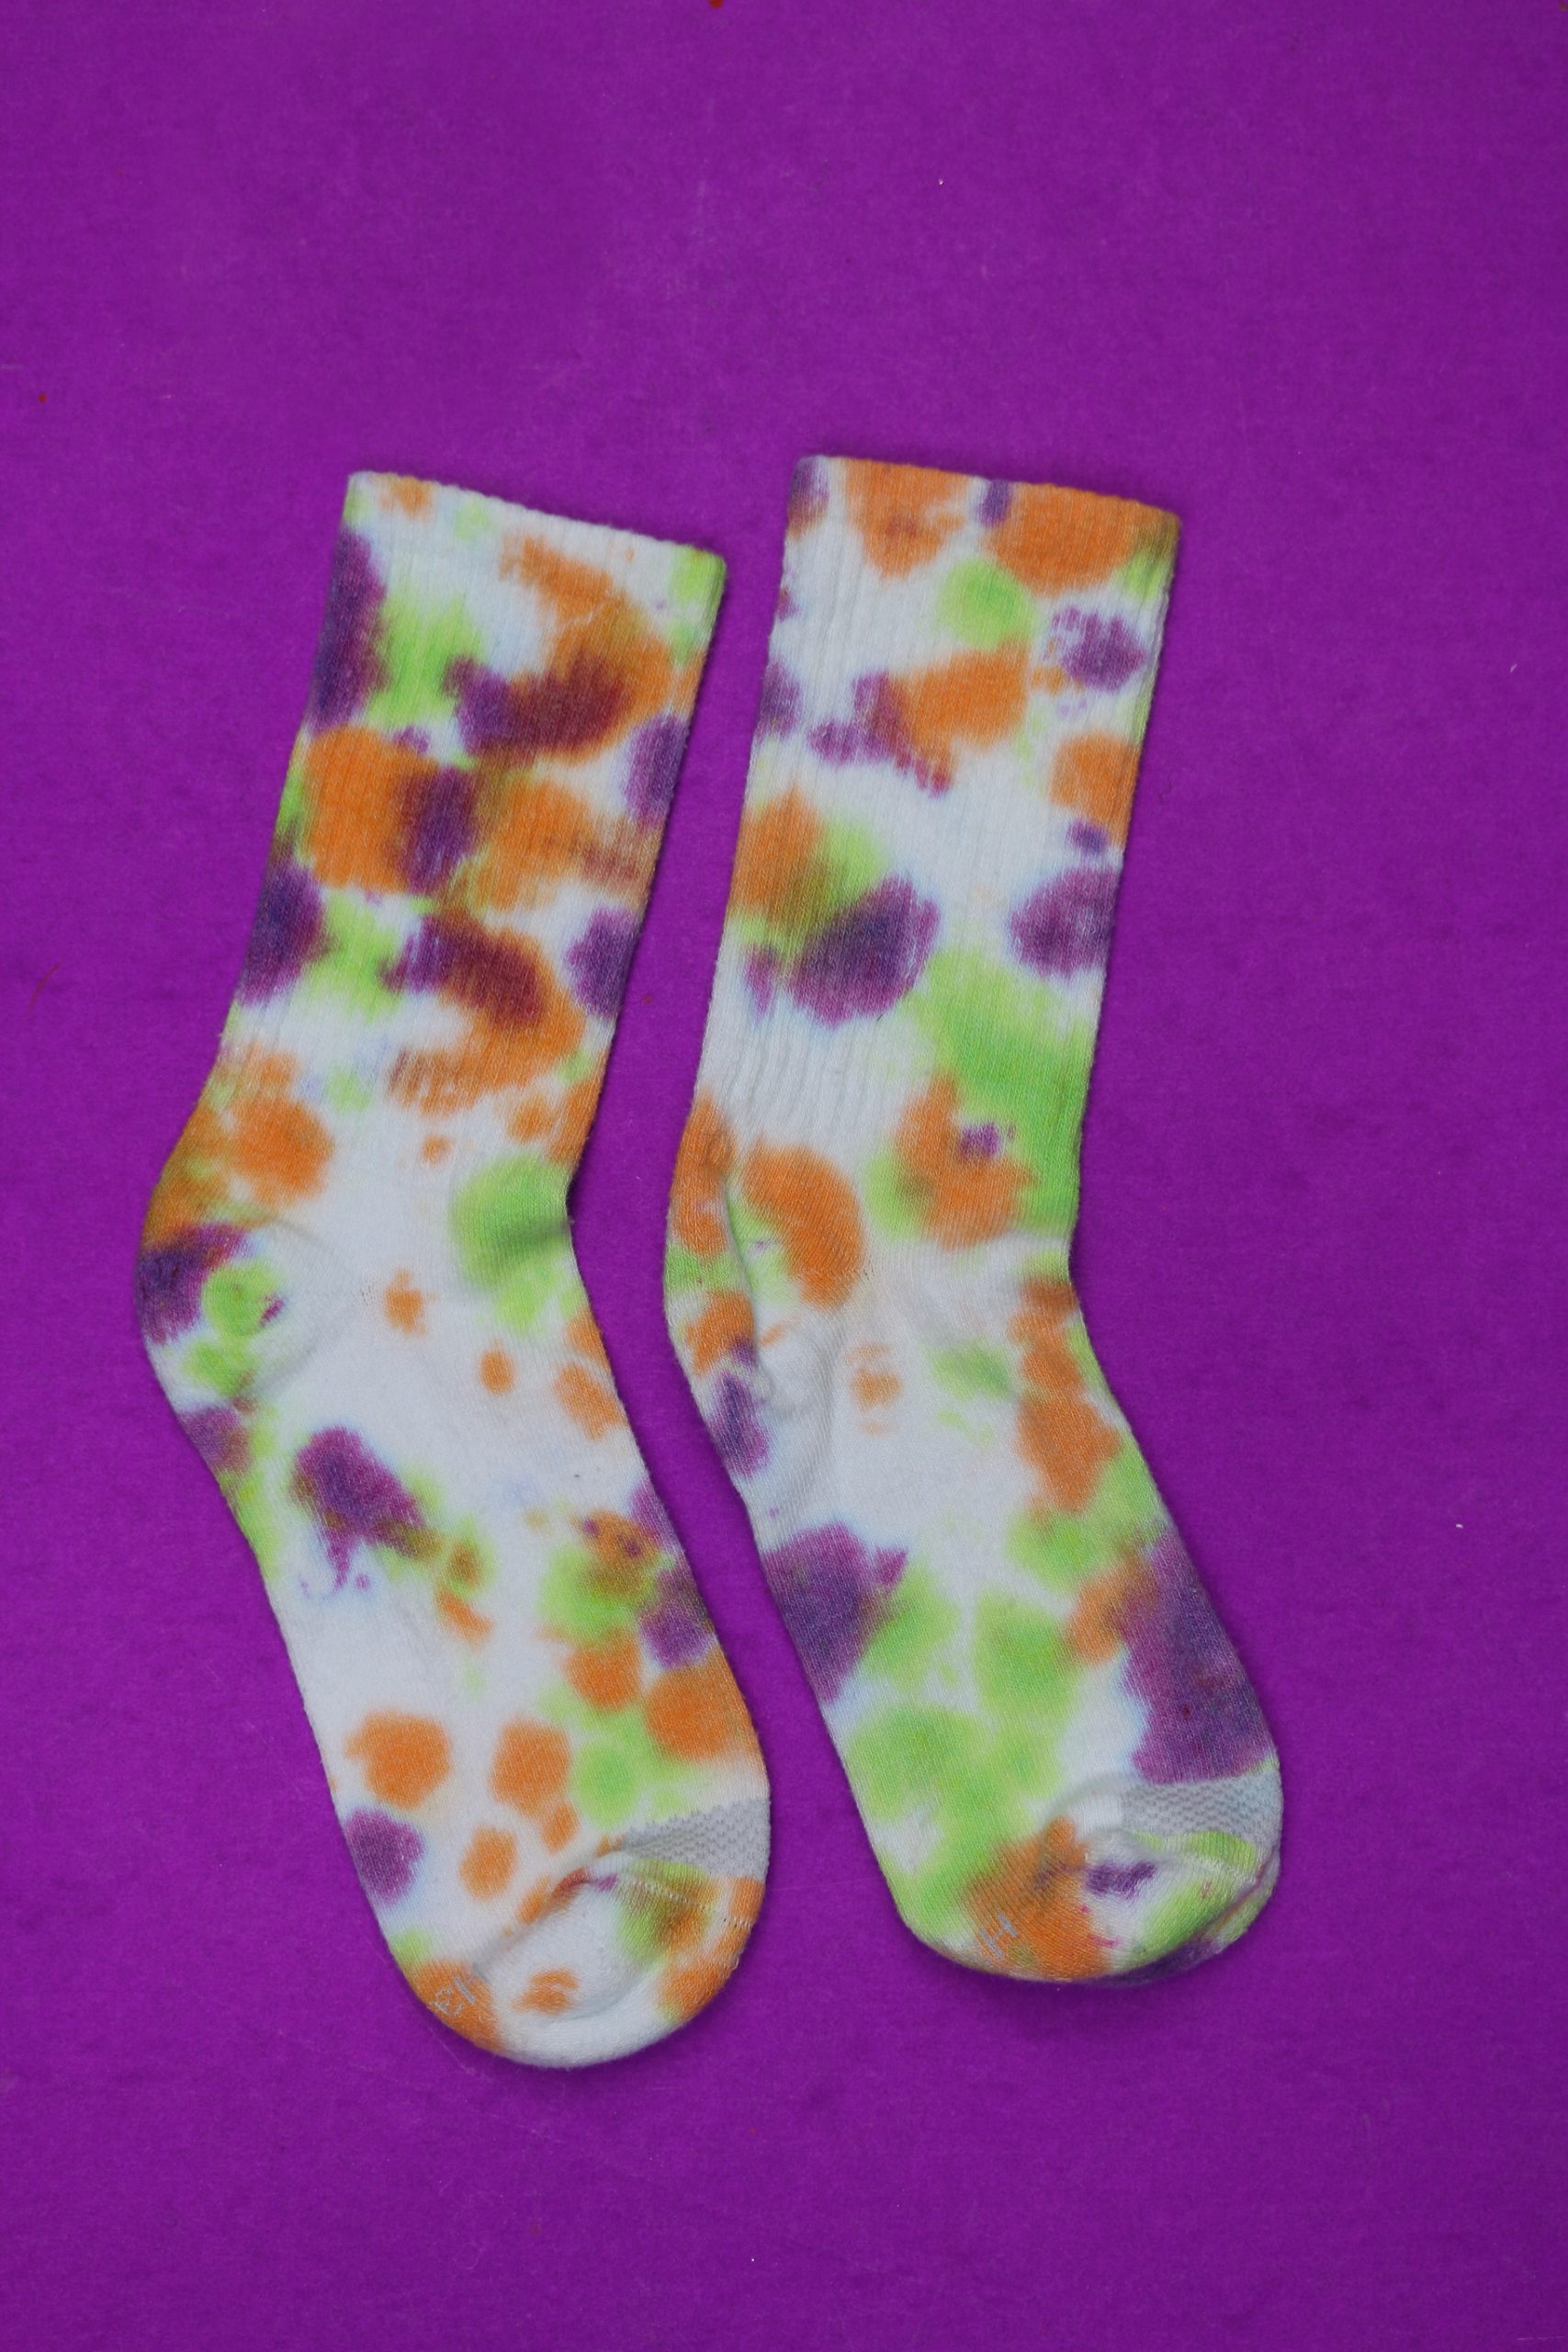
I used a light hand with the orange, purple, and green tie-dye to create these bright, spotty tie-dye socks.
Stripe Technique
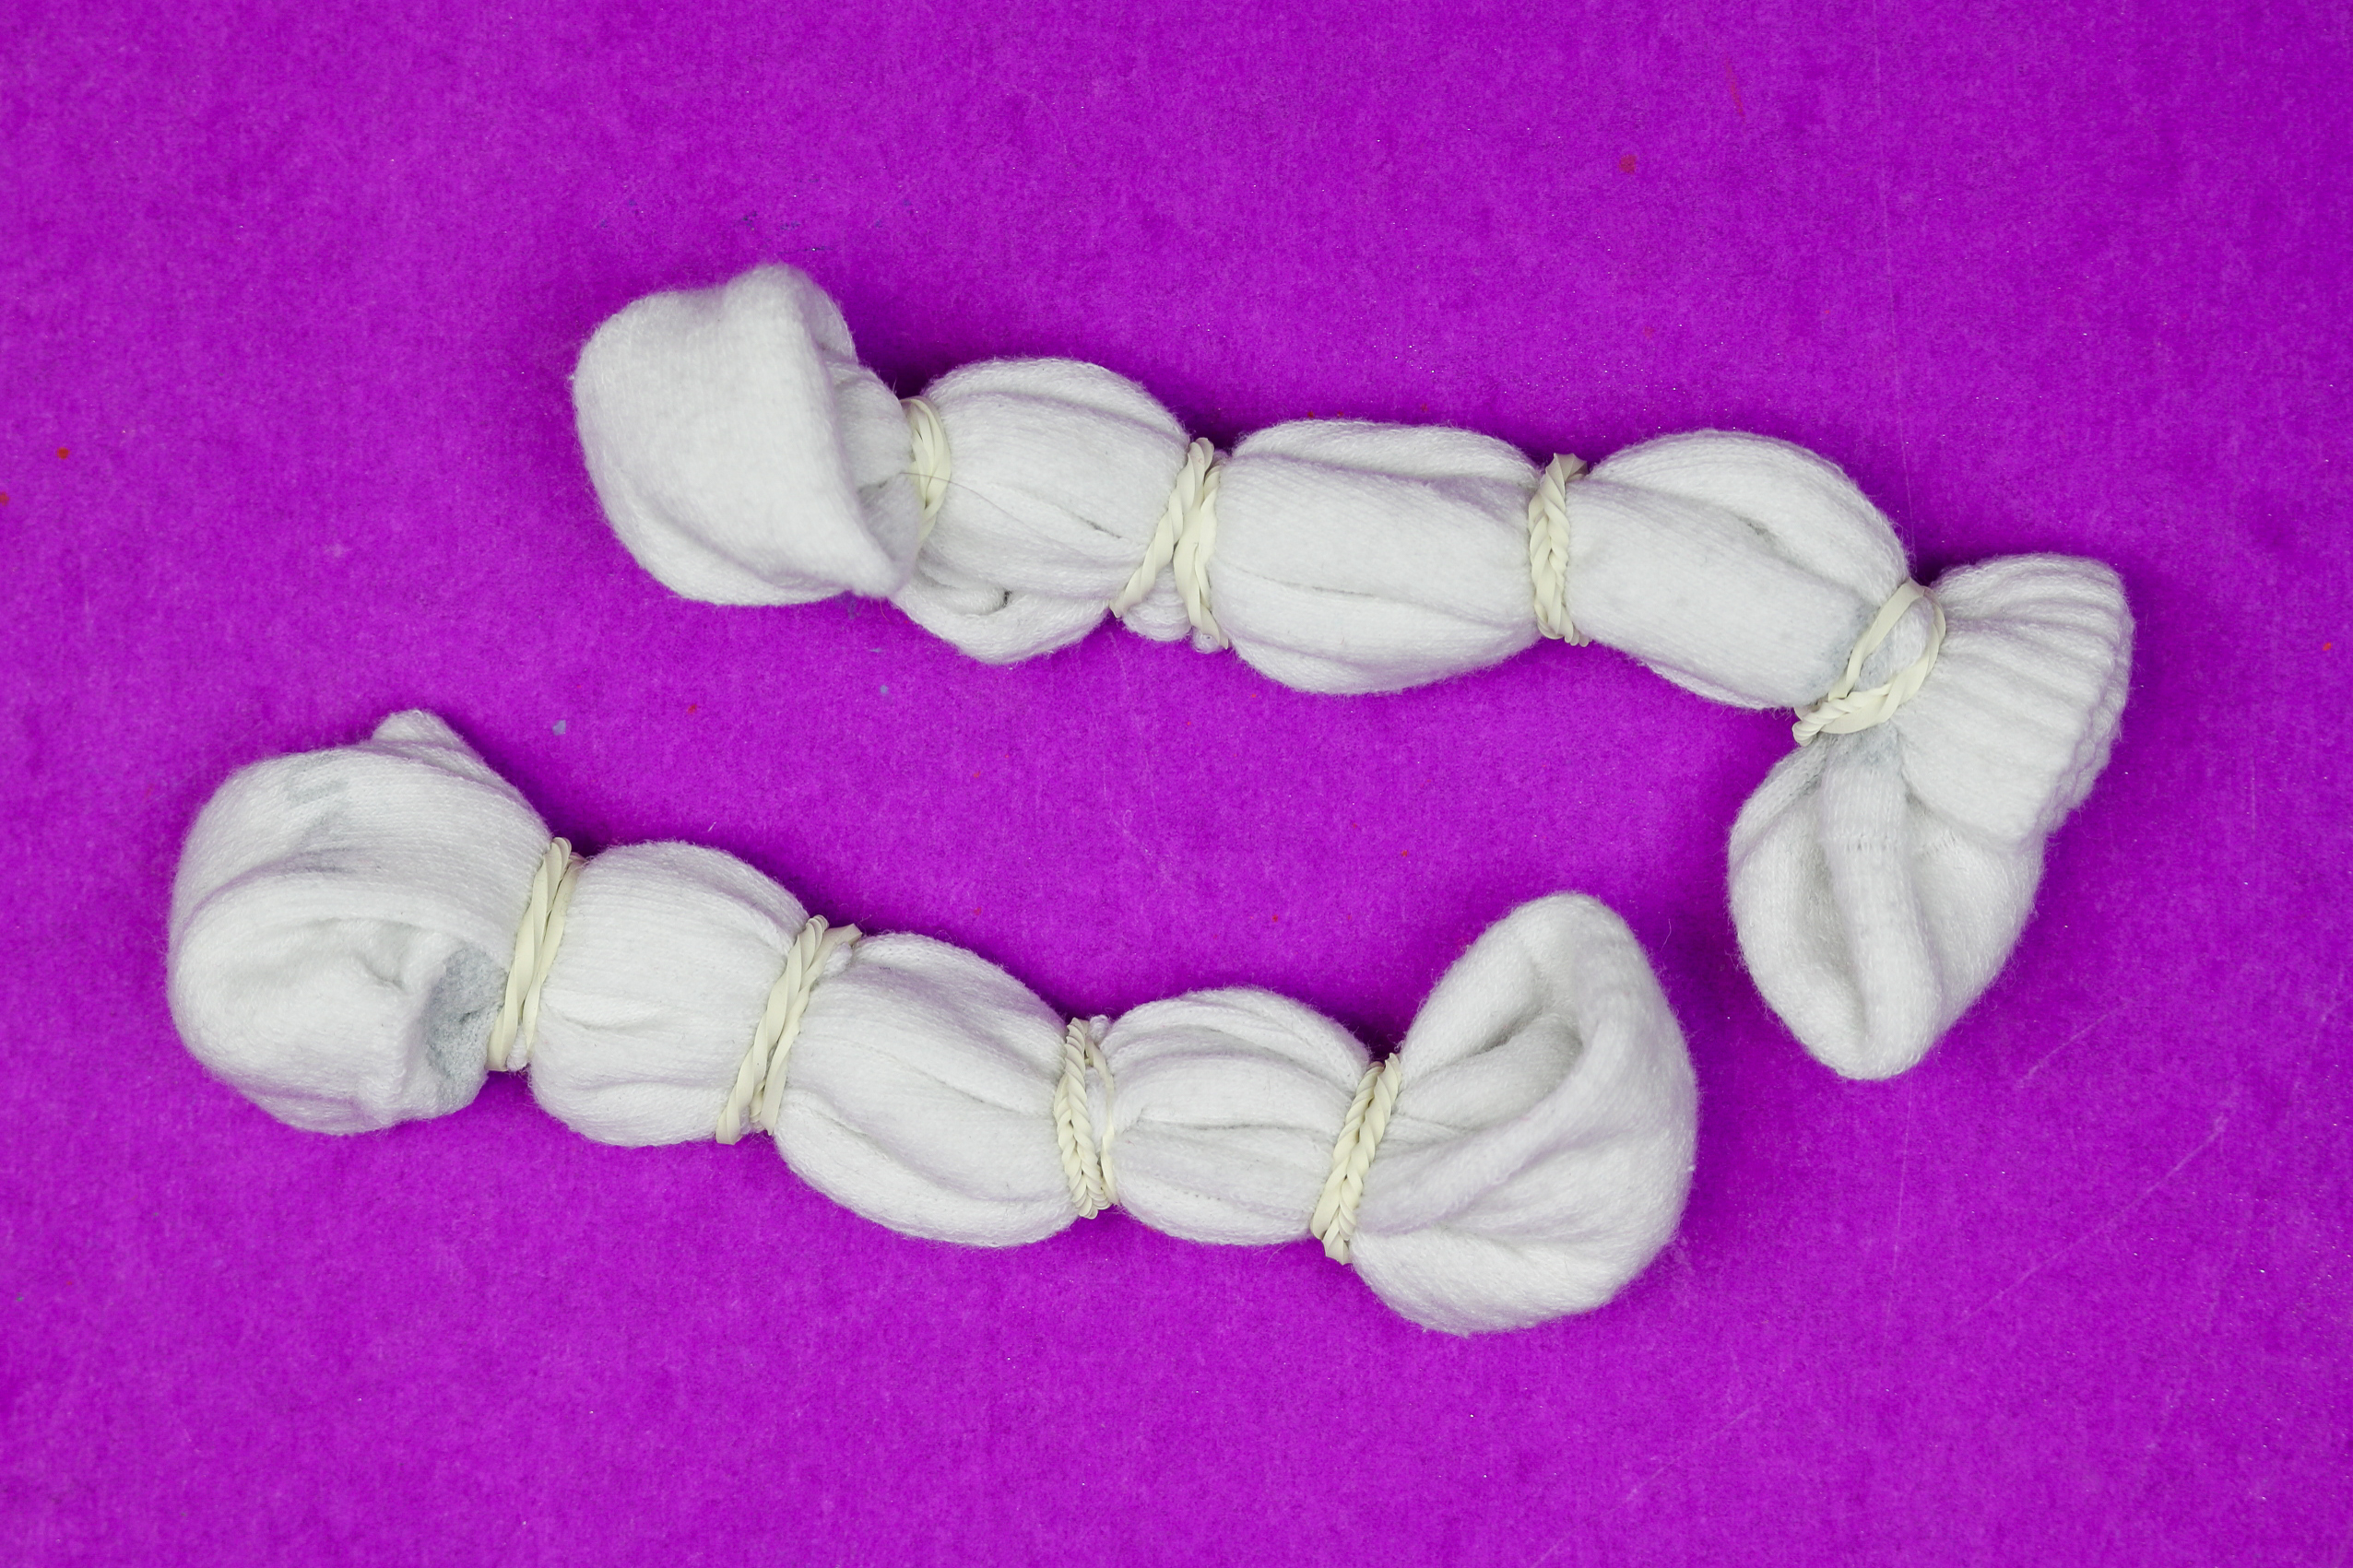
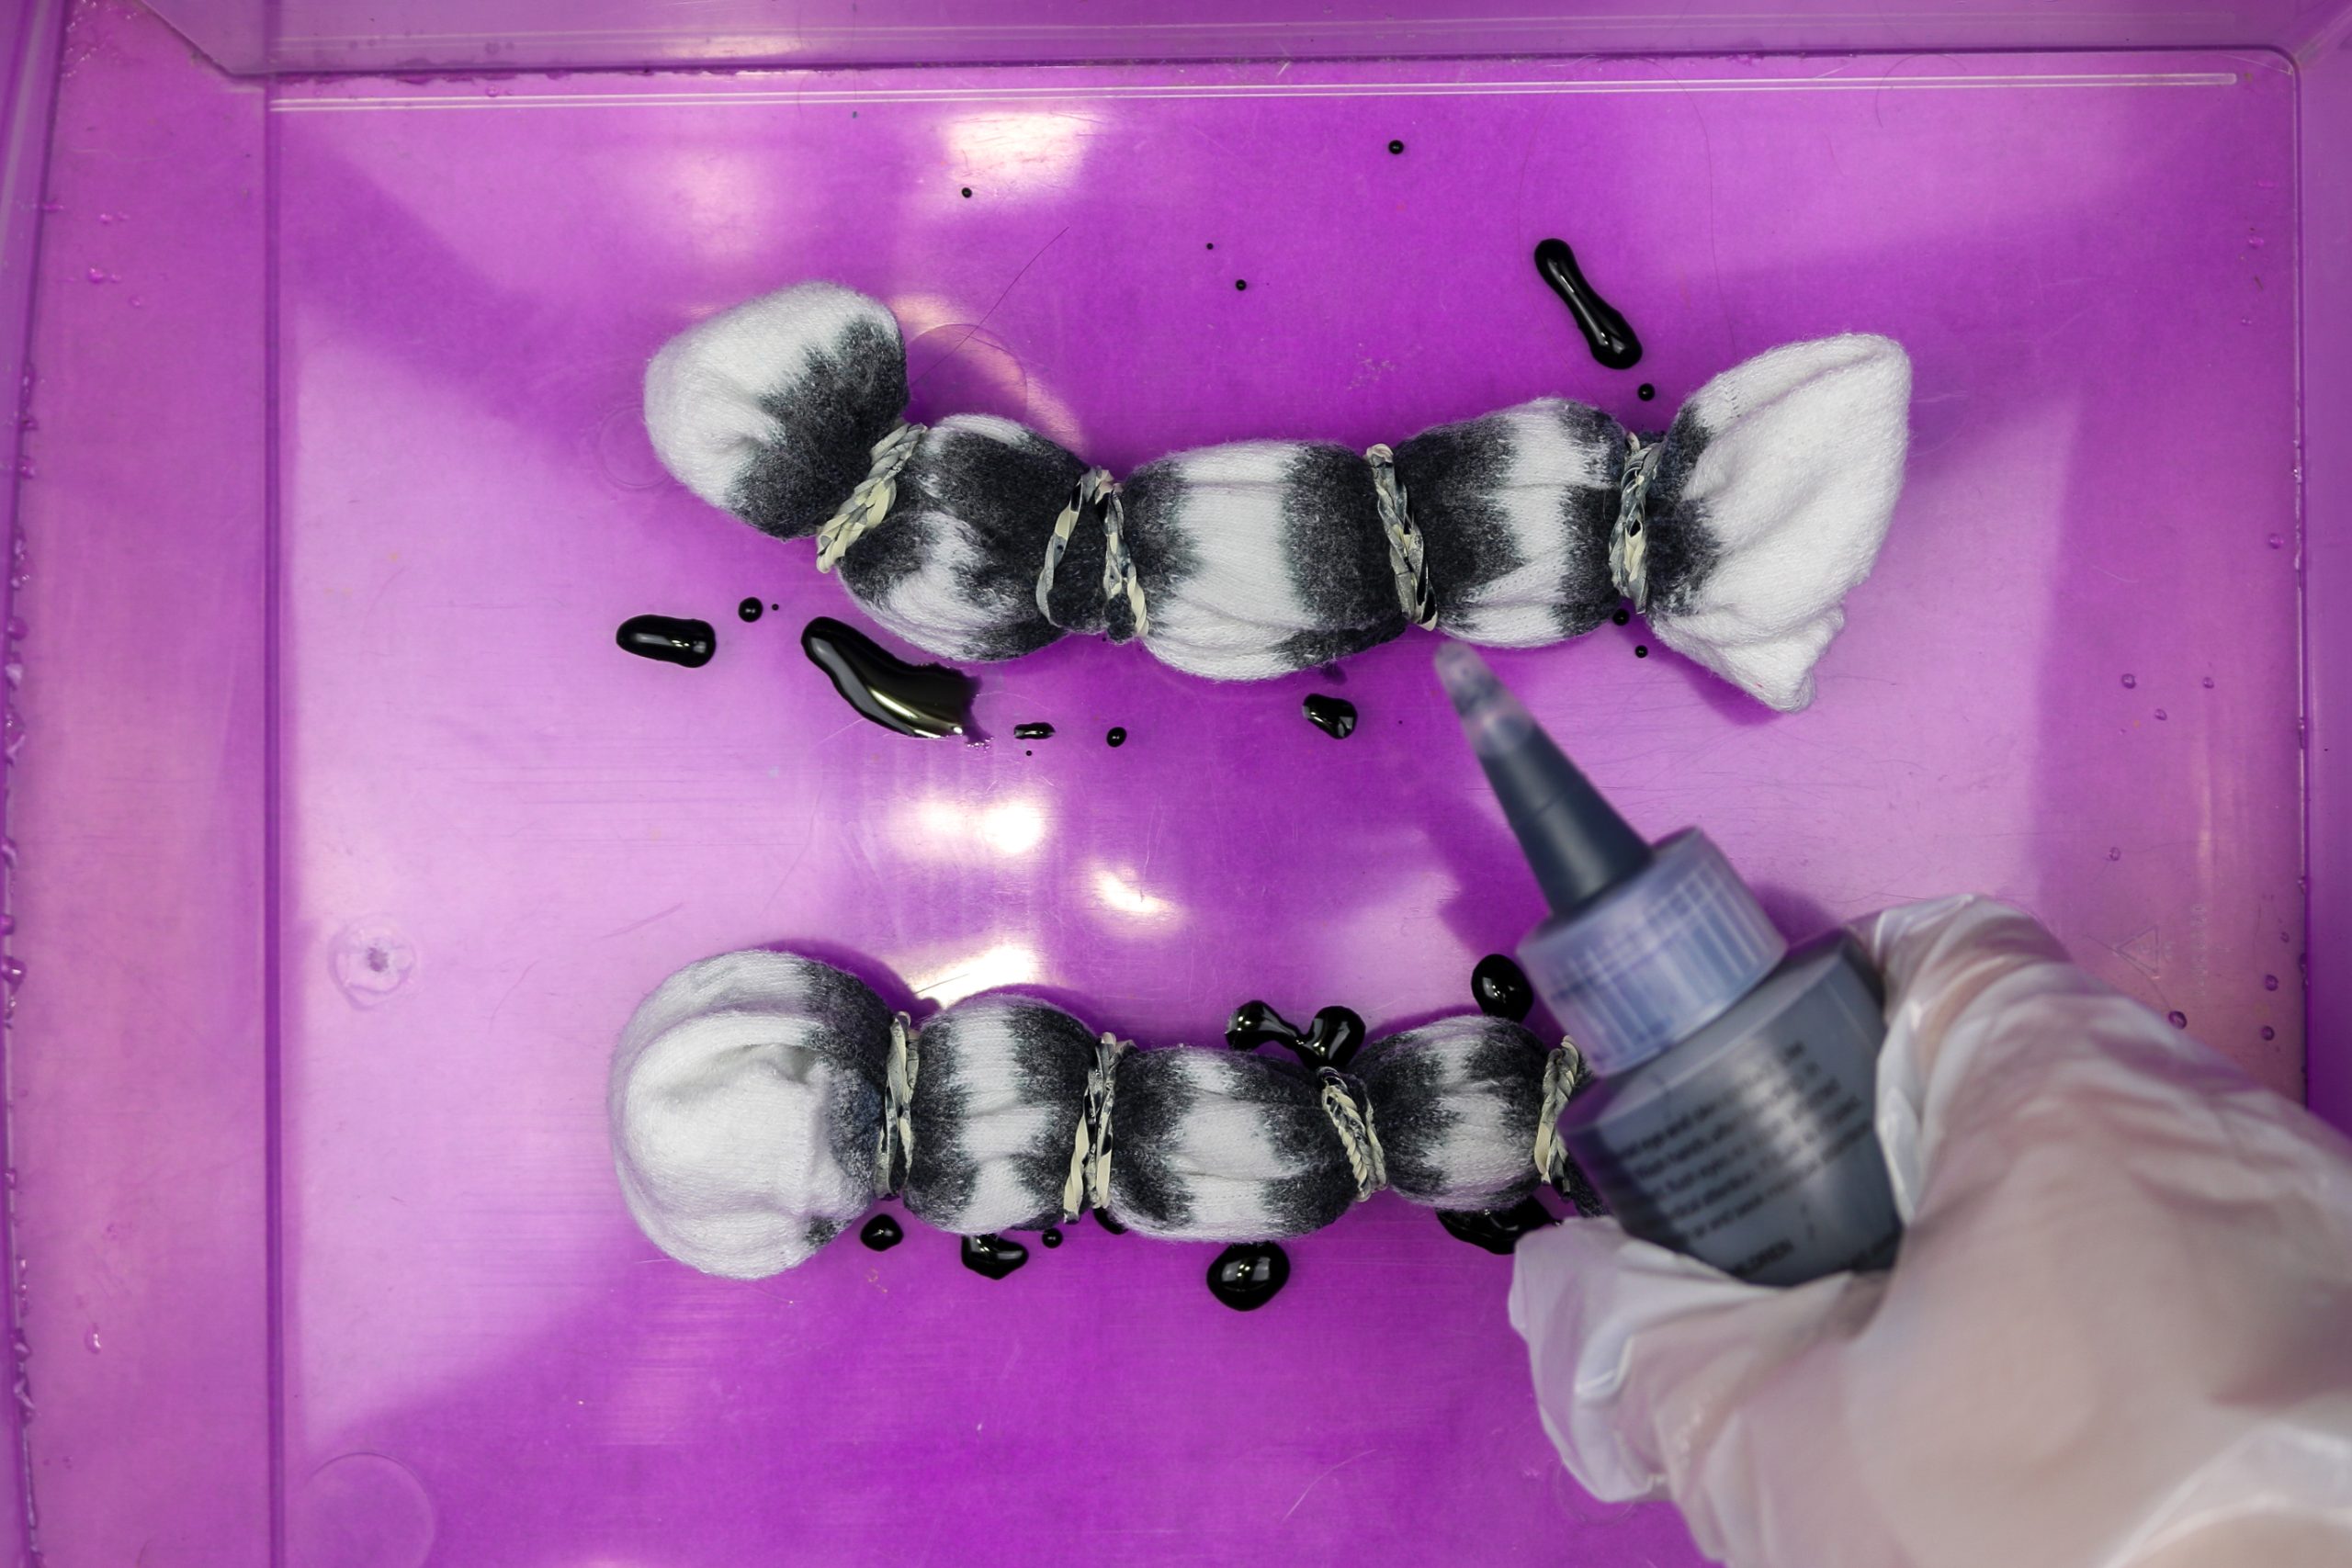
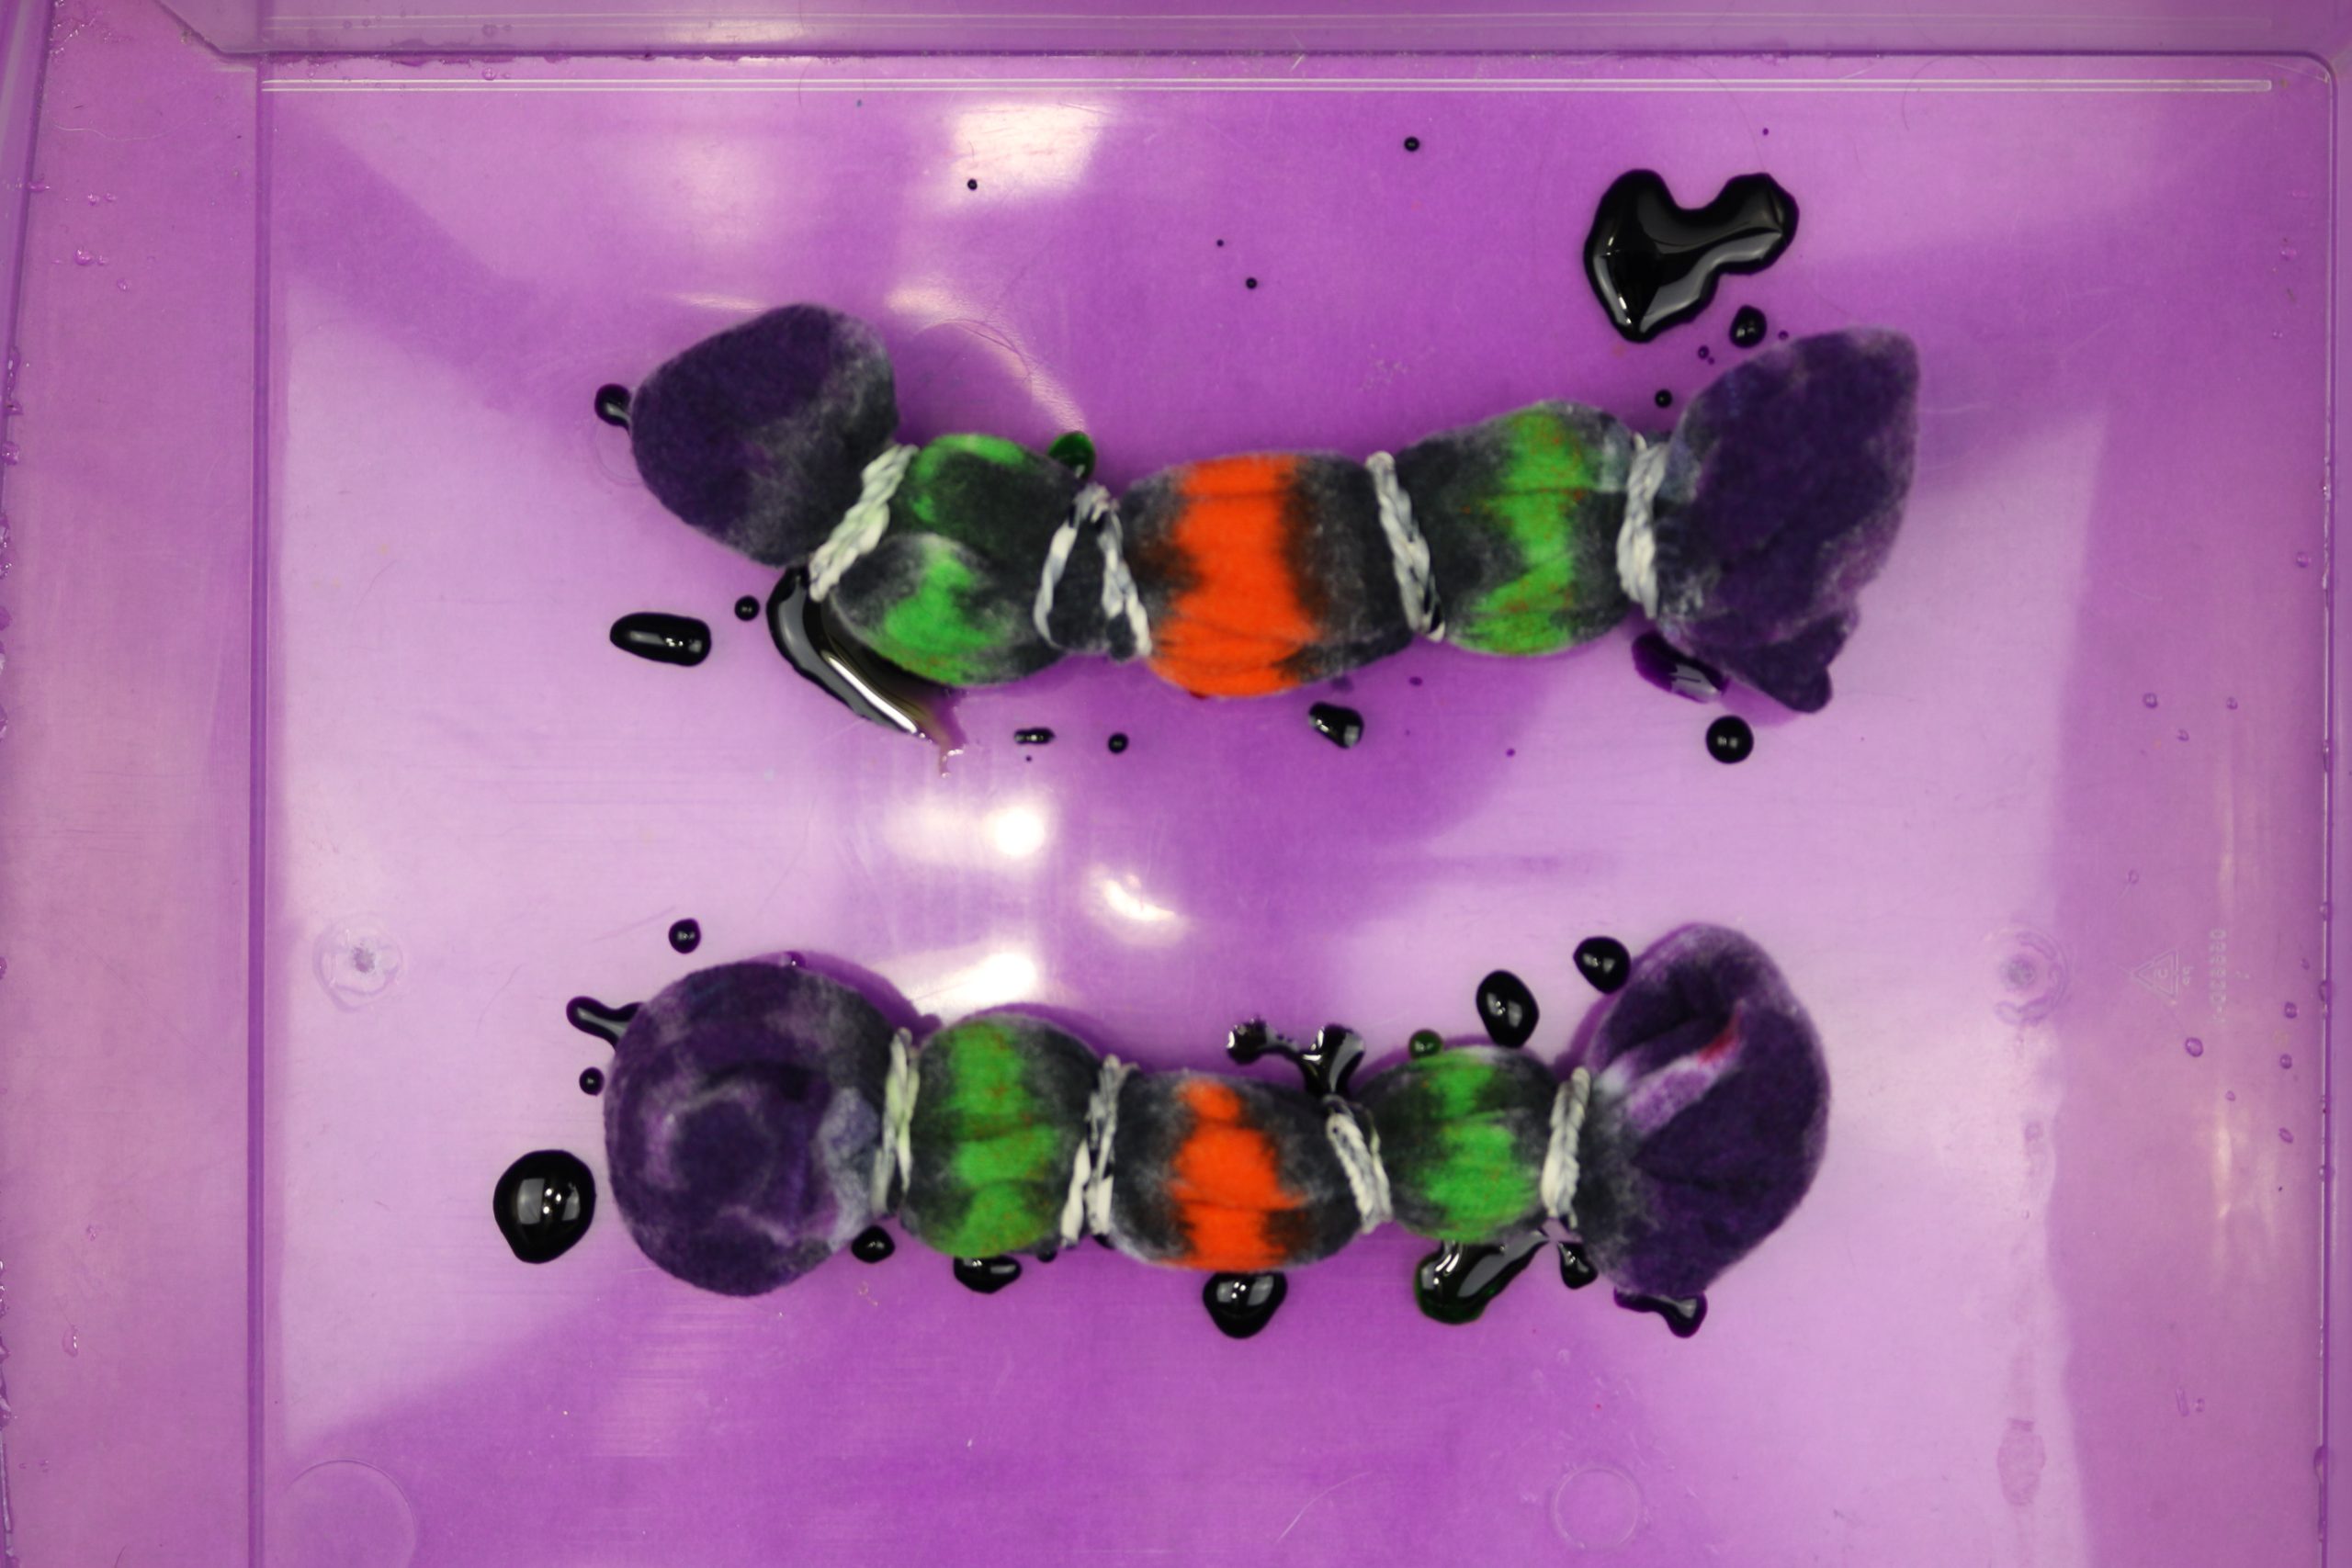
Accordion fold the socks the long way. Secure with multiple rubber bands.
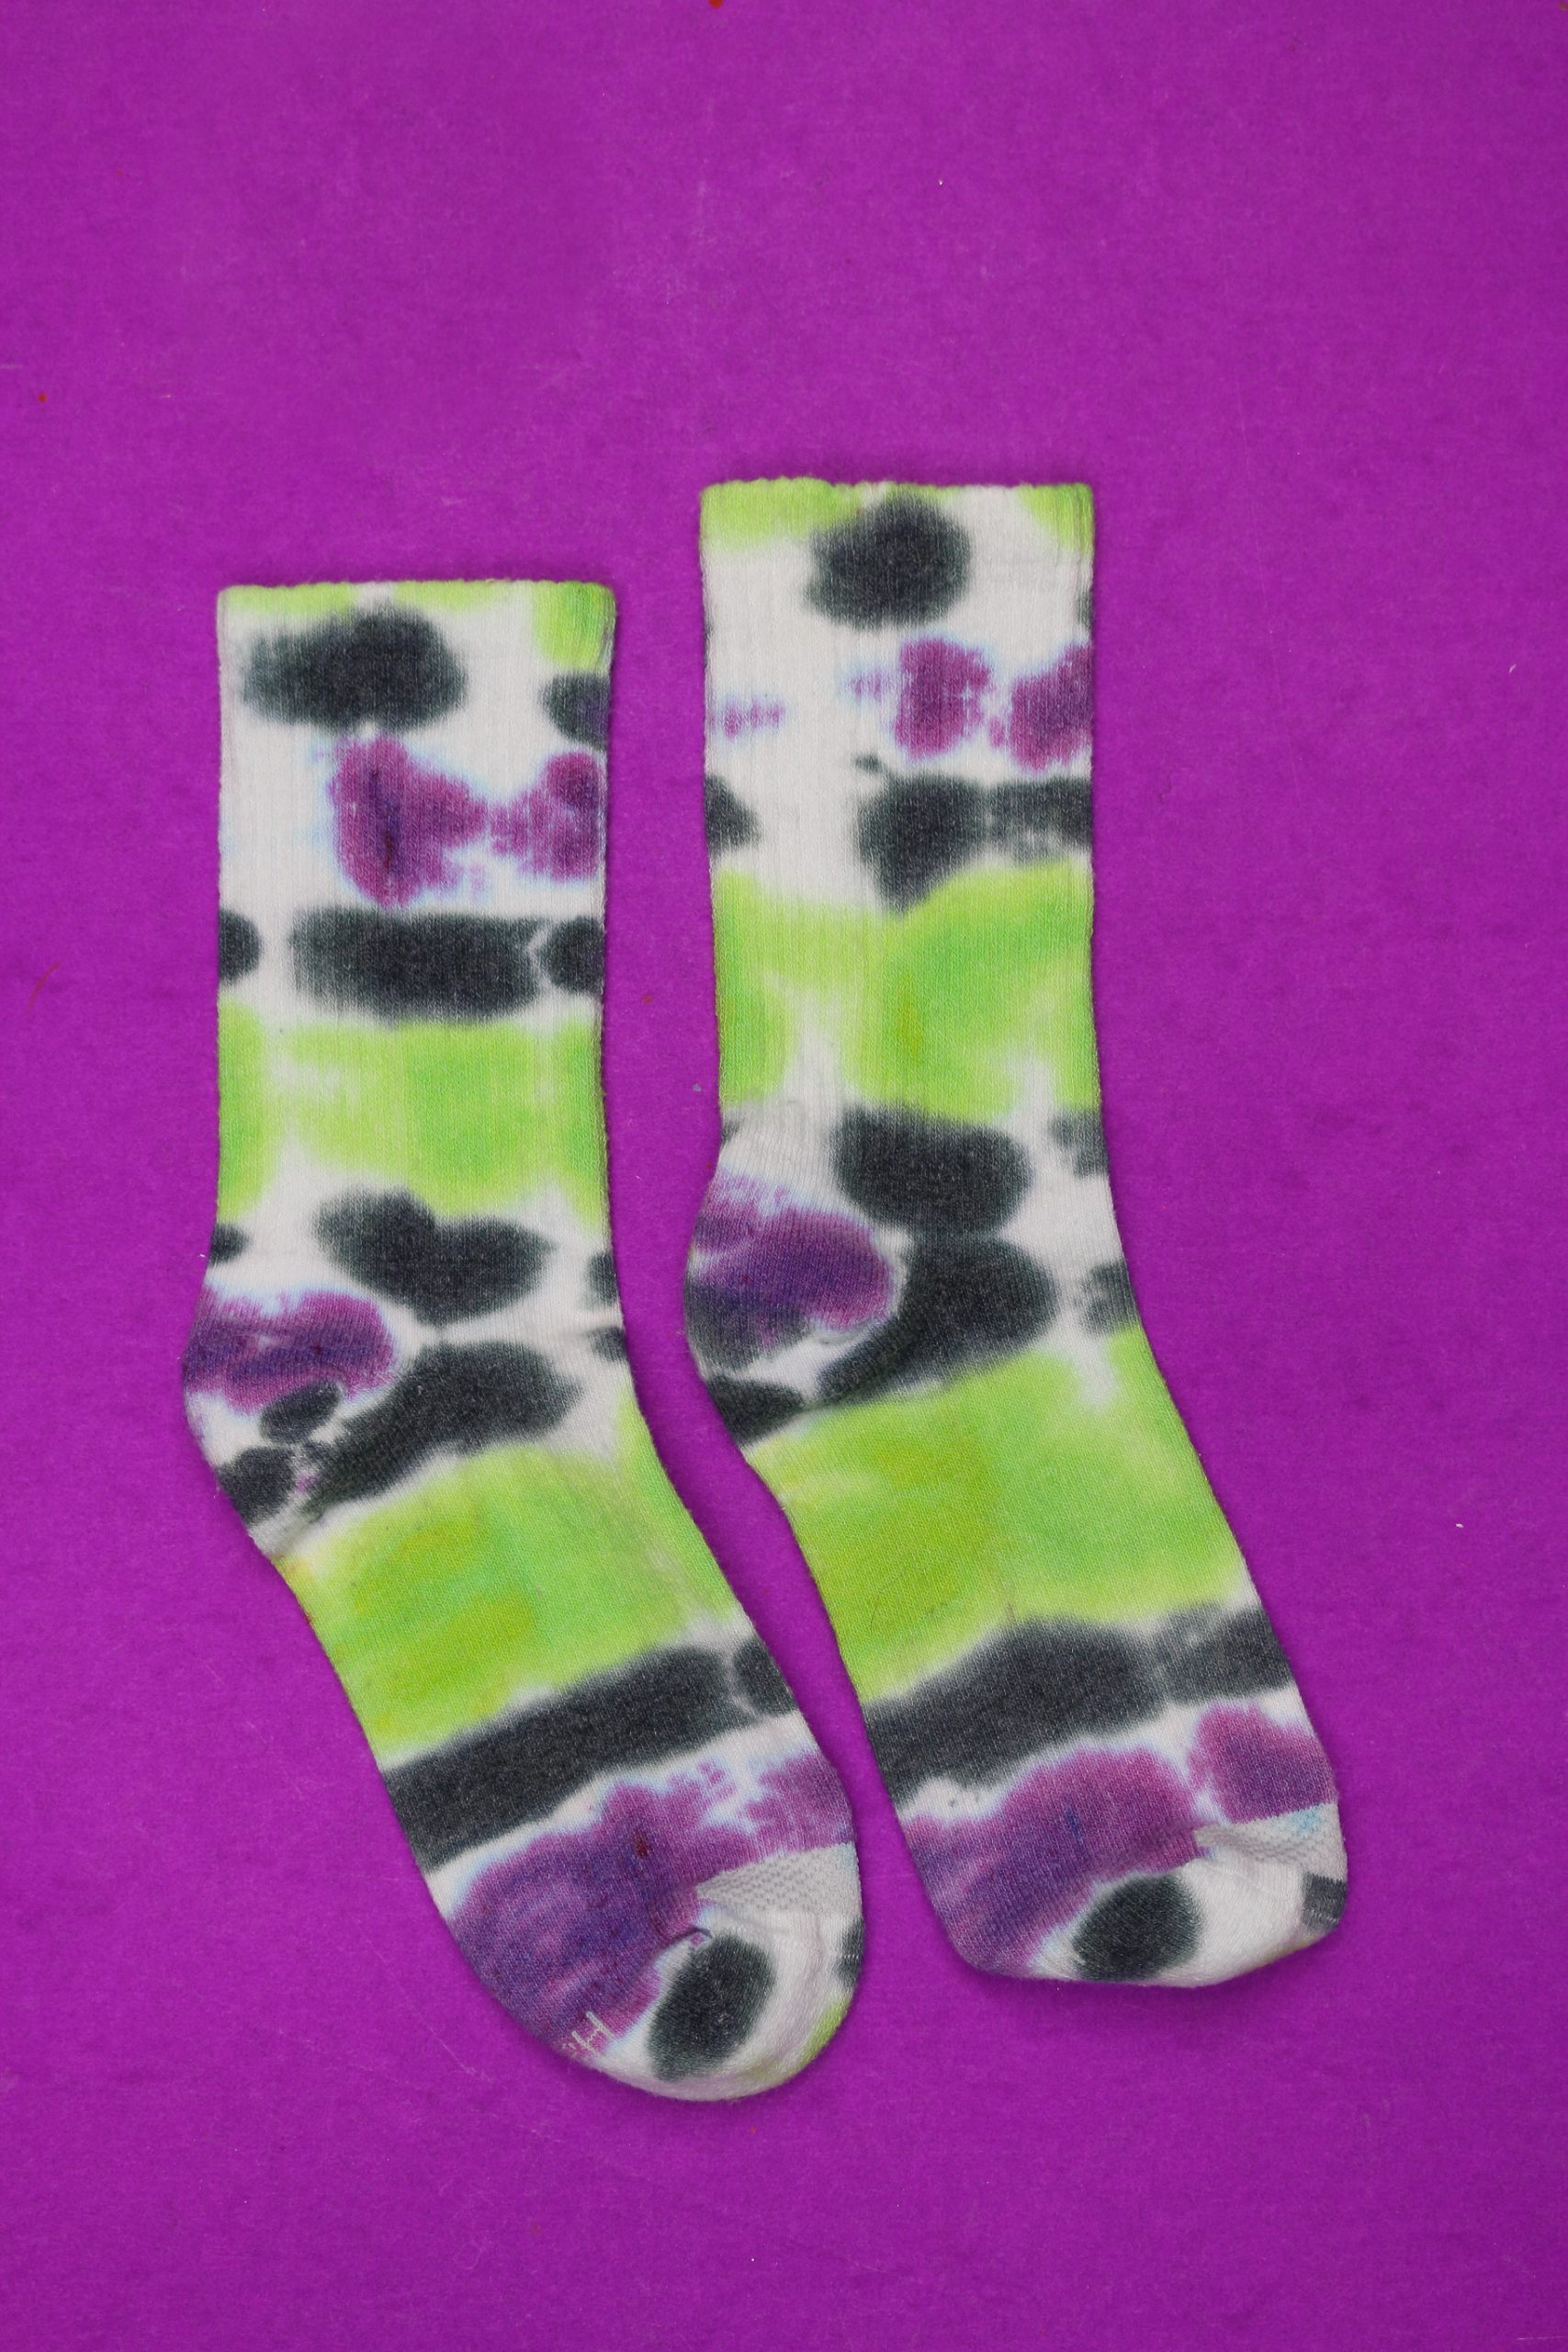
For these socks, I applied the dye parallel to the rubber bands.
Accordion Fold Technique
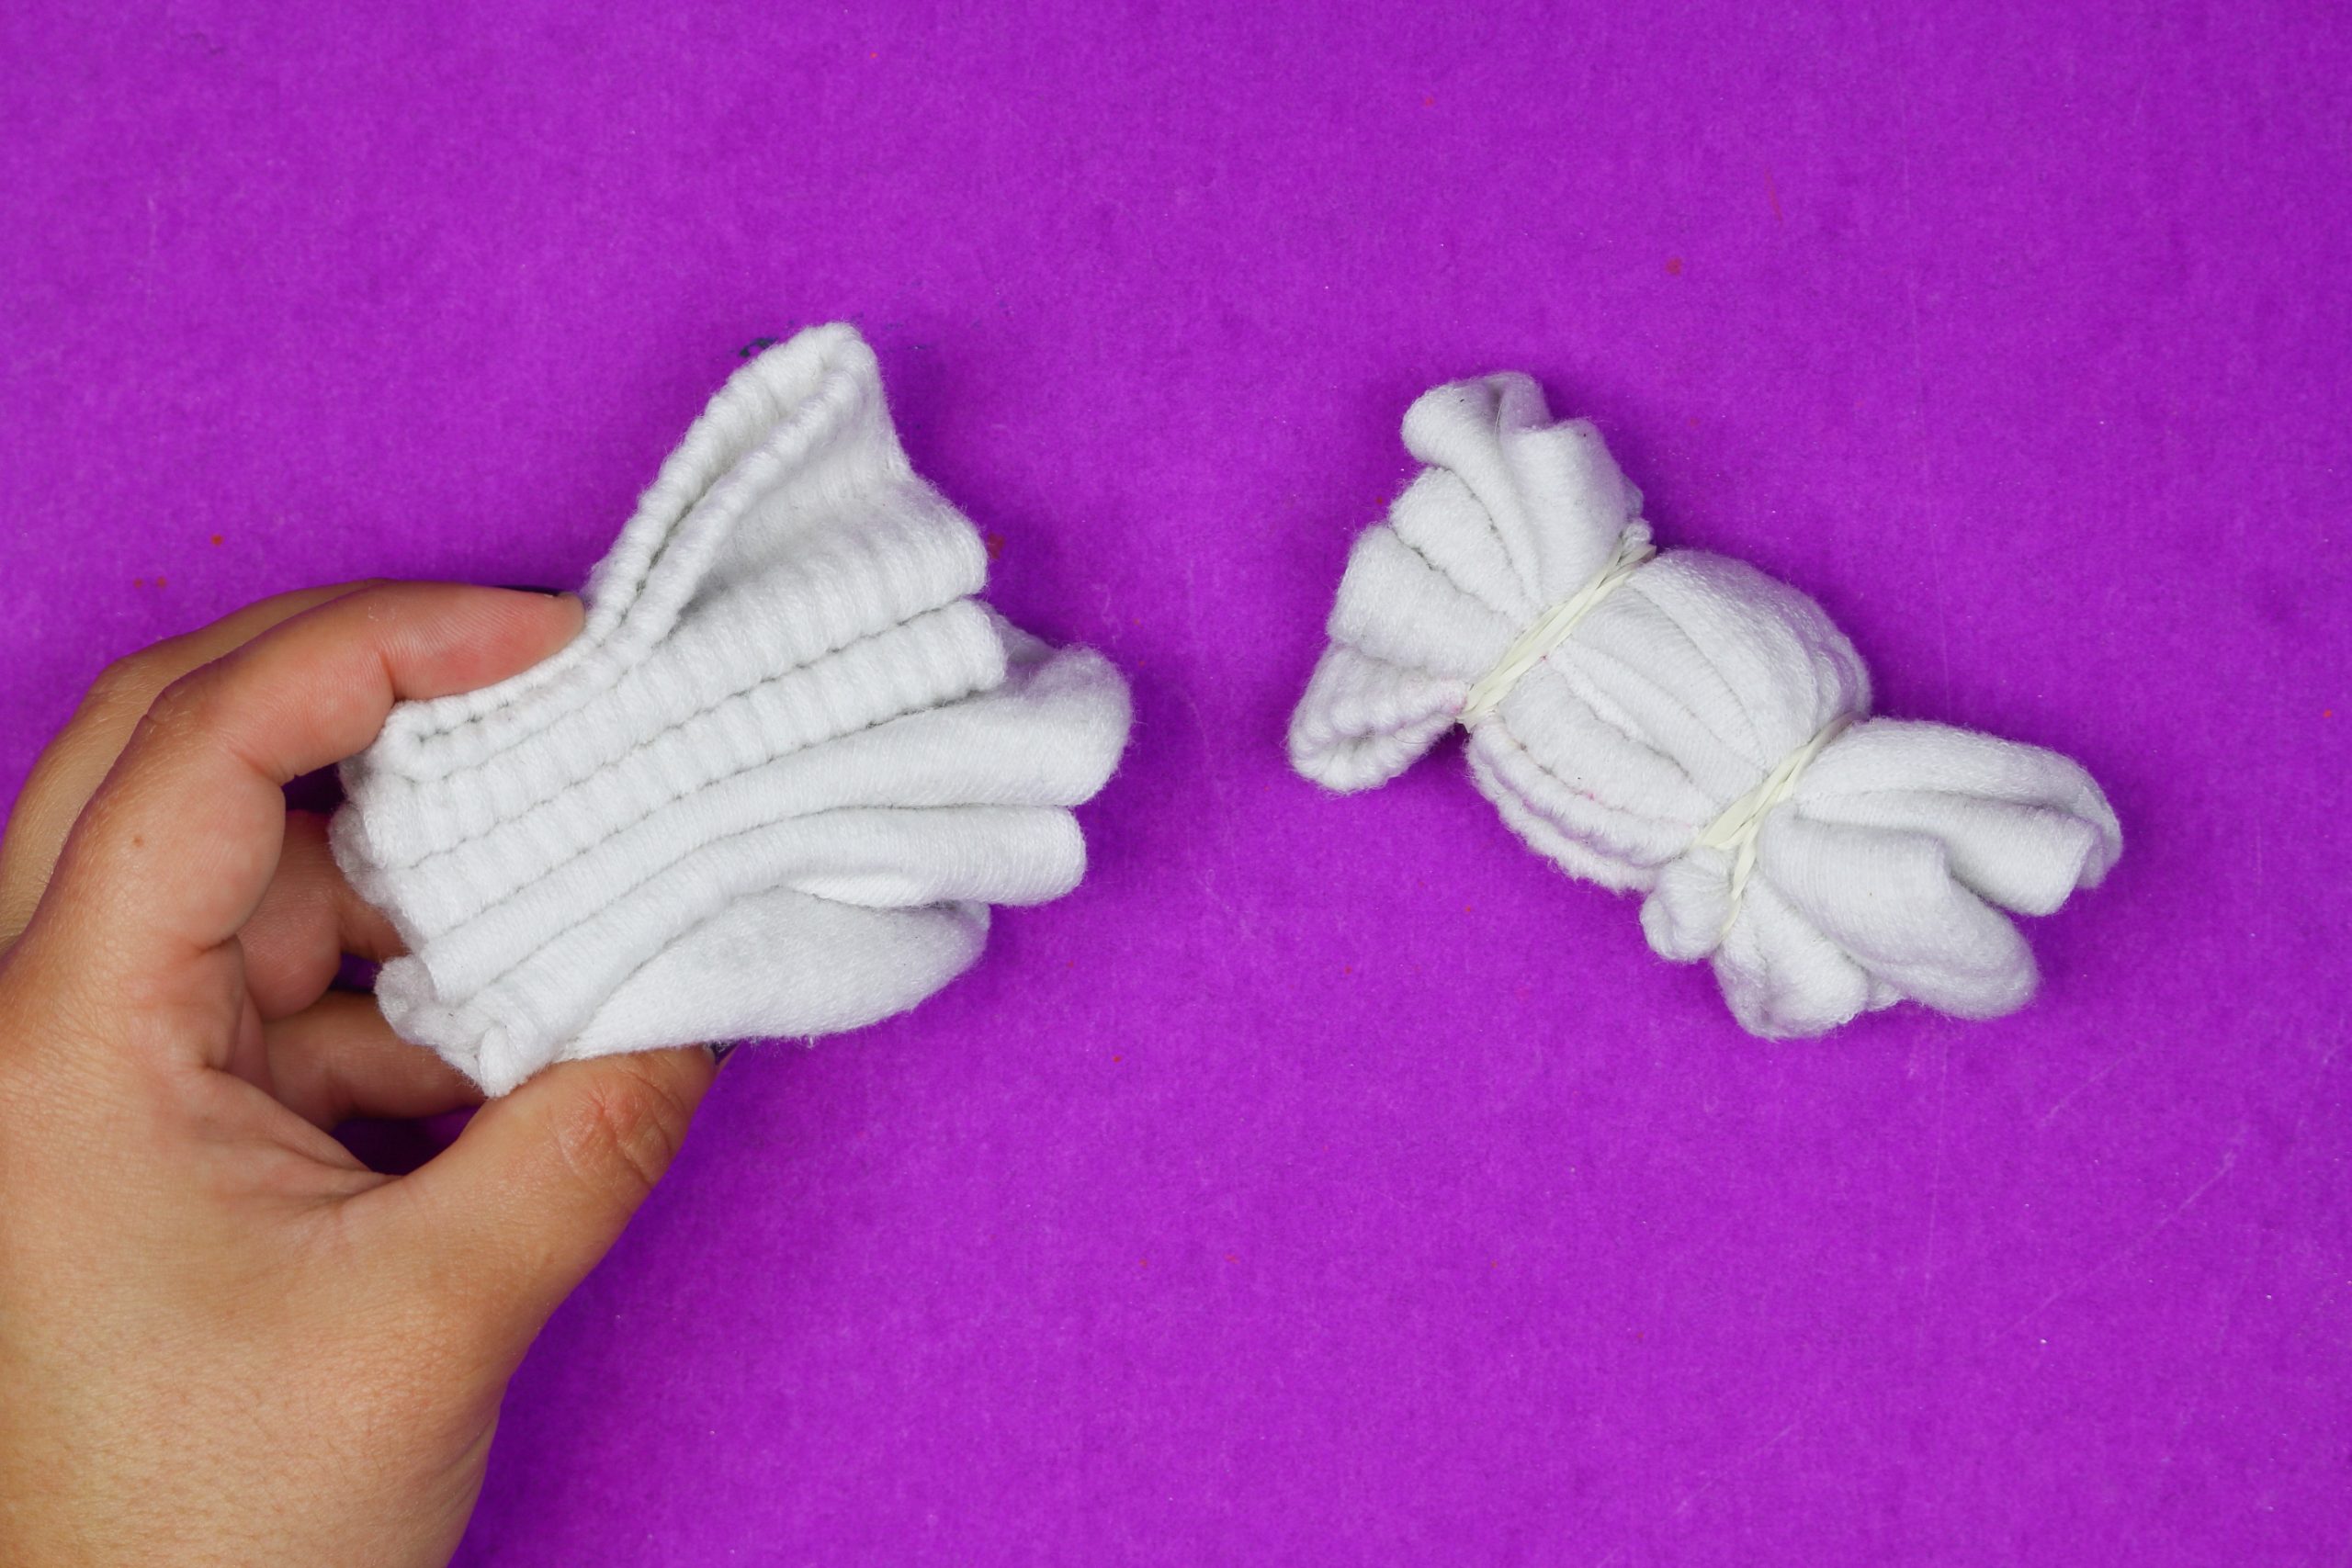
Accordion fold the socks from toe to ankle. Secure each sock with at least two rubber bands.
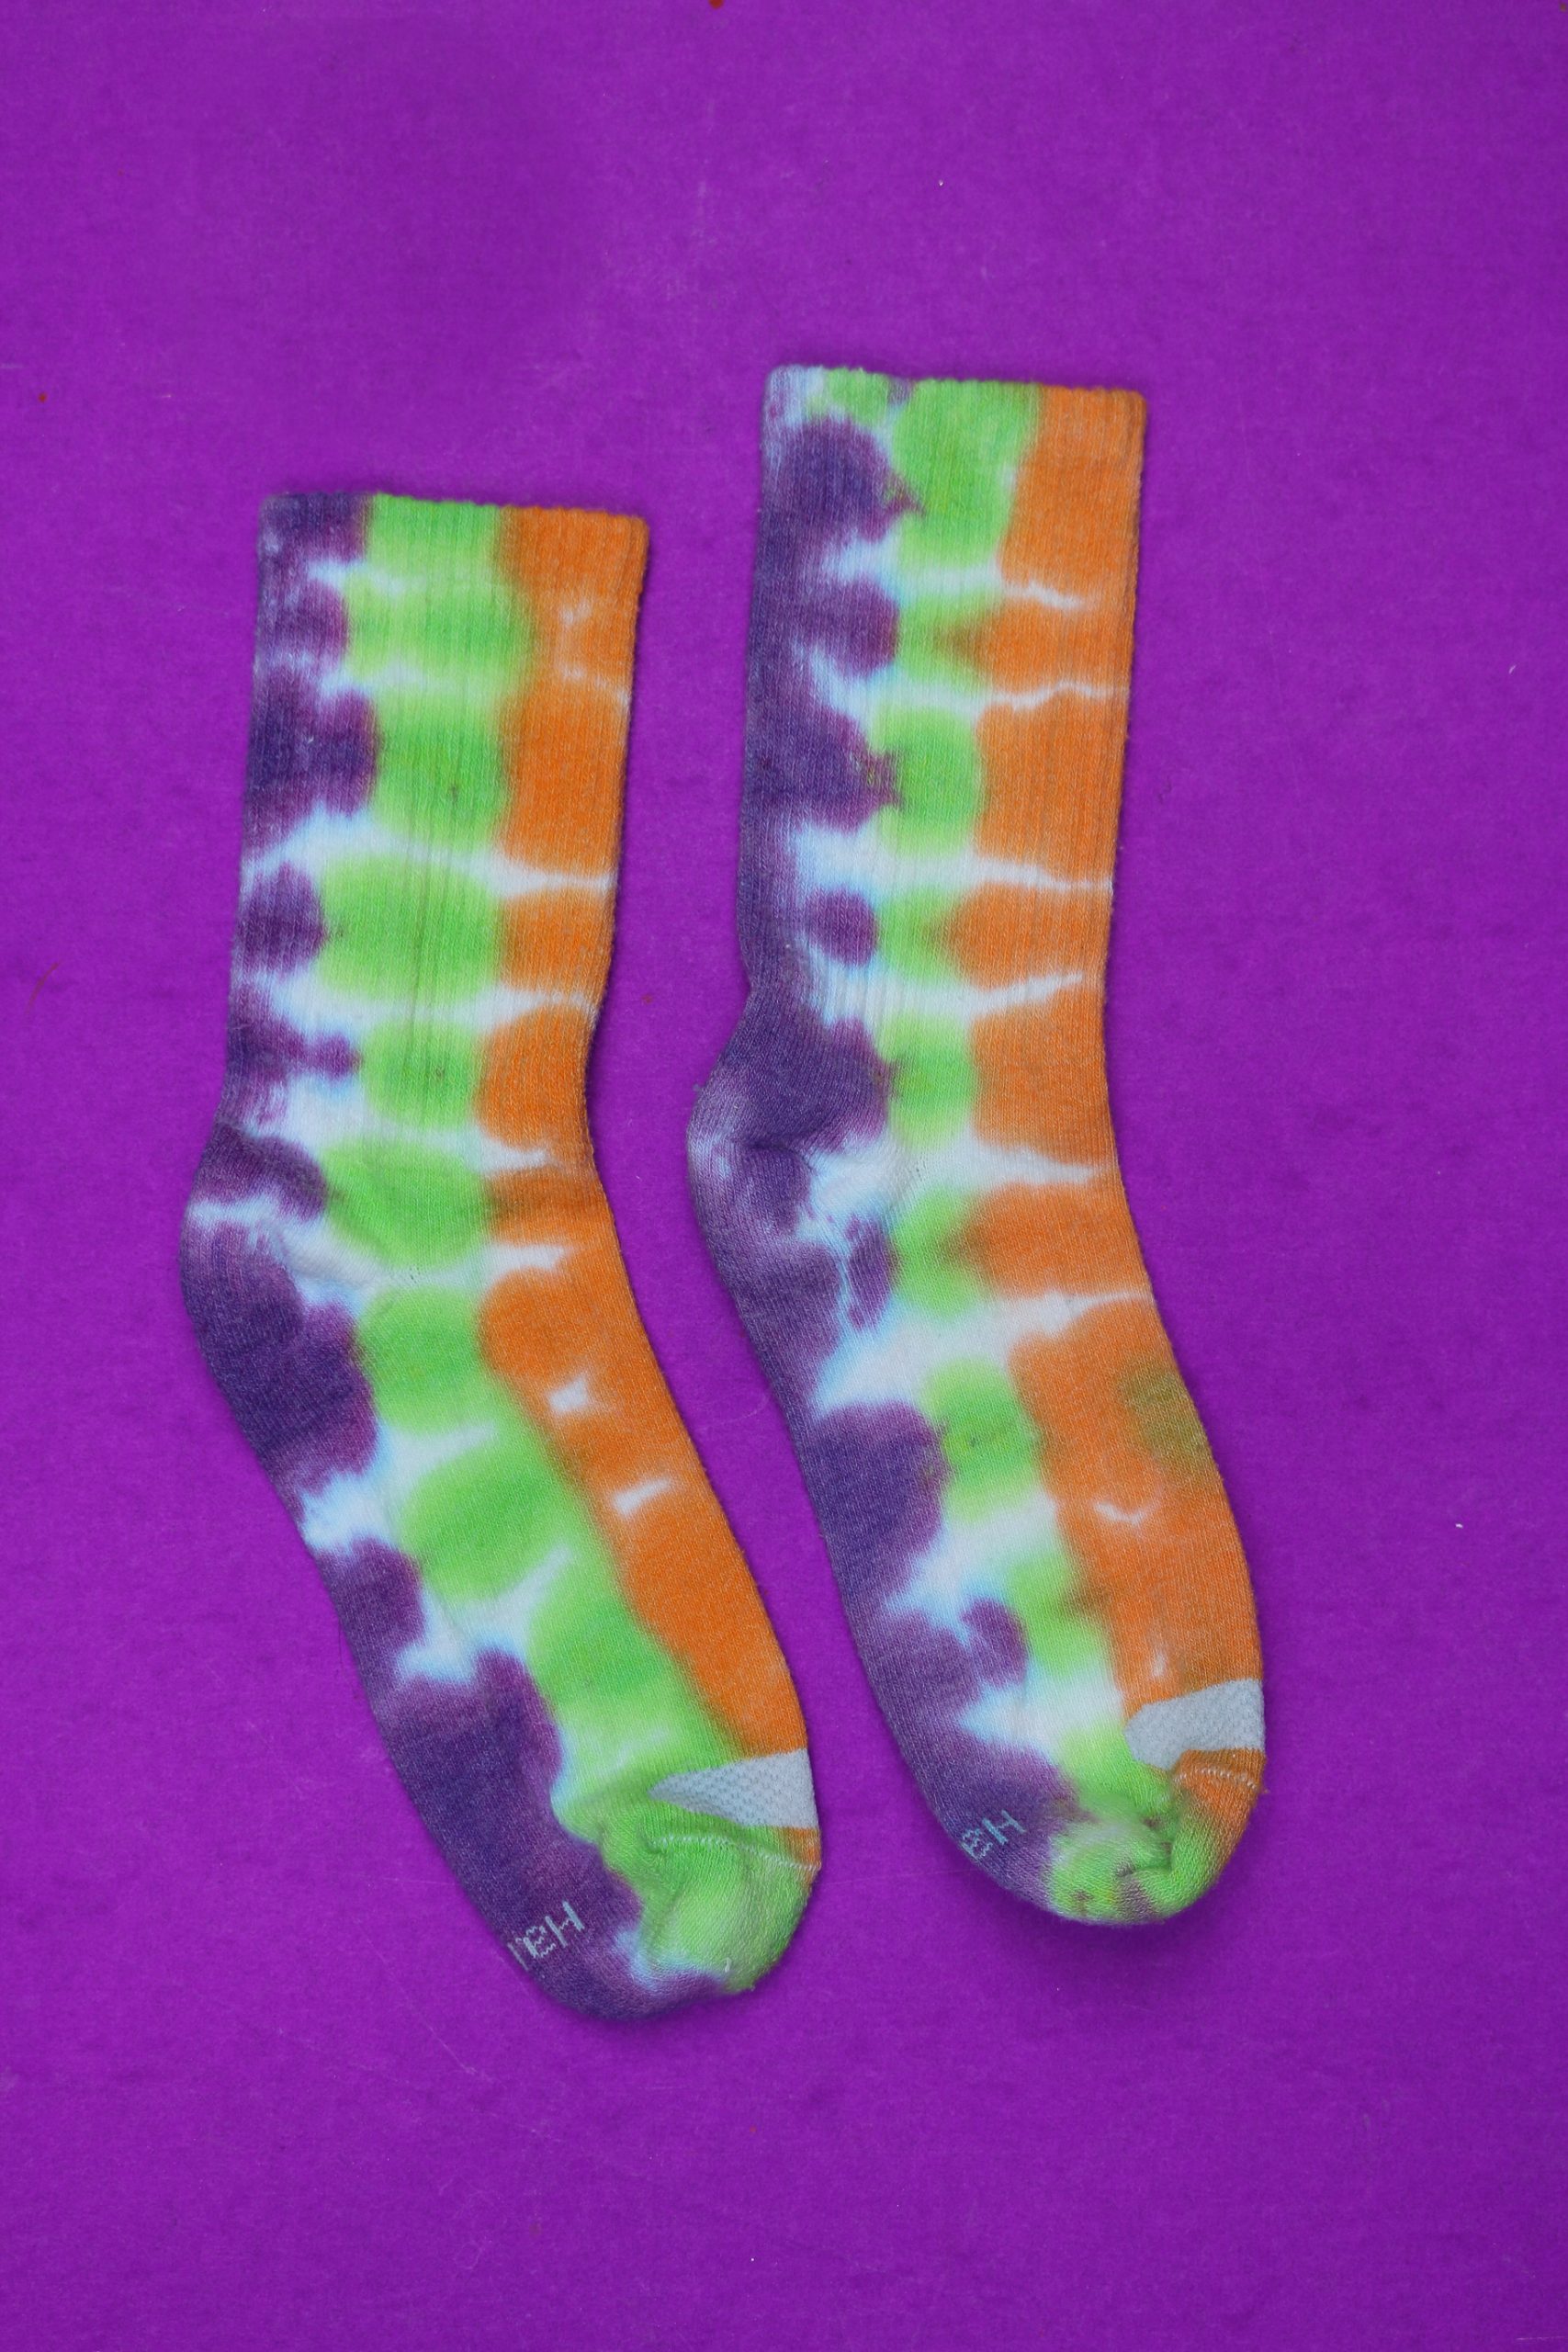
I applied the dye to these socks perpendicular to the rubber bands.
Scrunch Technique
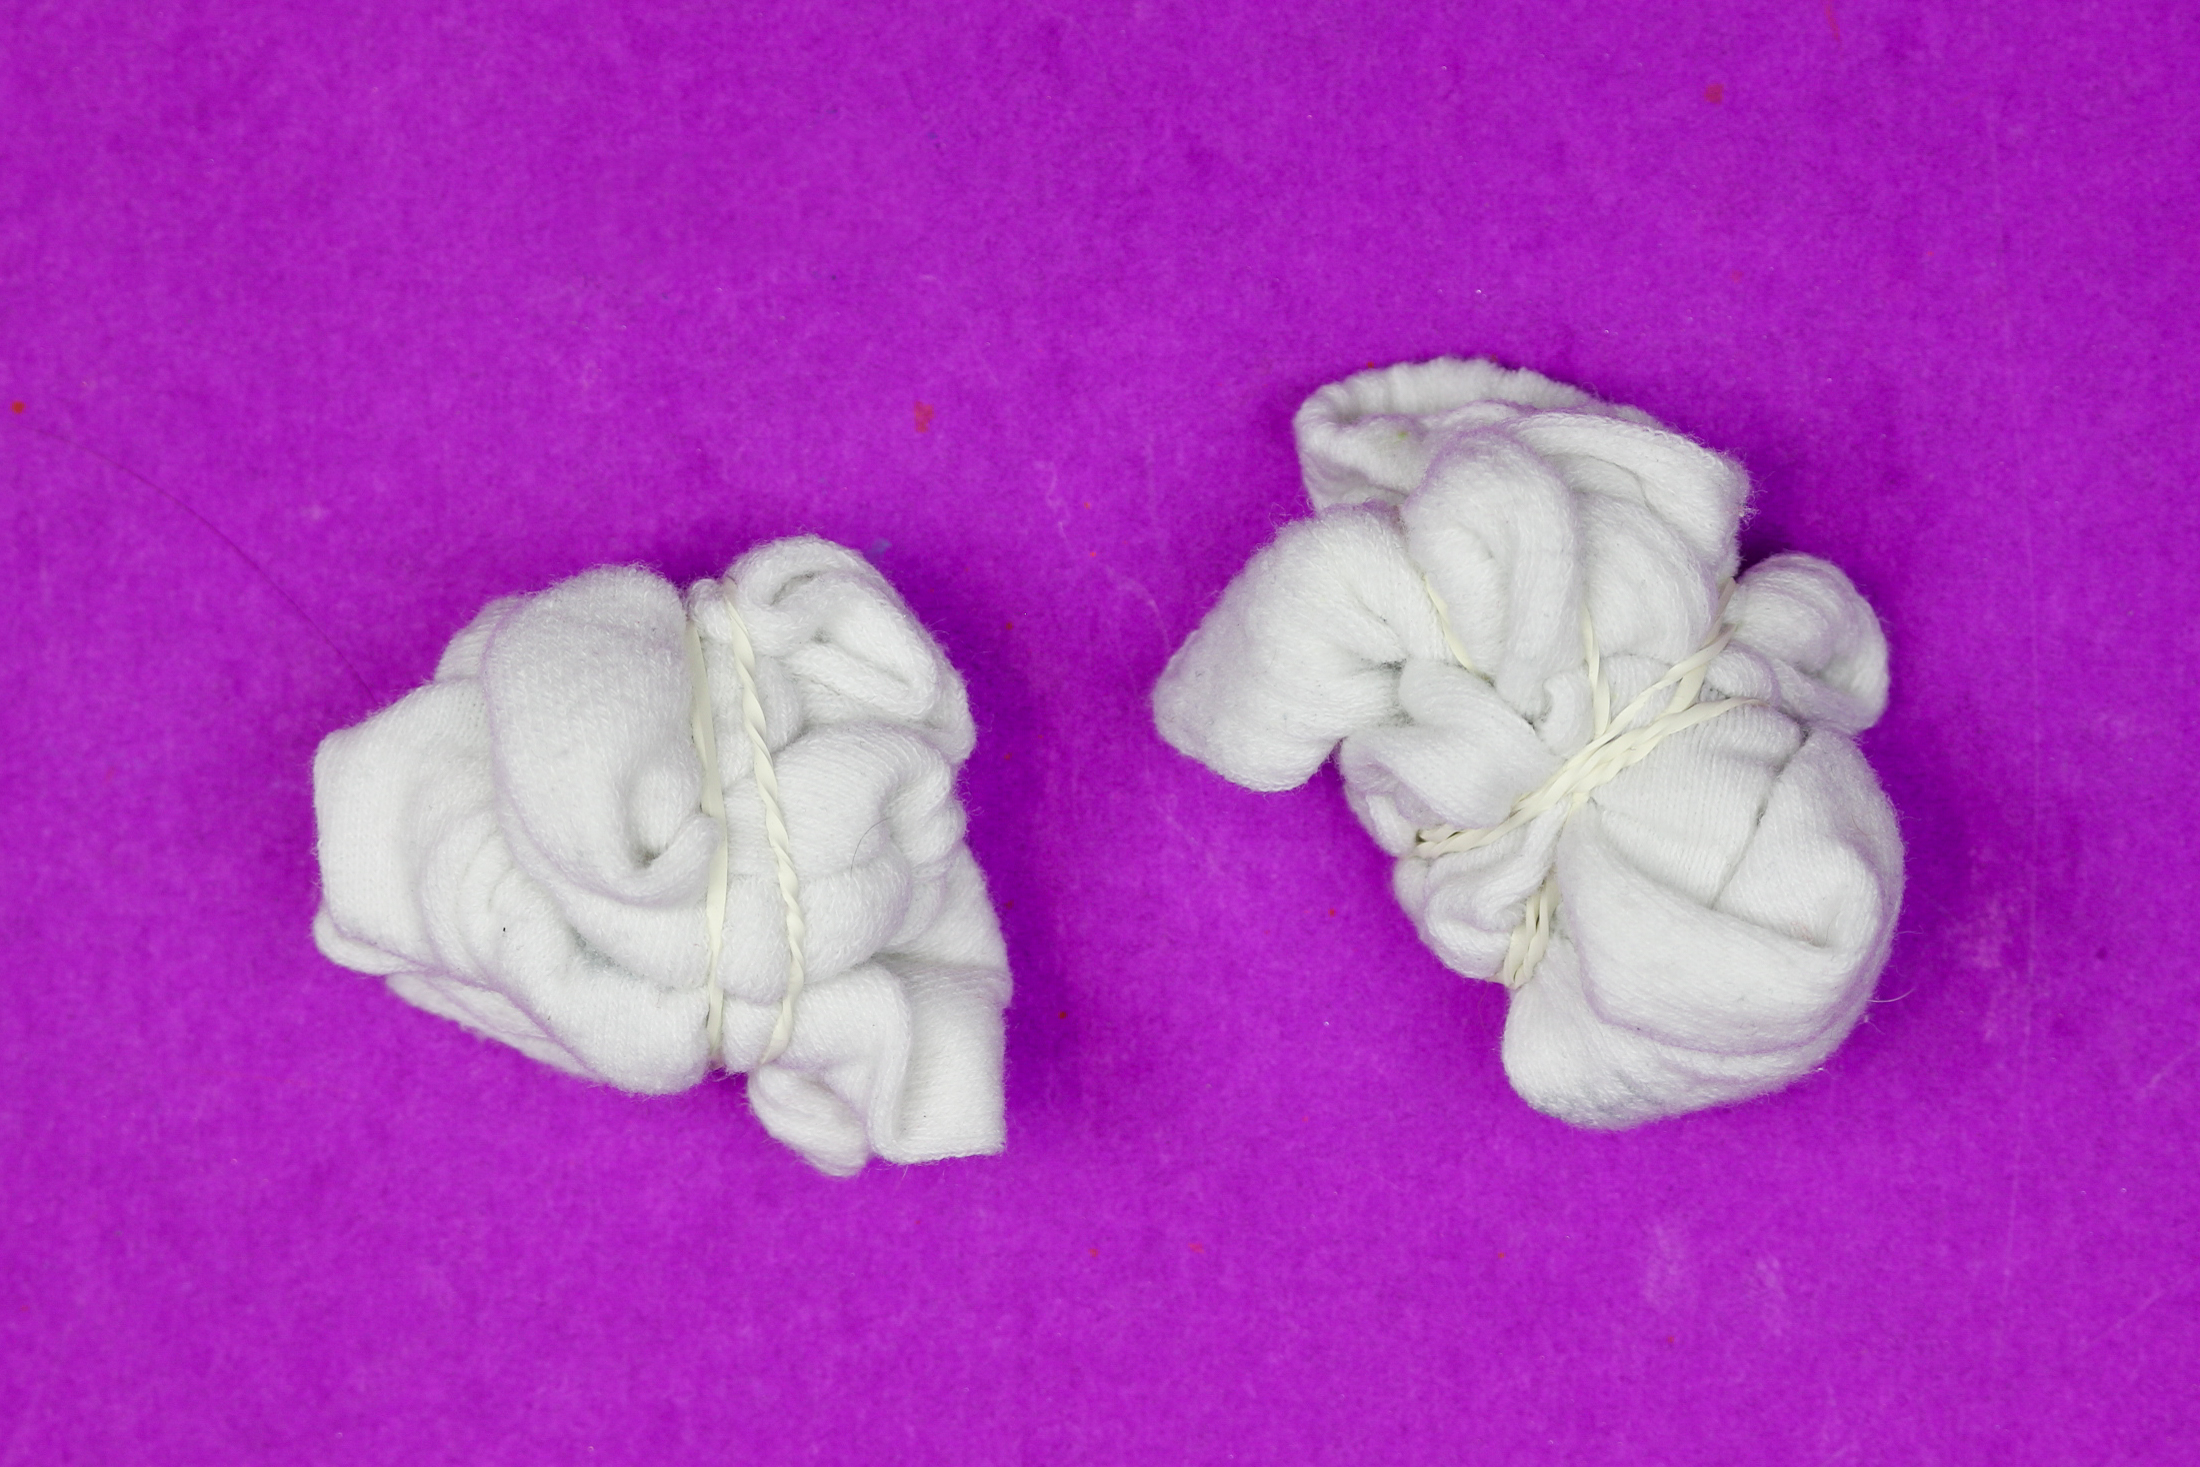
Scrunch up the socks with no real rhyme or reason. Secure with 1-2 rubber bands.
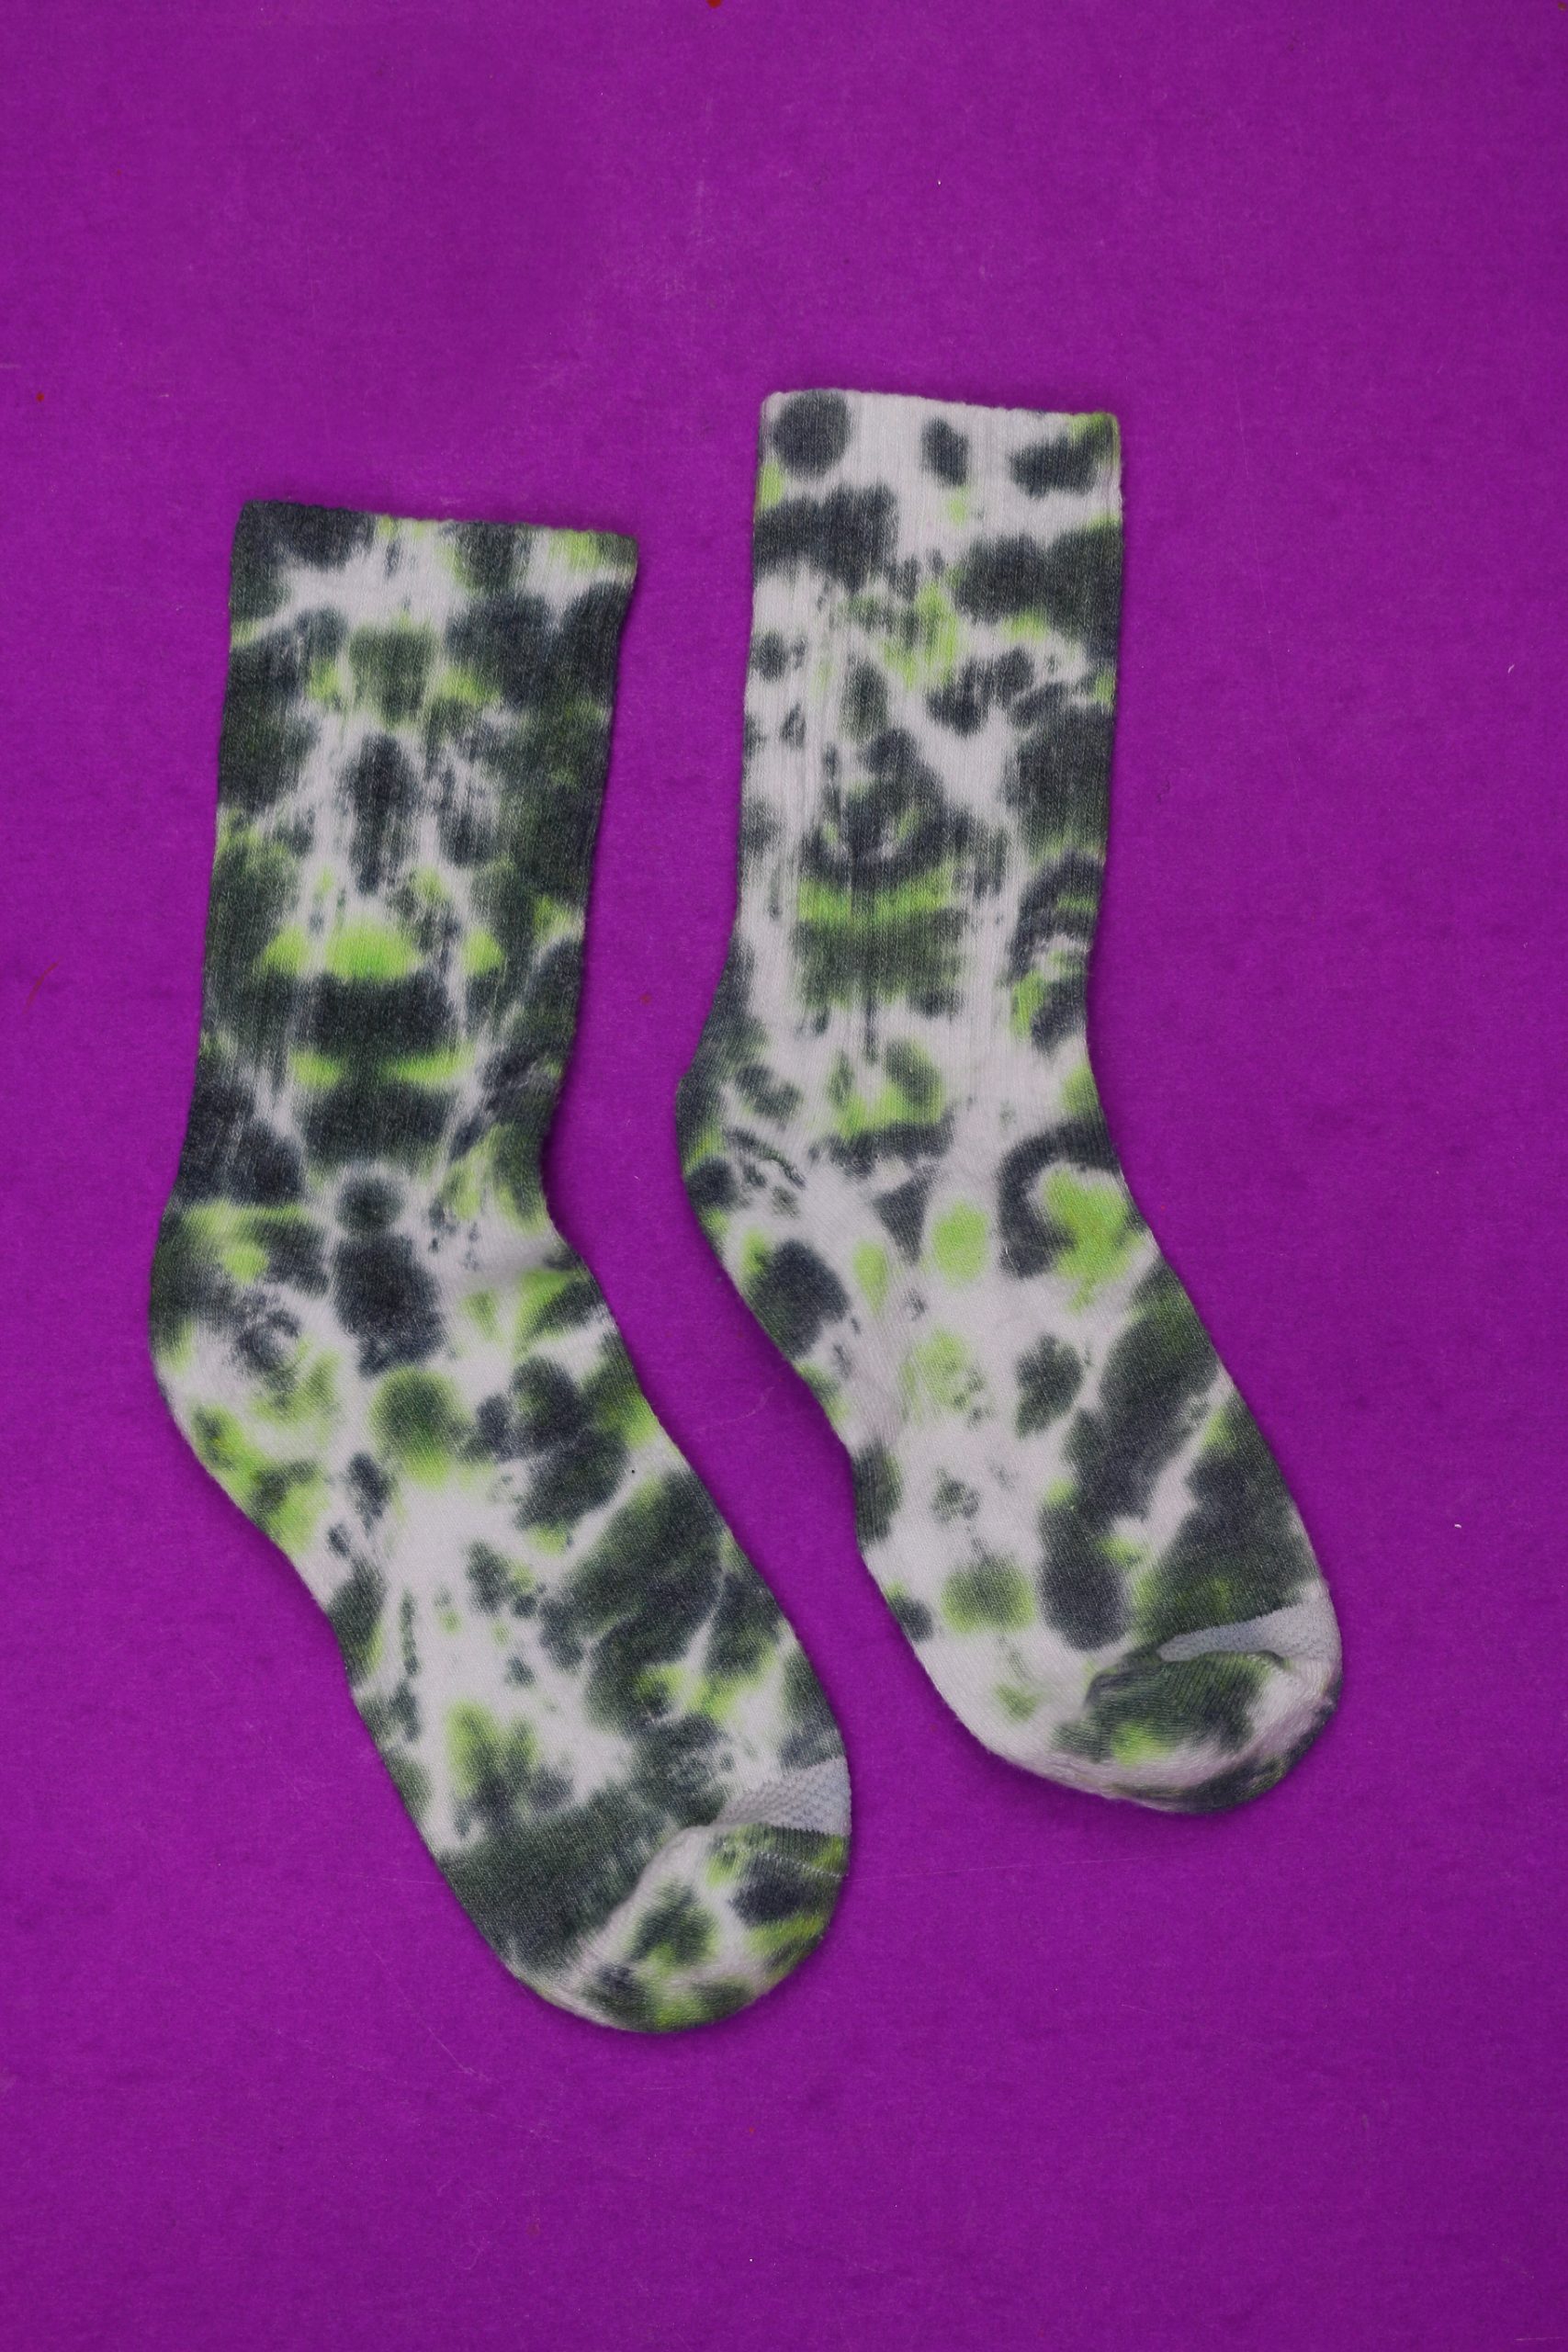
I used only the black and lime green tie dye for these socks.
Box Fold Technique
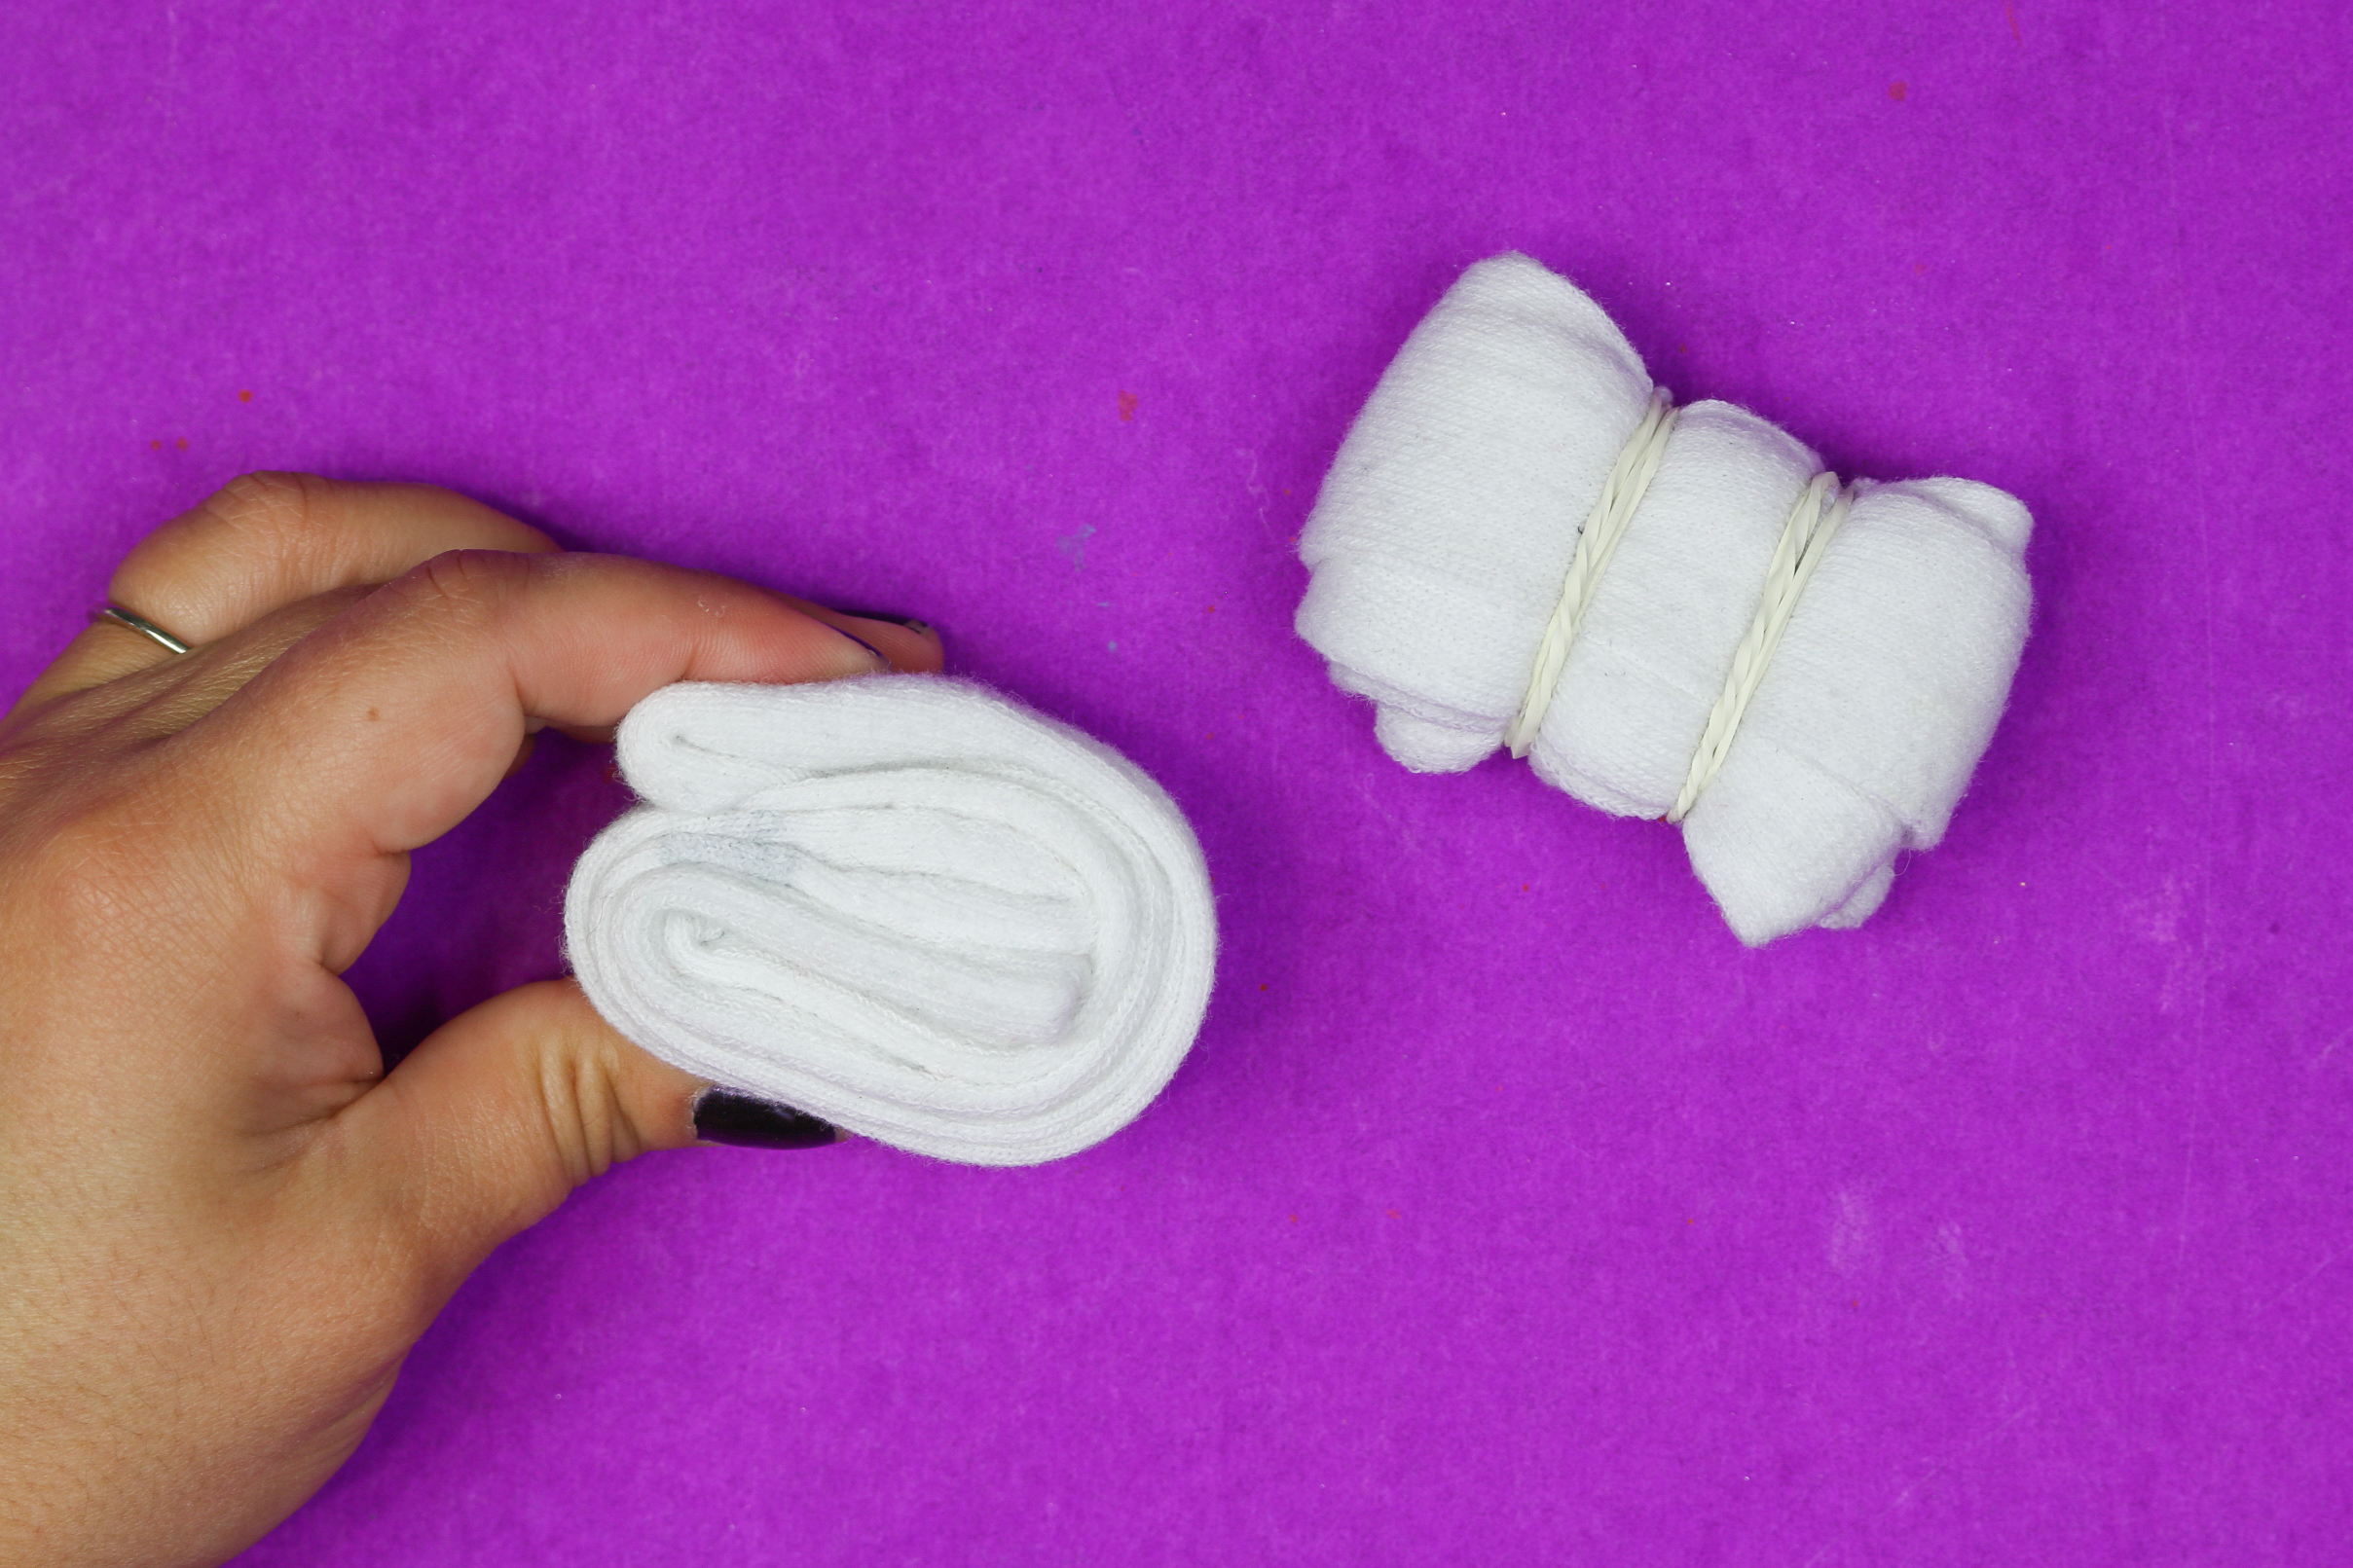
I folded these socks in half lengthwise, then in thirds. Secure each sock with two rubber bands.
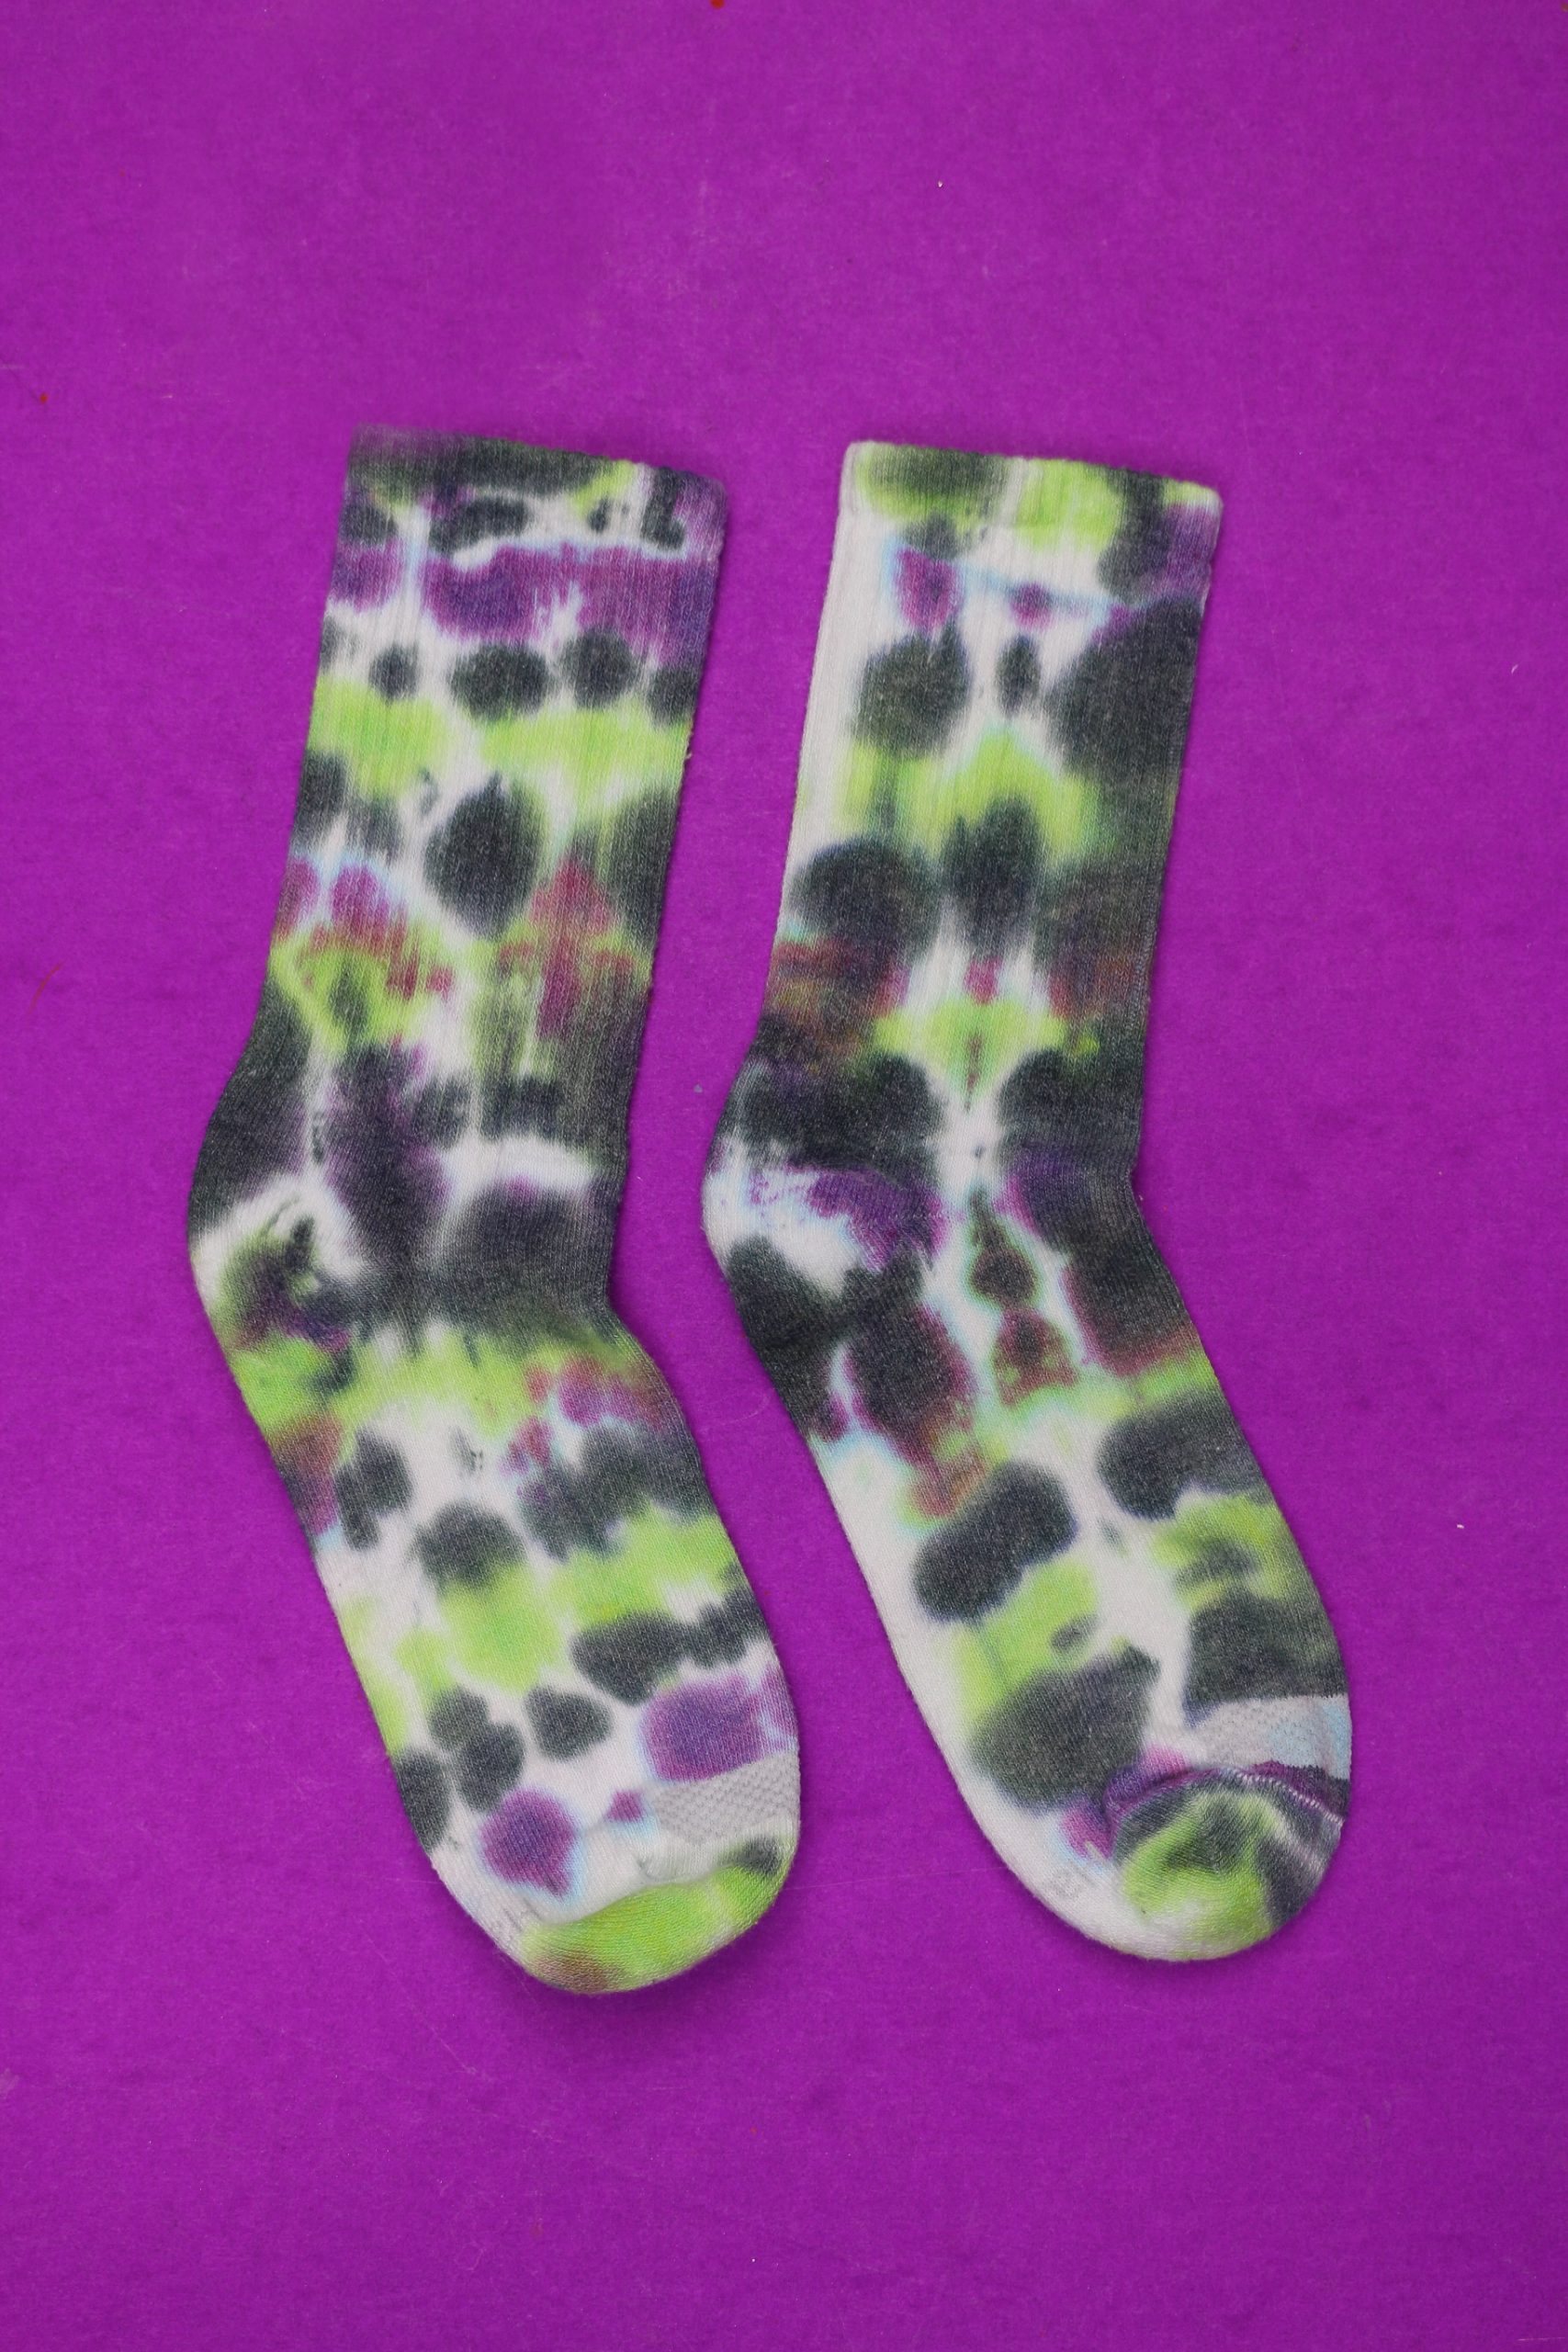
This technique produces more geometric results.
Fold and Bunch Technique
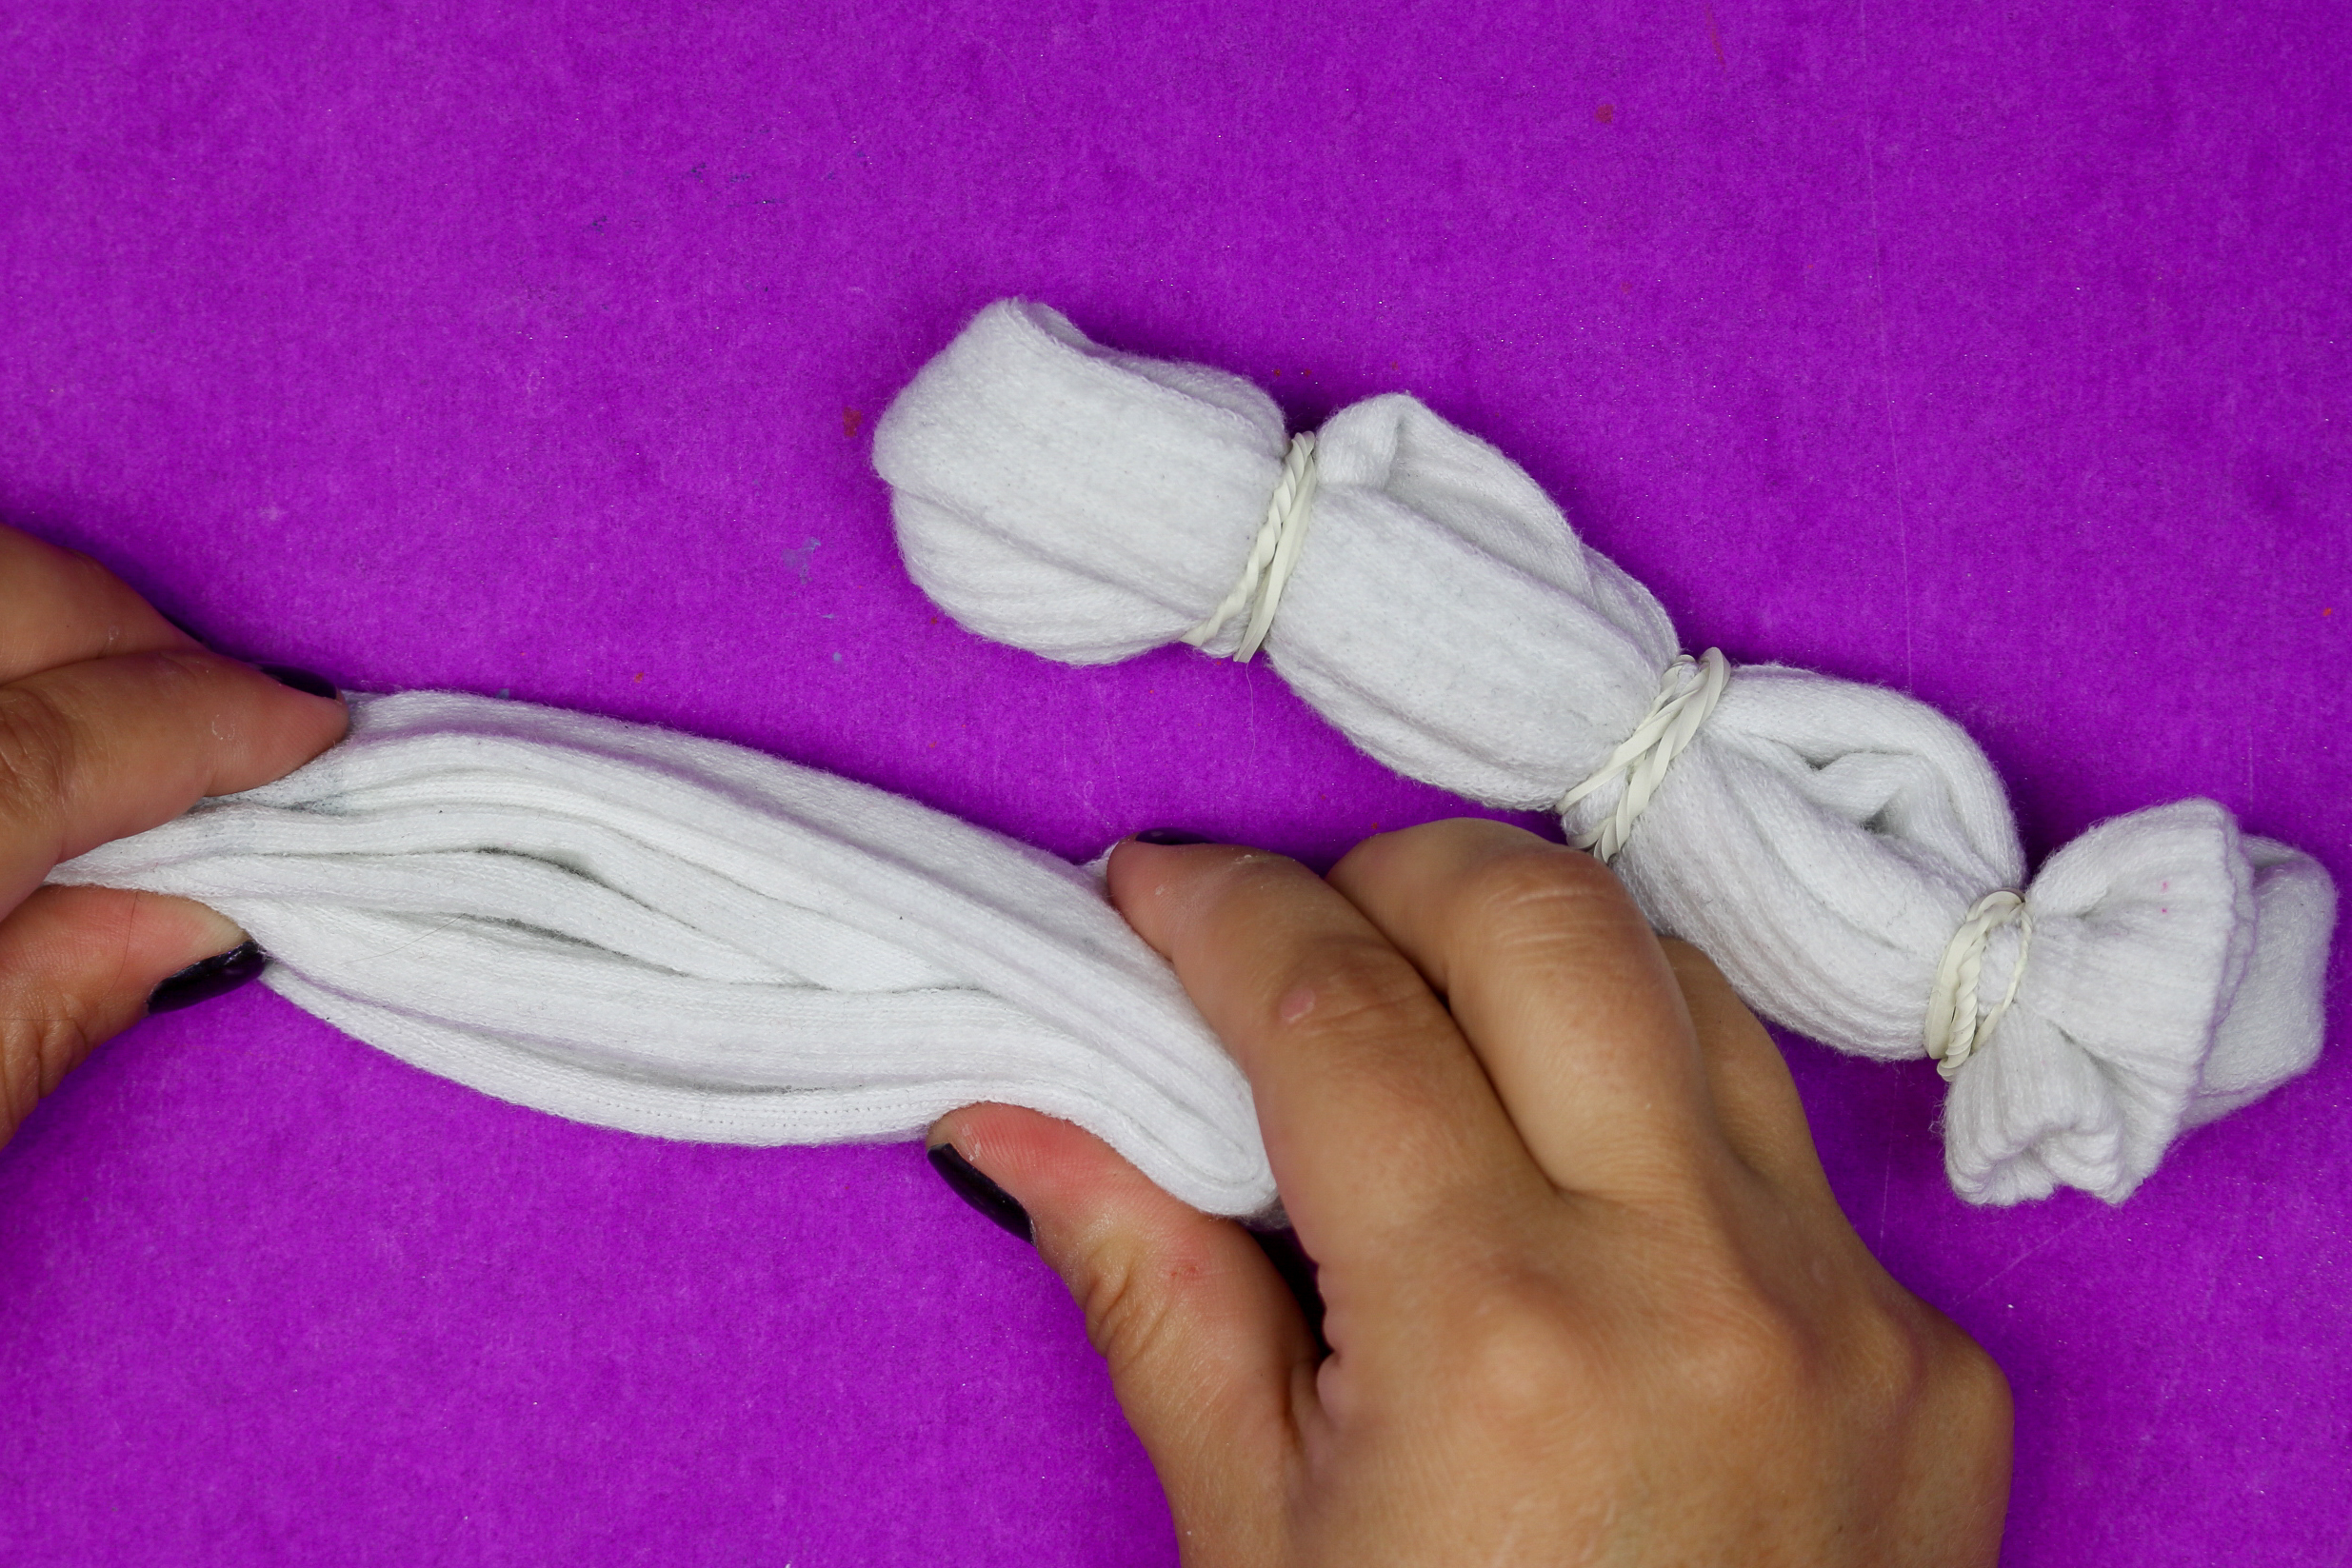
I folded this pair of socks widthwise, then bunched them up. I secured each sock with three rubber bands.
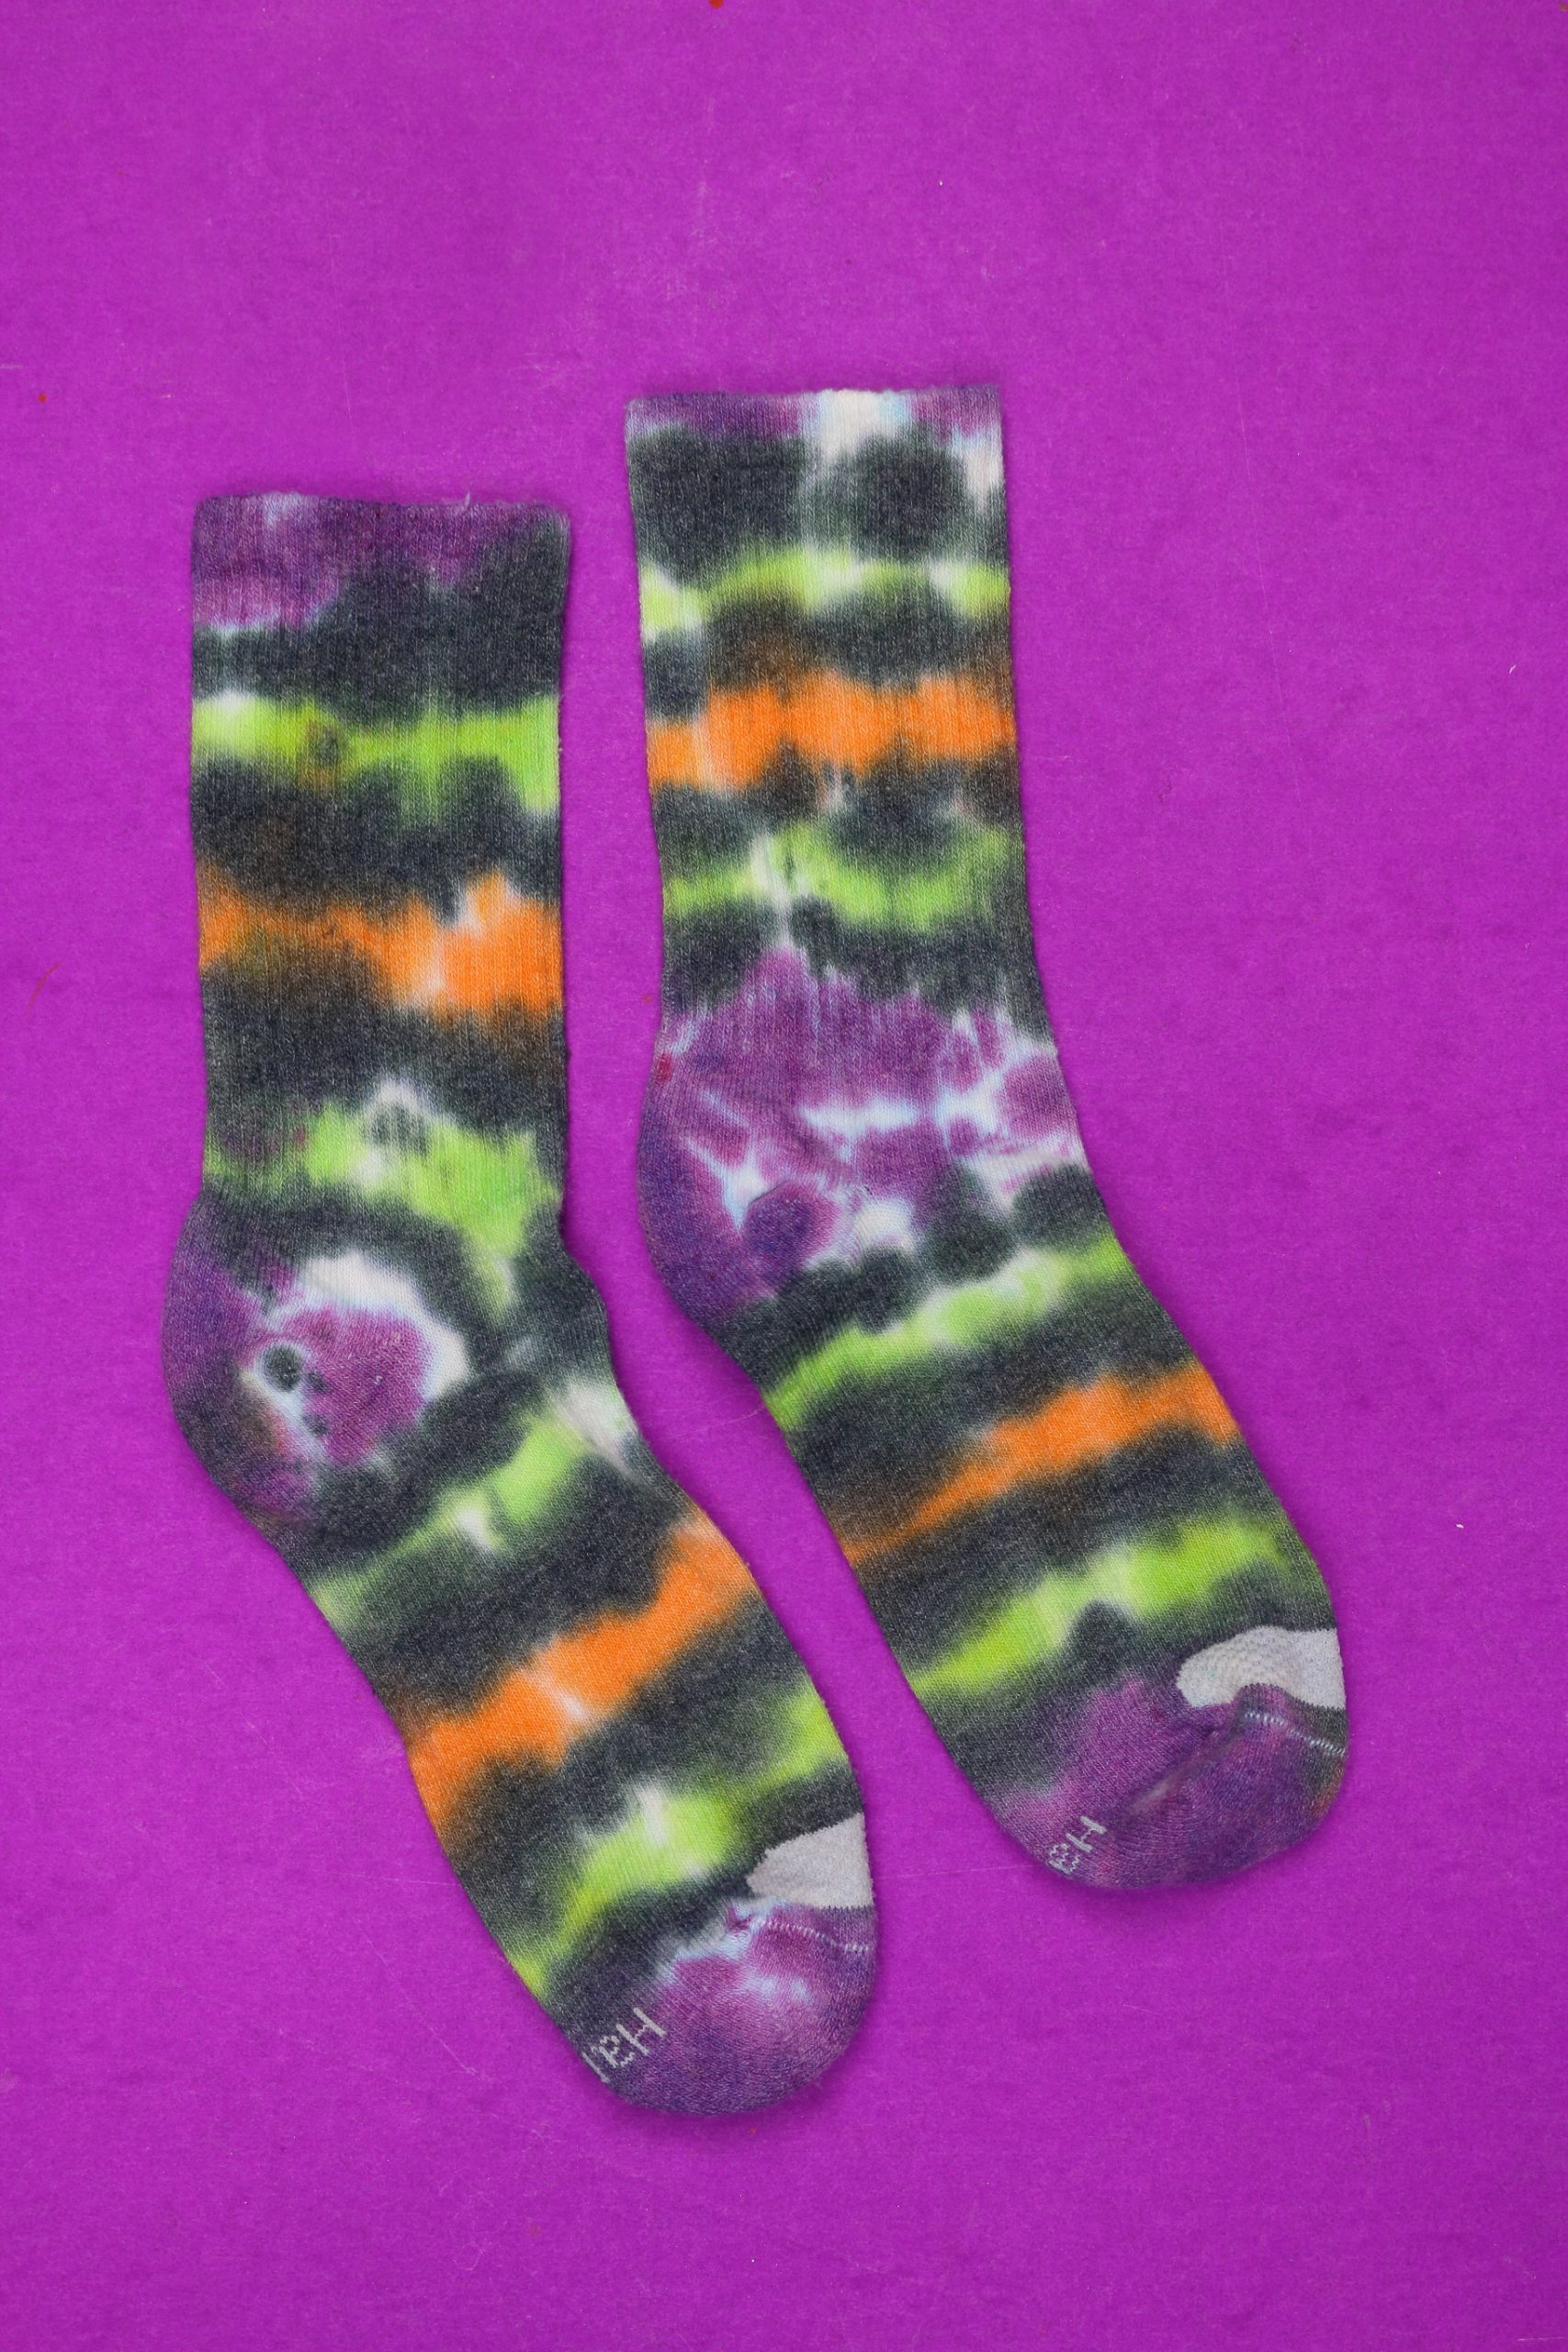
I created thinner parallel stripes with the tie-dye for this pair of socks. I used quite a bit of dye which leads to fewer white areas.
Do you want even more great tie-dye techniques and project ideas? My friend Heidi from Happiness is Homemade just published a whole book of tie-dye projects. You can buy it from Amazon today!
HOW TO TIE DYE FOR BEGINNERS
- Prewash the white socks to remove any dirt or processing chemicals from them.
- Re-wet the socks, if necessary, then fold and rubber band the socks.
See above for folding techniques.
- Place the sock in a plastic bin or on a plastic-covered work surface. Begin applying the tie-dye to the socks.

- Cover as much of the socks with dye as you would like.
Remember to flip the socks over and apply dye to the other side as well.

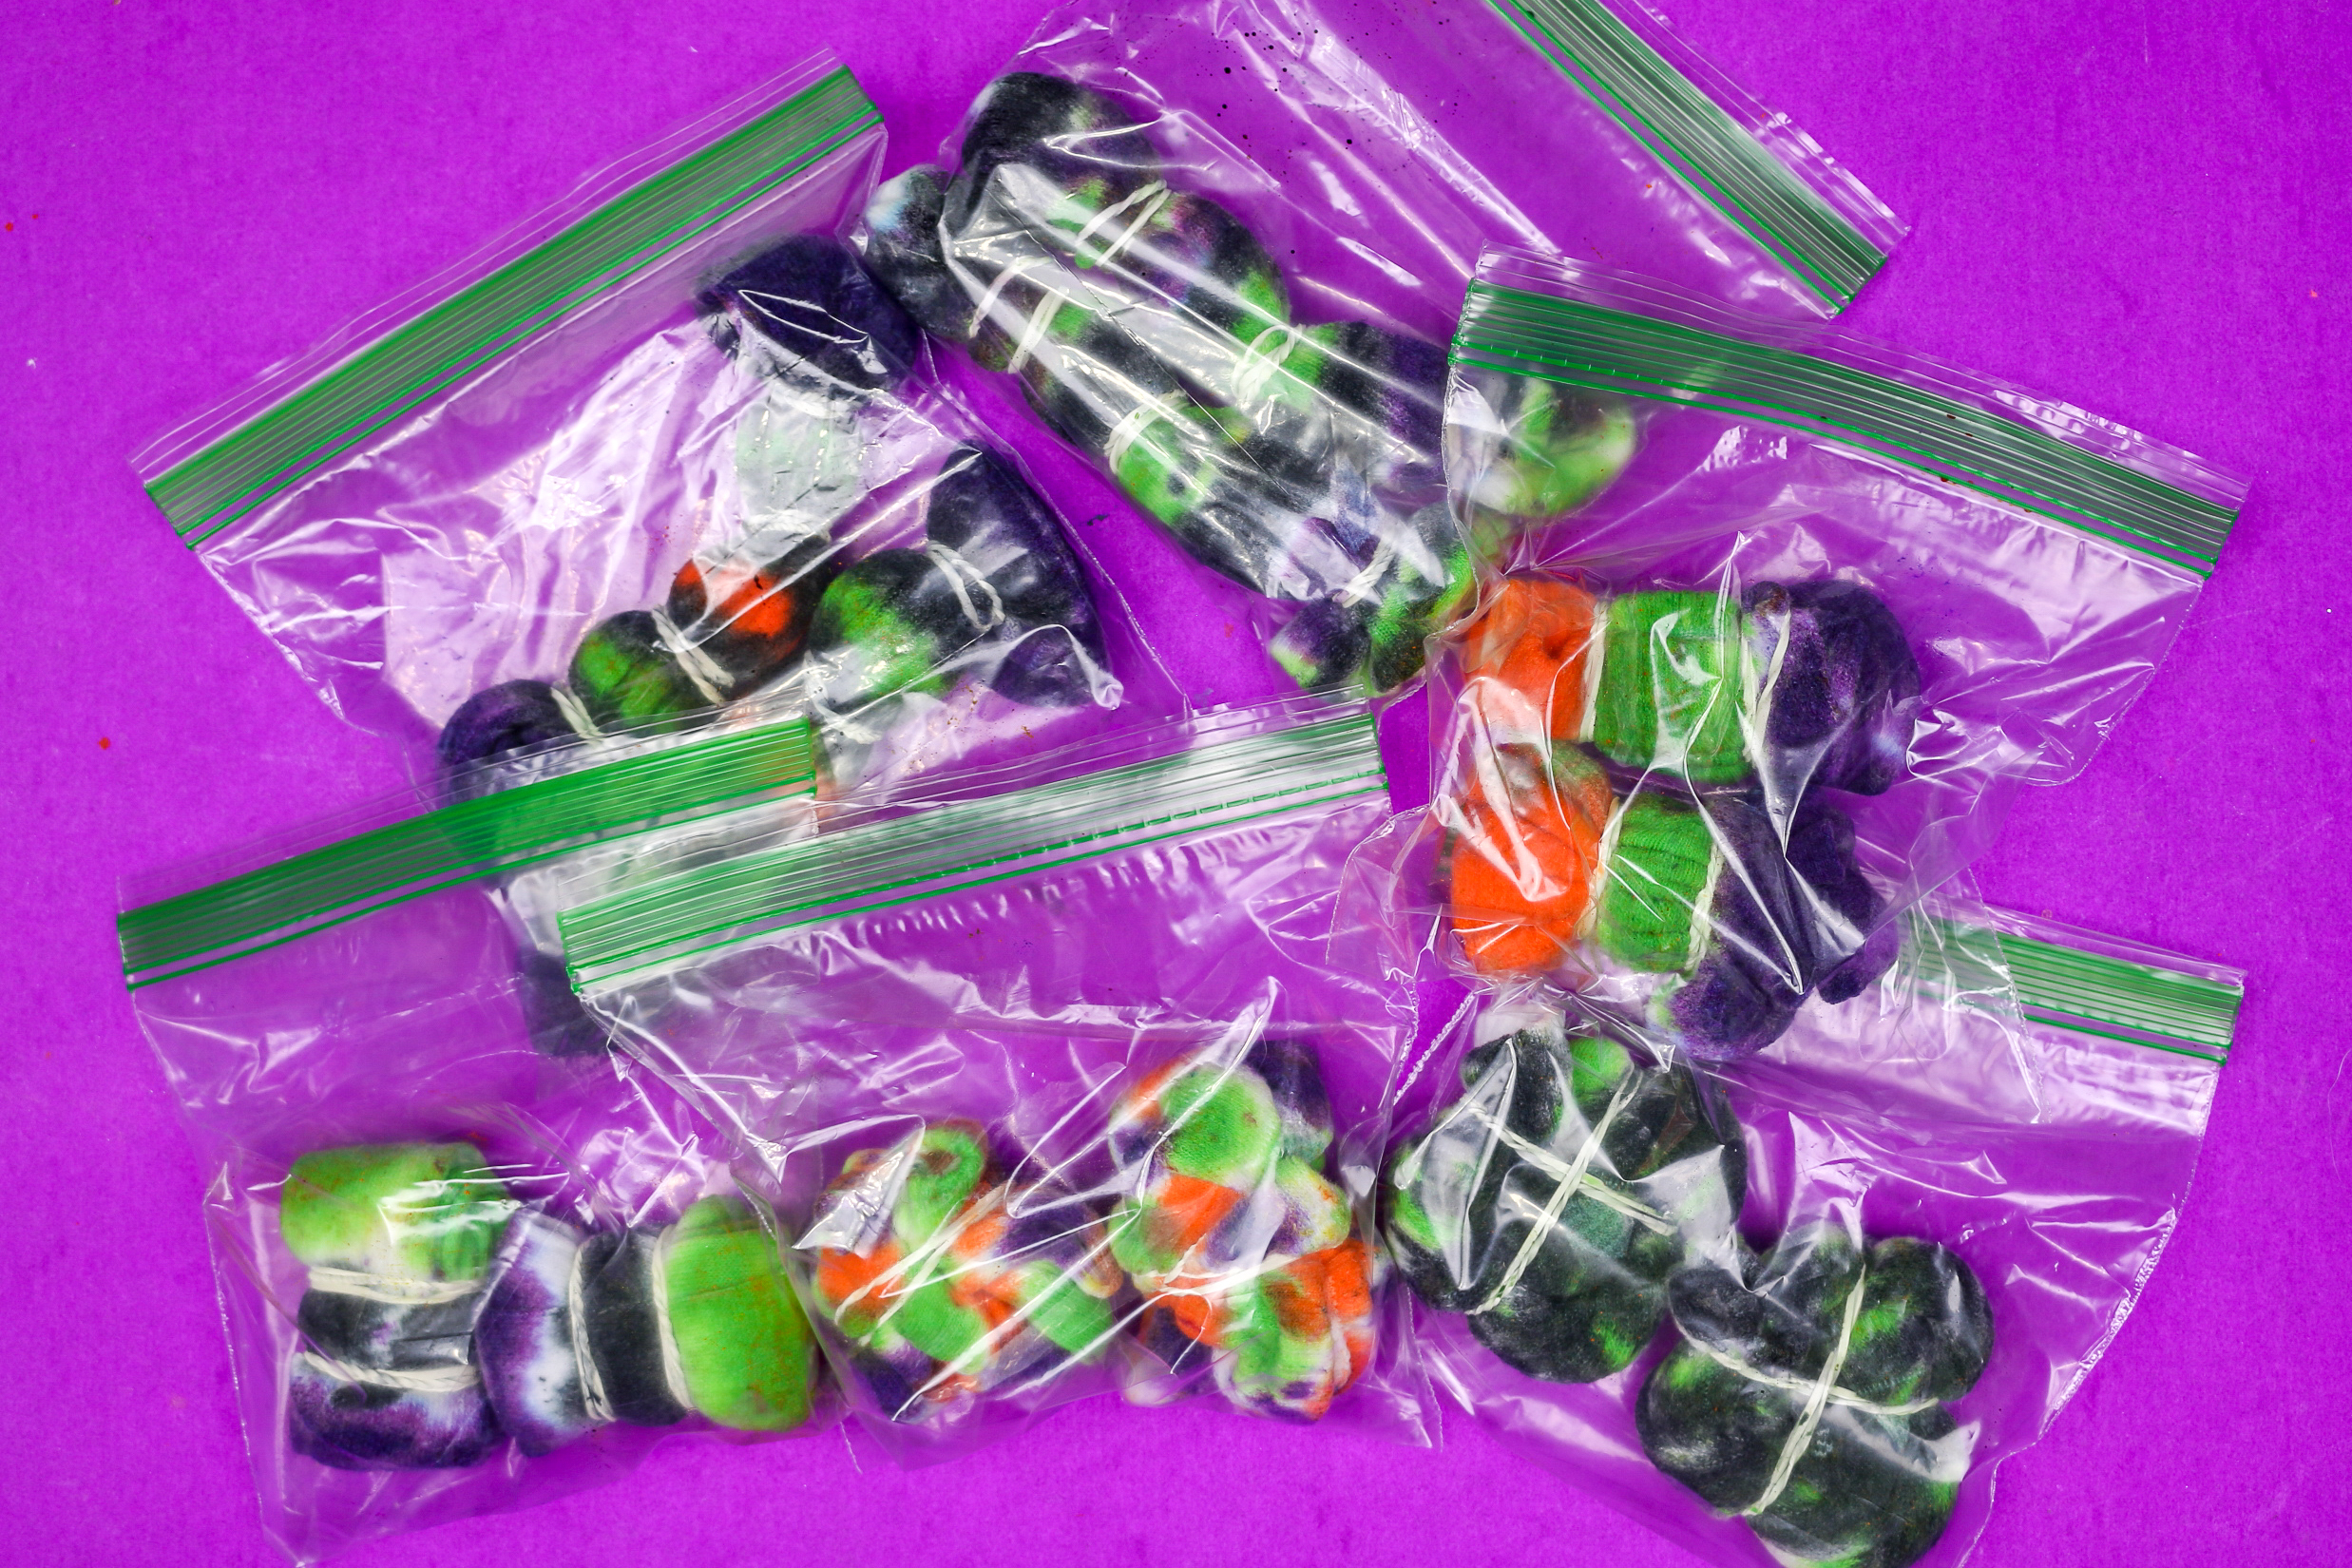
- Place the socks in a plastic bag for at least 6-8 hours.

- Rinse the socks with lukewarm water until the water runs clear.
- Wash the socks in a washing machine (with no other clothes) on the highest heat the fabric will allow.
- Tumble or air dry.
TRICK OR TREAT VINYL FOR DIY HALLOWEEN SOCKS
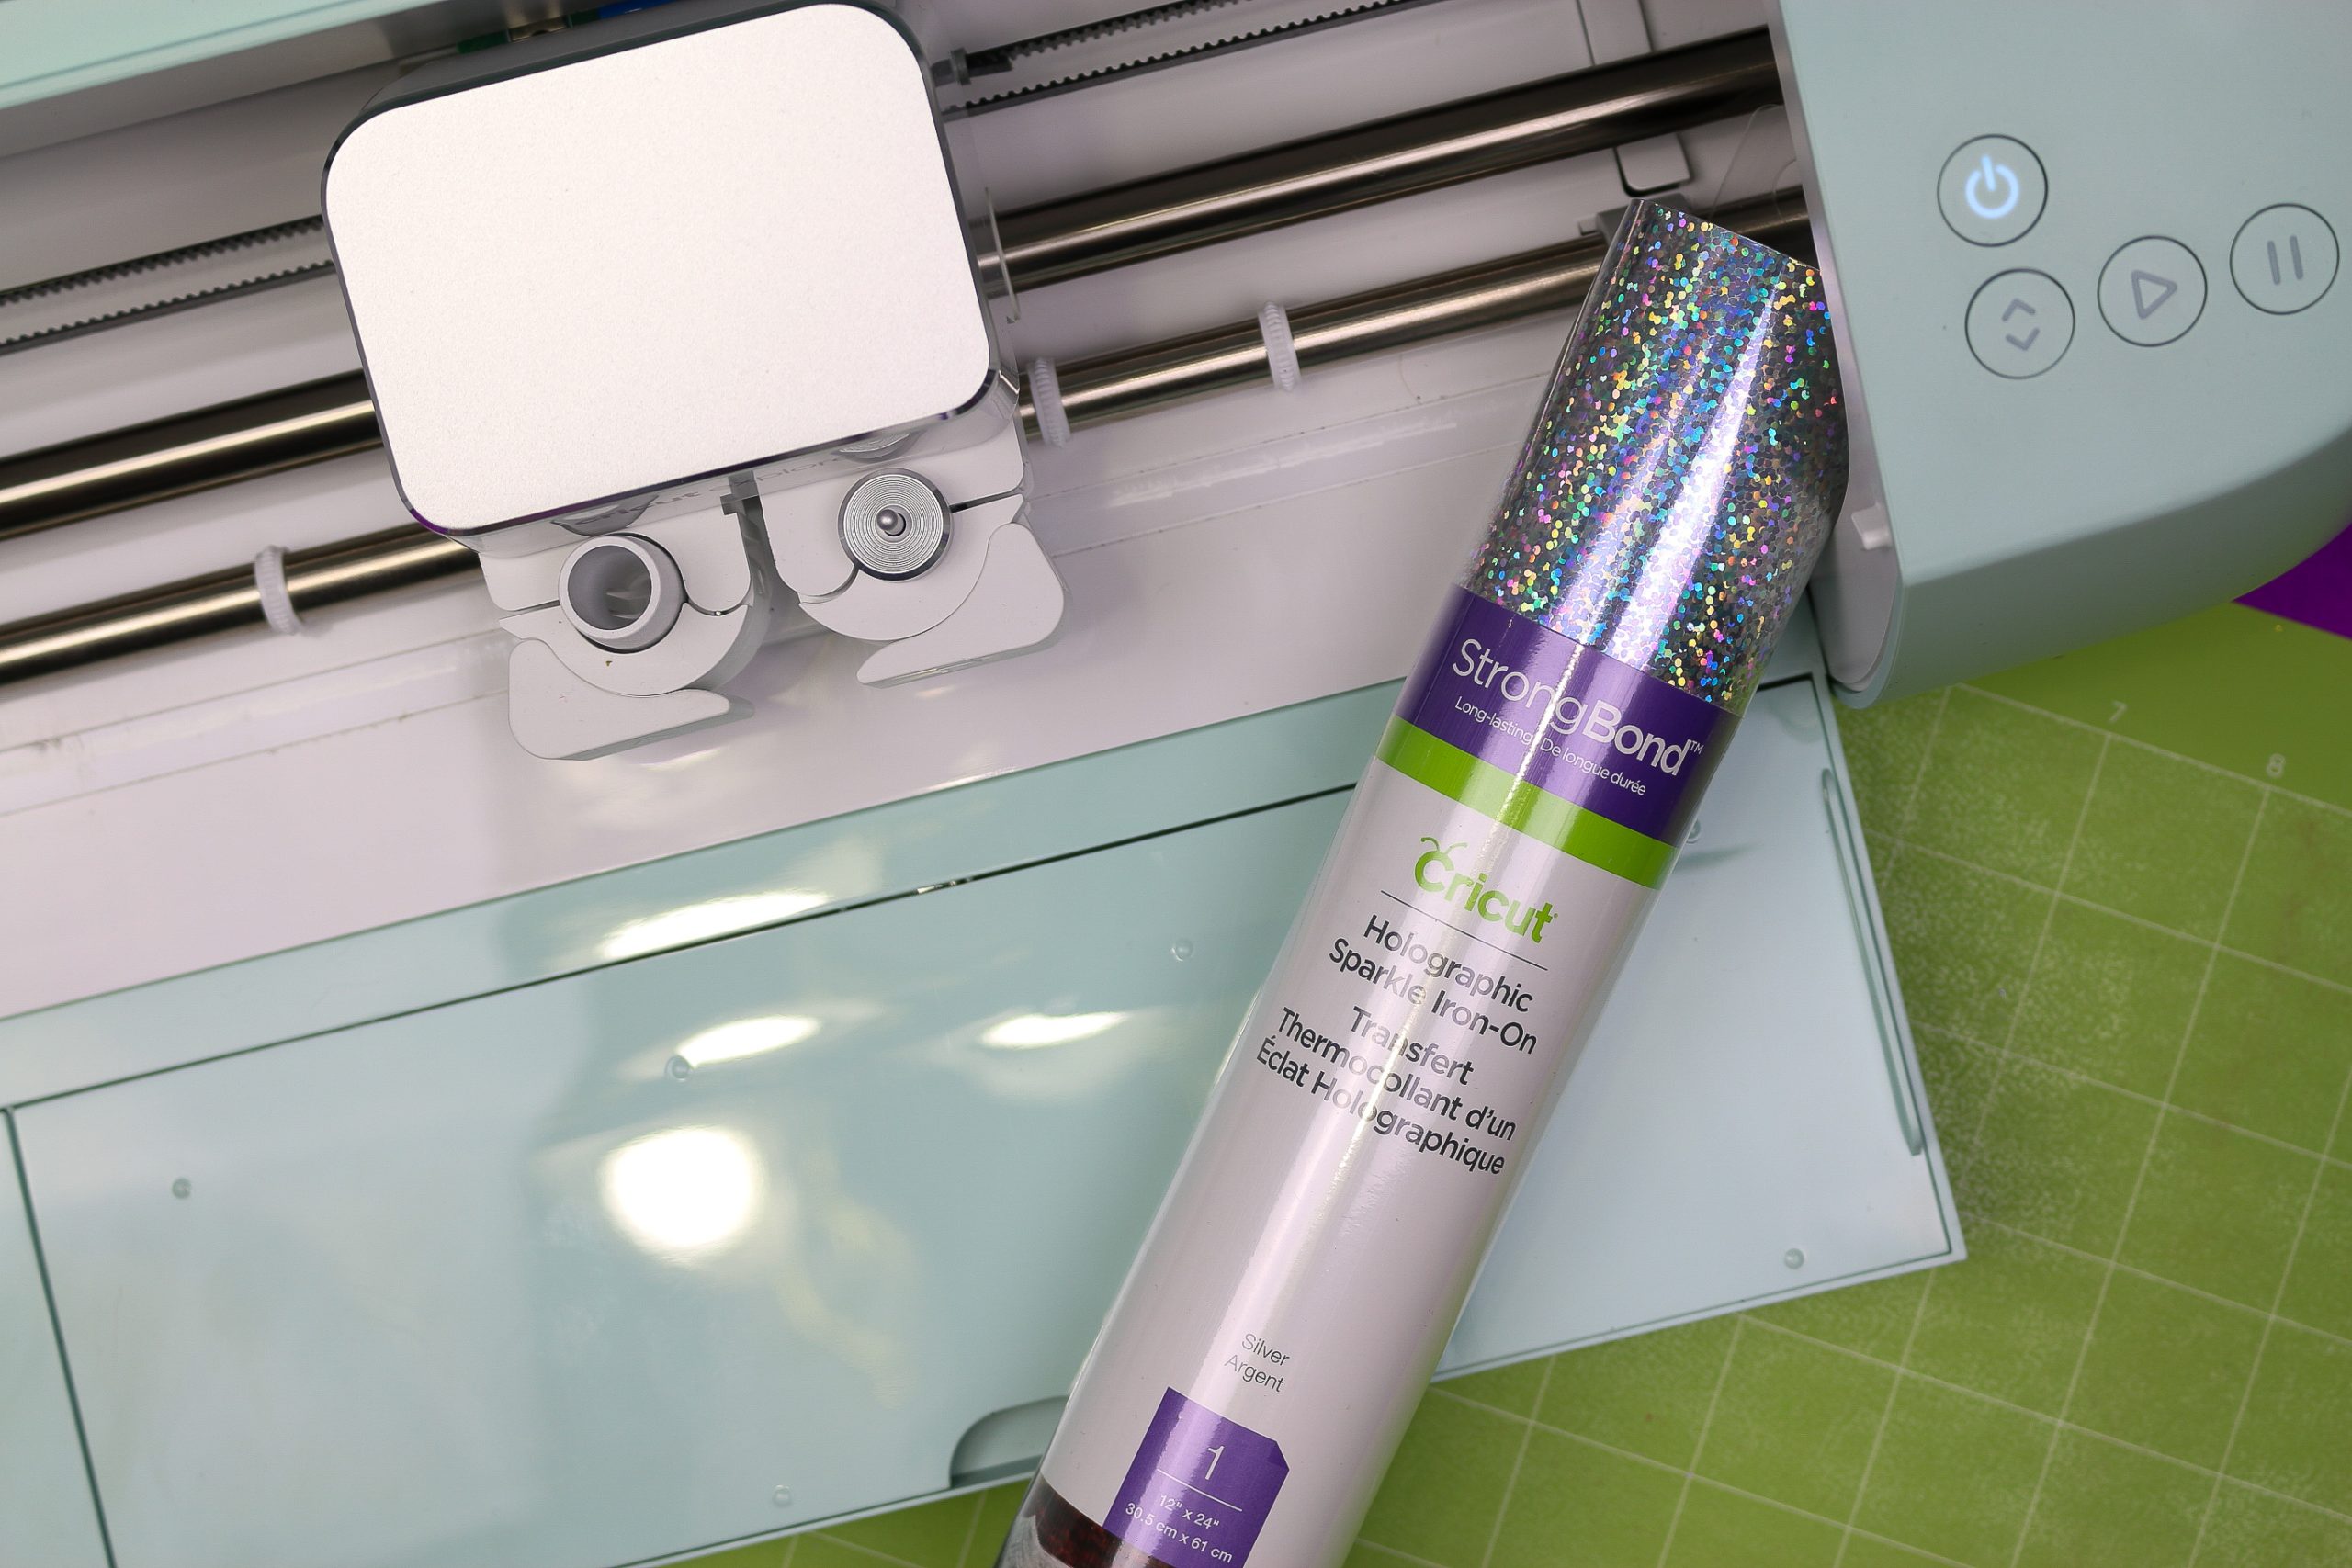
To add some more Halloween flair to your tie-dyed socks, you can iron-on vinyl to the soles. I had holographic sparkle vinyl on hand, but you can use any HTV that you think will work.
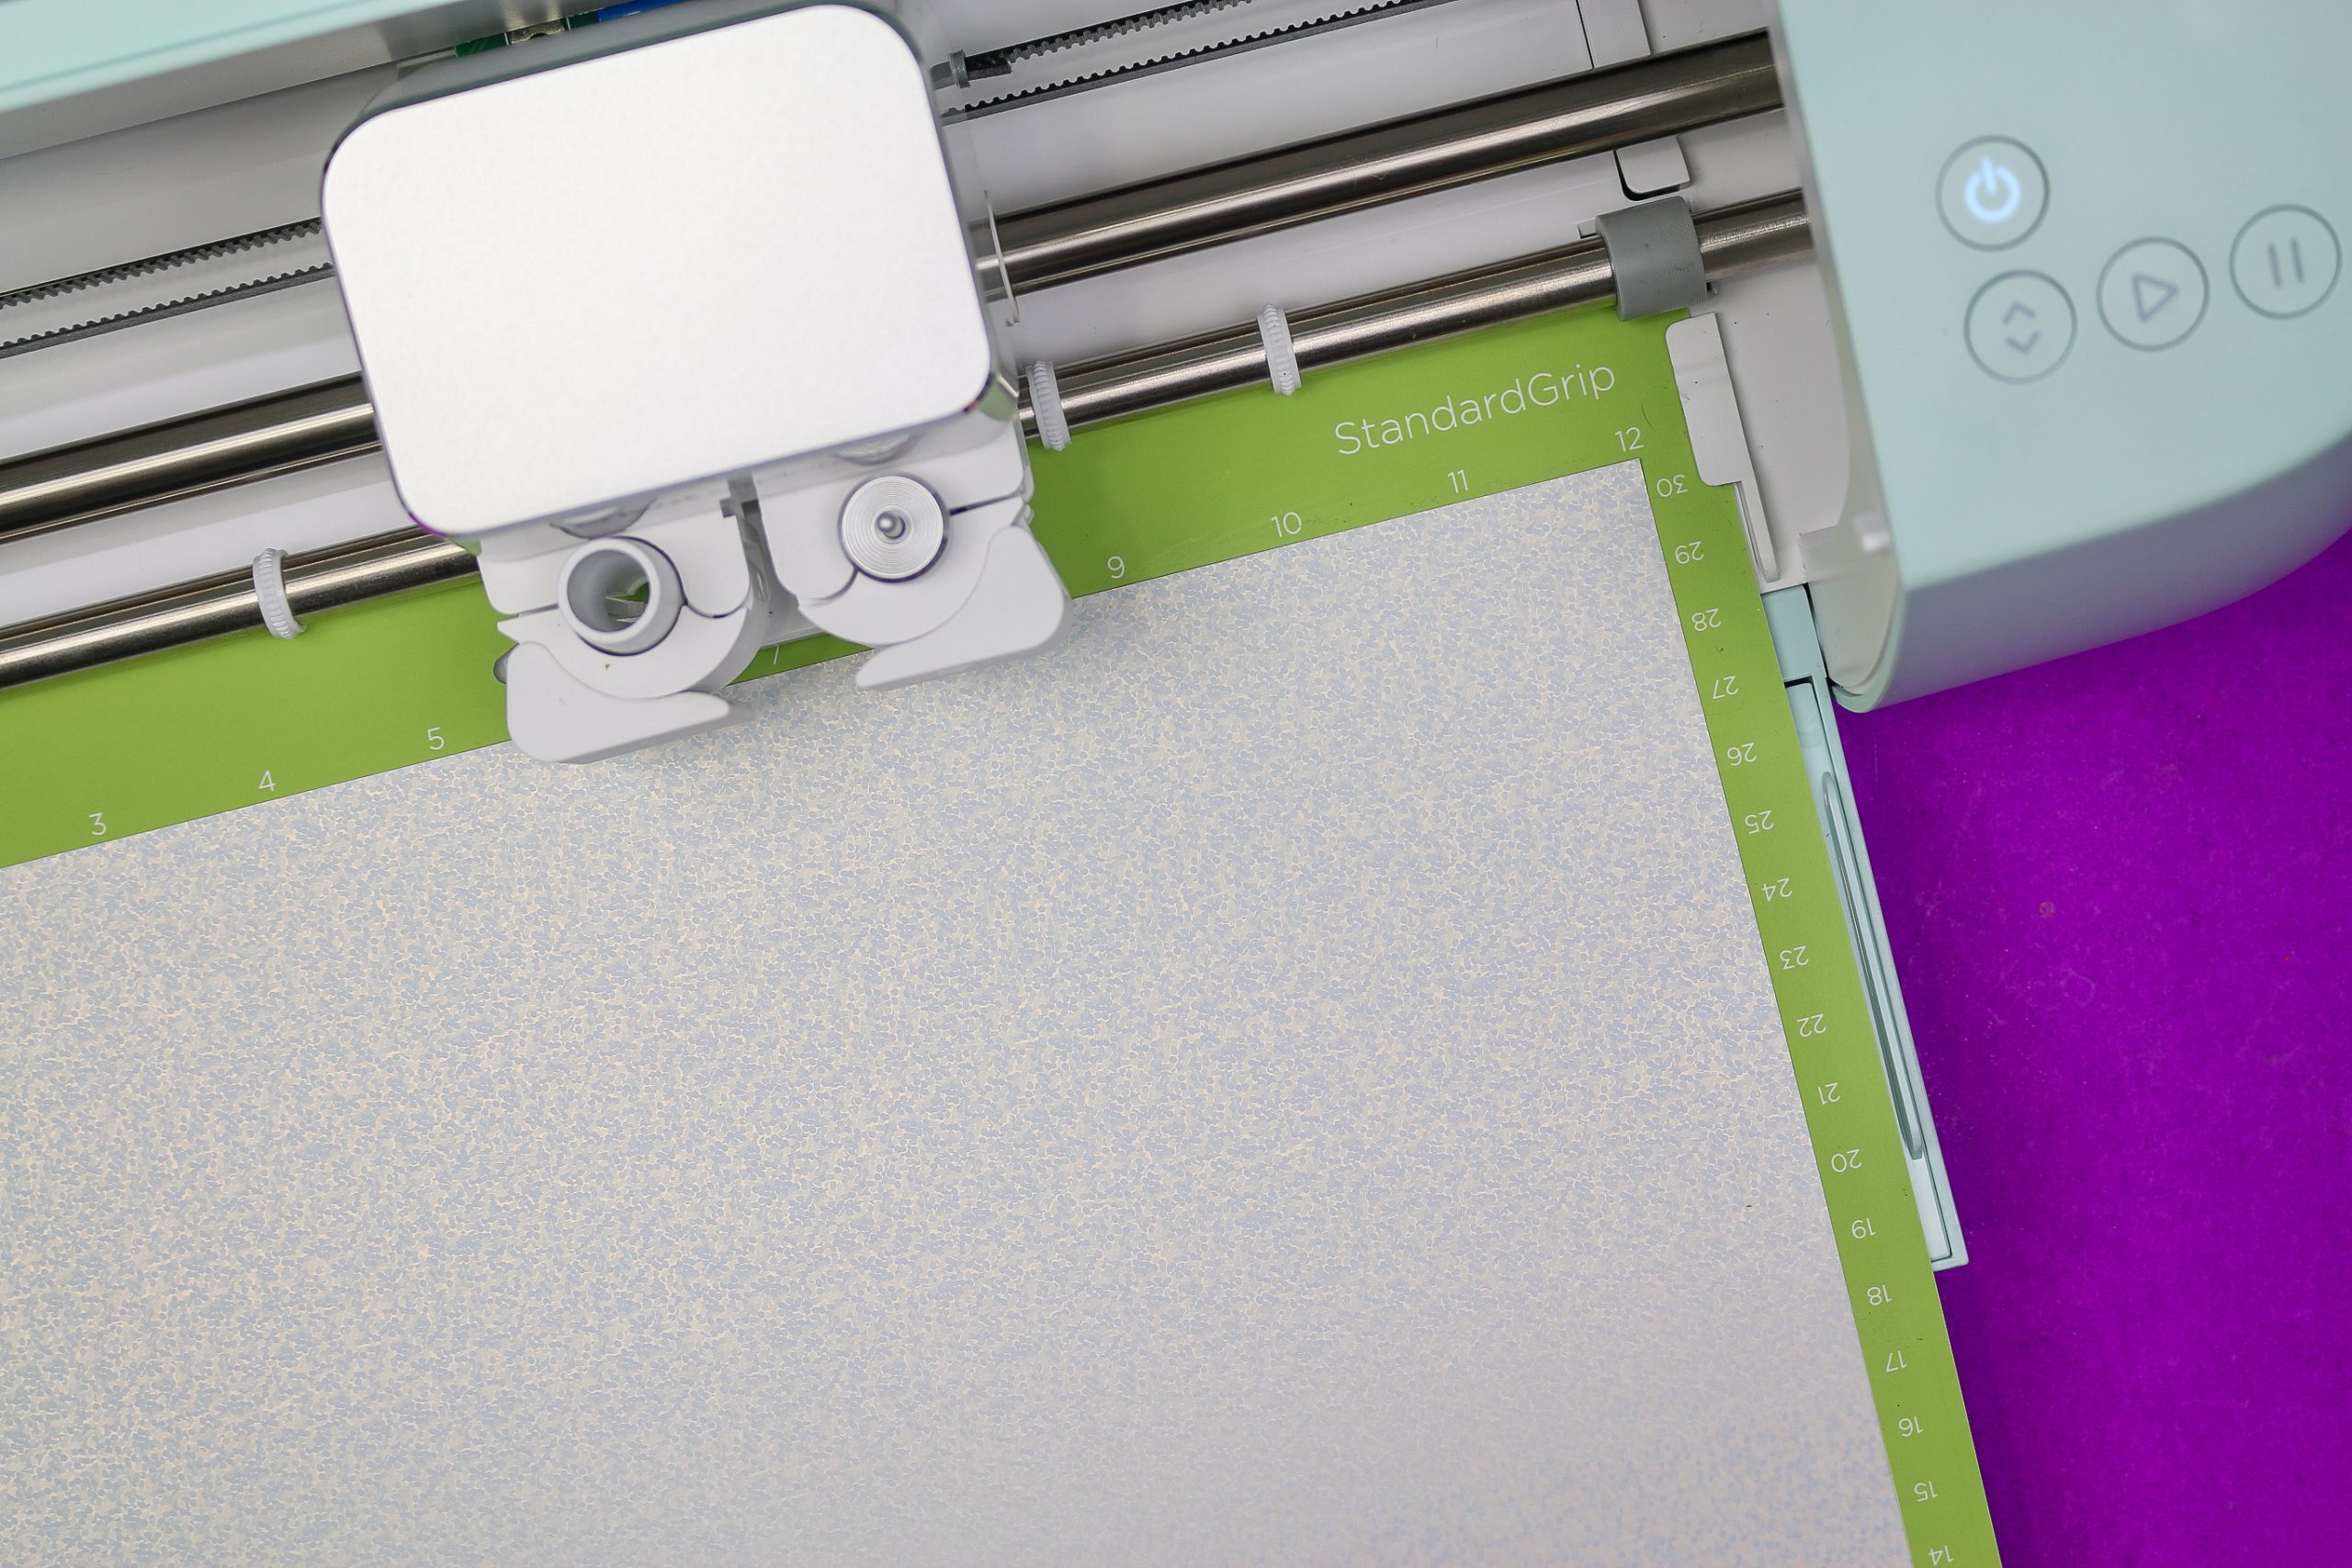
Be sure to place the iron-on vinyl liner side (shiny side) down on the cutting mat, and remember to mirror your design!
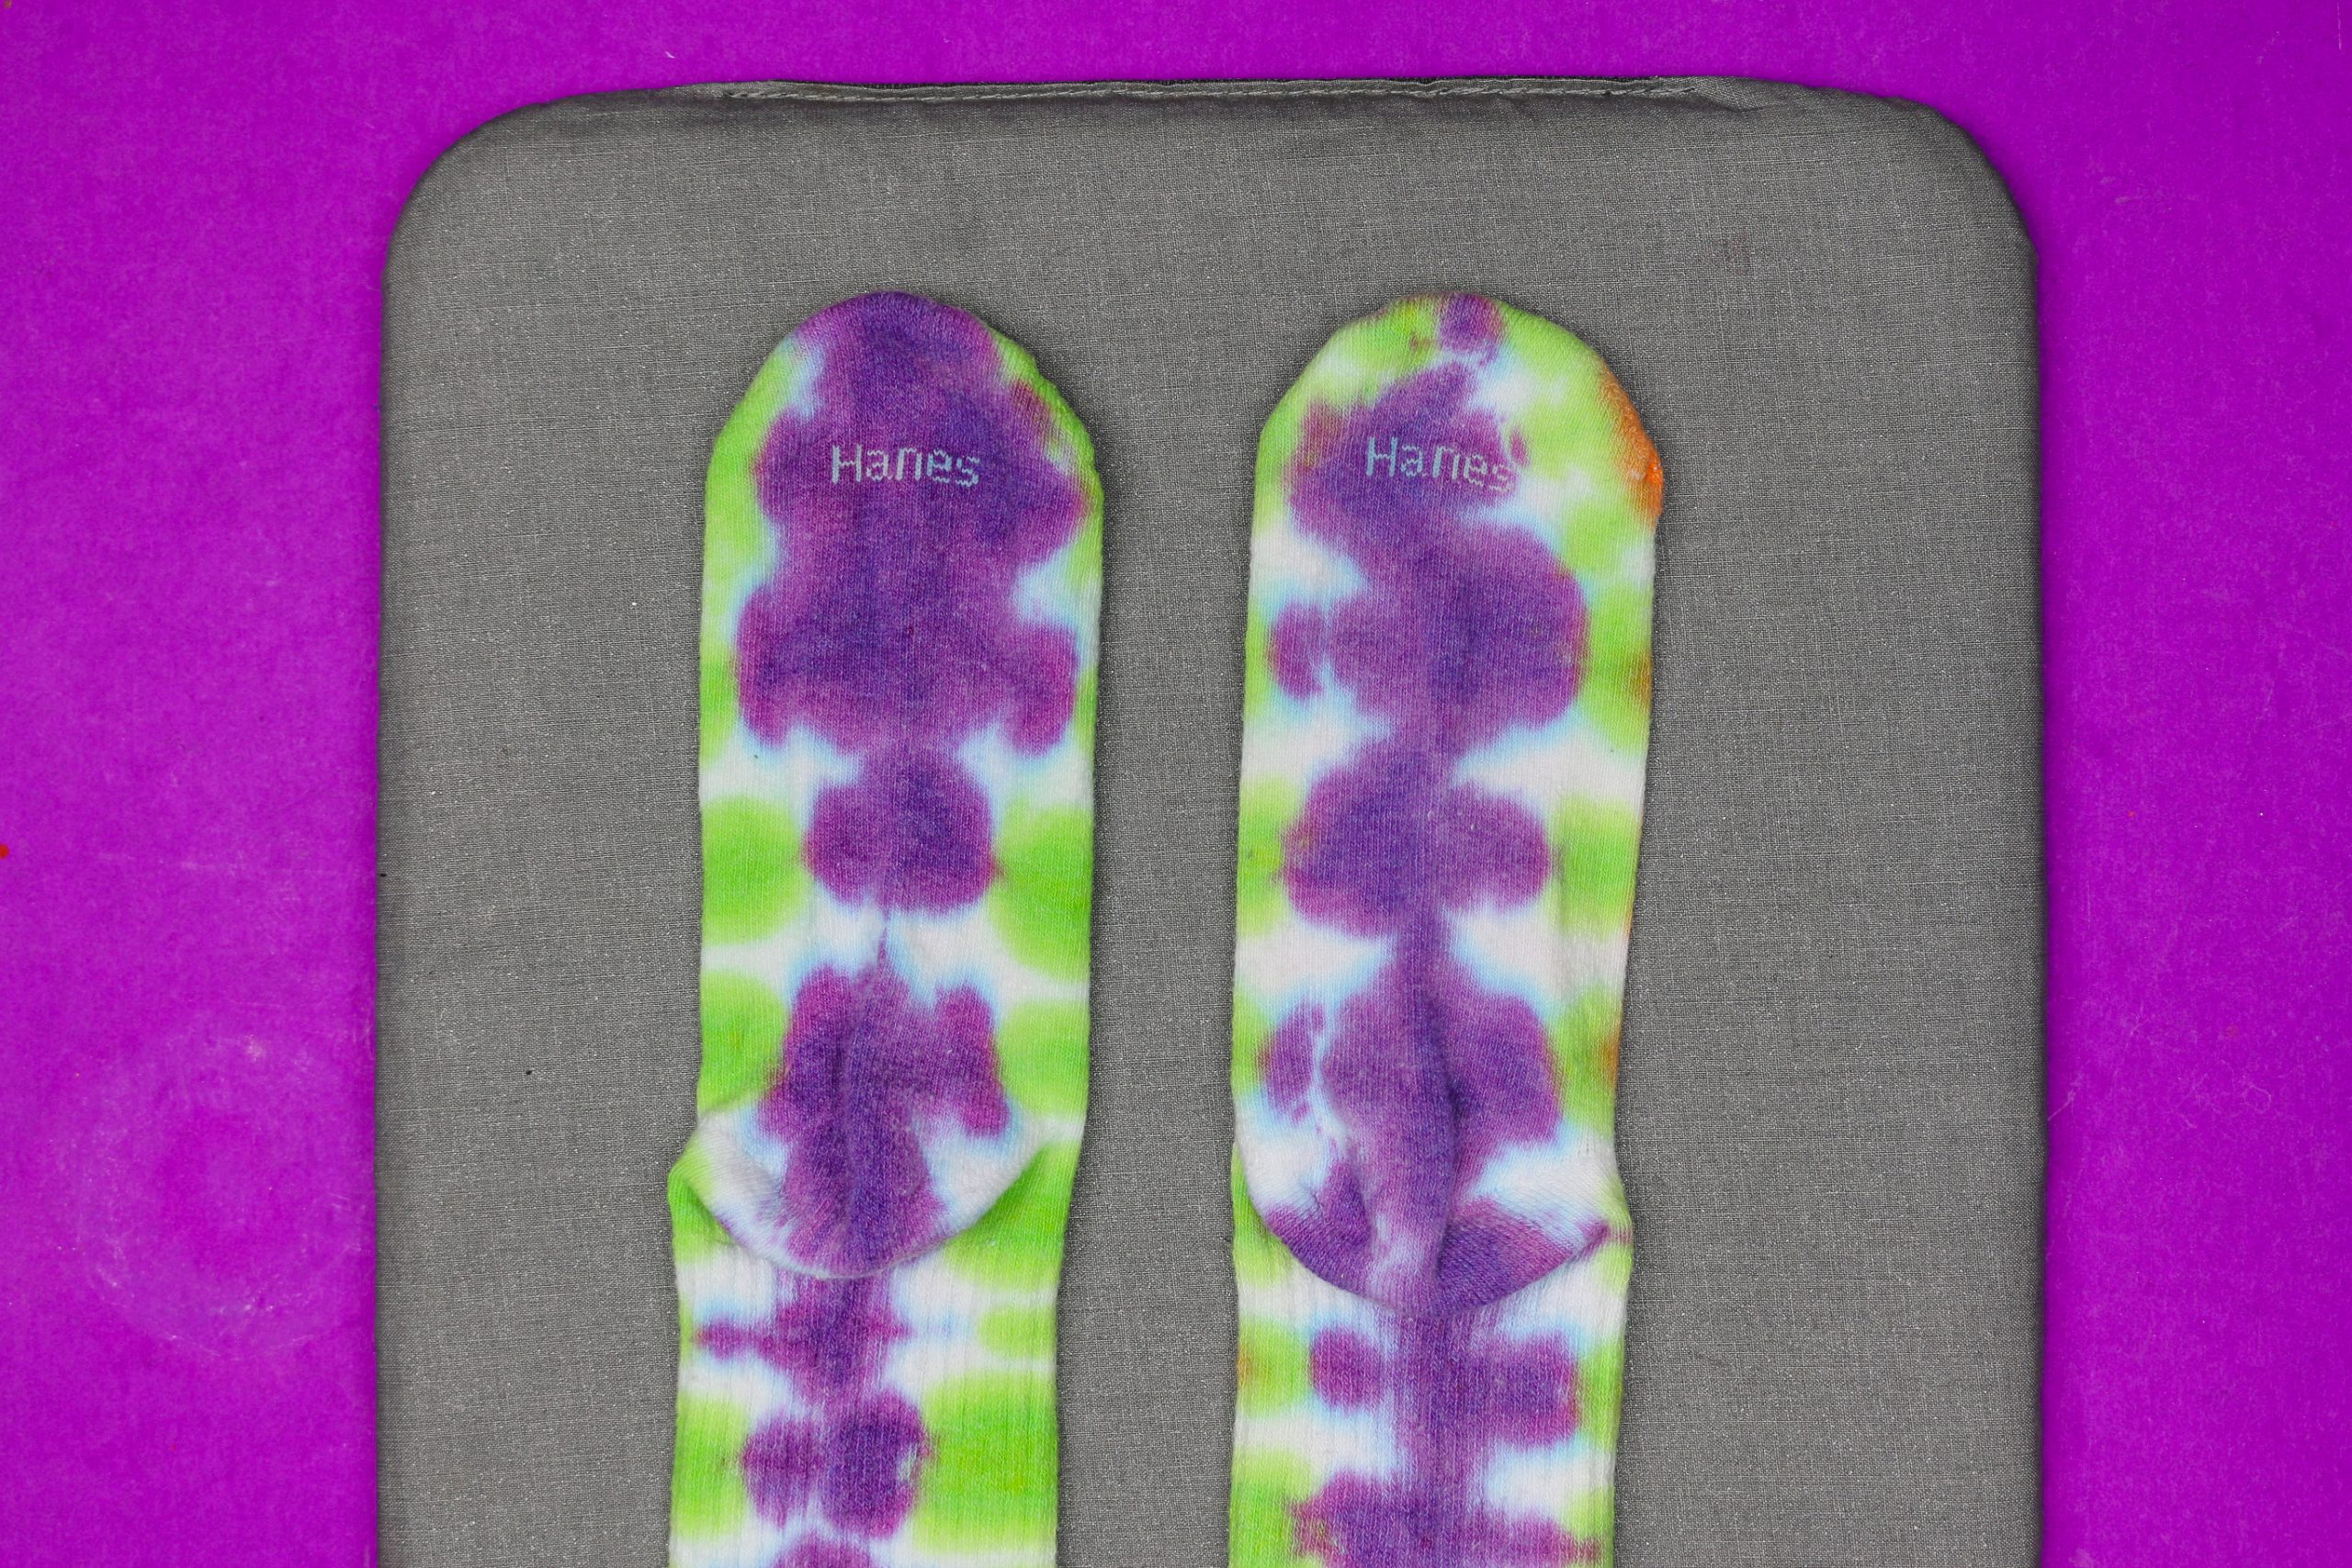
Preheat your iron or EasyPress to 330 degrees. Lay a pair of dry socks on an EasyPress mat, towel, or ironing board.
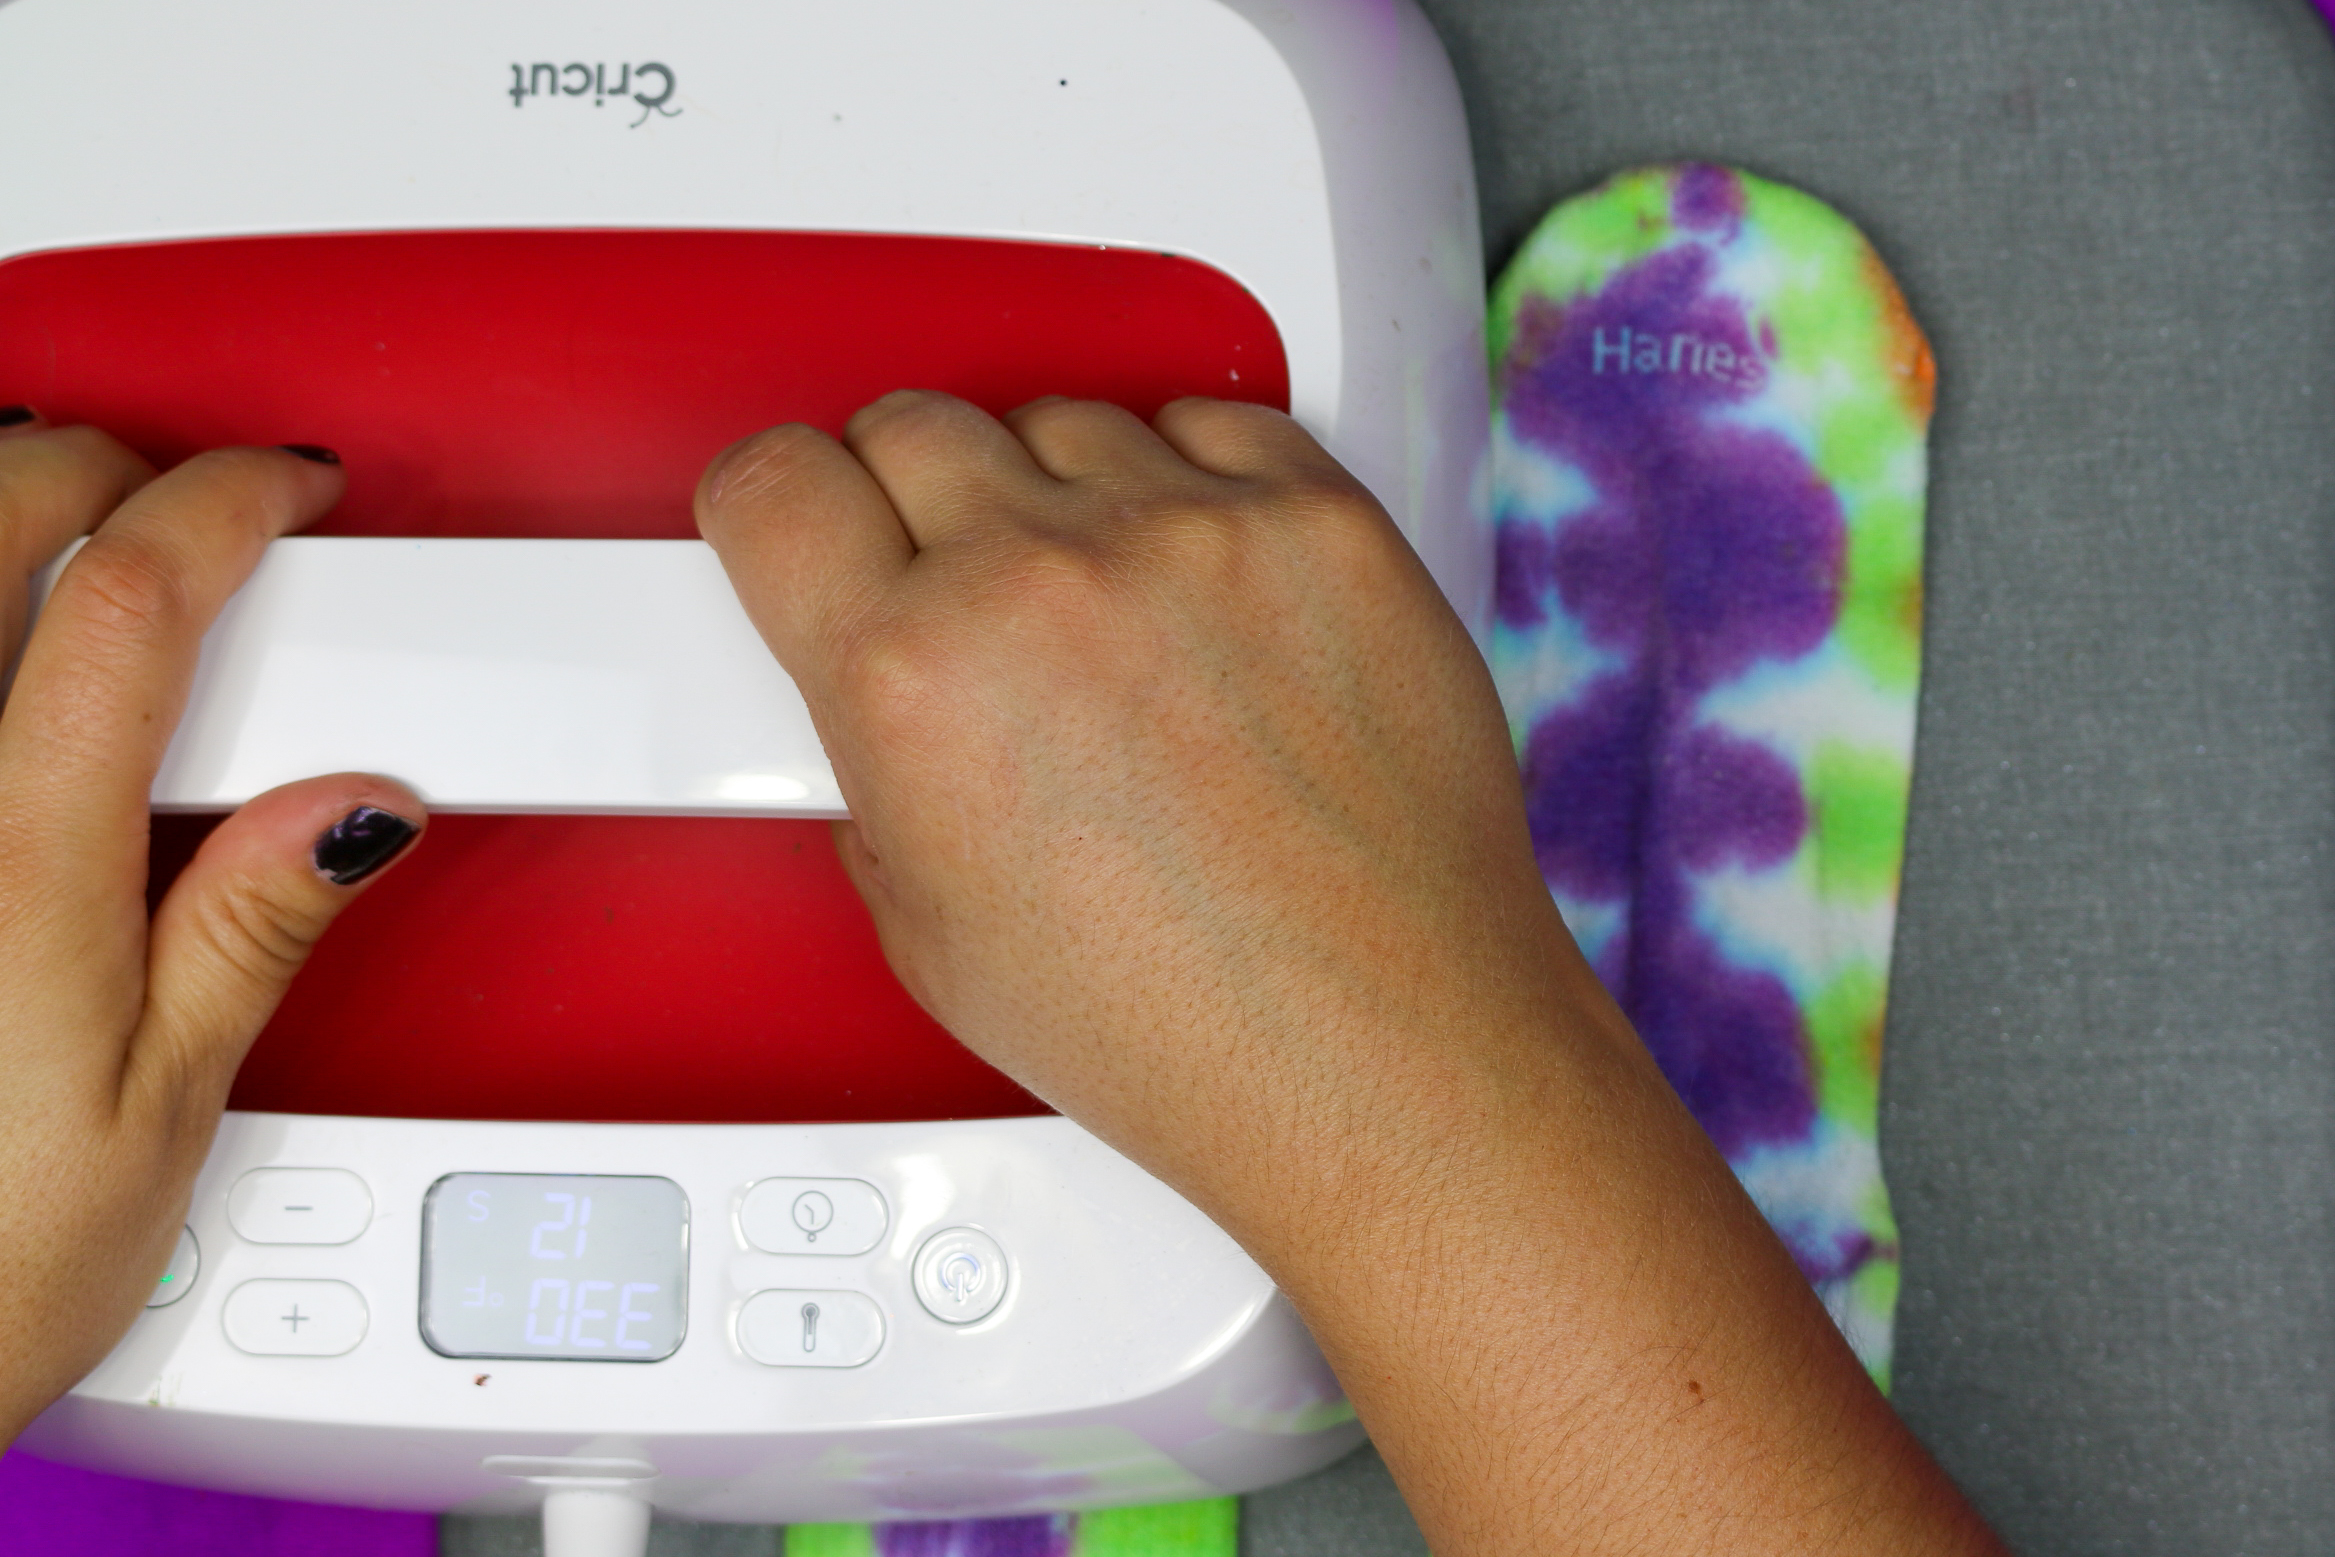
Preheat the socks for 15 seconds.
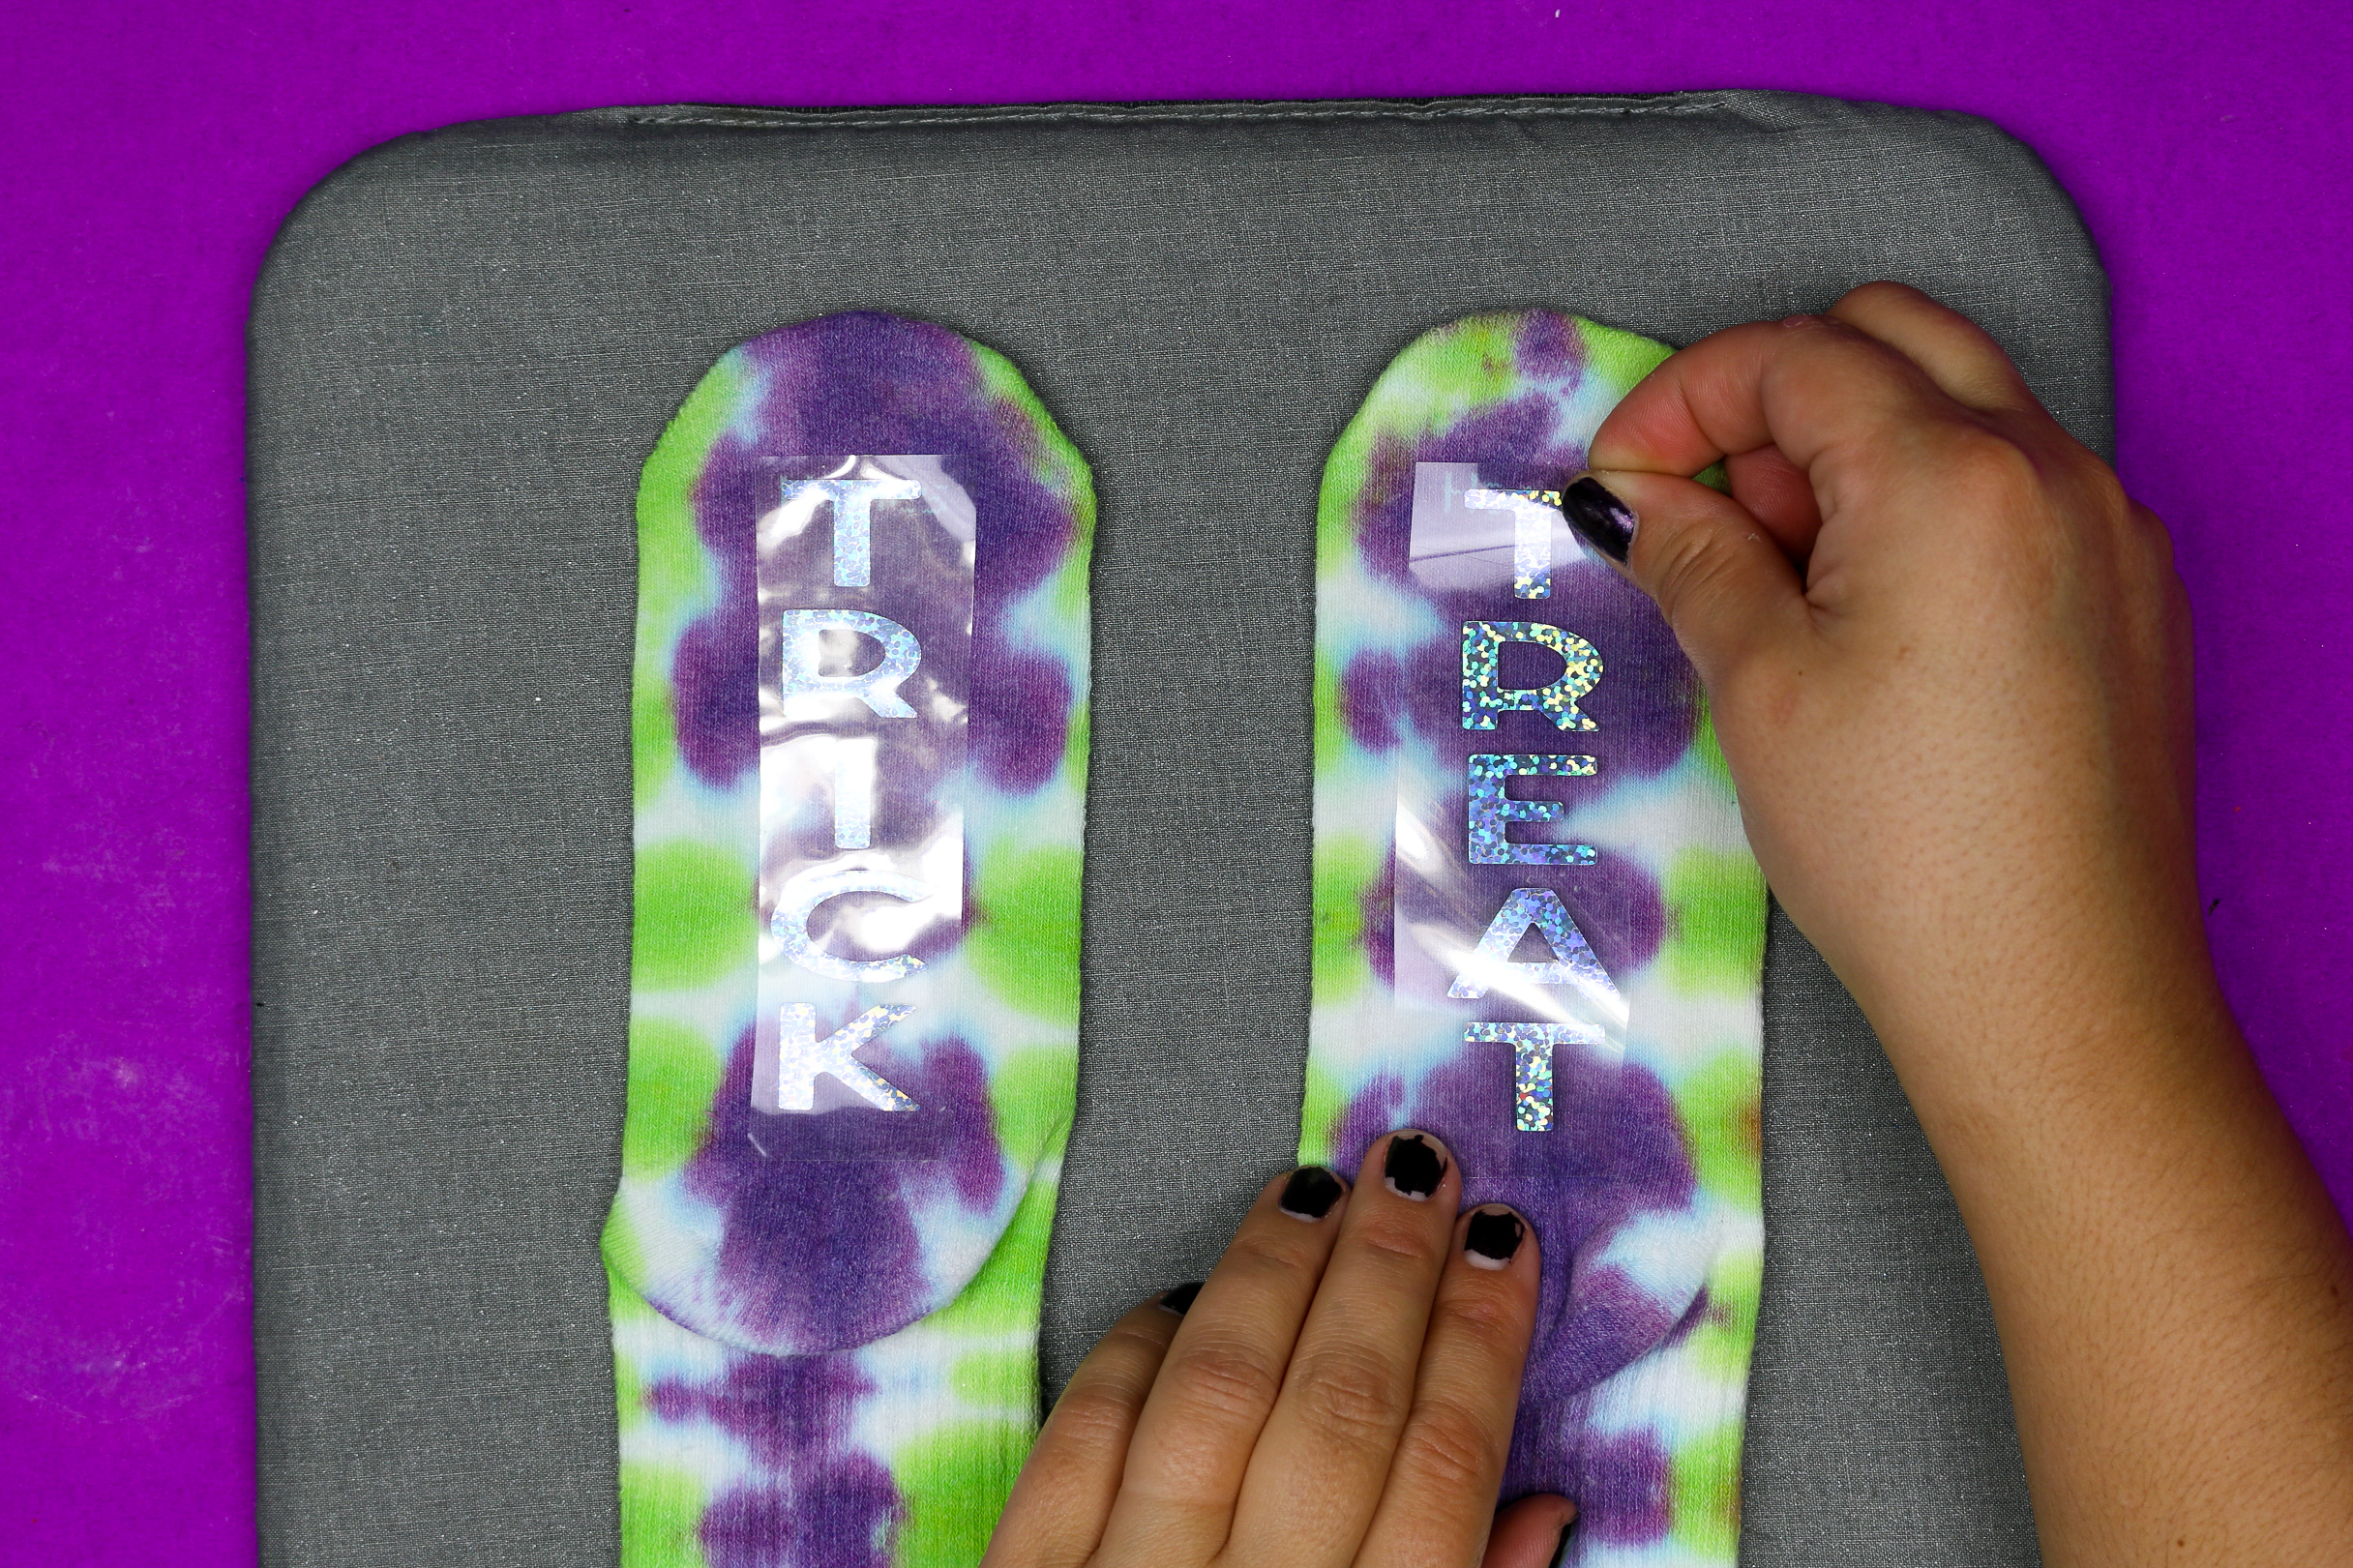
Center the vinyl designs on the soles of the socks. Apply light pressure for at least 30 seconds. Flip the socks over and press for an additional 15 seconds.
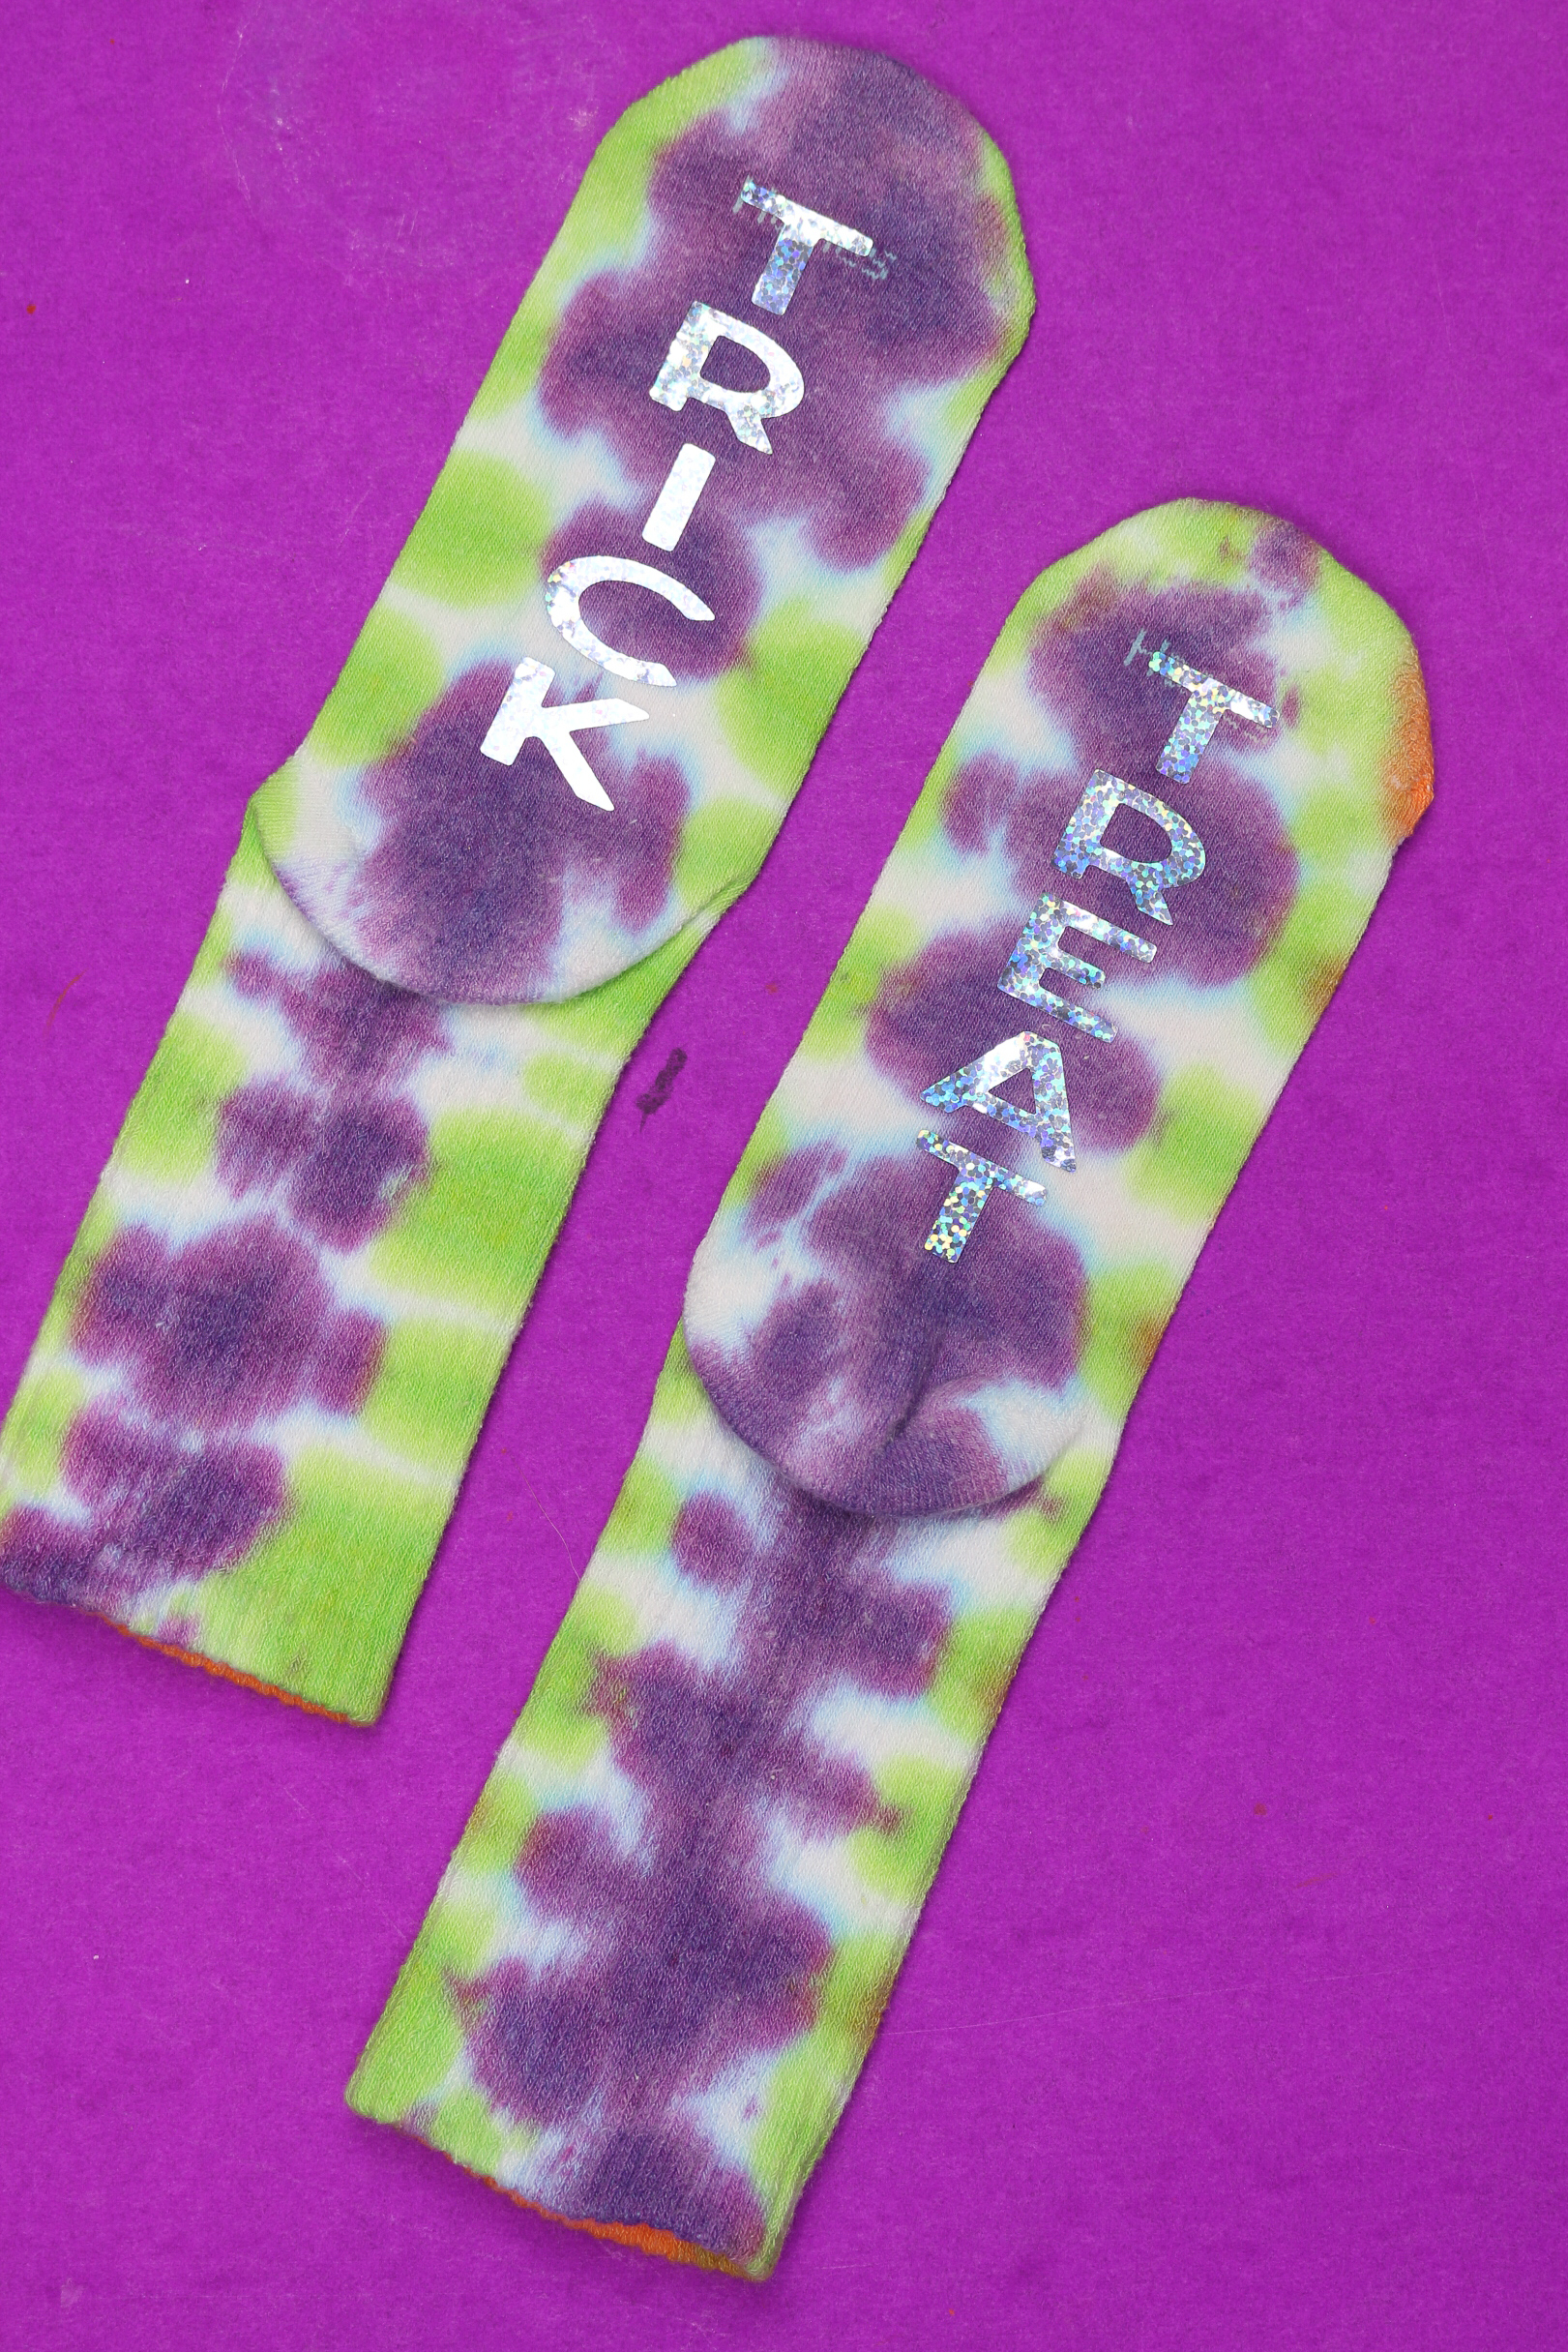
Wait until the vinyl has completely cooled before carefully peeling away the plastic liner.
PRINTABLE TIE-DYE INSTRUCTION CARDS FOR HALLOWEEN PARTY ACTIVITY
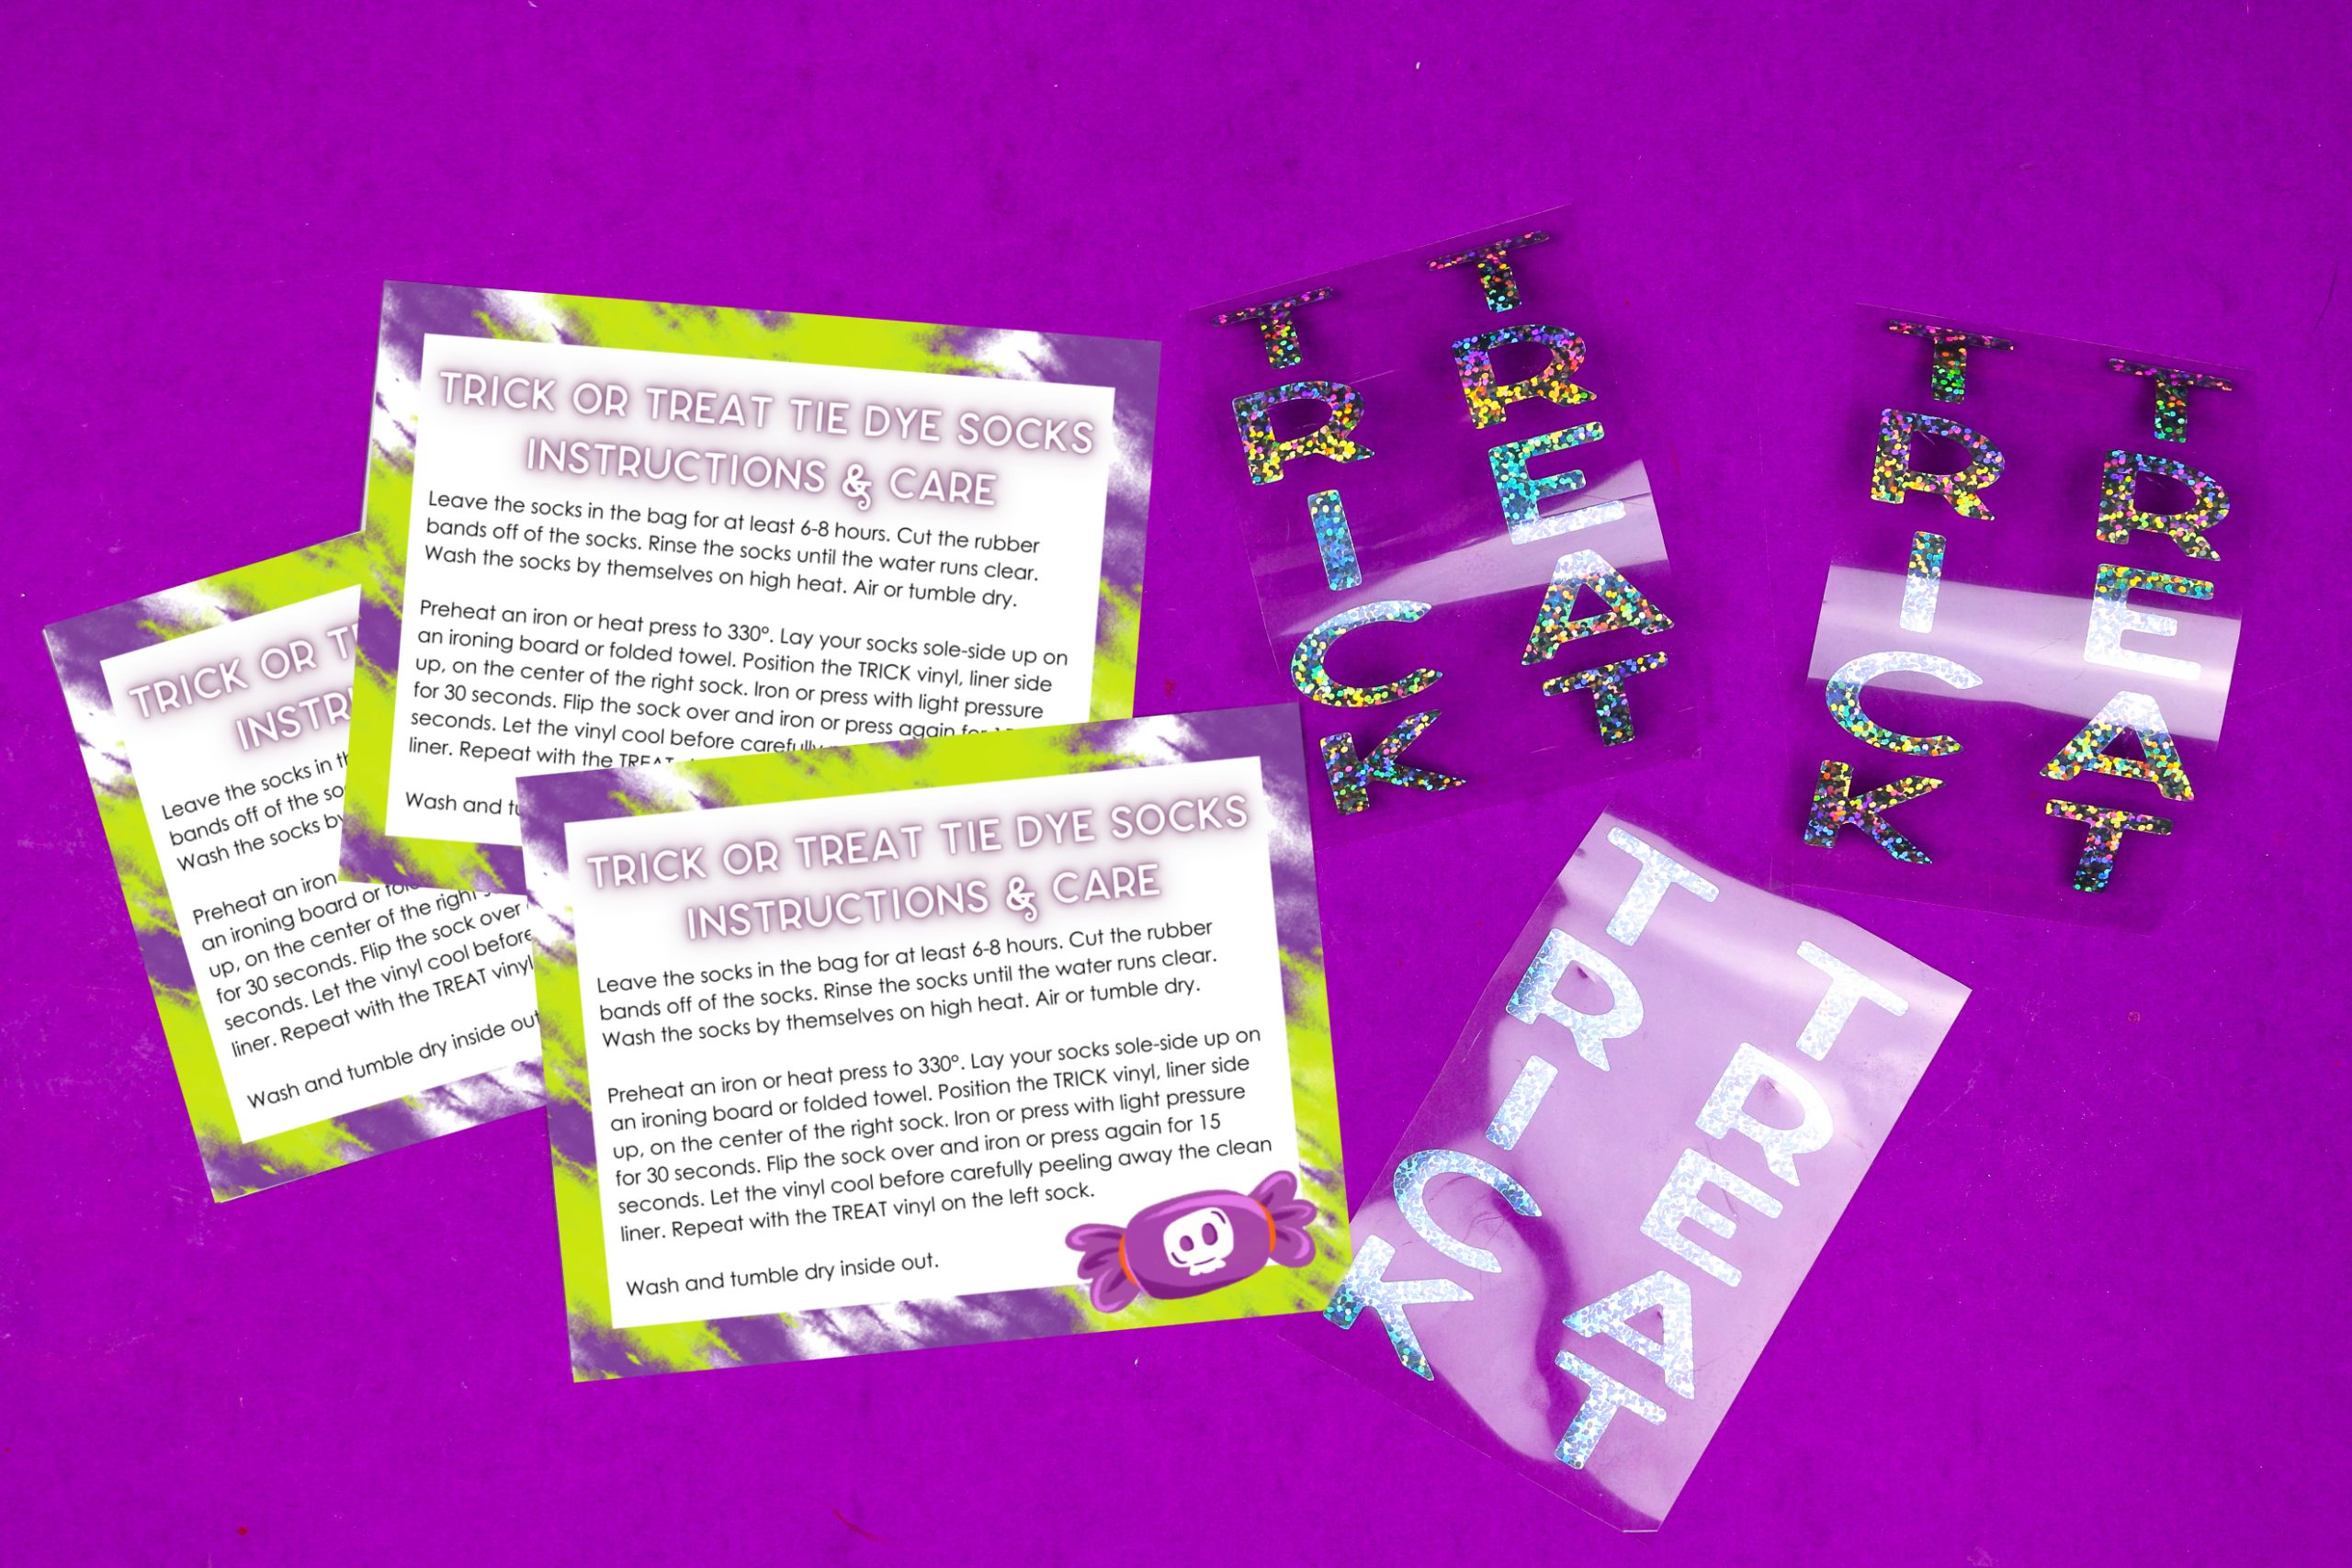
If you are tie dyeing socks at a Halloween party, you won’t be able to complete the entire project at the party. Once the socks have been dyed and bagged, they need to stay bagged for at least 6-8 hours. To make sure your party guests can complete the DIY, you will need to send them home with some materials and instructions.
Cut, weed, and separate the TRICK and TREAT vinyl before the party, making sure you have a set for each guest. I have also created a free printable that explains how to rinse and clean the tie-dyed socks as well as how to add the vinyl to the soles of the socks.
By entering your information into this form or the form below, you will get both the printable and the SVG for free! I just ask that you only use the printable and SVG for non-commerical purposes.
When you sign up you automatically become a member of my SVG Club and you will gain access to my Freebie Gallery As a member of the SVG club, you will receive one new SVG file each month. Access to the Freebie Gallery gives you access to every single freebie I have shared here on Mad in Crafts. You will find this printable in the HALLOWEEN section of the Freebie Gallery.
CARING FOR YOUR TIE-DYED SOCKS
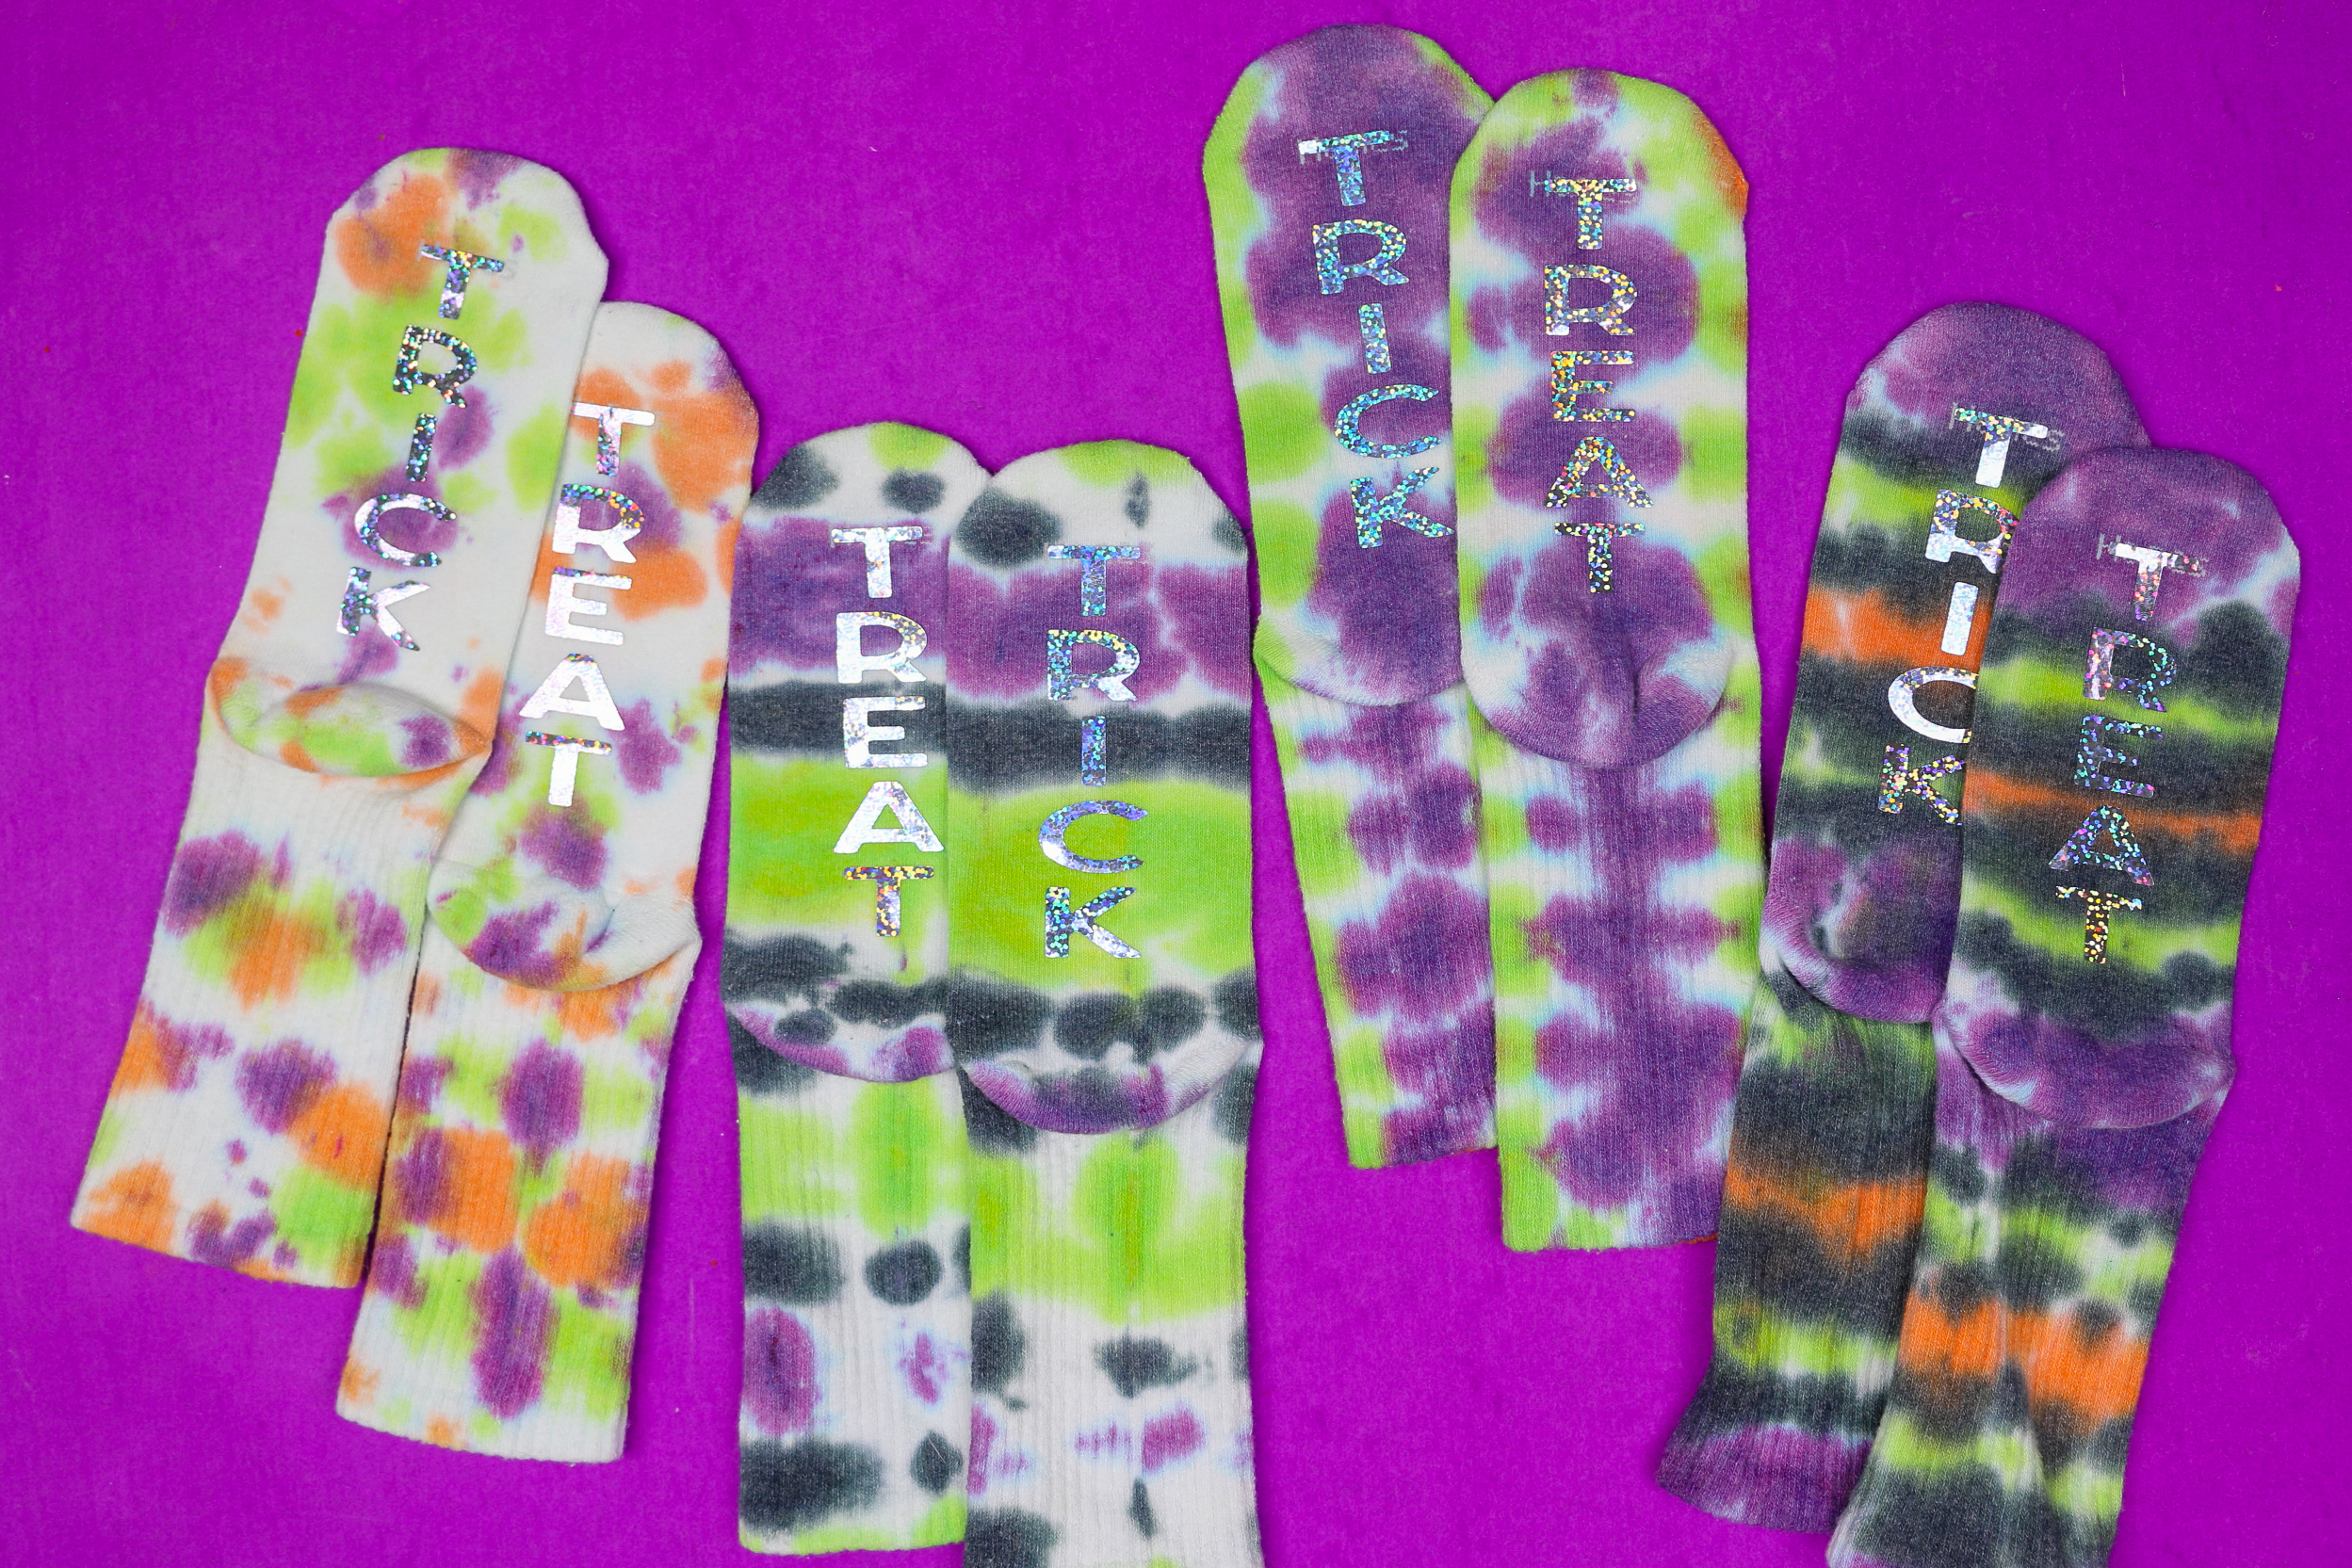
Once you have finished your Halloween tie-dyed socks, there are a few things to keep in mind to keep them looking great. First, wait at least 24 hours after applying the vinyl before washing the socks. You can wash the socks with other laundry, but wash them in cold water. Turn the socks inside out before washing and drying to protect the vinyl. If you follow these simple tricks, your Halloween socks will continue to look scary good!

