Mad in Crafts

  • Email
  • Facebook
  • Instagram
  • LinkedIn
  • Pinterest
  • Twitter
  • YouTube
  • Home
  • About
    • ABOUT JESSICA
    • CONTACT
    • MEDIA KIT
    • Seen On
  • PRIVACY
  • CRAFTS
    • HOLIDAY
      • VALENTINE’S DAY
      • ST. PATRICK’S DAY
      • EASTER
      • FOURTH OF JULY
      • FALL
      • HALLOWEEN
      • THANKSGIVING
      • CHRISTMAS
    • HOME DECOR
    • KIDS
    • MISC
    • Wearable
      • JEWELRY
      • PURSES, CLUTCHES AND TOTE BAGS
      • T-SHIRTS
    • FREE PRINTABLES
    • FREE SVGs
  • DIY
    • Gardening
    • Health
    • ORGANIZATION
    • Outdoor
    • Room Makeover
    • The Mad House
  • Recipes
    • Dessert
    • DINNER
    • DRINKS
    • Snacks and Appetizers
  • ENTERTAINING
    • Birthday Party
    • Party
    • Wedding
  • SHOP
Please note: This page may contain affiliate links. If you click a link and choose to make a purchase from the partnership site, I will earn a commission. Thank you for supporting Mad in Crafts!

GLITTERED THANKSGIVING SIGN

November 4, 2016 by madincrafts 3 Comments

diy-glittered-thanksgiving-sign
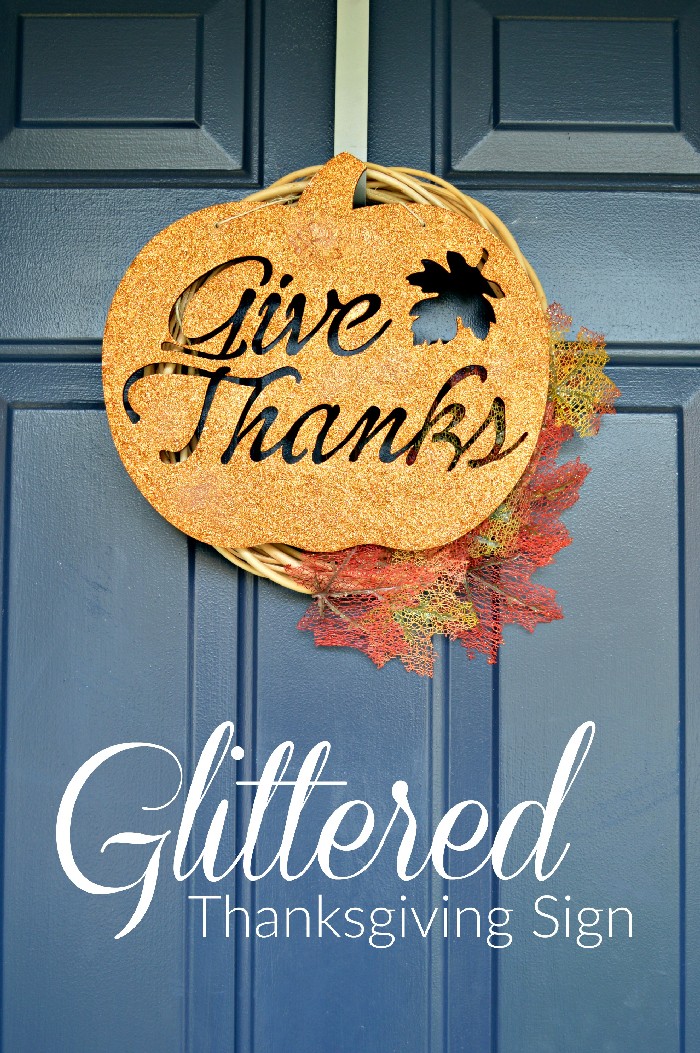
By adding this glittered Thanksgiving sign to my front door wreath, I switched from fall decorations to Thanksgiving in seconds.  You don’t need to be afraid of a larger glitter project like this, with just a few steps you will have a beautiful project with less mess than you might imagine. 

wood-cut-thanksgiving-sign

I bought this laser cut wood sign from Consumer Crafts back when they had their huge sale a few months ago.  It had been sitting in my craft room waiting for me to decide how to decorate it.  I considered a few different options, but glitter still seemed like the best choice.

orange-glitters

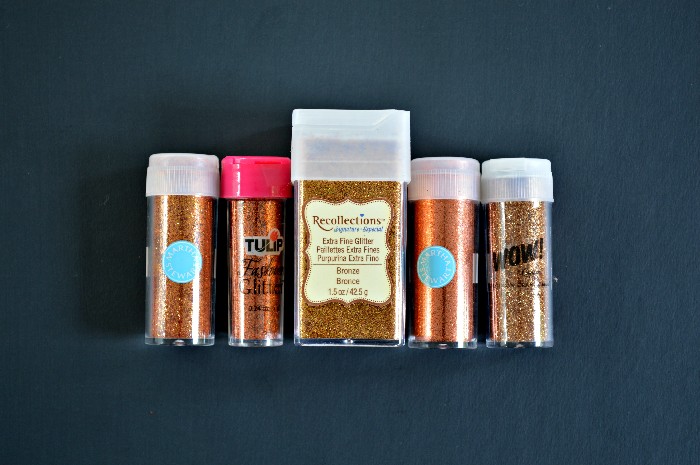
First, I laid down a large piece of posterboard to protect my work surface.  I mixed up equal portions of five different shades of orange and bronze glitters.  This step is optional, but I really think it makes a difference in the depth of color and shimmer in the final product.

layer-of-craft-glue

Next I gave the whole sign a coat of watered down craft glue.

shake-on-orange-glitter

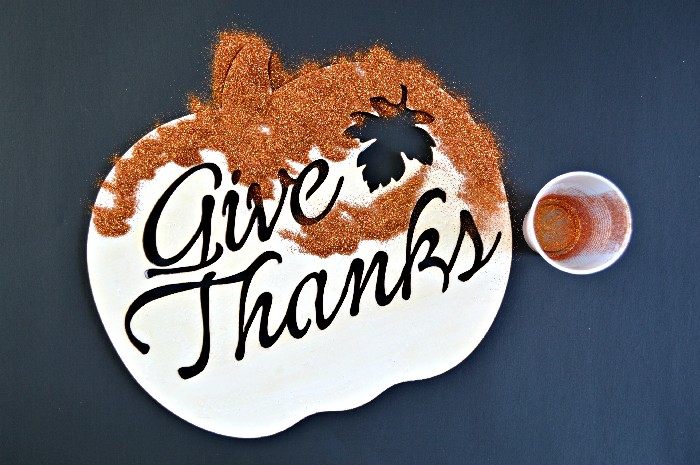
Finally, I took my time sprinkling on glitter, tapping it off, collecting it back into the cup, and repeating that process until the entire sign was covered.  If you would like, you can also apply another coat of watered down craft glue over the glitter to seal it in place.

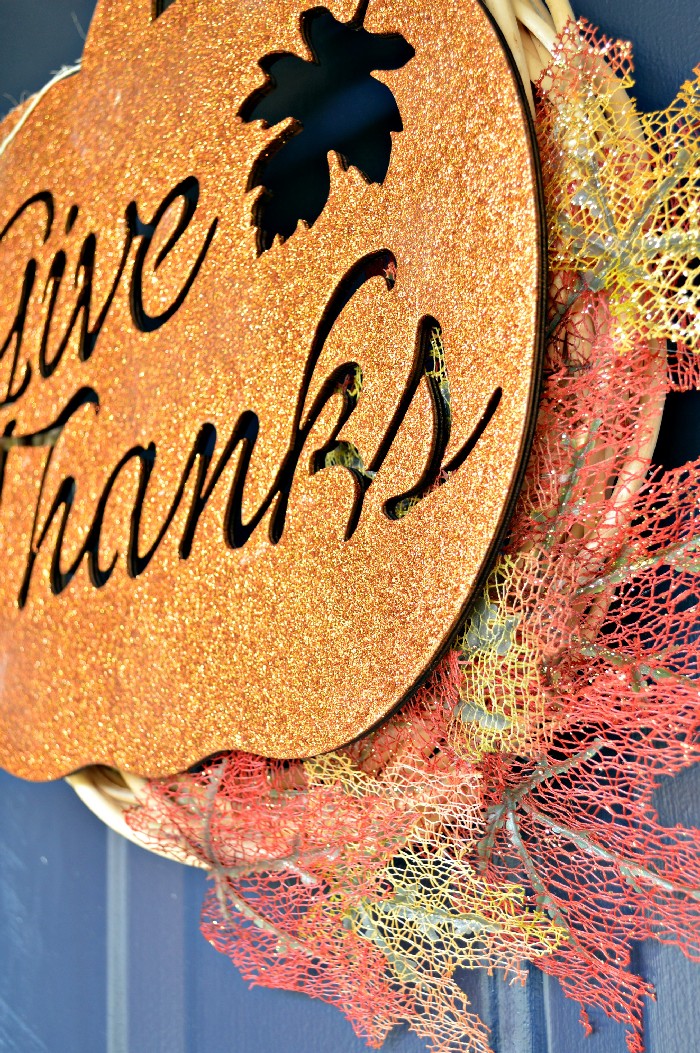
glittered-give-thanks-sign

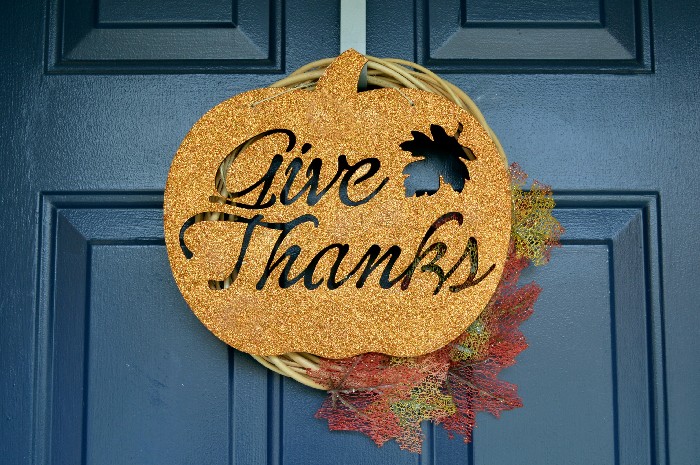
Once it was dry, I added the glittered sign to my simple Fall wreath.  The glitter on the sign matches the pumpkins that have been on our front porch for a month now.

glittered-surface

You can see a bit better in this picture the variation in color from the multiple shades of glitter.  It’s a subtle change but it makes a difference!

These are all affiliate links, if you make a purchase (of anything from these retailers, not just these items) after clicking through, I will earn a small commission. Ads and affiliate links are the way I am able to keep this website running and to offer you free tutorials all year long. Thank you so much for supporting me and Mad in Crafts!

  • Give Thanks wood cut sign
  • Aleene’s glue
  • Water
  • Paintbrushes
  • Martha Stewart Glitter – Orange Topaz (possibly discontinued?)
  • Tulip Fashion Glitter –  Orange Jewel
  • Recollections Glitter – Bronze
  • Martha Stewart Crafts Essential Glitter – Fire Opal
  • Wow! Glitter – Copper

You might like these other Thanksgiving DIYs:

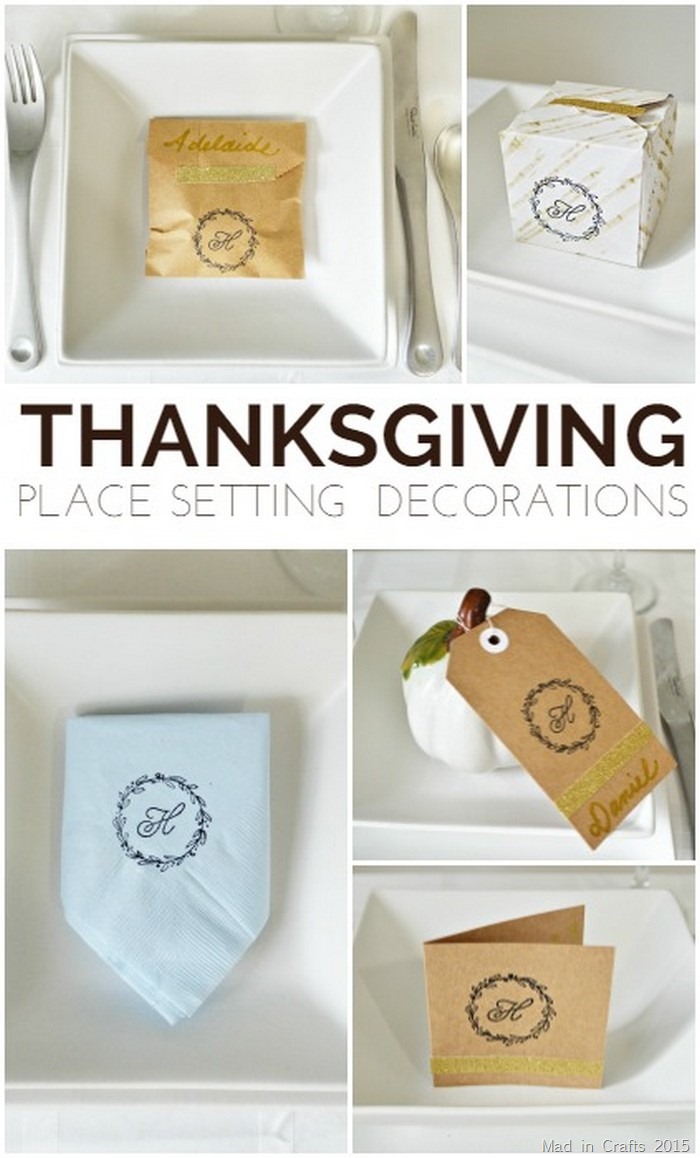
5-Stamped-Thanksgiving-Place-Setting-Decoraitons_thumb.jpg

5 THANKSGIVING PLACE SETTING DECORATIONS

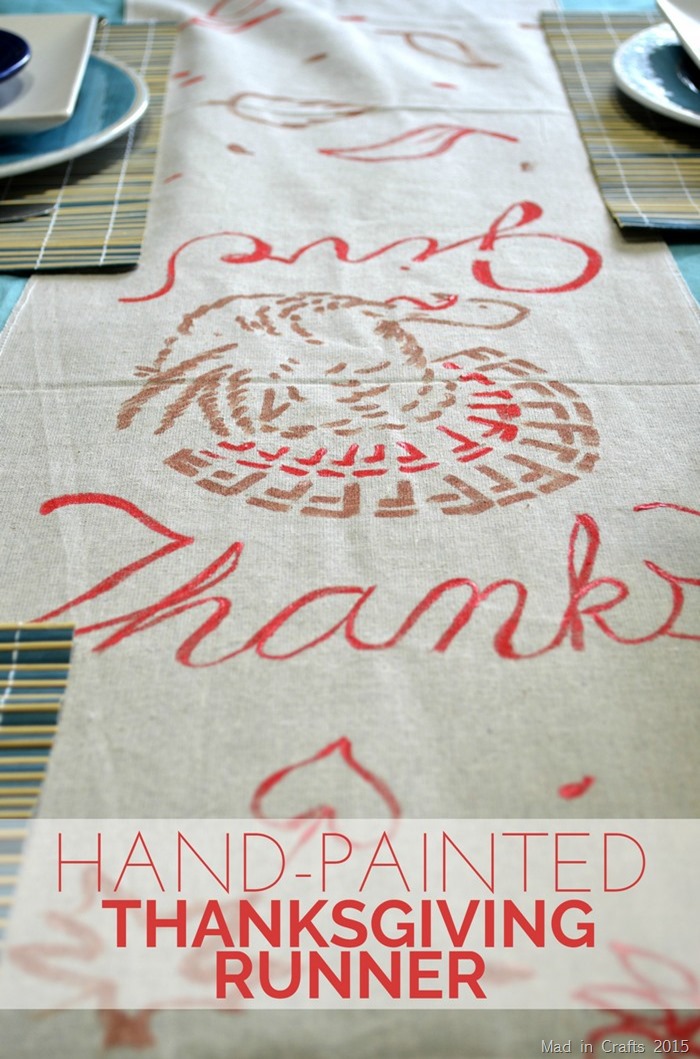
Hand-Painted-Thanksgiving-Runner_thumb.jpg

HAND-PAINTED THANKSGIVING RUNNER

Filed Under: Thanksgiving Tagged With: affiliate, front porch, glitter, pumpkin, Thanksgiving, tutorial, wreath

Share on Facebook
Facebook
Pin on Pinterest
Pinterest
Tweet about this on Twitter
Twitter
Share on LinkedIn
Linkedin
              

Trackbacks

  1. 25 Farmhouse Style Thanksgiving Ideas - Honeybear Lane says:
    November 5, 2017 at 11:01 am

    […] Glittered Thanksgiving Sign from Mad In […]

    Reply
  2. HAND-PAINTED THANKSGIVING RUNNER - Mad in Crafts says:
    October 20, 2018 at 2:02 pm

    […] GLITTERED THANKSGIVING SIGN […]

    Reply
  3. EASY THANKSGIVING NAPKIN RINGS FROM THE DOLLAR STORE Fall Mad in Crafts says:
    September 22, 2019 at 10:16 pm

    […] GLITTERED THANKSGIVING SIGN […]

    Reply

Leave a Reply Cancel reply

Your email address will not be published. Required fields are marked *

Recipe Rating


About Jessica

Search the blog…

Gallery of Valentine's Day Crafts
DIY Home Organization
Delicious Dessert Recipes

Copyright

You're welcome to link to Mad in Crafts or use a single image with a brief description to link back to any post. Republishing posts in their entirety is prohibited. Feel free to pin on Pinterest!

Affiliate Disclosure

Jessica Hill is a participant in the Amazon Services LLC Associates Program, an affiliate advertising program designed to provide a means for sites to earn advertising fees by advertising and linking to Amazon.com

Copyright © 2021 · Metro Pro Theme on Genesis Framework · WordPress · Log in

We use cookies to ensure that we give you the best experience on our website. If you continue to use this site we will assume that you are happy with it.Ok