I own a lot of glitter. And when I say a lot, I mean two entire shelves worth of glitter. Part of the reason my craft room is brimming with the stuff is that sometimes I can’t quite get up the nerve to make a glitter mess. If you have crafted with glitter before, you know the difference between a regular mess and a glitter mess. The struggle is real. Doing glitter projects, even big projects, doesn’t have to propel you into a panic attack. There are a few precautions and tricks you can use so that the glitter makes a huge impact without destroying your house. I used those tricks to turn plain paper mache deer decorations into glittered paper mache deer decorations for Christmas!
GLITTERED PAPER MACHE DEER DECORATIONS
WHAT YOU NEED TO MAKE GLITTER DEER
You can typically find paper mache decorations like this at the craft store in the fall and winter. I will also include links for places where you can purchase them online.
These are all affiliate links, if you make a purchase (of anything from these retailers, not just these items) after clicking through, I will earn a small commission. Ads and affiliate links are the way I am able to keep this website running and to offer you free tutorials all year long. Thank you so much for supporting me and Mad in Crafts!
MIXING DIFFERENT SIZES OF GLITTER
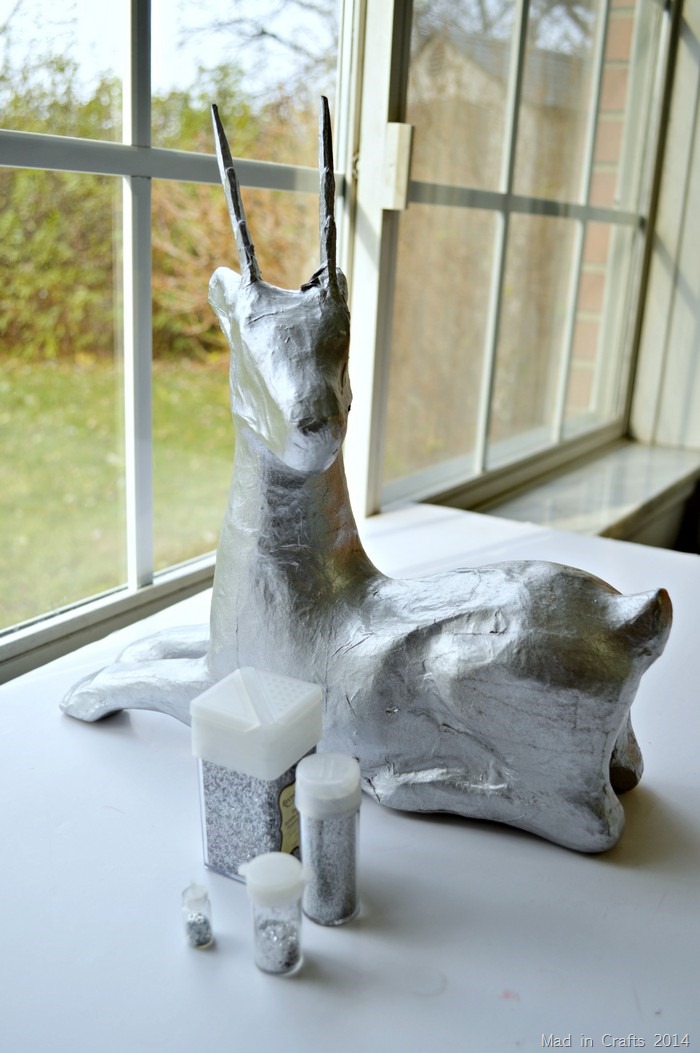
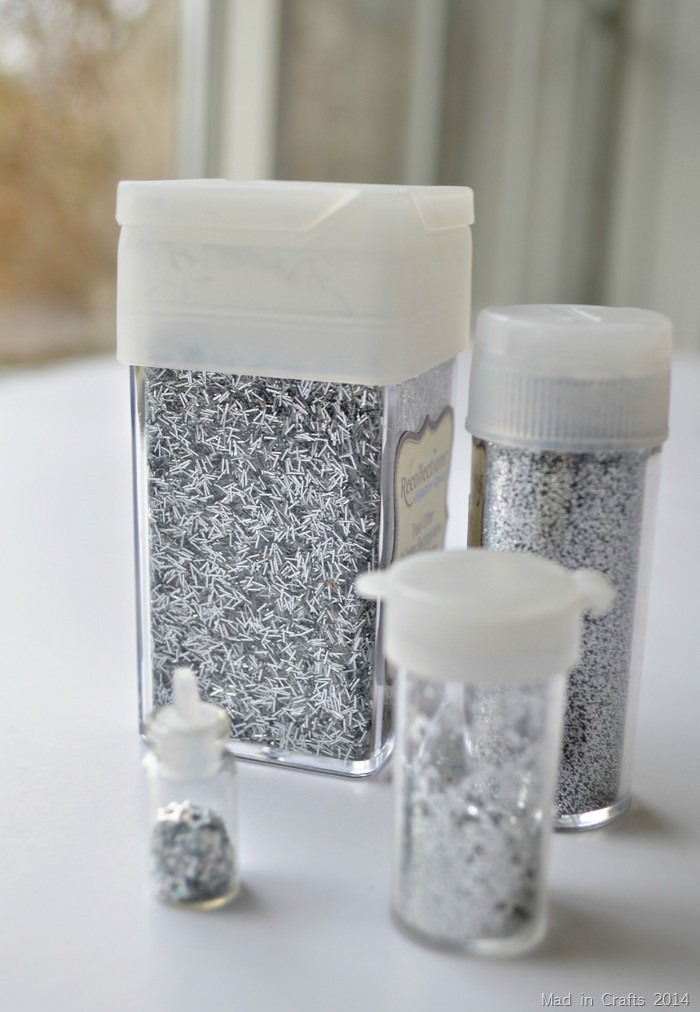
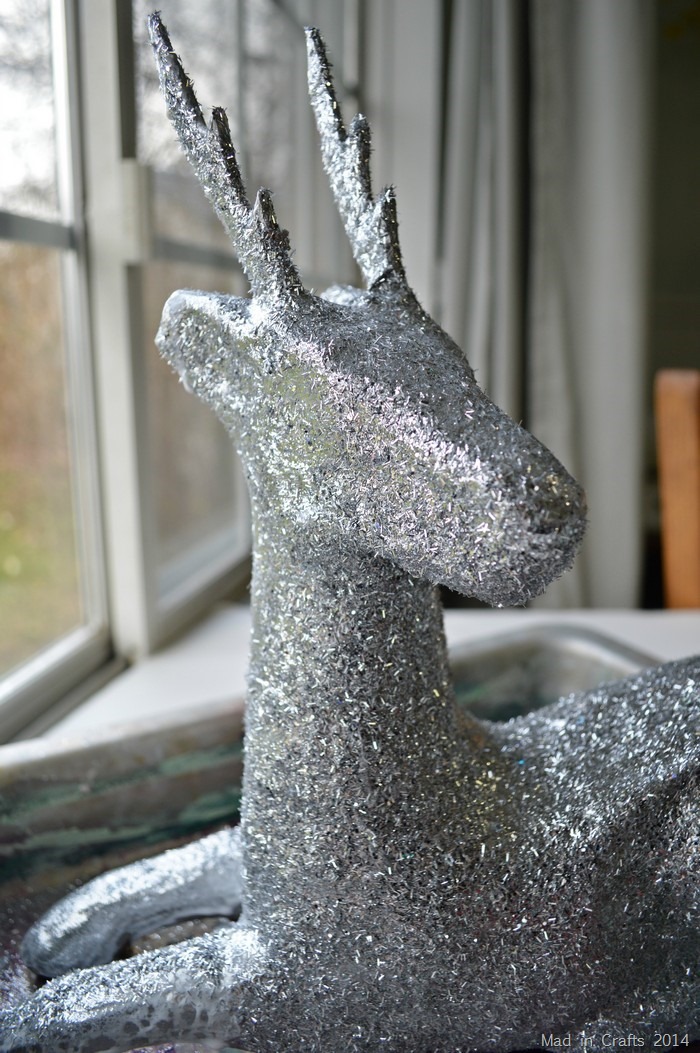
Instead of just glittering the deer with one kind of glitter, I took a few tips from my friend Aunt Peaches – authority on all things glitter. The first tip I learned from her was that mixing several sizes and shapes of glitter adds depth to the sparkle. I mixed up a batch of silver glitter using fine, chunky, star-shaped, and tinsel glitters.
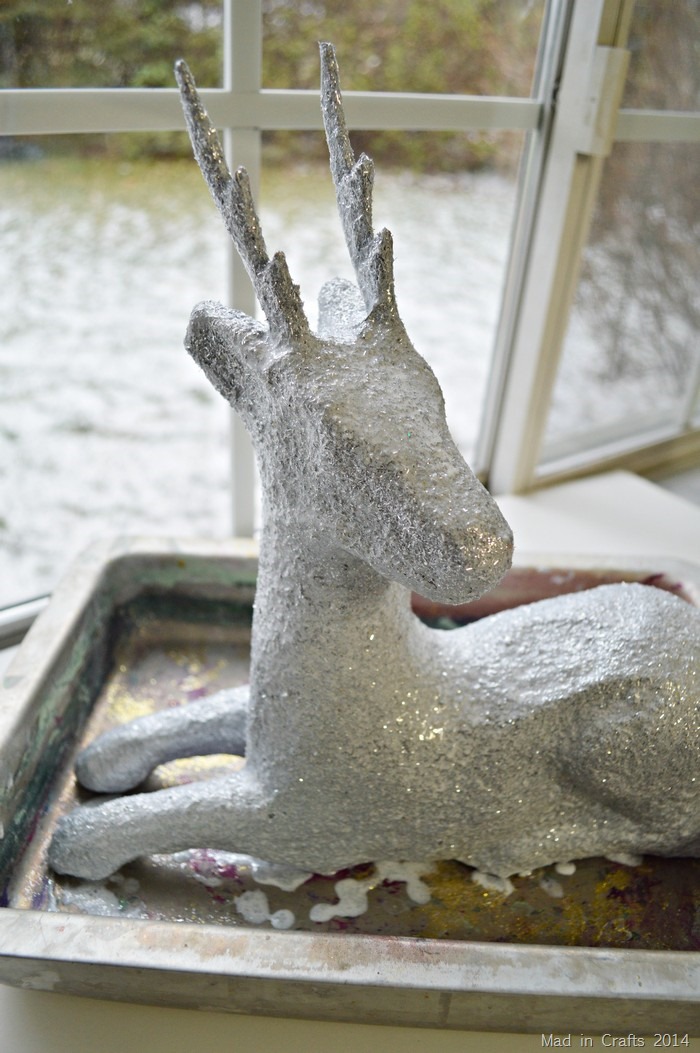
I coated the paper mache deer in Mod Podge which I painted on with a large craft brush. To limit the mess, I did all my glittering over a creased piece of paper, so I could save and re-use any glitter that didn’t stick to the deer the first time around. Even with all these precautions, some glitter still made its way onto the floor and table. If you have an outdoor space or garage where you can work, you can prevent bringing that mess inside.
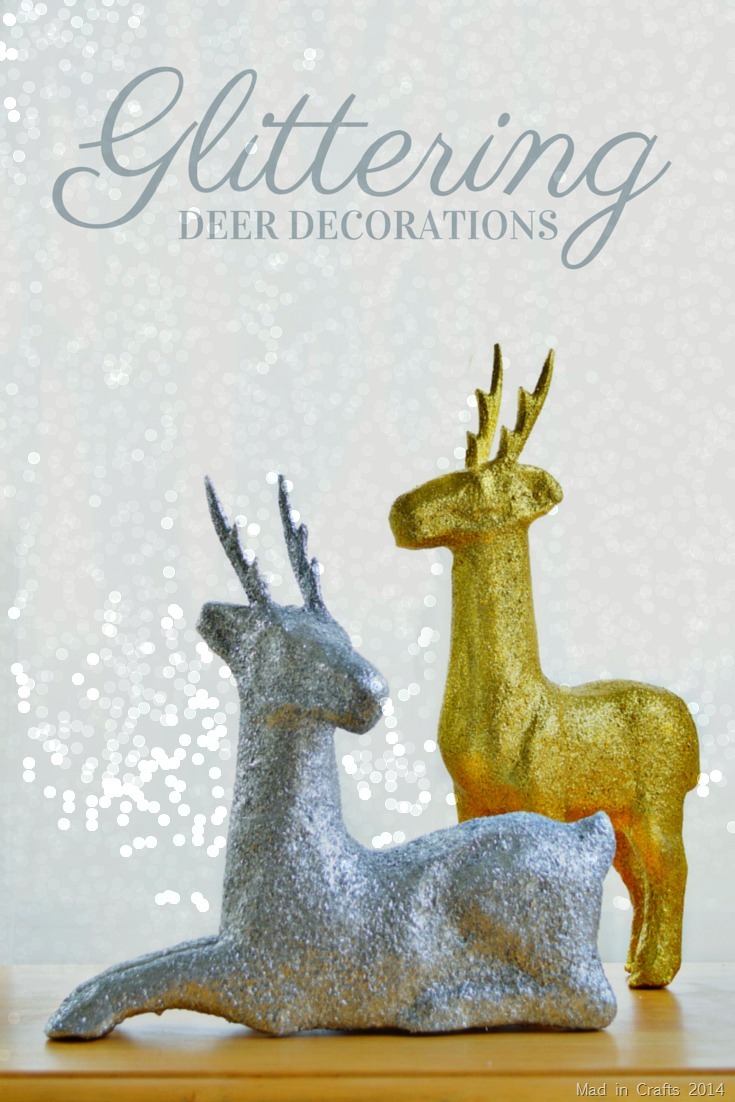
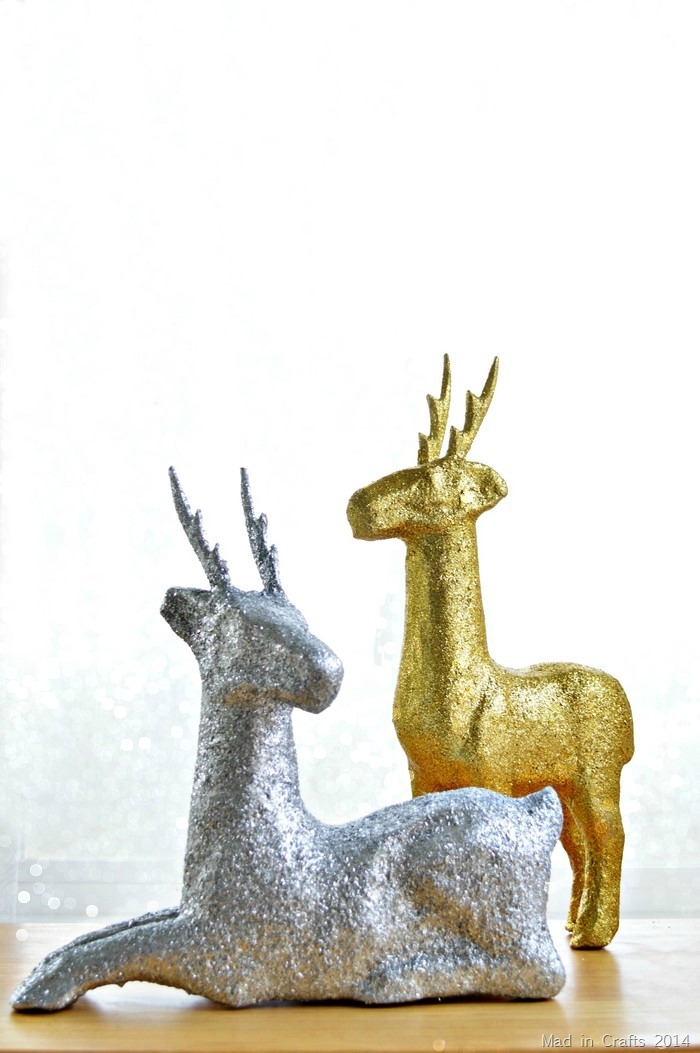
I wasn’t really expecting the dramatic difference using various glitters made in the sparkle of the glitter. The light bounces off of each kind of glitter differently, creating an almost dazzling effect. I like.
SEALING IN GLITTER PROJECTS WITH MOD PODGE
The second trick I stole from Peaches is key in larger glitter projects. After the first coat of glitter has dried, you need to apply a coat of Mod Podge mixed with glitter to seal the first coat of glitter in. I followed her recipe for shed-proof glittering, and it totally works. After the sealant coat dried, I ran my fingers back and forth over the glitter and nothing came off!
GLITTERY DEER DECOR FOR CHRISTMAS
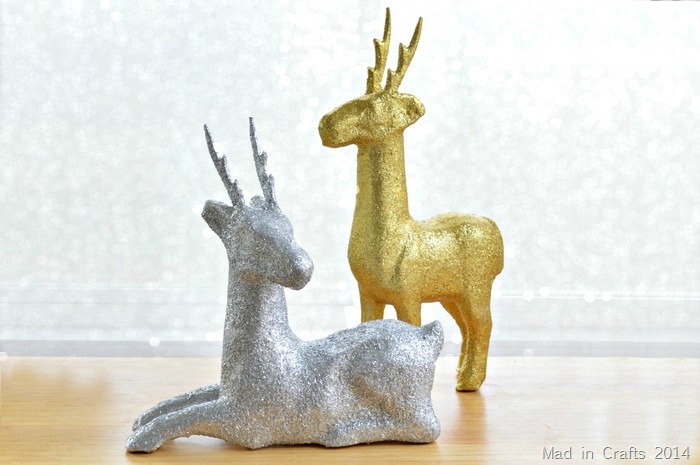
I should have put something else in this picture so you can see the scale of the deer. The standing deer is 24 inches from hooves to horns, so it is a decent size.
The big takeaway I want you to have from this post is not to be scared off by glitter, even for larger projects! Glitter is beautiful and so appropriate for Christmas decorations. If you take a chance and glitter a large scale project, I would LOVE to see it! Either tag me on instagram or post to my facebook fan page!
You might like these other glitter projects:
HOW TO KEEP GLITTER FROM SHEDDING



Woot Woot! They look awesome. Glad to see the glitter tricks work. And I love that tinselly type of glitter — Imma have to try that!
Wow… Love the multi-type glitter effect… very pleasing! My floors, counters, cat and I are currently very sparkly. I’ll try your tricks next time. Thanks!!