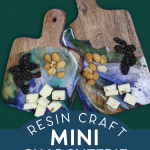
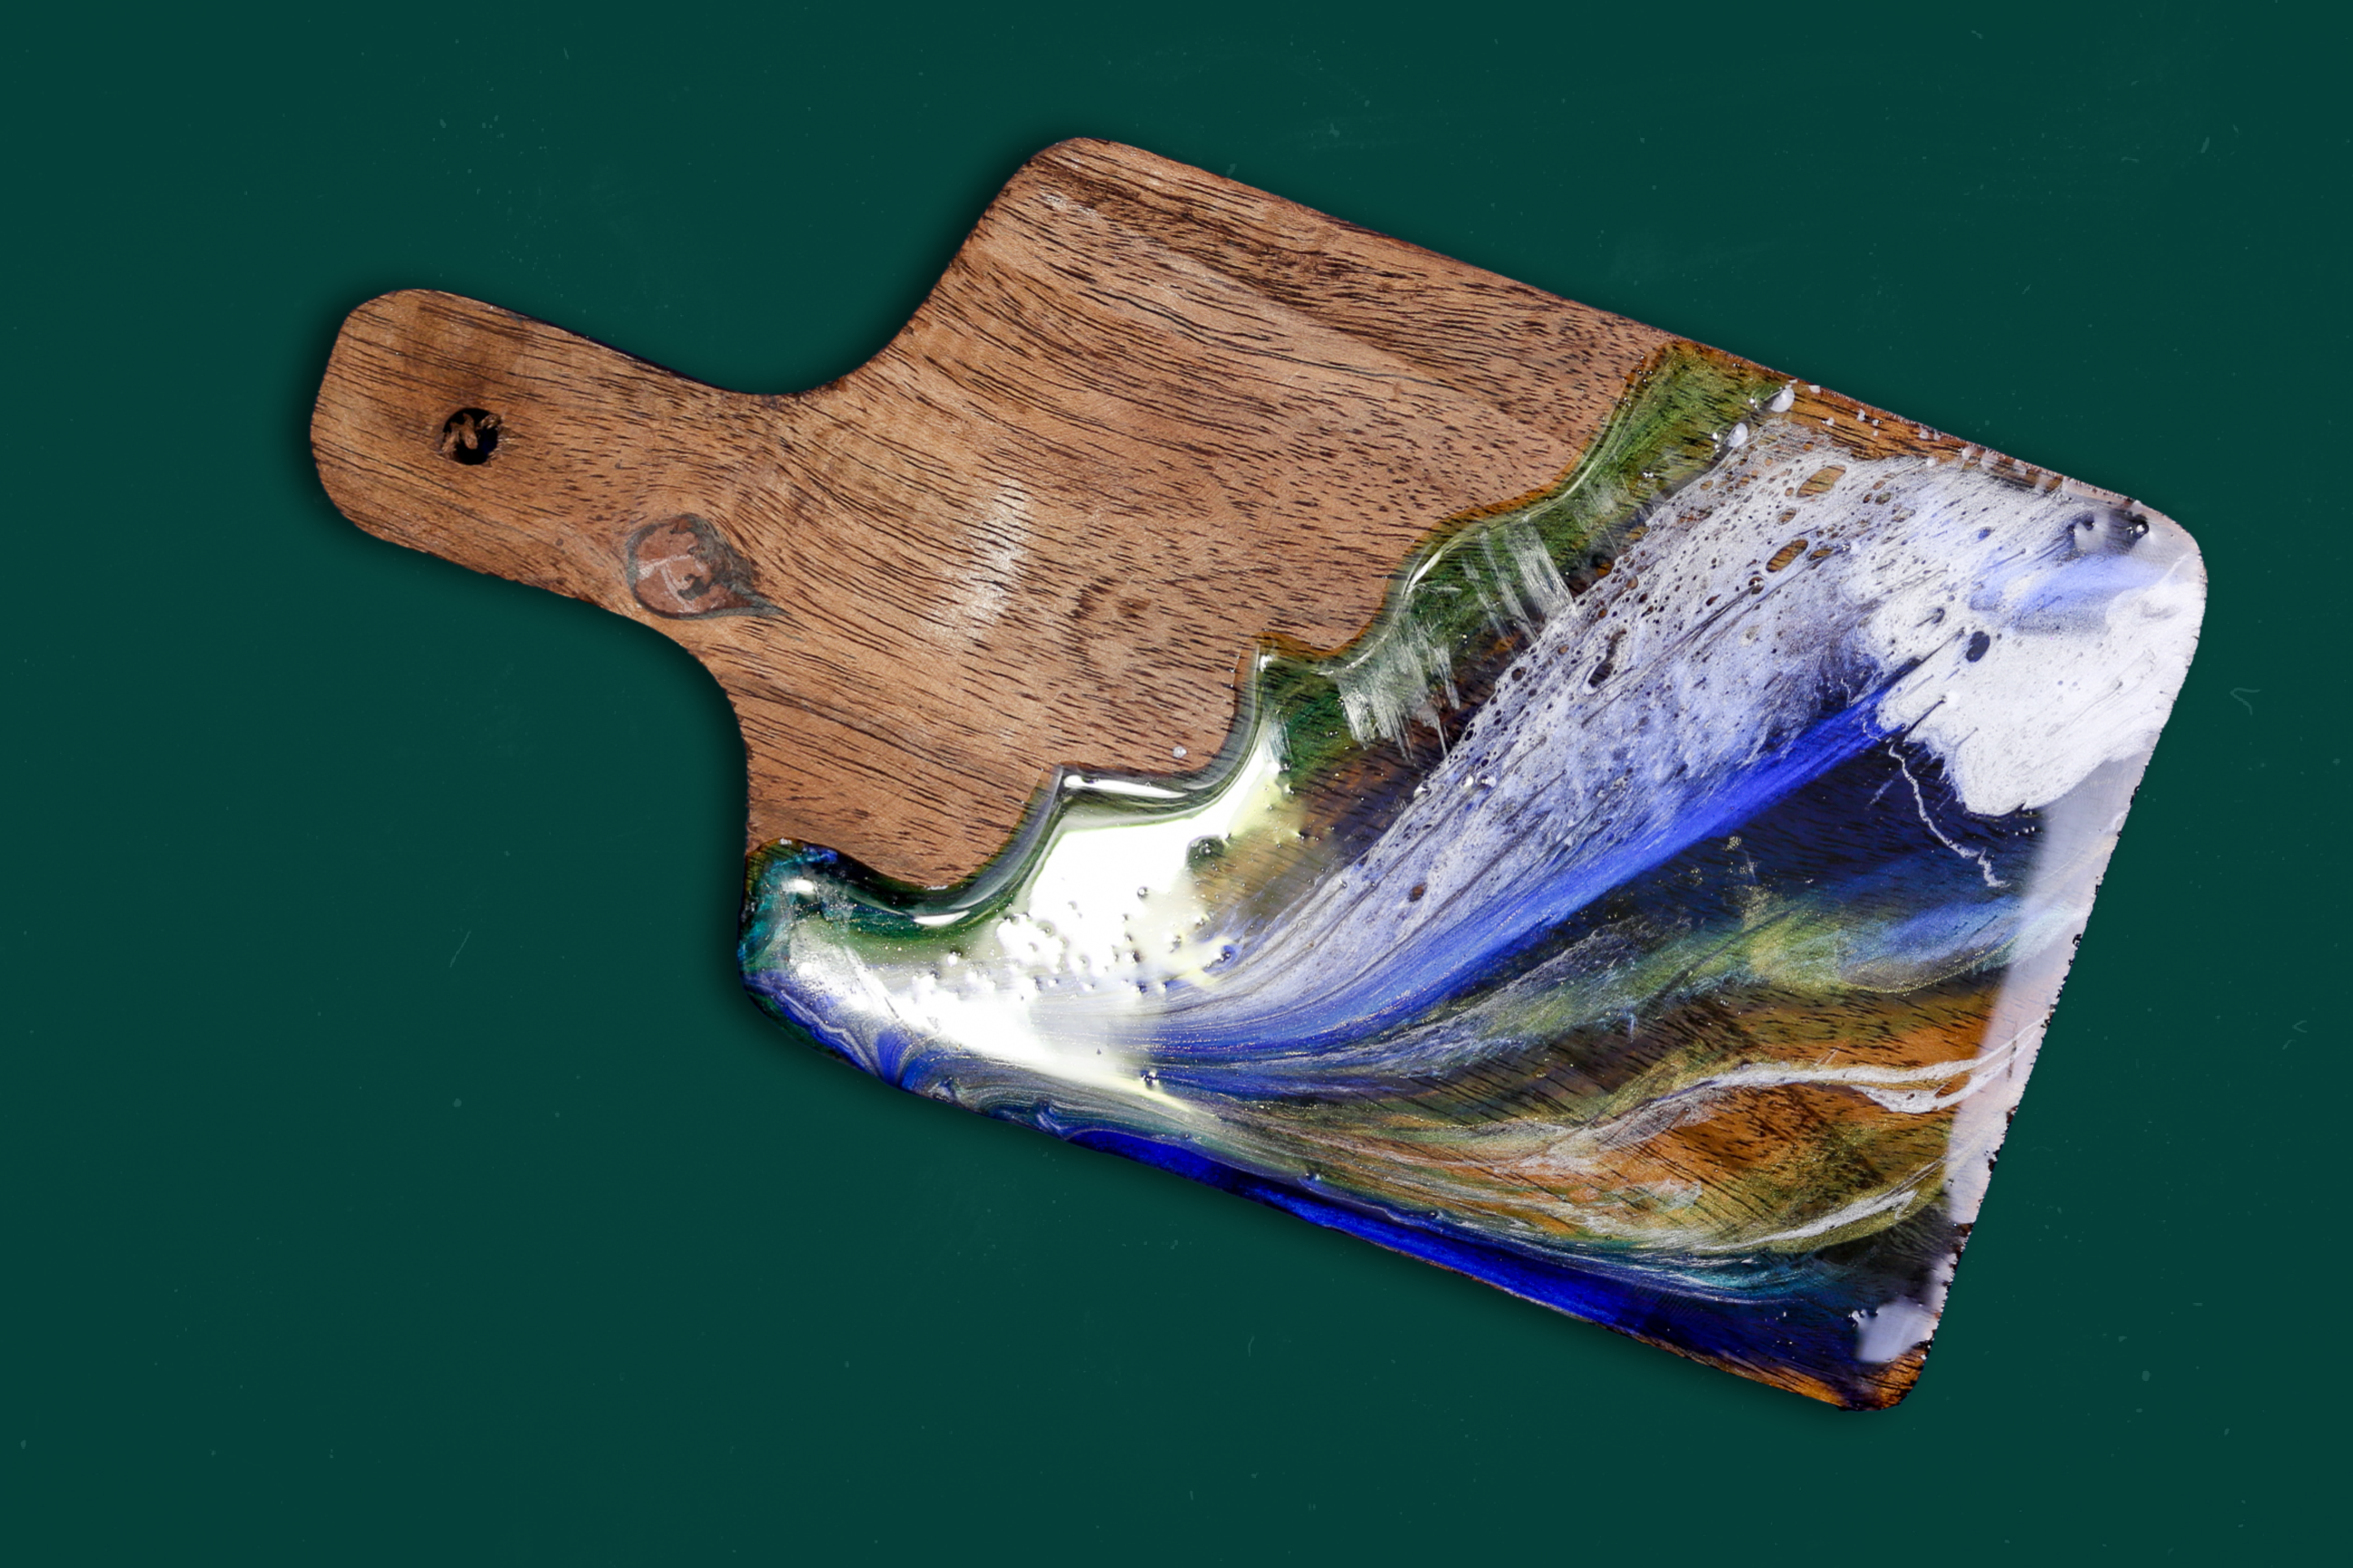
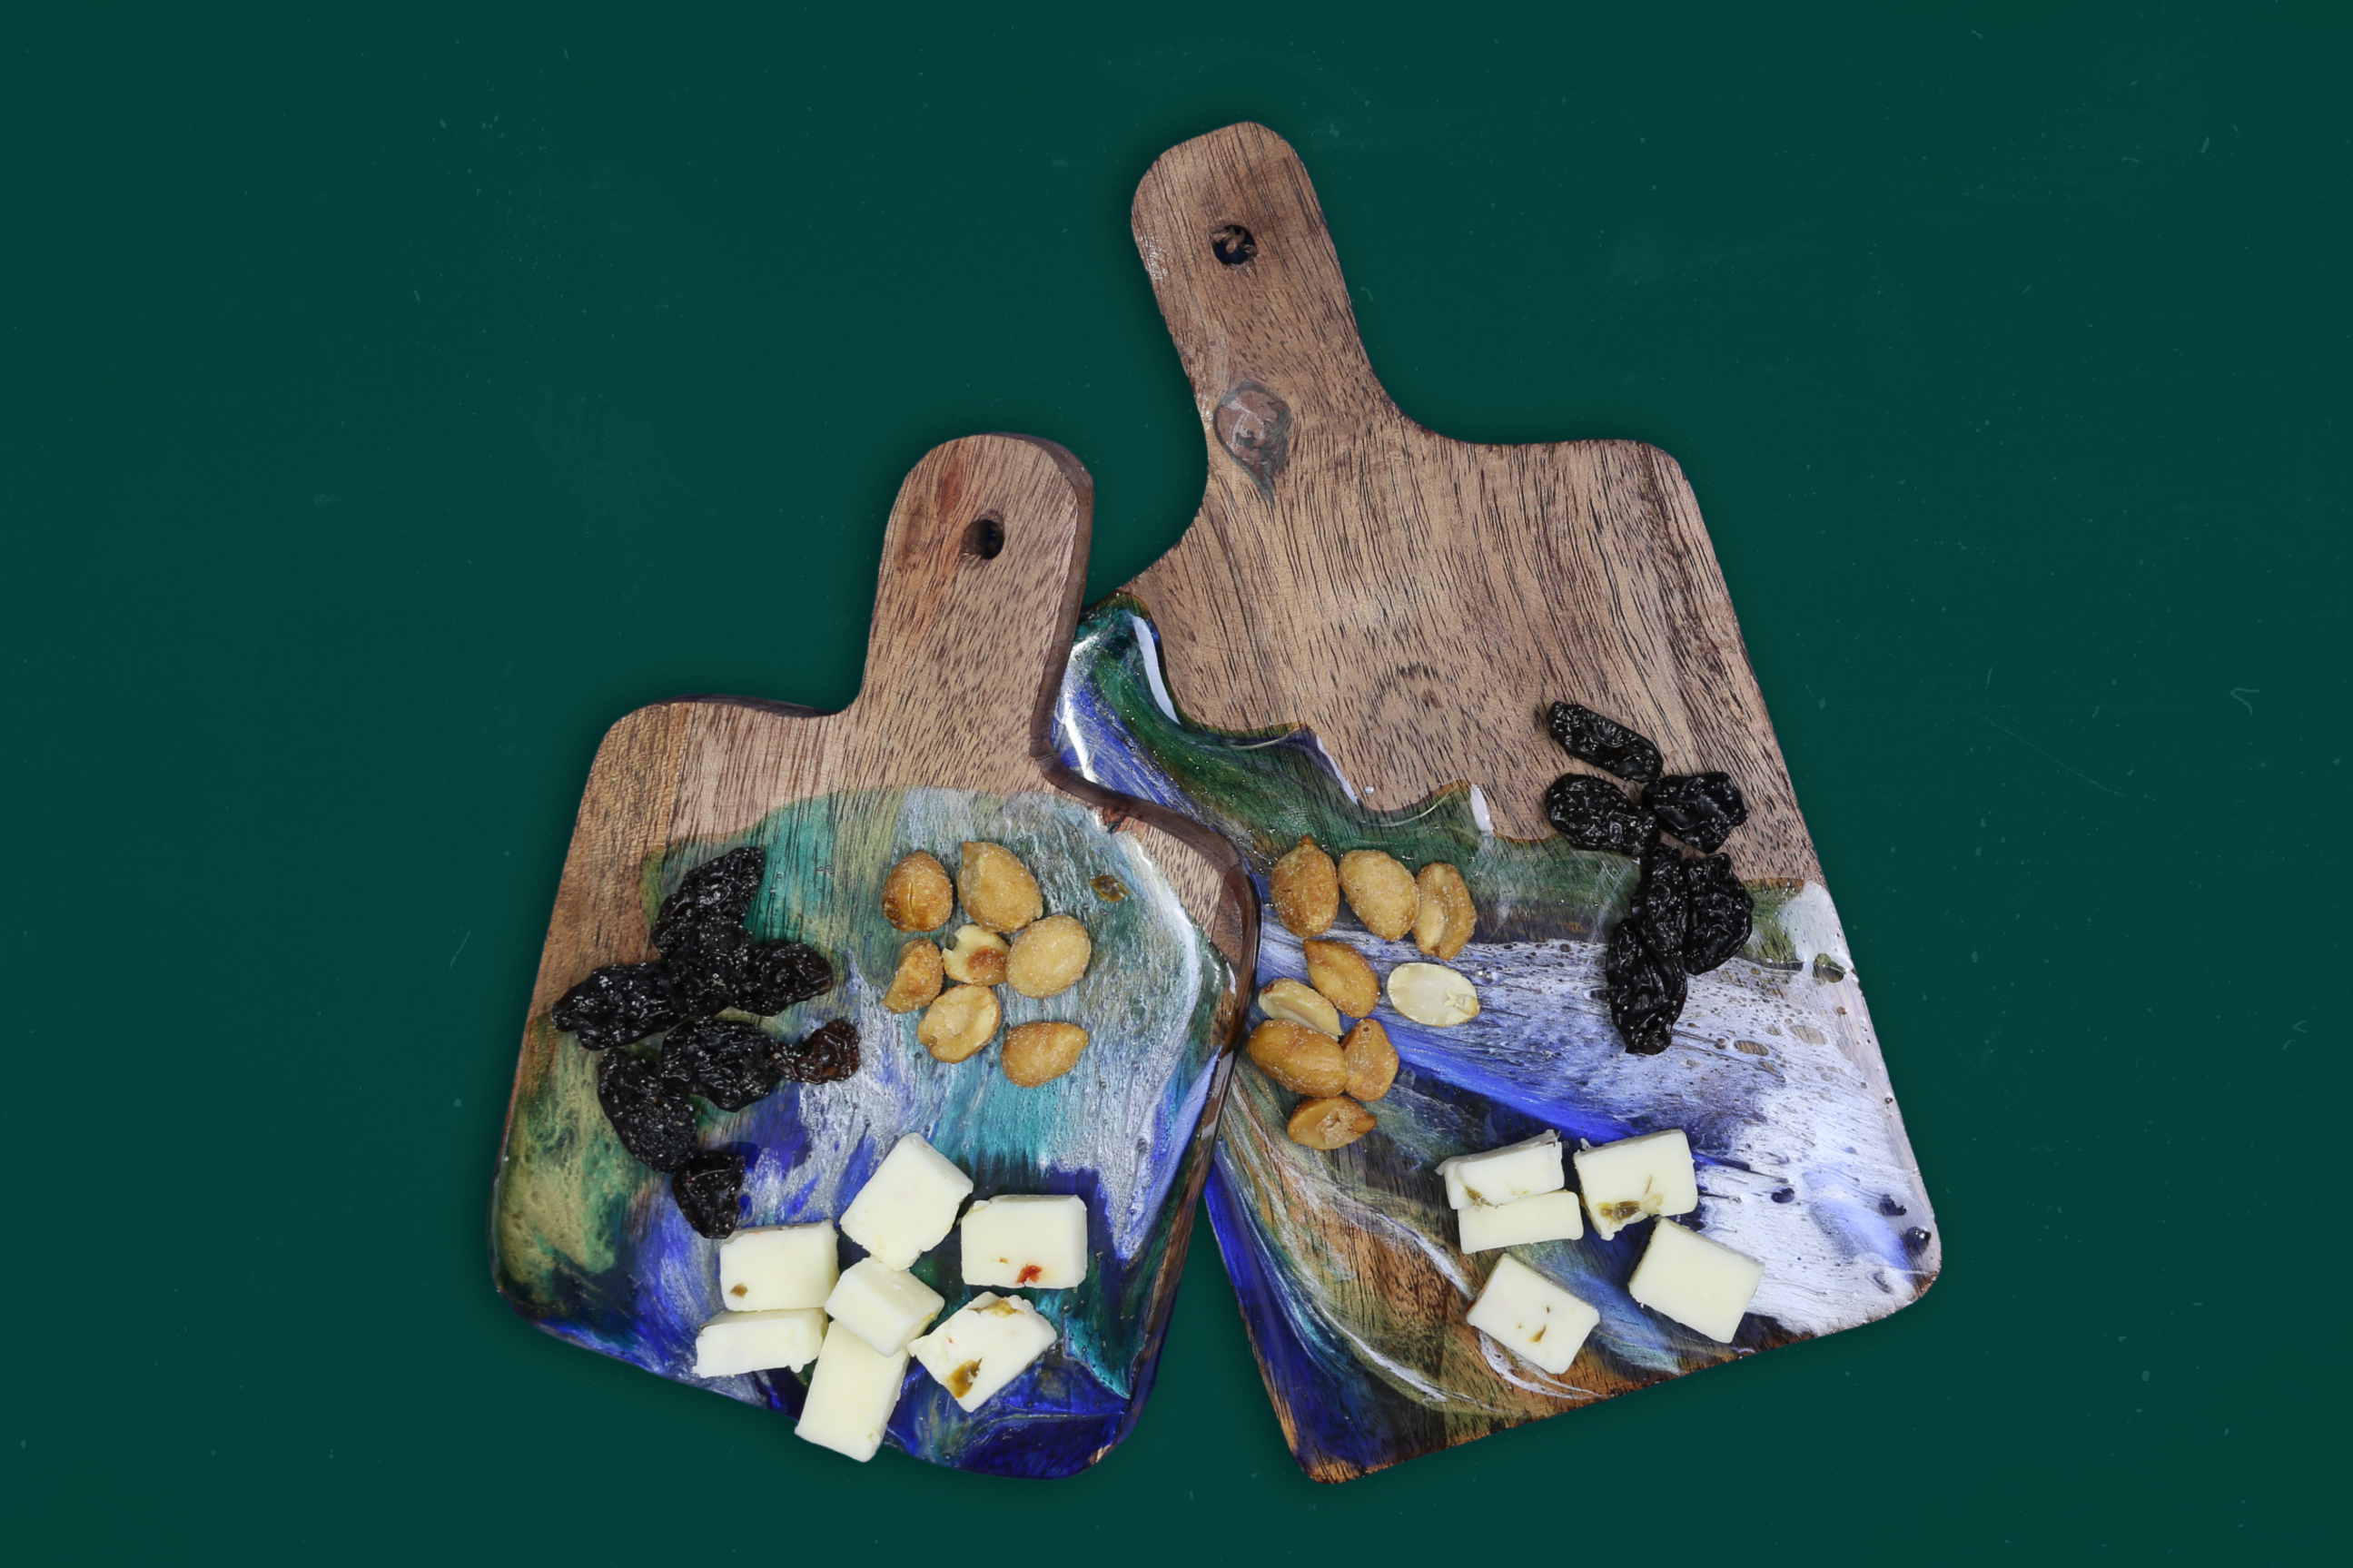
I have seen so many pretty resin cutting boards on the internet over the past few years. The unfortunate thing is that many of them are purely decorative since the epoxies can’t come in contact with food safely. I found an easy-to-use resin that you can use to make food safe resin cutting boards so your project can be both beautiful and functional!
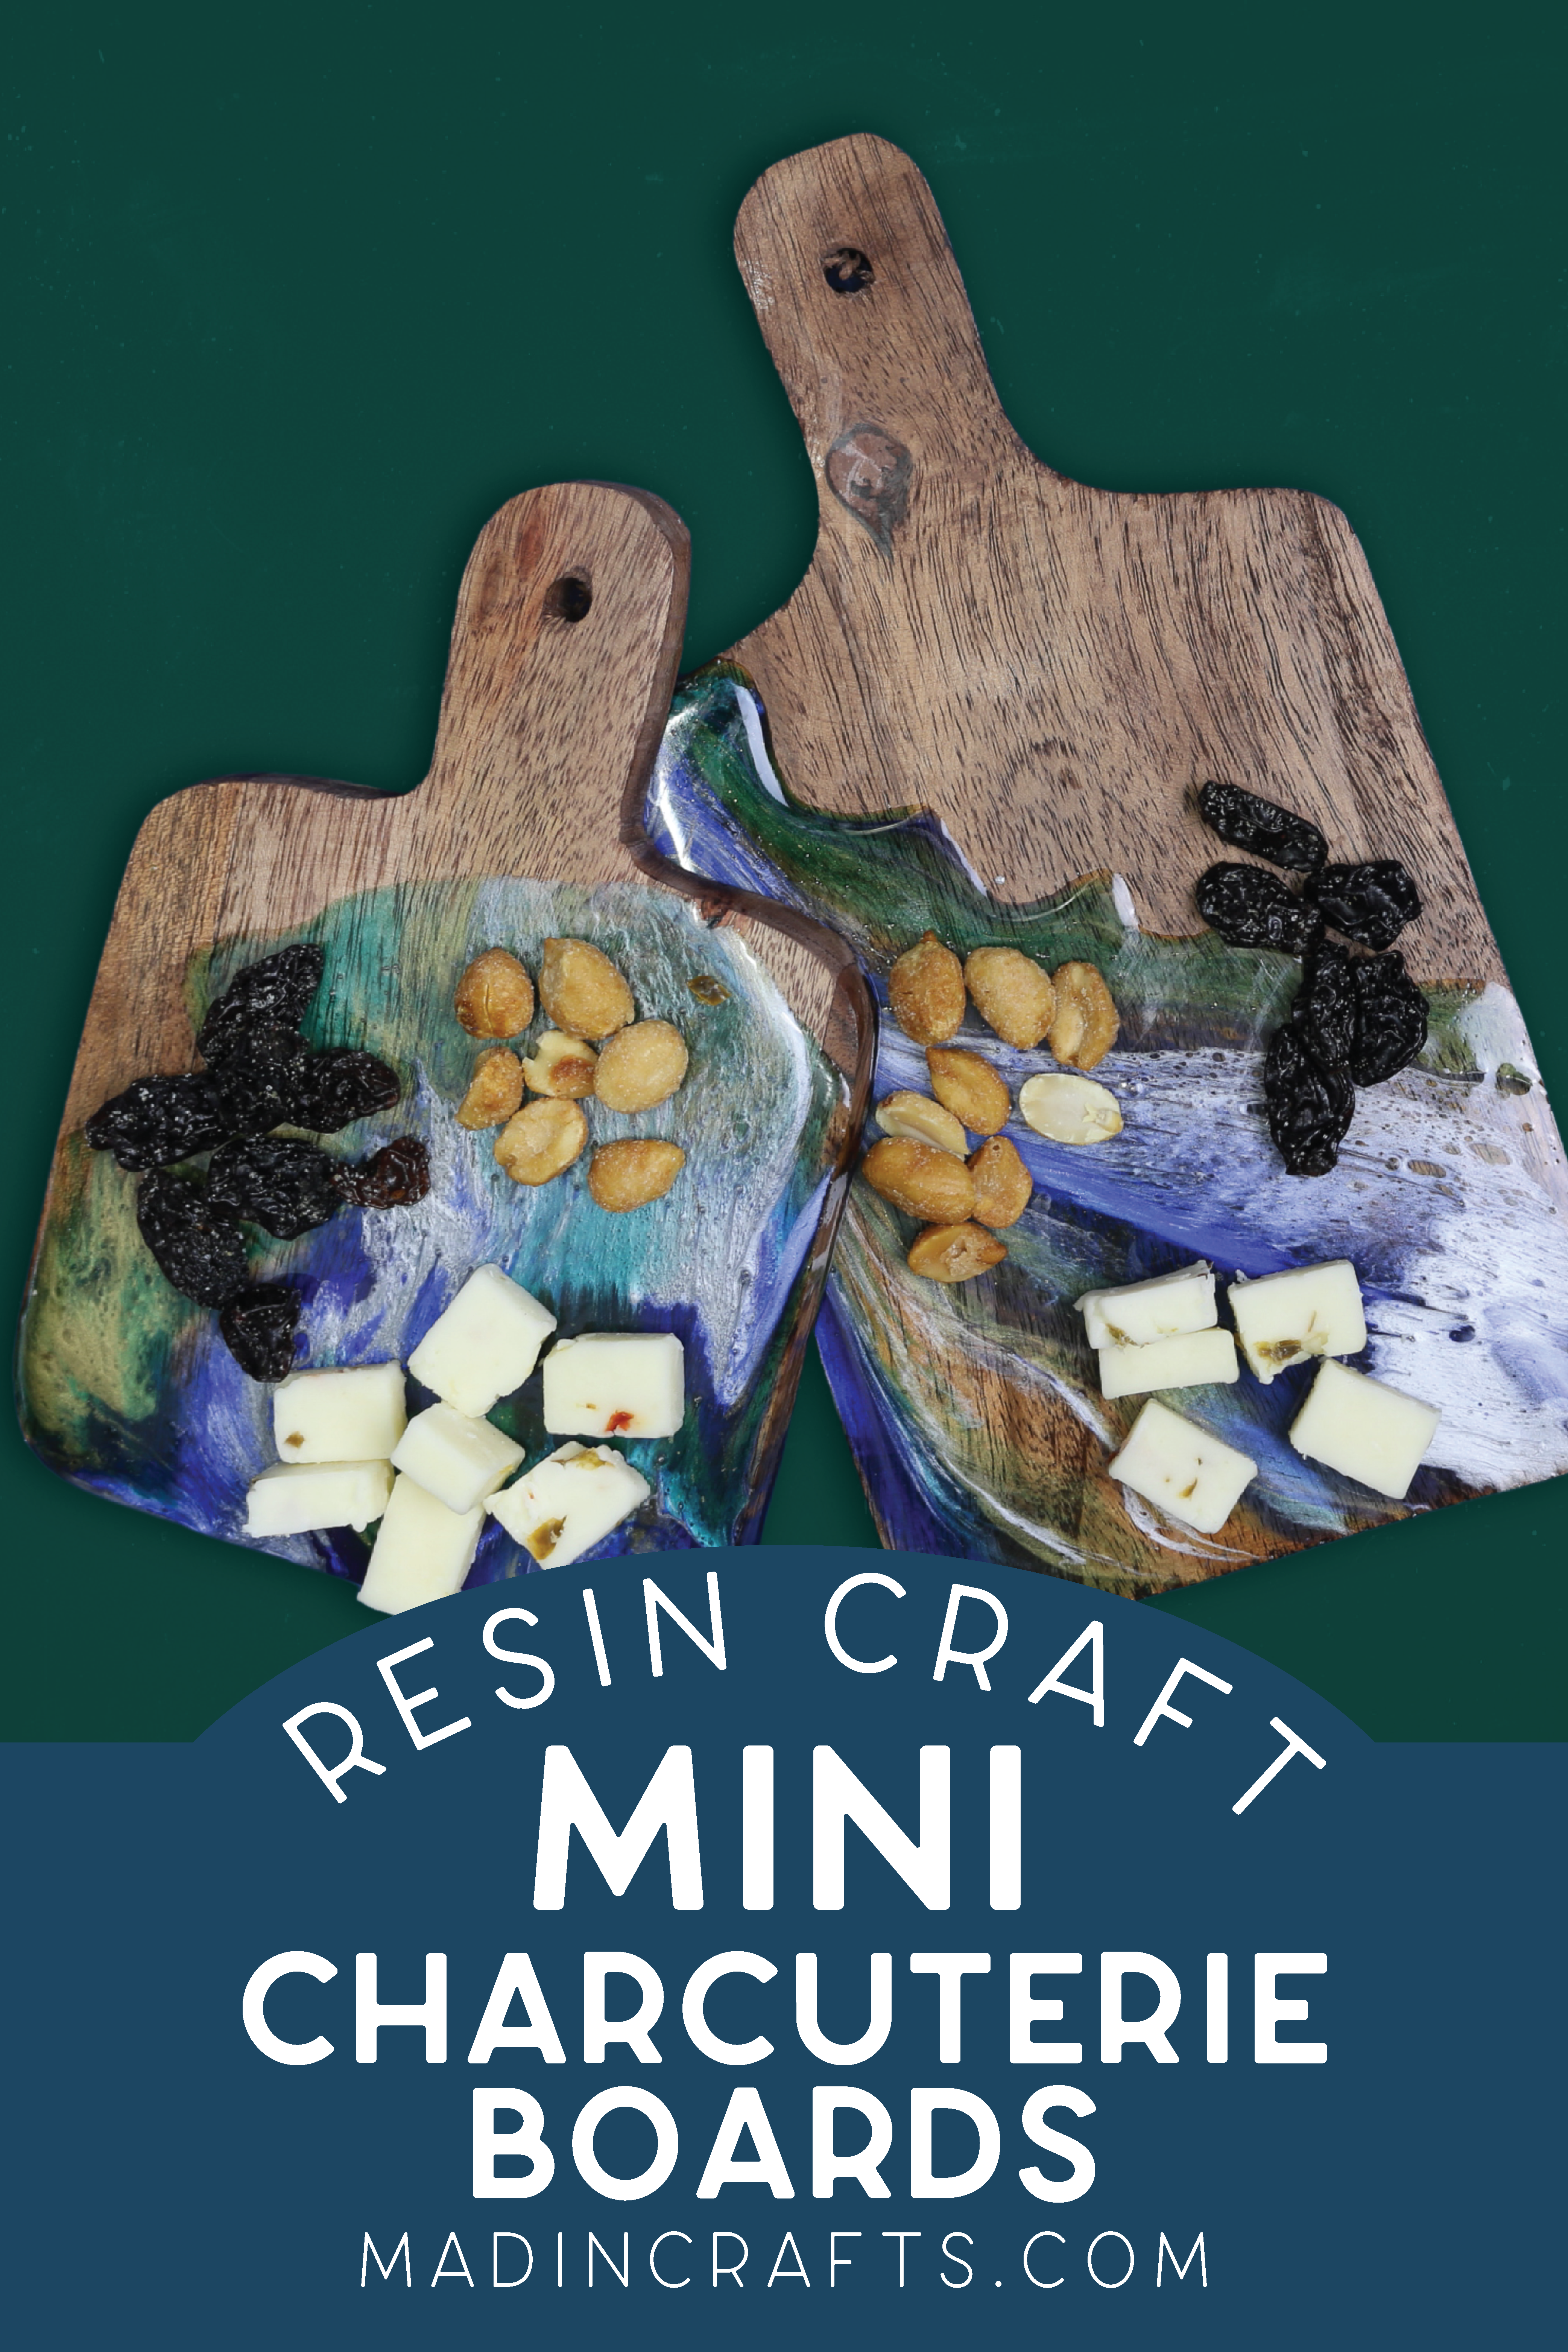
FOOD SAFE RESIN CUTTING BOARDS
WHAT YOU NEED TO MAKE FOOD SAFE RESIN CUTTING BOARDS
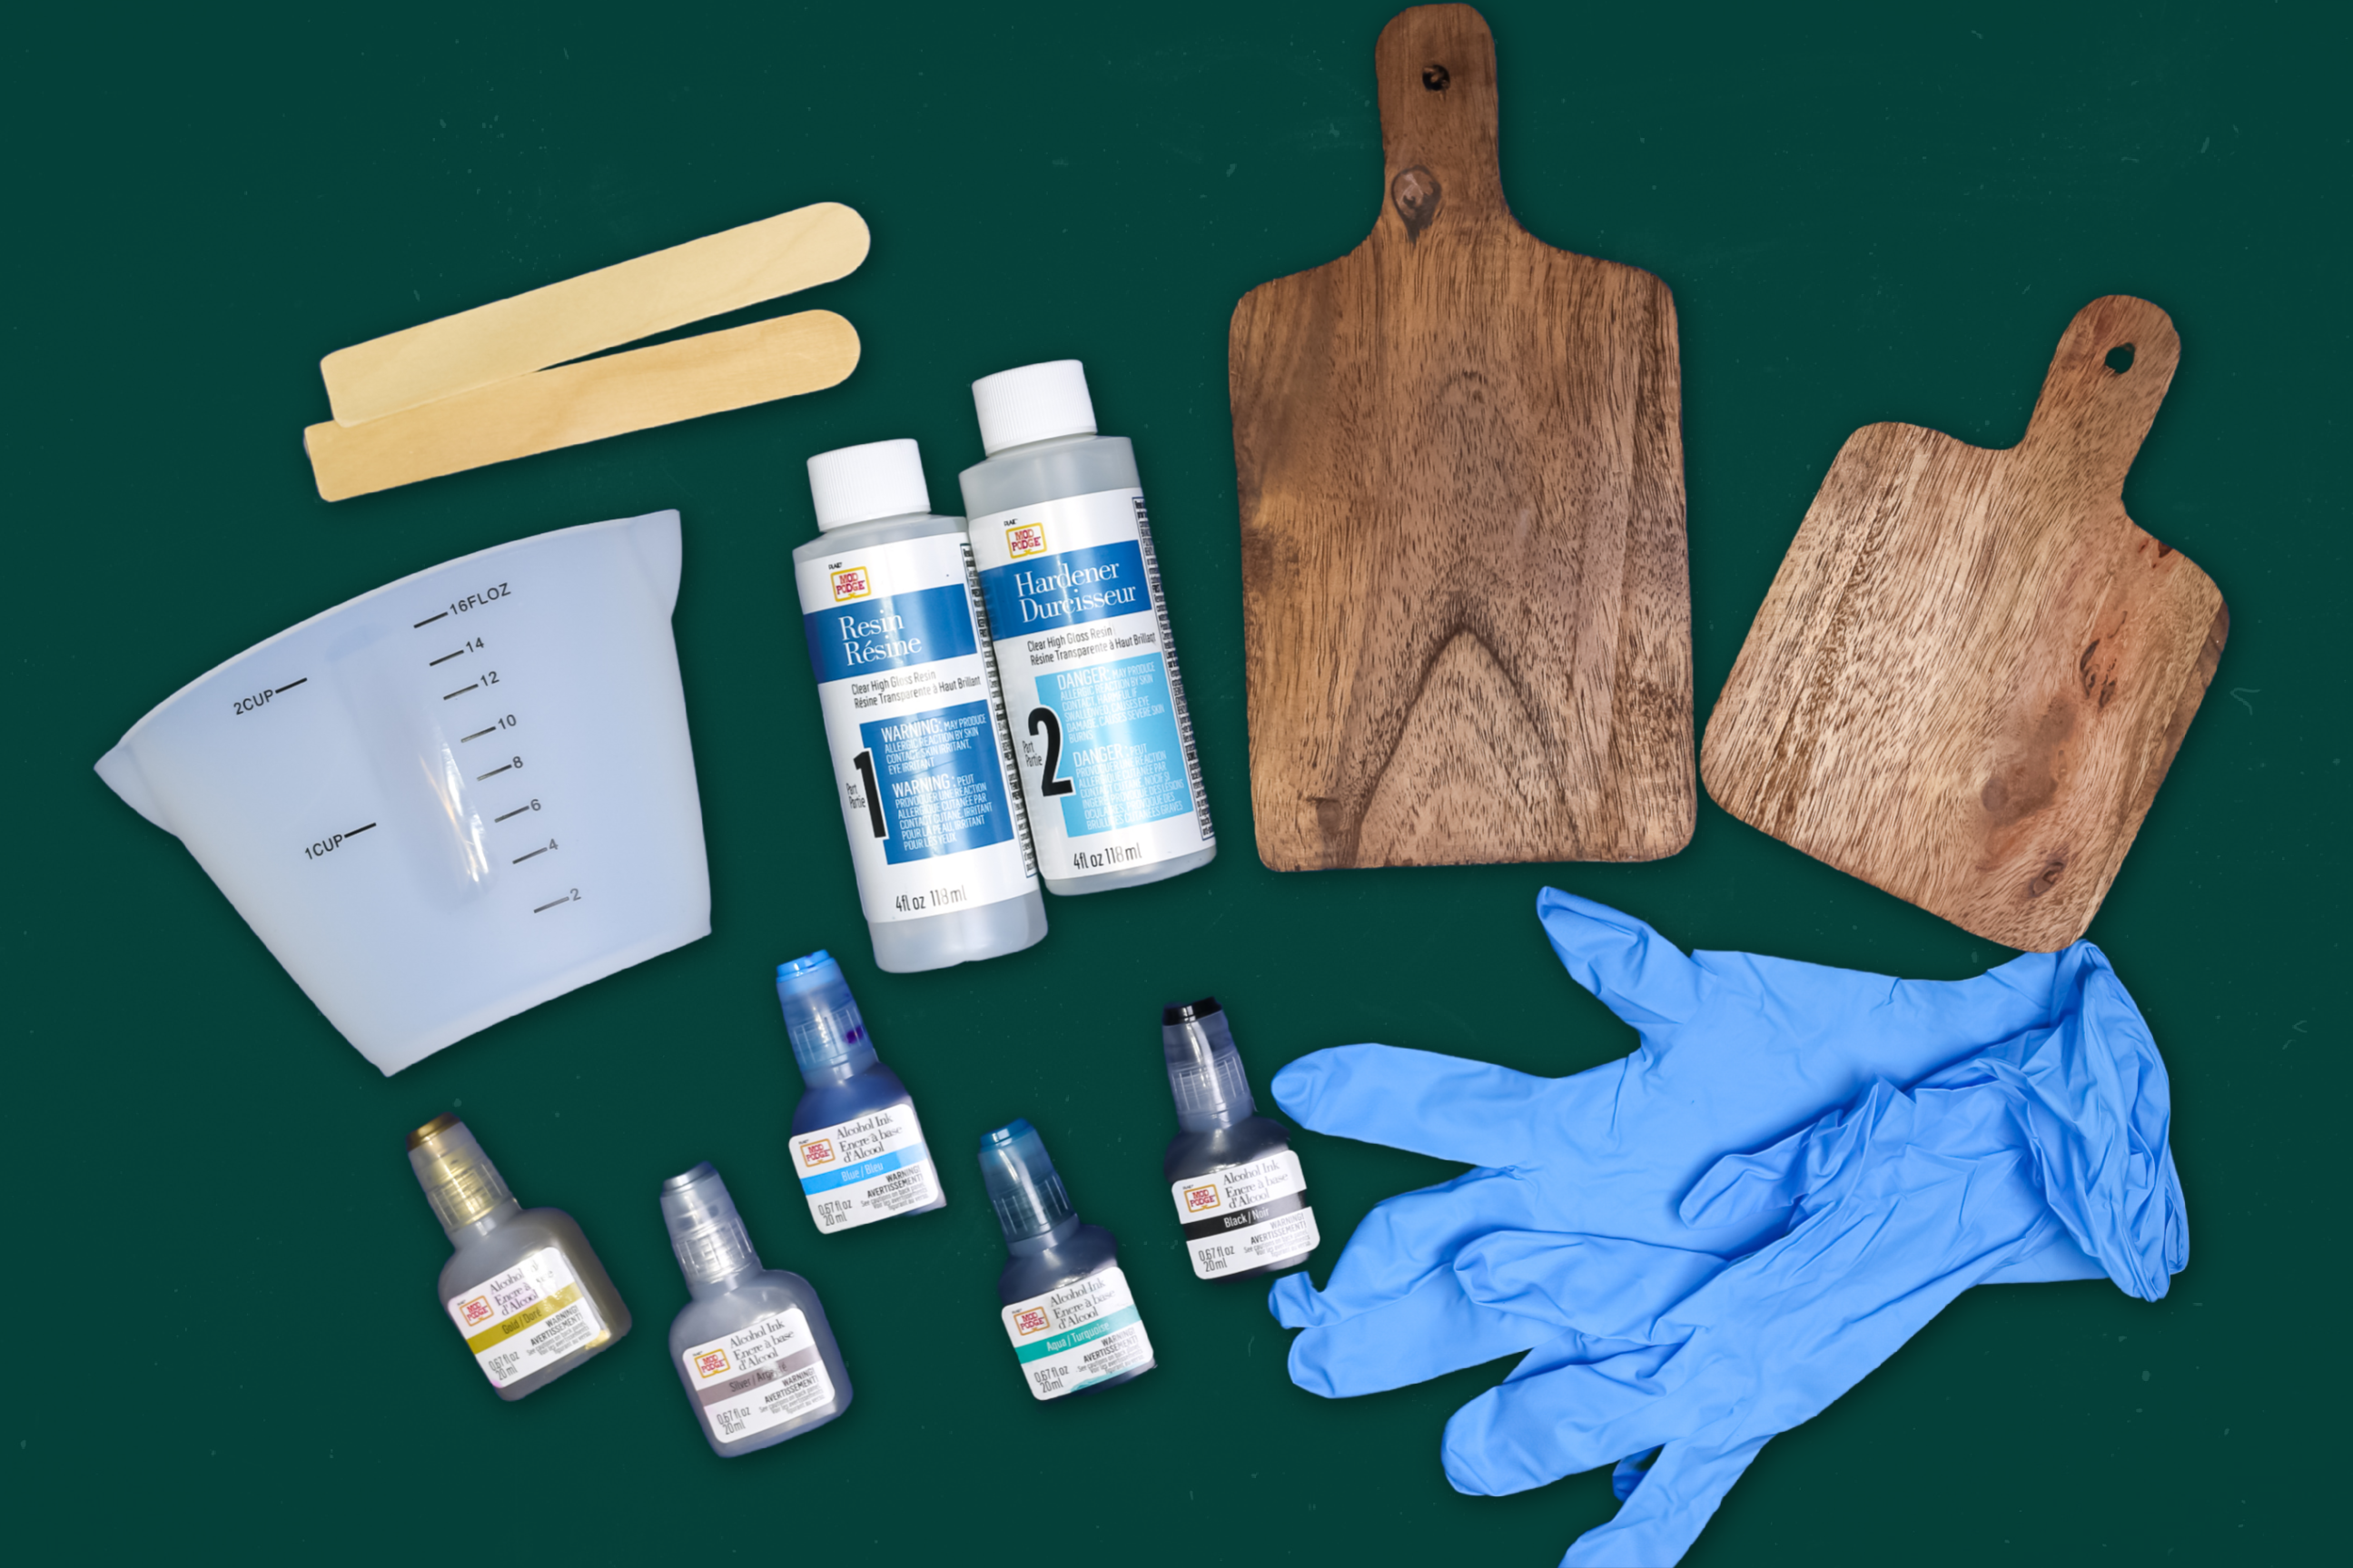
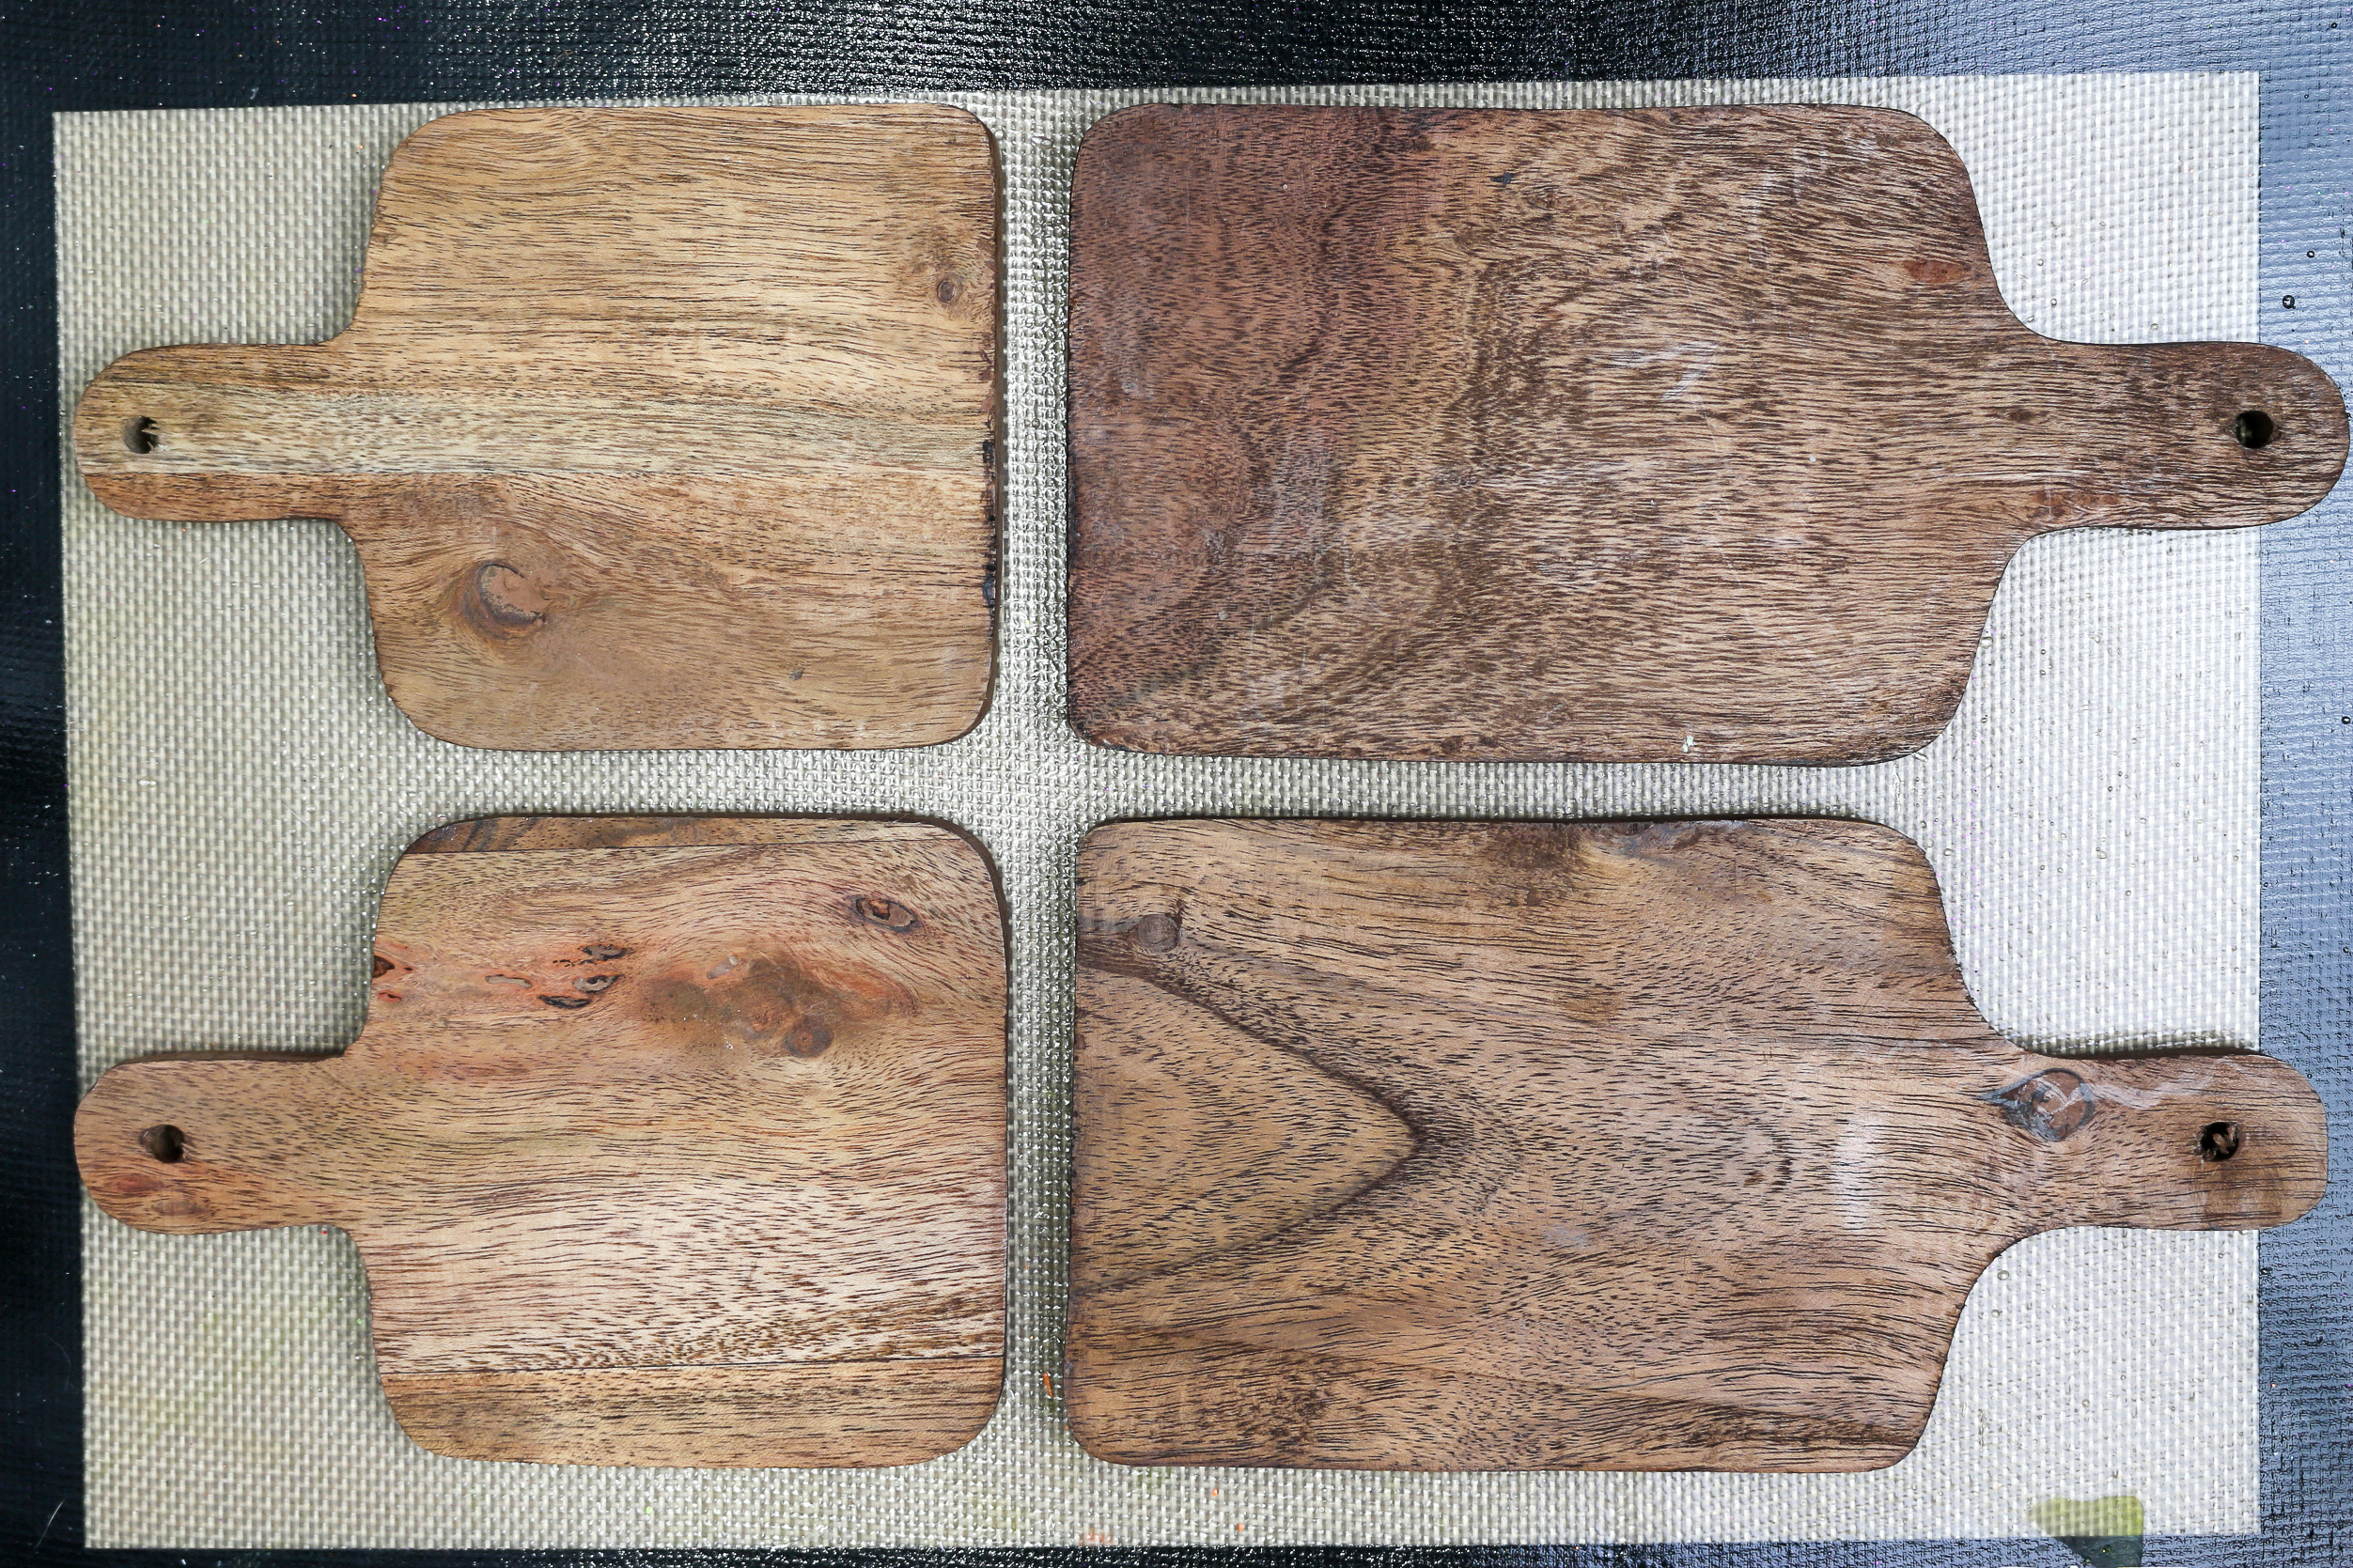
I found my mini wood charcuterie boards at Aldi, but you can also find them online. For this project, I HIGHLY recommend using food-safe resin for the resin pour. Many epoxy resins should not come in contact with food, which makes them great for decorative projects, but not for this DIY.
Note: This is NOT a sponsored post, but I did use Mod Podge resin that Plaid gifted me last year.
These are all affiliate links, if you make a purchase (of anything from the site, not just these items) after clicking through, I will earn a small commission. Ads and affiliate links are the way I am able to keep this website running and to offer you free tutorials all year long. Thank you so much for supporting me and Mad in Crafts!
- mini cutting boards
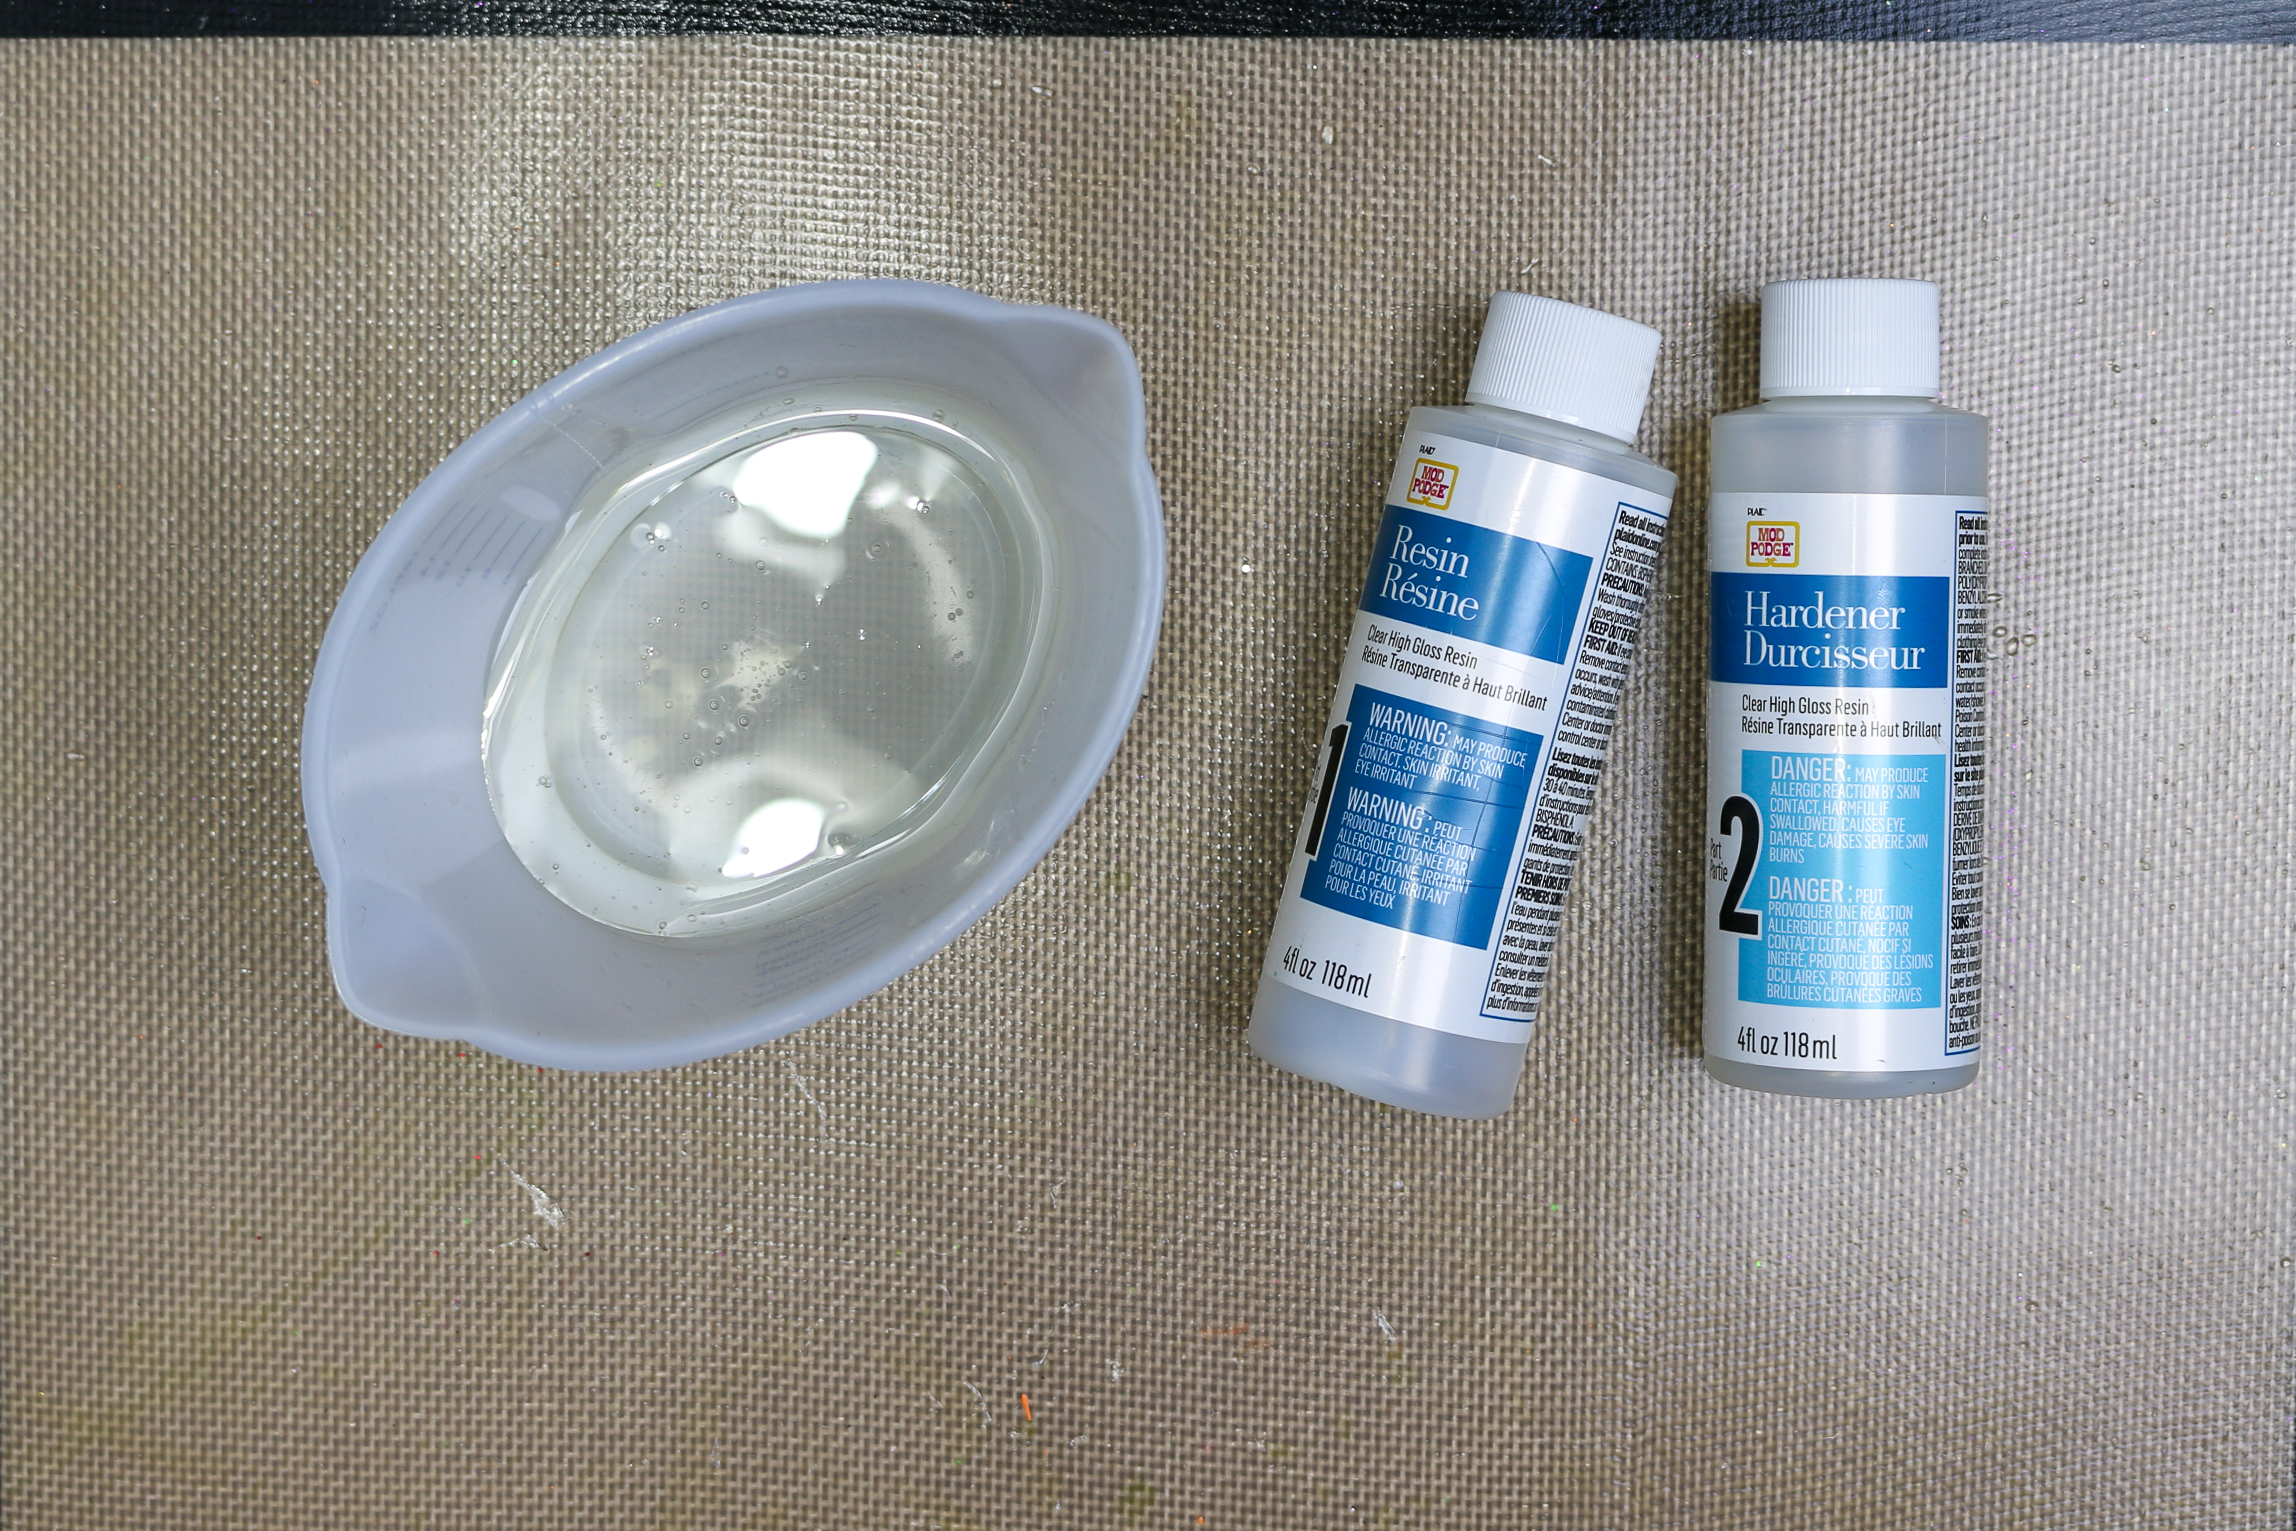
- Mod Podge resin
- alcohol ink
- disposable gloves
- mixing cups
- stir sticks
- silicone mat (optional, but recommended)

Want to know which craft supplies I always keep in my craft room?
Visit the Mad in Crafts Amazon Storefront to learn more and to buy your own supplies!
IS MOD PODGE RESIN A FOOD-SAFE EPOXY RESIN?
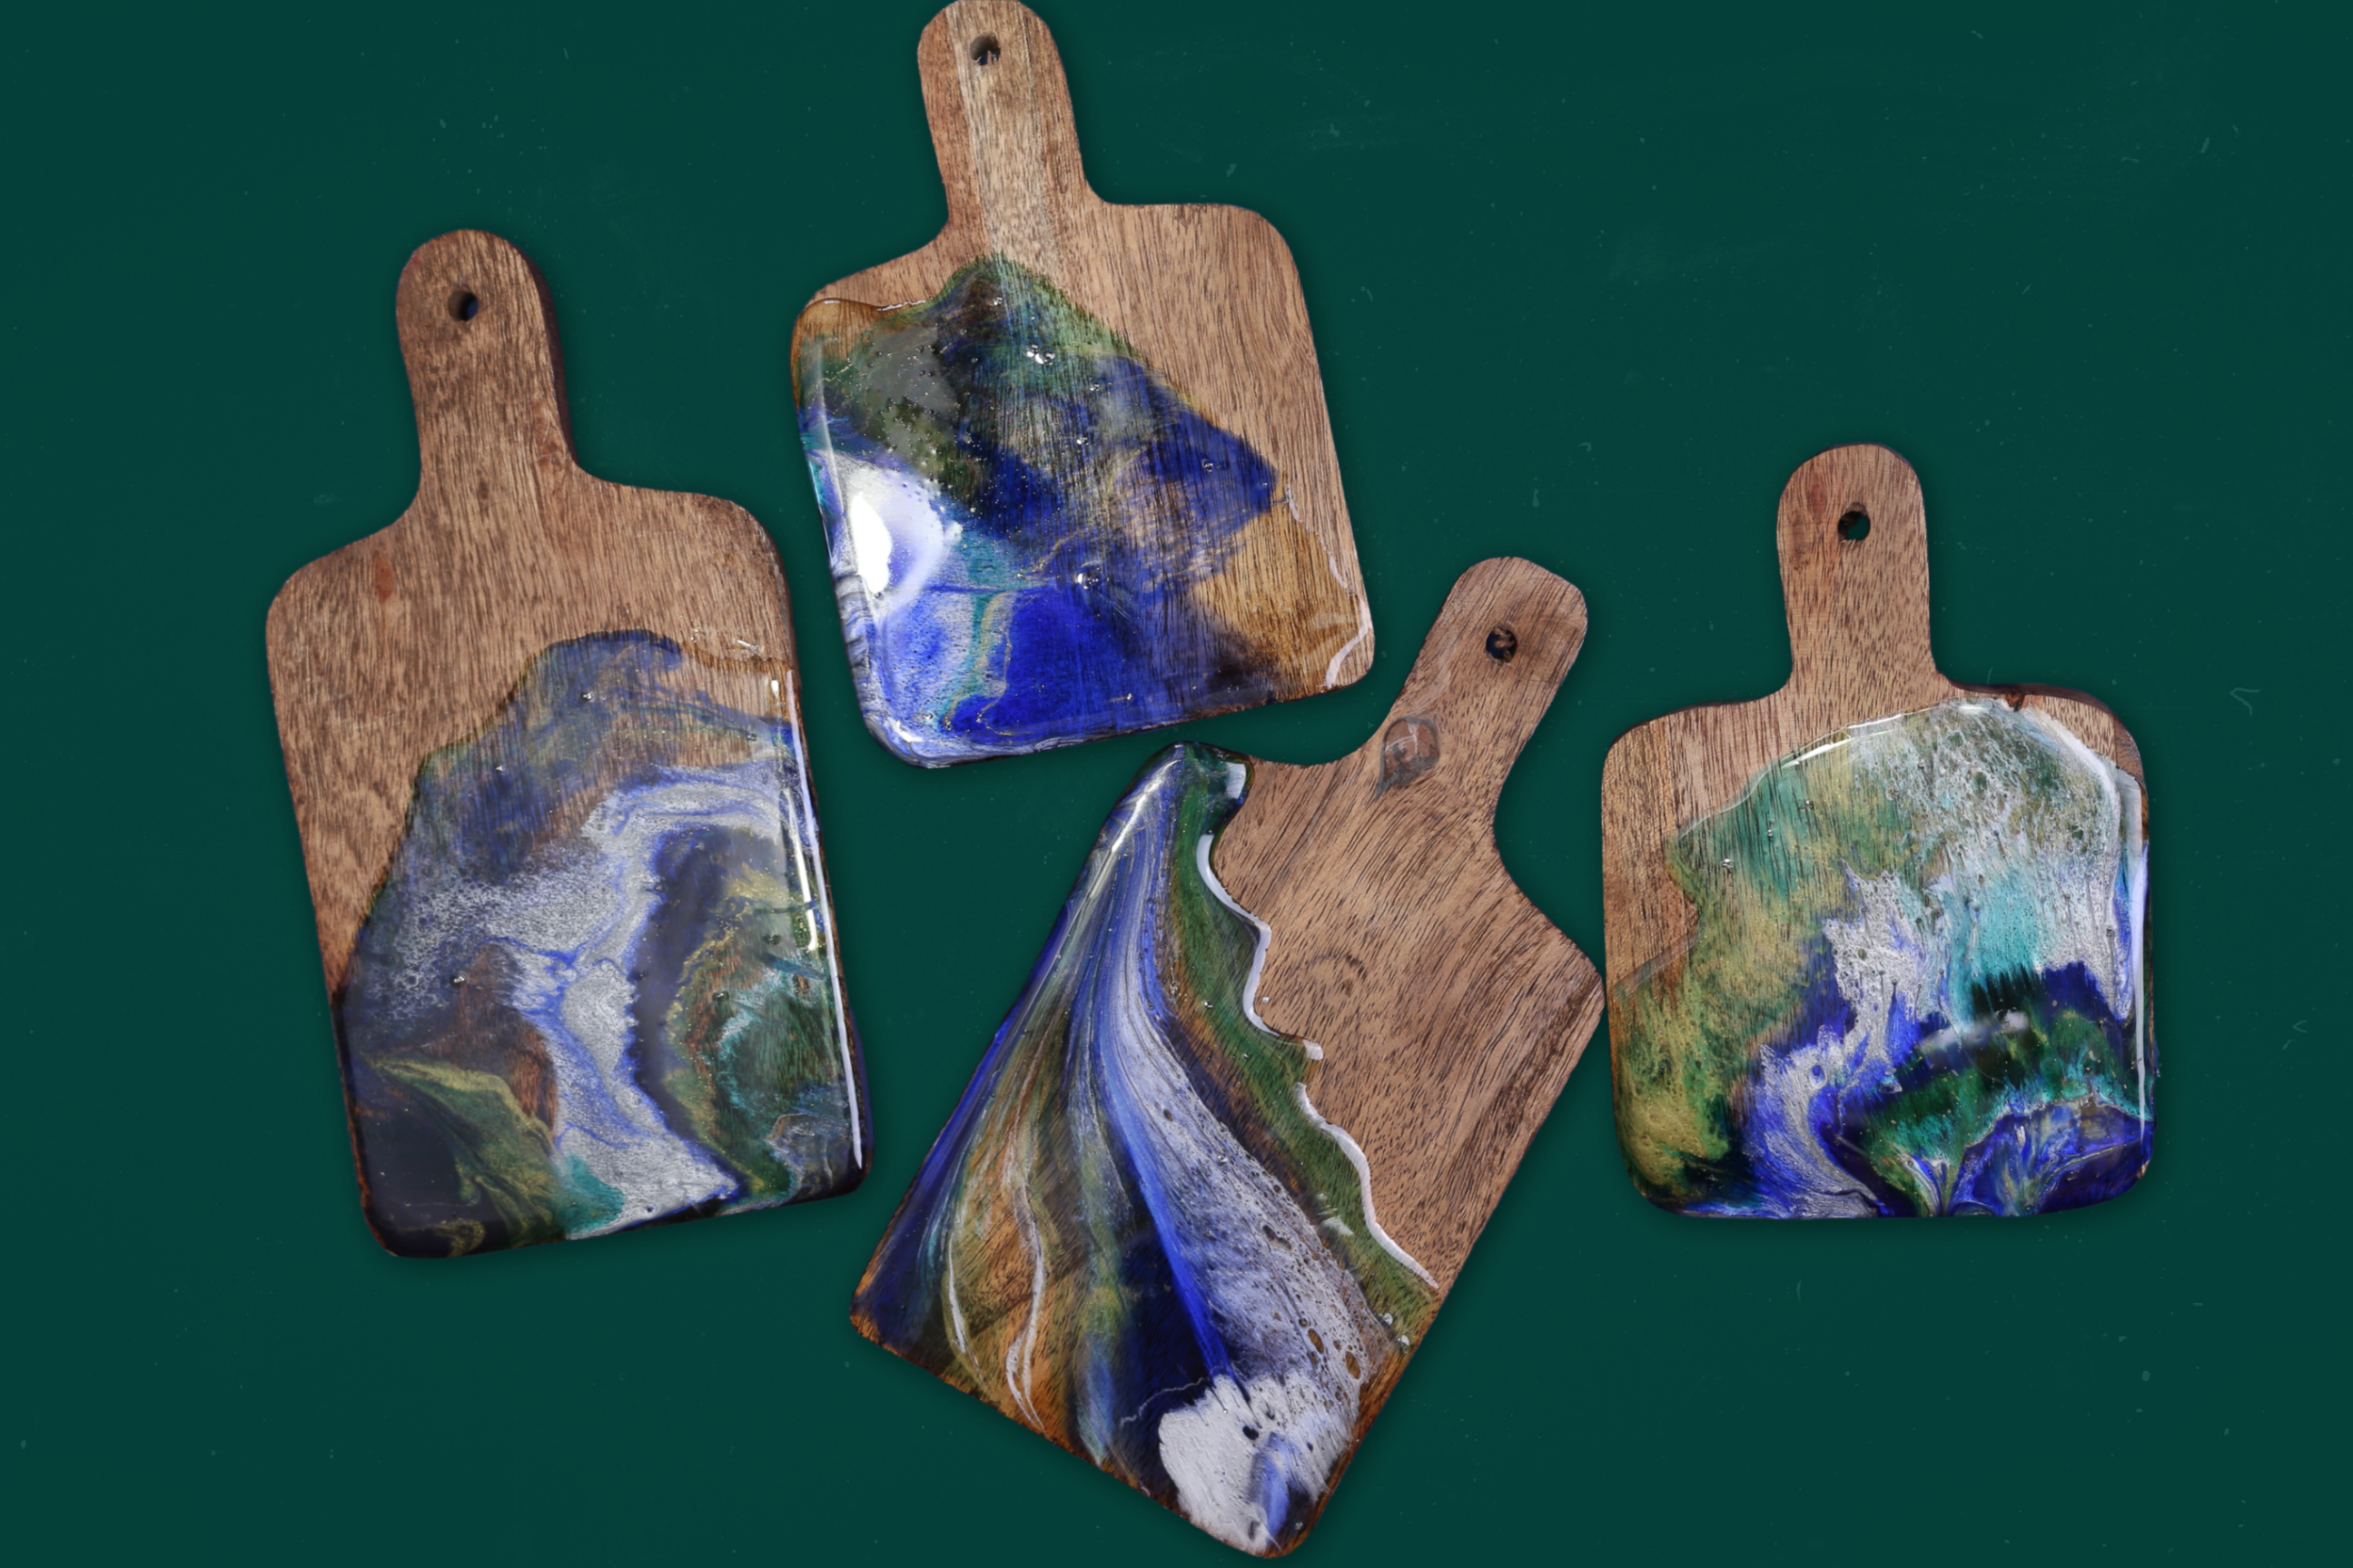
Two-part resin is a fun, but complicated, craft supply. There are quite a few different versions on the market, and they are all slightly different in usage and application.
Last year, trusted craft brand Mod Podge released its own line of two-part epoxy resin, molds, and alcohol inks. One of the things I appreciate about the Mod Podge resin is that when the resin is mixed and cured, it has FDA approval for being food safe.
In this project, I add Mod Podge alcohol inks to color the resin. According to the Mod Podge Resin safety information, this makes the resin no longer considered fully food safe. It is important to coat the colored resin with a layer of clear (non-colored) resin in order to ensure that the resin is safe for direct food contact.
If you would like to read more about the safety information, you can find that here.
MIXING AND COLORING MOD PODGE RESIN
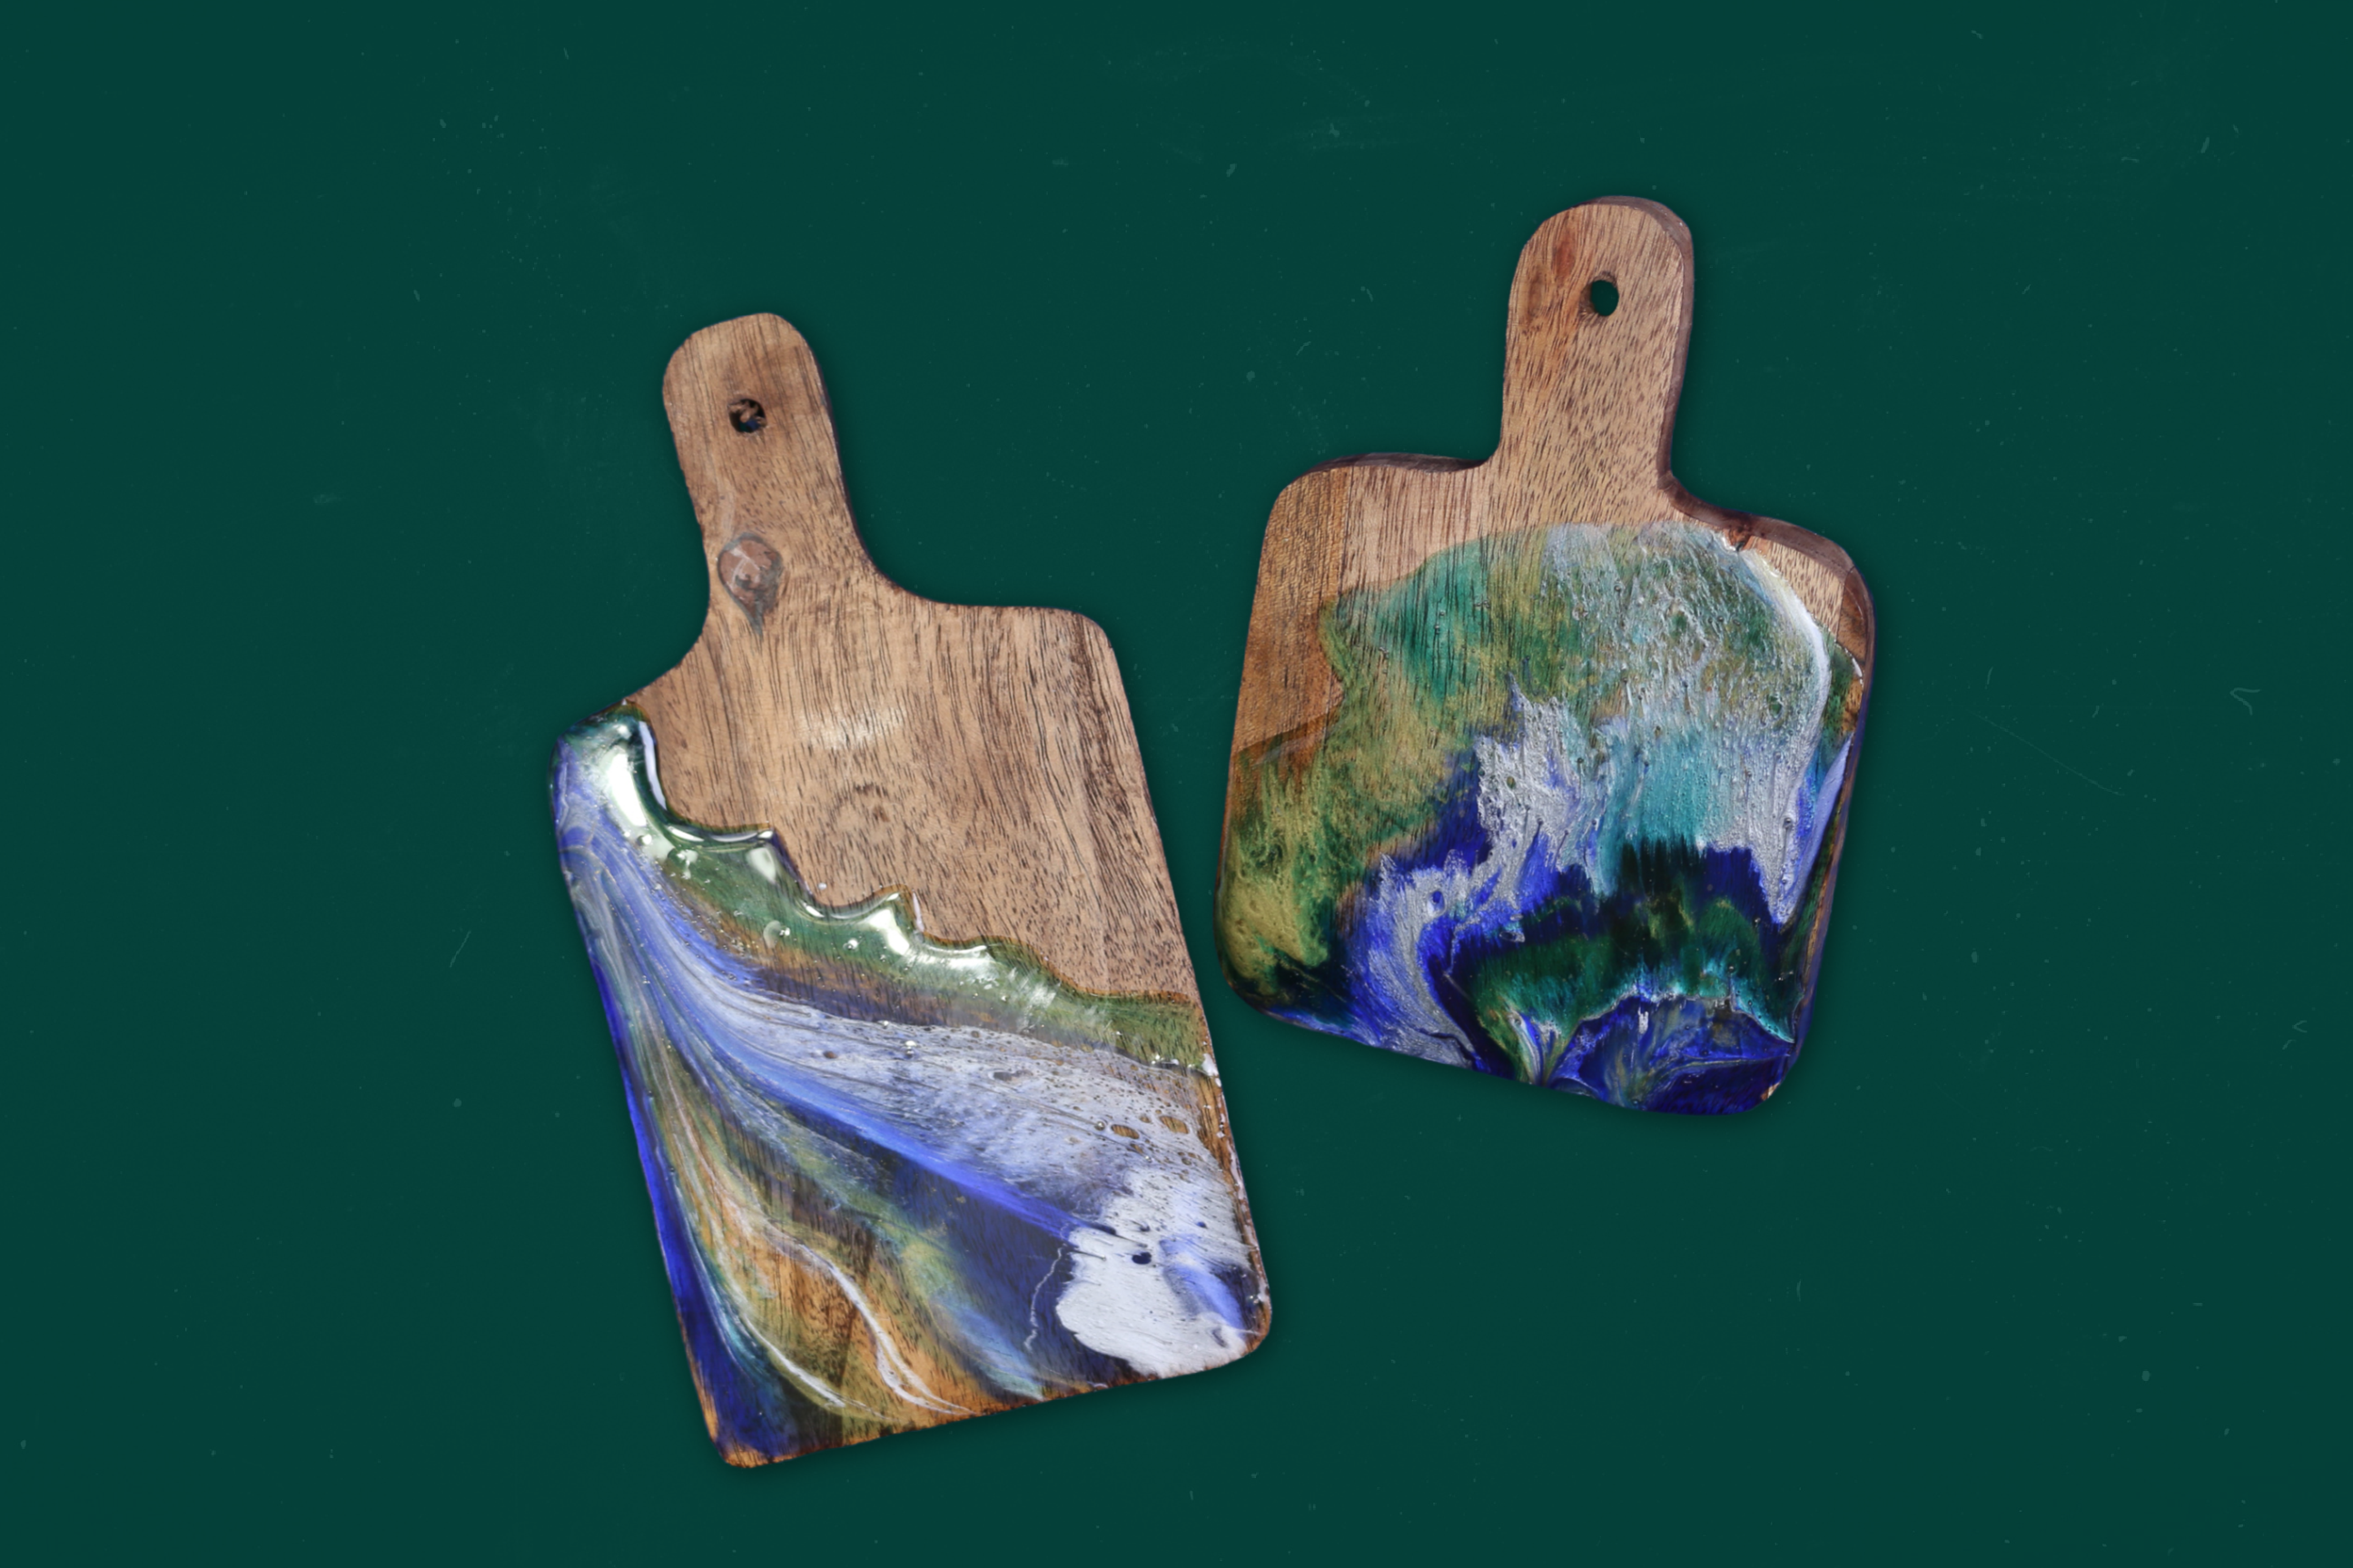
Mod Podge Resin is a two-part epoxy resin which means you will need to mix together the resin and the hardener in order to create the chemical reaction that will cause the resin to cure into a hard topcoat on your cutting boards. Mod Podge Resin has a 1:1 mixing ratio, so be sure to use equal parts resin and hardener.
While Mod Podge Resin is non-toxic and food safe once cured, the ingredients are still toxic when it is unmixed or uncured. It’s important to work in a well-ventilated space and to wear protective gloves. You will also need to protect your work surface. I like to use silicone mats since cured resin peels right off the silicone. If you don’t have a silicone mat, protect your surface with something disposable.
Step-By-Step Instructions for Creating Resin Art on a Cutting Board
- Begin by mixing the resin according to the package instructions.
It is very important to read and follow the instructions in the package of the resin you are using. The resin will not be food safe if mixed improperly. The amount of resin you mix will depend on how many boards you are making. I mixed 4 total ounces of resin for my four boards and that was plenty.

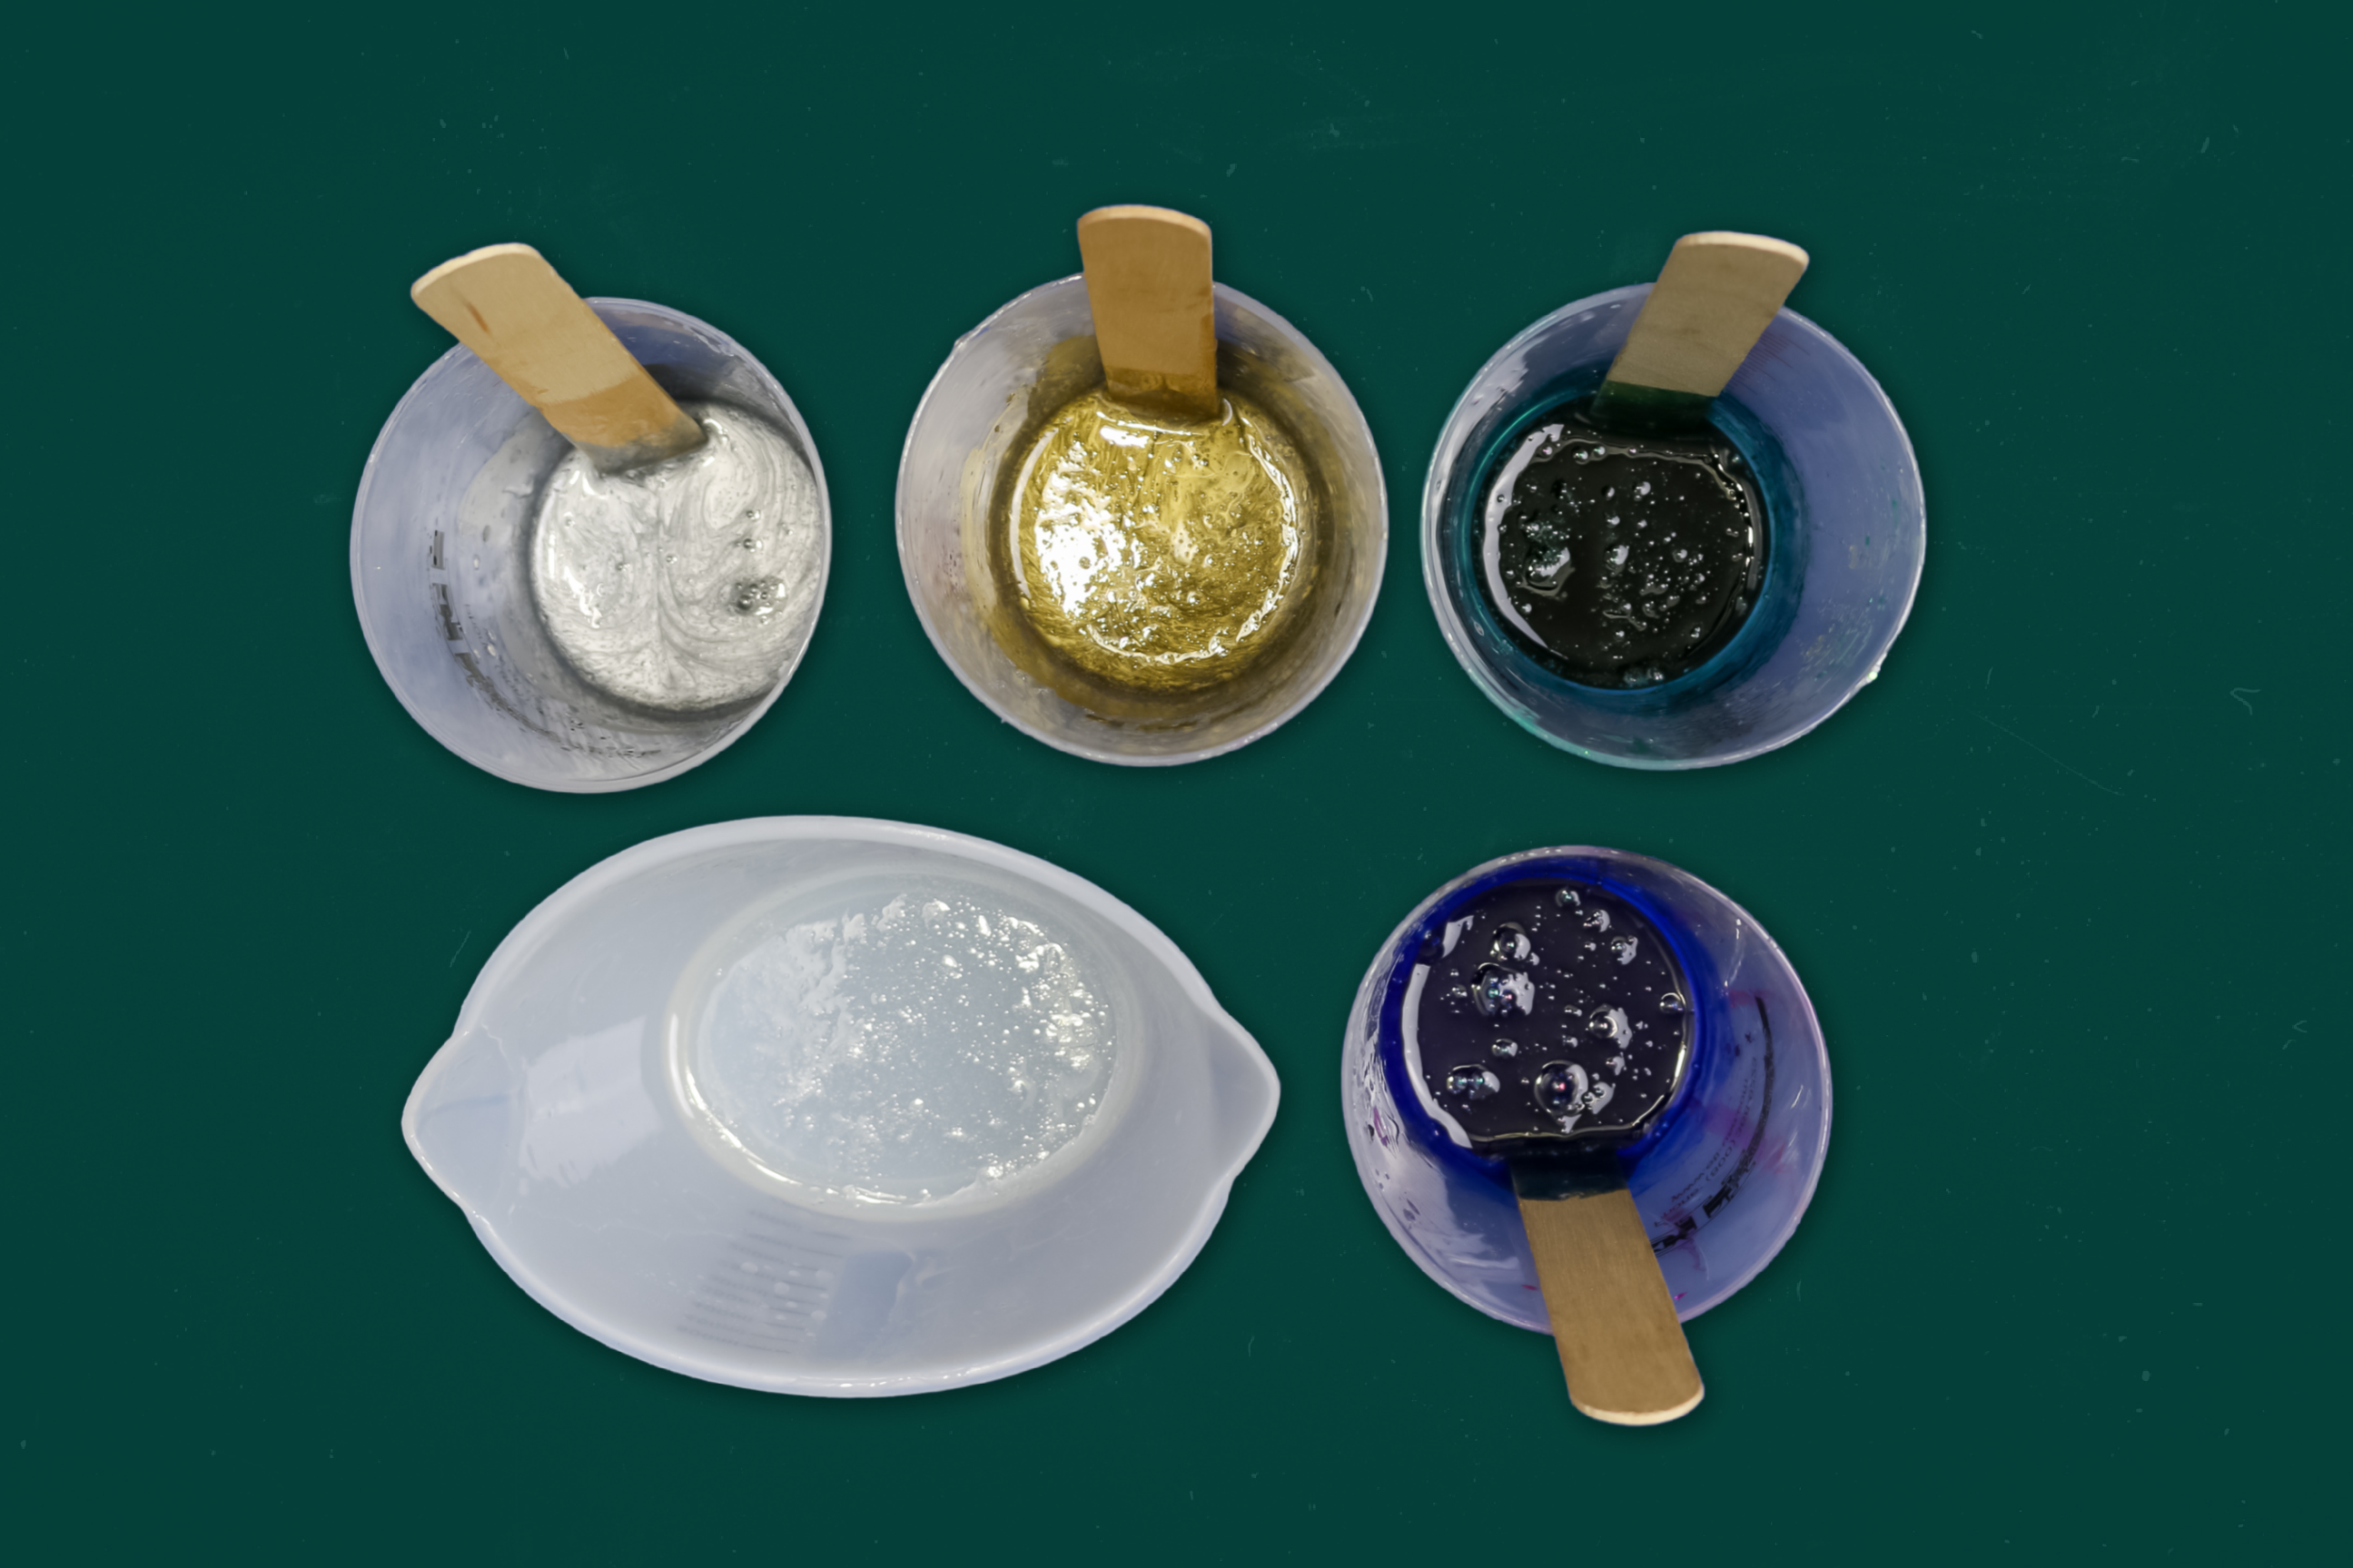
- Once the resin has been fully mixed with your stir stick, you can begin to color the resin and/or add textures and add-ins like glitter. Start with small amounts of alcohol ink since you can always add a little more if needed.
Remember to keep some clear resin that can serve as the topcoat over any colored resin.

- Ensure your work surface is level. Then position the cutting boards on top of your protected work surface.
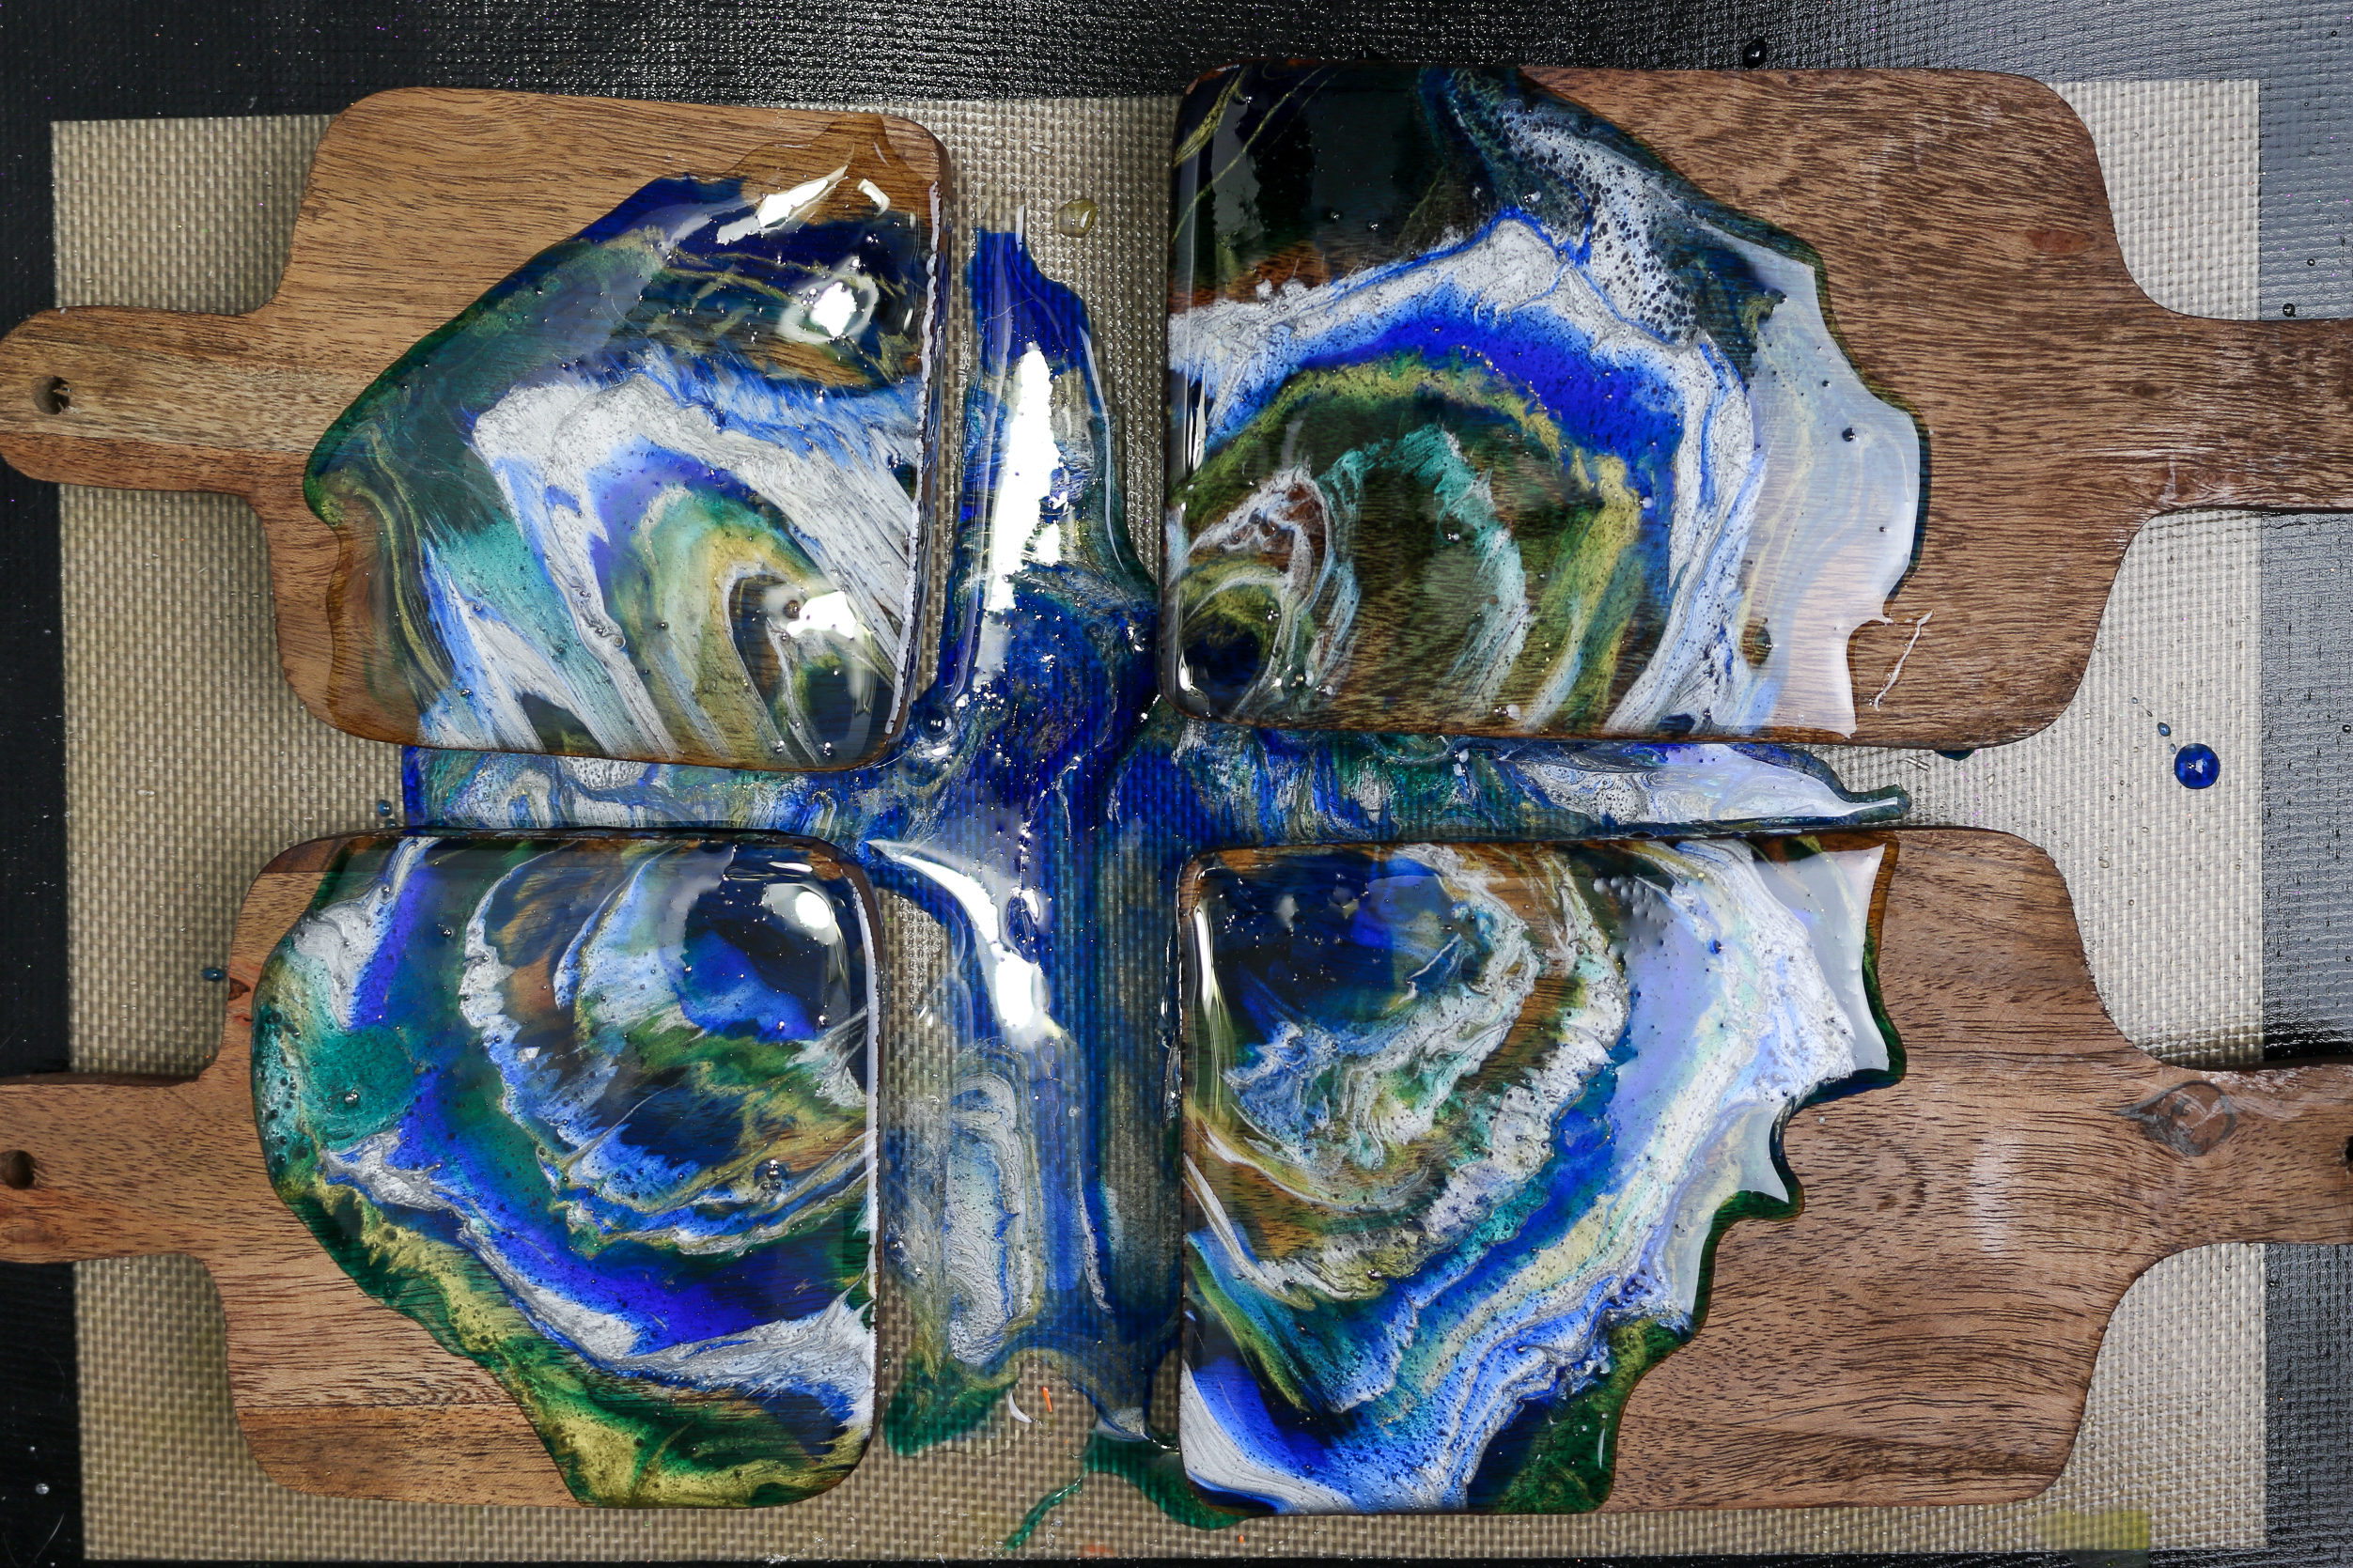
Elevate your cutting boards on scrap wood (or other scrap items) to let the excess resin flow over the sides of the cutting boards. I forget to do this until I had most of the resin poured.

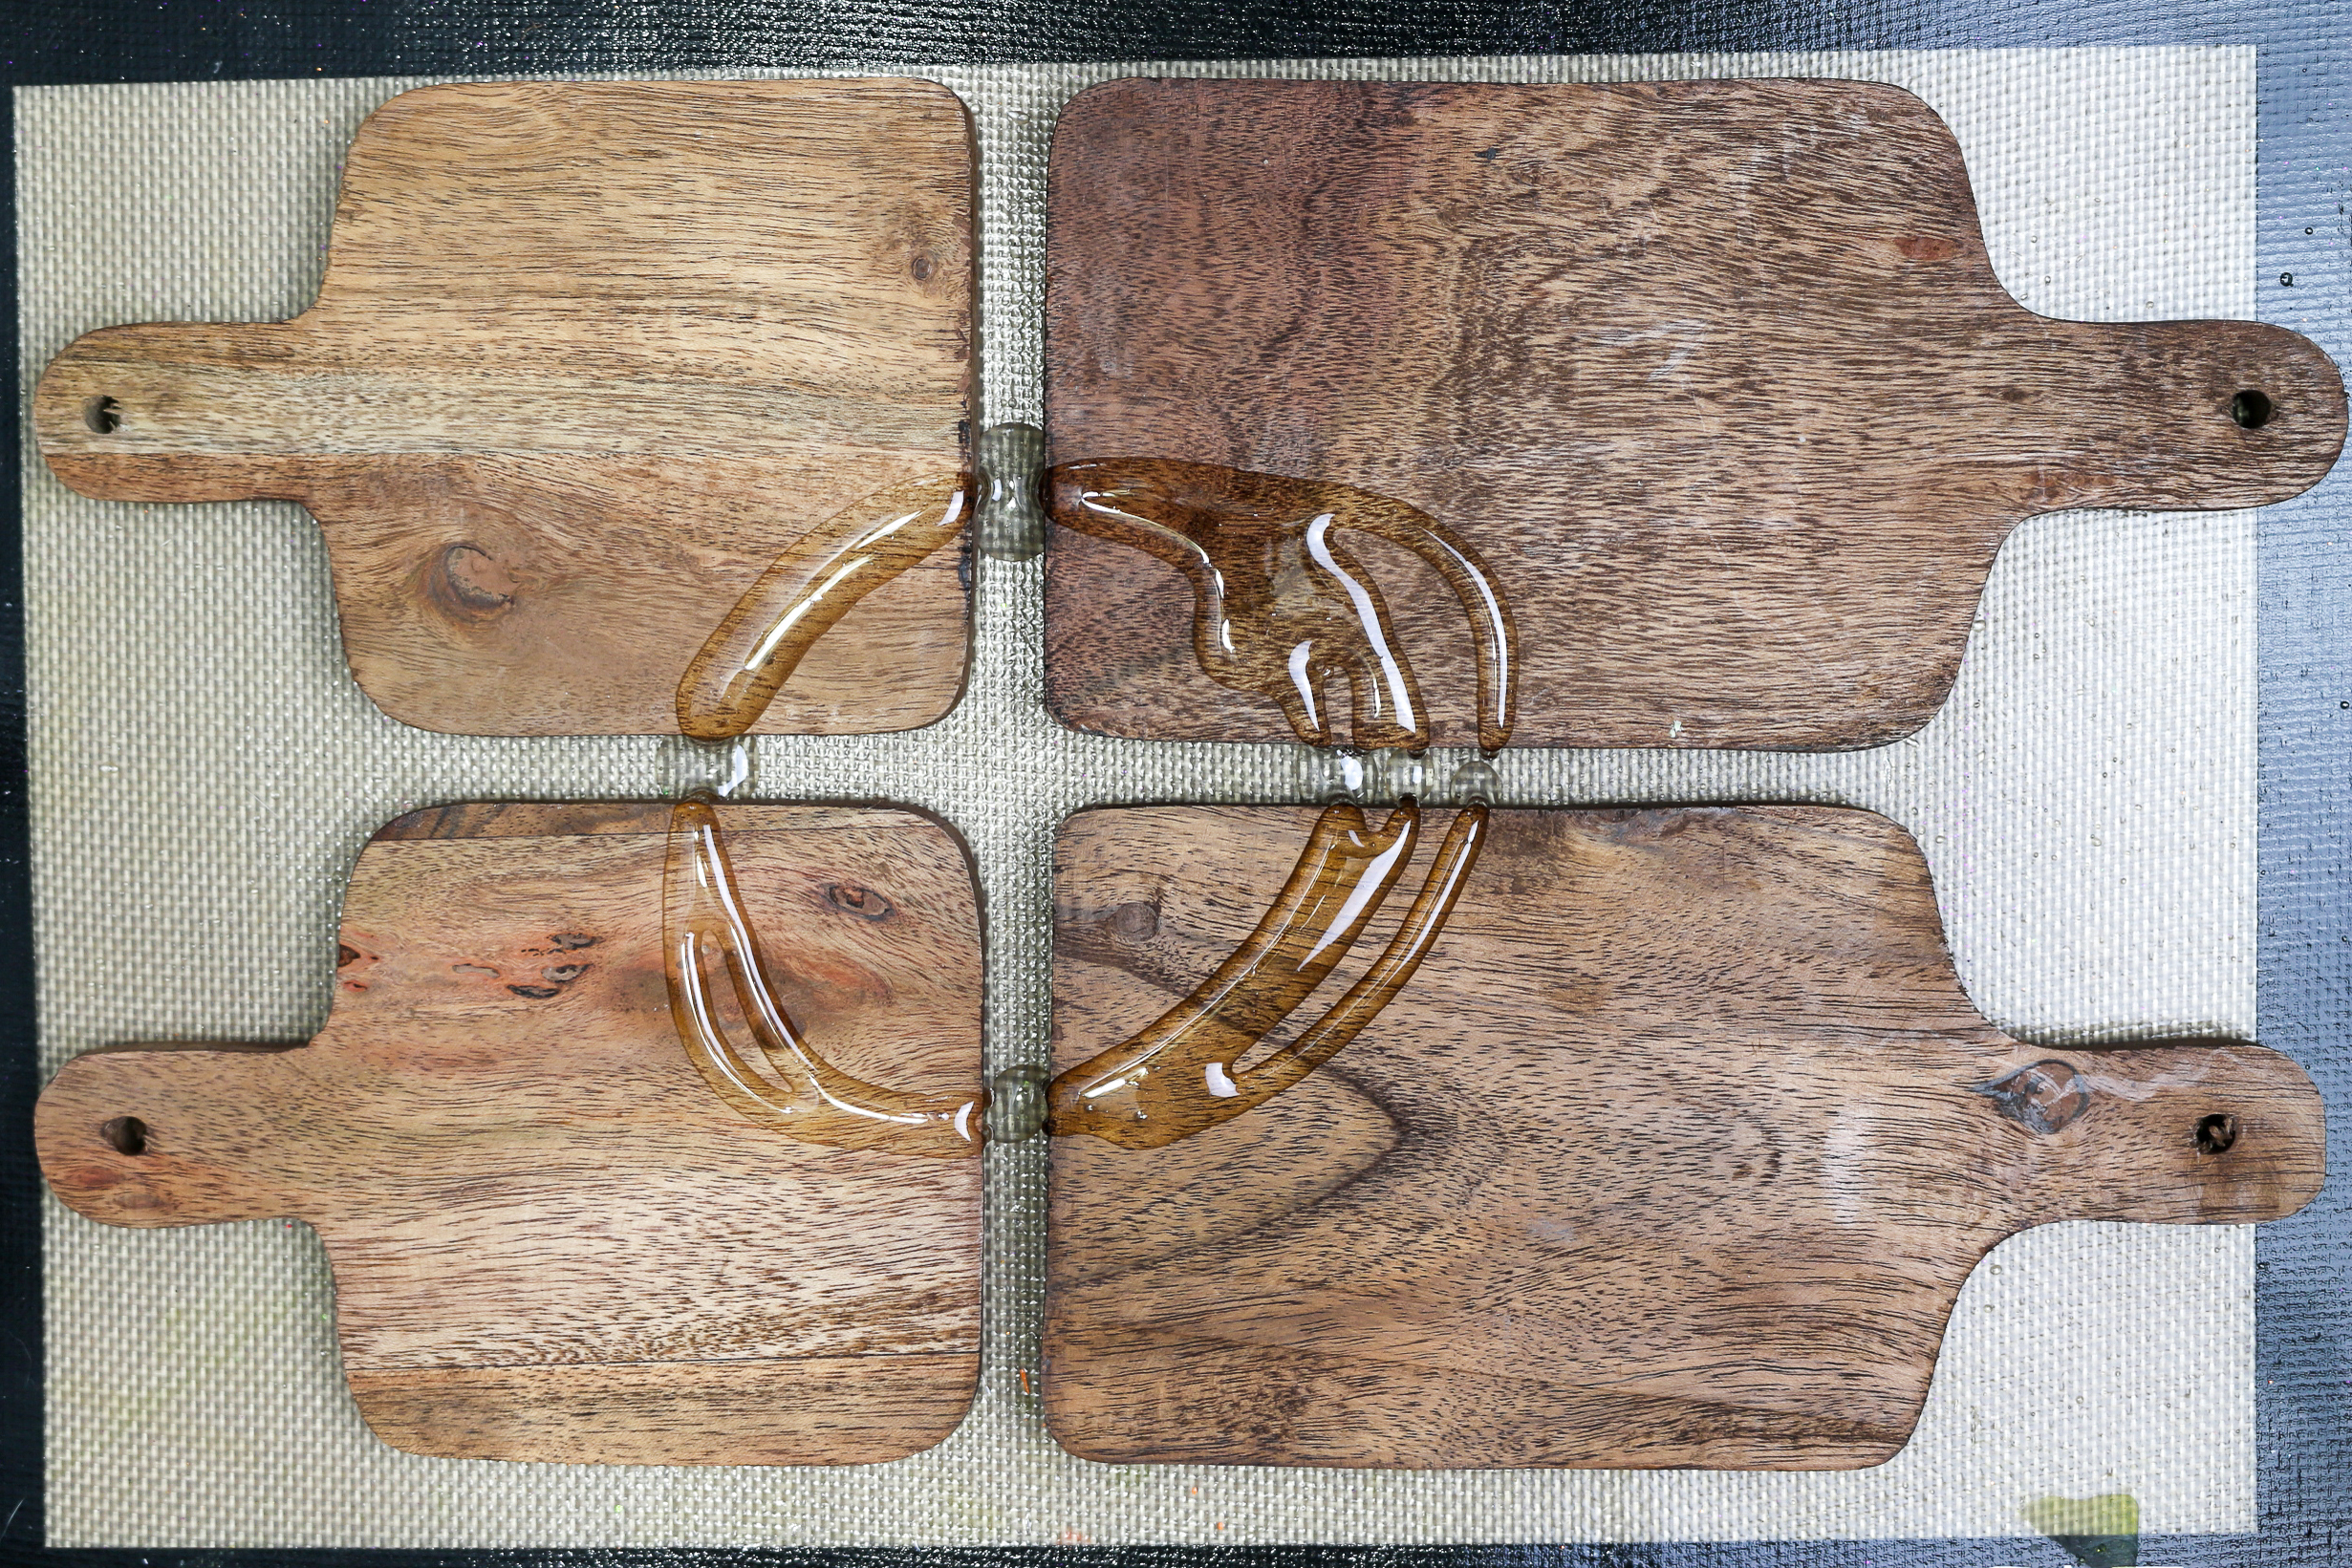
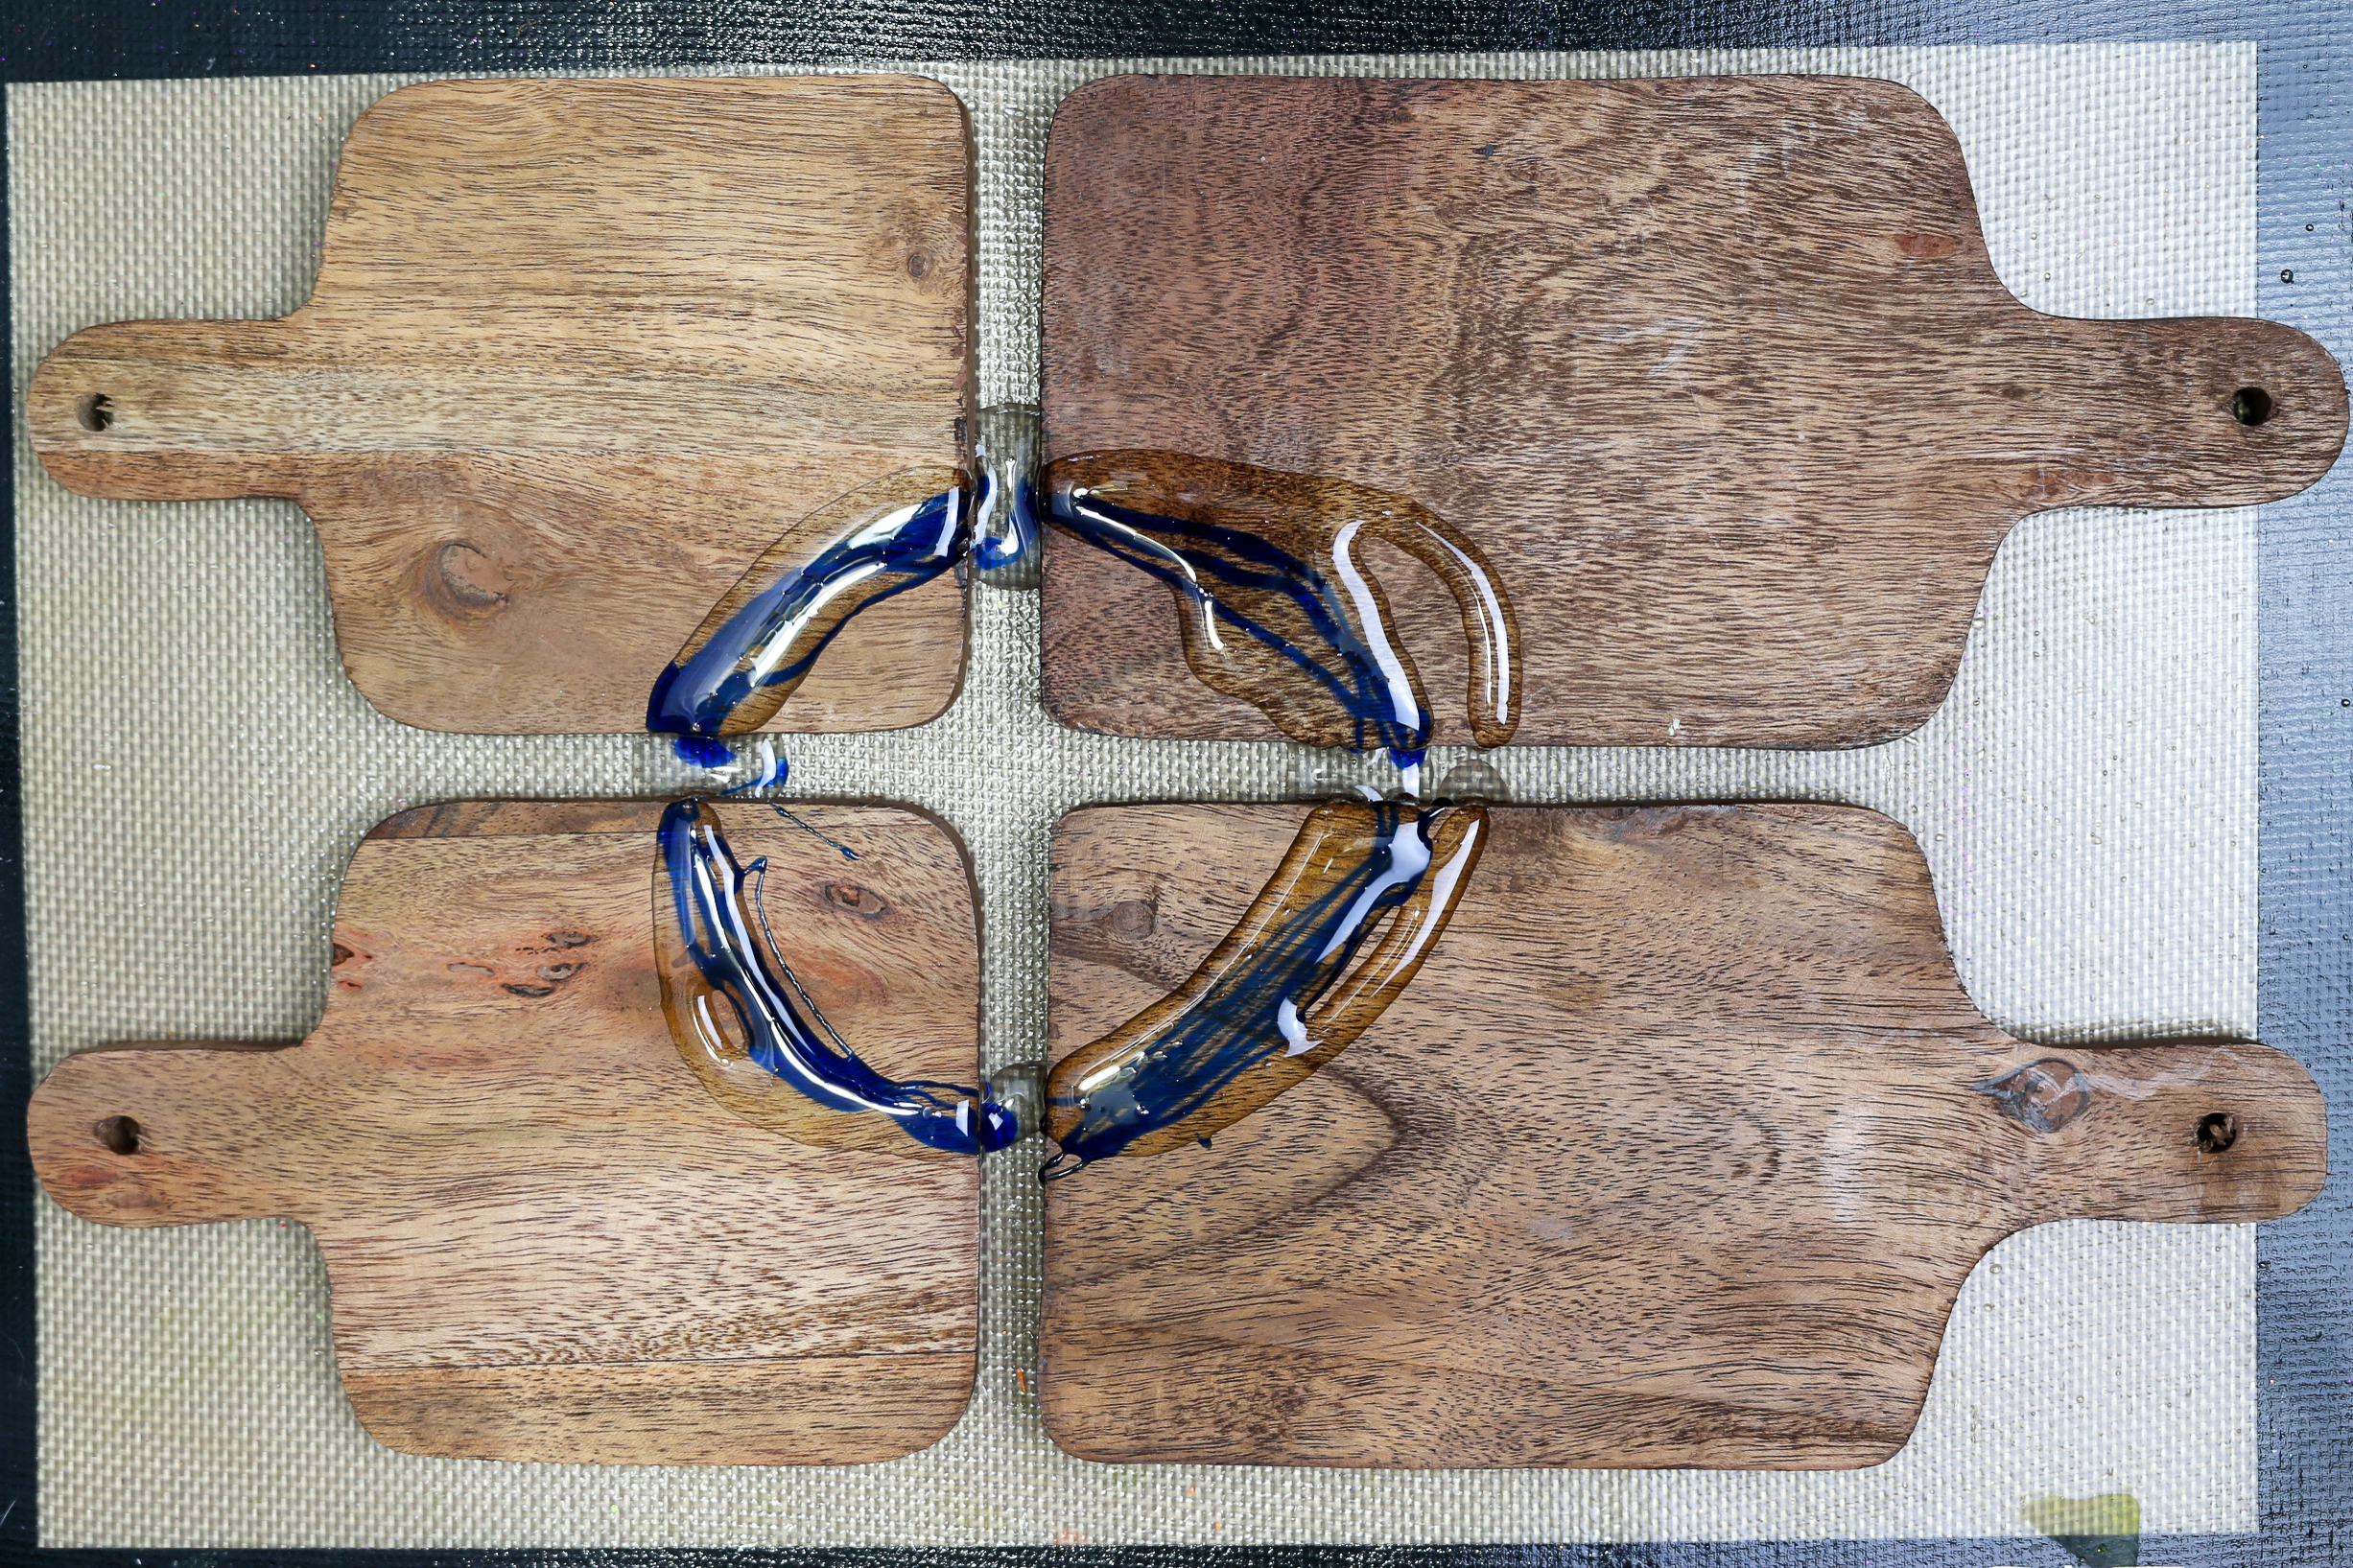
- Begin drizzling a small amount of resin onto the cutting boards.

- Add stripes of color with each pass.

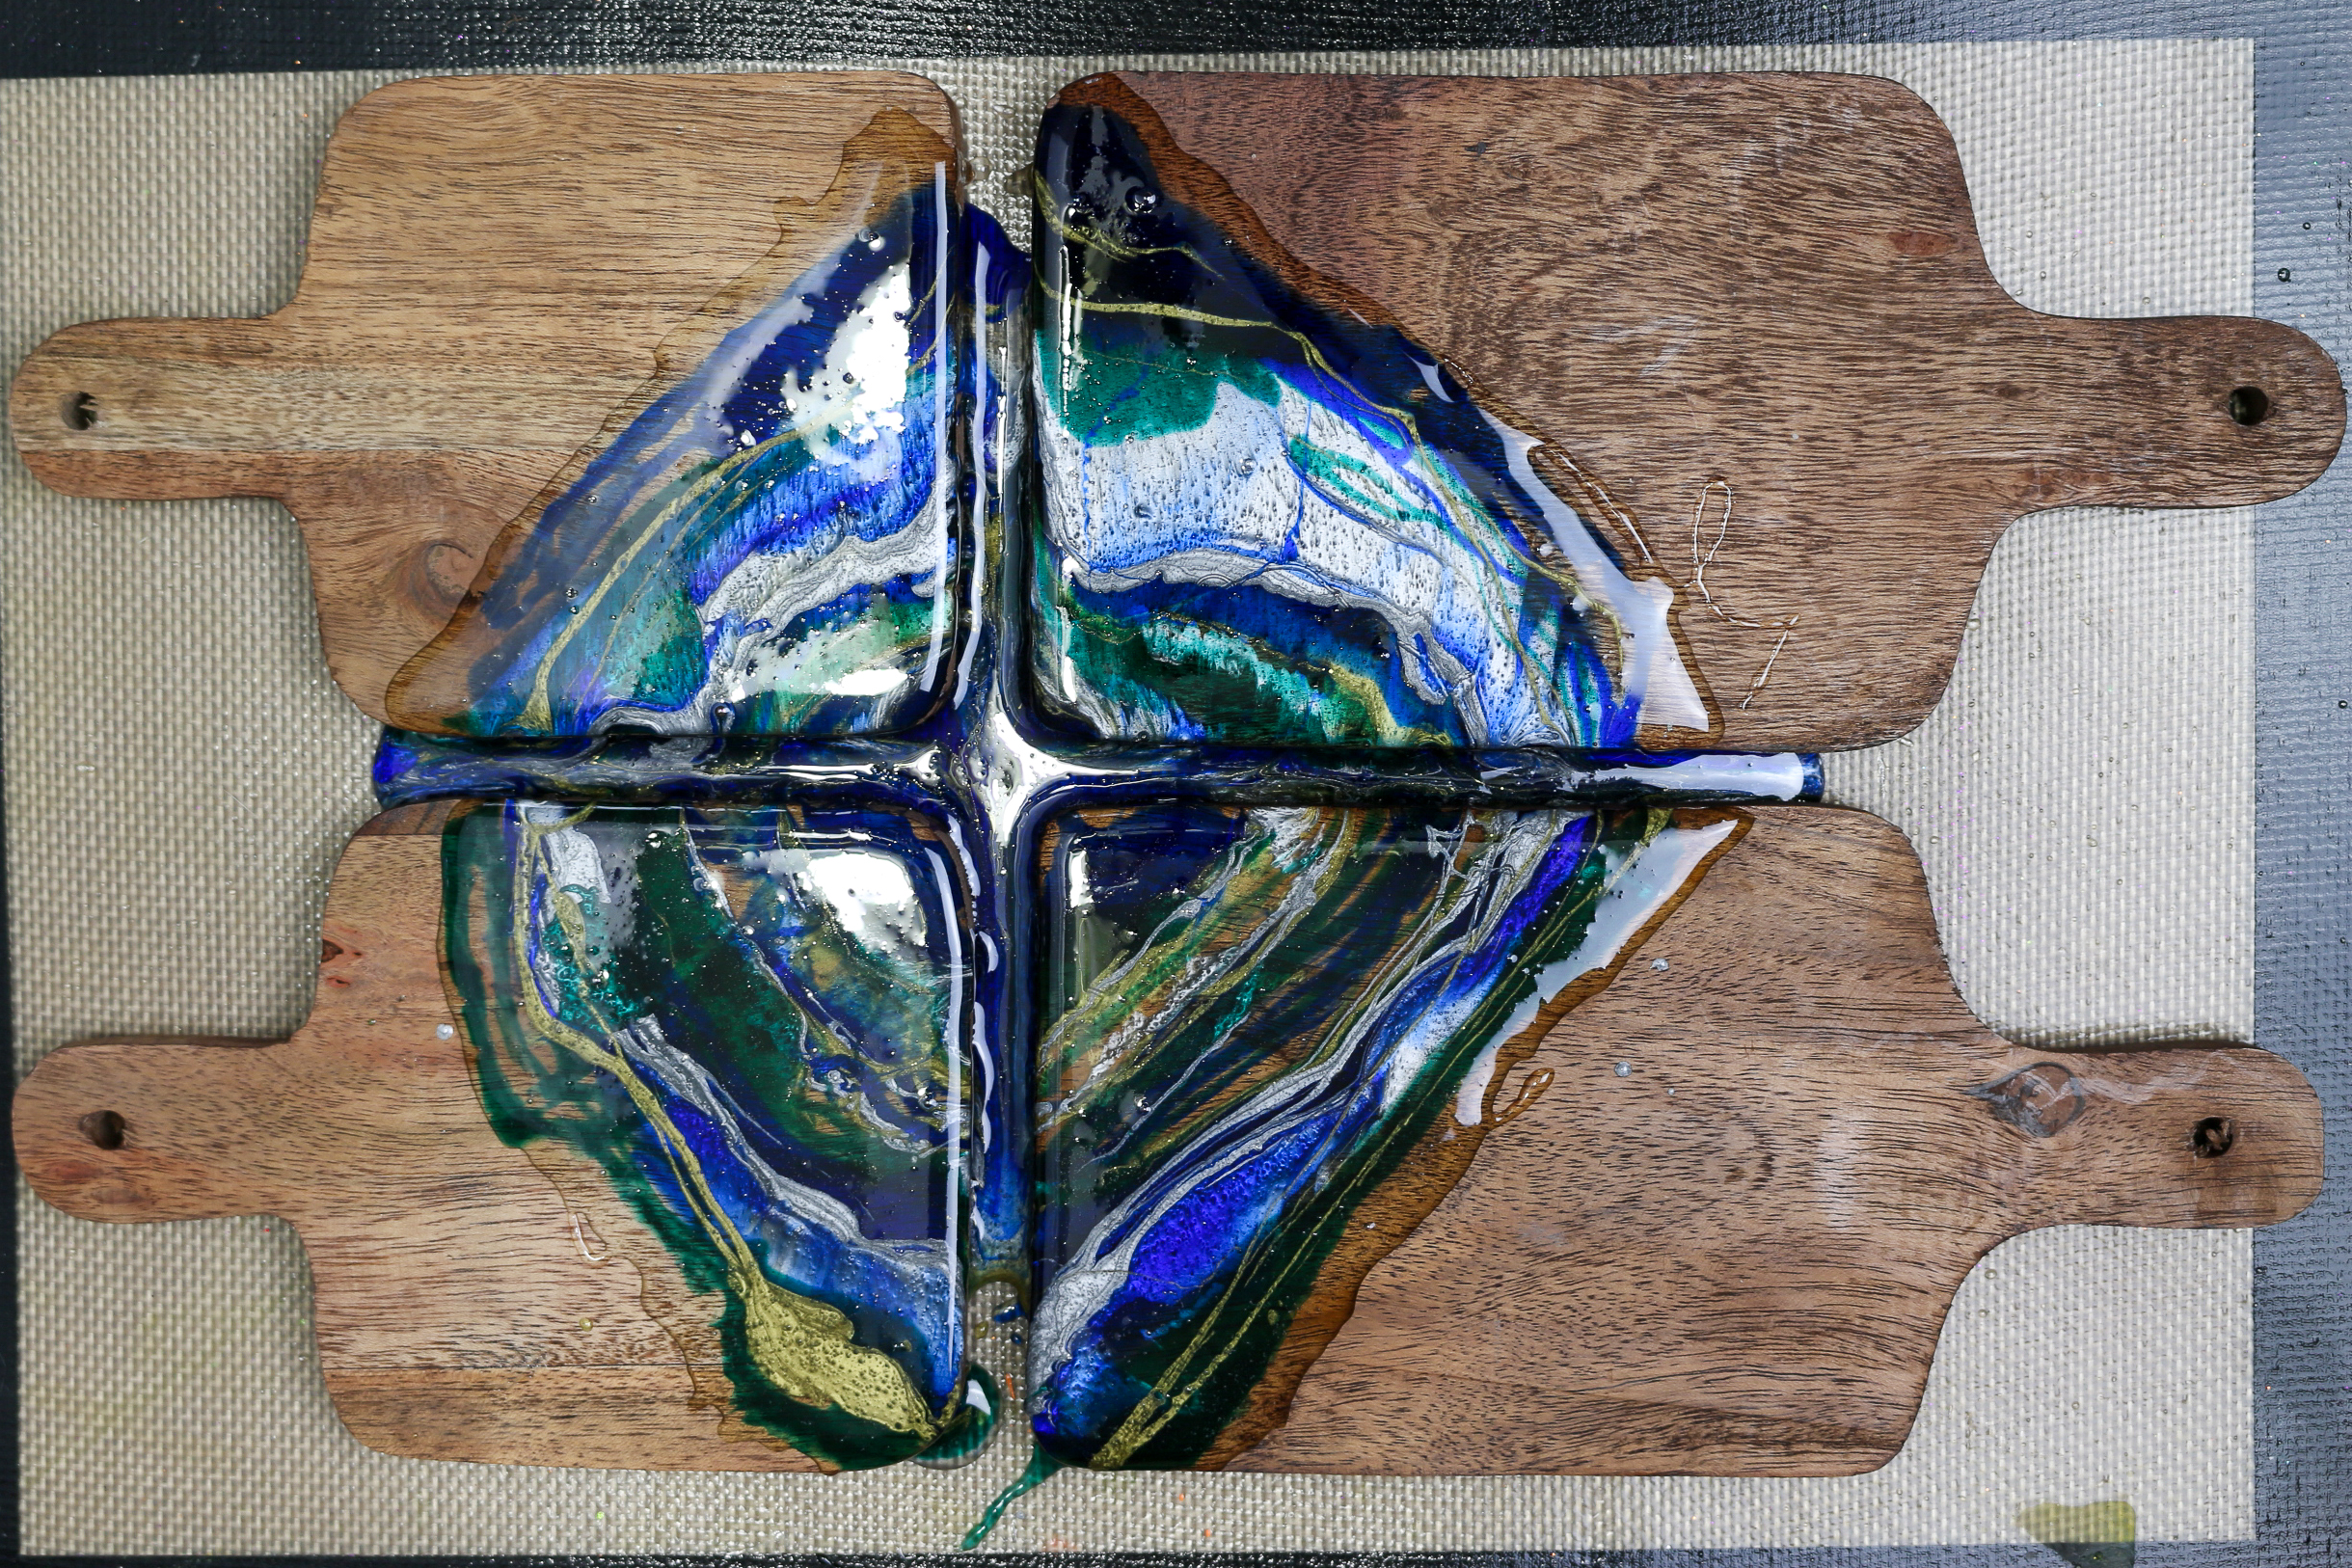
- Continue pouring on resin until you are satisfied with how it is looking.
There is no real technique for this project. It’s kind of a “trust the process” DIY!

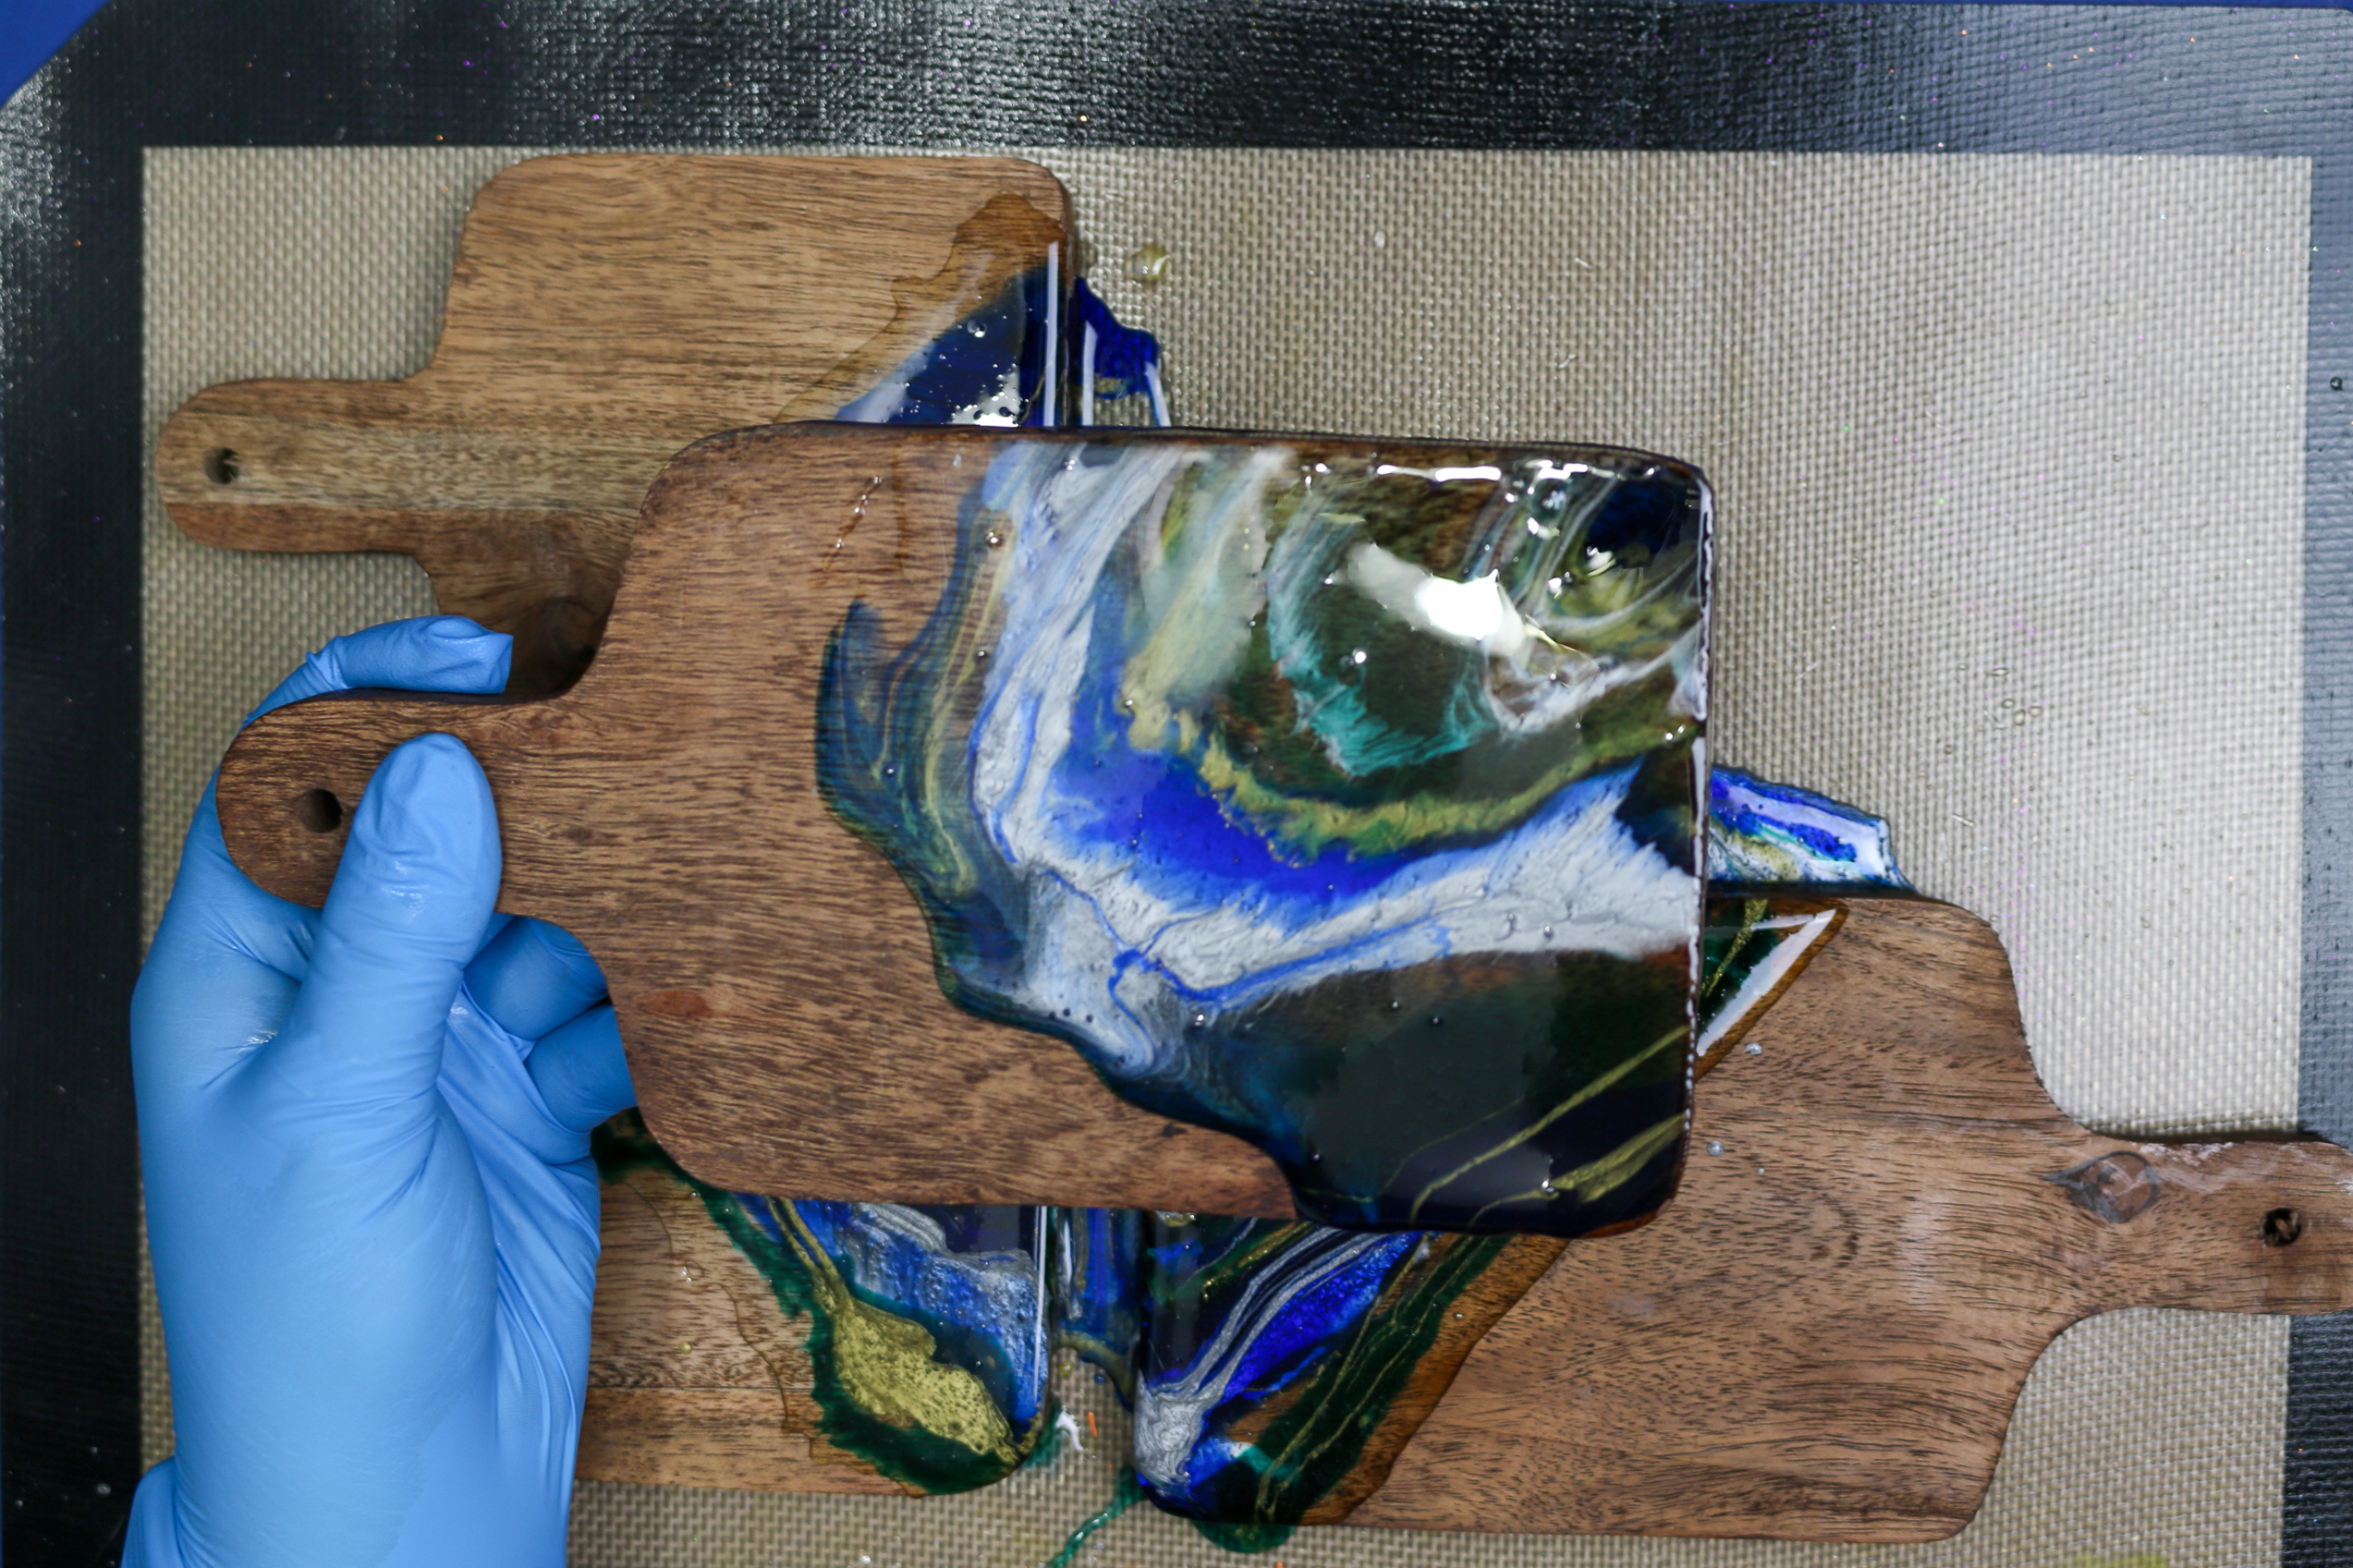
- Carefully pick up one board at a time and tilt the board so the colors shift and blend into each other.

- When you like how the boards look, allow them to sit for 15-20 minutes. Then use a heat gun or long-armed lighter to pop any little bubbles that rise to the surface of the resin.

- Let the project sit for another 2 hours or so (depending on humidity). Mix up a batch of clear resin to coat the area of the boards that are covered in colored resin.

- Let the resin fully cure. Depending on the temperature and humidity of your workspace, this can take anywhere from 3-7 days.

HOW ELSE CAN YOU USE FOOD GRADE EPOXIES LIKE MOD PODGE RESIN?
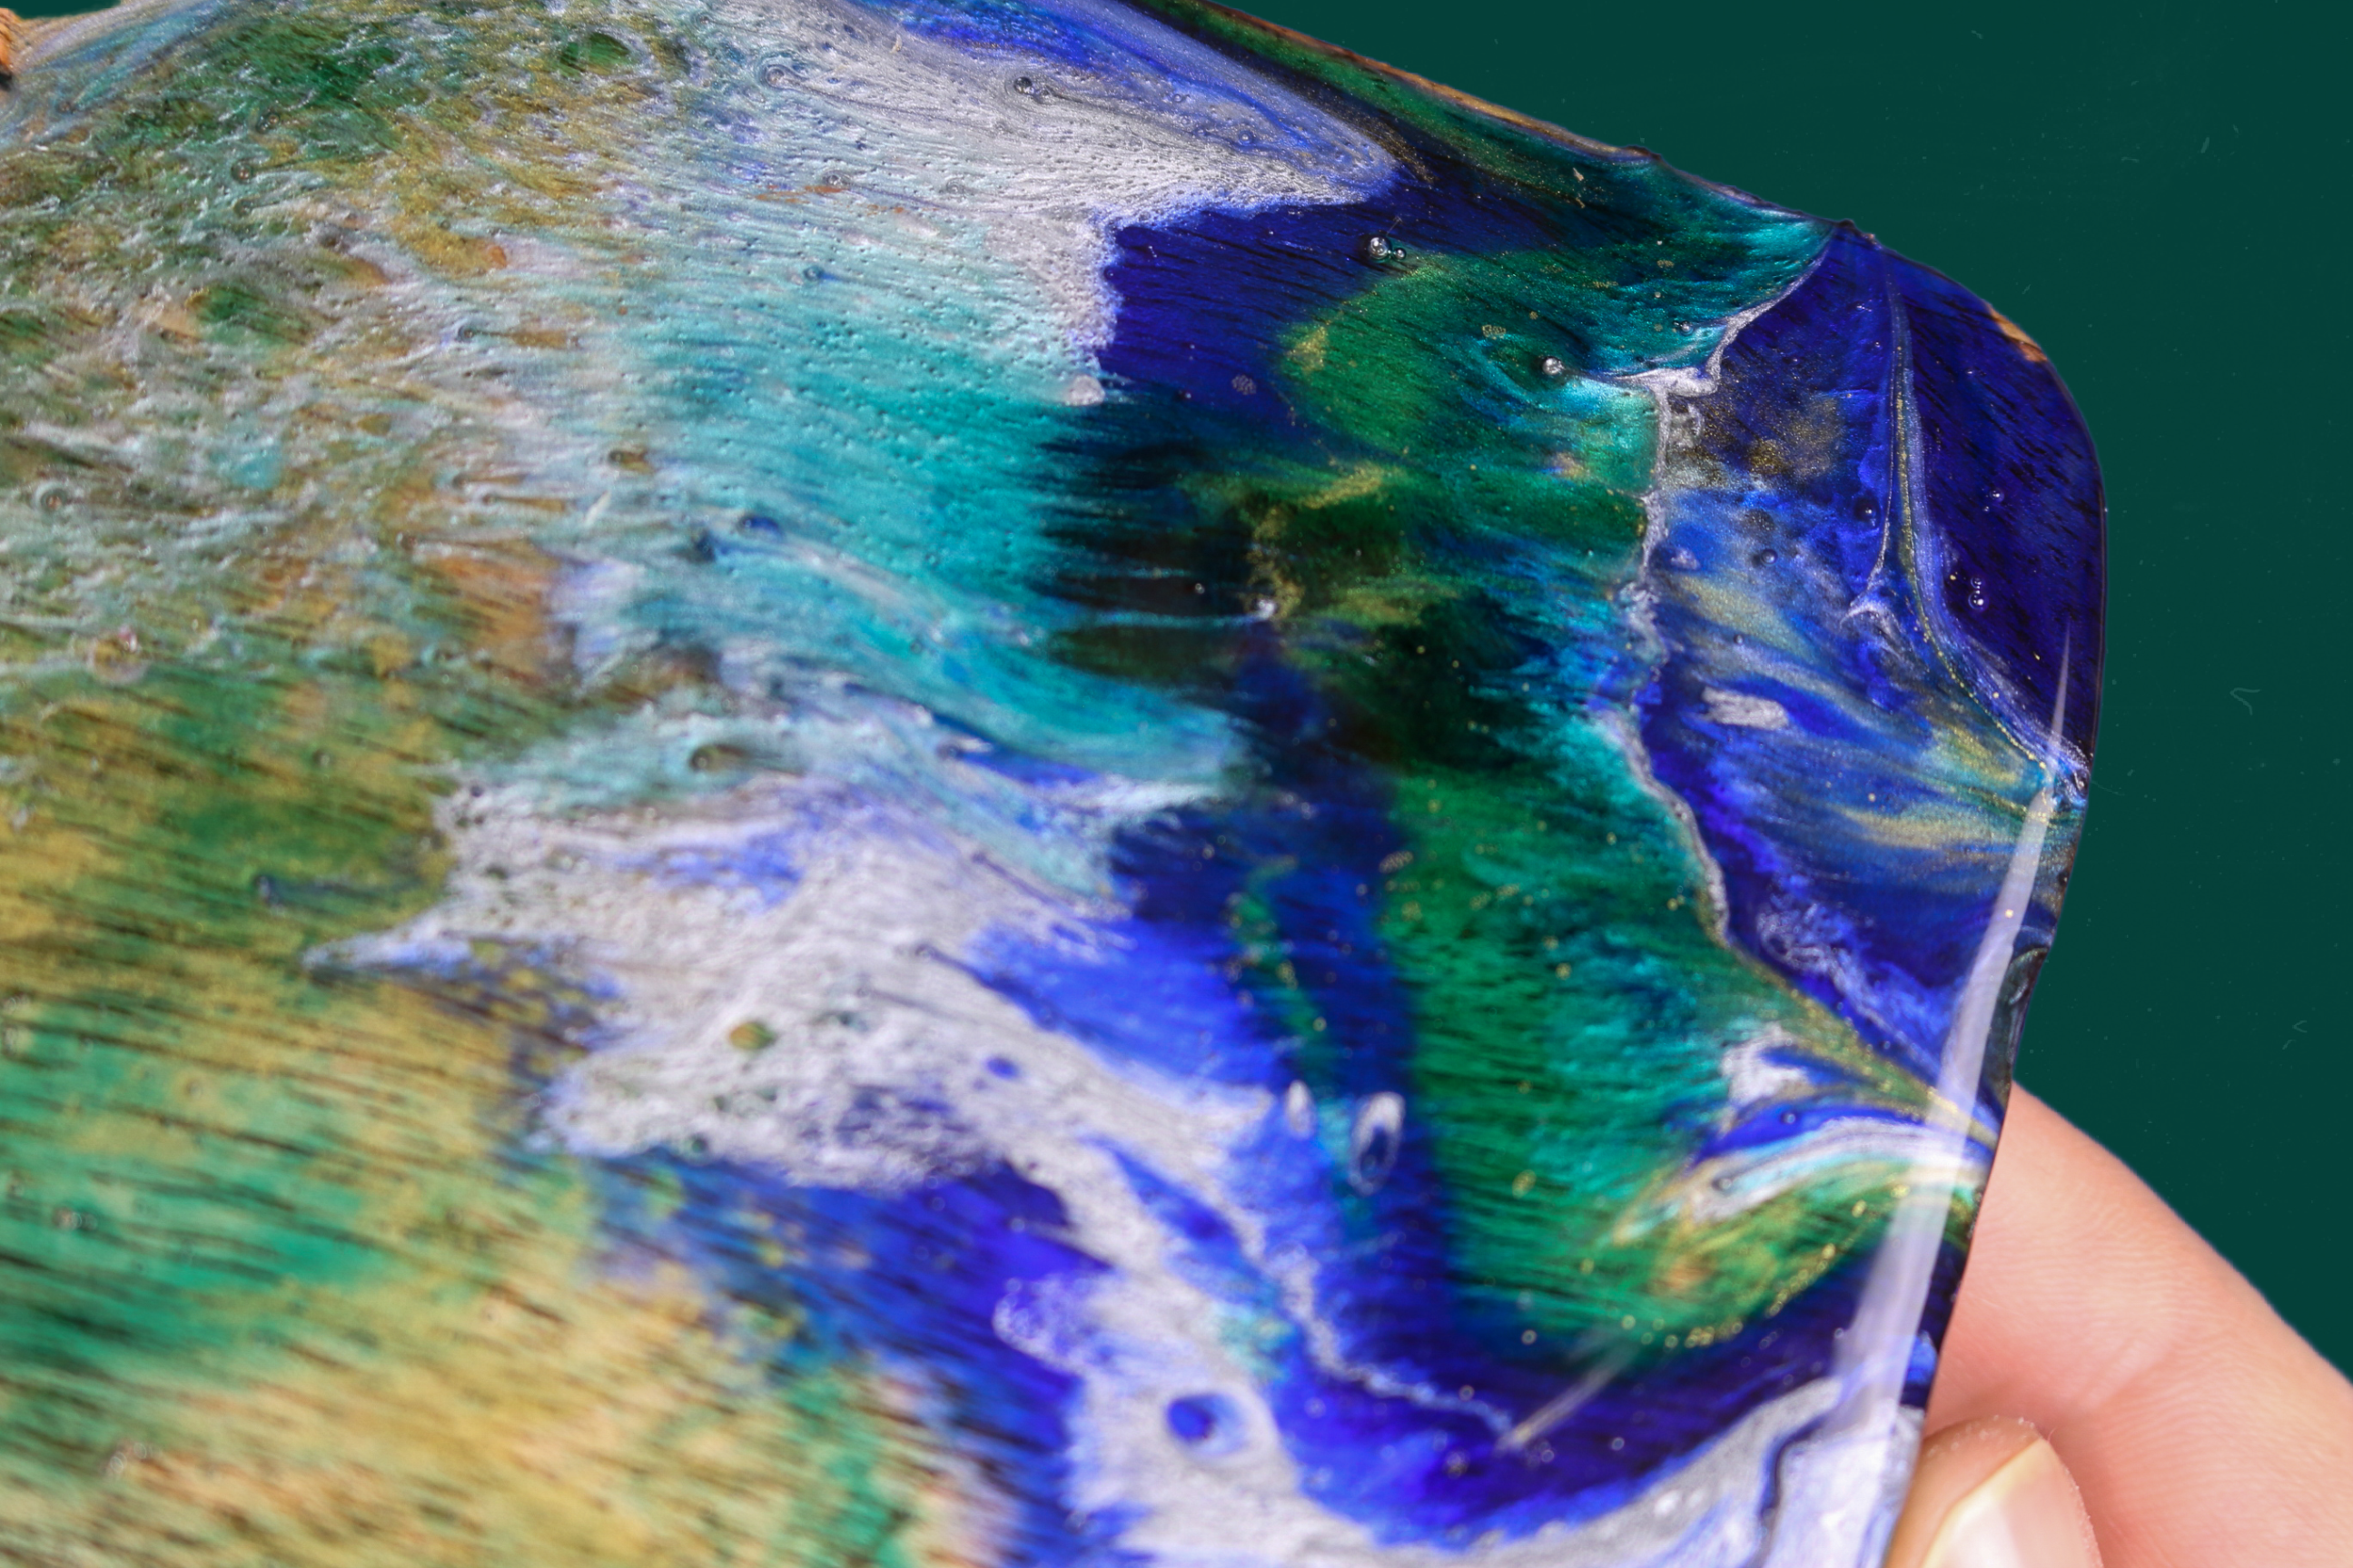
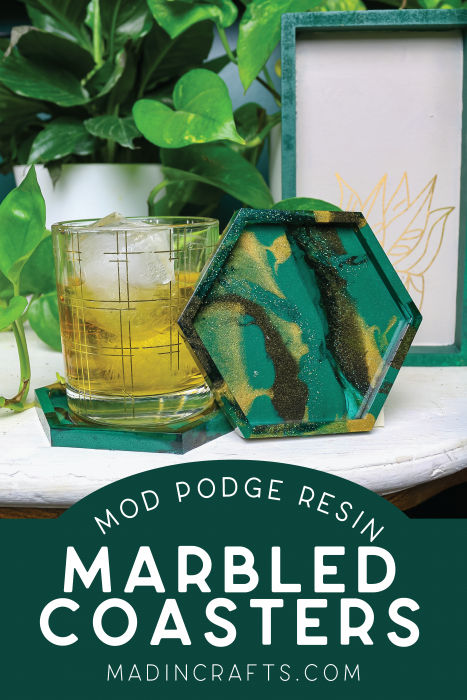
The dyed resin looks so beautiful on these little cutting boards, but that is not the only application for Mod Podge Resin. Since the cured resin is food safe it is perfect for trays, tumblers, coasters, cake toppers, and more!
I hope you enjoyed this resin DIY for beginners. You can also use this project as a mini serving board to make a thoughtful thank-you gift. If you make your own version, please tag me on Facebook or Instagram so I can see your work!

