Sometimes the treasure at the end of the rainbow is a pot of gold, and sometimes it’s a jar of gold holo slime. This quick St. Patrick’s Day slime recipe only uses four ingredients, and no Borax, to make so it’s a great project to do with kids over Spring Break. It’s easier than you think to make your own End of the Rainbow slime!
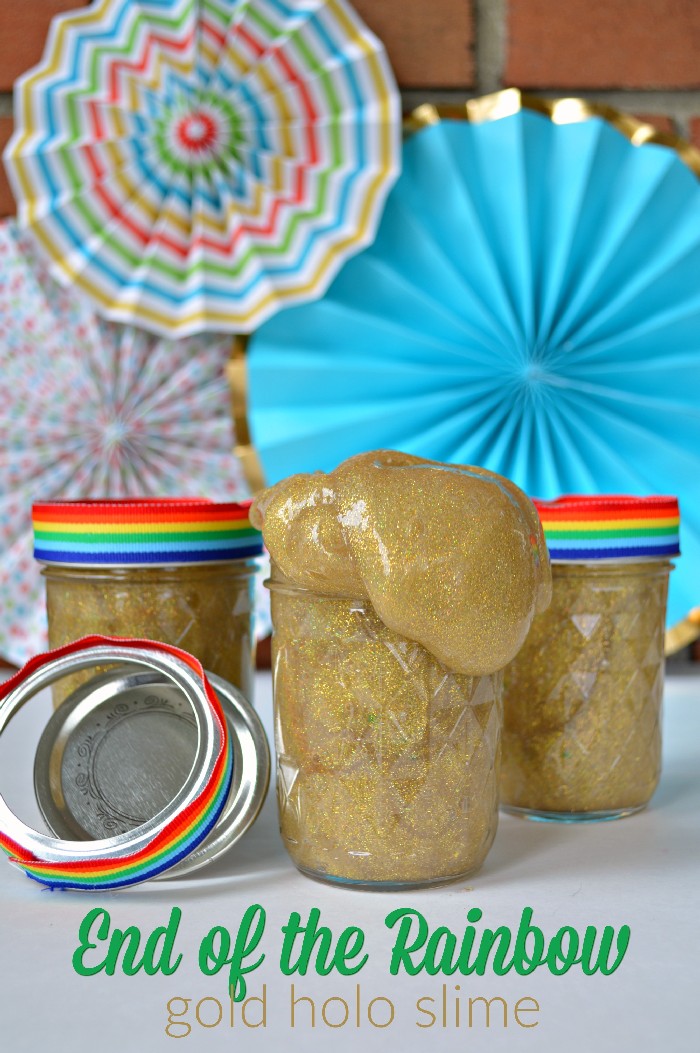
END OF THE RAINBOW SLIME
WHAT YOU NEED TO MAKE GOLD SLIME
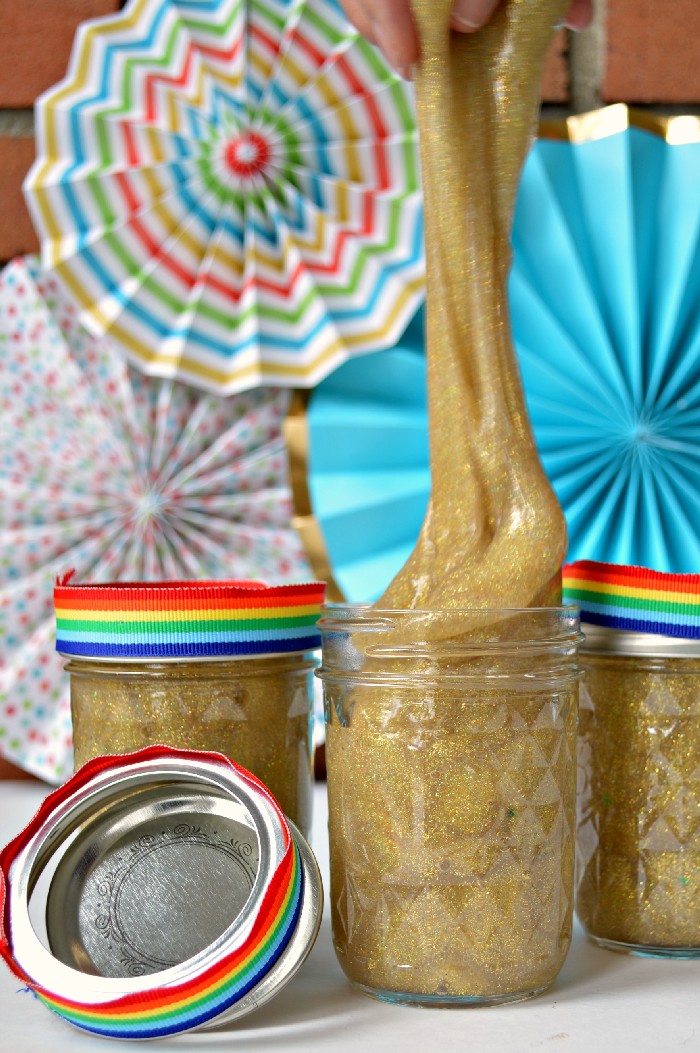
If it’s been a while since you have played with slime, I highly suggest that you make up a batch. Kids love it, obviously, but it’s pretty fun for us big kids too!
These are all affiliate links, if you make a purchase (of anything on Amazon, not just these items) after clicking through, I will earn a small commission. Ads and affiliate links are the way I am able to keep this website running and to offer you free tutorials all year long. Thank you so much for supporting me and Mad in Crafts!

Want to know which craft supplies I always keep in my craft room?
Visit the Mad in Crafts Amazon Storefront to learn more and to buy your own supplies!
HOW TO MAKE GLITTER SLIME
Start by mixing together 1 cup of warm water with 1 cup of clear glue. Make sure to stir this mixture until it’s fully combined. Once the glue is totally watered down, add in any glitter or add-ins you would like in your slime.
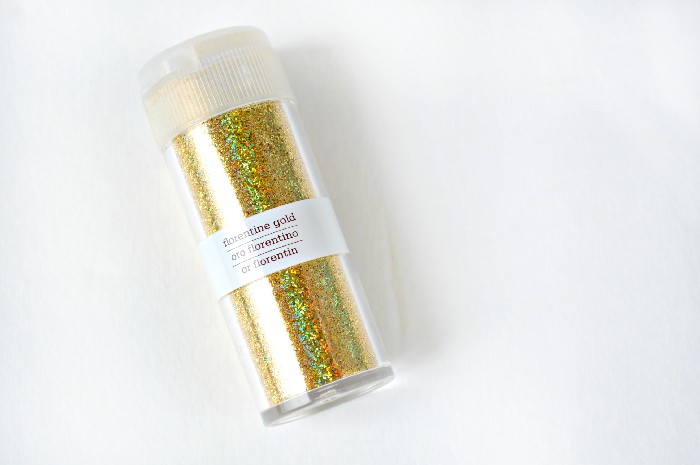
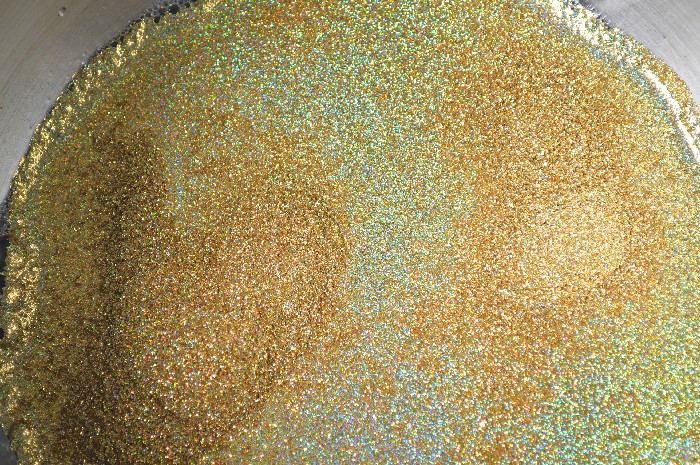
Since I wanted this to be an “End of the Rainbow” slime, I wanted to use this beautiful gold holo glitter. See how the gold glitter reflects linear rainbow colors!
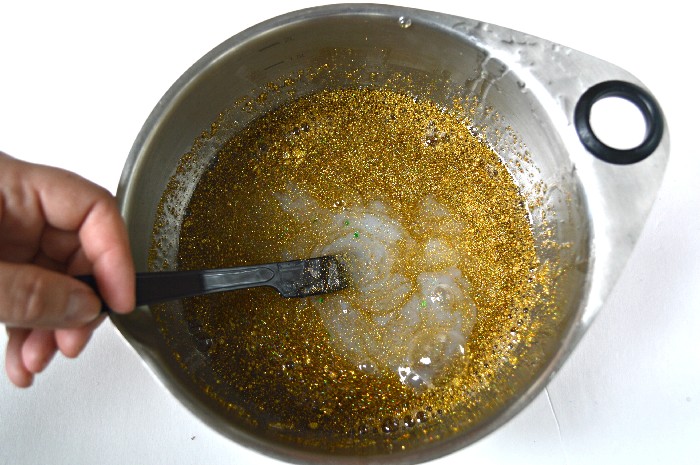
After you have added in the glitter, pour in 1 cup of liquid starch and get stirring! After a bit of stirring, get your hands right into the bowl and start kneading the mixture together. I always panic when I am making glue slime because it seems too stringy and messy. But don’t stress, just keep working the slime with your hands, and it will come together to form the right slimy texture.
HOW TO STORE SLIME
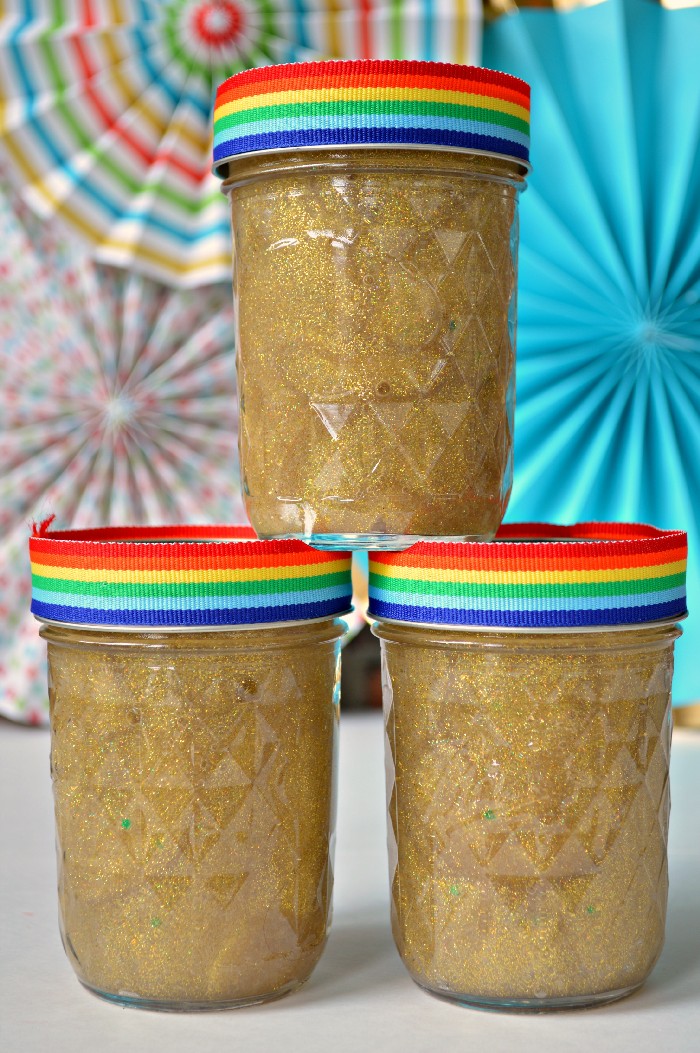
It’s important to keep the slime in an airtight container so that it doesn’t dry out. I chose to store mine in quilted 8 oz. jelly jars, but you can use whatever you have on hand. I also added a band of rainbow ribbon along the edge of the jars lids for a touch of decoration.
Check out today’s tutorials from the other bloggers in this week’s series:
MINI MASON JAR CHEESECAKES – THE COUNTRY CHIC COTTAGE
DANDELION MASON JAR – SILLY PEARL
PINCH PROOF ST. PATRICK’S DAY GIFT – YESTERDAY ON TUESDAY
You might want to check out these other St. Patrick’s Day ideas:
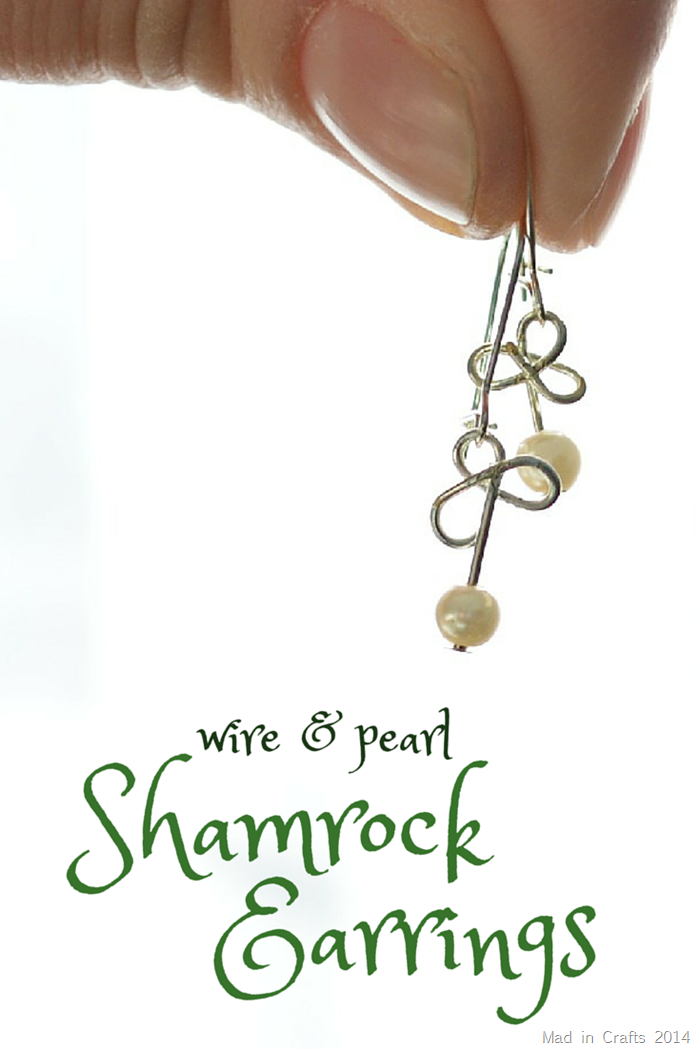
WIRE AND PEARL SHAMROCK EARRINGS
