Mad in Crafts

  • Email
  • Facebook
  • Instagram
  • LinkedIn
  • Pinterest
  • Twitter
  • YouTube
  • Home
  • About
    • ABOUT JESSICA
    • CONTACT
    • MEDIA KIT
    • Seen On
  • PRIVACY
  • CRAFTS
    • HOLIDAY
      • VALENTINE’S DAY
      • ST. PATRICK’S DAY
      • EASTER
      • FOURTH OF JULY
      • FALL
      • HALLOWEEN
      • THANKSGIVING
      • CHRISTMAS
    • HOME DECOR
    • KIDS
    • MISC
    • Wearable
      • JEWELRY
      • PURSES, CLUTCHES AND TOTE BAGS
      • T-SHIRTS
    • FREE PRINTABLES
    • FREE SVGs
  • DIY
    • Gardening
    • Health
    • ORGANIZATION
    • Outdoor
    • Room Makeover
    • The Mad House
  • Recipes
    • Dessert
    • DINNER
    • DRINKS
    • Snacks and Appetizers
  • ENTERTAINING
    • Birthday Party
    • Party
    • Wedding
  • SHOP

Easy Rosemaling Frame

January 30, 2014 by madincrafts 1 Comment

DIY-Rosemaling-Frame-Tutorial_thumb1

Easy Rosemaling Frame

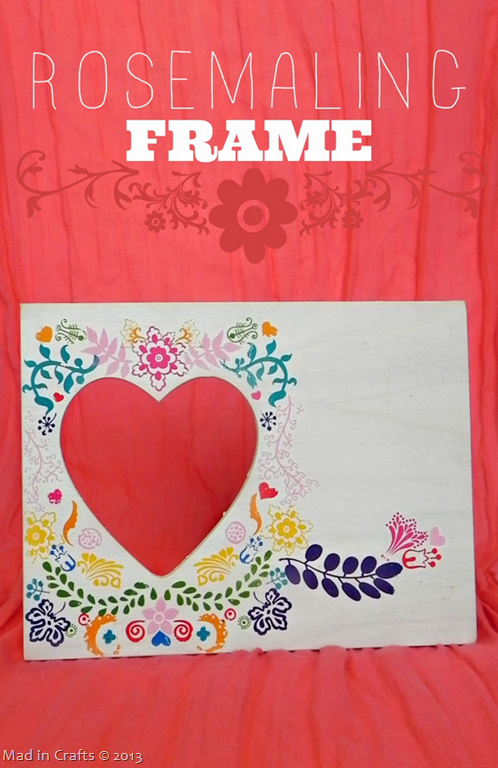
Earlier this week I told you about my new found appreciation for rosemaling, a style of hand-painting that originated in Norway.  After being inspired by traditional rosemaling designs, I wanted to try it for myself.  Since I haven’t had any instruction in actual rosemaling, I ended up cheating by using rub-on transfer designs instead of paint and paintbrushes.  Read on to see how I made my own rosemaling frame.

materials_thumb

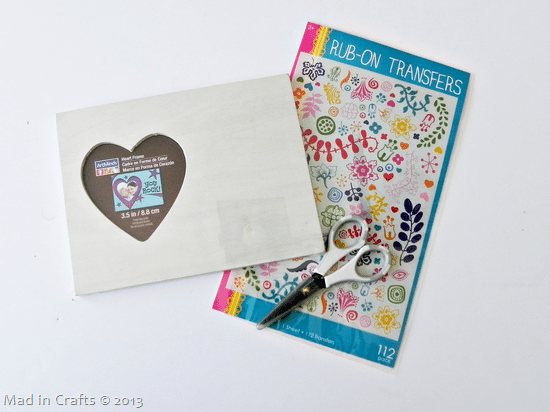
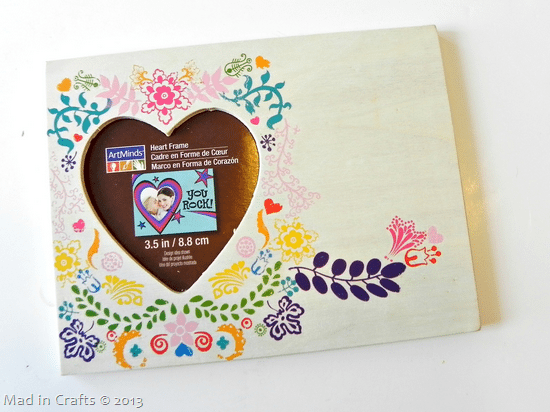
I found these rub-on graphics in the Target $1 area at least a year ago.  You probably won’t be able to find the same transfers again, but you can create your own with a color printer.  You would just need to get your hands on some rub-on transfer paper.

To make your own Rosemaling Frame, you will need:

The following links are affiliate links and I may receive compensation if you purchase after clicking the links.

rub-on decals or rub-on transfer paper

$1 craft frame

scissors

tweezers (optional)

rub-on-designs_thumb1

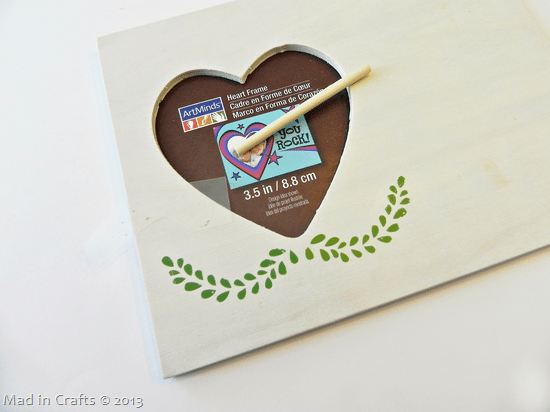
I cut out individual transfer designs with my precision scissors and positioned them on a cheapo raw wood craft frame.  I used the small dowel meant to serve as the frame’s stand to burnish the designs onto the wood.  It looked pretty “bad 90s farmhouse” here, but I promise that it got better.

more-rosemaling-desings_thumb

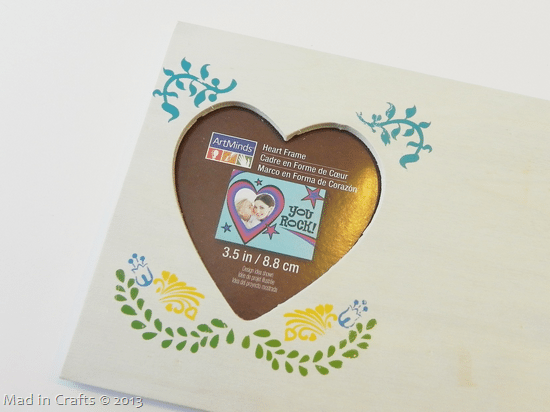
I kept adding more designs, trying to keep things basically symmetrical as I went.  I used my tweezers to put the designs in place after I found that touching the designs with my bare hands made them transfer onto my fingers.

Rosemaling-Frame_thumb

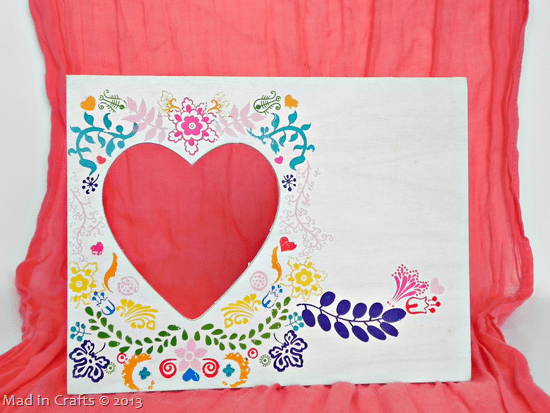
After a lot of cutting, placing, and burnishing, I had a colorful Norwegian rosemaling-inspired frame.  Not all of the designs transferred perfectly, but I don’t think that the imperfections take away from the charm of the frame.

DIY-Rosemaling-Frame_thumb1

The frame actually looks quite nice empty.  The open heart cut-out lets the rosemaling design shine.

Rosemaling-Frame-with-Valentines-Mes-25255B1-25255D

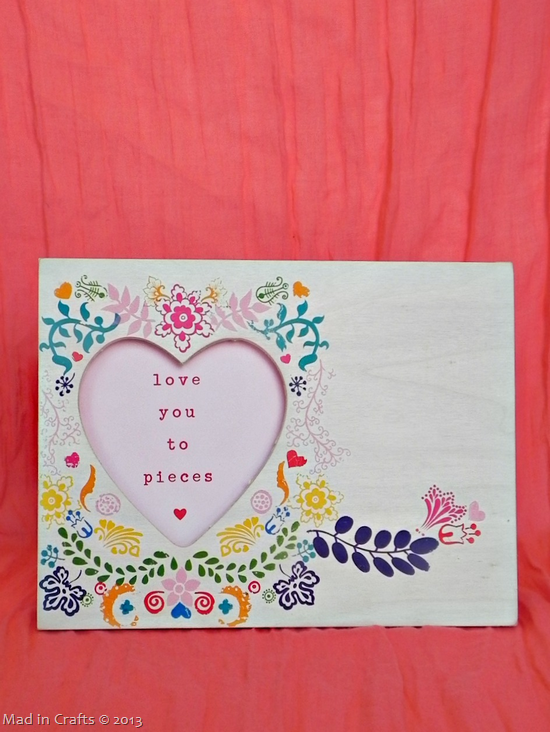
Just for fun, I framed one of the cards from my Recollections calendar in the heart opening, turning it into a pretty Valentine’s Day decoration.

Have I convinced you that rosemaling would make for a good trend yet?  Can you see yourself using it in your own home?


 Did you like this post?  Think it’s worth sharing?  Please share with your friends using the social media share buttons on the toolbar at the bottom of the page!

Thanks,  Jessica

Filed Under: Holiday, Valentine's Day Tagged With: dollar store, holiday, home decor, Valentines Day

Share on Facebook
Facebook
Pin on Pinterest
Pinterest
Tweet about this on Twitter
Twitter
Share on LinkedIn
Linkedin
              

Trackbacks

  1. COLORFUL RESIN SWIRL FRAME - Mad in Crafts says:
    June 20, 2018 at 11:01 am

    […] EASY ROSEMALING FRAME […]

    Reply

Leave a Reply Cancel reply

Your email address will not be published. Required fields are marked *

Recipe Rating


About Jessica

Search the blog…

Gallery of Valentine's Day Crafts
DIY Home Organization
Delicious Dessert Recipes

Copyright

You're welcome to link to Mad in Crafts or use a single image with a brief description to link back to any post. Republishing posts in their entirety is prohibited. Feel free to pin on Pinterest!

Affiliate Disclosure

Jessica Hill is a participant in the Amazon Services LLC Associates Program, an affiliate advertising program designed to provide a means for sites to earn advertising fees by advertising and linking to Amazon.com

Copyright © 2021 · Metro Pro Theme on Genesis Framework · WordPress · Log in

We use cookies to ensure that we give you the best experience on our website. If you continue to use this site we will assume that you are happy with it.Ok