Mad in Crafts

  • Email
  • Facebook
  • Instagram
  • LinkedIn
  • Pinterest
  • Twitter
  • YouTube
  • Home
  • About
    • ABOUT JESSICA
    • CONTACT
    • MEDIA KIT
    • Seen On
  • PRIVACY
  • CRAFTS
    • HOLIDAY
      • VALENTINE’S DAY
      • ST. PATRICK’S DAY
      • EASTER
      • FOURTH OF JULY
      • FALL
      • HALLOWEEN
      • THANKSGIVING
      • CHRISTMAS
    • HOME DECOR
    • KIDS
    • MISC
    • Wearable
      • JEWELRY
      • PURSES, CLUTCHES AND TOTE BAGS
      • T-SHIRTS
    • FREE PRINTABLES
    • FREE SVGs
  • DIY
    • Gardening
    • Health
    • ORGANIZATION
    • Outdoor
    • Room Makeover
    • The Mad House
  • Recipes
    • Dessert
    • DINNER
    • DRINKS
    • Snacks and Appetizers
  • ENTERTAINING
    • Birthday Party
    • Party
    • Wedding
  • SHOP
Please note: This page may contain affiliate links. If you click a link and choose to make a purchase from the partnership site, I will earn a commission. Thank you for supporting Mad in Crafts!

Dress Up a No-Sew Cardigan with Duck® Fabric Tape

February 25, 2014 by madincrafts 1 Comment

This is a Sponsored post written by me on behalf of Duck Brand for SocialSpark. All opinions are 100% mine.

Dress up a Cardigan with Duck Fabric Tape - Mad in Crafts

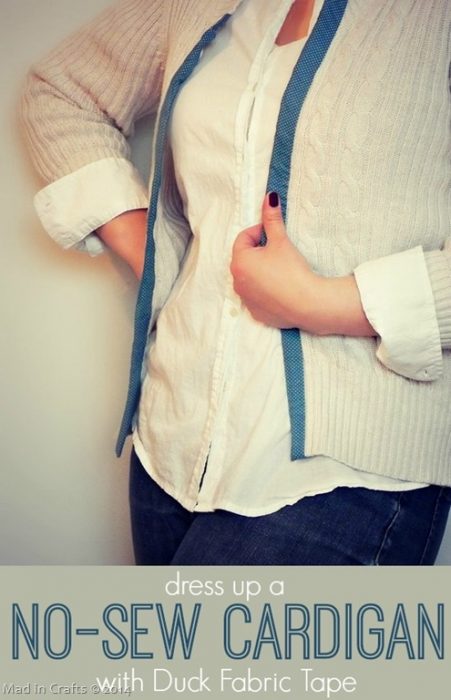
Dress Up a No-Sew Cardigan with Duck® Fabric Tape

 
I love seeing clothing refashions on other blogs, but since my sewing skills are so limited I am always too scared to try them.  For this sweater to cardigan tutorial, I was able to create a new and useable item for my wardrobe without any sewing at all.  The frosting on the cake is the temporary pop of color thanks to Duck Brand Craft Tapes!
 
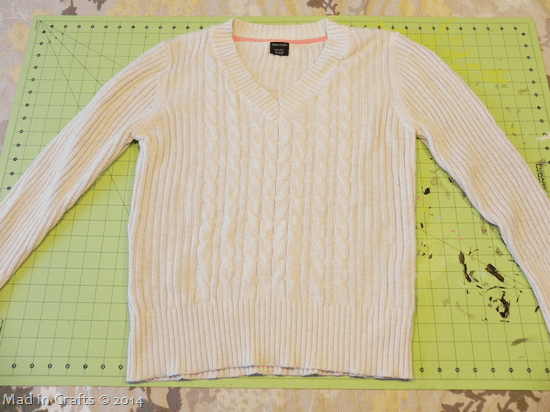
I had an inexpensive cable knit sweater taking up space in my closet.  I love cable knits, but this particular sweater was a weird length, and I just didn’t get much use out of it.  I knew it would be much more useful to me as a cute cardigan, so I got to work.  Here’s how to do it.

Sweater to Cardigan

Start by laying the sweater out flat on a hard surface like a table or the floor.

Cut-252520Sweater-252520into-252520Cardigan_thumb-225x3001

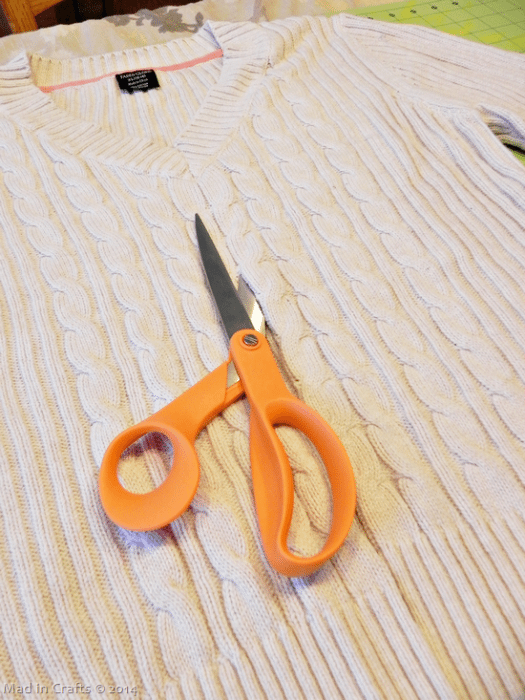
Using a pair of sharp scissors, cut the front of the sweater up the middle.  Try to keep the line as straight as possible.

No-252520Sew-252520Cardigan_thumb-25255B1-25255D-300x2281

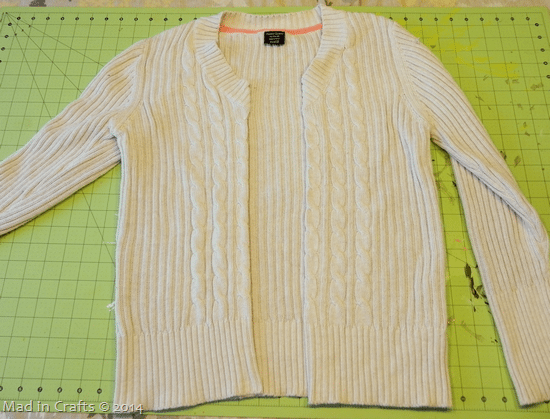
When you have cut all the way up through the front of the neckline, you should have something that looks like this.  See it’s almost a cardigan already!

Add-252520Fabric-252520Fusion_thumb-225x3001

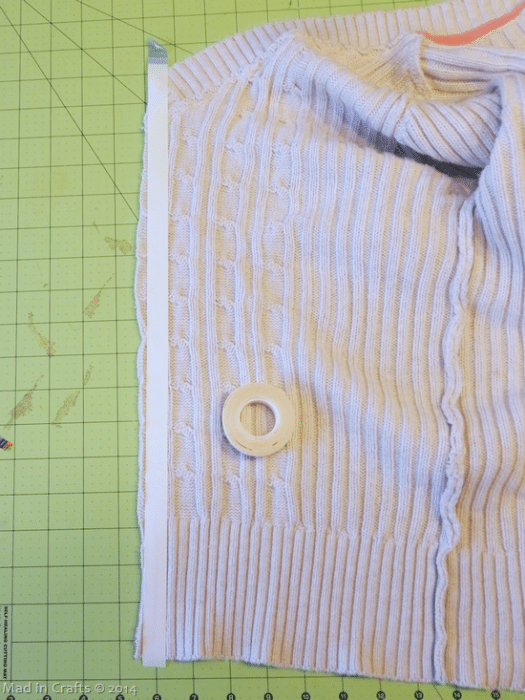
Cut a length of fabric adhesive tape (affiliate link) the same length as your newly cut edge.  Carefully place it on the WRONG side of the fabric (the inside of the sweater).

Fold-252520over-252520Raw-252520Edge_thumb-225x3001

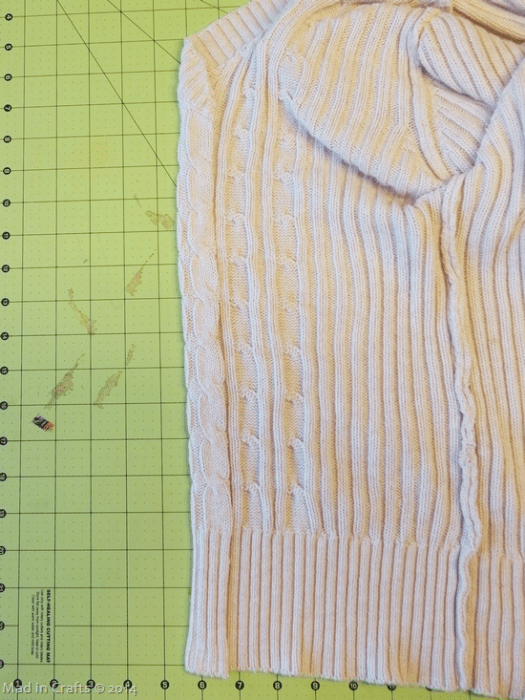
Remove the backing and fold the cut edge of the sweater back onto itself.  Press firmly into place. Repeat
with the other side of the front of the cardigan.  This is a permanent, washable way to “hem” the sweater.

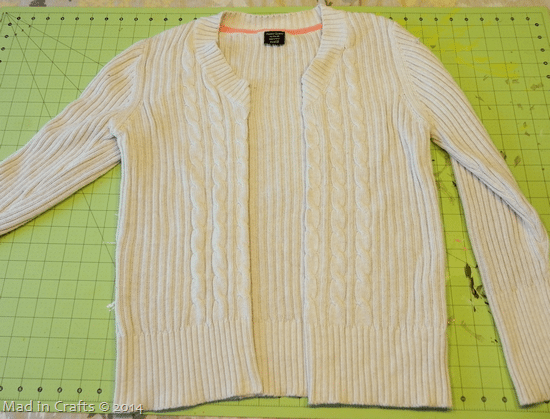
No-252520Sew-252520Cardigan_thumb-300x2281

Now you have two clean front edges.  Just like that, you have a cozy new cardi!  But I wanted to take things a step further and accessorize the sweater with a bit of color and pattern.
 
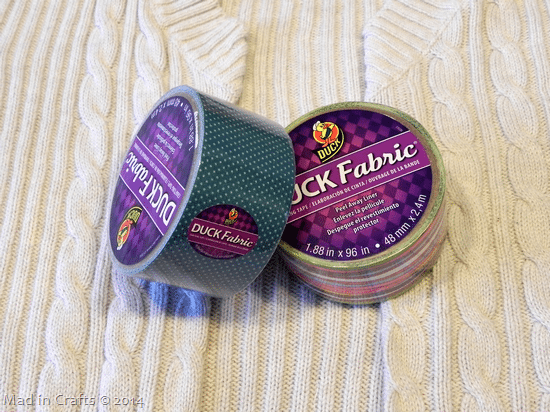
Duck-252520Fabric-252520Craft-252520Tape_thumb-300x2241
Duck Brand® recently released a few lines of crafting tape: glitter, prism, washi, and fabric.  I used their blue pin dot fabric tape, but the fabric tape also comes in yellow speckle dot, pink with brown dots, and coral multi-color.
 
Duck-252520Fabric-252520Tape-252520Cardigan_thumb-225x3001
 
The Duck® Fabric tape allows you to add fabric to a project without any additional sewing or adhesive.  The possibilities are off the chart with this stuff.
 
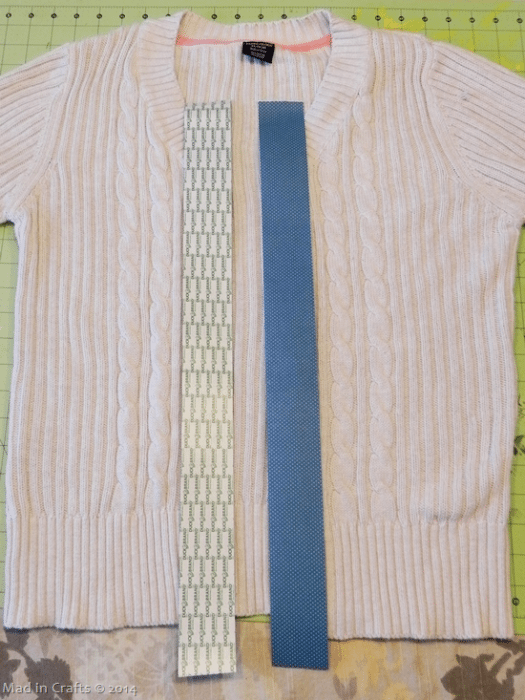
Cut two lengths of fabric tape that are 1” longer than the length of your cardigan edge.

Duck-252520Fabric-252520Cardi_thumb-300x1651

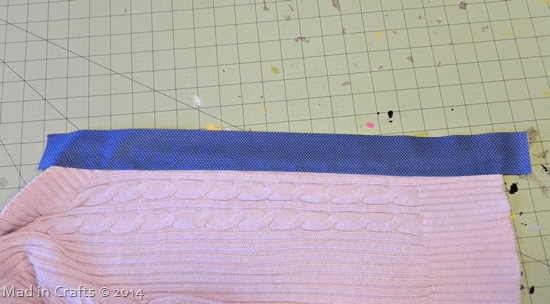
Remove the backing from the tape and carefully place it on the front of one of the cardigan edges.  Half of the tape width should be adhered to the sweater and half should not be stuck to anything yet.

Tuck-252520under-252520Duck-252520Fabric-252520Ends_thumb-300x2241

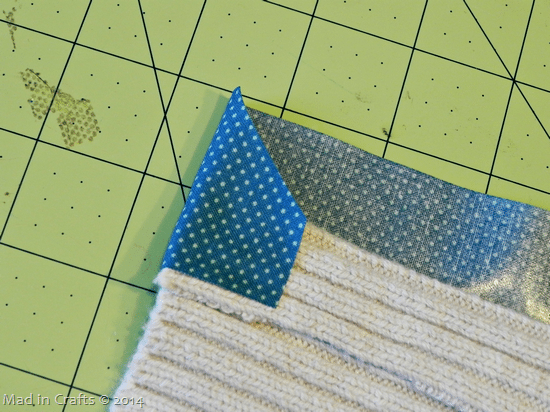
Flip the sweater over, and tuck each end of the fabric tape over the waistband and neckline of the sweater.  then fold the fabric tape over to the inside of the cardigan edge, sealing the whole edge in fabric tape.

No-252520Sew-252520Cardigan-252520with-252520Contrasting-252520Duck-252520Fabric-252520Trim_thumb-277x3001
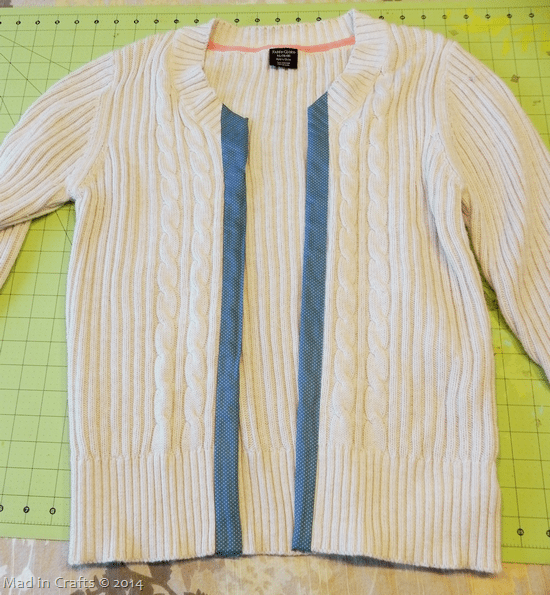
Repeat those steps with the other side of the cardigan.

 
No-Sew-252520Sweater-252520to-252520Cardigan_thumb-239x3001
 
Now your cardi has a cute contrasting trim, and nobody has to know there was no sewing involved!  When you are tired of the blue, gently pull the tape off and the sweater will be as good as new.
 
NOTE:  The Duck Brand® fabric tape is NOT washable.  As an experiment, I threw my sweater in the washer with the tape still attached and it totally fell off.  This is just a temporary way to dress up your cardigan.
 
DIY-252520Duck-252520Fabric-252520Trim-252520Cardigan_thumb-220x3001
 
You know how I love duck tape crafts, so if you are inspired to make your own be sure to include #DuckTapeCrafts in your social media shares so I can find them!  You can find more Duck Brand® inspiration by following them on twitter, too.

If you would like to try out some of Duck Brand’s® new crafting tapes, enter the Rafflecopter giveaway below.  You will receive a surprise package of tape sent from IZEA. 
a Rafflecopter giveaway


Did you like this post?  Think it’s worth sharing?  Please share with your friends using the social media share buttons on the toolbar on the left side of the page!
Thanks,  Jessica

Visit Sponsor's Site

Filed Under: Shirts, Wearable Tagged With: affiliate, before and after, diy fashion, duck tape, refashion, sweater, tutorial, upcycle

Share on Facebook
Facebook
Pin on Pinterest
Pinterest
Tweet about this on Twitter
Twitter
Share on LinkedIn
Linkedin
              

Comments

  1. cheap-louis vuitton says

    March 29, 2014 at 5:59 am

    Dress Up a No-Sew Cardigan with Duck® Fabric Tape – Mad in Crafts louis vuitton noe jniwlkijqfhkjo eva clutch louis vuitton lpohdvbcwzexybahuba

    Reply

Leave a Reply Cancel reply

Your email address will not be published. Required fields are marked *

Recipe Rating


About Jessica

Search the blog…

Gallery of Valentine's Day Crafts
DIY Home Organization
Delicious Dessert Recipes

Copyright

You're welcome to link to Mad in Crafts or use a single image with a brief description to link back to any post. Republishing posts in their entirety is prohibited. Feel free to pin on Pinterest!

Affiliate Disclosure

Jessica Hill is a participant in the Amazon Services LLC Associates Program, an affiliate advertising program designed to provide a means for sites to earn advertising fees by advertising and linking to Amazon.com

Copyright © 2021 · Metro Pro Theme on Genesis Framework · WordPress · Log in

We use cookies to ensure that we give you the best experience on our website. If you continue to use this site we will assume that you are happy with it.Ok