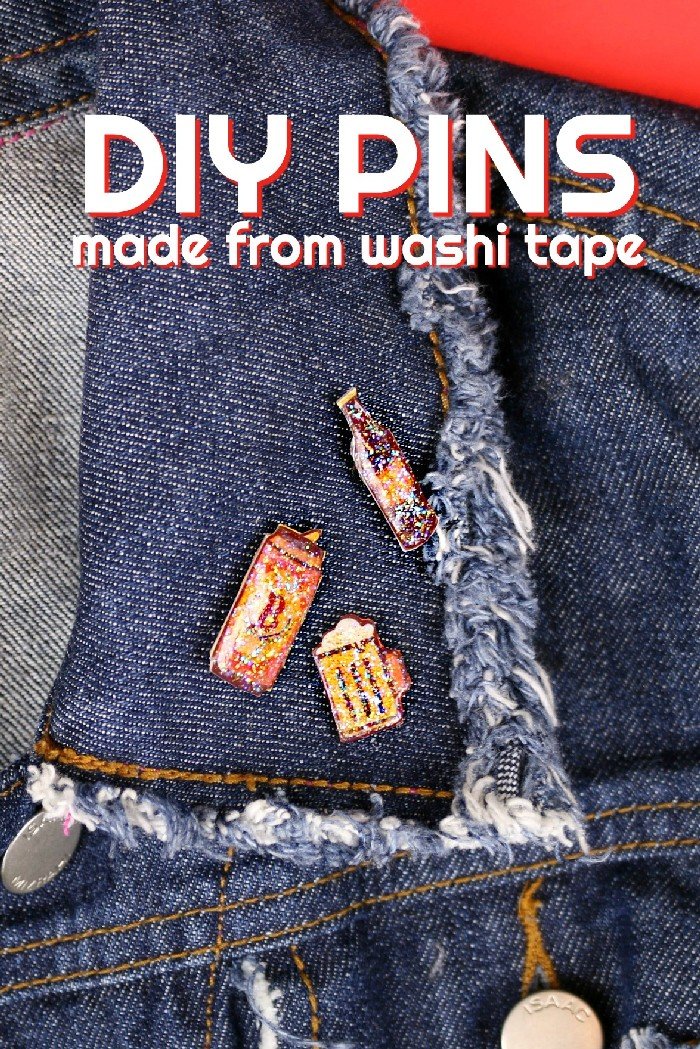
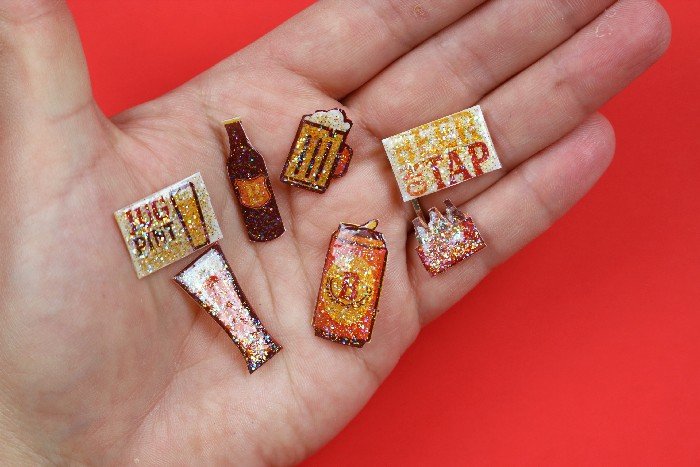
I am a bit of a washi tape hoarder. Whenever I see a cute roll of washi at the craft store, I am compelled to buy it even if I don’t have a specific use for it. Last fall I picked up two rolls of super cute beer themed tapes, but they have been sitting in my craft room unused ever since. A few weeks ago I watched a video from Karen Kavett about different ways to use washi tape, and she totally inspired this project. I busted out the neglected tape and made a set of cute DIY washi tape beer pins.
DIY WASHI TAPE BEER PINS
HOW TO USE WASHI TAPE TO MAKE PINS
I made this quick video to show you how to turn washi tape into in you cute pins. I publish two videos a week on my YouTube channel, so click over and subscribe.
WHAT YOU NEED TO MAKE PINS FROM WASHI TAPE
These are all affiliate links, if you make a purchase (of anything on Amazon, not just these items) after clicking through, I will earn a small commission. Ads and affiliate links are the way I am able to keep this website running and to offer you free tutorials all year long. Thank you so much for supporting me and Mad in Crafts!
- Sturdy plastic – I used microwave covers from the dollar store but these also should work
- Beer washi tape
- Paper cutter
- Scissors
- Dimensional Magic
- Super glue
- Pin backs
TIPS FOR MAKING WASHI TAPE PINS
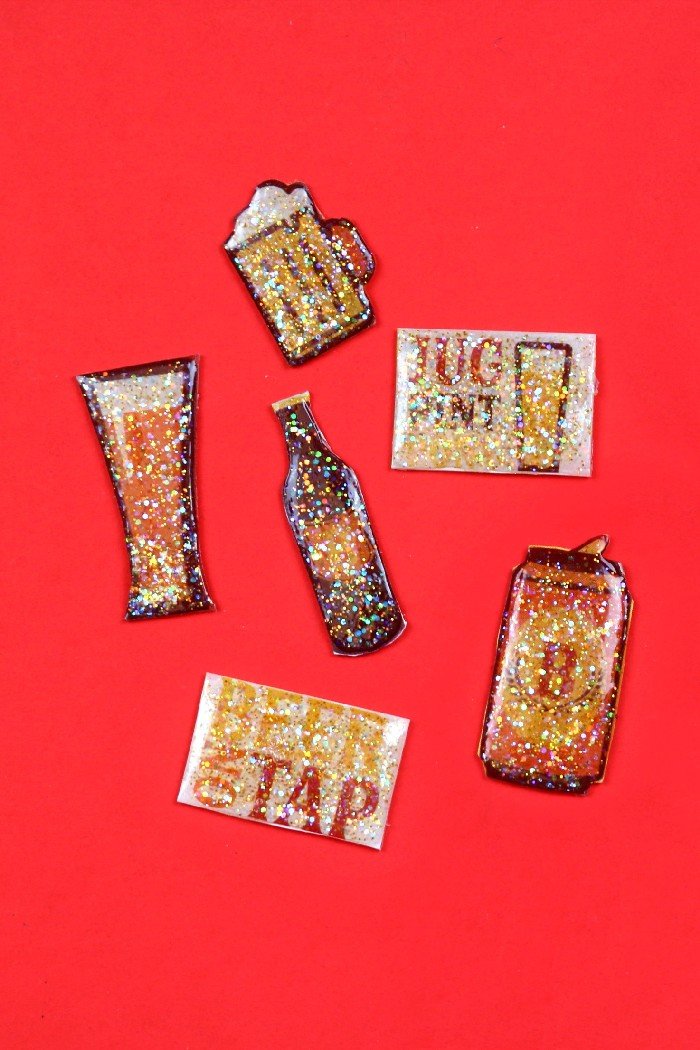
Two tips about the materials I used for these pins. First, I chose to use sturdy plastic as the base for my pins. I wanted something that I was able to easily cut through, but that wasn’t too bendy. If the finished pins bend too much, the Dimensional Magic will crack. Paper and thin plastic are not sturdy enough to prevent them from bending, so find something a little more stable. Second, I chose to use glitter Dimensional Magic because I love the sparkle, but regular Dimensional Magic will allow you to see the washi tape underneath more clearly, You just have to decide which look you are going for.
If you make your own pins, PLEASE share a photo on social media and tag me (@madincrafts). I love to see your version of my projects!
Check out these other DIYs:
