Mad in Crafts

  • Email
  • Facebook
  • Instagram
  • LinkedIn
  • Pinterest
  • Twitter
  • YouTube
  • Home
  • About
    • ABOUT JESSICA
    • CONTACT
    • MEDIA KIT
    • Seen On
  • PRIVACY
  • CRAFTS
    • HOLIDAY
      • VALENTINE’S DAY
      • ST. PATRICK’S DAY
      • EASTER
      • FOURTH OF JULY
      • FALL
      • HALLOWEEN
      • THANKSGIVING
      • CHRISTMAS
    • HOME DECOR
    • KIDS
    • MISC
    • Wearable
      • JEWELRY
      • PURSES, CLUTCHES AND TOTE BAGS
      • T-SHIRTS
    • FREE PRINTABLES
    • FREE SVGs
  • DIY
    • Gardening
    • Health
    • ORGANIZATION
    • Outdoor
    • Room Makeover
    • The Mad House
  • Recipes
    • Dessert
    • DINNER
    • DRINKS
    • Snacks and Appetizers
  • ENTERTAINING
    • Birthday Party
    • Party
    • Wedding
  • SHOP
Please note: This page may contain affiliate links. If you click a link and choose to make a purchase from the partnership site, I will earn a commission. Thank you for supporting Mad in Crafts!

DIY SOAP MOLD TUTORIAL

June 13, 2018 by madincrafts Leave a Comment

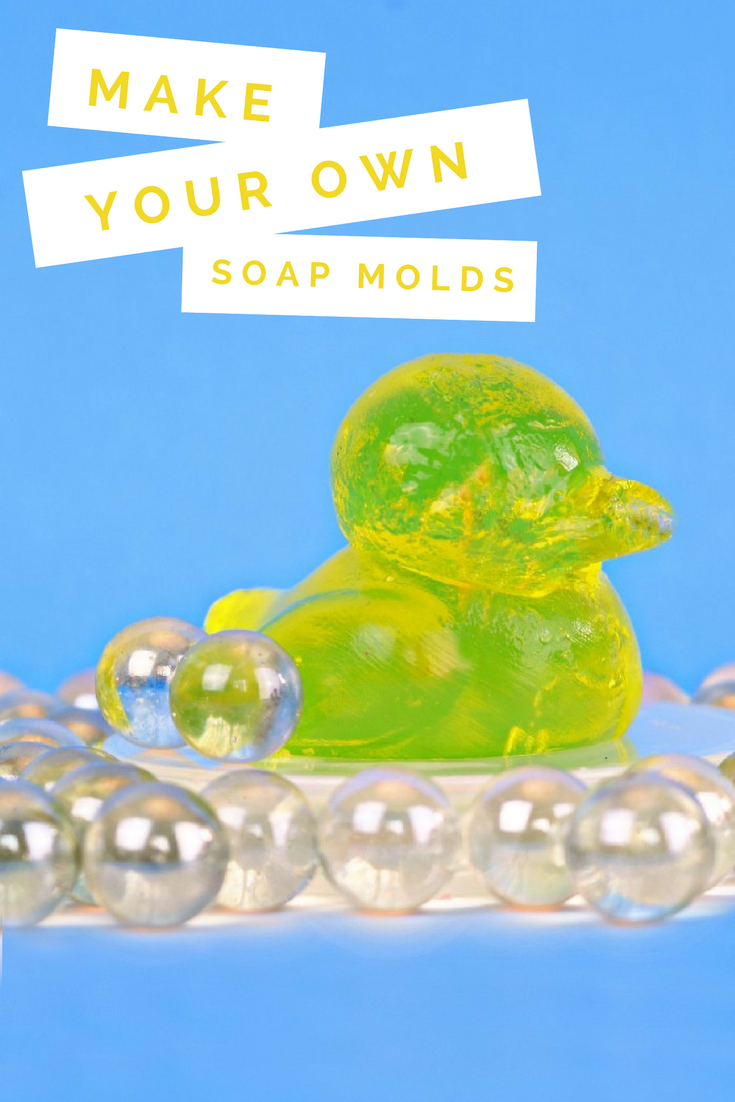
What’s even better than regular jelly soap?  A custom jelly soap that is made in the EXACT shape you want it to be!  You can make a DIY soap mold with silicone paste, and then use that mold to make as many soaps as your heart desires!  Check out just how to do it:

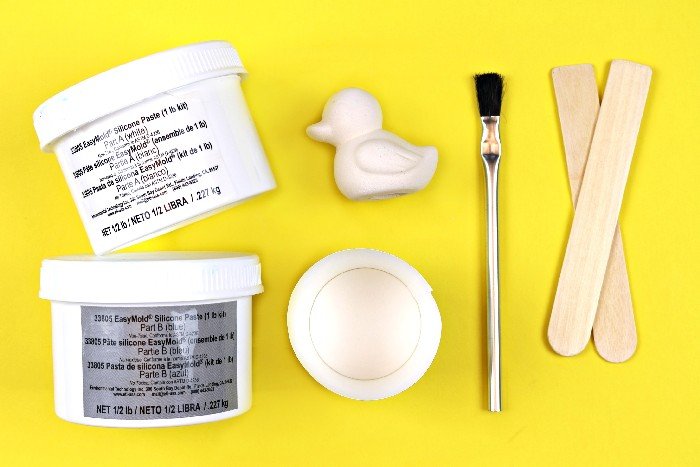
You will need a few supplies to make your own silicone mold.  I have started working with ETI, so I used their EasyMold kit to create my soap mold.  I have linked to all the products I used in my tutorial at the end of this post.

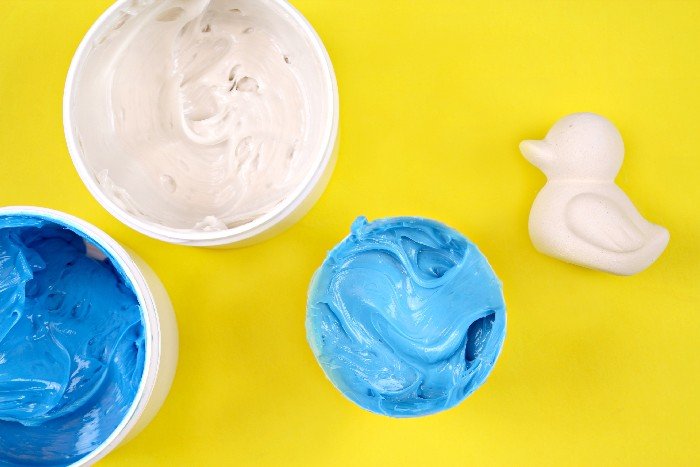
You will need to start by mixing together equal amounts of the two parts of the Easy Mold Silicone Paste.  Stir them together until the paste is a uniform blue color.  Then use a cheap paintbrush to paint a bit of the silicone paste all over the object you want to make a mold of.  For me, it was a dollar store duck figurine.

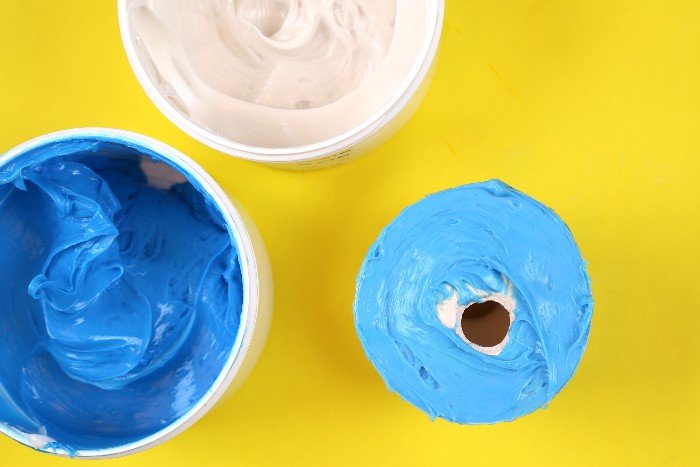
Scoop about 2/3 of the mixture into a paper cup that is larger than the object you are making a mold of.  Push the object down into the paste.  Scoop the remaining silicone paste around the object until it is almost fully covered.  Allow the silicone to cure for 3 hours.

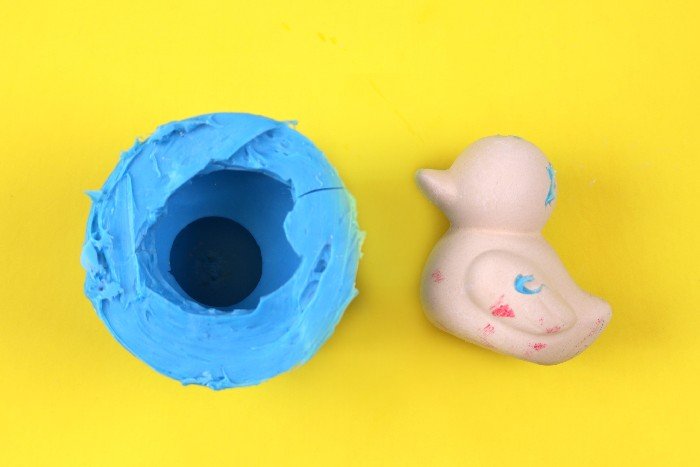
After the silicone has cured, you can peel the paper cup away from the silicone and throw it out.  Carefully cut down two sides of the silicone to release the object from the mold.

You now have a perfect mold that you can use to make custom soaps.  Come back tomorrow to see how to use this DIY soap mold to make rubber ducky jelly soap!


These are all affiliate links, if you make a purchase (of anything from these retailers, not just these items) after clicking through, I will earn a small commission. Ads and affiliate links are the way I am able to keep this website running and to offer you free tutorials all year long. Thank you so much for supporting me and Mad in Crafts!

  • EasyMold® Silicone Paste
  • Small rubber or ceramic ducky (mine was from the dollar store)
  • Paper cups
  • Paintbrush
  • Stir sticks
  • Gloves

You might like these other fun soap DIYs:

RAINBOW JELLY SOAP

DIY RAINBOW JELLY SOAP

DIY COLORFUL SQUISHY SOAP

COLORFUL SQUISHY SOAP


Filed Under: Misc Tagged With: affiliate, baby shower, dollar store, jelly soap, mold, silicone, tutorial

Share on Facebook
Facebook
Pin on Pinterest
Pinterest
Tweet about this on Twitter
Twitter
Share on LinkedIn
Linkedin
              

Leave a Reply Cancel reply

Your email address will not be published. Required fields are marked *

Recipe Rating


About Jessica

Search the blog…

Gallery of Valentine's Day Crafts
DIY Home Organization
Delicious Dessert Recipes

Copyright

You're welcome to link to Mad in Crafts or use a single image with a brief description to link back to any post. Republishing posts in their entirety is prohibited. Feel free to pin on Pinterest!

Affiliate Disclosure

Jessica Hill is a participant in the Amazon Services LLC Associates Program, an affiliate advertising program designed to provide a means for sites to earn advertising fees by advertising and linking to Amazon.com

Copyright © 2021 · Metro Pro Theme on Genesis Framework · WordPress · Log in

We use cookies to ensure that we give you the best experience on our website. If you continue to use this site we will assume that you are happy with it.Ok