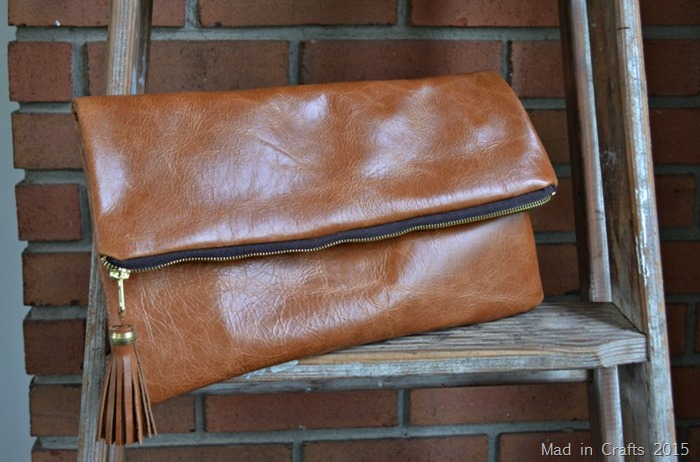
You guys. I made this. I can hardly believe it myself. Seriously, I hate sewing — and this project didn’t make me hate it any less — but look what I made! I am thrilled with how it turned out, and I am so excited to show my new leather foldover clutch off the next time I go out. Honestly, if I can sew this beautiful clutch, you can too. You only have to sew straight lines, and even the zipper is totally manageable! Let’s get making!
DIY LEATHER FOLDOVER CLUTCH WITH TASSEL
BUYING A LEATHER HIDE
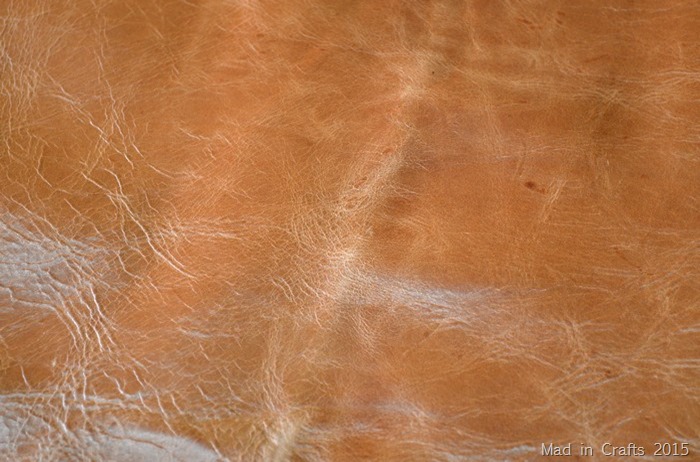
I was contacted by Leather Hide Store a few months back, asking if I would like to try out their leather for a DIY project. I have never worked with leather before, and I was very excited at the chance to try. Thank you, Leather Hide Store, for sponsoring this tutorial! After perusing their website, I chose the Nevada Distressed leather variety, and the hide they sent me is so amazingly beautiful. I didn’t get a decent picture of the whole hide, but it took up my entire dining room table!
This variety is a gorgeous butterscotch/caramel-colored leather with wrinkles and creases throughout the hide. Caramel leather is my absolute favorite color for leather, so I was happy that the photos online were true to the real-life color of the hide I received. Leather Hide Store sells upholstery weight leather which is perfect for home decor, handbags, and garments.
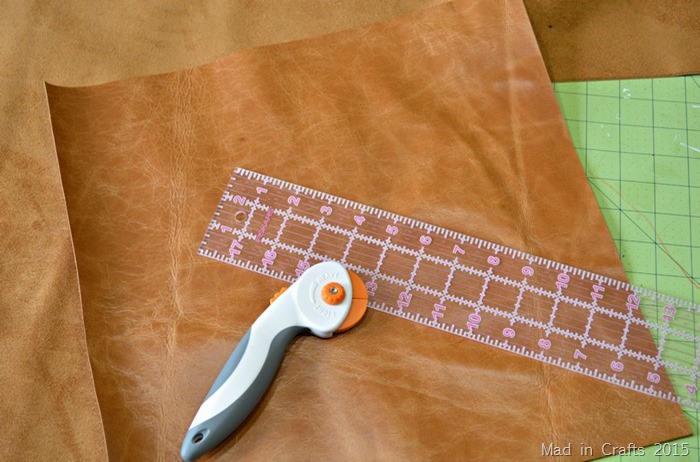
I have never measured or cut anything as carefully or precisely as I did this leather. There is plenty of leather left over, and I am going to work very hard not to waste any of it.
WHAT YOU NEED TO MAKE A DIY CLUTCH
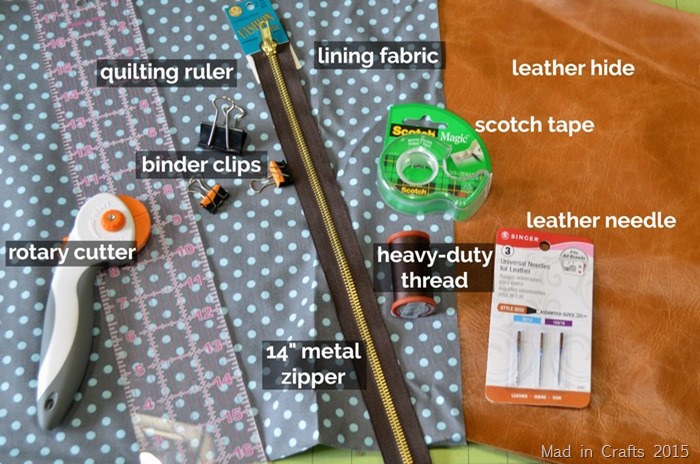
I already had the rotary cutter, quilting ruler, and binding clips on hand. My hand isn’t steady enough with dress shears to make a clean cut in the leather, so I was very thankful for my rotary cutter, especially when it came time to make the tassel. There’s no taking back a hole once you’ve punctured leather, so you will need to use binder clips instead of pinning your fabric pieces together.
I ran to the fabric store and bought a 14″ metal zipper, some heavy-duty thread, and sewing machine needles designed especially for sewing leather. None of it was expensive, but it is specialty stuff.
I had read that using scotch tape on your sewing machine foot makes the leather run through the machine more smoothly, but I didn’t find that to be the case. Occasionally my feed dogs would get angry, and I would just have to advance the needle manually.
These are all affiliate links, if you make a purchase (of anything from these retailers, not just these items) after clicking through, I will earn a small commission. Ads and affiliate links are the way I am able to keep this website running and to offer you free tutorials all year long. Thank you so much for supporting me and Mad in Crafts!
- Leather hide
- Rotary cutter or fabric scissors
- Acrylic ruler
- Binder clips
- Zipper
- Brown leather sewing thread
- Leather needle
- Sewing machine
- Compression sleeve
- Fabric glue
- Liner fabric

Want to know which craft supplies I always keep in my craft room?
Visit the Mad in Crafts Amazon Storefront to learn more and to buy your own supplies!
SEWING THE FOLDOVER CLUTCH
Instead of pretending like I know what I am doing when it comes to sewing and writing out a tutorial for this bag, I am just going to direct you to Flamingo Toes’s free sewing pattern. I used Bev’s tutorial, without the stripe and bow, to the tee for making my clutch. To help me get over my fear of sewing zippers, I found a helpful video that demonstrates two ways to sew zippers. I followed the instructions for the first zipper. It was scary, but I did it.
MAKING A LEATHER TASSEL
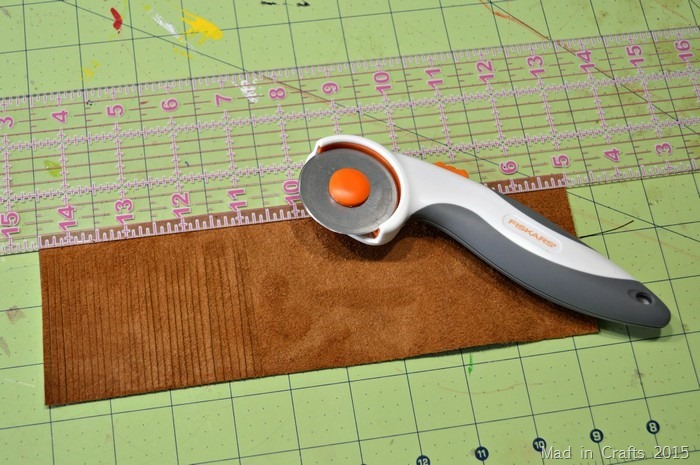
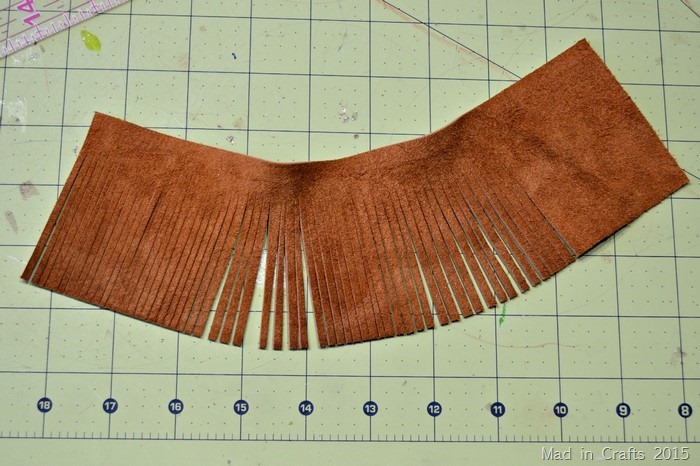
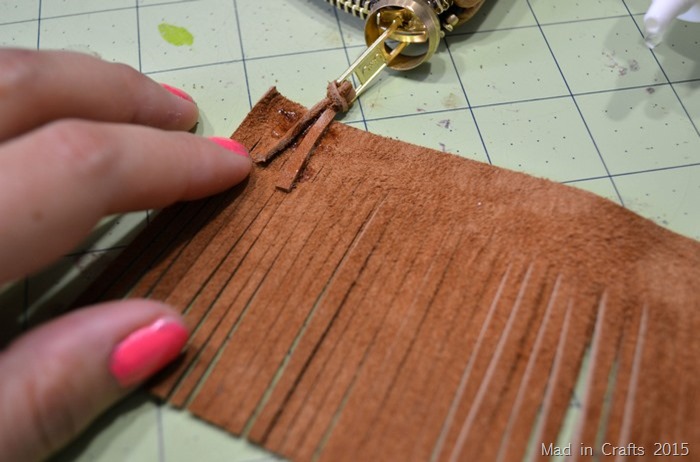
Making the leather tassel was easy and fun. I will be making more of these guys, you can count on it. I began by cutting a rectangle of leather that was roughly 3″ x 9 1/2″. Next, I placed my quilting ruler 1/4″ from the top edge of the leather to act as the barrier for my rotary cutter. To create the fringe, I eyeballed 1/8″ wide cuts along the length of the leather.
That gave me this very pretty, and mostly even, fringe.
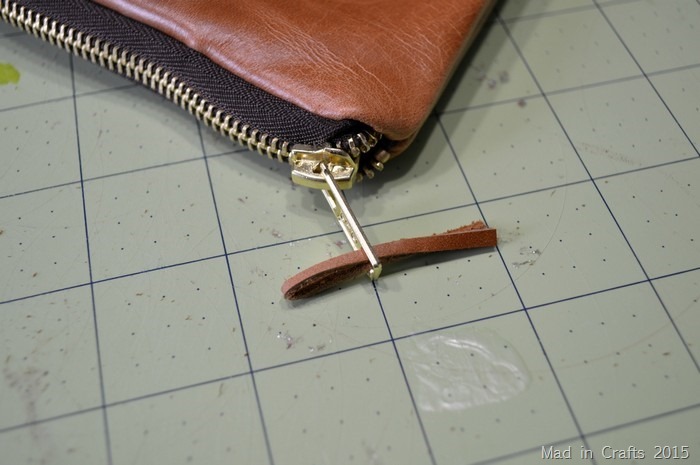
To assemble the tassel, I cut a 1/4″ x 3 1/2″ piece of leather, doubled it over, and threaded it through the hole at the end of the zipper pull.
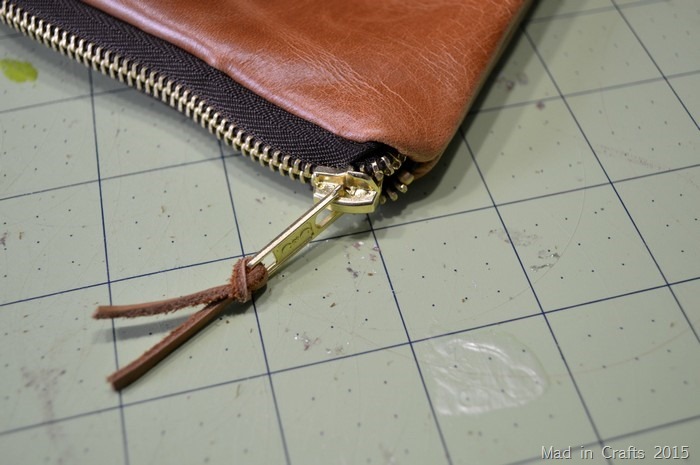
I threaded the loose ends through the loop end and pulled it tight to fasten the leather to the pull.
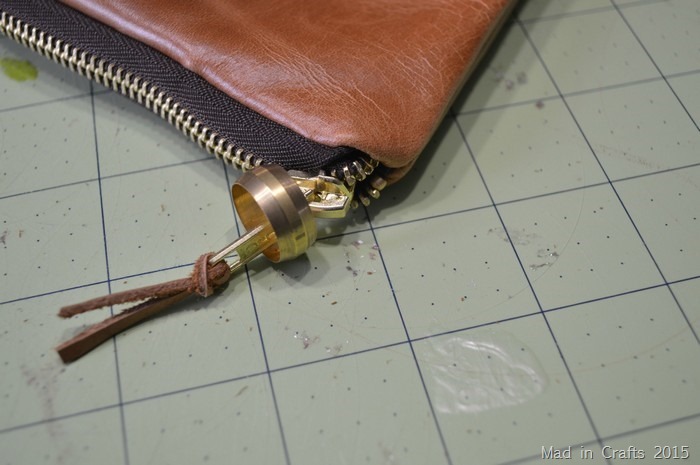
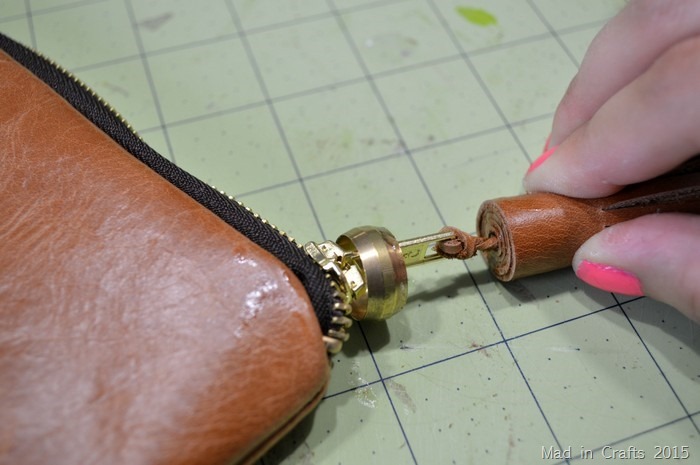
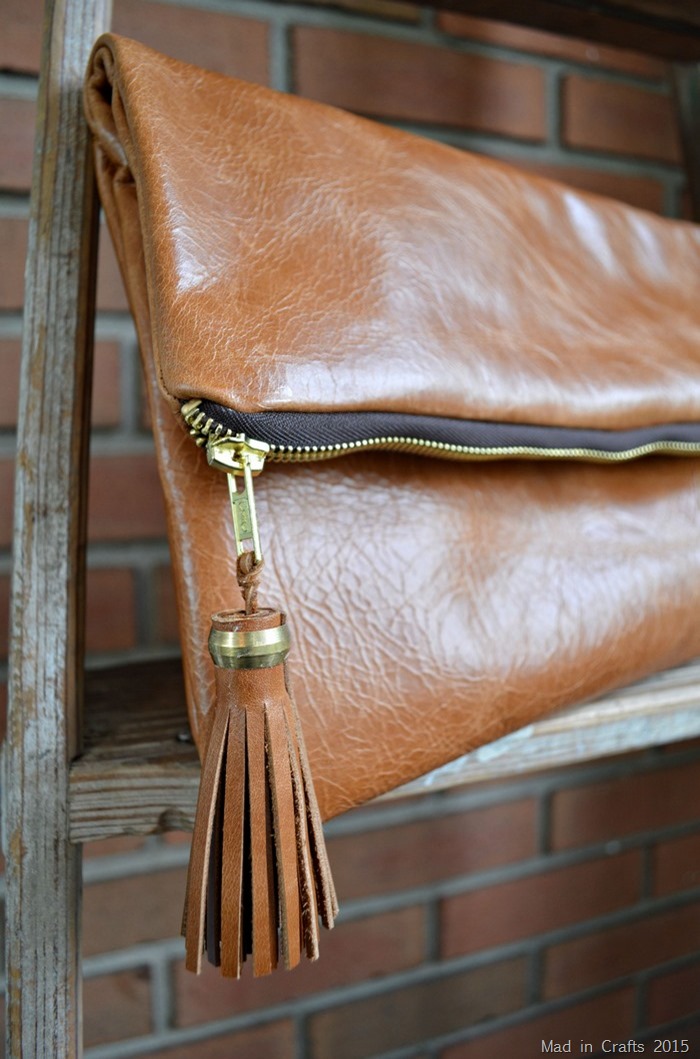
Then a slipped a 1/2″ brass compression sleeve (which you can find at the hardware store for cheap) onto the pull.
Next, I used Aleene’s fabric glue to adhere the leather lacing to the wrong side of the leather fringe.
Then, I slowly and carefully rolled the fringed piece of leather into a coil, making sure to keep the top edge straight. I added drops of fabric glue to the leather as I rolled to hold everything together.
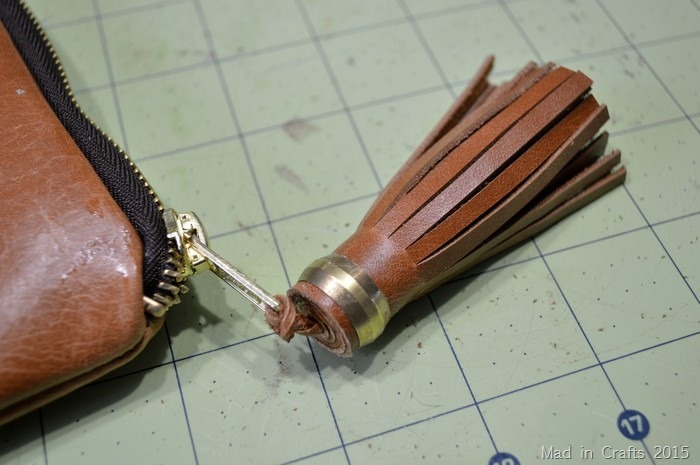
Occasionally as I rolled, I would check to see if the tassel was the proper diameter for my compression sleeve. Once I had rolled enough fringe to fit snugly inside the sleeve, I cut off the excess with my rotary cutter and slid the sleeve down over the tassel. You won’t need to glue the sleeve in place if the fit is snug enough.
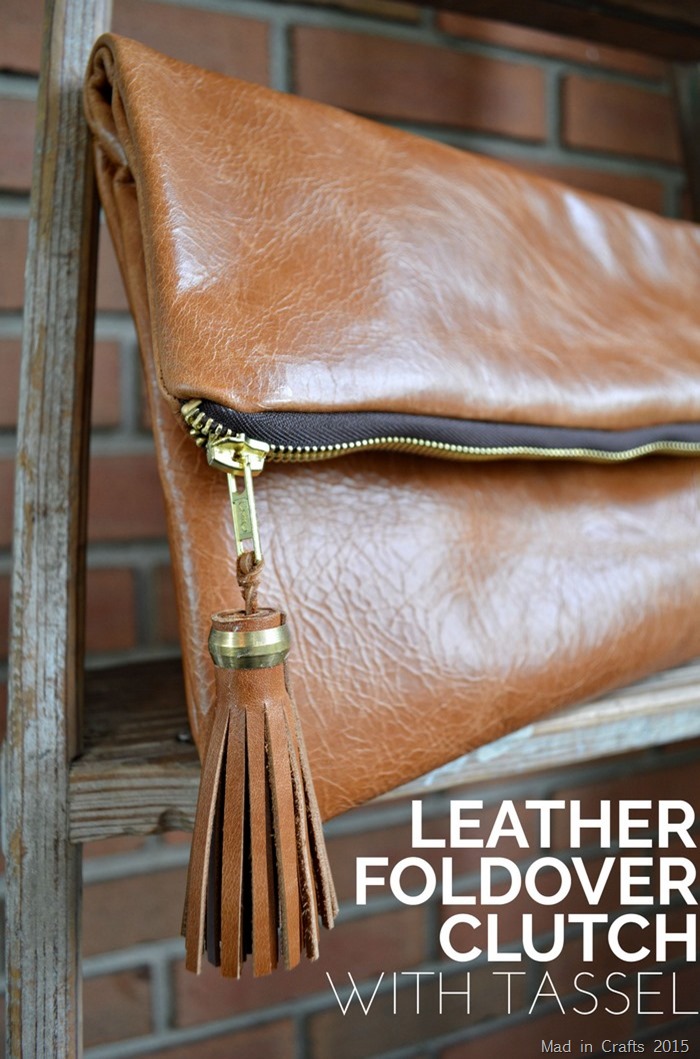
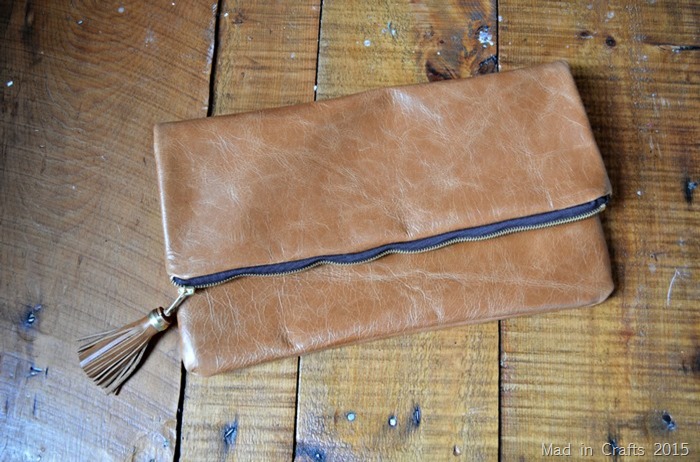
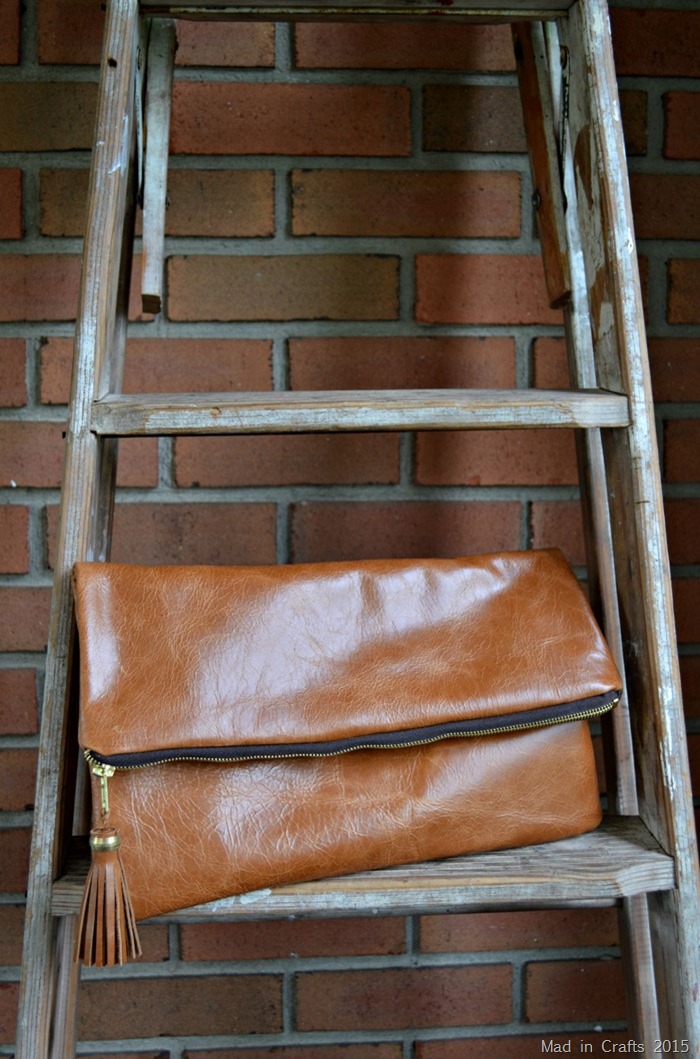
THE FINISHED CLUTCH BAG!
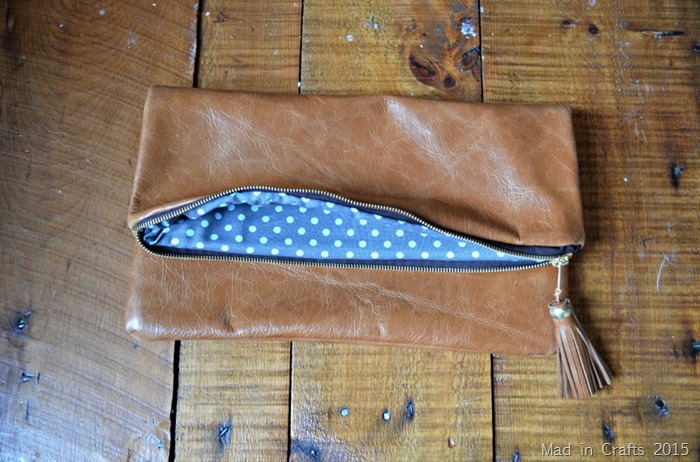
The bag is by no means perfect. The zipper is a little less centered than I would like, but nobody will notice that unless I point it out to them specifically.
And the zipper opens and closes like it should! The lining fabric is facing the correct direction! I didn’t sew through my own finger (although I did break a needle)! For my first time sewing leather and only my second time sewing a zipper, I am calling this a major win.
You better believe this zipper pouch is going to get some major use. The leather is just so lovely and soft, and the color goes with so many things in my wardrobe. If this inspired you to try your own leather project, check out Leather Hide Store‘s great selection!
You might like these other DIY accessories:
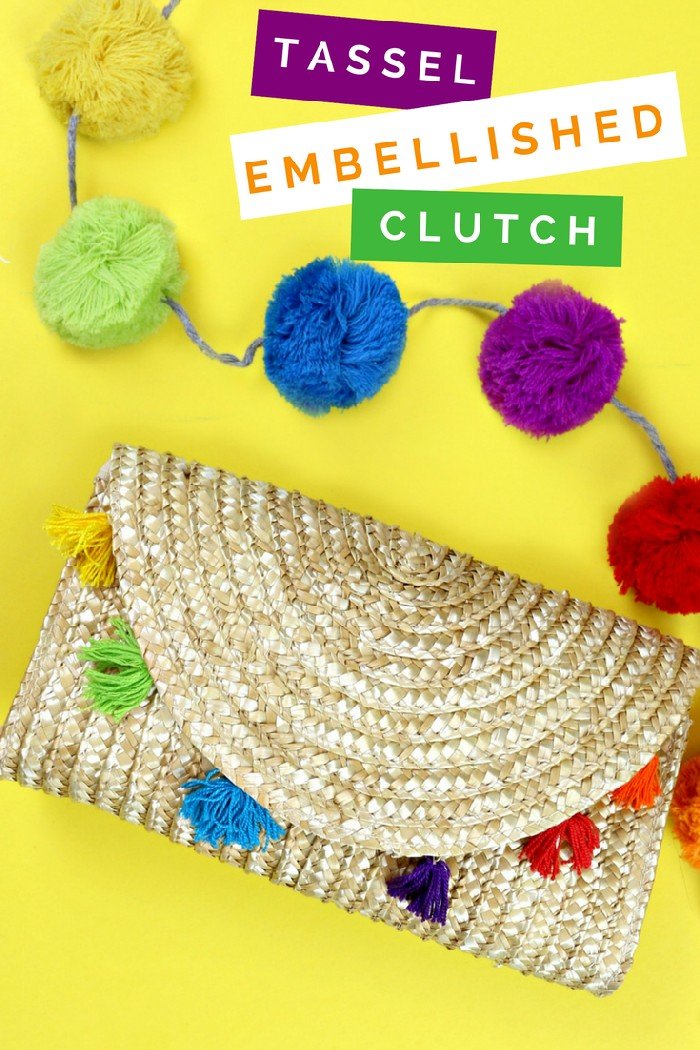
RAINBOW TASSEL EMBELLISHED CLUTCH



Wow, wow, and wow! This is beautiful! I’m in awe of your talent!
I LOVE this and I really love the lining! Great job!
I don't have a very big fabric stash, but this polka fabric worked pretty well. Thanks!
I am SO in love with everything about this clutch! You did a fab job!
Thank you so much!
I am TOTALLY impressed — the construction is so well done and that leather looks FABULOUS! I am jealous!
That's totally the quality of the leather masking my novice skills! Thanks so much!
This is stunning! We love this DIY and it was such a pleasure working with you! So impressive!!
-Chelsey
Thank you so much! I can't say enough about how fun your leather was to work with!
Question: does this clutch stay stiff, not too stiff it still has to fold over, but enough to hold its shape?
I have found that it holds it's shape quite well. The leather is very soft, but since the bag is basically flat it doesn't sag or droop. Thanks for the question. I hope this helped!
Nice design. I like this pouch it’s a creative leather pouch. I’ve enjoyed reading the post. It is a very creative and useful post. Thanks a lot for this beauty Enjoying article with me. I appreciate it very much!